
This The Darkness II walkthrough is divided into 8 total pages.
You can jump to nearby pages of the game using the links above.
Out of the Jungfrau
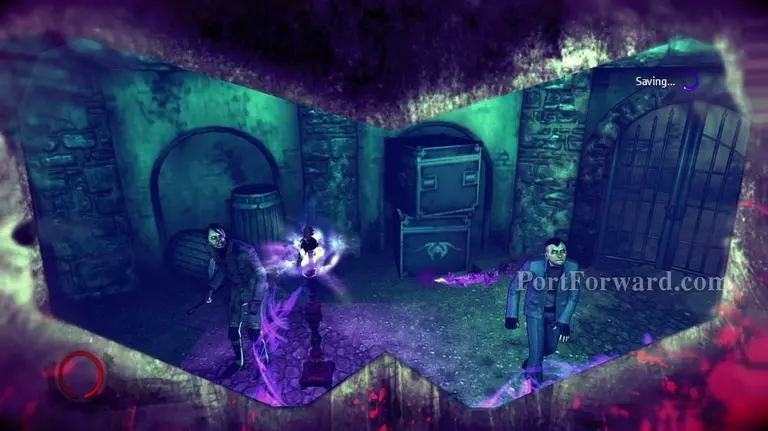
You'll get sent back into reality while you're still in the iron-maiden, locked up.
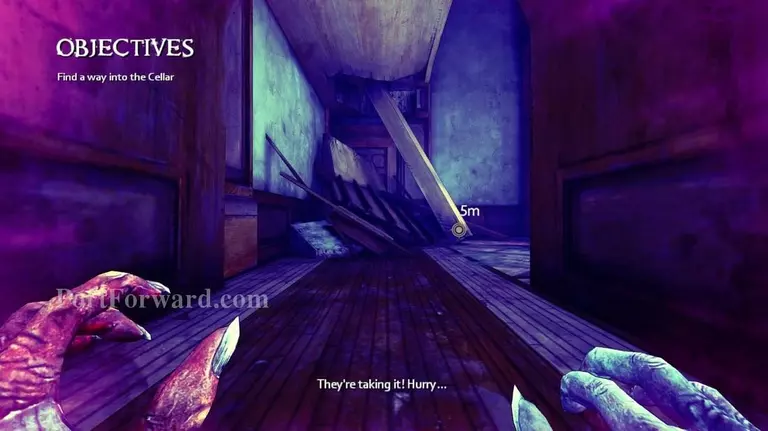
Once in control of your companion, find your way to the cellar.
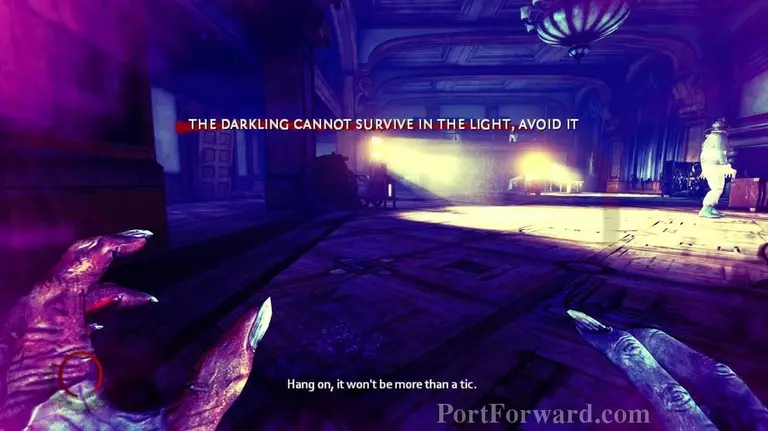
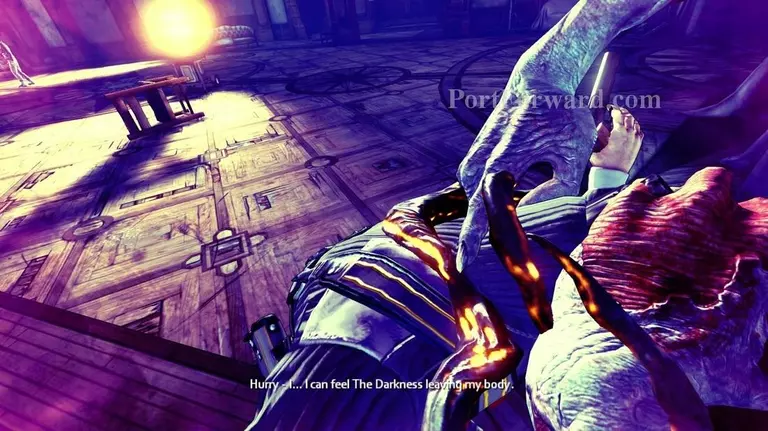
Avoid the light as usual and stay in the shadows.
Tear out some throats on your way to get some extra essence while eliminating potential threats.
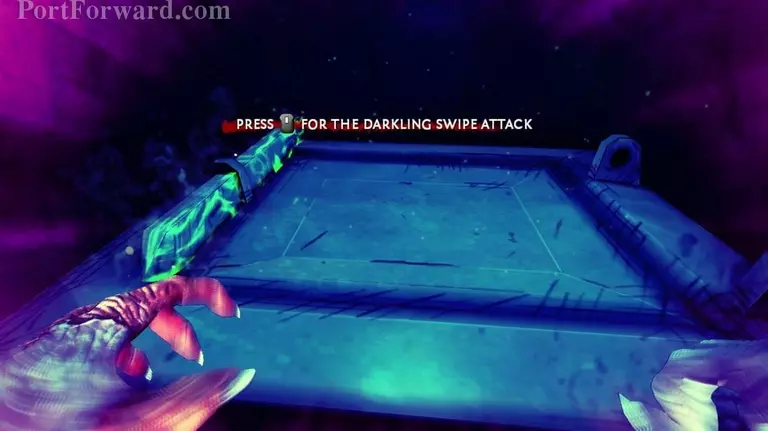
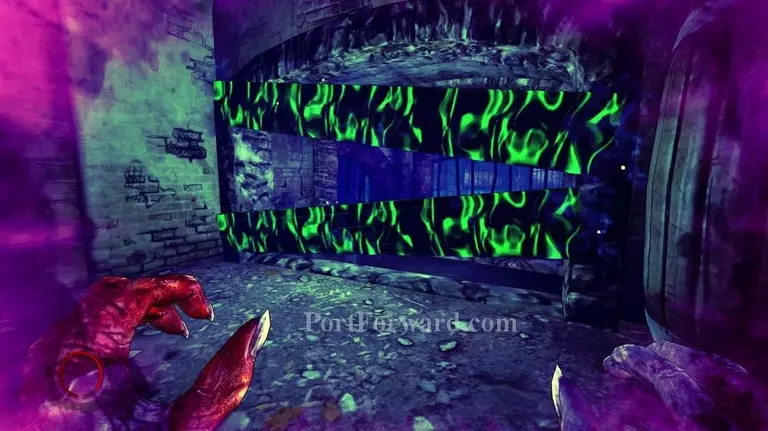
Get into the fire-place and destroy the blockade for the shuttle.
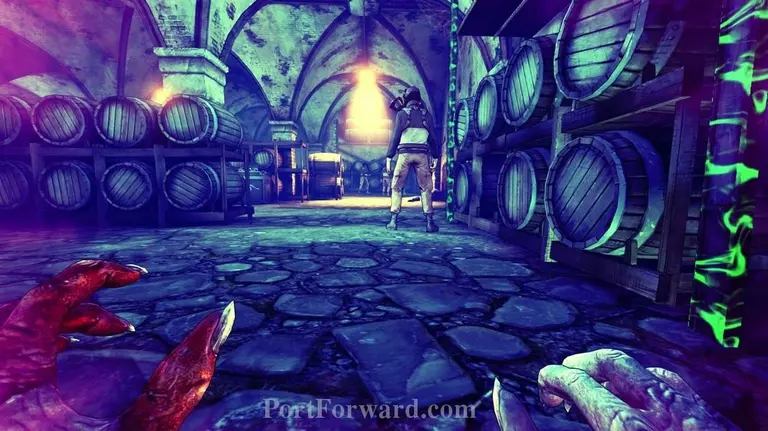
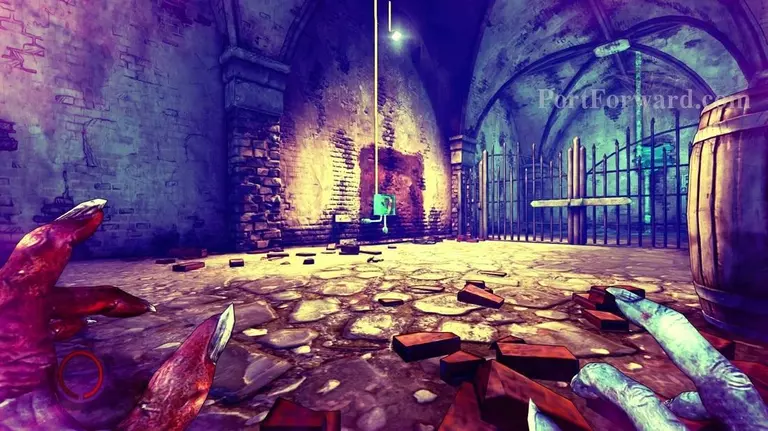
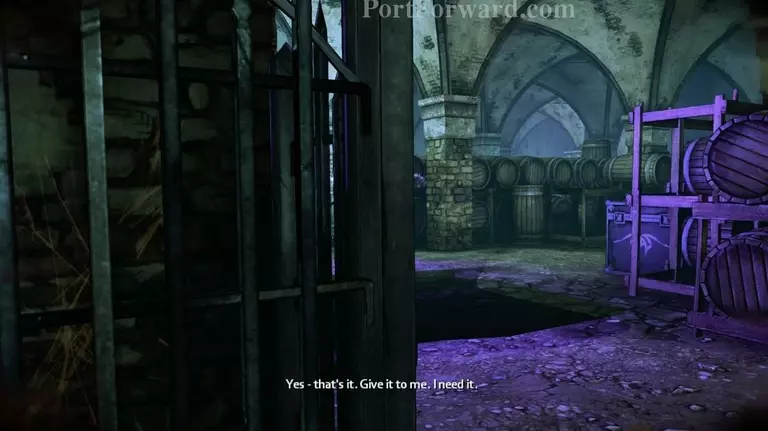
Once in the cellar, crawl through the gates and into the wine storage.
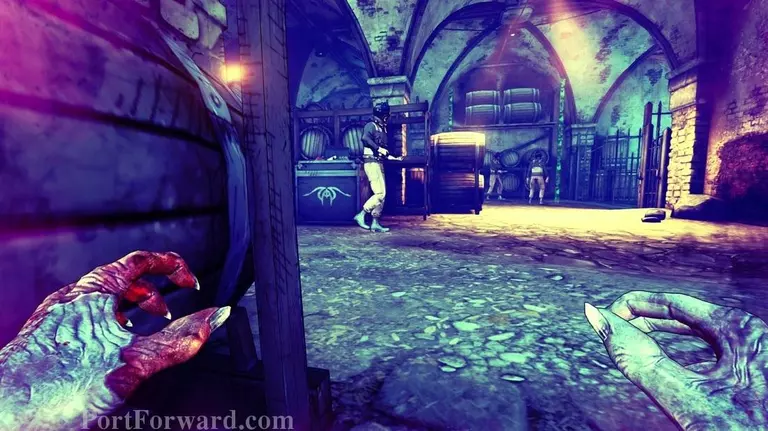
Be patient and watch the patrolling paths. Rip any throats you can while working your way forward.
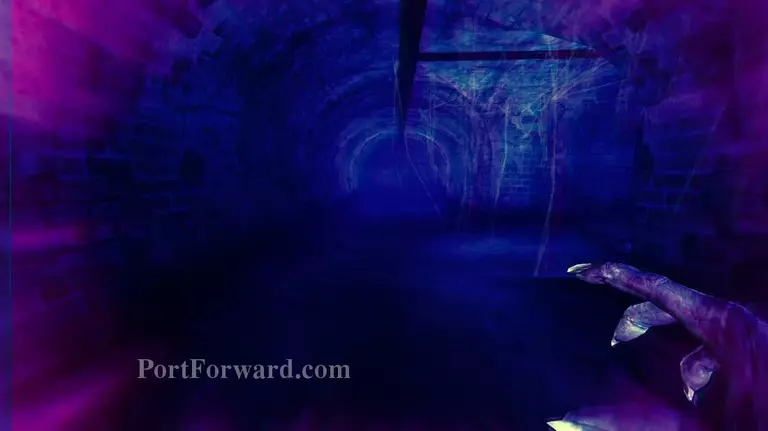
Get into the tunnels whenever you can. They are always safe and help you get into other parts of the cellars.
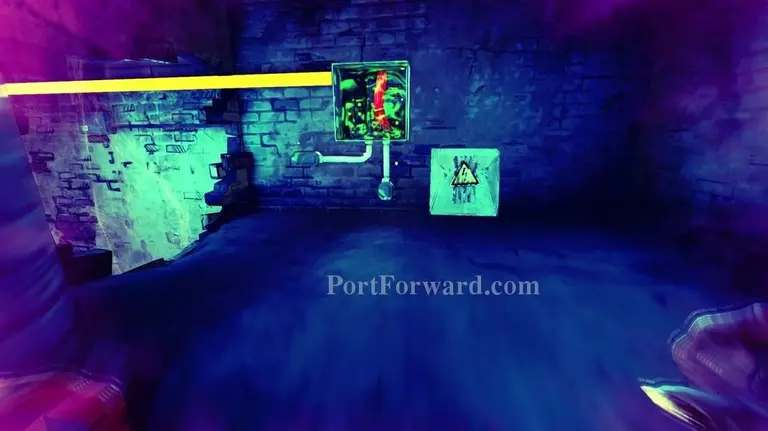
You'll come across a malfunctioning lightsource. Wait for it to go dark before running in and destroying the electrical box.

Keep destroying whatever is in your way and push onwards. Remembering the enviroment at this stage may be benefactory later.
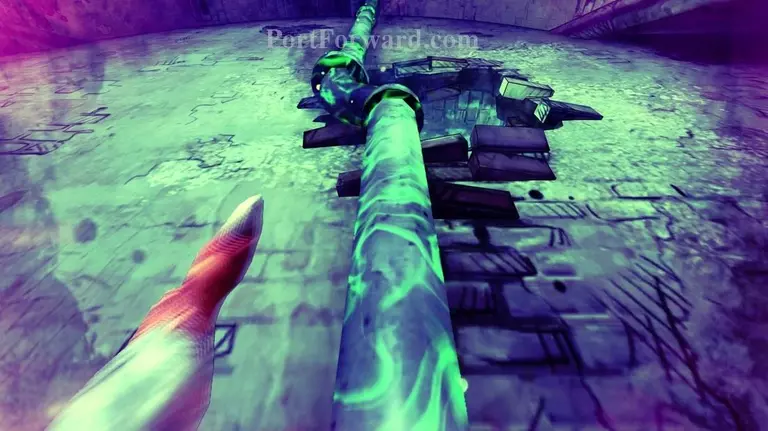
Climb up the nearby pipes and into the next tunnel.
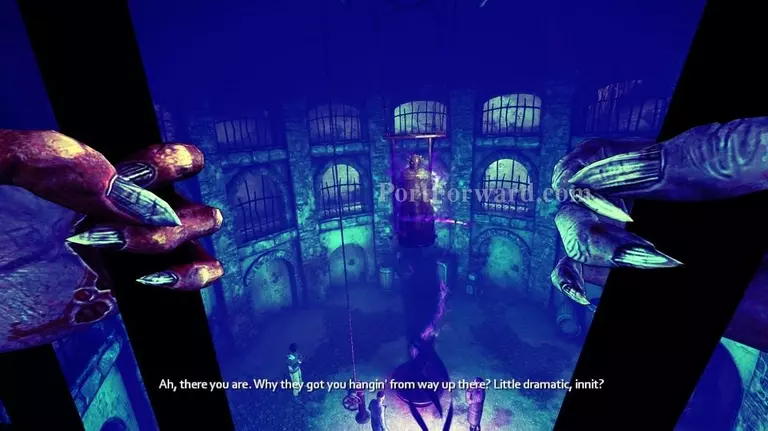
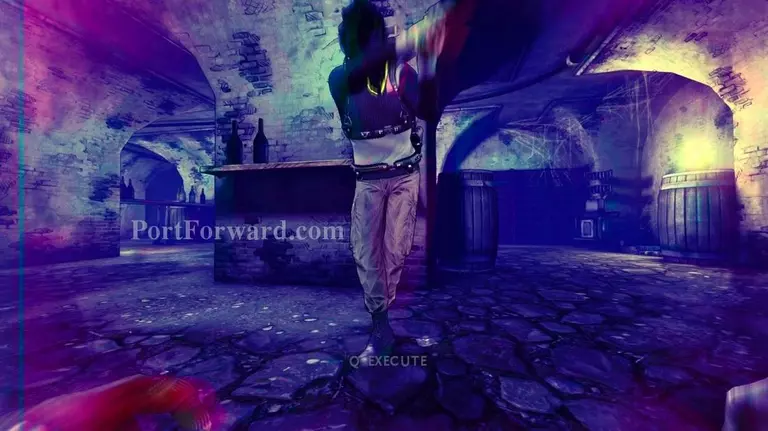
You'll eventually reach the main chamber where Jackie is being held. Now work yourself downwards.
If enemies spot you, swipe your claws at their knees then execute them by crawling up ontop and crusing their eye-sockets with the (E) button.
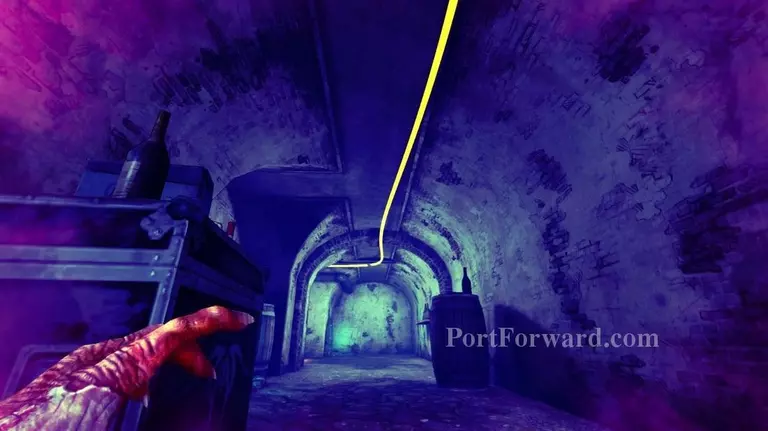
Avoid the light ahead and follow the yellow cable in the roof.
Once at the end, you'll find an electrical box. Destroy it. and watch the cutscene.

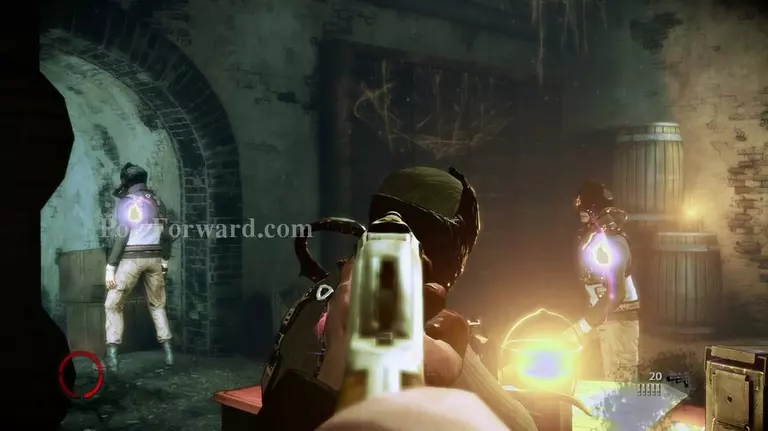
Back at controlling your companion, you'll need to jump down and face the arguably more daring light-cannon foes. They can put you into very tedious and fatal positions if they spot you, so make sure to take any out if you see them.
Having one or two enemy spot you is not catastrophic. Quickly dispose of them if it occurs.
Destroy the planks and proceed into the main chamber.
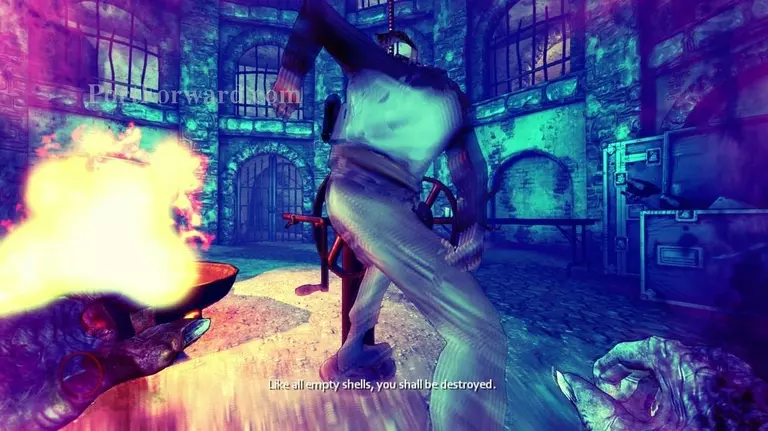
Kill the guard lowering Jackie down towards the flames.
After having your companion use invalid anatomy, head up the stairs and out from the chamber.
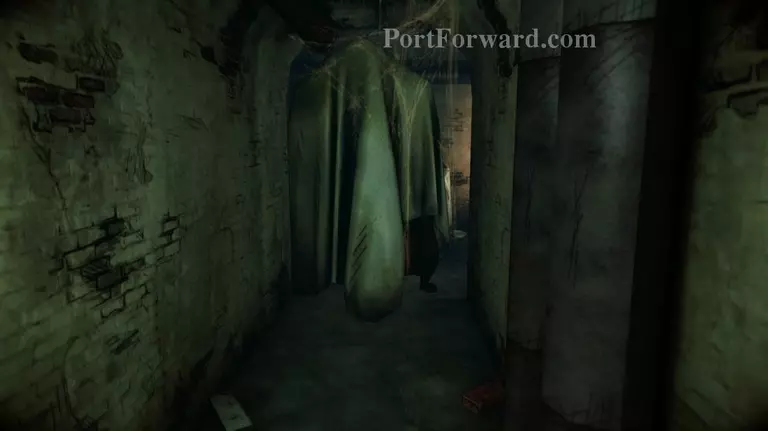
Stay out of sight and use the side-tunnels to get to your father's old study.
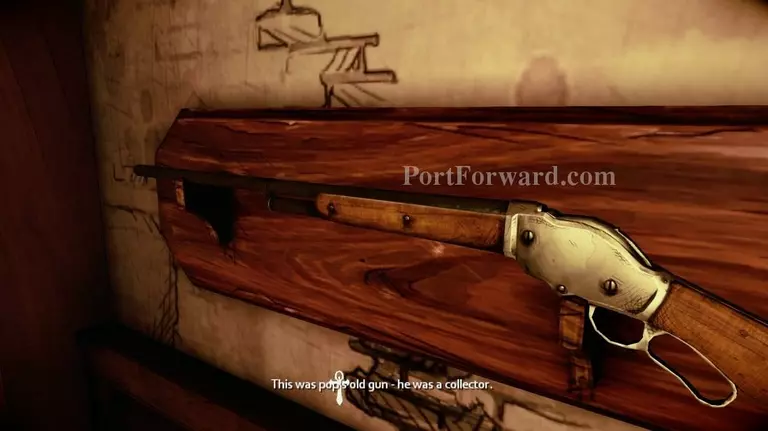
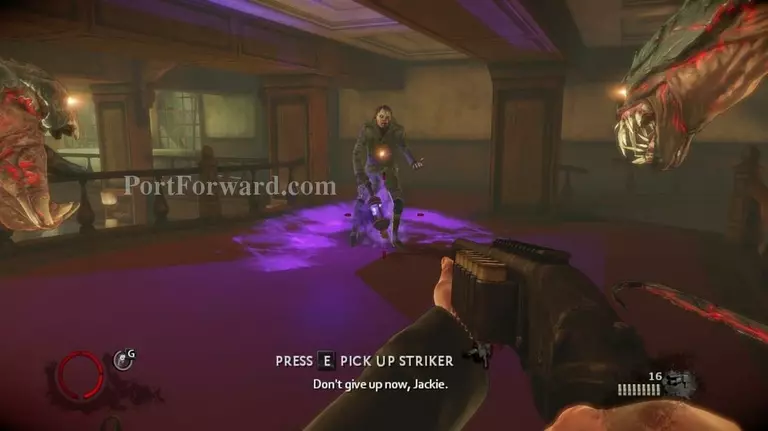
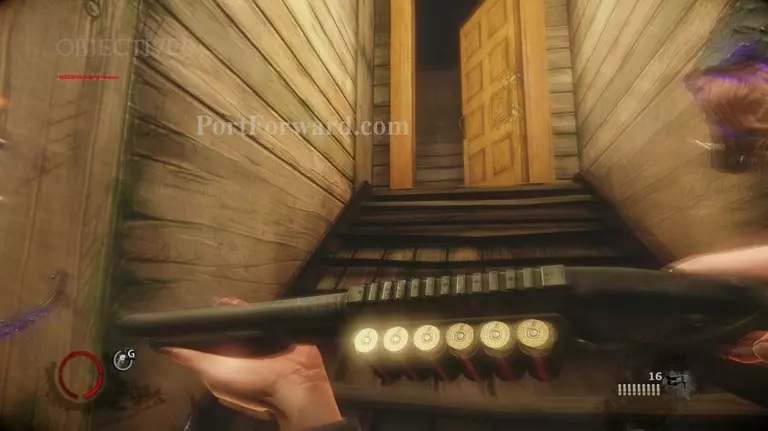
Grab the gun off the wall and the relic from the table and move out.
I recommend keeping this gun as long as possible, even if you run out of ammo. It's rather devastating against all foes.
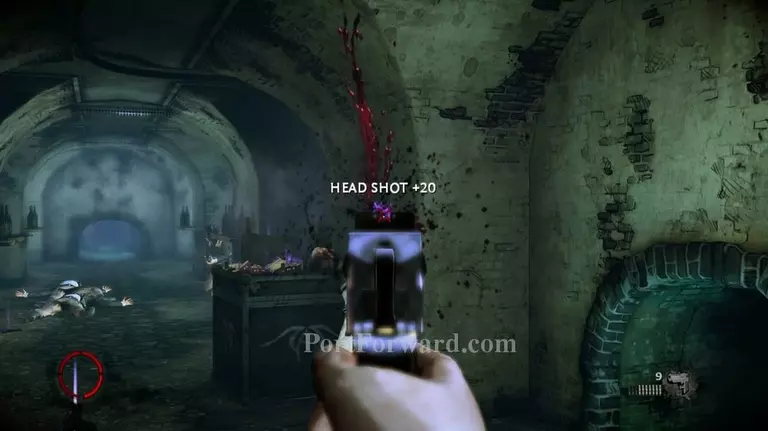
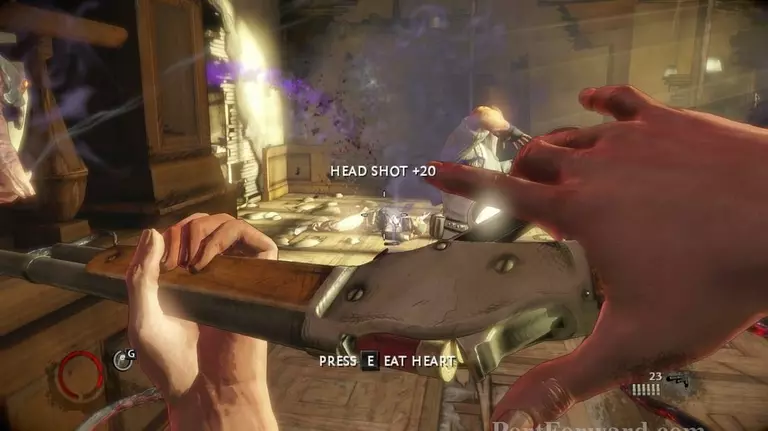
At this point, you currently don't have The Darkness inside of you. To compensate for your incoming lack of Essence and your ability to harvest hearts/execute foes, I heavily recommend getting as many headshots as possible.
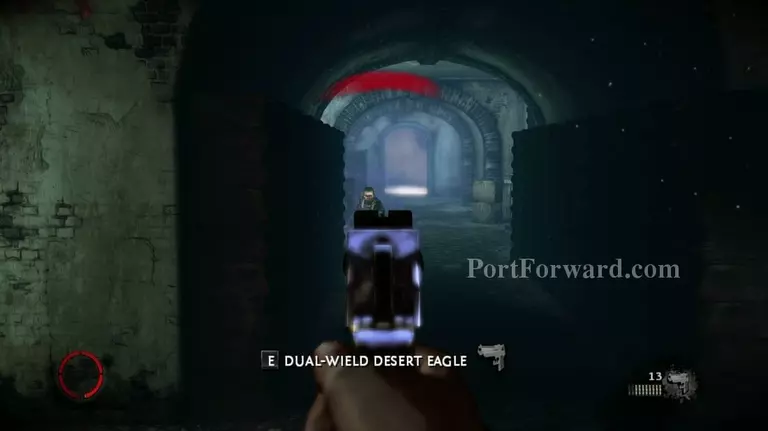
Getting dual-wield weapons is not a beneficiary thing here. You will have very scarce ammo and having 50% of them miss is not worth the additional fire-rate.
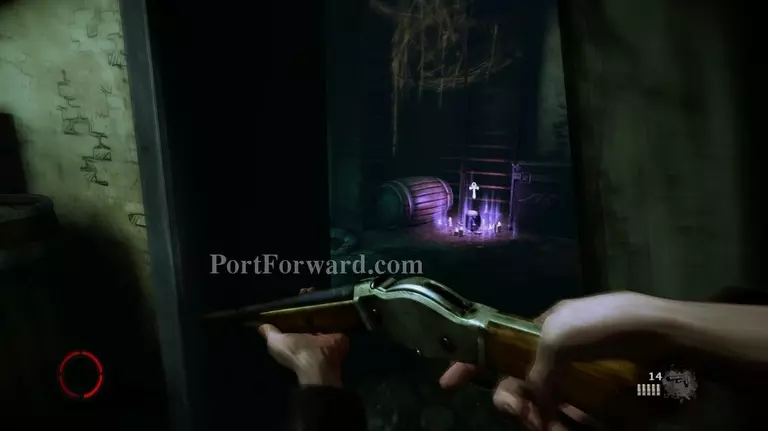
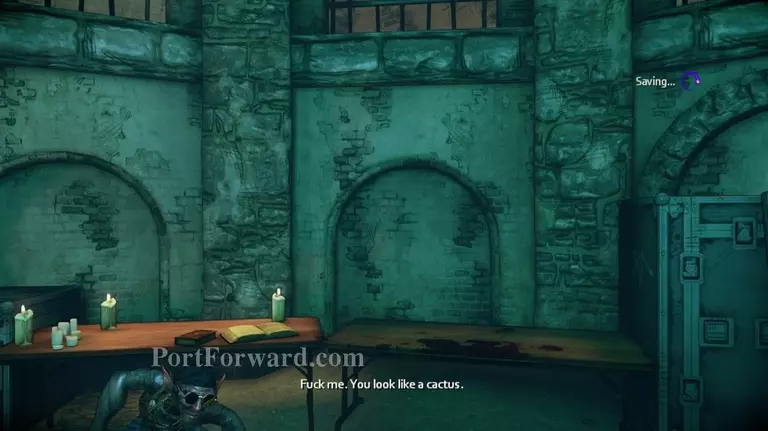
A relic will be nearby in a small room. Pick it up.
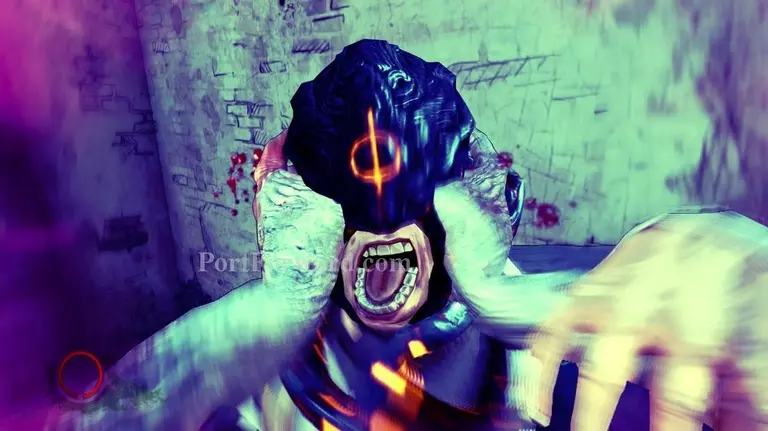
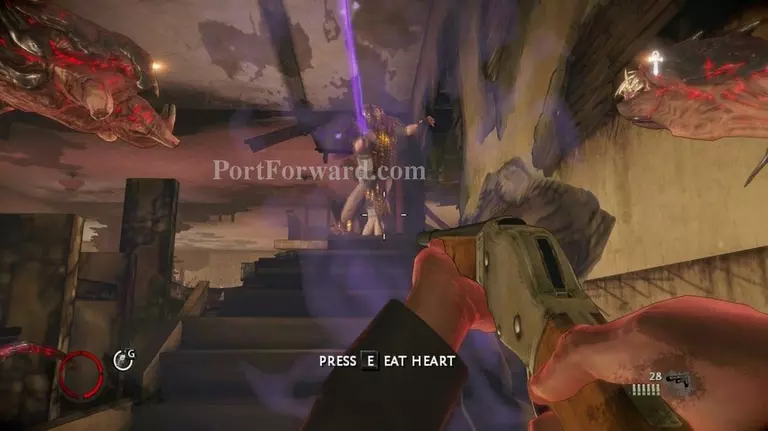
You'll eventually get thrown into another cutscene where you'll battle a rather weak boss named Peevish.
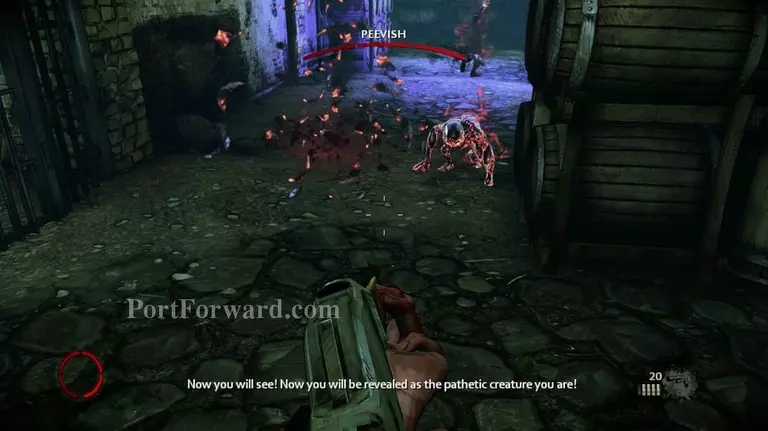
He will summon minions, much similar to your own companion. Kill them in quick succession.
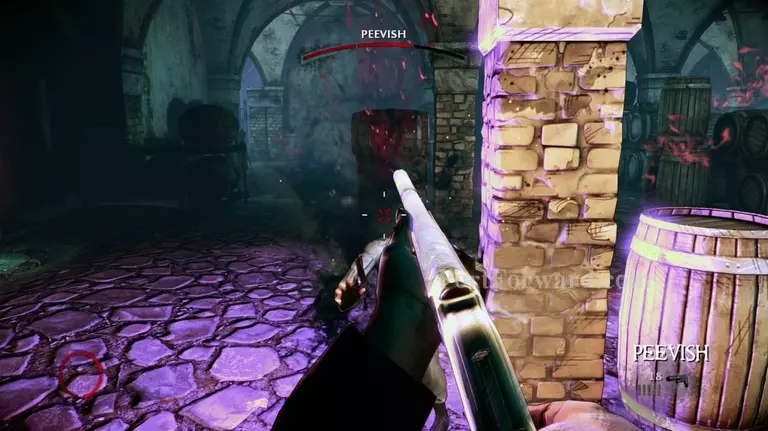
Once close, unhail your rounds into the boss and watch his health fly off.
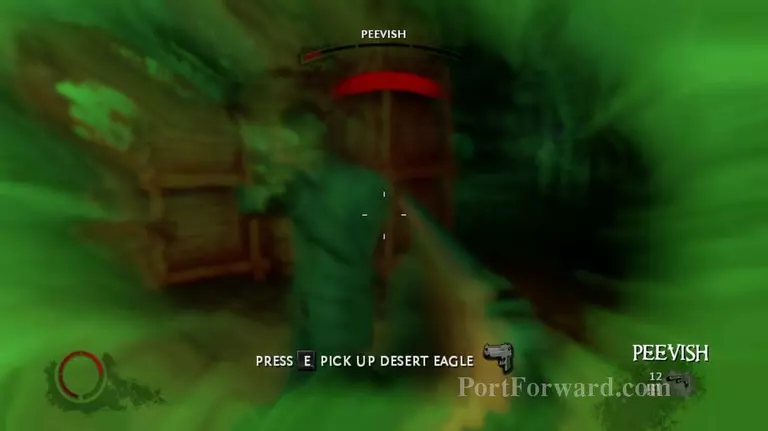
Most of his attack is green vision annoyance if anything. Simply keep blowing his health away until he drops dead.
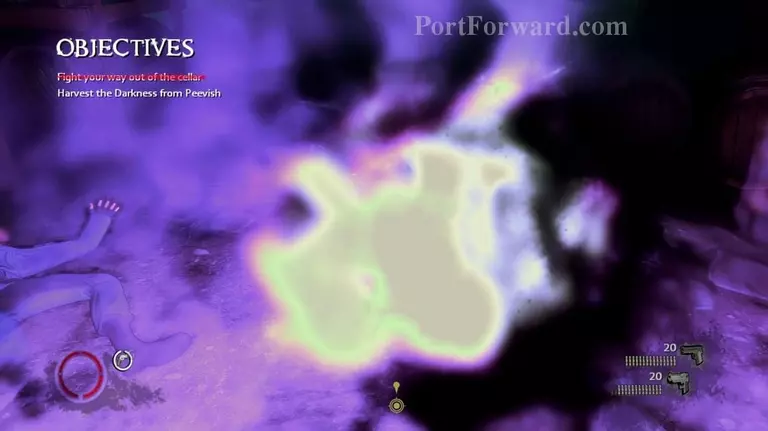
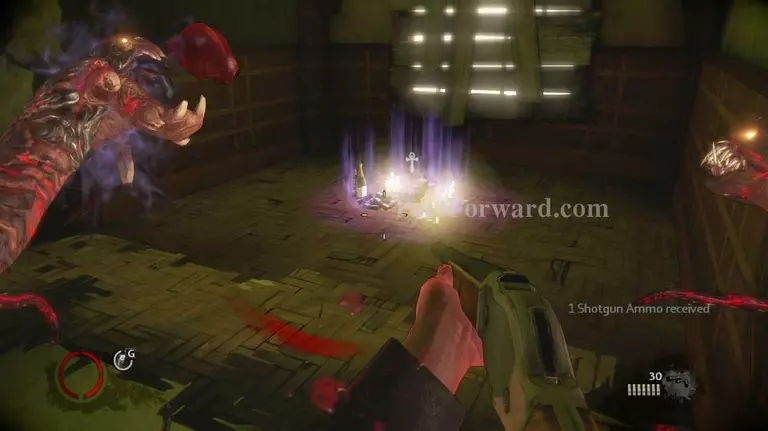
Once he's down, harvest his darkness and you will have your powers back.
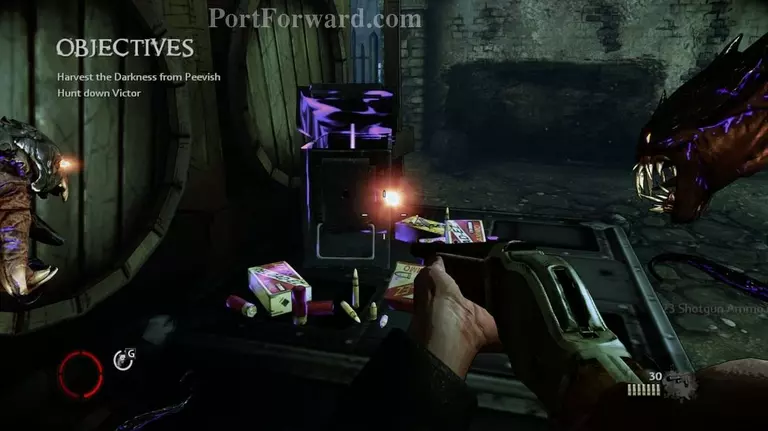
Don't forget to get some ammo before you leave for Victor. Long battle ahead.
After destroying a gate, you'll be able to leave the cellar and into a classic mansion, Jackie's old home.
Picking up all those relics, you'll have plenty of essence at this point. Use it wisely for the upcoming battle.
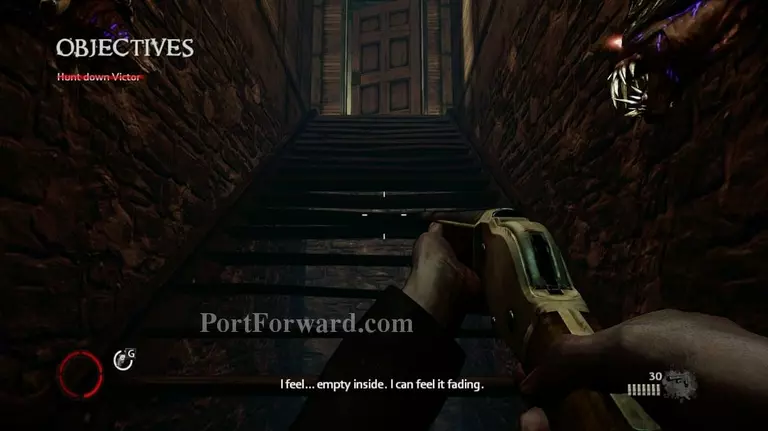
The level ahead will feature a fallen-down house, connecting several sequences of rooms through torn-down walls with holes in them.
After going up a few stairs, you'll notice them abruptly ending. Break the planks off to your right and enter the "secret" room.
Grab the relic..
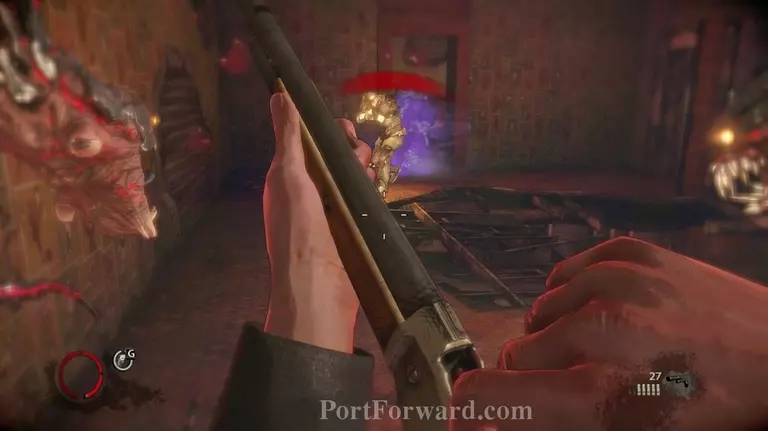
And keep wiping out the waves of enemies sent at you.
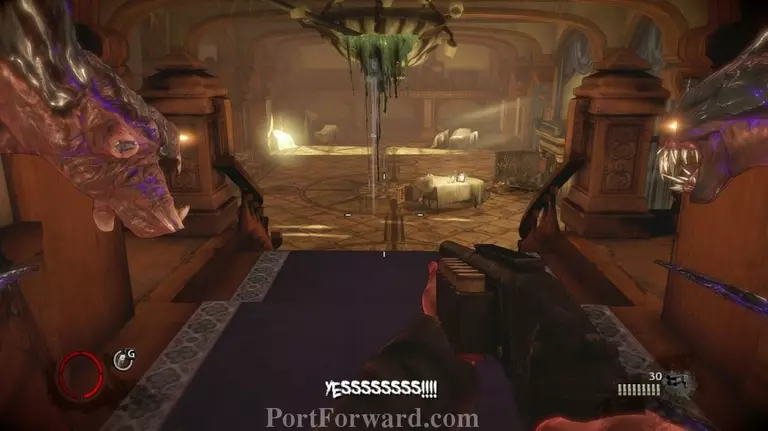
Once you've blown enough limbs off to fill a swimming pool with blood, you'll reach the grand hall.
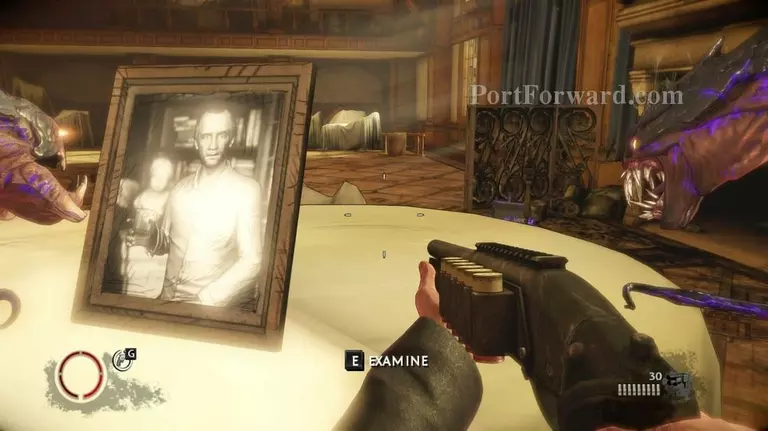
Interact with the photo at the middle of the hall and watch the cutscene.
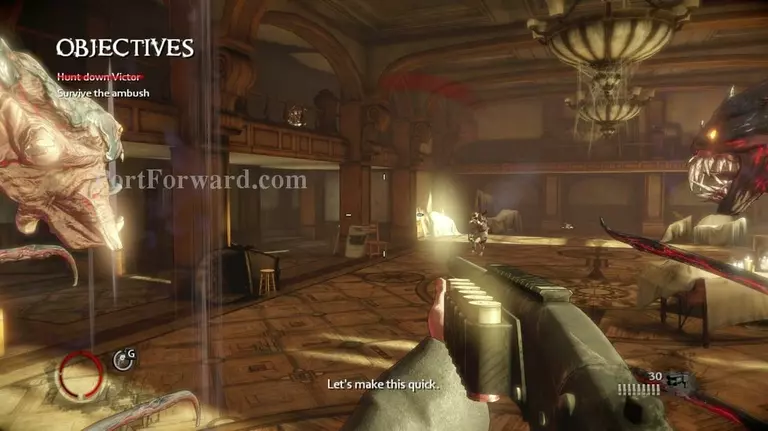
You will be thrown into a major ambush. Enemies will swarm like flies from every direction, wearing heavy ordnances, donned in armor and darkness.
Stand by the support beams and pick off any enemies at the same floor before peaking out to clear the ones above you. Keep a good eye on both your ammo and HP.
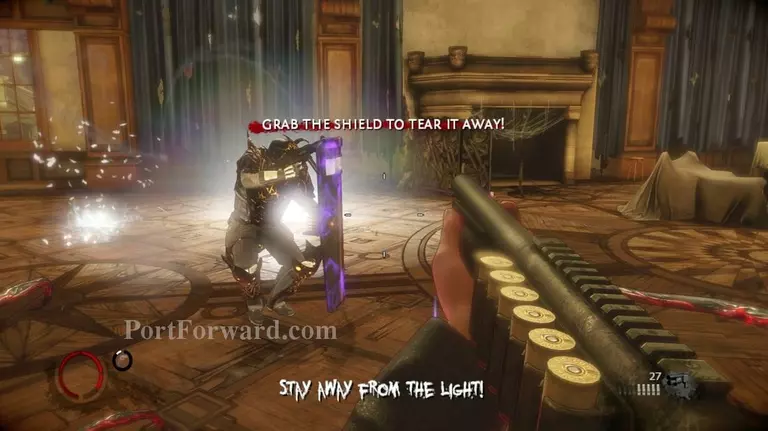
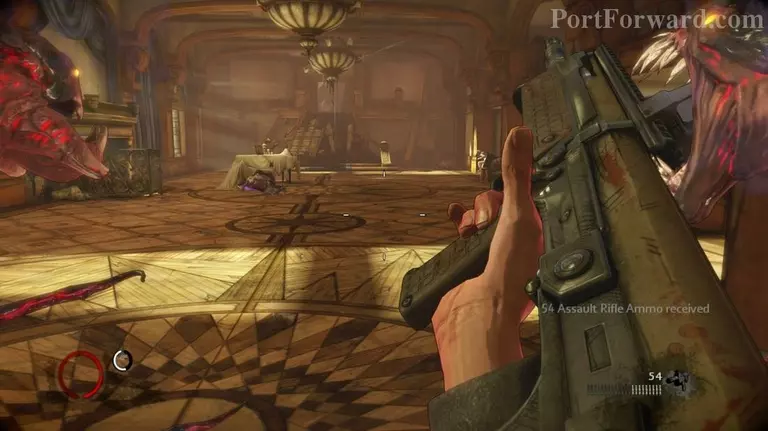
Shielders will soon enter the frame. Grab them quickly or get overwhelmed.
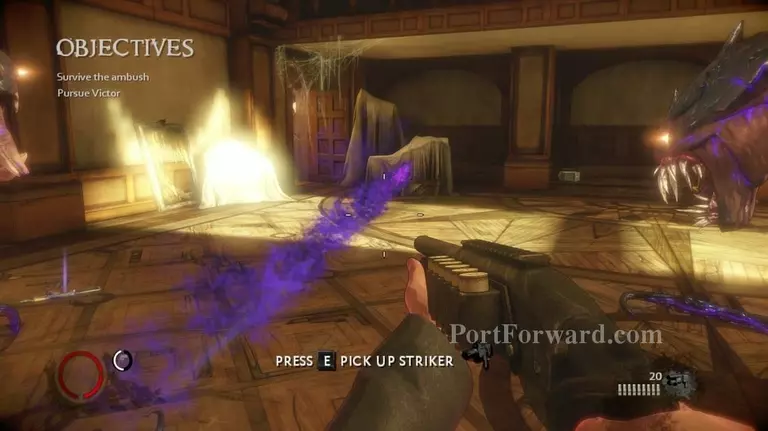
If you run out of ammo at some point, simply pick up a new gun from the floor. The ground should be littered with them at this point.
Eventually, the enemies will stop coming and a door will open up in the corner. Go through it.
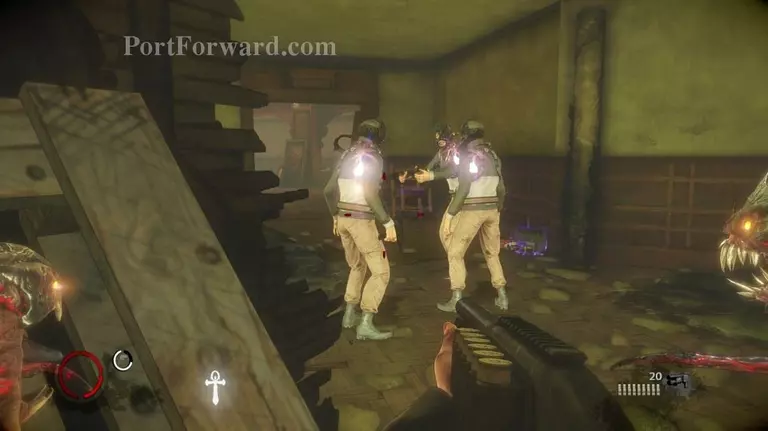
More enemies will be ahead. Take them out.
You'll also glance with the main antagonist now and then. Push on and follow his trail.
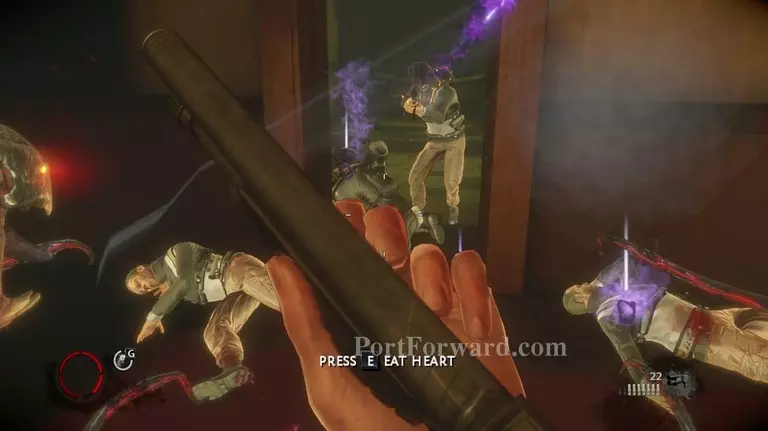
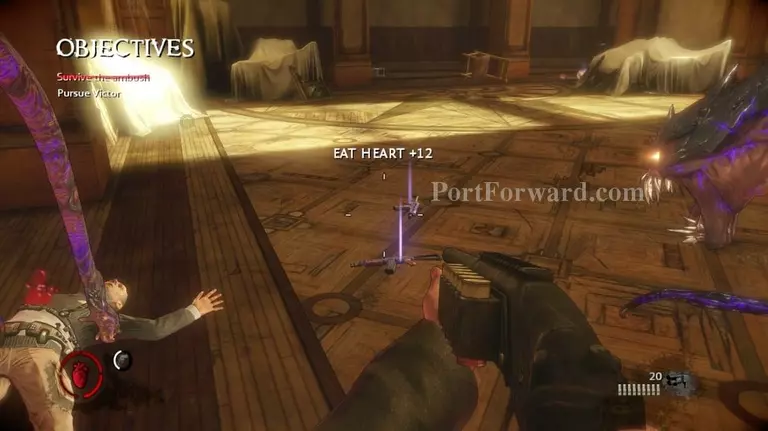
Enemies will continue swarming you the more you push on in close quarters. Having a shotgun and using it here is highly recommended.
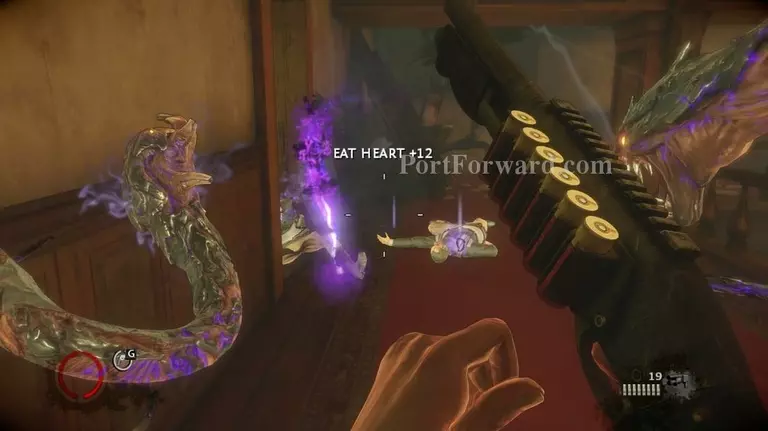
Don't forget to eat the hearts once you're done cleaning out a room.
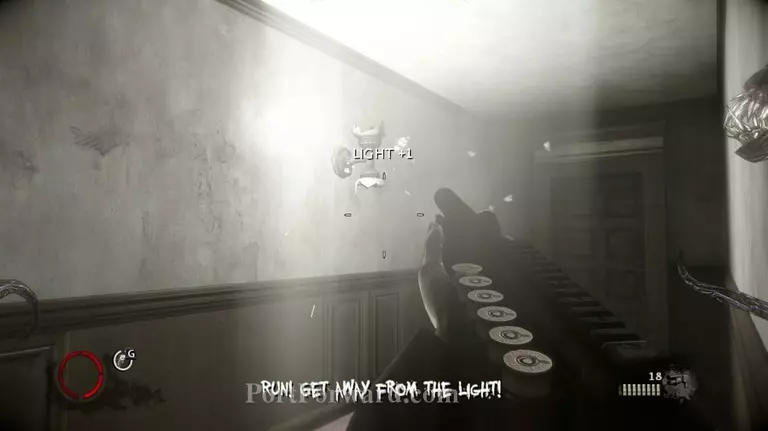
There will be some minor light puzzles ahead. You know what to do.
Keep going up towards the attic.
Once up, you'll come across a small refuelling station with ammo and an altar. Use them wisely.
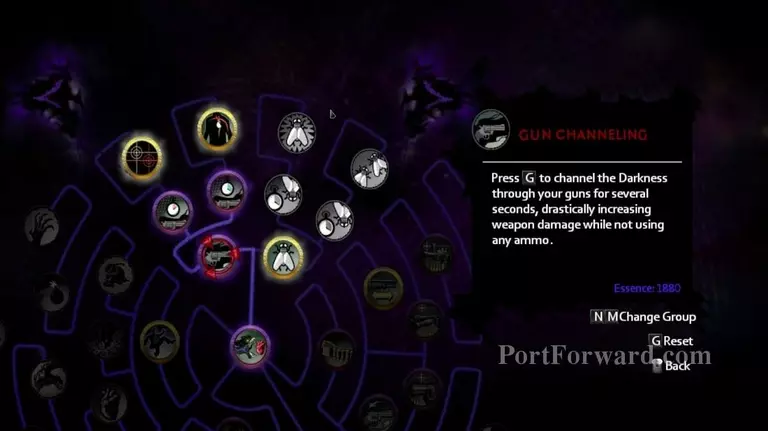
If you don't have Gun Channeling at this point, I highly recommend you get it for this segment along with it's updates. It greatly increases damage and makes your guns use no bullets.

Destroy the planks leading out to the main attic space.
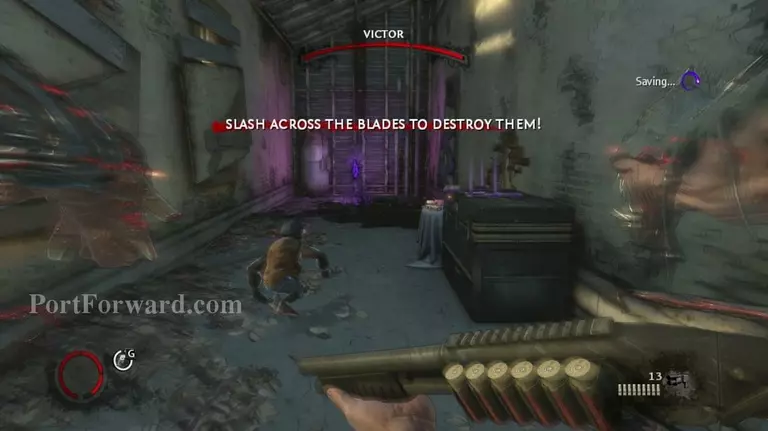
Here, you will battle the main antagonist to the death.
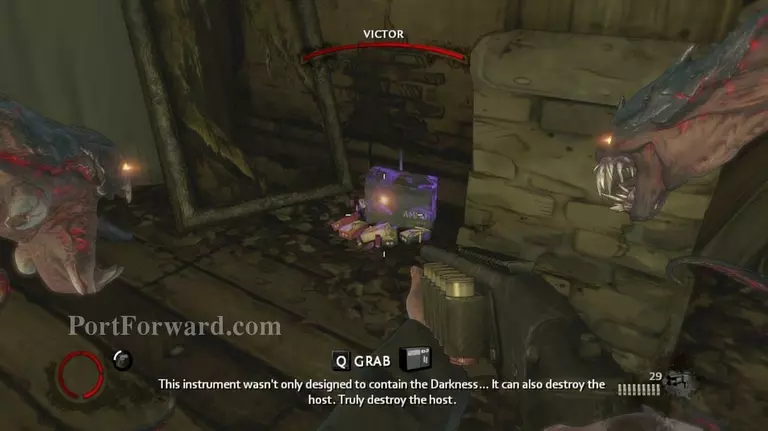
Remember the location of nearby ammo boxes as he gives you some backstory of the device he's holding.
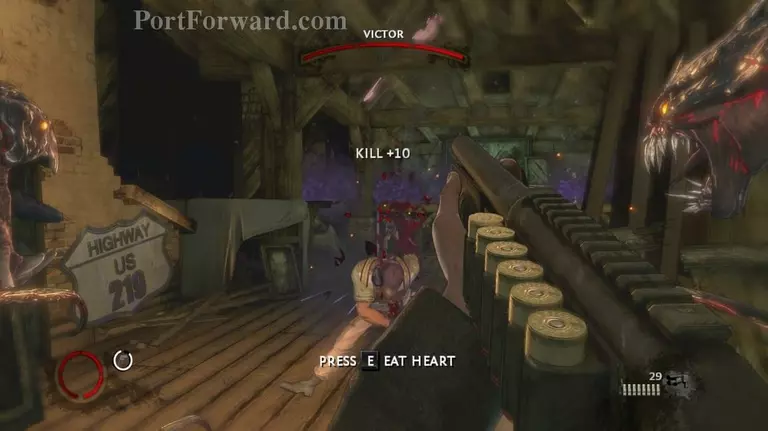
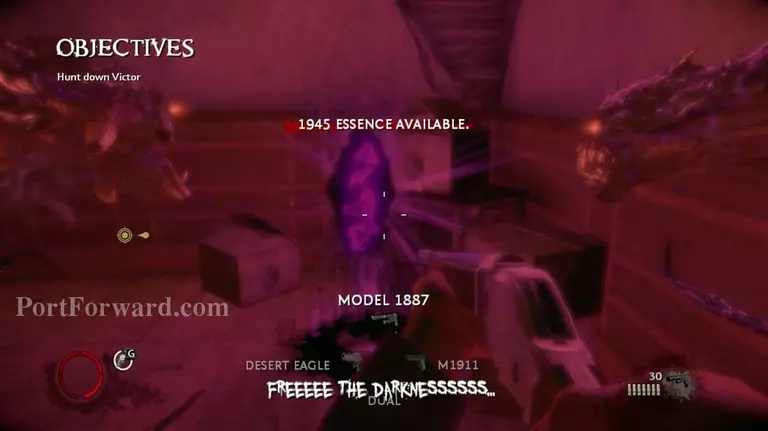
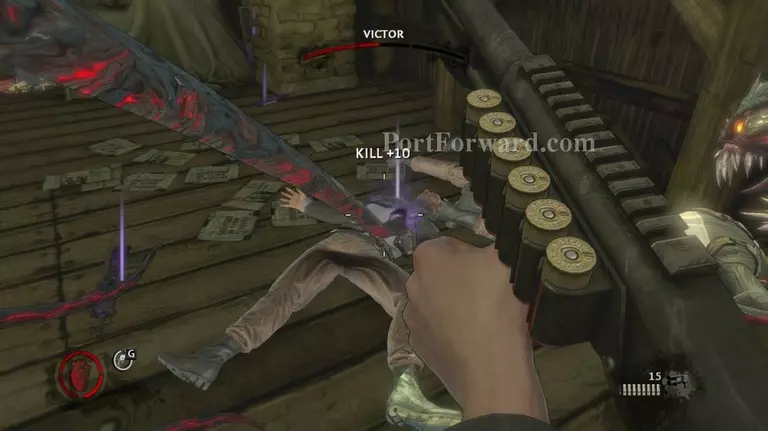
Once he finishes talking, swarms of darkness foes will rush you from most directions. The light here is nonexistant so skimrish to your heart's desire.
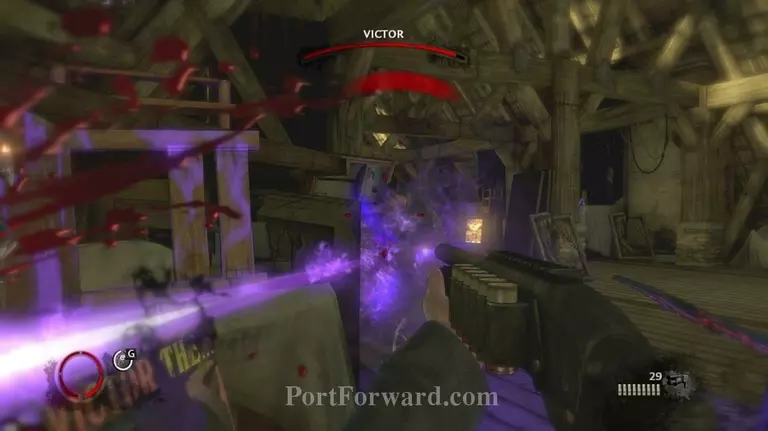
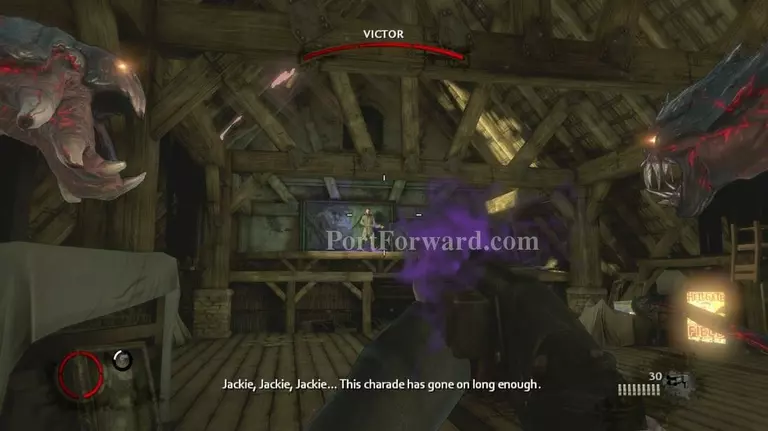
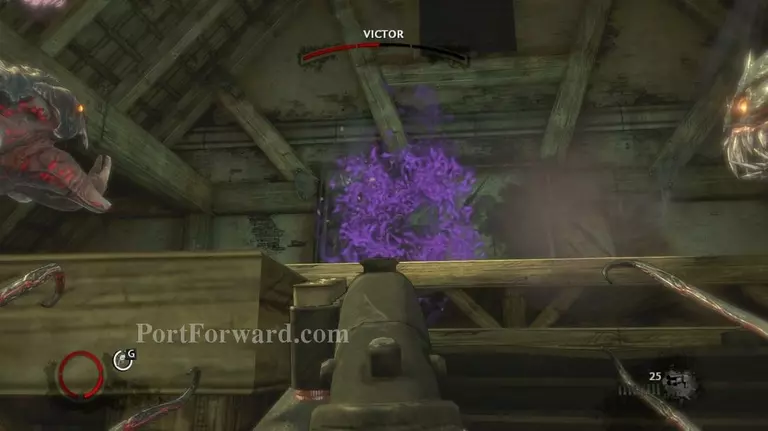
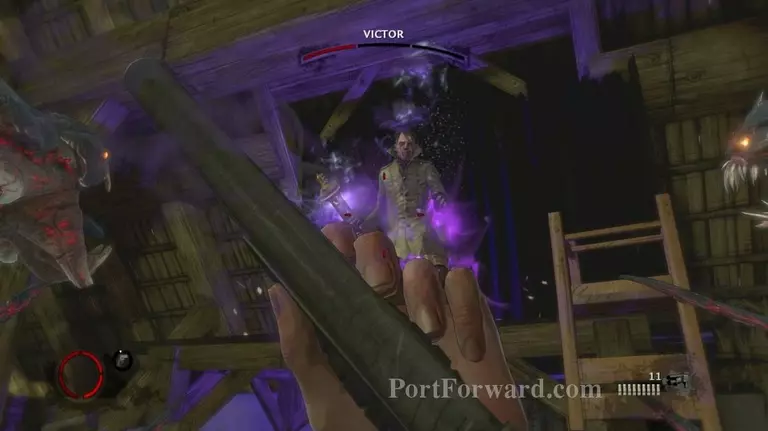
Once you have killed all the lesser enemies, Victor will show himself in the form of purple smoke and try to bombard you from a distance. Get up close and personal and blow him away with your shotgun.
Gun channeling at close range with a shotgun allows for insane damage. Use this for advantage as he segments repeatedly away into nothing to allow more swarms of underling to rush you.
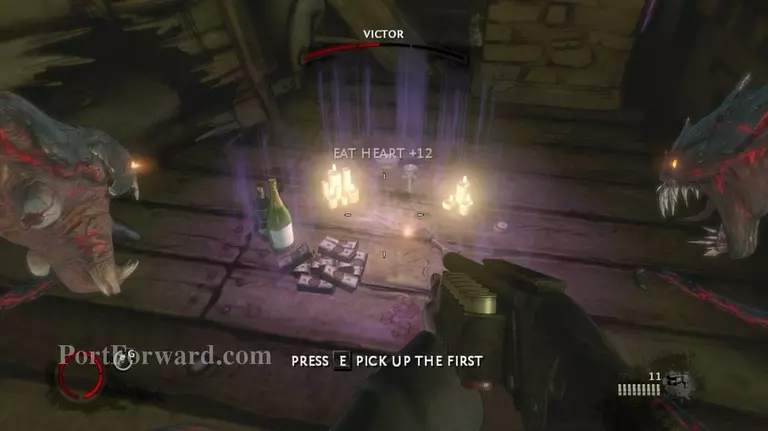
Don't forget to resupply on them using hitman executions, steal their weapons and eat their hearts.
There will also be a relic in the corner of the attic. Although not much use at this point.
He will often appear on one of the many platforms and will offer little challenge unless your difficulty is at max once you got his routine down..
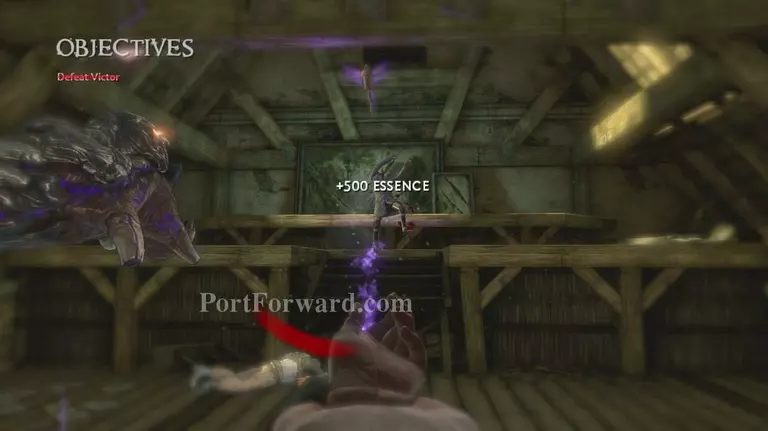
Eventually, he'll appear one final time at low HP. Blow him away and watch him fall followed by a cutscene.
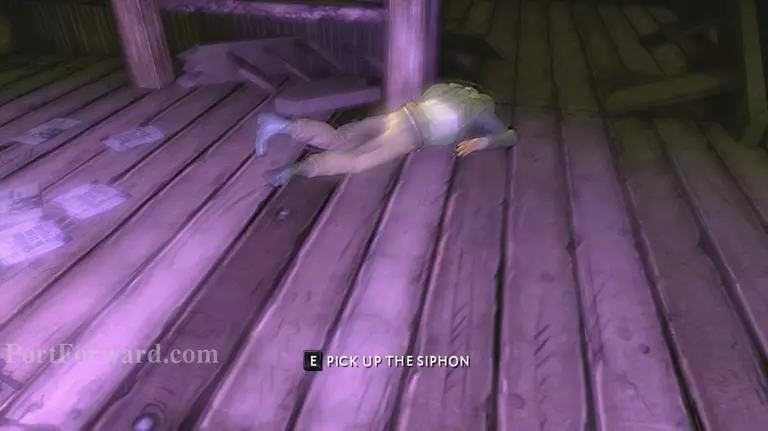
Pick up the much desired Siphon and finish the level.
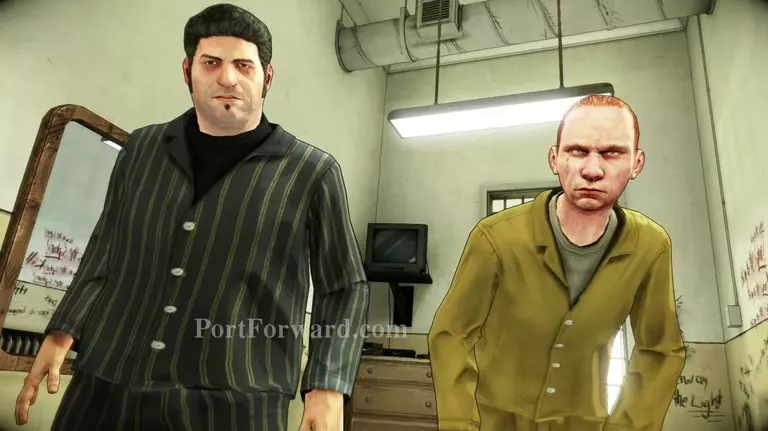
You will once again, be launched into the asylum.
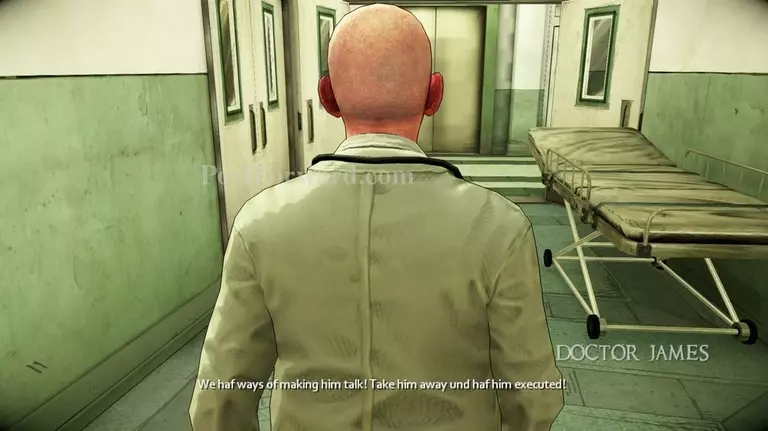
Watch the cutscene and follow the "doctor".
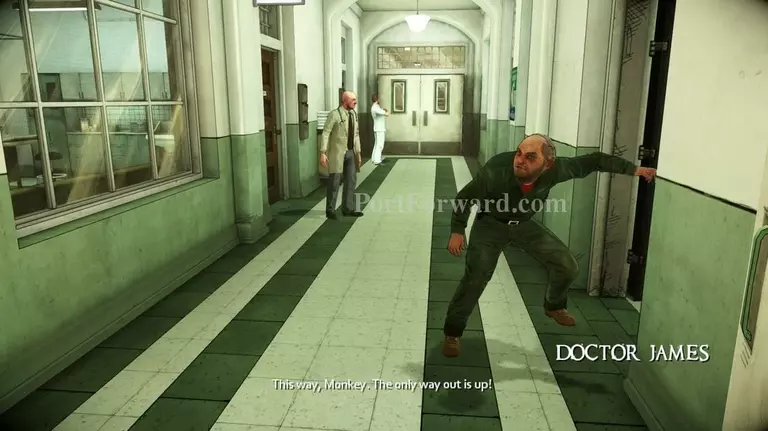
Once prompted, quickly run up with the "Janitor" (Your companion).

Eventually, you'll reach the ledge of the roof. Watch the rest of the cutscene.
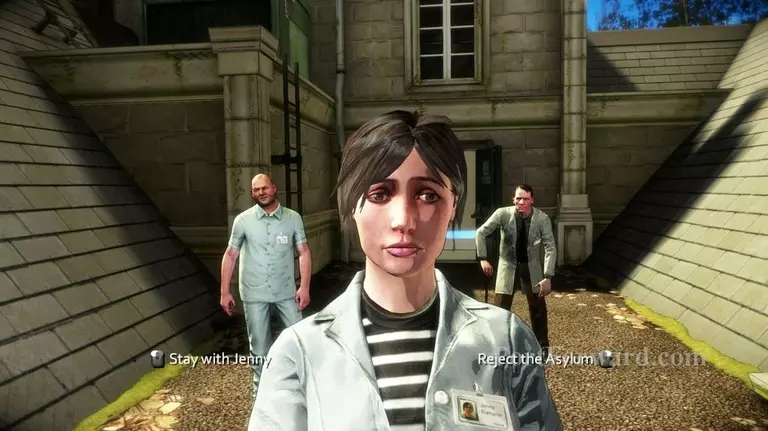
After some social-engineering attempts by the "Staff", you'll eventually get prompted to either stay or reject the alternative reality. It being fake, reject it and proceed back into reality by jumping off the building.
More The Darkness II Walkthroughs
This The Darkness II walkthrough is divided into 8 total pages.


