
This The Darkness II walkthrough is divided into 8 total pages.
You can jump to nearby pages of the game using the links above.
Uninvited Guests
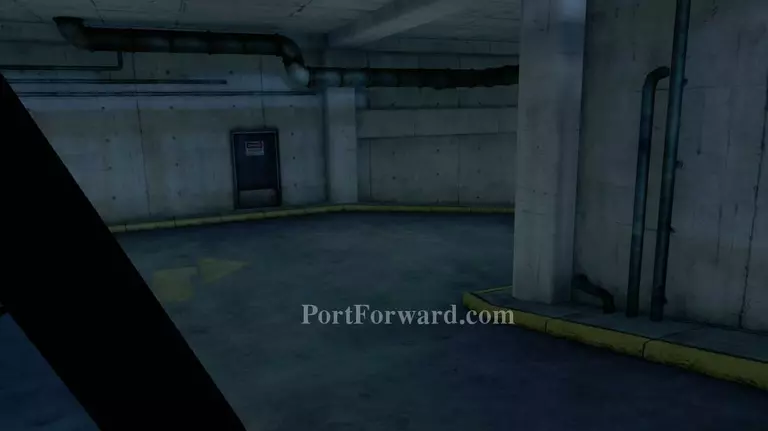
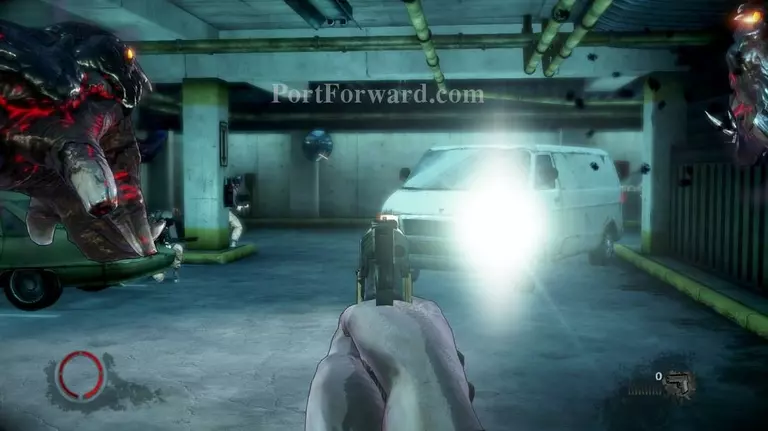
You will arrive at a parking garage. Go up ahead and take the ammo pile behind the van, you're gonna need it.
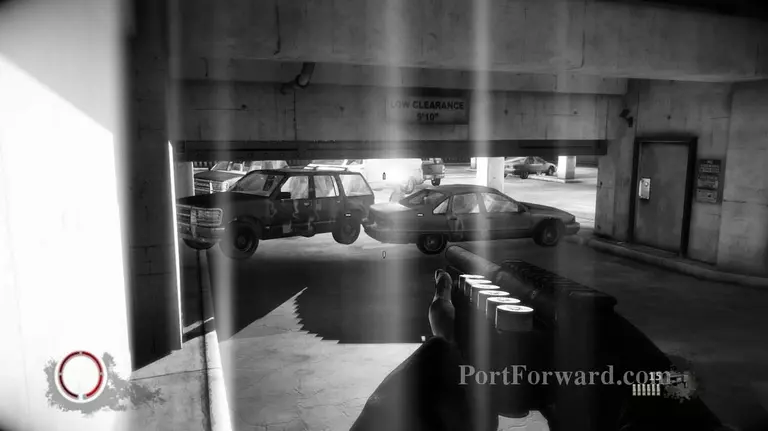
A few feet ahead you'll also come across a VERY bright parking lot.
Enemies will be wielding a sort of "light cannon" in the form of a gigantic flashlight. Get close and destroy them before getting through the door to your right..
Shrine ahead. Use as needed.
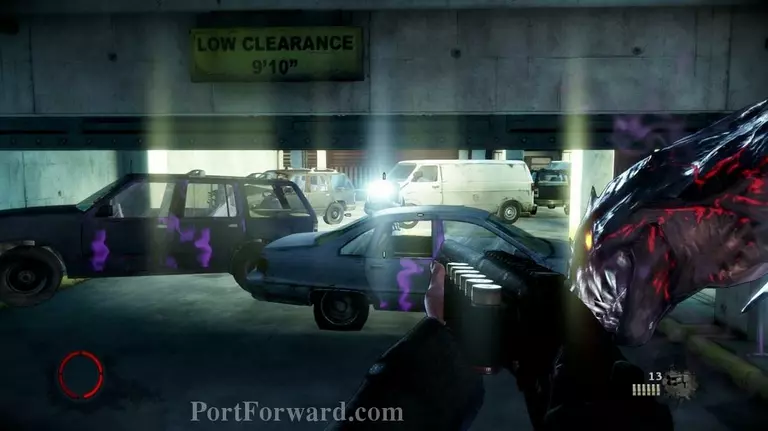
You'll come across more enemies in the parking lot along with very bright headlights on nearby cars. Take them out.
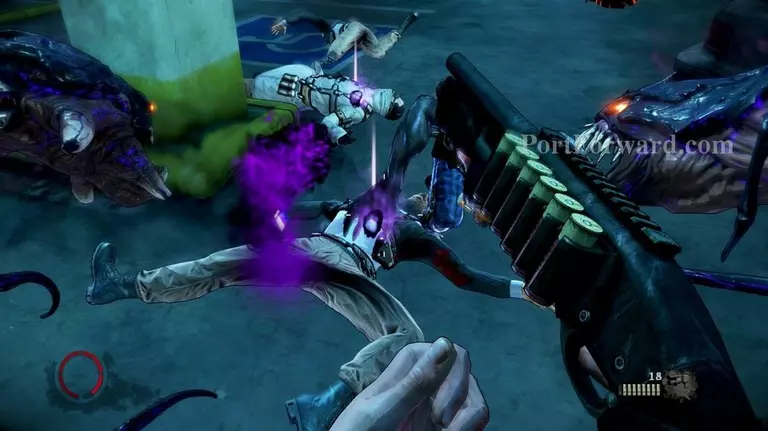
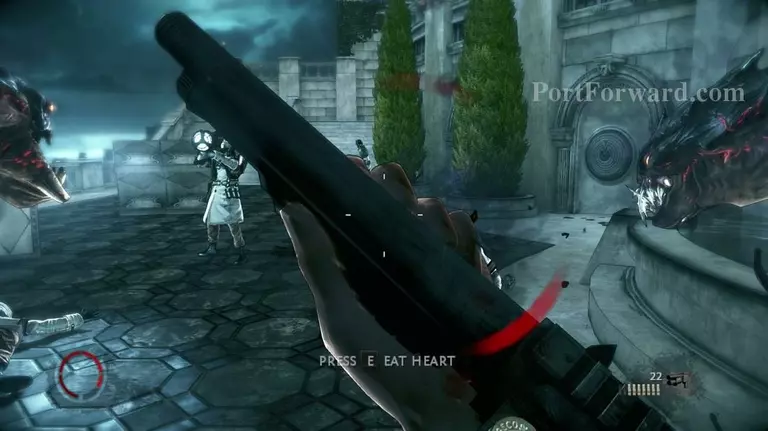
Simply shooting enemies to bits is never recommended due to the loss of skill-points but at these kind of levels, it is often necessary due to your darkness being turned off a major portion of the time. Eat the heart afterwards to cut your losses short.
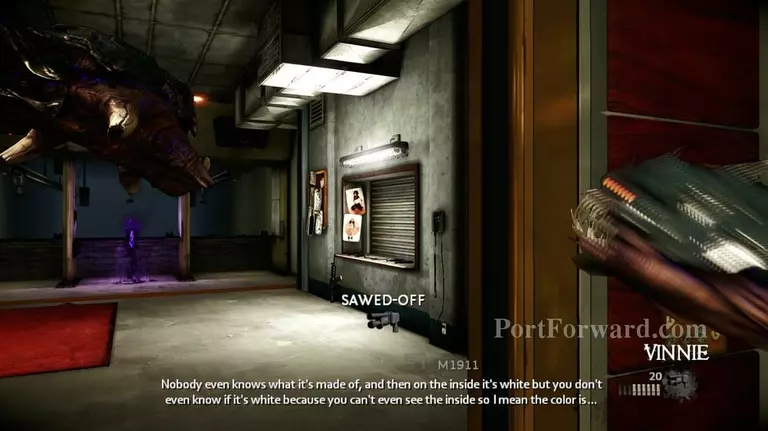
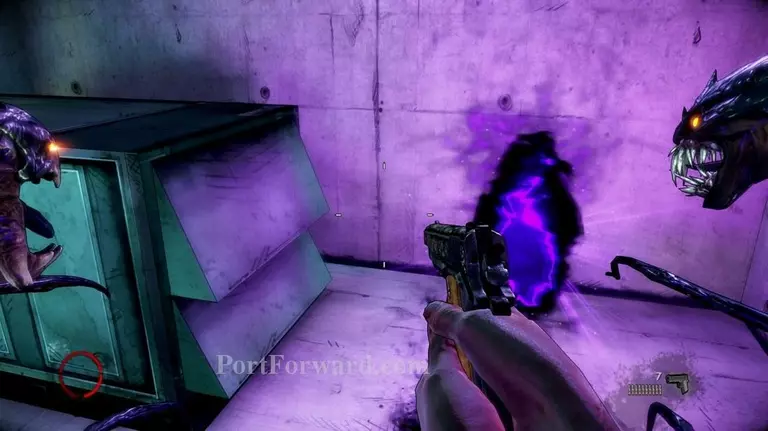
Take the elevator up and proceed through the rest of the building with a shrine up ahead.
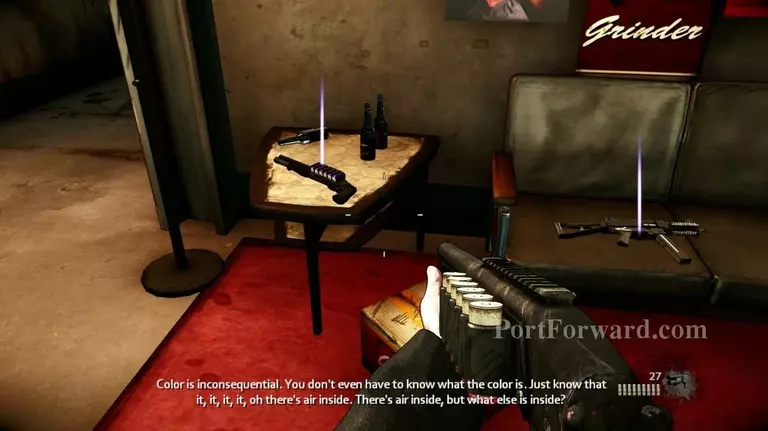
Weapons will be close at hand. Pick them up.
You'll eventually reach the roof of the building where "The Brotherhood" will be swarming, heavily armored with several light-cannons, darkness units and heavy weaponry. Prioritize your targets.

Don't forget to take cover from the light occasionally and eat nearby hearts for HP.
You'll be treated with most of the weapons in the game, including UMP's, revolvers and desert eagles.
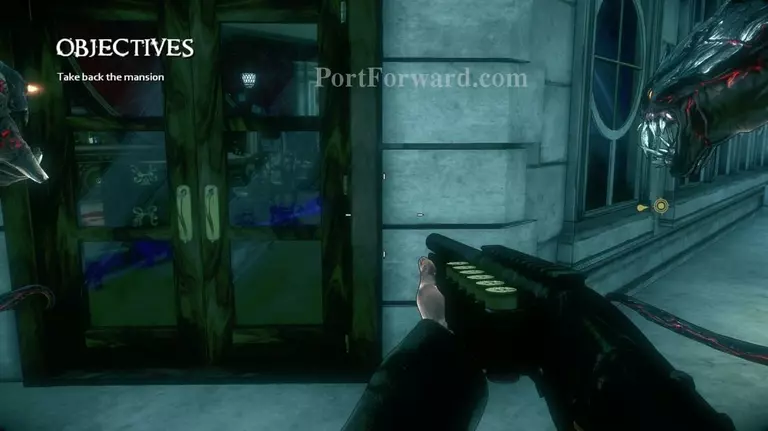
You'll eventually reach a balcony door. Sometimes, you will get stuck on this part because all of the previous enemies are not dead. If this is the case, go back and kill any remnants to proceed further.
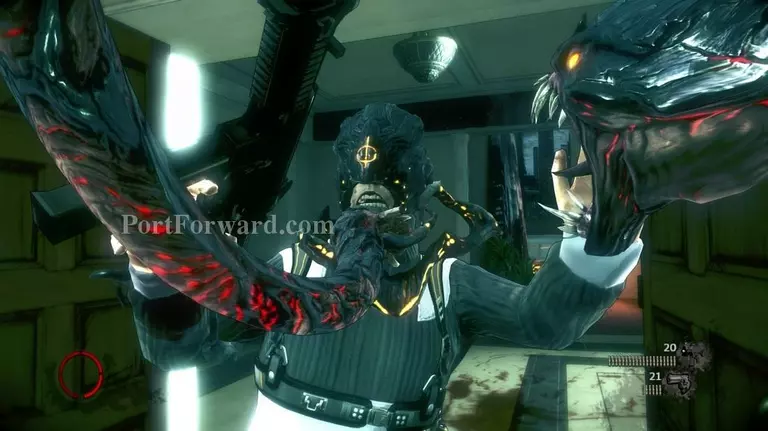
Once done, a darkness unit will crash through the door, opening it for you.
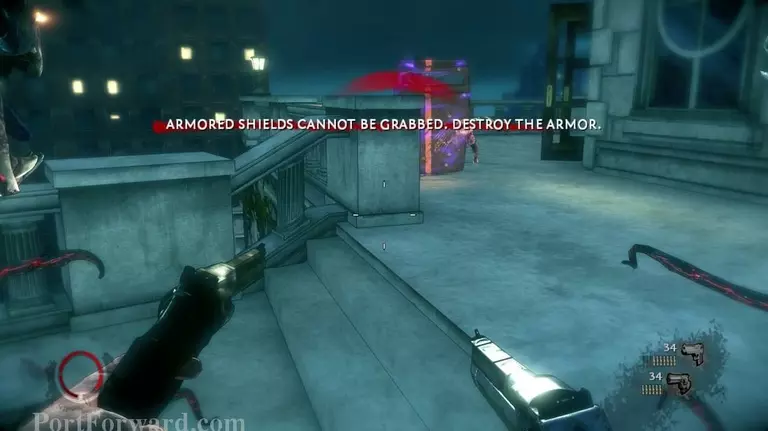
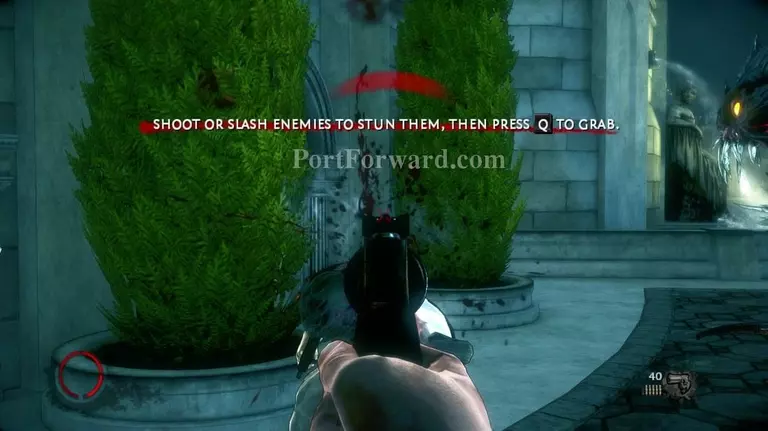
You'll also come across shield-wielding units. If they are darkness infused, shoot them until they become "regular" riot shields. Once they are in the state like in this picture, grab hold of them using Q and rip them away from the enemies.
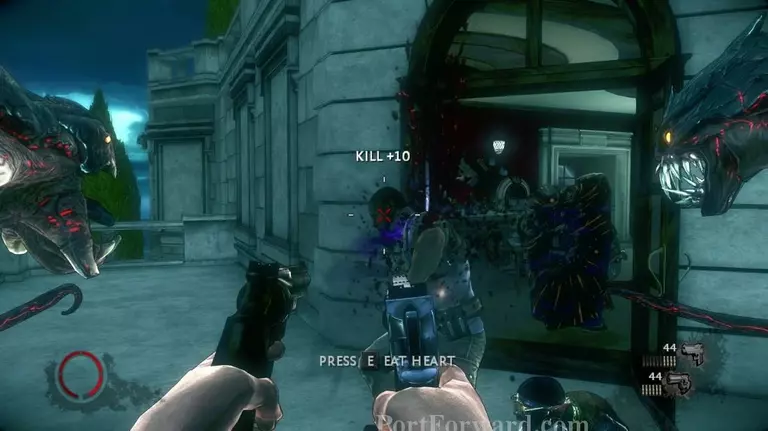
Proceed further in and execute enemies as you go. Ammo is extremely scarce so use the Hitman Execution when you can.
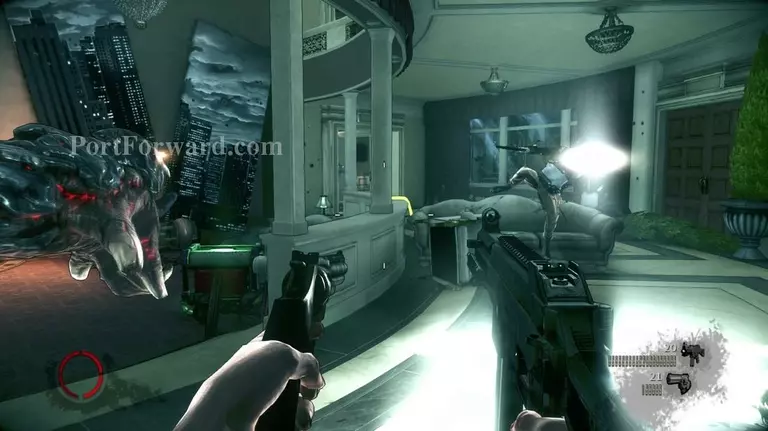
Expect multiple darkness enemies and light-cannons inside.
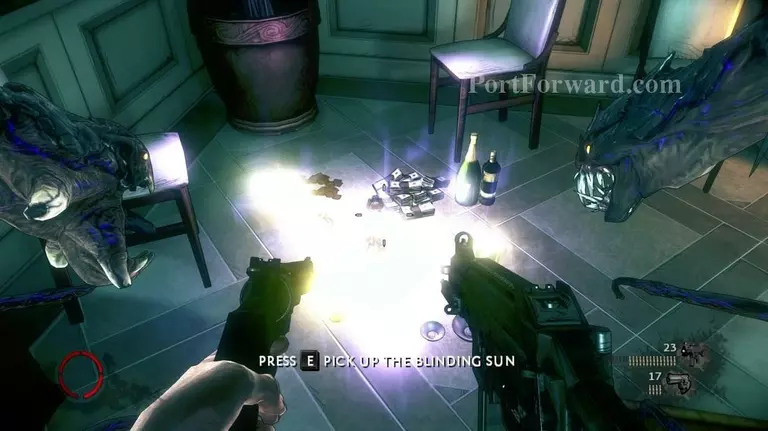
A relic will also be nearby around half-way in. Pick it up.
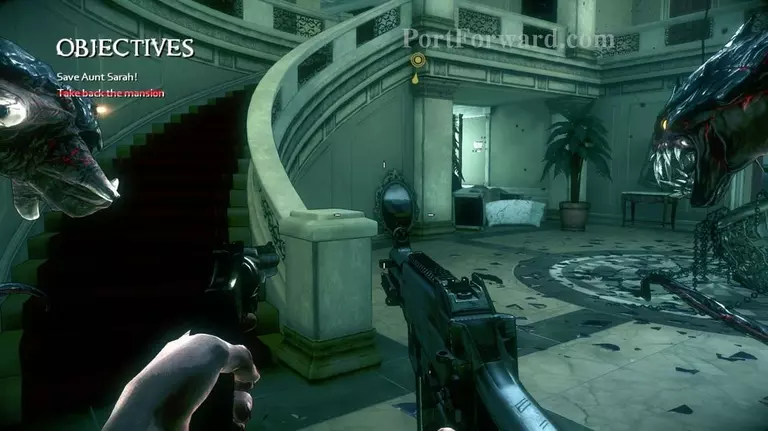
Once in the main-hall, run up the stairs, take out the rest of the enemies and get thrown into another cutscene.
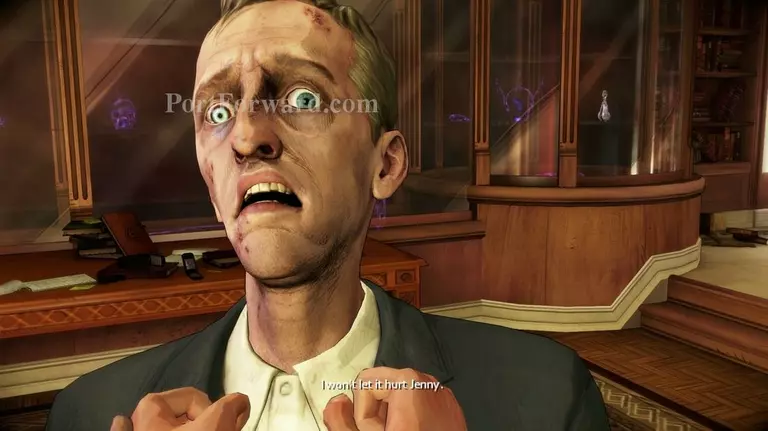
Once shot in the head, you will be back into the asylum.
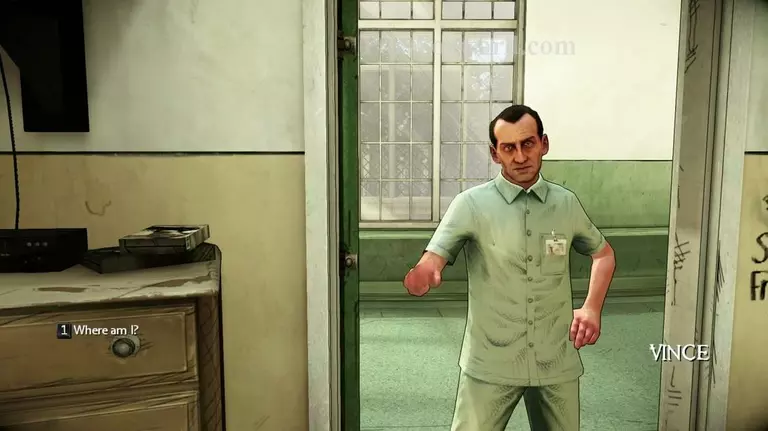
Proceed through the building until you reach an office.
Once out of that office, backtrack into another one. If lost, use (Backspace) to find your way.
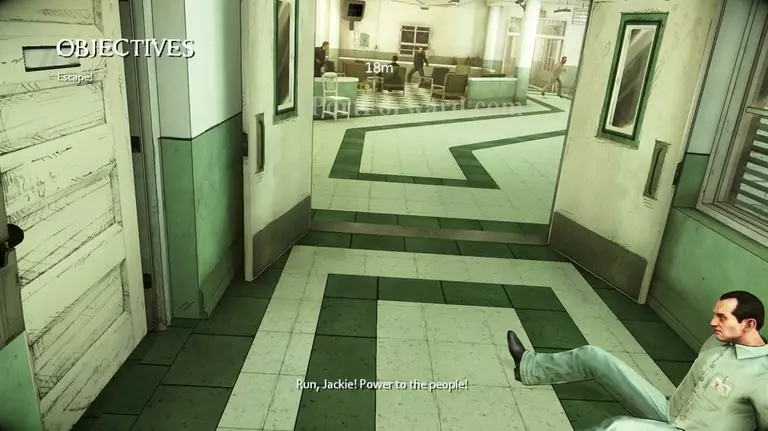
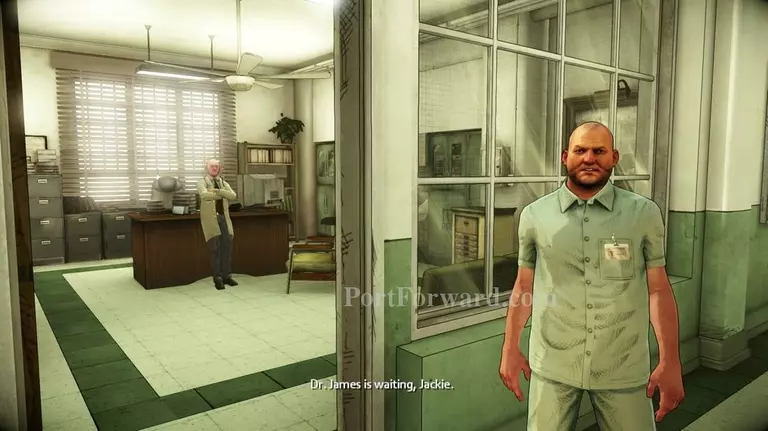
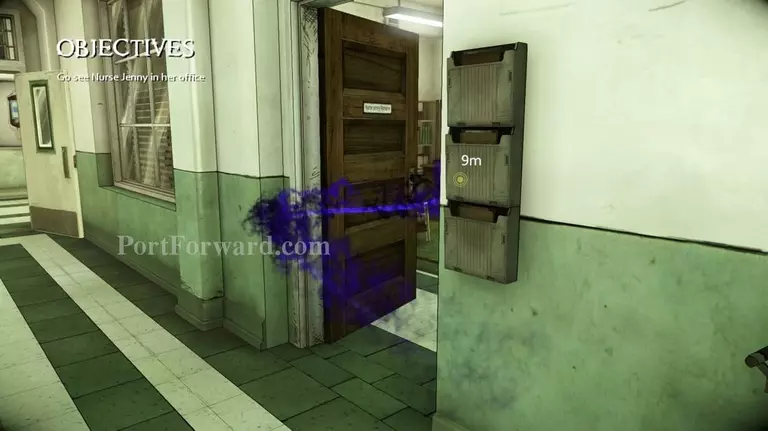
Eventually, you'll be pinned down and nearly drugged before helped. Once free, run towards the exit.
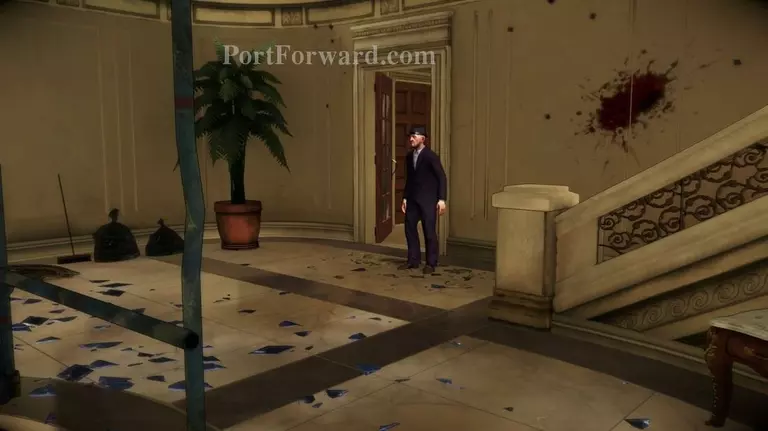
After escaping the asylum, you'll be pulled back into the "real world" after 4 days of The Darkness healing you.

There will be an Altar in the corner. You should have a lot of Essence at this point so go ahead and use some.
Go see Jimmy outside your office.
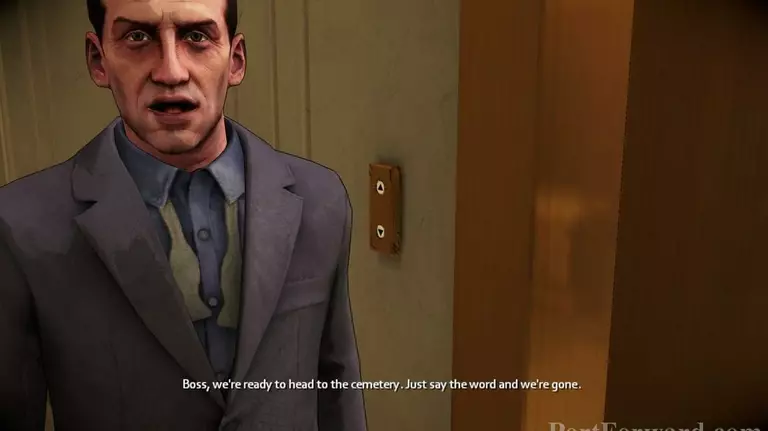
When done talking, head down the elevator for your Aunt's funeral.
More The Darkness II Walkthroughs
This The Darkness II walkthrough is divided into 8 total pages.


