
This The Darkness II walkthrough is divided into 8 total pages.
You can jump to nearby pages of the game using the links above.
Revenge

Arrive in the alley and go talk with the respective NPC's in order to get closer to the house where Swifty is.
If you got the Relic upgrade, you'll notice a nearby Relic symbol on your HUD, coming from inside the building.

There will also be a nearby Shrine for you to spend your points in.
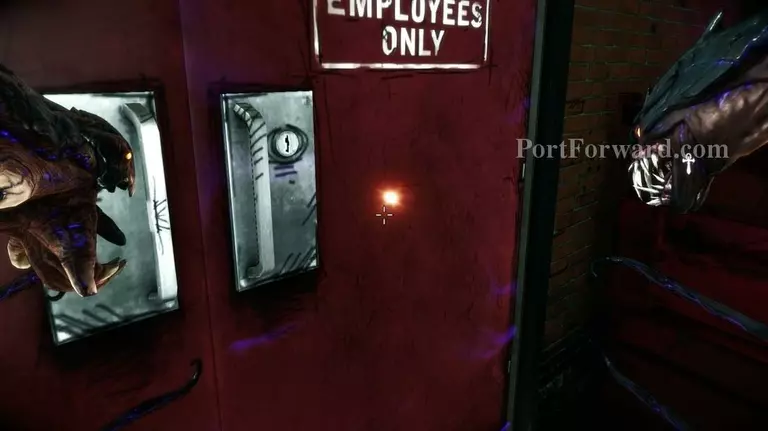
Rip the door off and enter the building.
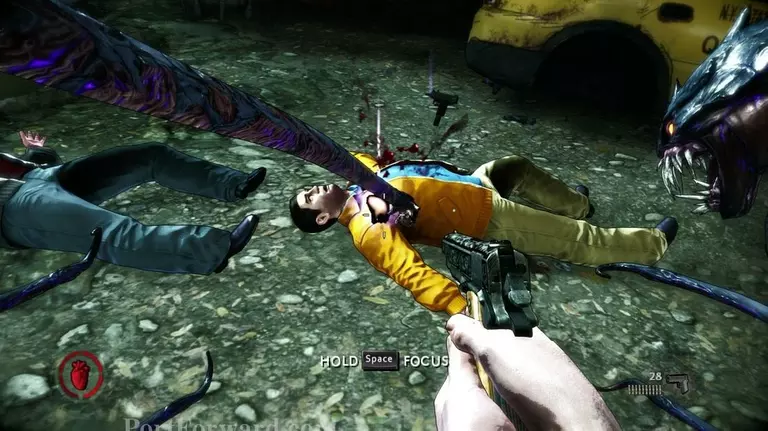
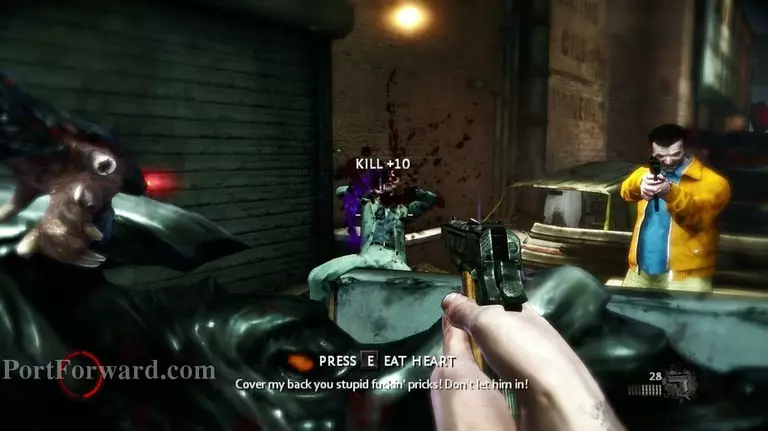
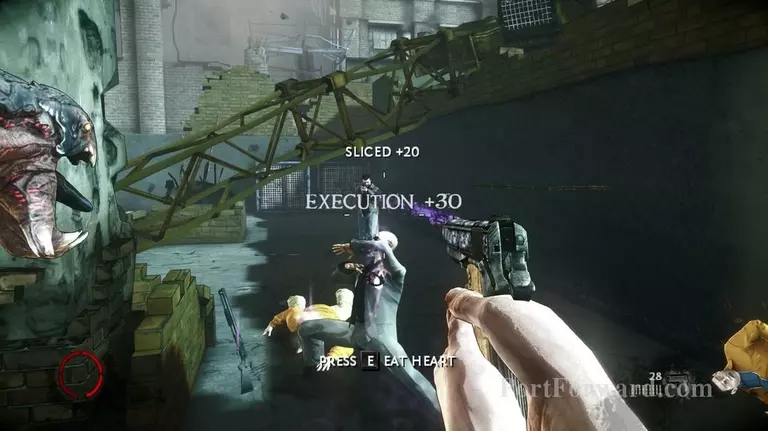
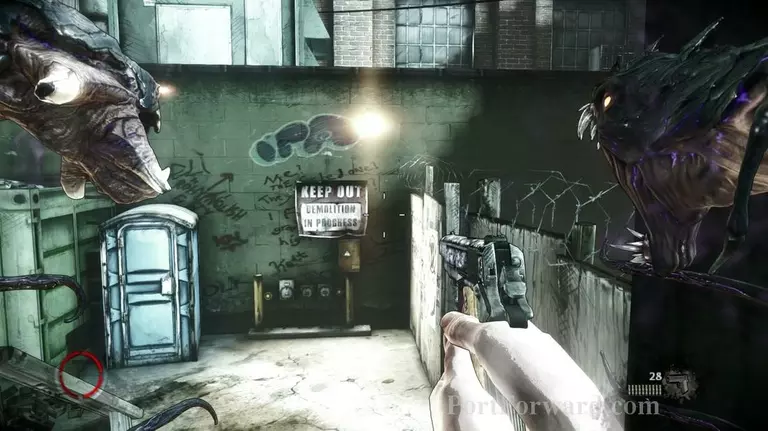
You'll enter a bar. This area will introduce the first Melee units, carrying crowbars, baseball bats and other naughty weapons that can cause serious havok if they get close enough to you. Shoot & Grab or slice them in half with your demon arms once you see them. They are far more devastating than opponents with guns given the right circumstances.
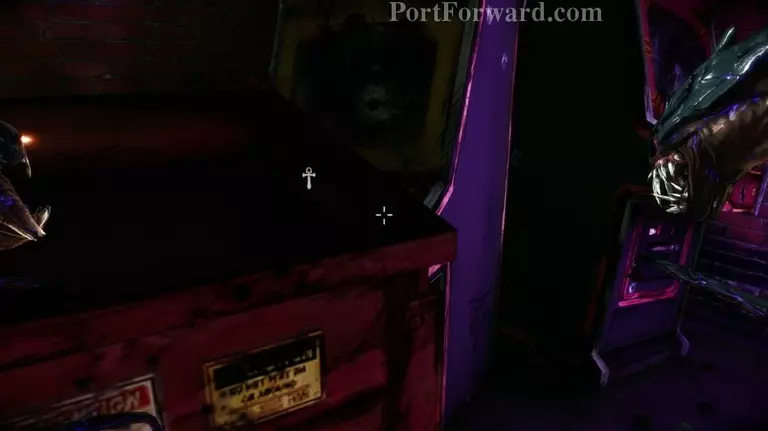
Around the corner from where you entered, there will be a nearby relic, surrounded by lights and money. Grab it.
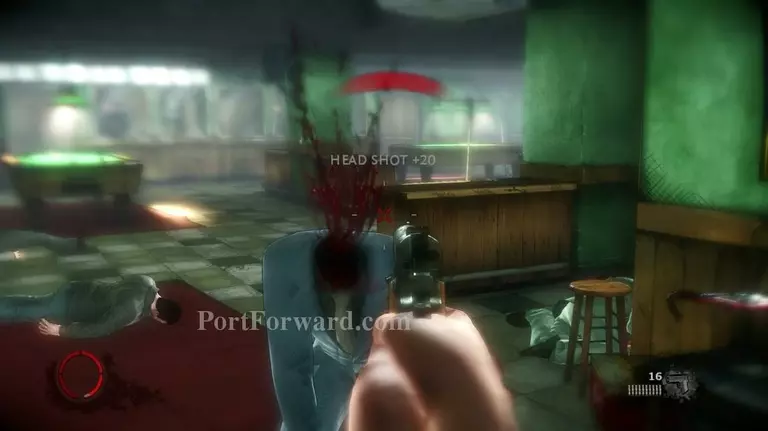
If you are otherwise unable to grab enemies if they are for example, at a great distance, headshot them instead. This will give a skill-points bonus (20+) equal with that of the executions and still allow you to eat their hearts afterwards (6+), a total loss of only -4 points.
When done at the first flood, head upstairs.

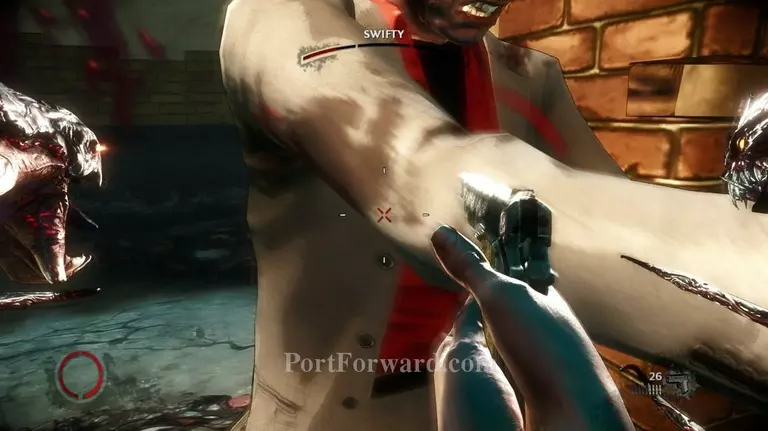
Your new objective will be to catch this guy.
Wipe out the room he was in by any enemies and run after him.
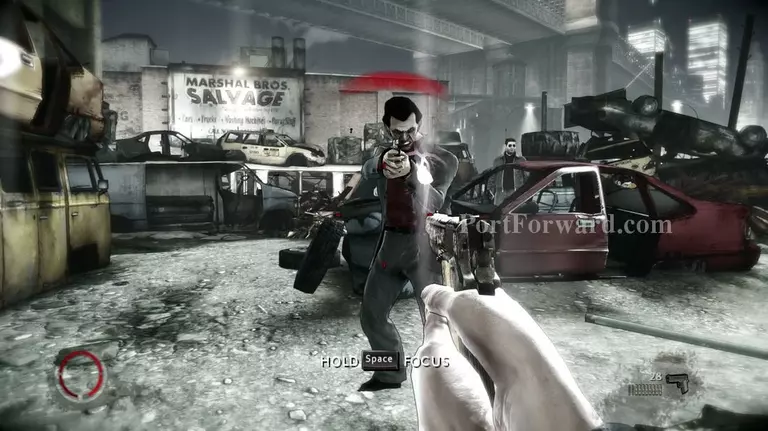
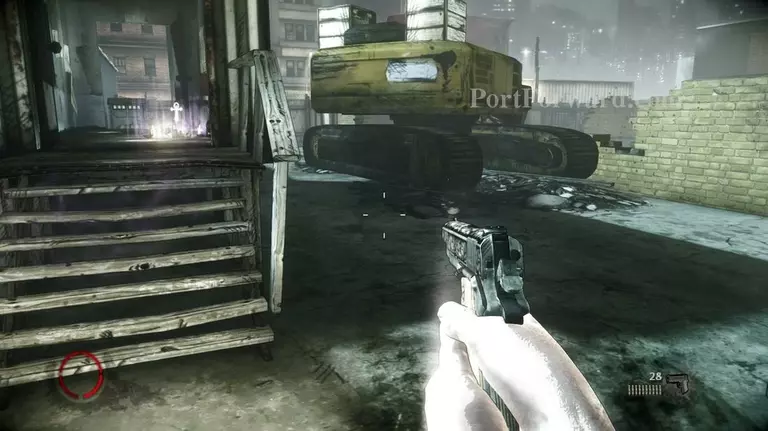
You'll come to a large junk-yard with plenty of lights spread across the area. Use your best judgement and use of nearby cardoors & proceed.
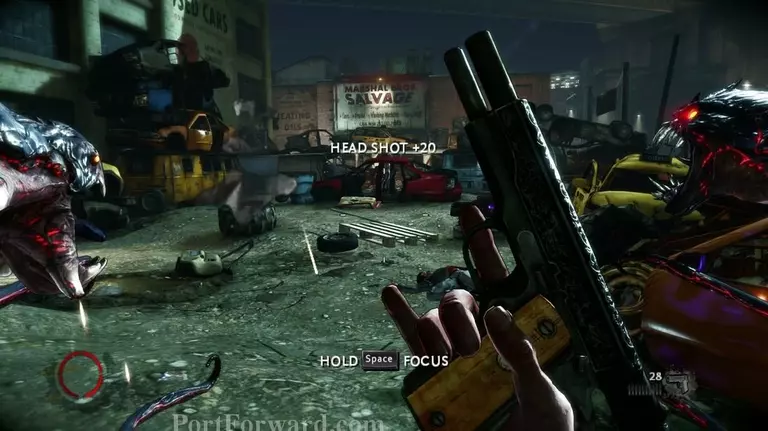
Get accustomed to using headshots here. Rushing in melee will not be a viable option.
And don't forget to eat hearts after headshooting or otherwise in need of health.
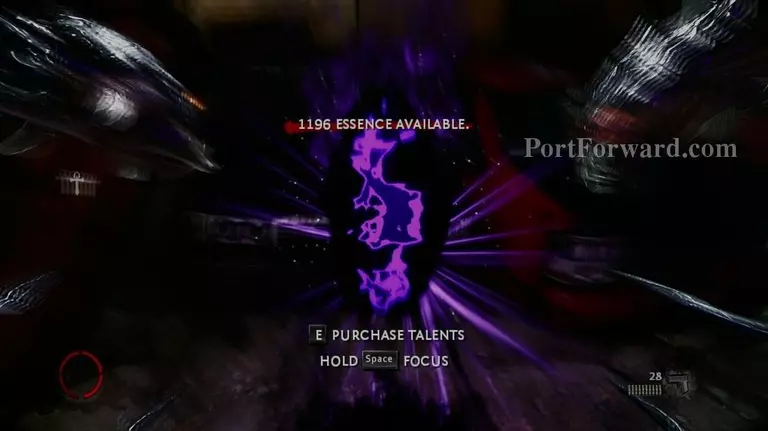
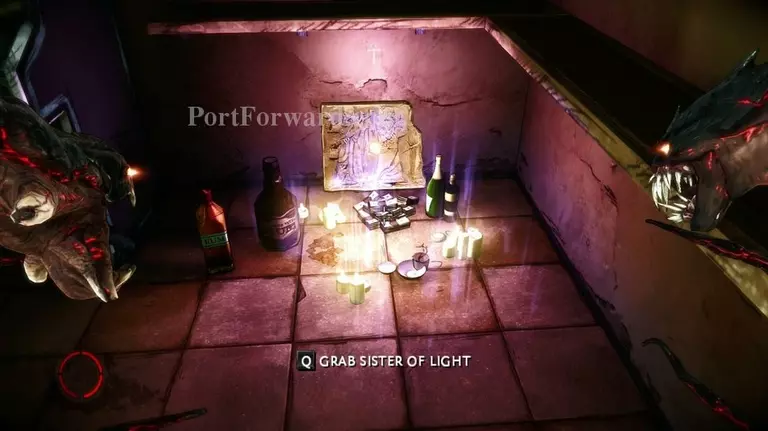
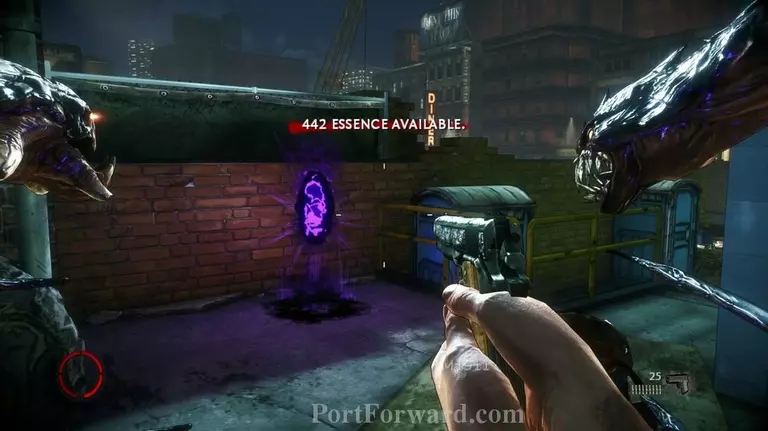
A Shrine will also be nearby. Interact with it to spend any points you may have or save up for bigger upgrades.
There will also be a nearby artifact close to the Shrine. Pick it up.
At this point, you should be able to unlock a "Demon Shield" ability that will amass a giant, heavy shield whenever you execute someone that can soak up tons of damage and still allow you to shoot behind it. It can also be used for a large, heavy throwable object which will become very vital once you start to meet huge clumped-up groups of enemies.
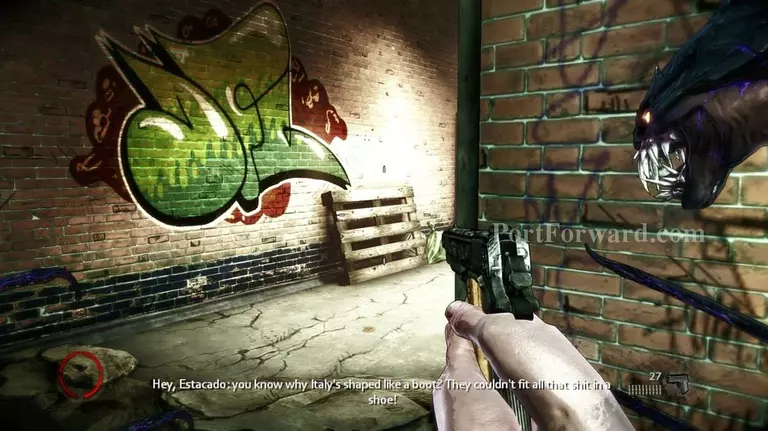
Continue down the alley and destroy any lights you come across.
There will be another shine ahead, although you probably don't have a lot of skill-points (Essence) at this point
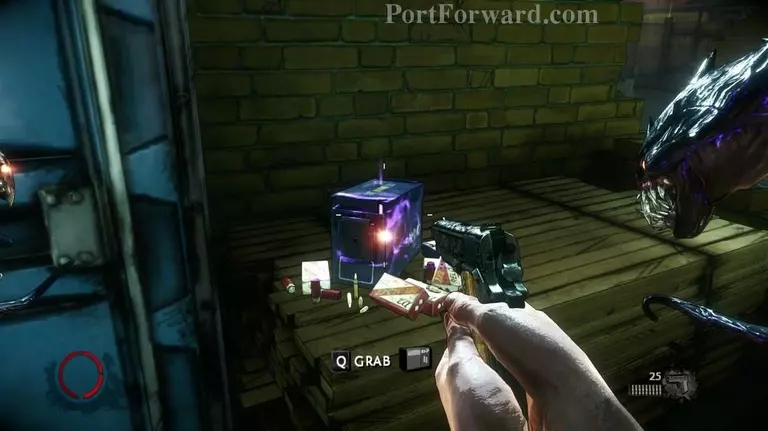
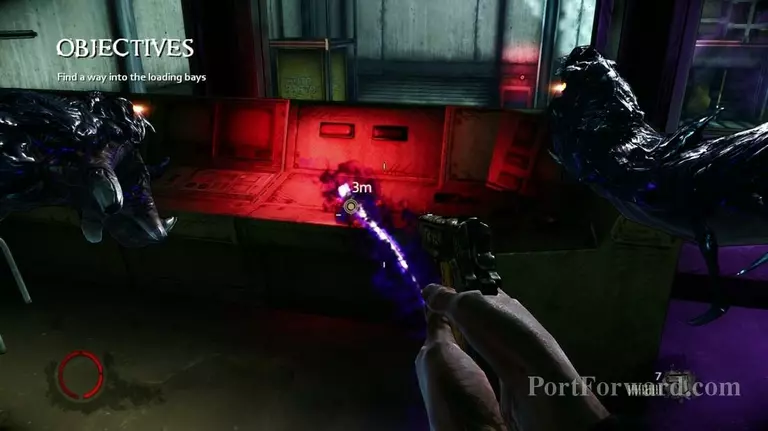
Also get familiar with nearby ammo boxes that refills bullets to all your current holding guns. You can even grab them at a distance using (Q), The Darkness.
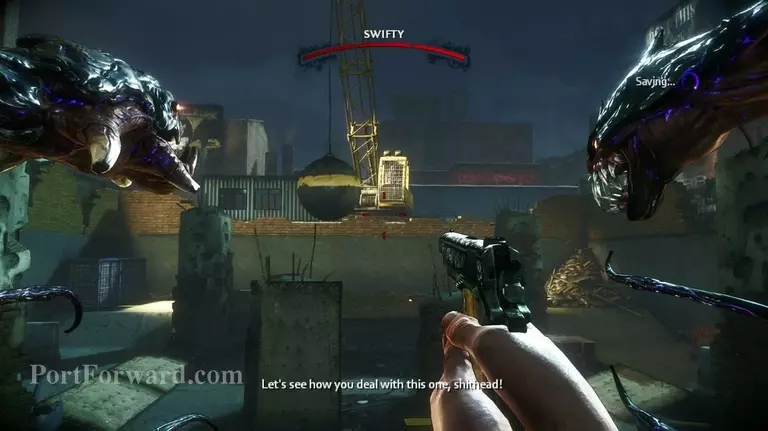
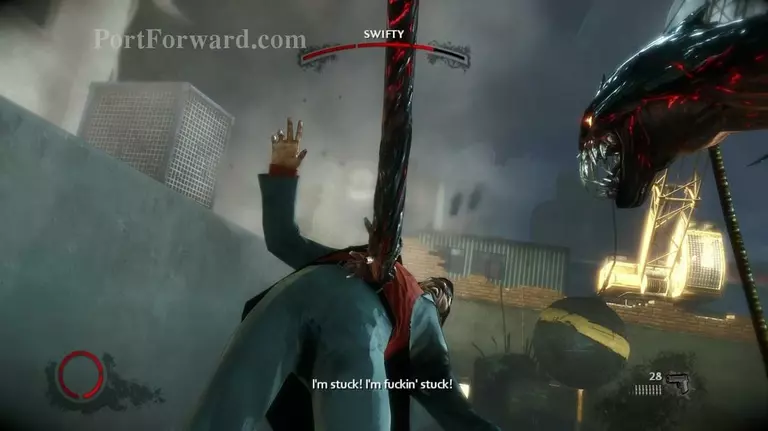
After a minor cutscene, the fight with a boss will commence.
He will be immune to both bullets and The Darkness melee attacks.
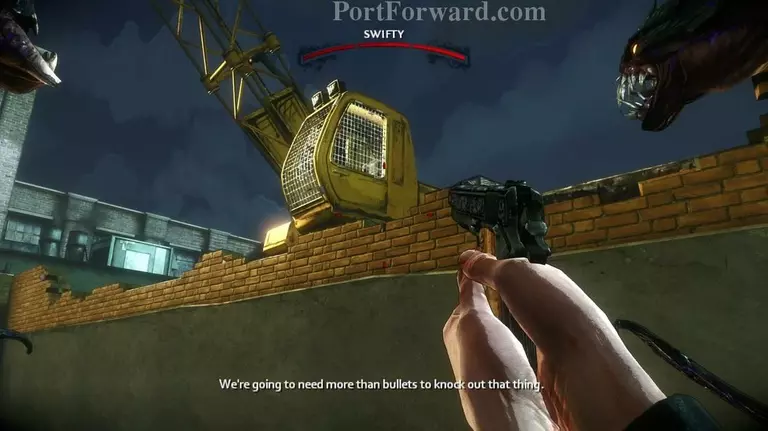
And he will occasionally use his wrecking ball to cause havok on the area you're in.
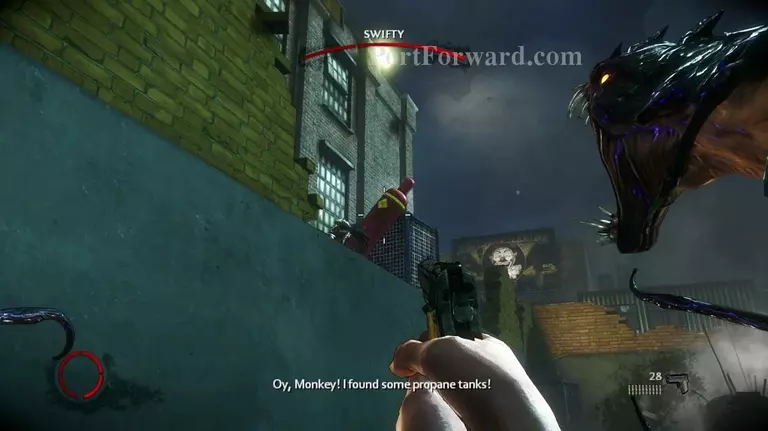
This is where your companion comes in handy. He will supply you with throwable, red, cylindrical propane tanks which you'll need to grab..
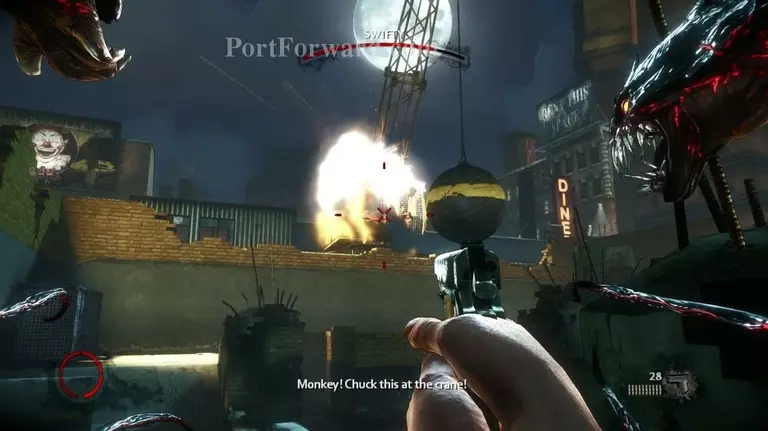
And throw at the boss to cause damage.
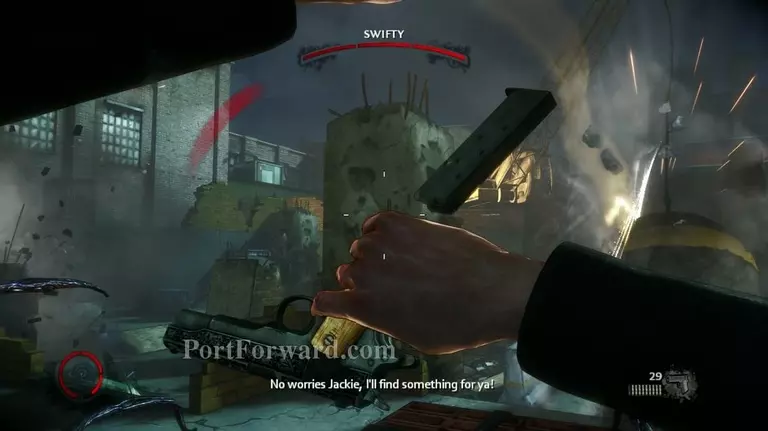
After throwing the first tank, enemies will start showing up. Use this opportunity to execute them for health & ammo & shields.
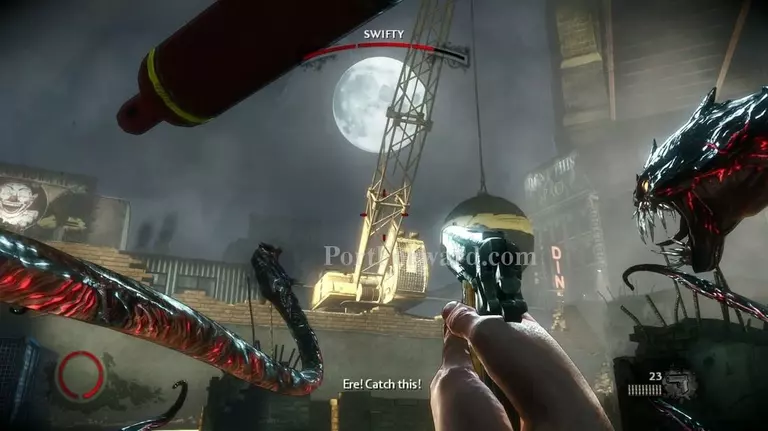
Keep an eye out for your companion, occasionally bringing you propane tanks. And when he does, grab them and keep throwing.
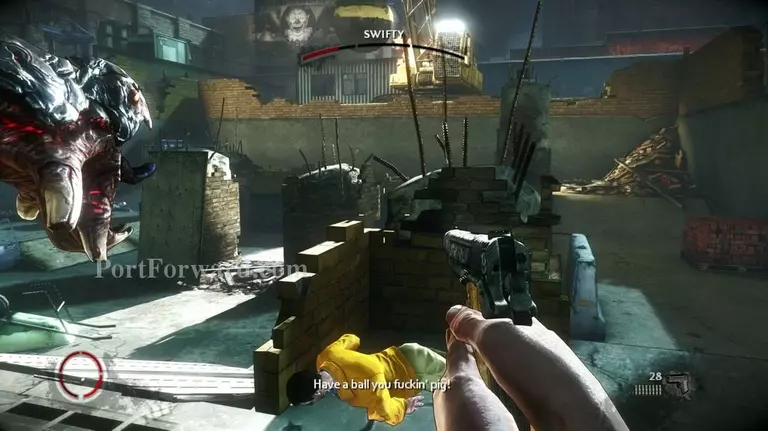
Eventually, lights will also be introduced. They can unfortunately not be destroyed and you are left forced to hide behind the scraps of wall left.
While behind the walls, pay close heed to the enemies swarming you. Many of them will carry melee and It's best to slash them with your demon arm before they get close.
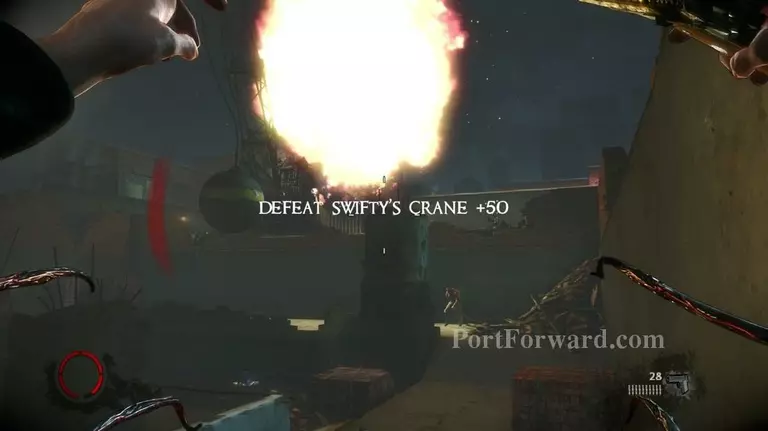
After throwing the last propane tank, the crane will explode and fall into pieces.
Kill any remaining enemies..
And get up on the collapsed crane arm, leading up to where Swifty was.
Jump down from the crane and pick up the artifact just behind it.
Destroy the nearby light and get through the gate.
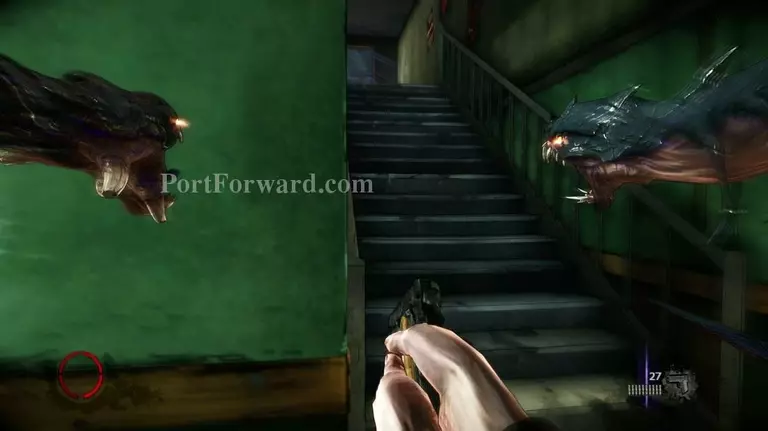
You'll be introduced to a rather lengthy hallucination. Click the buttons when prompted.
When it's done, head through the back-door.
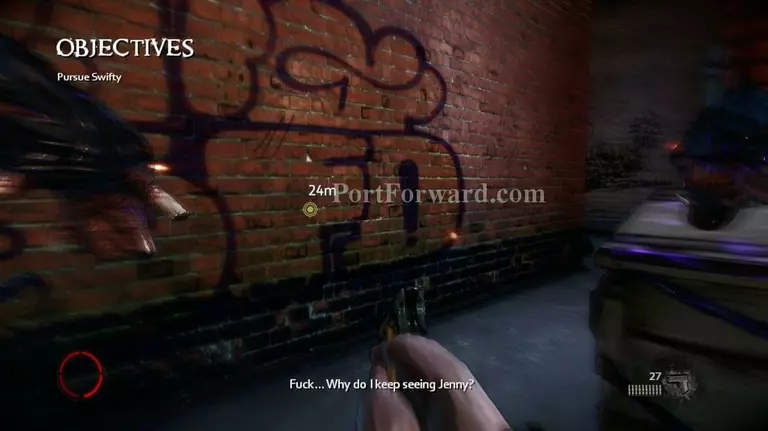
Continue running after Swifty down the alley.
Get up the ladder and don't forget to press (TAB) if you get lost.
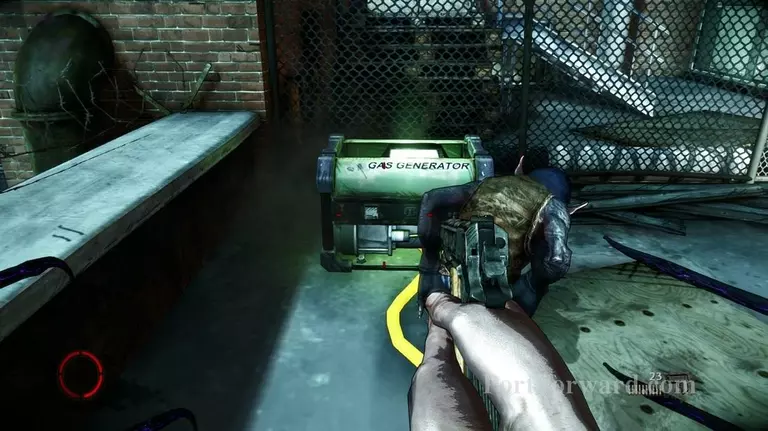
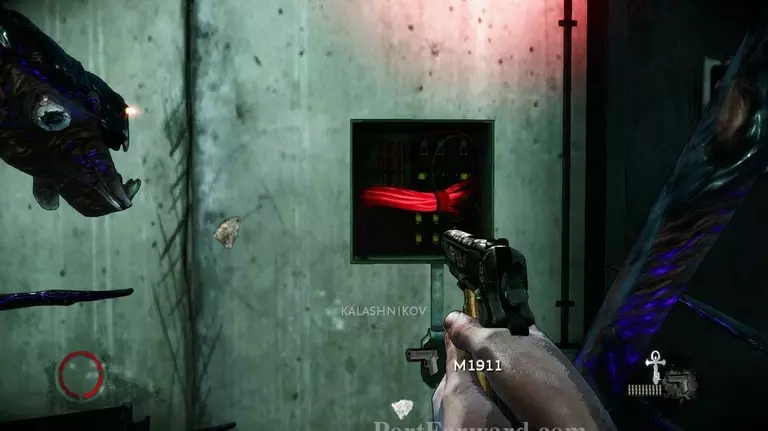
Here you'll be introduced to the first electrical generator that powers indestrucible lamps. You need to destroy the generator either by shooting or meleeing it in order to eliminate the source of either light or electronical locks on doors.
The terrain up ahead will be rather confusing and full with light. Proceed slow but steady.
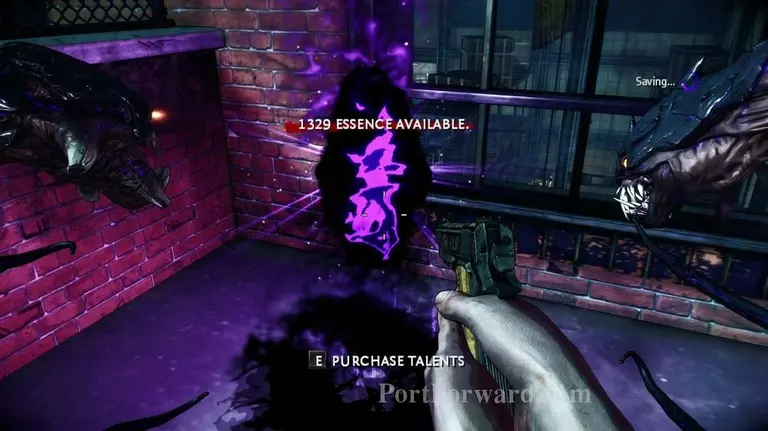
Another Shrine will be ahead. Use it if you wish.
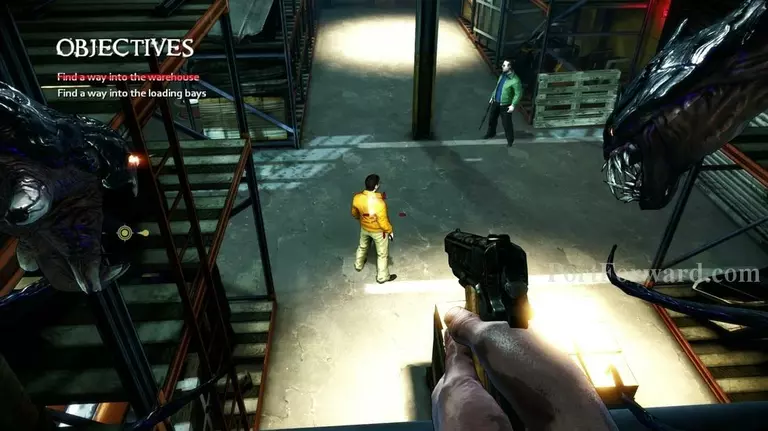
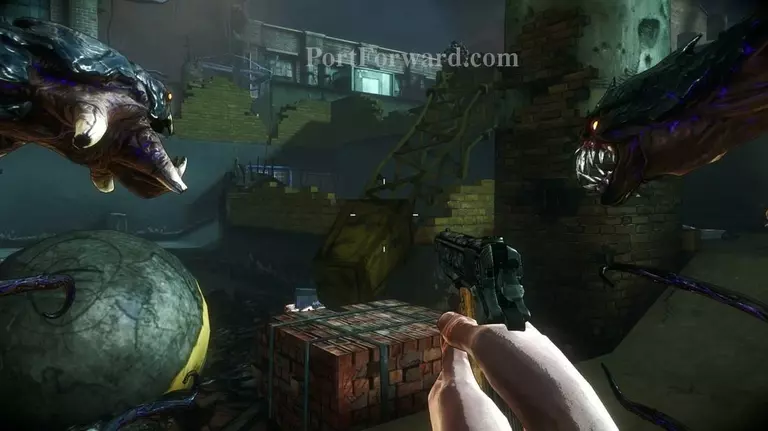
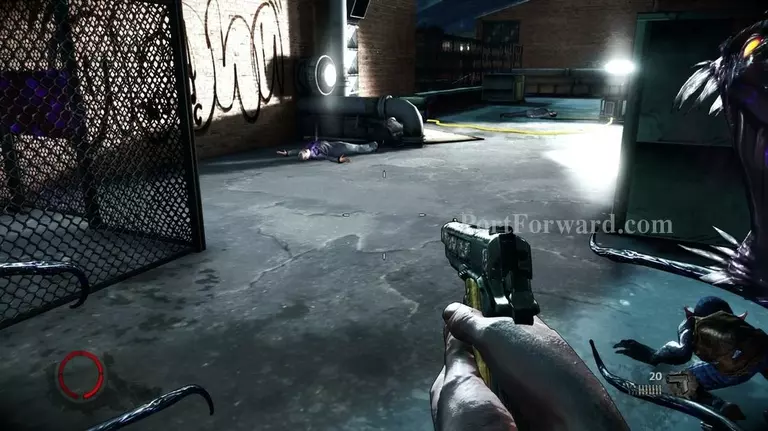
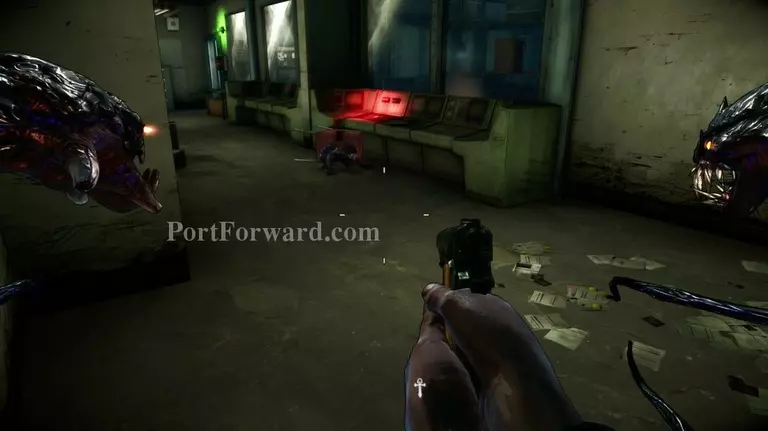
You'll come across a warehouse filled with enemies that haven't noticed you yet. Get a grasp of the situation, ambush them and then jump down.
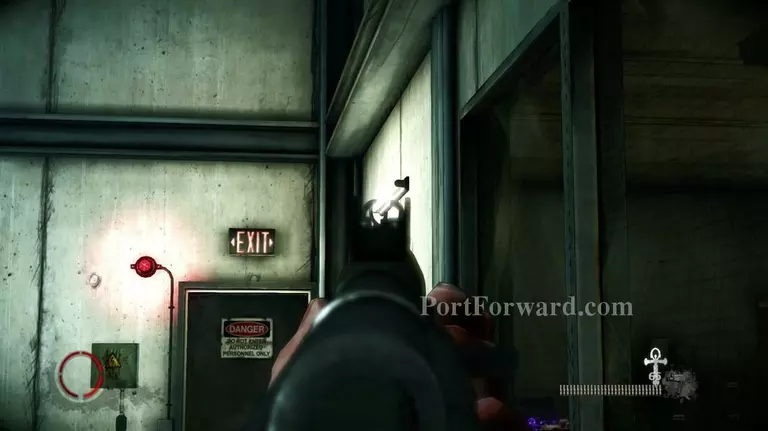
Destroy the (quite subtle) lamp on your left and rip open the nearby electrical box to get through the door.
Another vertical slice is required here. Hold down your scroller and roll down/up.

Clean the rest of the building out and access the Shrine in the office if needed.
When done, get to the control panel and open the gate.
Proceed further through the building, destroying lamps and electrical boxes as you go and open the next gate.
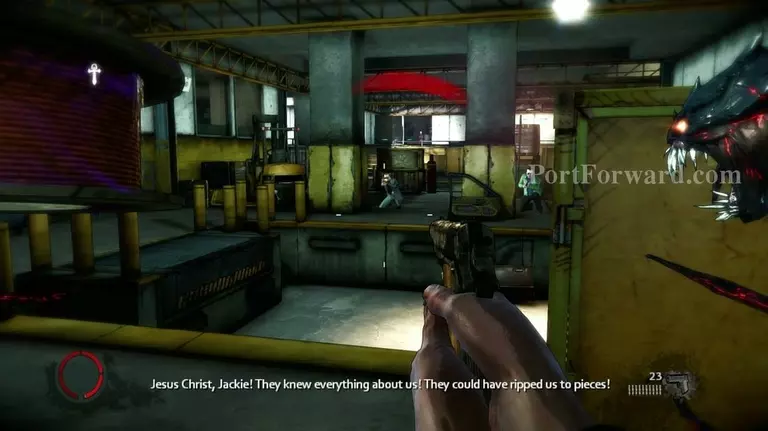
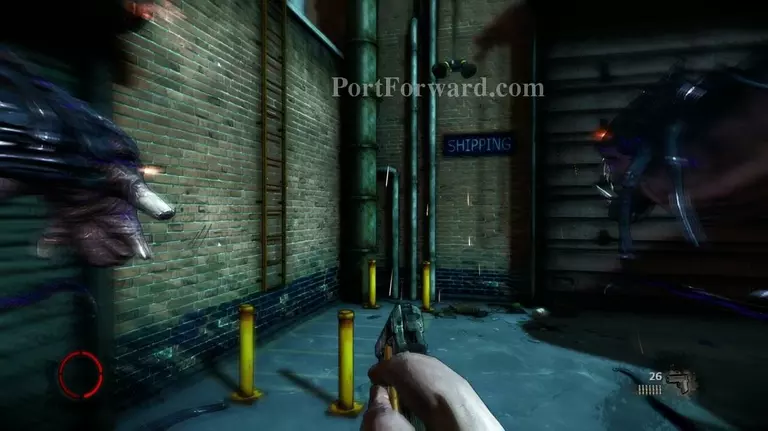
You'll enter into a loading bay filled with enemies as you dialoge with Swifty through the speakers. There will be a nearby Relic.
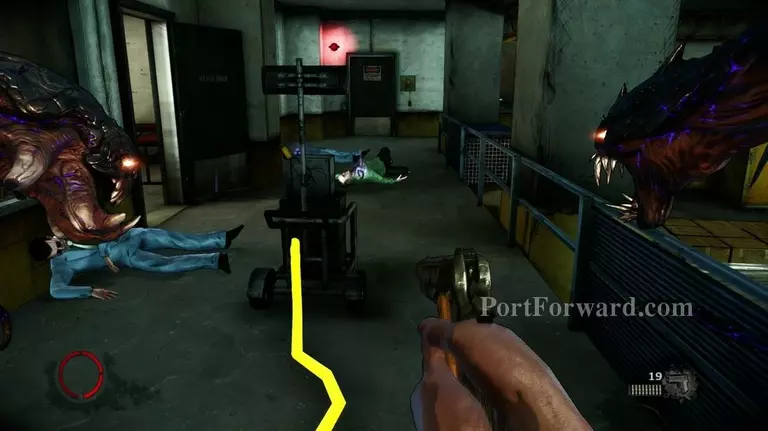
Follow the bright, yellow wire to destroy the electrical generator powering the lamp that's hindering your access to the nearby door.
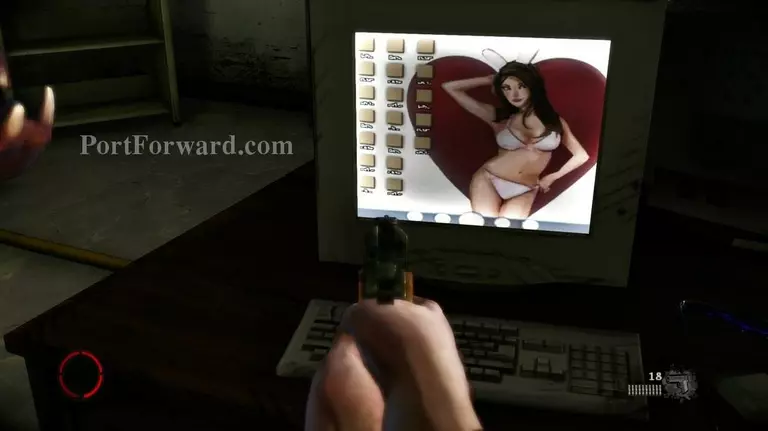
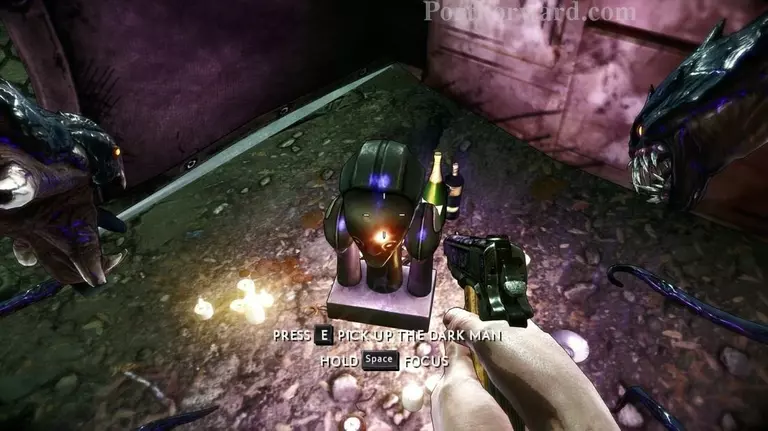
Enjoy the nice desktops from the nearby computers and move on.
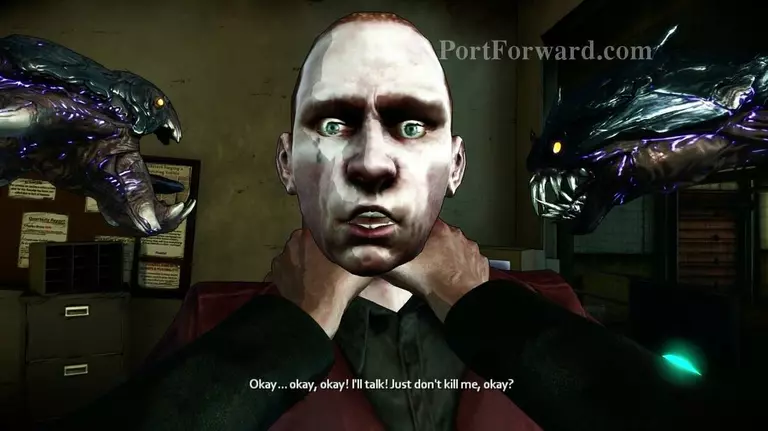
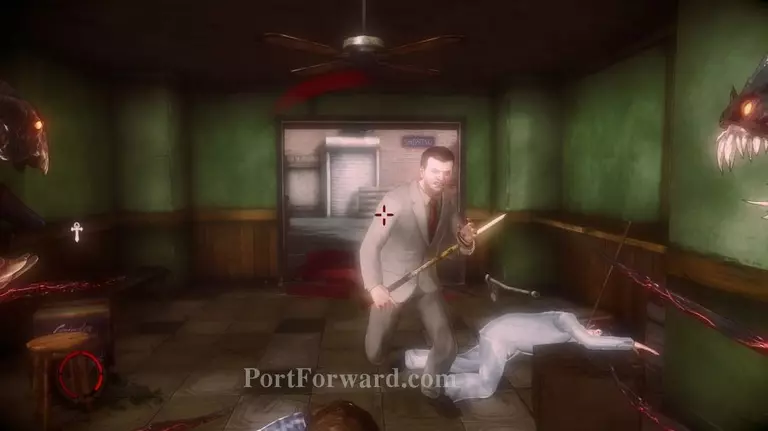
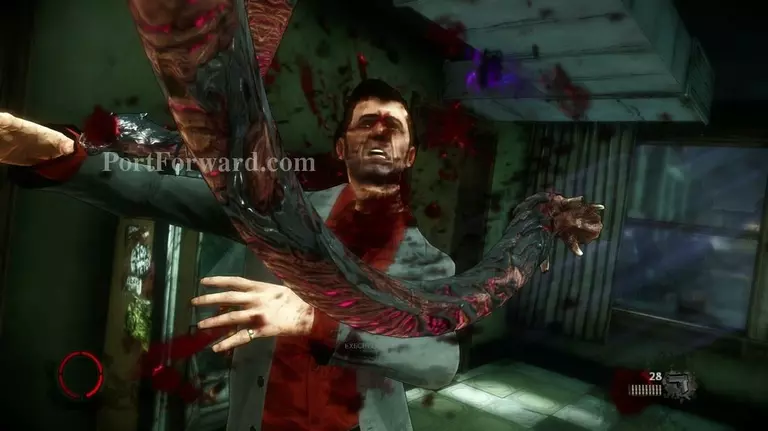
You'll eventually catch Swifty..
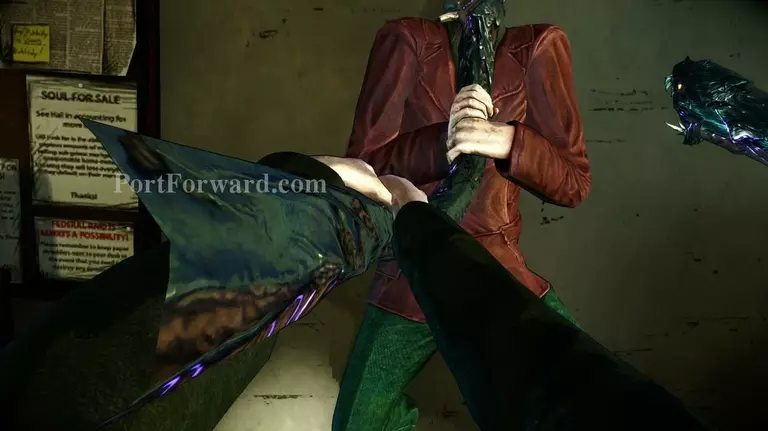
And The Darkness will proceed with killing him against your will before you are done interrogating him.

After returning to the Mansion and catching up with your old friend from The Darkness I, head into your office. When done there, go out the elevator.
More The Darkness II Walkthroughs
This The Darkness II walkthrough is divided into 8 total pages.


