
This The Darkness II walkthrough is divided into 8 total pages.
You can jump to nearby pages of the game using the links above.
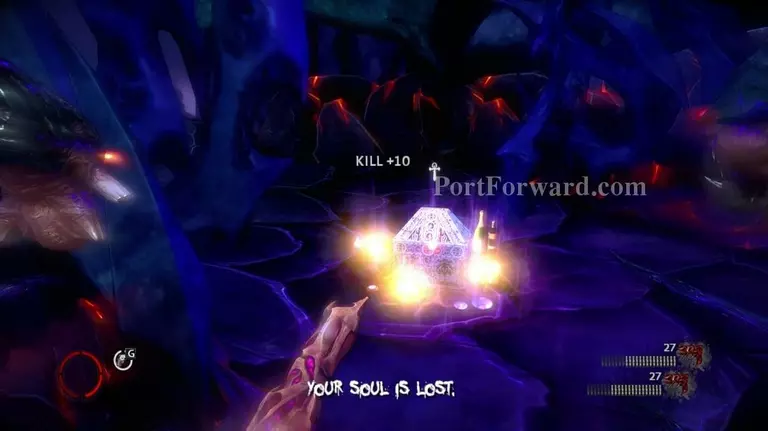
Purgatory
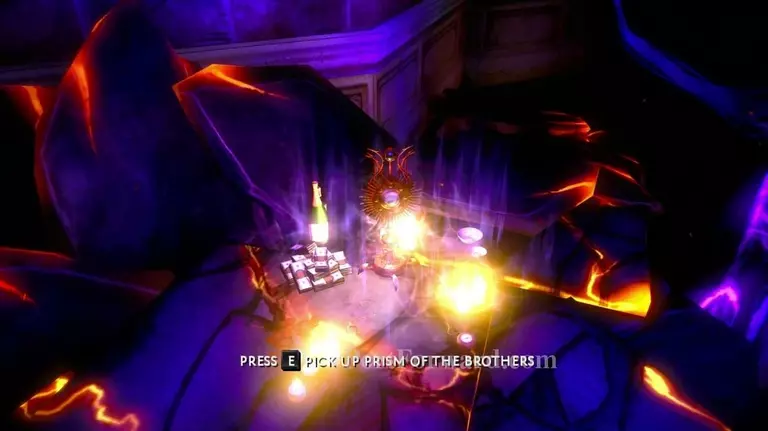
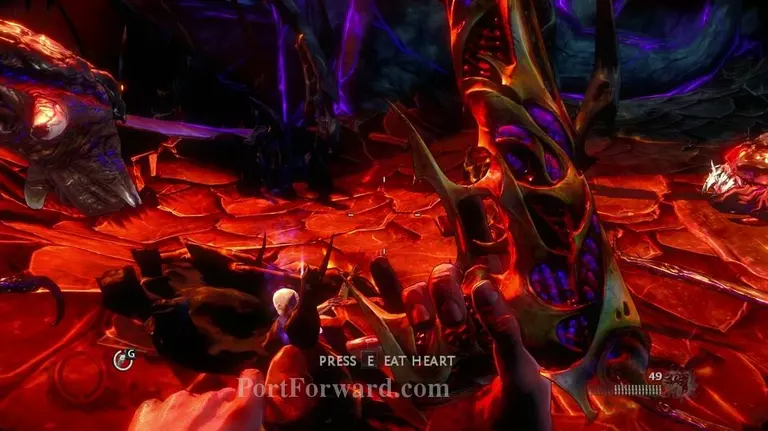
You'll be back at the other dimension between hell and earth. Follow the path and pick up the nearby relic.
When you reach your goal, Jenny, the game pulls a "Your princess is in another castle" and relocates your objective to a "floor above".
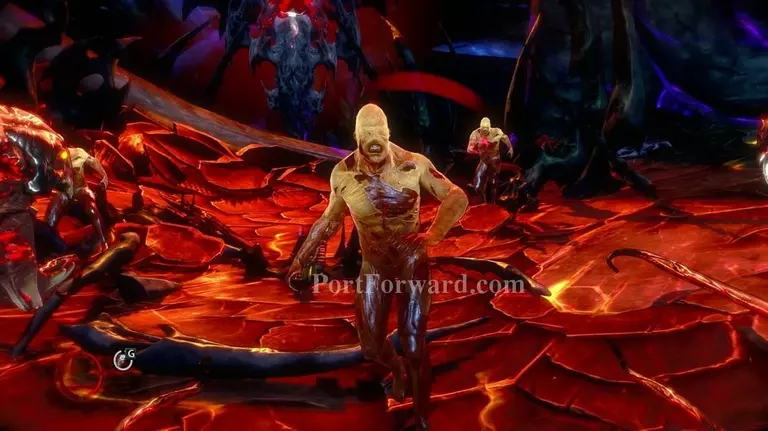
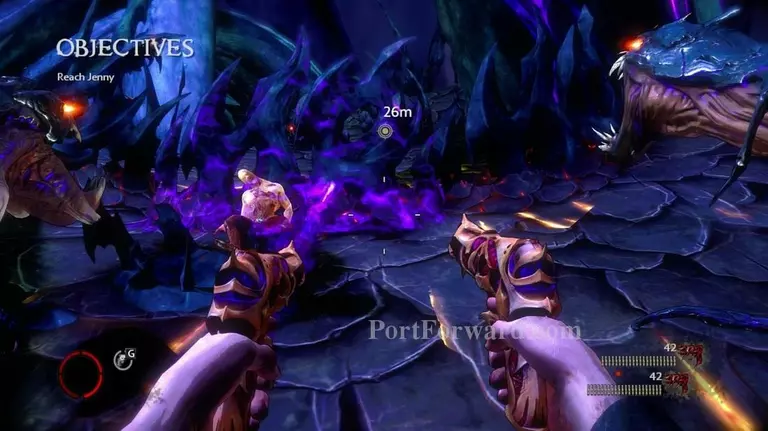
This is where you'll meet some new, odd enemies. Although weak, they come in great amounts with dangerous weapons.
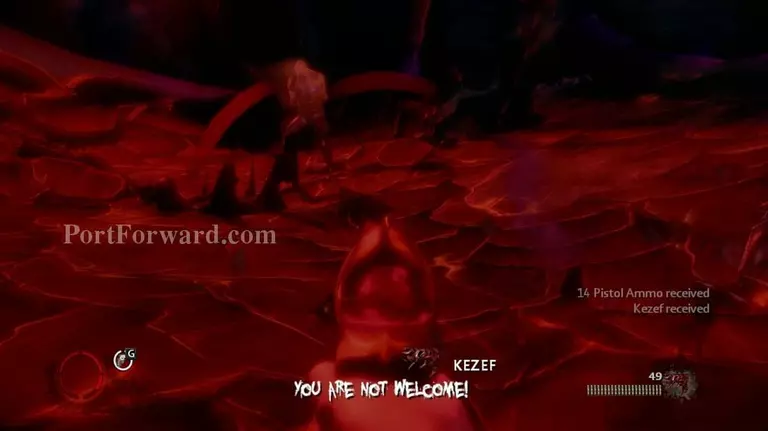
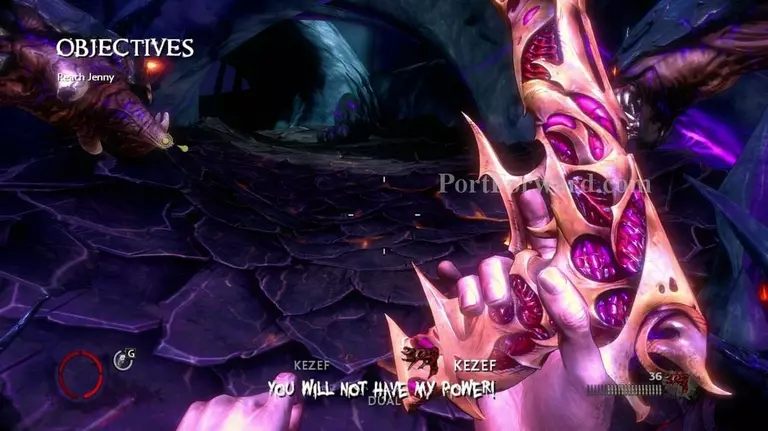
You'll be introduced to a new gun called a "Kezef" which is a fast-firing semi automatic pistol. Although capable of dashing out a lot of damage, it consumes ammo very rapidly.
This is where your Extended ammo skills come in handy, not to mention the Hitman Executions.
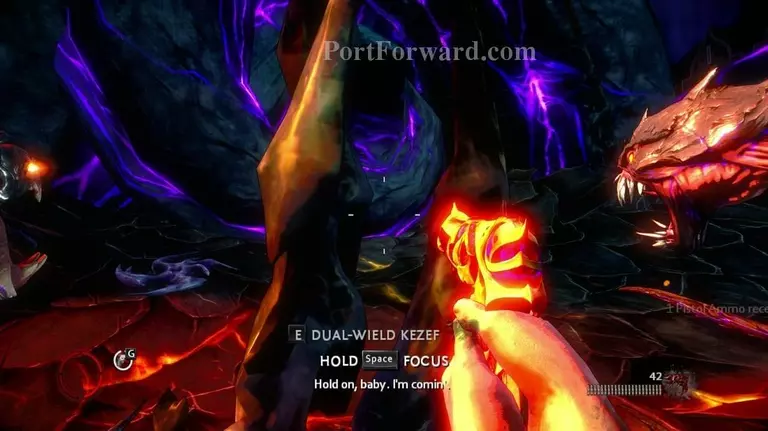
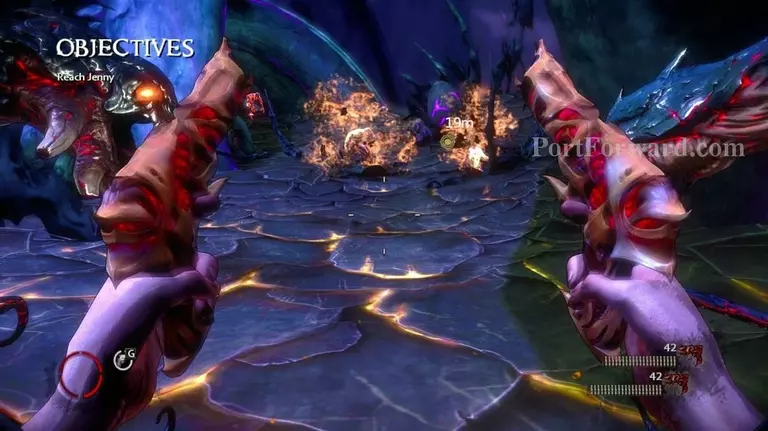
As with the previous lesson, dual wielding weapons is not very viable. Here, it will consume your entire ammo pool in a matter of seconds. Stick to one gun and aim for the heads.
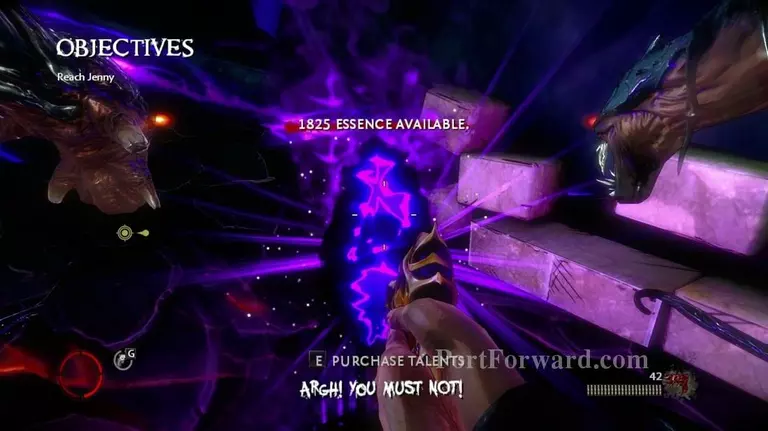
Continue onwards and use the Altar. It will be one of your last chances to spend essence.
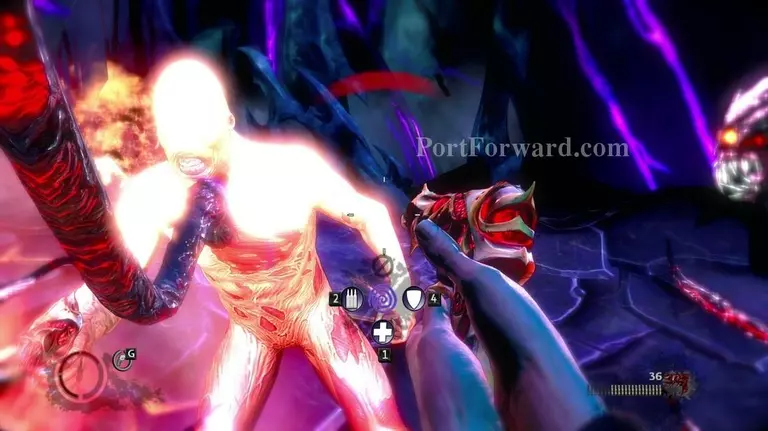
All the enemies come in concentrated amounts in the form of waves. But do not fret, they can easily be stunned and executed like other ordinary foes. I recommend piling up on ammo and having a shield out whenever possible. Take them out and move up.
Other relic ahead.
After reaching a certain point, you'll run into a wall. Kill the nearby enemies, grab hold onto the wall using your darkness and tear it down.
After destroying the wall, a ridiculous wave of enemies will appear and it would be the only place I recommend dual-wielding weapons for maximum havok.
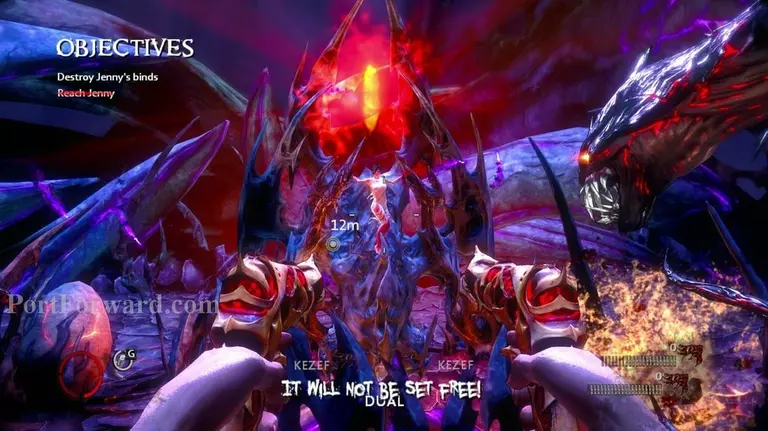
You'll eventually reach Jenny. Clear out the room of any foes you can see.
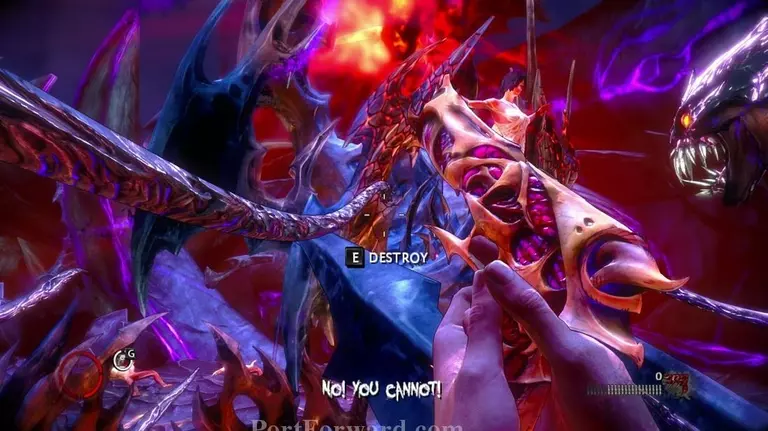
And grab hold of one of her wrist "binds"using (Q) and tear it off.
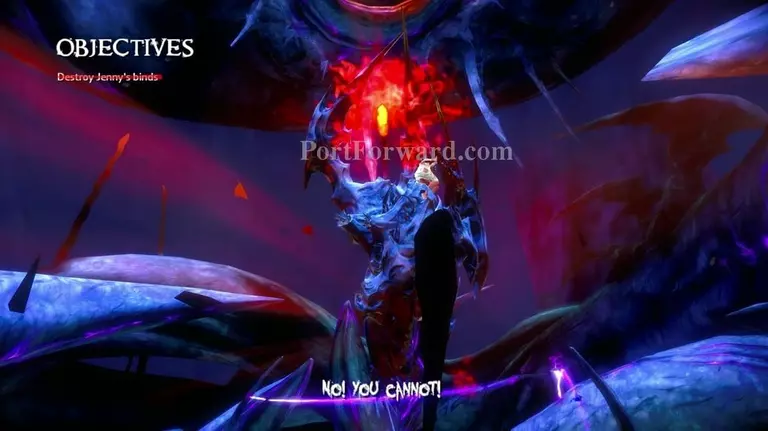
The Darkness will pull another Mario stunt and elevate her further up.
Take the path to the right and keep going.
Another wall, same routine as before. Loads of enemies behind it.
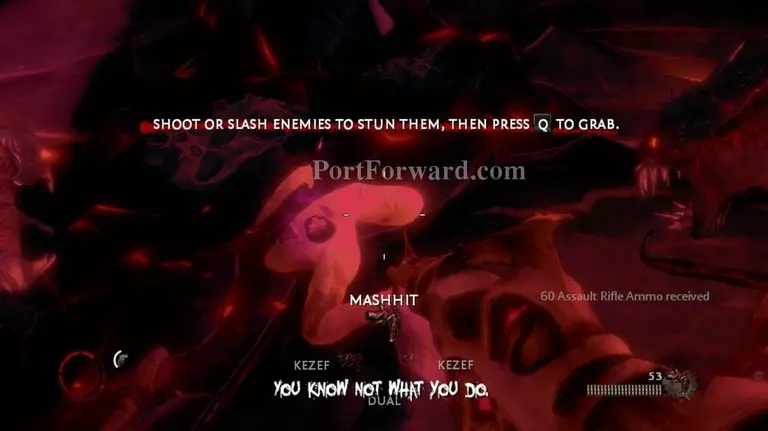
Here, the game introduces another "Darkness/Hell" weapon called a Mashhit. It's an automatic rifle with high damage, accuracy and fire-rate. The magazine could be larger and the iron-sights could be less obnoxious..
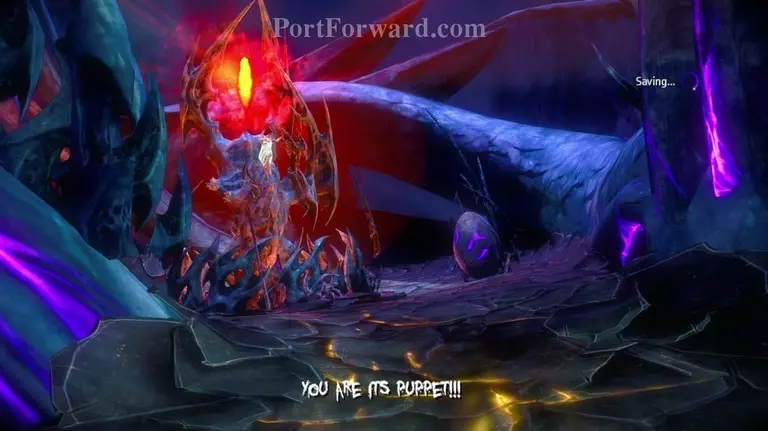
You'll once again reach Jenny after a long set of "stairs".
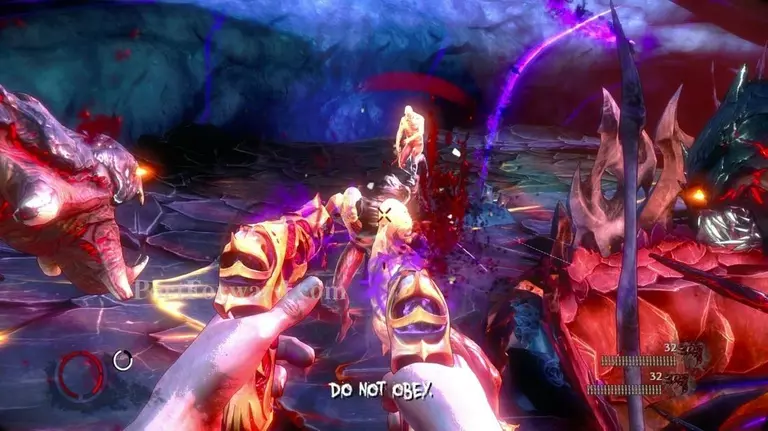
Take out the floodwave of enemies around the large stone altar.
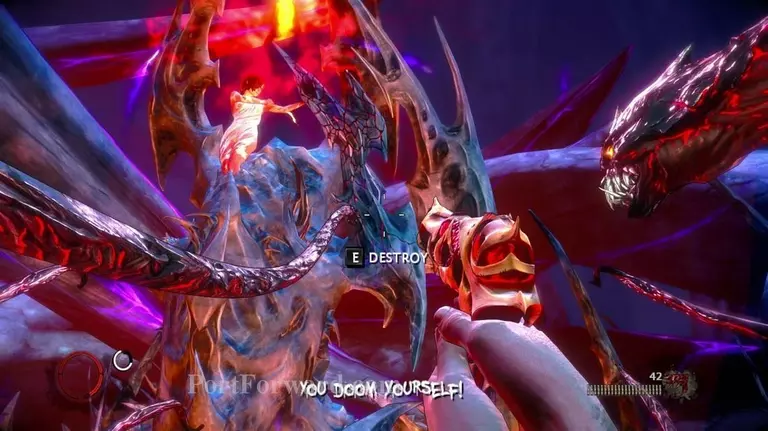
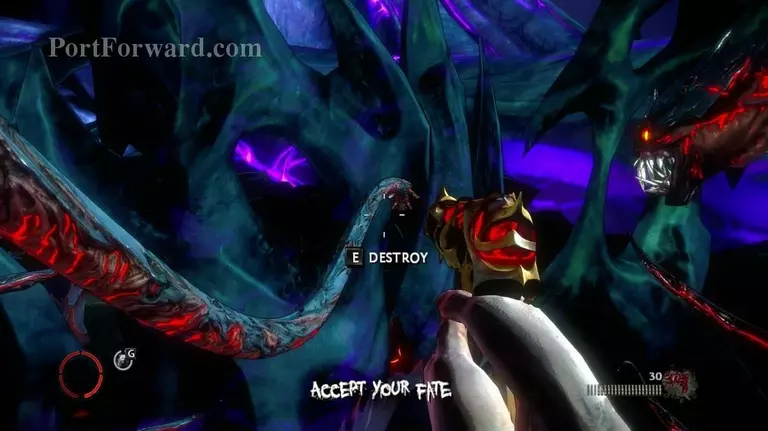
Grab hold of the other bind and destroy it.
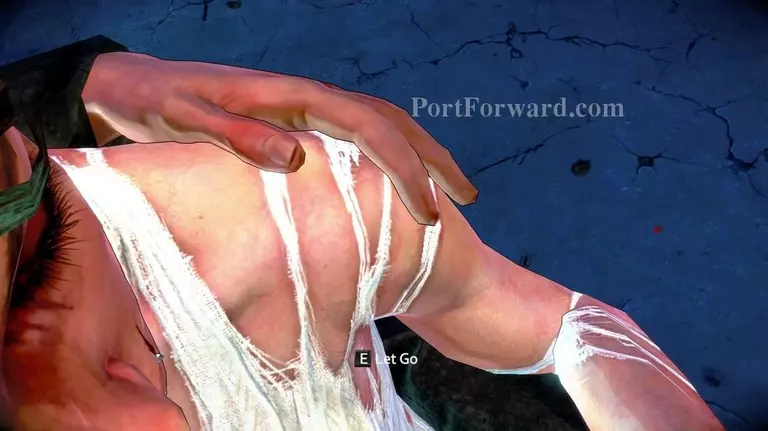
Let go when prompted, enjoy the cutscene and It's game over. Good job champ.
More The Darkness II Walkthroughs
This The Darkness II walkthrough is divided into 8 total pages.


