
This The Elder Scrolls III: Morrowind walkthrough is divided into 3 total pages.
You can jump to nearby pages of the game using the links above.
Odrosal
When you enter inside, pick up the spear that's to the left of the entry way.
Walk ahead to the next door to advance.
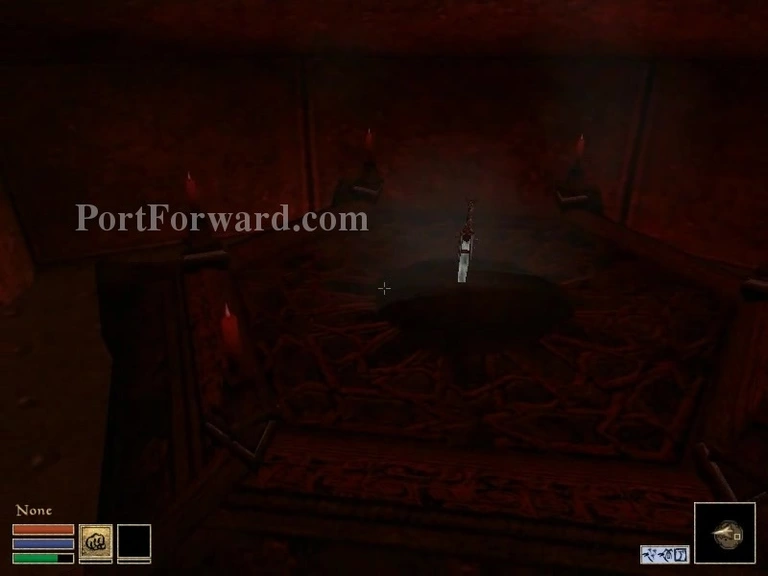
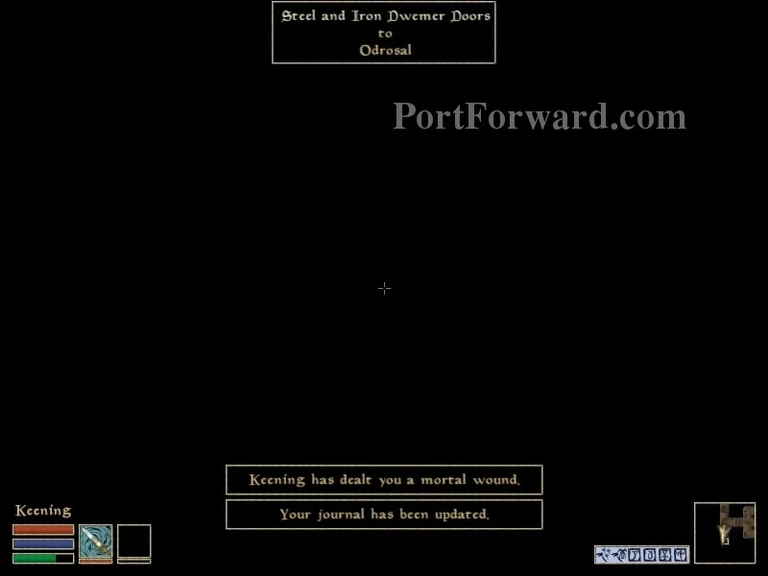
Pick up this blade also. After that, turn to the right where there'll be another door. REMEMBER to do the Constant item attribute bug with your weapons because the blade does hurt you.
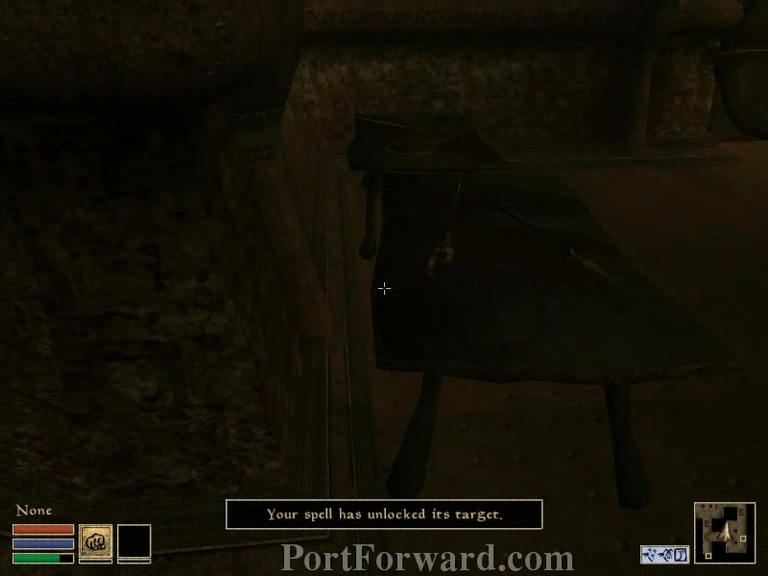
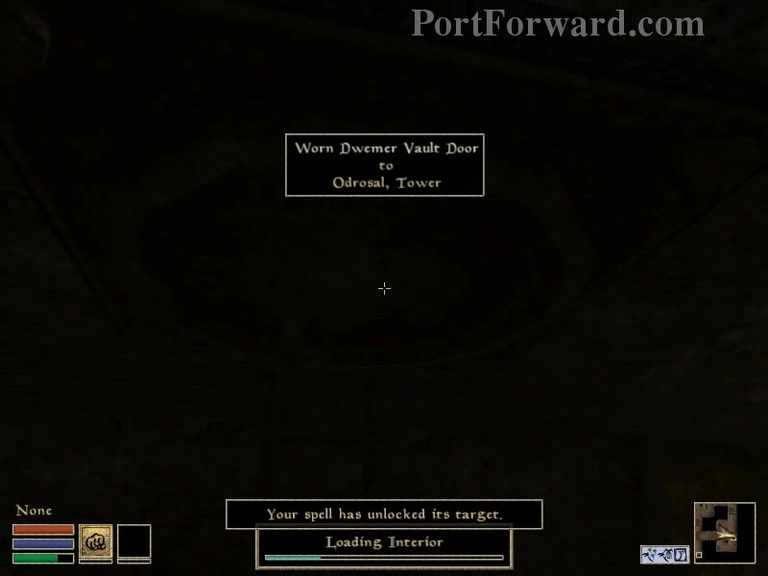
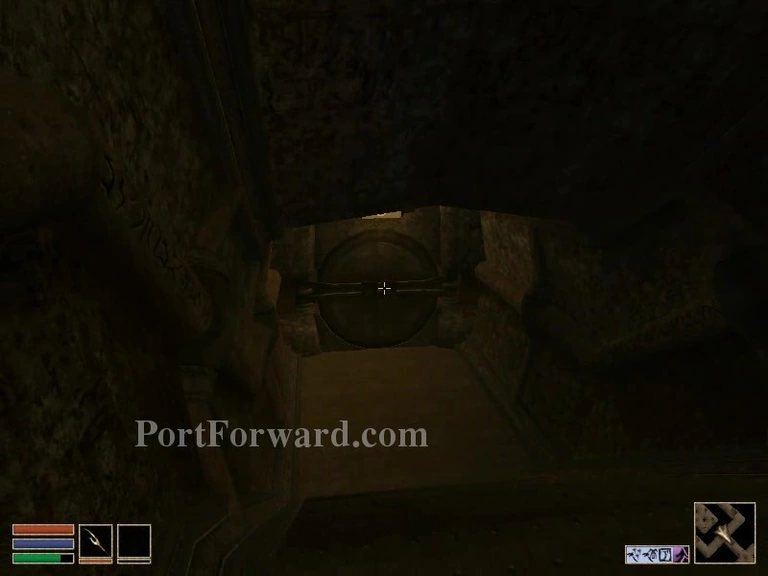
Just walk up ahead and open the vault that'll lead you to Odrosal.
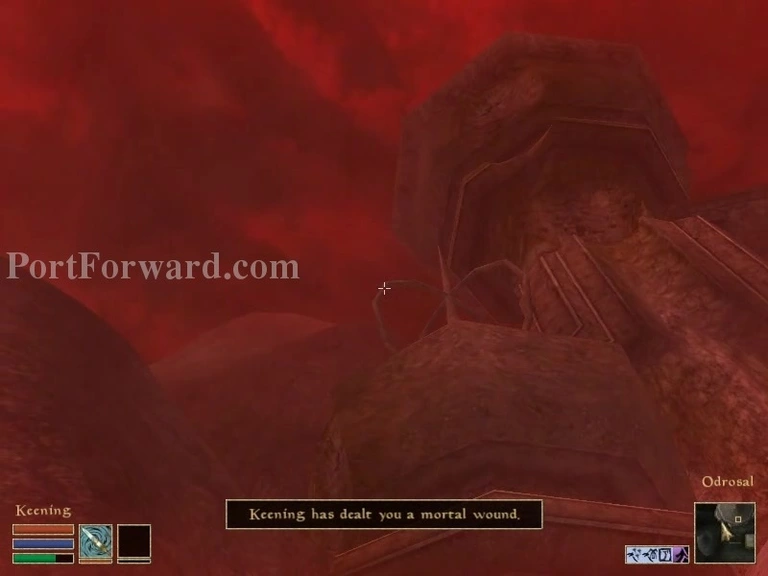
Fly up here.

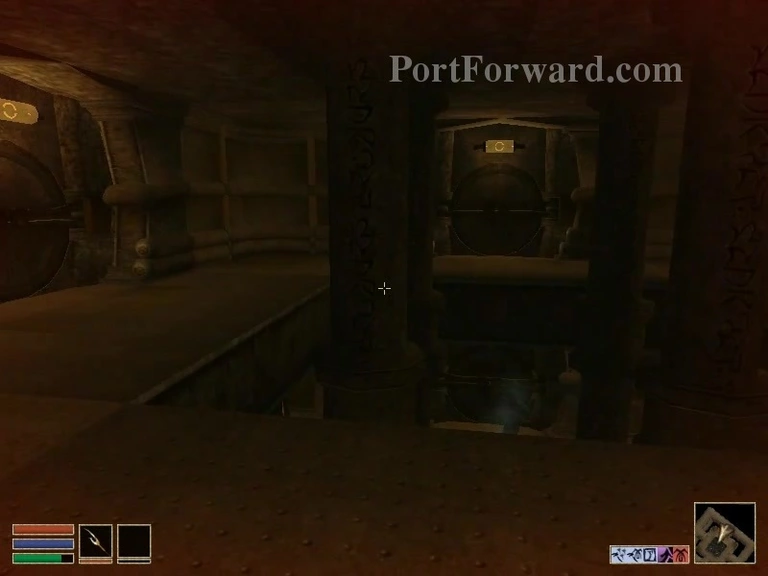
Find Vemynal and enter the door that's at the bottom of the tower ahead of you.
Use adrenaline rush to walk ahead of the xombies. This door should be up ahead to the right. Then another should be ahead.
Run to the left to avoid his attacks. They shouldt do much because of the constant item attribute bug.
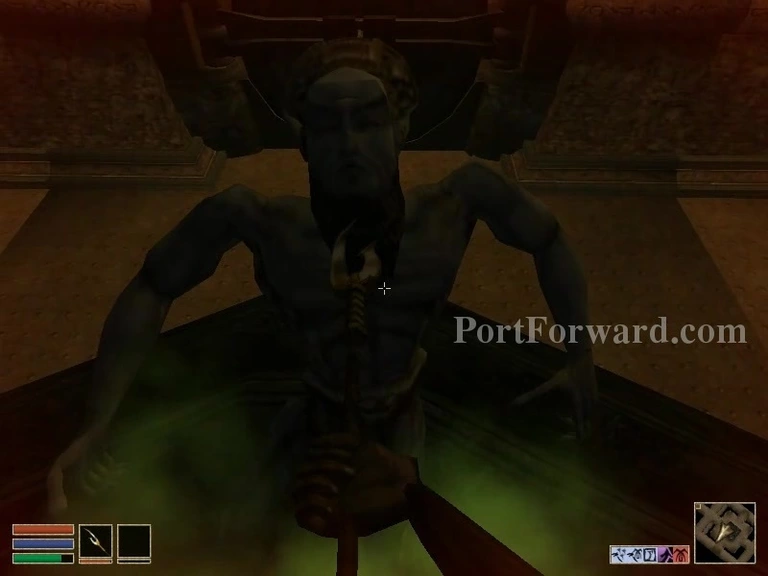
When you get the chance, go down to the pit he's in and stab him constantly with the spear.
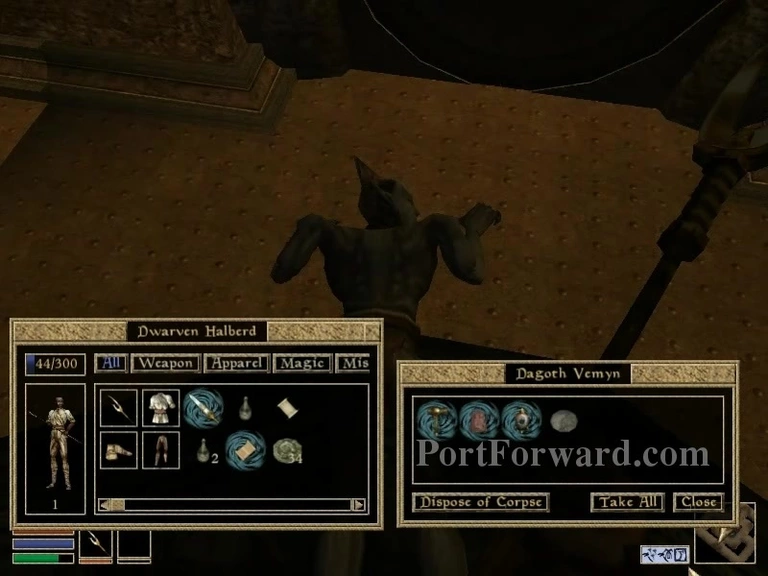
Loot the Sunder, his weapon, and the Amulet of heartheal. These will help you immesenly later on. Then take a potion of recall. You'll get back to the Red Mountain regoin that way.
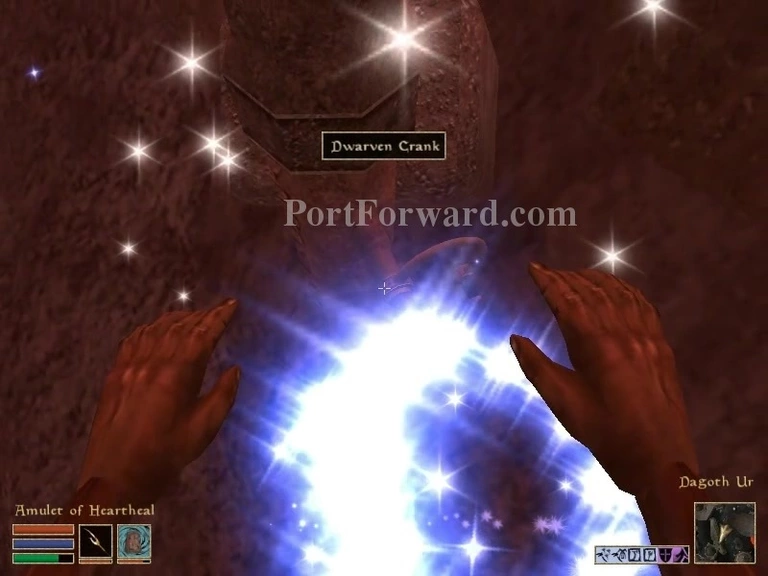
Below you should be a Dwarven Crank. It might take some time to find but it'll be around there.
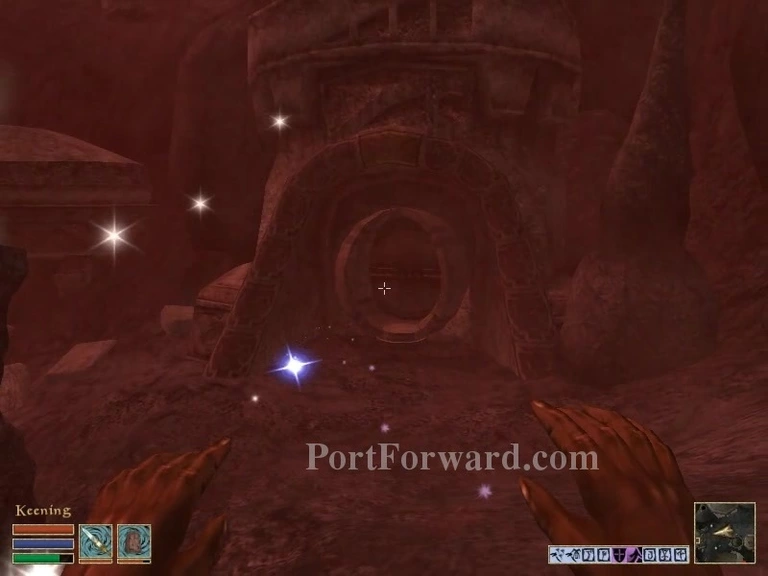
That'll move this part of the buildin revealing a door. Enter it to face Dagoth Ur.
More The Elder Scrolls III: Morrowind Walkthroughs
This The Elder Scrolls III: Morrowind walkthrough is divided into 3 total pages.


