You can jump to nearby pages of the game using the links above.
The Beginning
The Elder Scrolls III: Morrowind Walkthrough - The Elder-Scrolls-III-Morrowind 0
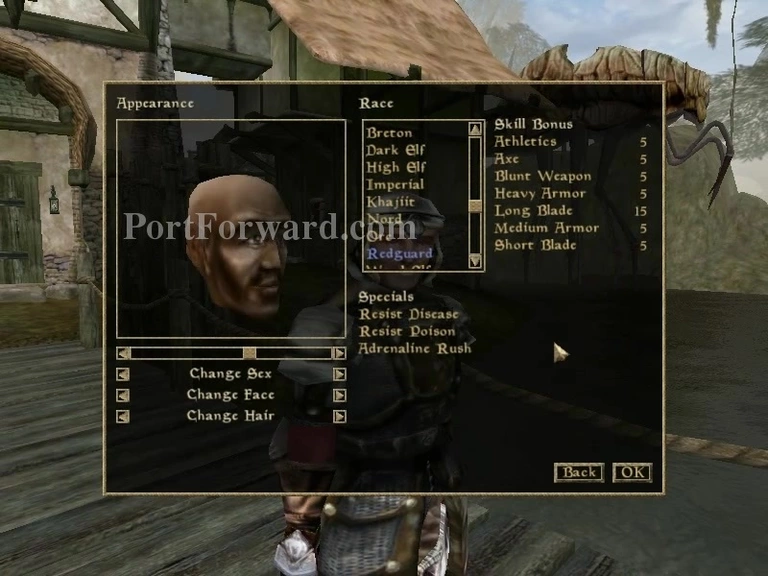
After you get off the boat and onto the dock, you'll be able to customize your appearence.
The Elder Scrolls III: Morrowind Walkthrough - The Elder-Scrolls-III-Morrowind 1
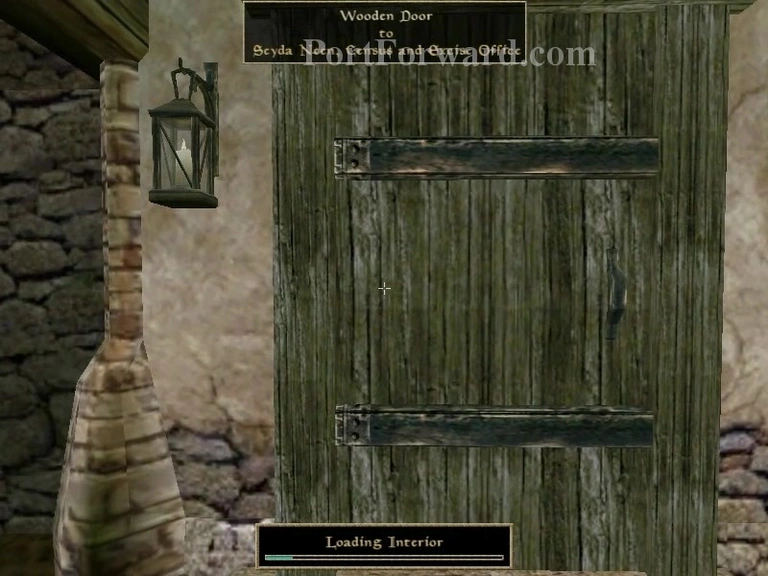
Then proceed to the door
The Elder Scrolls III: Morrowind Walkthrough - The Elder-Scrolls-III-Morrowind 2
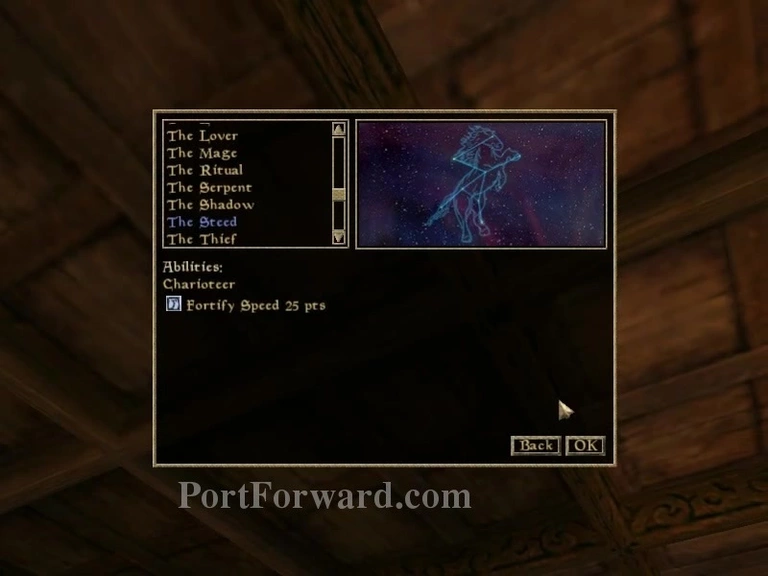
You'll be able to choose your sign. Choose The Steed.
The Elder Scrolls III: Morrowind Walkthrough - The Elder-Scrolls-III-Morrowind 3
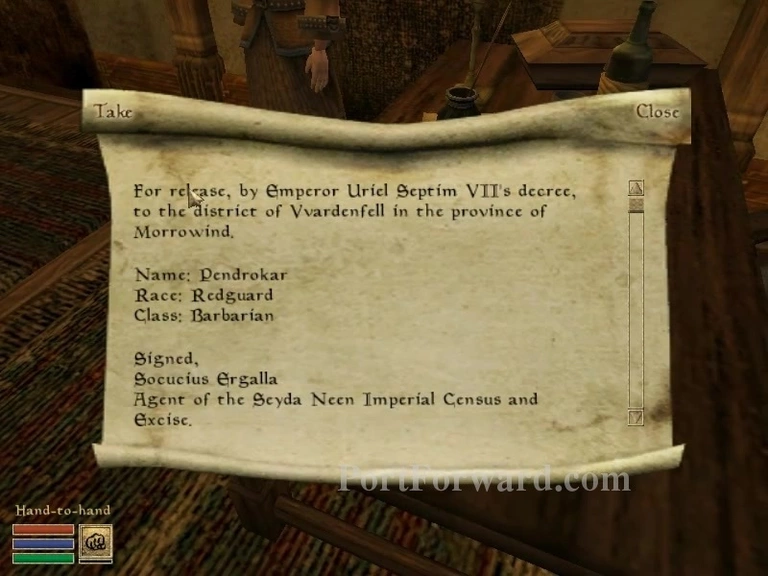
The guy inside will talk to you and you'll be able to choose your ccupation, if you may. Choose Barbarian.
The Elder Scrolls III: Morrowind Walkthrough - The Elder-Scrolls-III-Morrowind 4
After a review of the things you just chose, he'll give you your info.
The Elder Scrolls III: Morrowind Walkthrough - The Elder-Scrolls-III-Morrowind 5
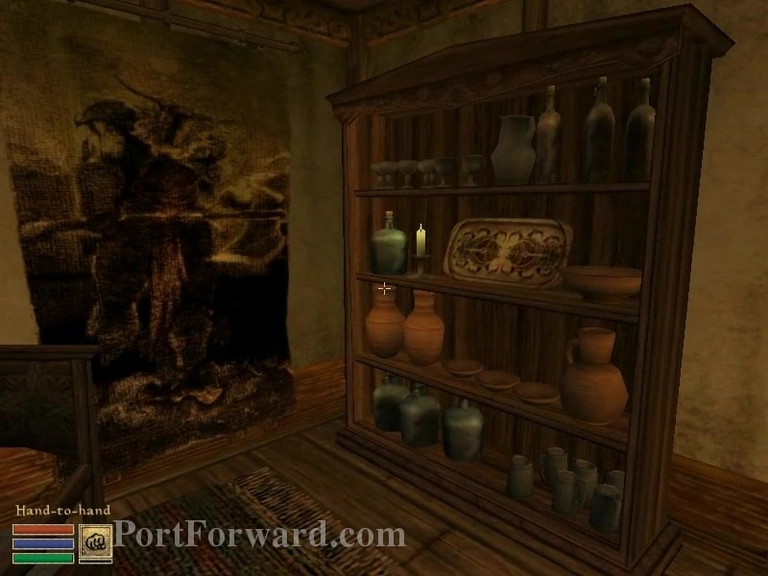
Steal the item on the shelf that's to your right.
The Elder Scrolls III: Morrowind Walkthrough - The Elder-Scrolls-III-Morrowind 6
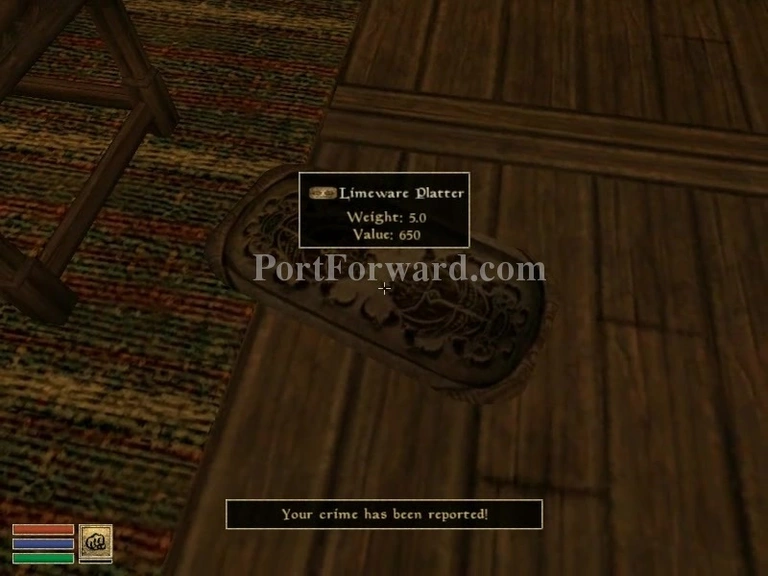
Drop it so he's outta the way rom the door.
The Elder Scrolls III: Morrowind Walkthrough - The Elder-Scrolls-III-Morrowind 7
Take it back.
The Elder Scrolls III: Morrowind Walkthrough - The Elder-Scrolls-III-Morrowind 8
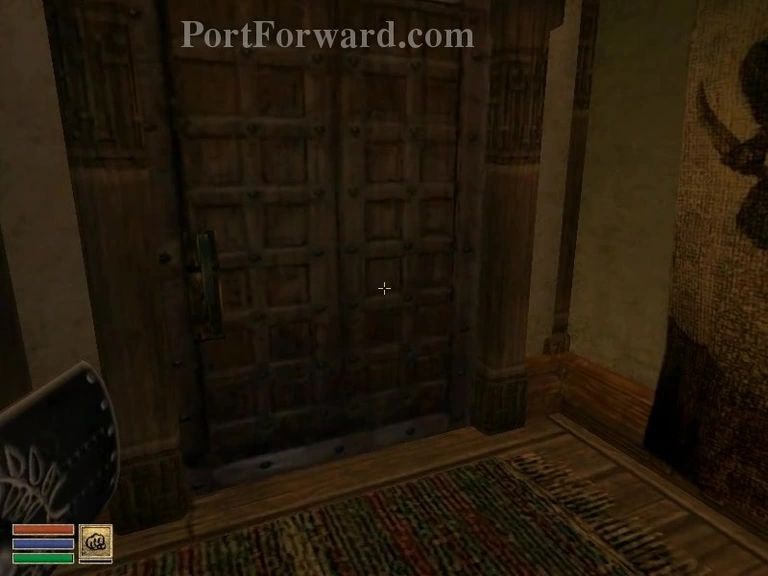
Then enter the door he was guarding.
The Elder Scrolls III: Morrowind Walkthrough - The Elder-Scrolls-III-Morrowind 9
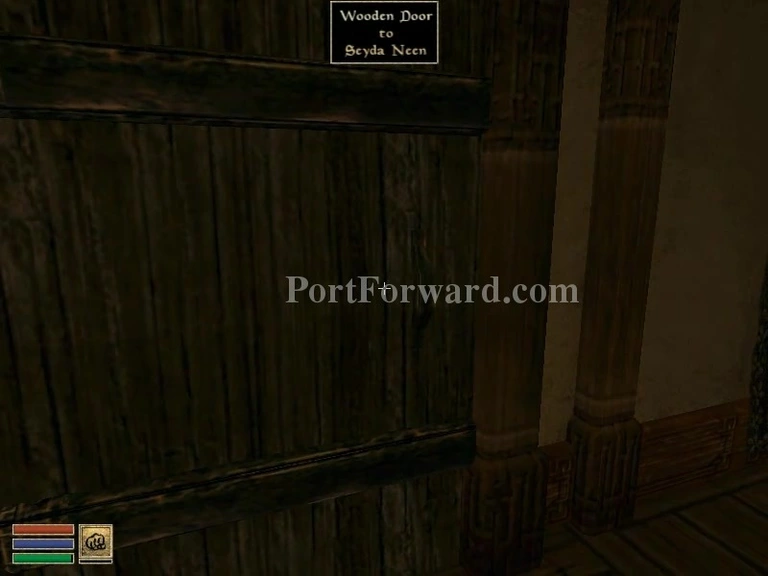
Turn right and enter this door to leave the building.
The Elder Scrolls III: Morrowind Walkthrough - The Elder-Scrolls-III-Morrowind 10
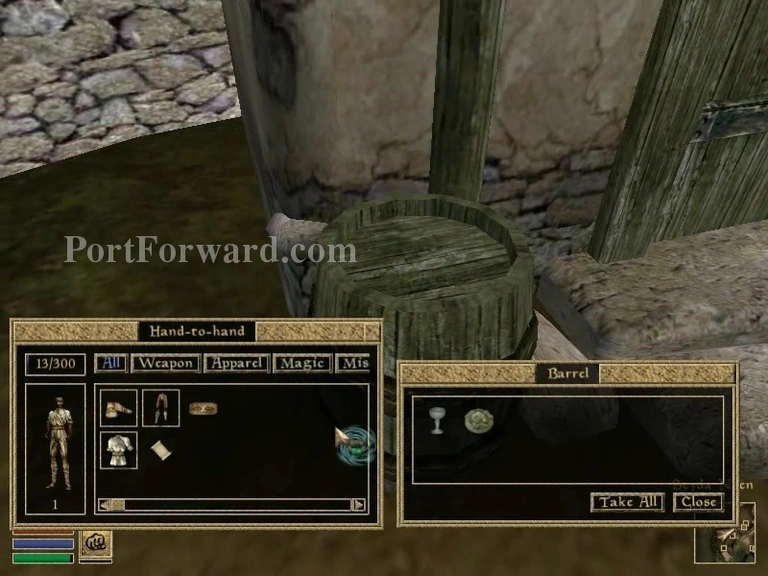
Check the barrell, there'll be a ring of healing, take it.
The Elder Scrolls III: Morrowind Walkthrough - The Elder-Scrolls-III-Morrowind 11
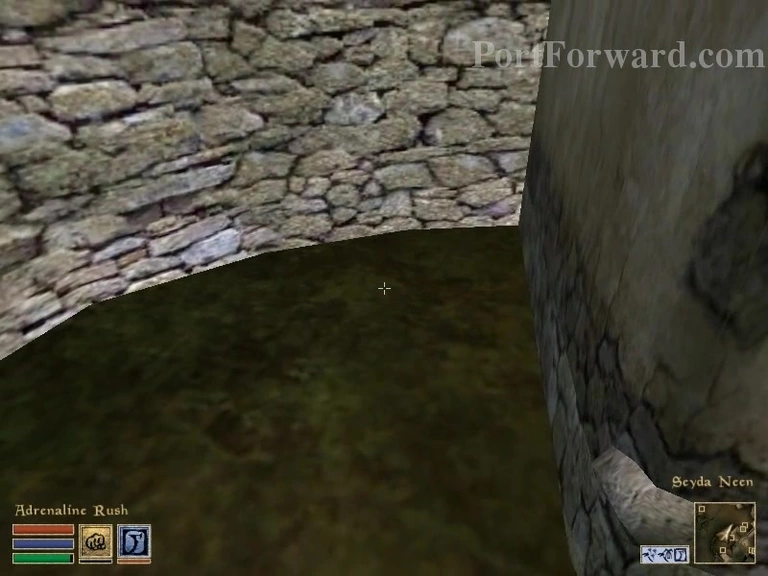
Commence Adrenaline rush to go through this wall.
The Elder Scrolls III: Morrowind Walkthrough - The Elder-Scrolls-III-Morrowind 12
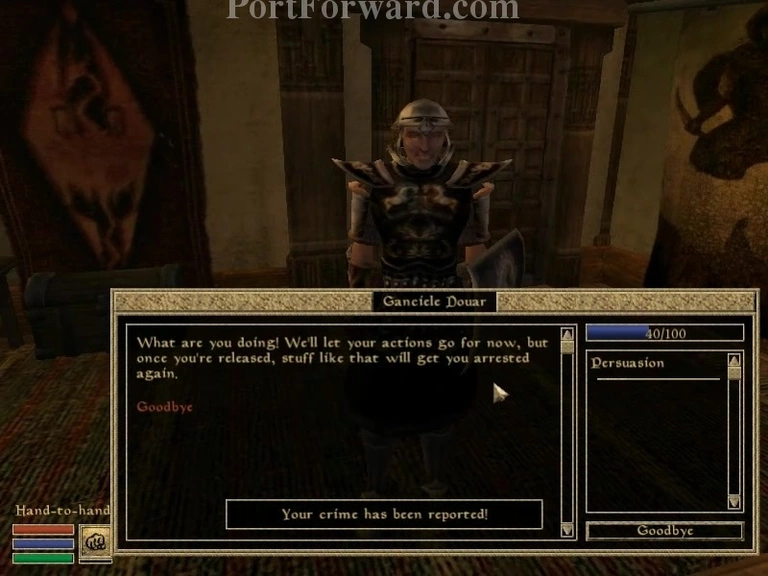
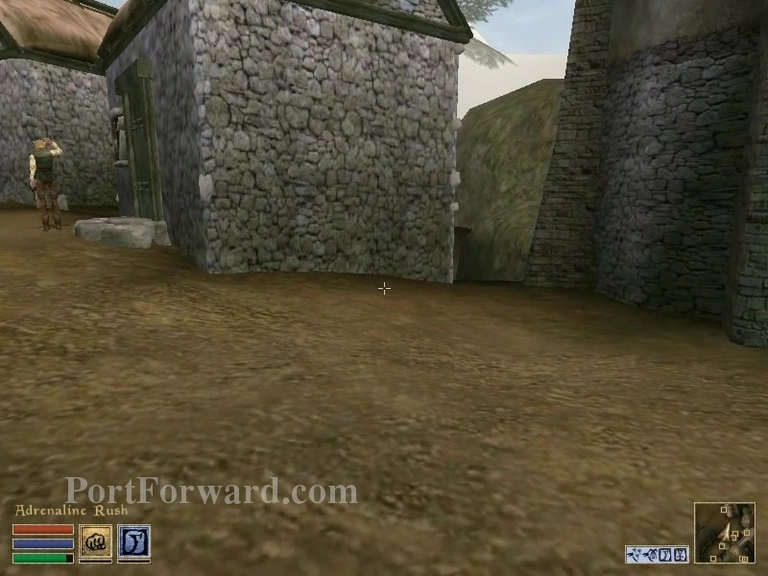
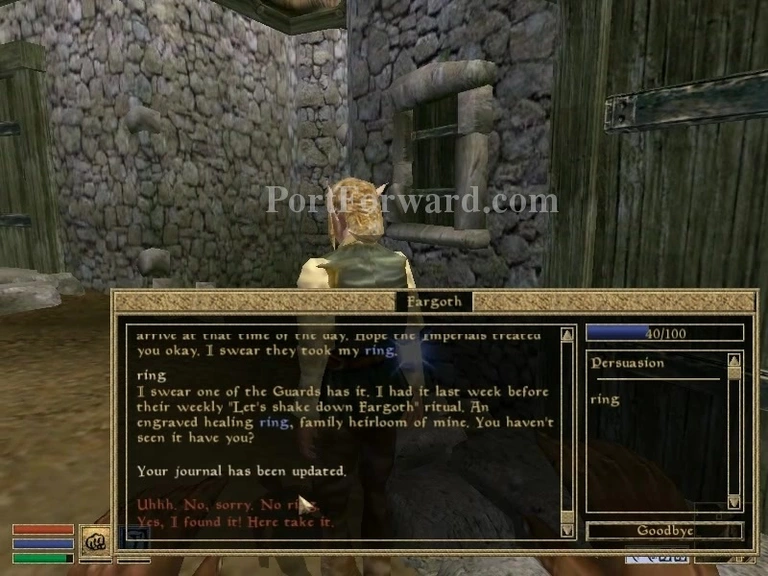
Then talk to the guy that's to next to that house.
The Elder Scrolls III: Morrowind Walkthrough - The Elder-Scrolls-III-Morrowind 13
He'll mention that ring you found, give it to him.
The Elder Scrolls III: Morrowind Walkthrough - The Elder-Scrolls-III-Morrowind 14
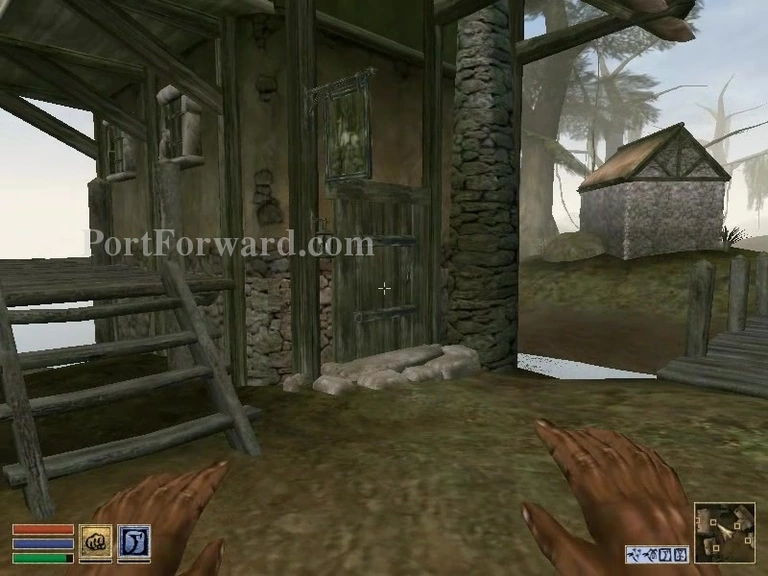
Now, go up the stairs and around the walkway to enter the tradehouse.
The Elder Scrolls III: Morrowind Walkthrough - The Elder-Scrolls-III-Morrowind 15
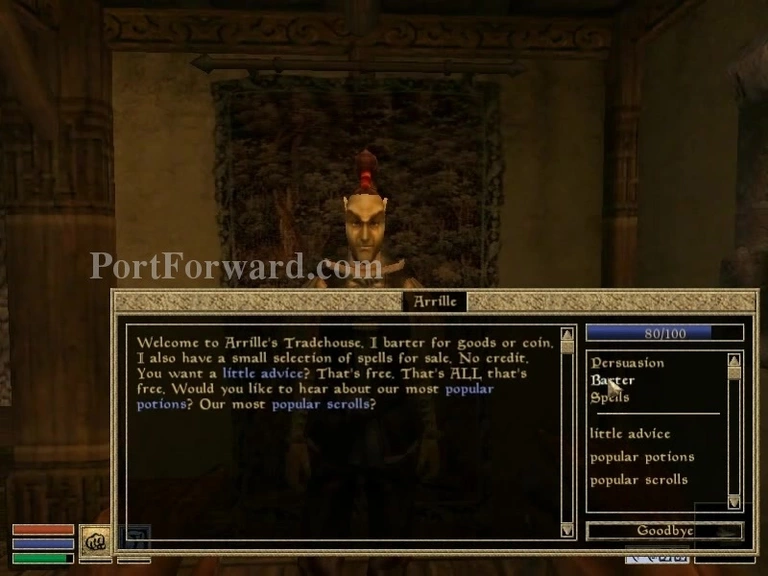
Select barter to get items. Buy: Scroll of Ondusi's Unhinging, and the Scroll of Almsivi Intervention. then sell your Limeware platter.
The Elder Scrolls III: Morrowind Walkthrough - The Elder-Scrolls-III-Morrowind 16
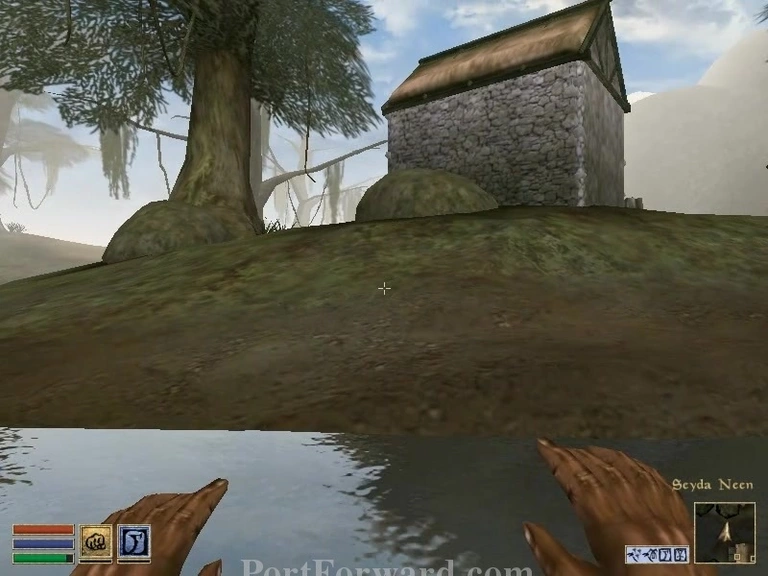
Leave the trade house and go directly straight into the water and swim across it.
The Elder Scrolls III: Morrowind Walkthrough - The Elder-Scrolls-III-Morrowind 17
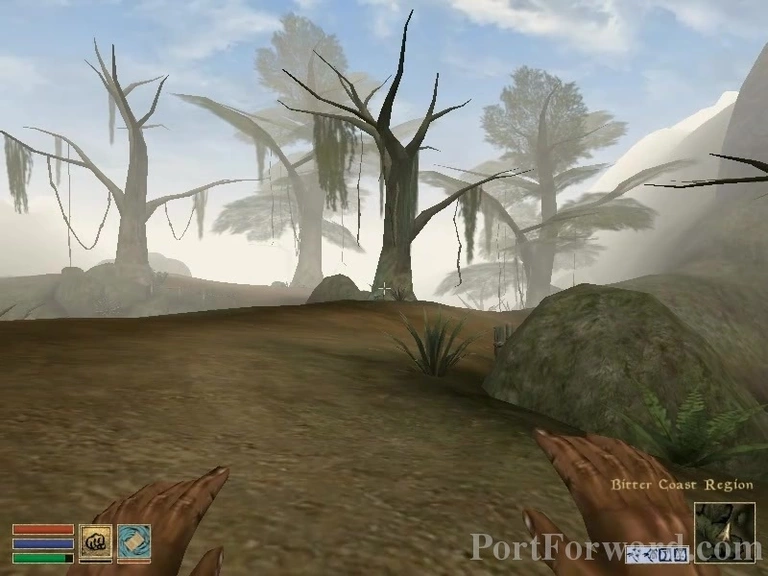
Reach the Bitter Coast Region.
The Elder Scrolls III: Morrowind Walkthrough - The Elder-Scrolls-III-Morrowind 18
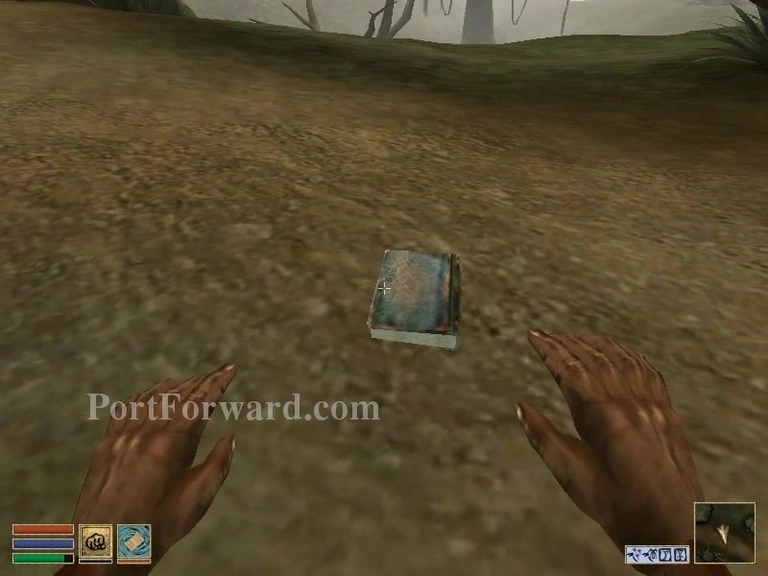
If you continue to go diagonally to the left, you'll find this book and hear screams. Wait for the wizard to come down.
The Elder Scrolls III: Morrowind Walkthrough - The Elder-Scrolls-III-Morrowind 19
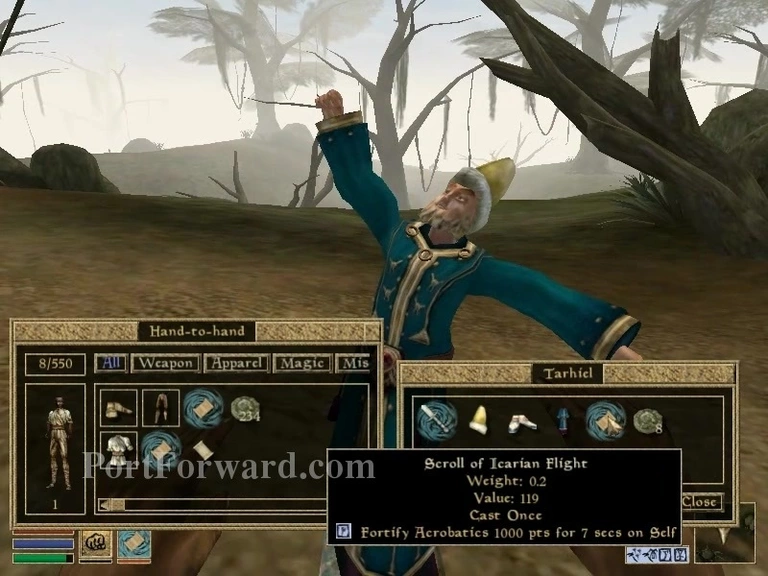
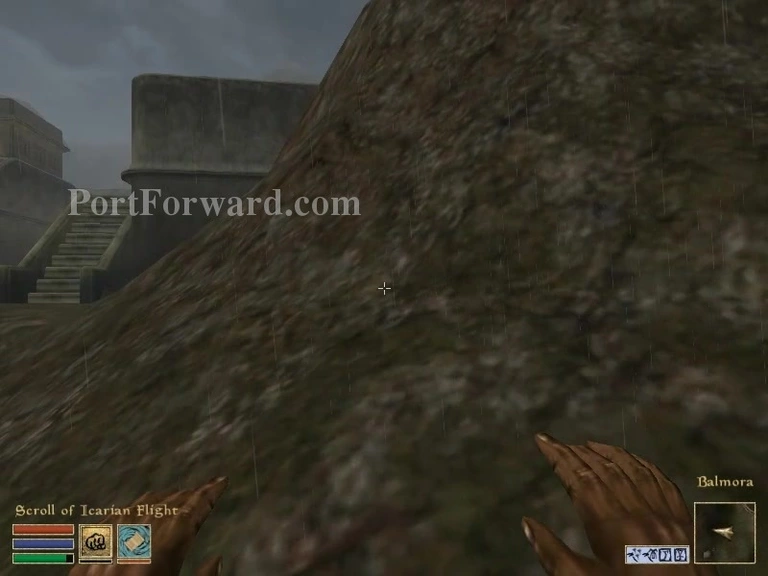
When he lands, immediately steal the scroll of Icarian Flight.
The Elder Scrolls III: Morrowind Walkthrough - The Elder-Scrolls-III-Morrowind 20
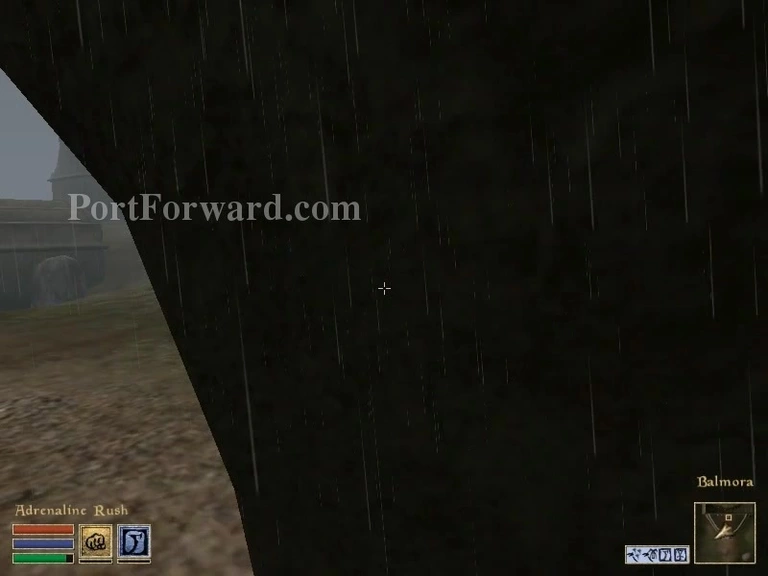
Then you'll be taken to Balmora.
The Elder Scrolls III: Morrowind Walkthrough - The Elder-Scrolls-III-Morrowind 21
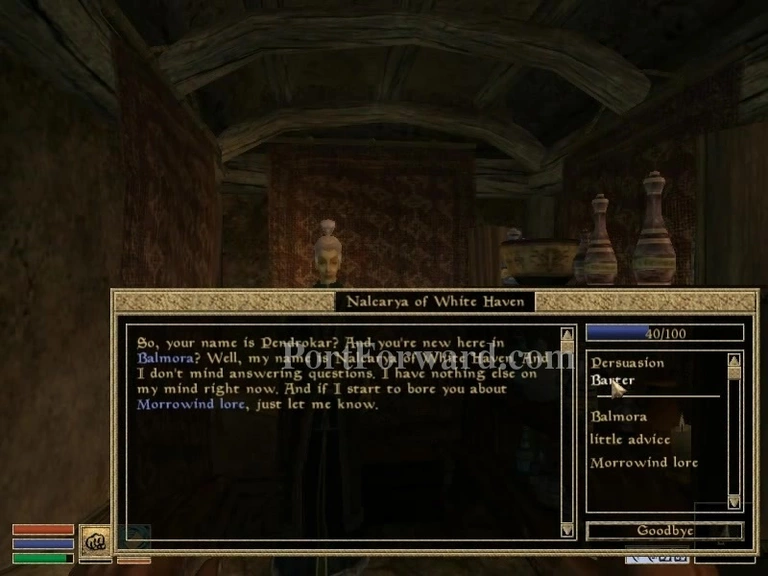
Turn to the right and go under the stairs to the alchemist.
The Elder Scrolls III: Morrowind Walkthrough - The Elder-Scrolls-III-Morrowind 22
Barter with her. Get, Potion of Recall x2, Potion of Marking x2, Standard Rising Force Potion. REMEMBER: Morrowind 1.0 will only allow you to do this bug.
The Elder Scrolls III: Morrowind Walkthrough - The Elder-Scrolls-III-Morrowind 23
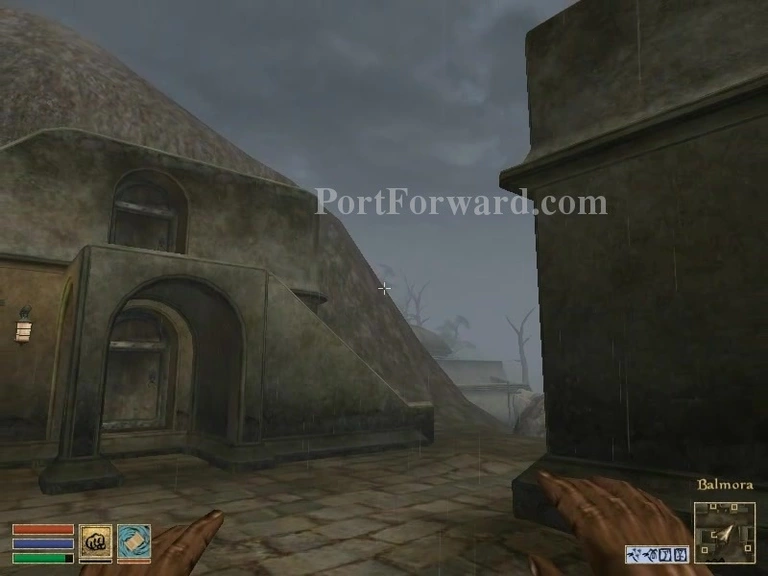
Use the scroll of Icarian FLight right here and fly away.
The Elder Scrolls III: Morrowind Walkthrough - The Elder-Scrolls-III-Morrowind 24
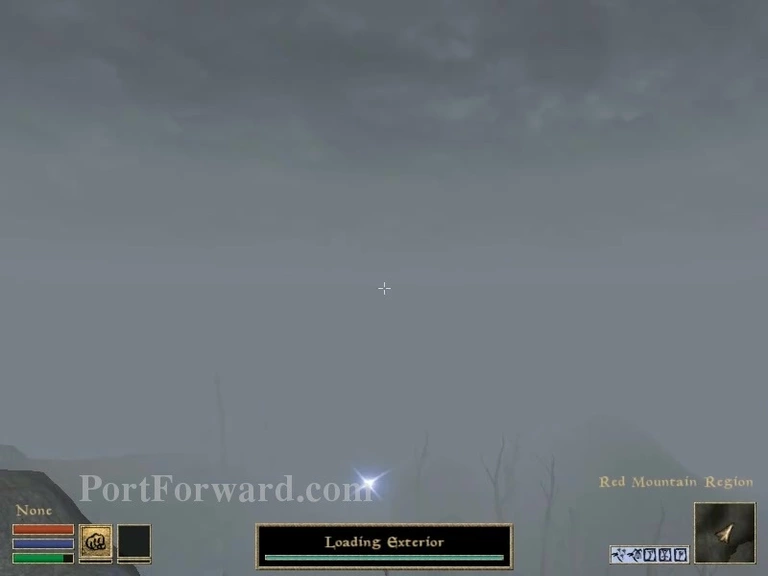
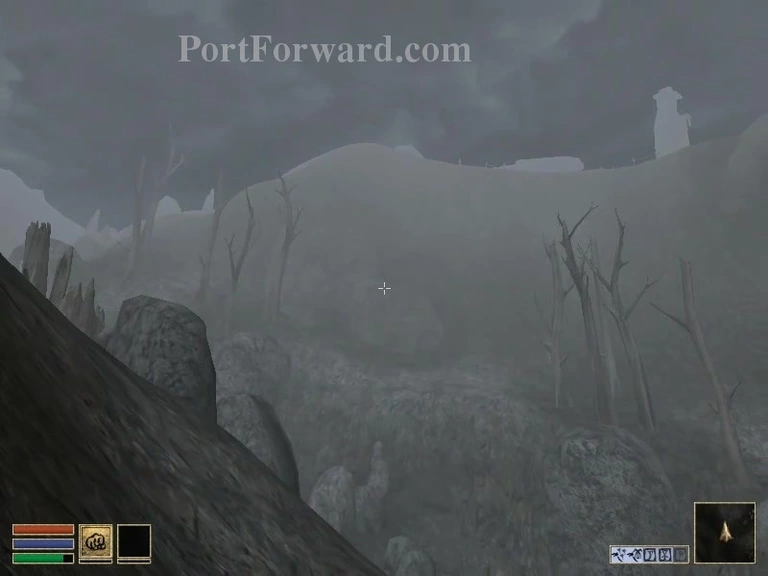
Stay still and land at the Red Mountains Region.
The Elder Scrolls III: Morrowind Walkthrough - The Elder-Scrolls-III-Morrowind 25
Fly up to that building which is Odrosal.
The Elder Scrolls III: Morrowind Walkthrough - The Elder-Scrolls-III-Morrowind 26
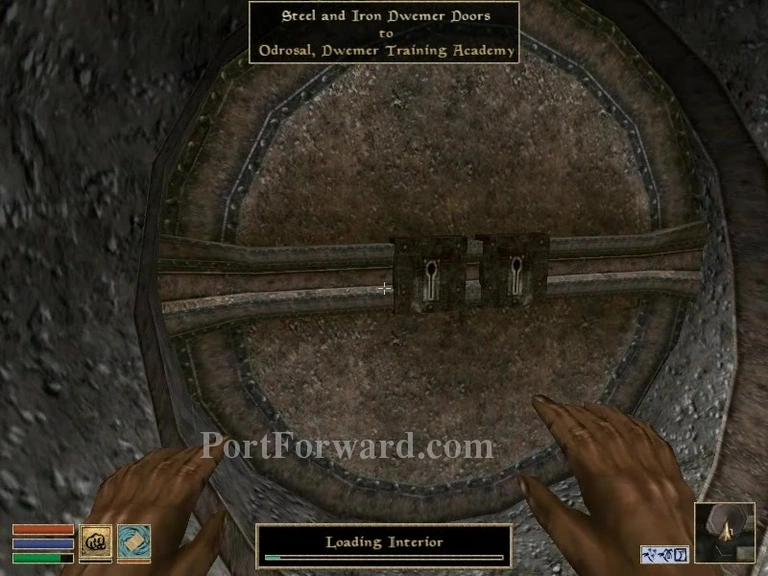
Enter this door to begin.
More The Elder Scrolls III: Morrowind Walkthroughs
This The Elder Scrolls III: Morrowind walkthrough is divided into 3 total pages.