
This The Legend of Zelda: The Wind Waker walkthrough is divided into 47 total pages.
You can jump to nearby pages of the game using the links above.
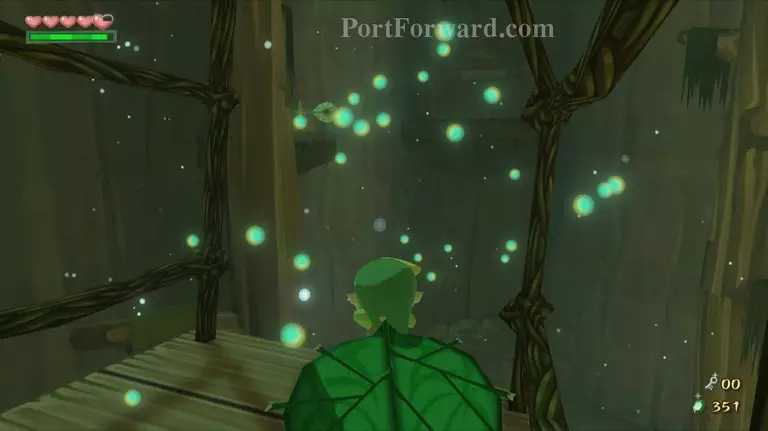
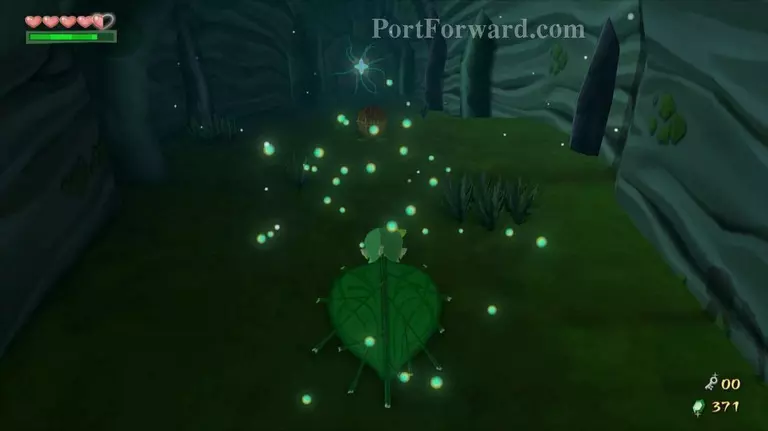
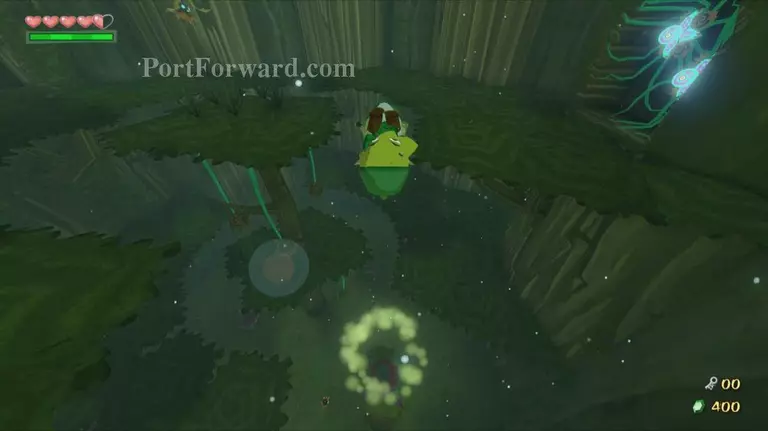
7.1 Forbidden Woods
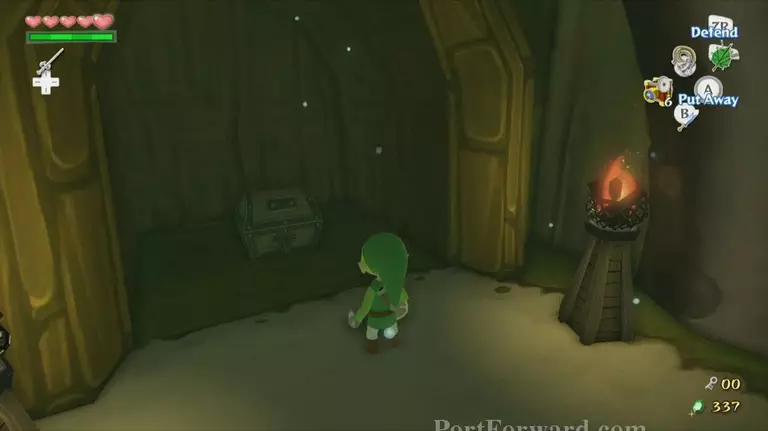
Start off the dungeon by heading along the path to the right. Defeat the Green ChuChus along the way and then open the chest at the top for the Dungeon Map.
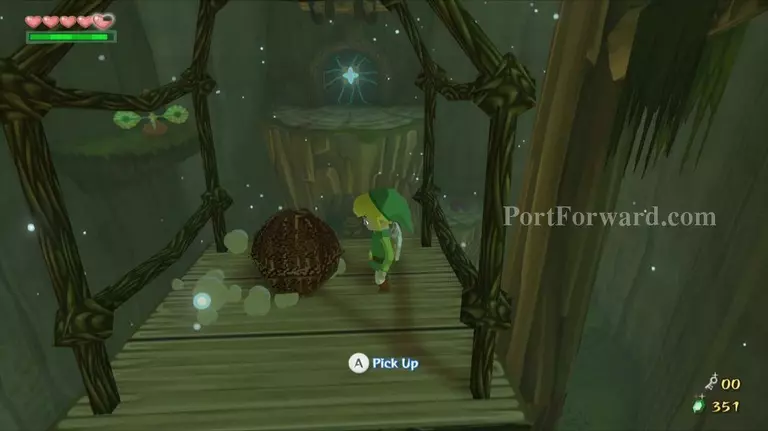
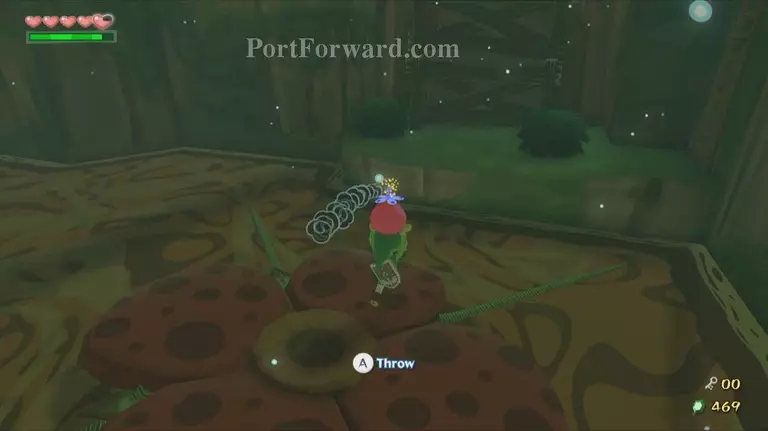
If you turn to the right you'll find another path down the middle of the room. Unfortunately, the door at the end cannot be opened due to a flower that has grown over it. Walk over to the grassy side of the room and grab the nut that is growing here. Walk with the nut until you are a few feet in front of the door. Throw the nut directly at the flower and it will die, allowing you to progress.
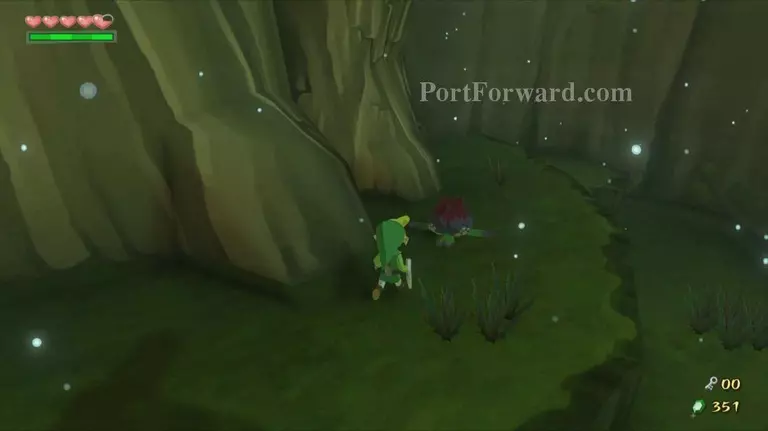
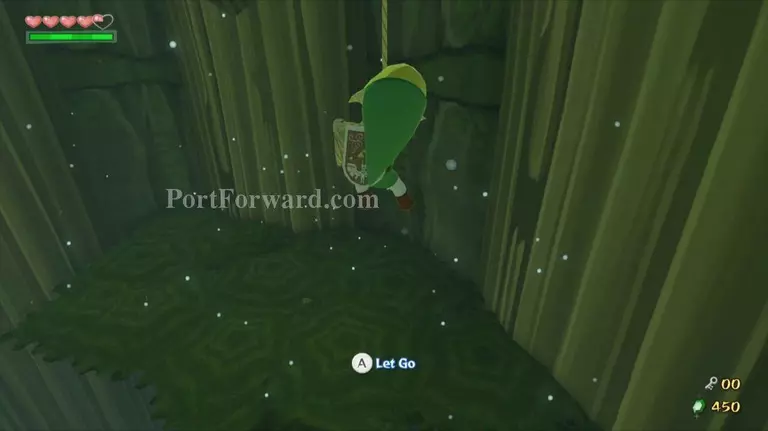
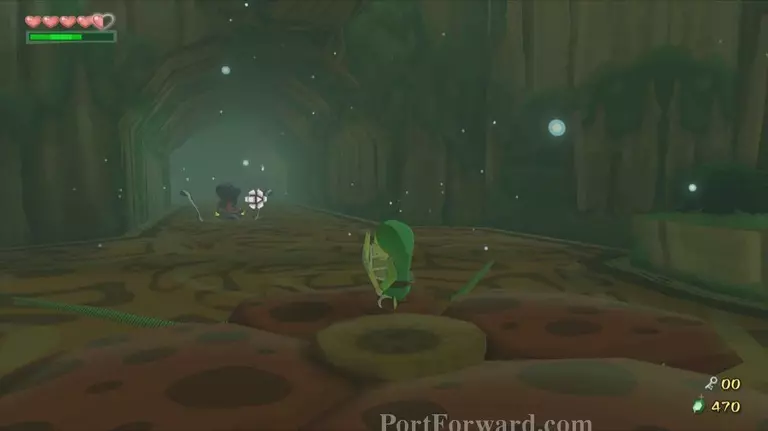
In the next room jump off the ledge and drop down to the bottom floor. Make sure you hold forward so you roll at the bottom and don't get hurt. Walk forward and defeat the two Boko Babas and the four Green ChuChus found here.
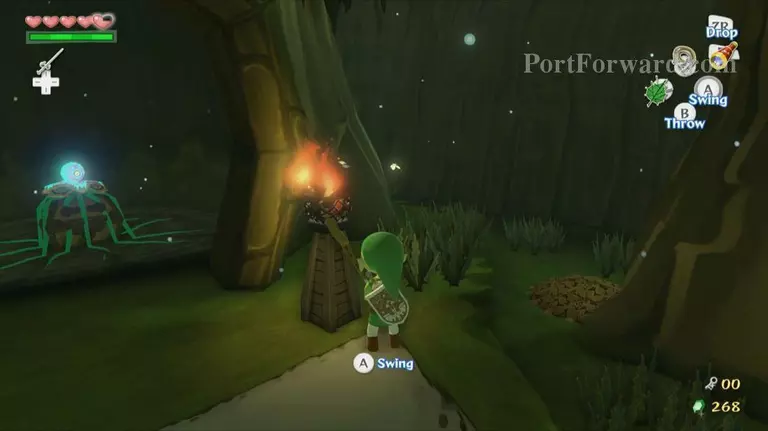
Pick up one of the Boko Sticks left behind and light it using the torch nearby. Inside the tree ahead you'll see a chest with another flower on top of it. Walk up to the flower and use the burning stick to light it on fire. Open the treasure chest to get a Knight's Crest.
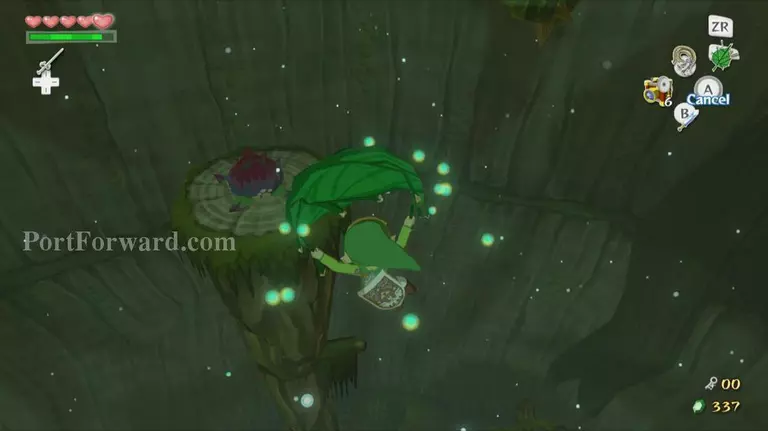
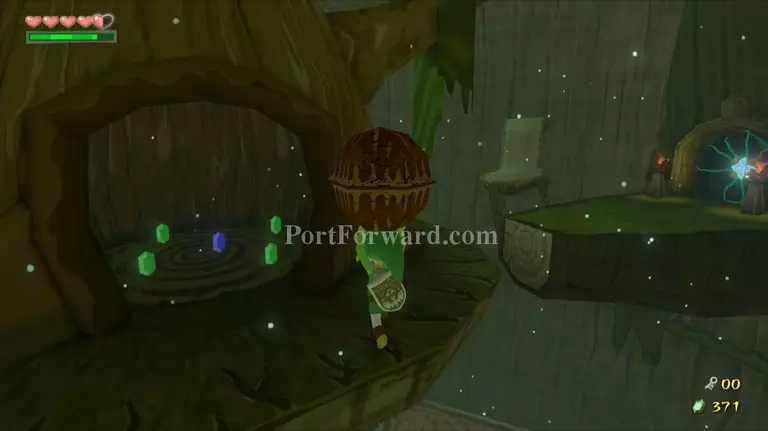
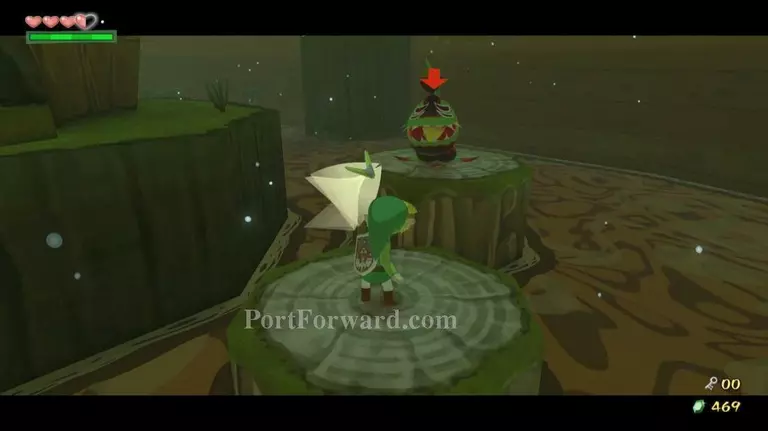
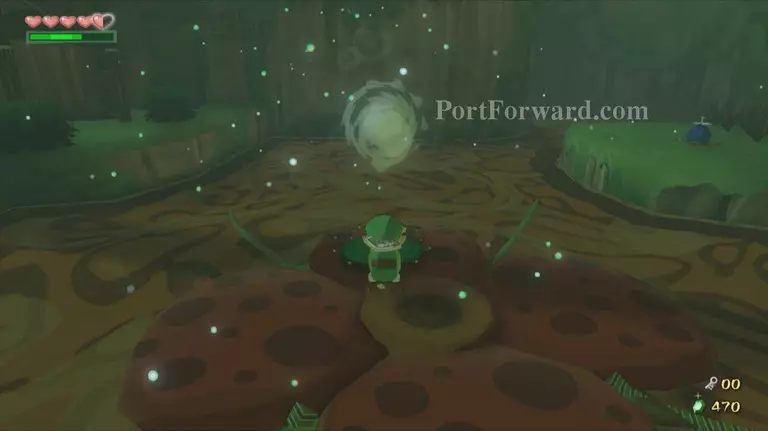
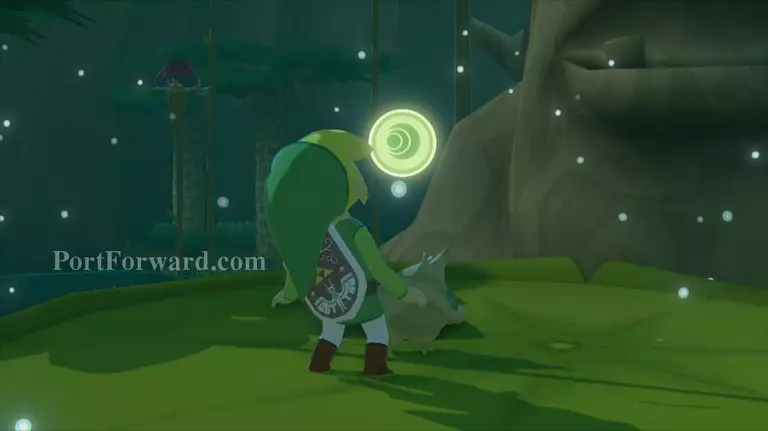
Walk back along the path and you'll find a Boko Bulb that you can use to climb higher into the room. Use this Boko Bulb and then fly over to the next Bulb you can reach.

Continue doing this until you can reach the door on the northern side of the room.
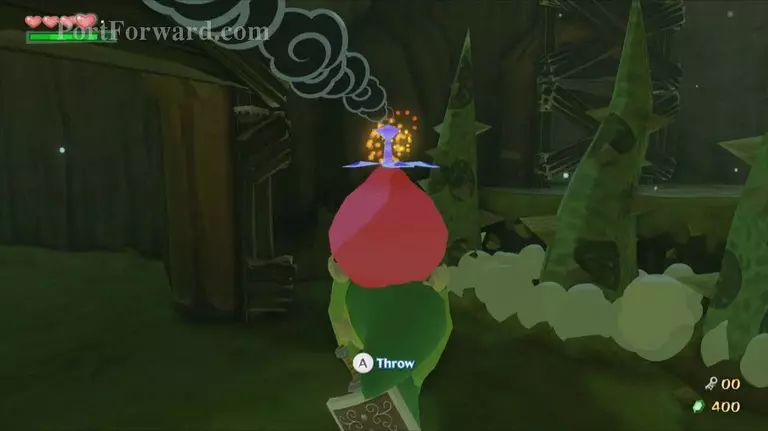
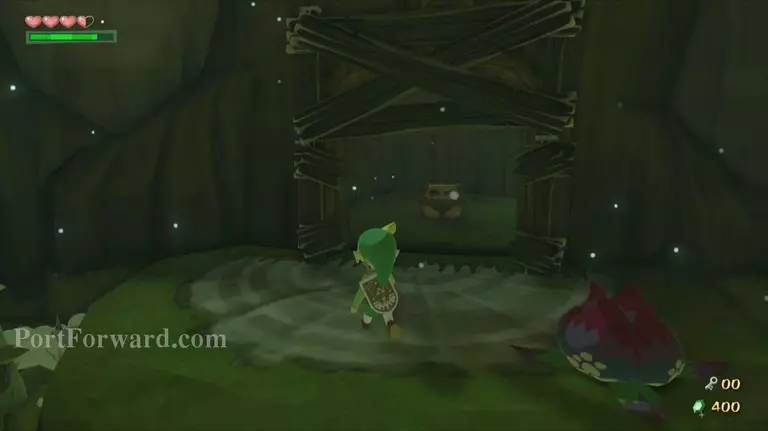
You will find another flower growing on this door, but there is no nut to be found on this platform. Walk over to the right and you will find a bomb growing in the grass. Lift it up and place the bomb next to the flower. If the flower is open the bomb will explode and destroy it, allowing you to walk through the next door.
"In the next room, use your Deku Leaf to blow a gust of air at the switch to the left. Hop on the cart that comes towards you and move it forward by blowing a gust of air at the door you came in from. Once you make it to the other side head through the next door.

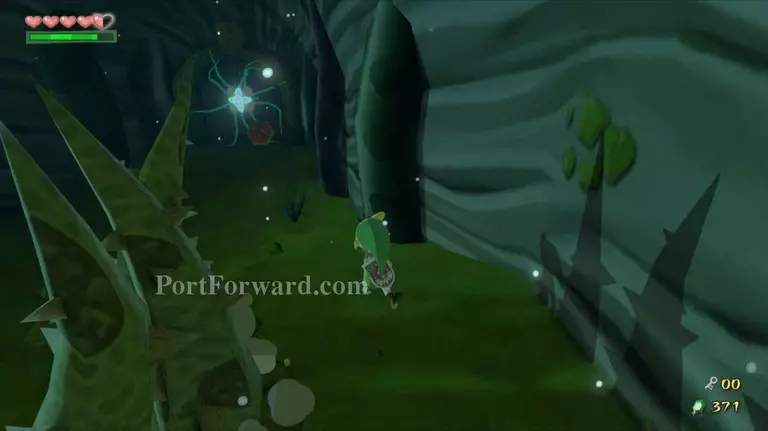
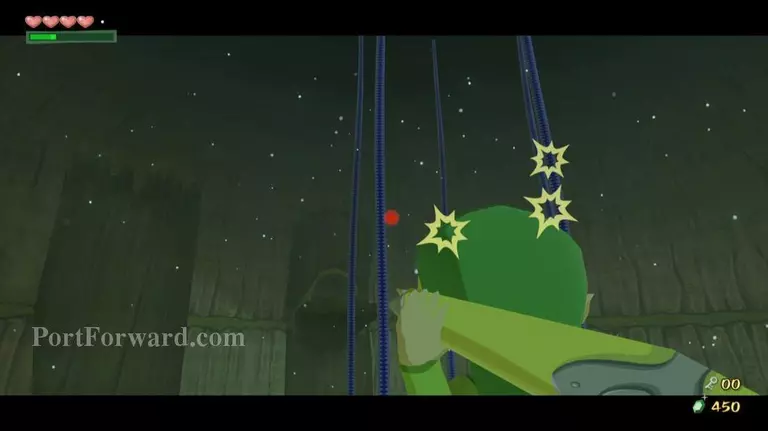
Use your Grappling Hook to steal a Golden Feather from the Peahat in this room, and then use the Deku Leaf to knock it to the ground. Kill it with your sword while it's still lying on the ground.
As you go through the dungeon, whenever you encounter a Peahat, you want to use the Grappling Hook to acquire the Golden Feather. We will need 20 of these for a future quest.
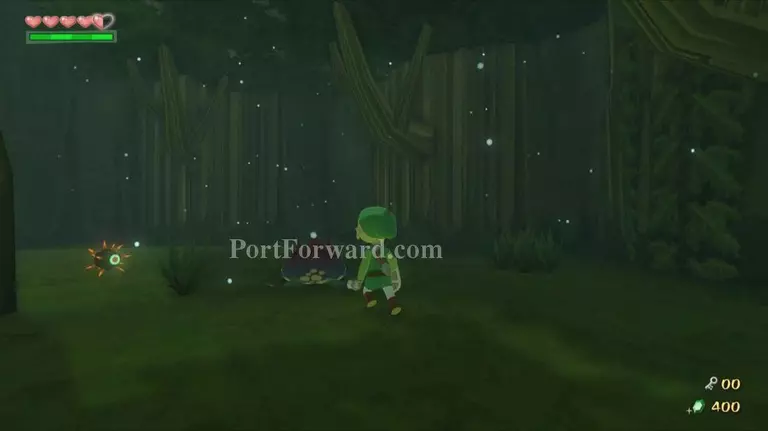
Climb up the ramp in the middle of the room and defeat the three Boko Babas found here. Walk along the path to the left and collect the rupees here, and then walk back along the right side of the path. Use the Boko Bulbs to climb up this area to the next door.
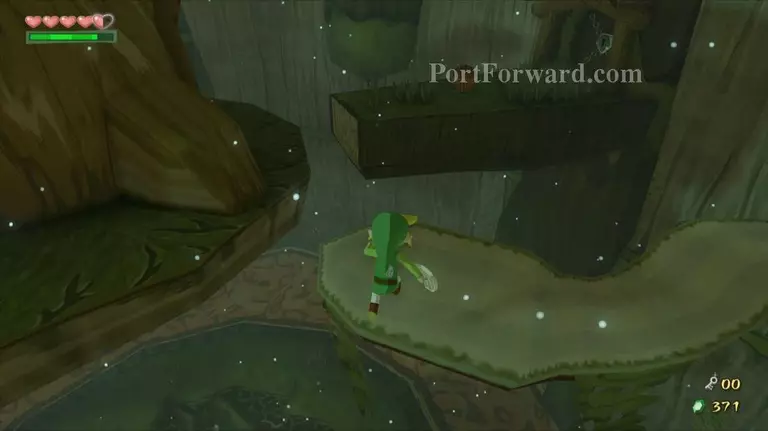
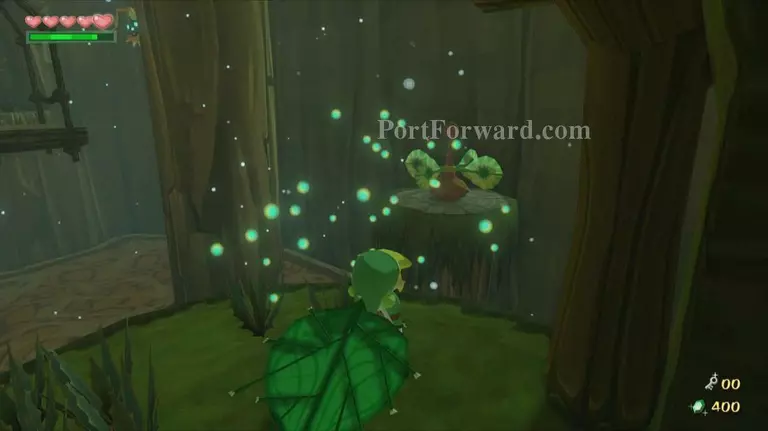
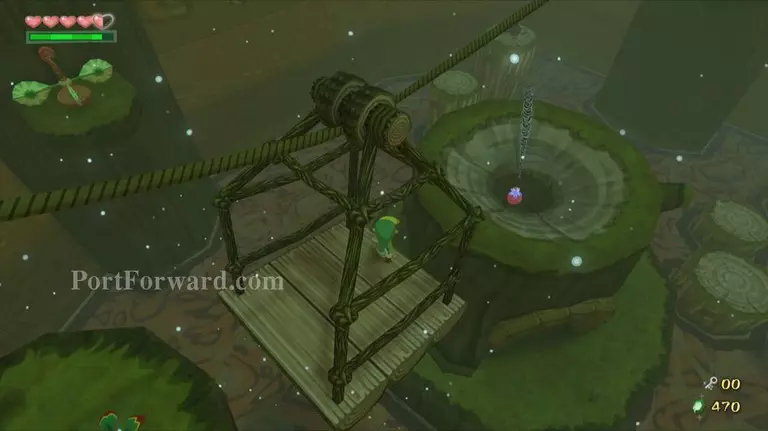
Sadly there is another flower covering this door, blocking our progress. Hit the switch nearby with the Deku Leaf to bring another cart over. Hop on the cart and use it to reach the other side of the room. Break the boards here with your sword and grab the nut behind them.
Place the nut on the cart and then use your Deku Leaf to float to the north side of the room and land in the small section inside the tree below.
Open the chest here for another 20 rupees.
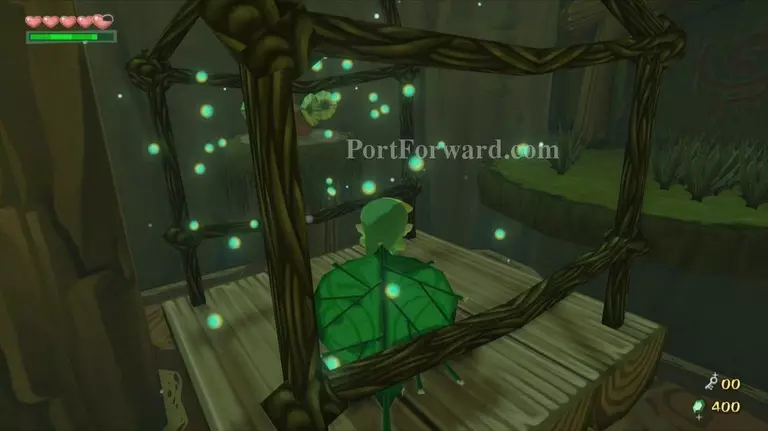
Use the Boko Bulbs from before to get back to the top of the tree, and then use the Deku Leaf once again to blow the cart towards you. If the nut broke along the way, grab another one and stay on the cart this time as you bring it back. Once you have successfully brought a nut over use it to destroy the flower, and then continue to the next room.
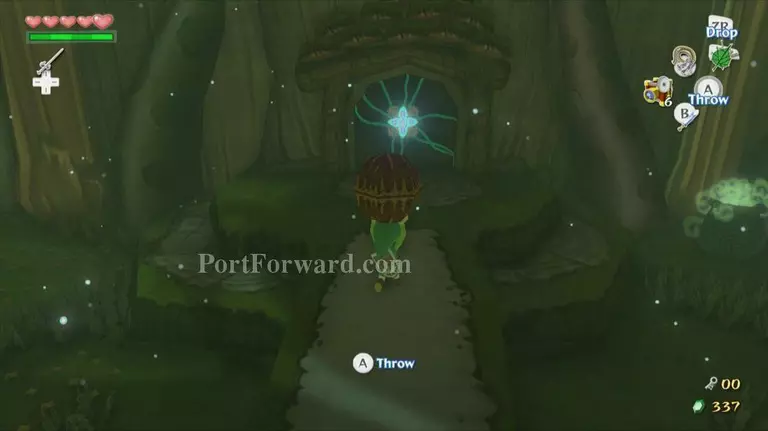
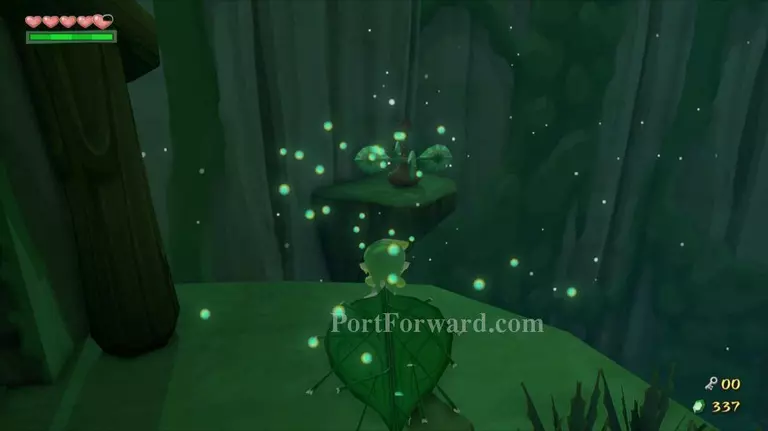
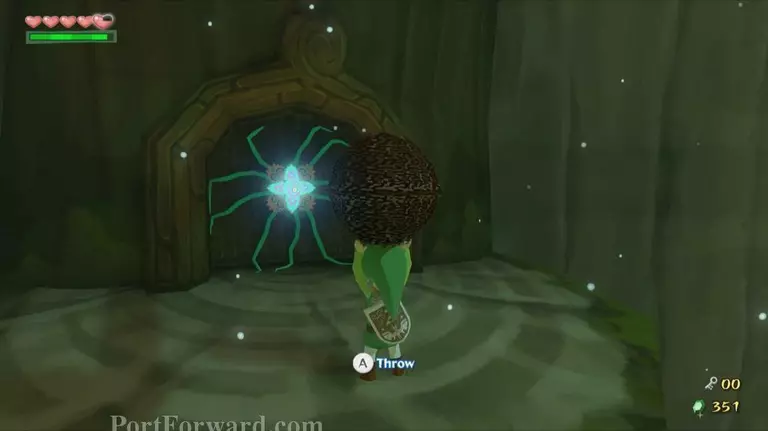
If you approach the nut in this room several vines will spring up and block your way. Instead, use the Deku Leaf to blow the nut towards the door and walk around the circle of vines. Throw the nut at the flower on the next door and head through it.
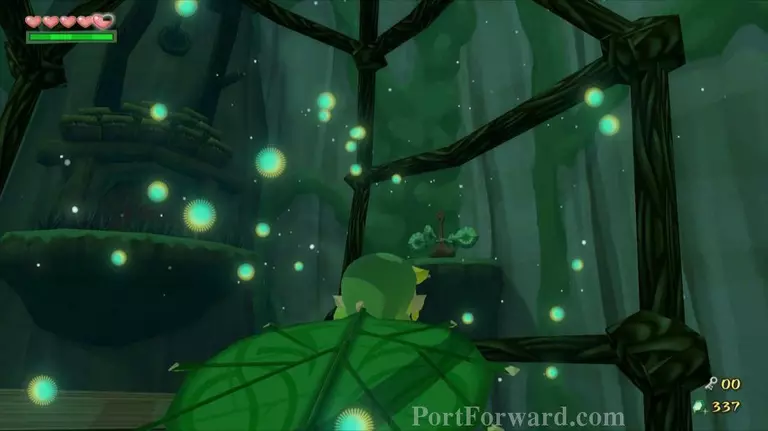
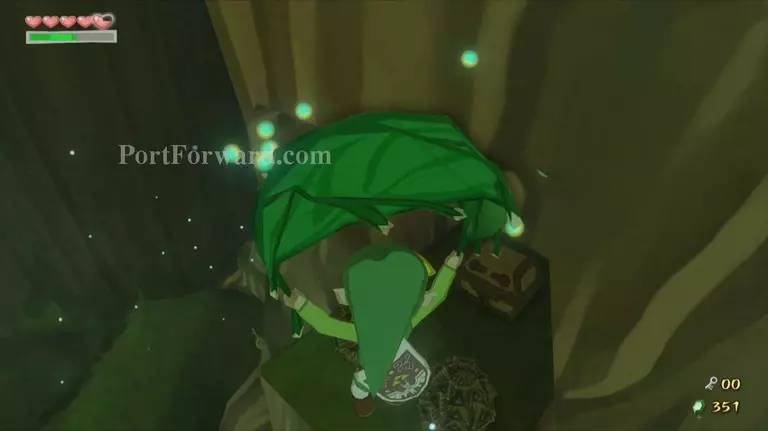
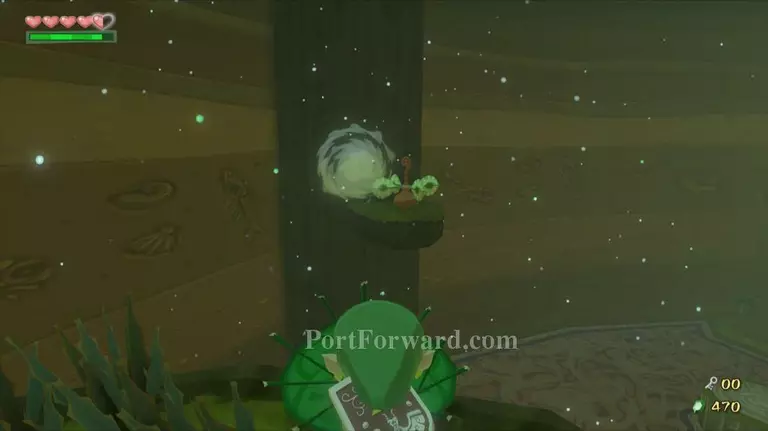
Head to the right and grapple across to the next section. Hop across to the next section by using the moving branches. Grab the nut you find here and hop over onto the hanging tree in the center of the room.
Collect the rupees inside the tree, and then walk around the outside of the tree until you can jump onto the platform on the west side.
Throw the nut at the flower on the door to destroy it. Before you walk through it, use the moving branches to the left to climb to the top of the room.
"Blow the leaves off of the pot hidden in the ground, and then head back down the branches and through the door.
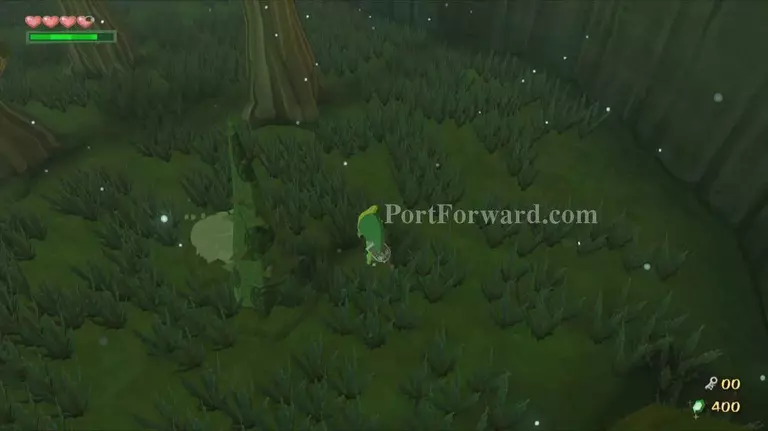
There are many vines located in this room that act as a sort of maze. This can make this room tricky and annoying to complete, so make sure to walk slowly to avoid hitting the vines that pop out of the ground.

"Head straight until you begin to reach the tree ahead of you, and then turn left. When the vines pop up in front of you, turn to the left and walk to the wall. Turn right, then right again almost immediately, and you will find a bomb in the grass. Pick it up and throw it at the wooden panel closest to you.
Face towards the east, then turn left and continue straight. Go the left side of tree and once you pass the tree head right until you reach a wall. Turn left again and then once more so you're on the other side of the vines. Go straight and turn right at the tree. Turn left at the wall, and then left again on the side of the vines.
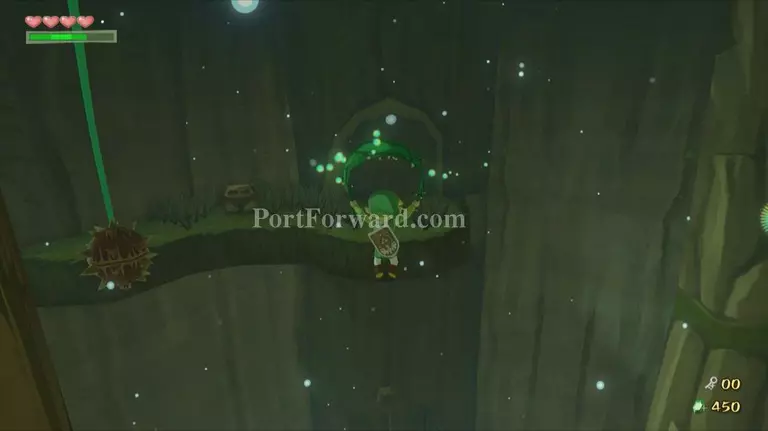
Continue straight and head up to the platform once you reach it. Open the chest for a small key, and then hop into the Boko Bulb outside. Use it to fly over to the door we came from and head through it. Optionally, you can fly over to the platforms in this room and collect some rupees, health, and a Joy Pendant.
Now that you're back in this room, run straight through it and jump the gap in the middle. Defeat the Green ChuChus that appear if you'd like and head through the door.
Jump onto the tree platform once again and then head left and jump off at the next platform. Head through the door with the small key we just got. Grab another Golden Feather from the Peahat in this room, and then blow it down into the water. Quickly blow the switch with the Deku Leaf and make your way across the room, then head to the next door.
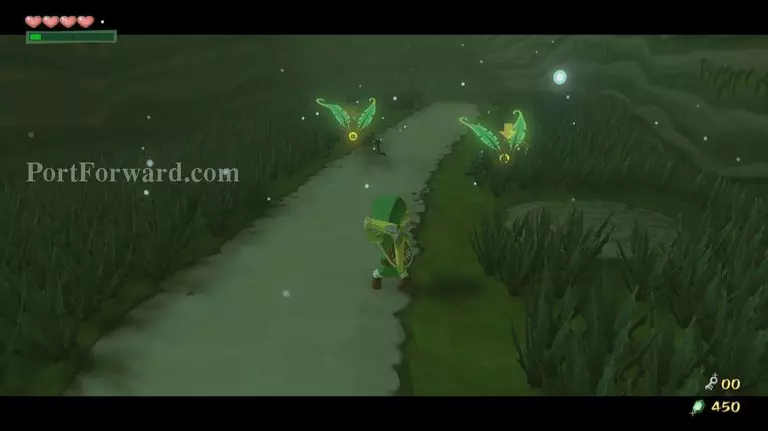
In the next room you'll find a couple of Boko Babas, a Peahat and a wingless Mothula. Defeat them and then use a Boko Bulb to get yourself onto the top of the trees.
Jump into the lone Boko Bulb in this area and defeat the Peahats nearby.
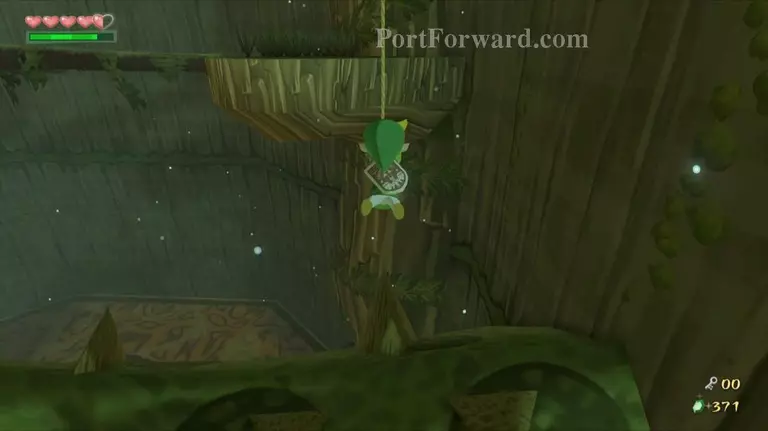
Use the Grappling Hook on the pole near the door, and then climb all the way up the rope so that you're standing on top of it. Grapple the next hook as well and drop down on to the platform below.
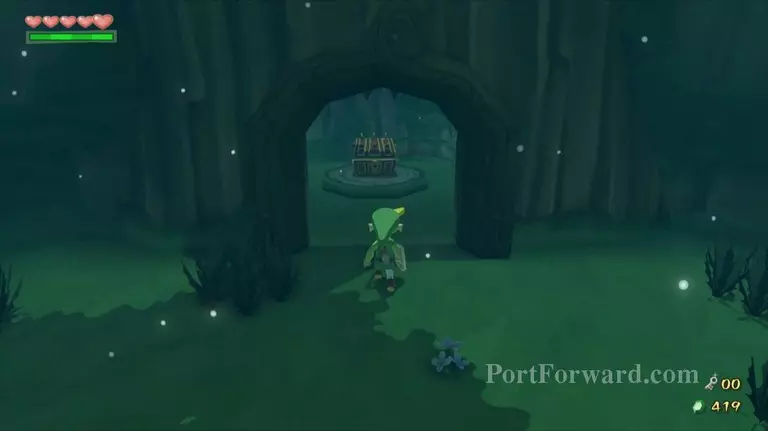
" Use the moving branches to make your way across the room. Cut down the trees you find and open the chest for another Joy Pendant.
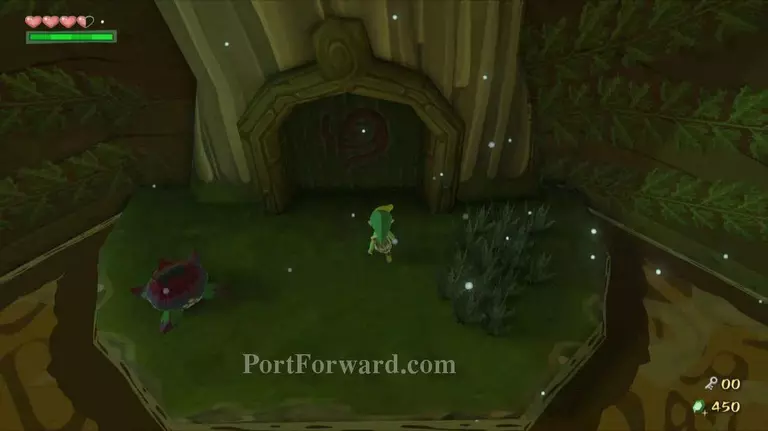
Jump back down and use the Deku Leaf to fly over to where we originally used the Grappling Hook. Walk through the door to face the dungeon miniboss.
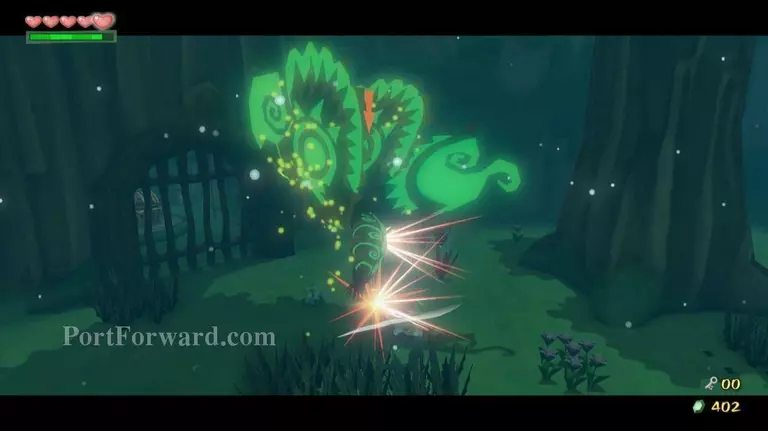
Bars will slam over the door and a Winged Mothula will drop down off the wall. The best method to defeat it is to use the Deku Leaf to blow a gust of air at it. This will momentarily stun it, allowing you to attack it with your sword while it falls down. Alternatively, you can also wait until it draws near to attack it.
Once the Mothula is hit it will start charging at you. You can either quickly avoid it or use a Parry attack to do even more damage. After you've hit it with the sword four times it will become a regular Mothula. You can now attack it with relative ease until it dies.
"After you've defeated it a locked area will open, allowing you to open the chest inside for the dungeon item: the Boomerang. This item will allow us to hit various targets and either stun or defeat most enemies.

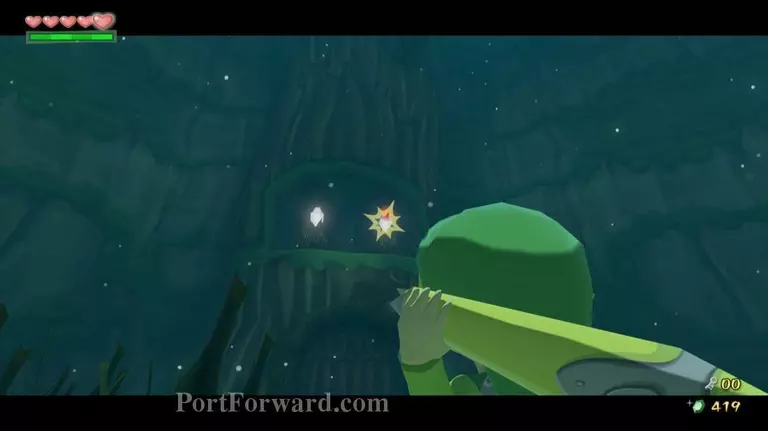
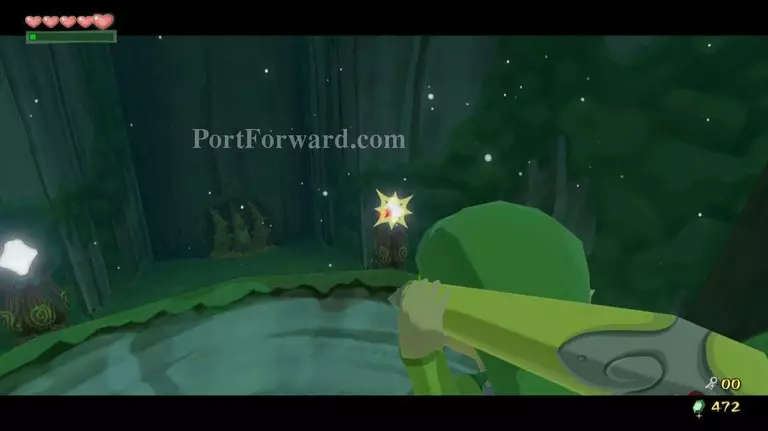
Walk over to the opposite side of the room and use the Grappling Hook on the Peahats, then finish them off with the Boomerang. Use the Boomerang to target and defeat the two flowers on this door, and then head through it.
Inside the next room you will find various spiked plants hanging from the wall. Use the Boomerang to target them and knock them out of your way. You don't need to knock down all of them; only the ones in the middle will get in our way. Once you do so, use the Deku Leaf to fly across to the other side and open the chest here for a Joy Pendant.
Through the next door we will find the large tree we were jumping on before. Use the Boomerang to target the five vines holding it up and cut them down.
This will cause the tree to break the floor barrier below to open up a new area. Jump down through the hole where it fell and enter the door here.

Use the Boomerang to take out the Peahats and the Morths in this room. Jump to the platform in front of you and then onto the platform to the right. Hop across the remaining gap and walk forward.
Two Parasitic Tentacles will come out of the ground. These enemies will not hurt you, but they will drain your magic once they grab a hold of you. Defeat them with the Boomerang and then kill the Green ChuChus. Once they're defeated head through the next door.
Jump onto the flower in the middle of the room and then jump across to the next section. Open the chest here for another yellow rupee. Use the Boomerang to cut down the vines holding up the flower so it falls down to the water below. Hop down onto the flower and grab a bomb on the south side of the room.
Jump onto the flower with the bomb and then throw it at the wooden panels to the north to blow them up. Enter through the door behind the panels to go into the next room. This next room contains only a Treasure Chart, so if you'd like to move past it skip the next 2 paragraphs.
Use the Deku Leaf to blow away leaves on the platform in front of you. Kill the Peahats with the Grappling Hook and the Boomerang, and then use the Boomerang to kill the Boko Baba. Jump over to the central platform and walk around the tree.

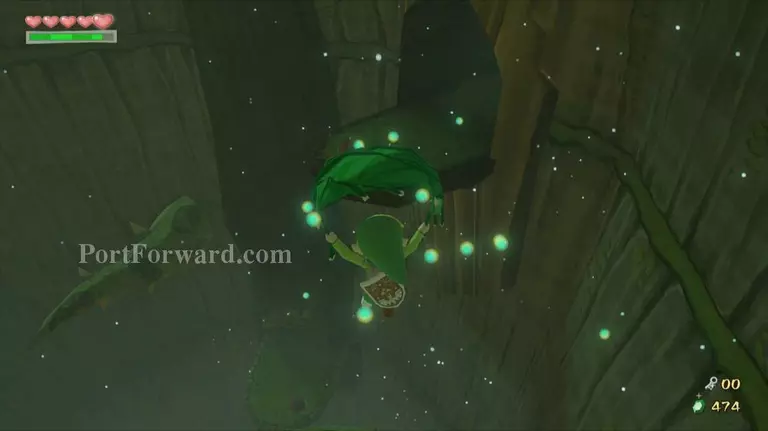
Kill the Morths on the next platform and then jump onto it. Defeat the Boko Baba on the next platform and jump into the Boko Bulb that appears. Once you are shot into the sky use the Deku Leaf to float over to the platform nearby.
Blow some air at the switch to bring another cart over to you and then hop on it. Cross over to the other side of the room and pick up the bomb here. Hop onto the cart again and throw the bomb into the hole on top of tree stump below. The bomb will fall and kill the plant inside.
Jump down into the hole and open the chest for Treasure Chart #15. Crawl out of the tree and head through the door to exit the room.
Jump onto the flower and use your shield to block the Octorok's attack and send it flying back towards him. Use the Deku Leaf and blow air at the eastern wall to move the flower along the top of the water.
Continue doing this until you reach a wall and two more Octoroks. Defeat them as well, then use the Deku Leaf to reach the platform at the end of the path.

Ignore or kill the Parasitic Flowers and ChuChus here and head through the door. Vines will appear behind you, blocking the way out. Climb up the ramp along the tree in the center and you will be surrounded by 5 switches.
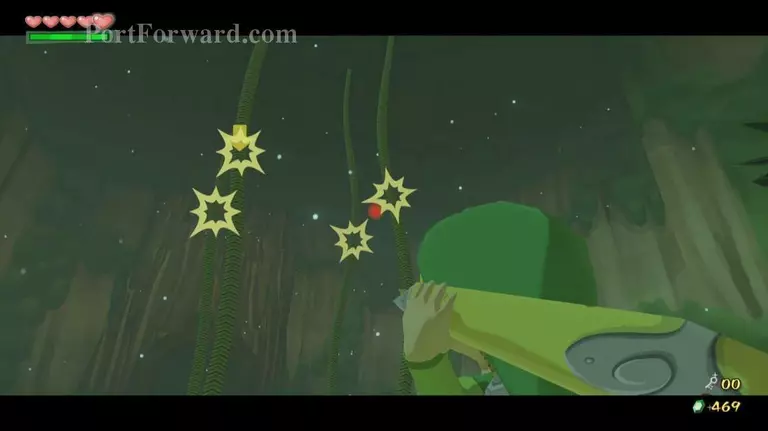
Target them all with the Boomerang and if performed correctly the switches will open the door below revealing a chest containing the Big Key.
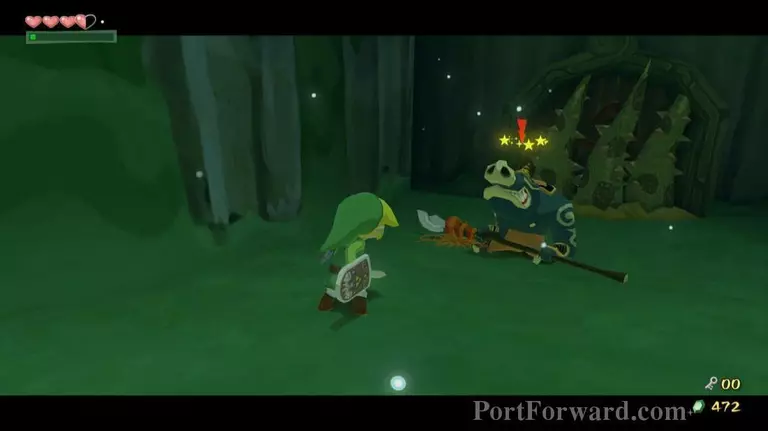
After you grab the Key two Moblins will drop down to fight. You can use your new Boomerang to stun them both and attack one at a time to make this battle much easier.

Keep stunning them and hitting them with the sword until they are defeated.
Head back up the ramp and use the Grappling Hook on the pole to the northeast. Swing across to another platform and enter the door here. Slash the bushes here and use the Deku Leaf to fly to the door on the other side of the room and enter it.
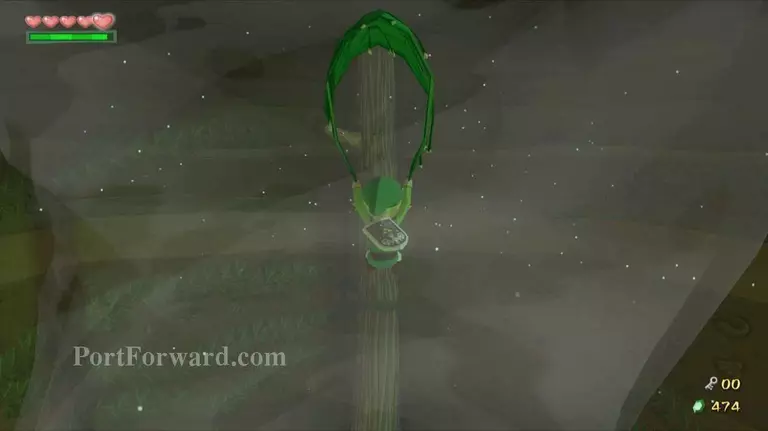
"In the room with the giant flower use the Deku Leaf to spin the switch, activating a giant whirlwind on top of the flower. Quickly jump into the Boko Bulb and fly into the whirlwind which will shoot you upwards. Drop down near the hole and head through the door to the east.

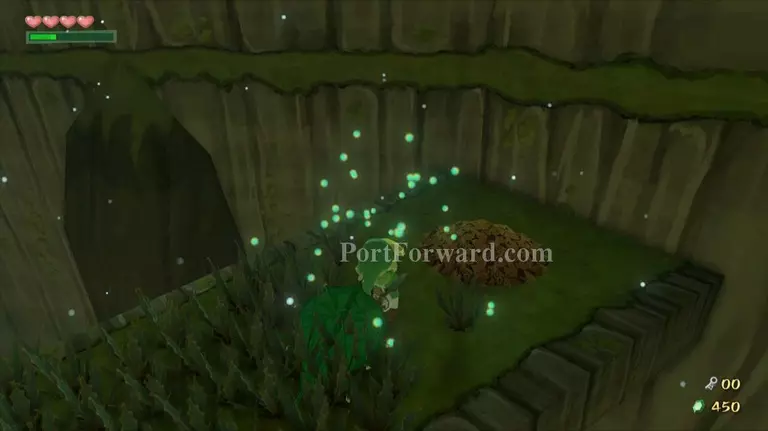
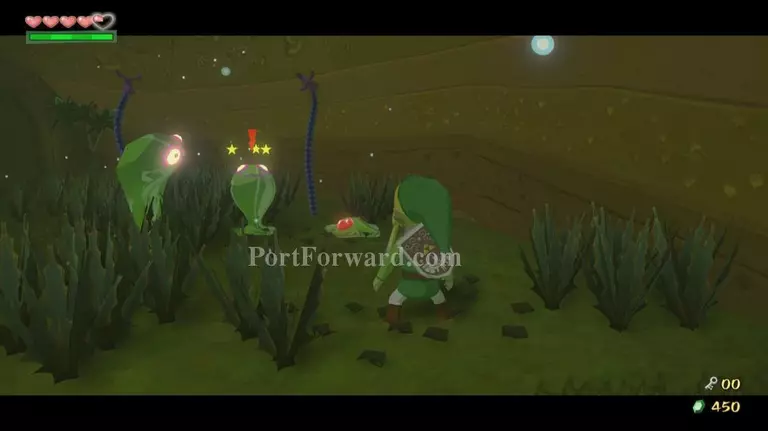
Use the Boomerang and the sword to kill the Mothulas here and open the chest that appears for a Joy Pendant. Head through the next door and you will find various nuts filled with supplies.
Some have fairies and health, while others have rupees and Morths inside.
This next part of the walkthrough will result in another Treasure Chart, so if you don't want it head through the Boss Door and skip the next paragraph. Otherwise, grab a stick from one of the pots and light it on fire. Burn the top off of the pot and jump into it.
Head through the door nearby and use the Boko Bulbs to climb to the very top of the room. Defeat the Boko Baba along the way and use its Bulb to float across the room to a treasure chest. Open it for Treasure Chart #1, and then return to the door you came in from. Hop back in the pot and you will appear out of the blue pot. Hop back in the blue pot and you will come out of the pot we want. Collect some supplies if you need to and then head through the boss door.

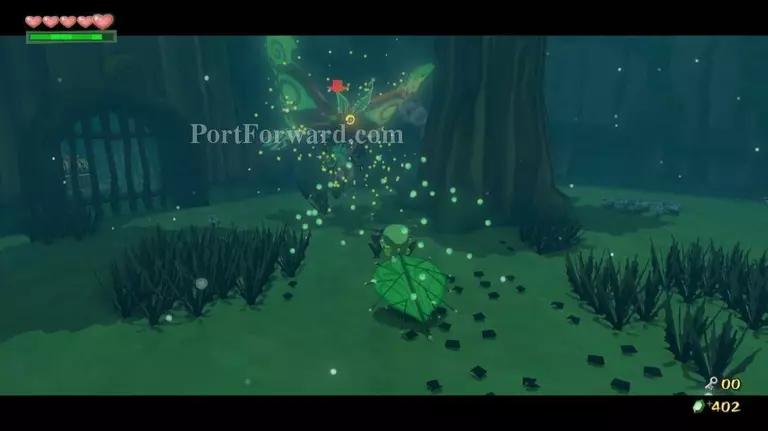
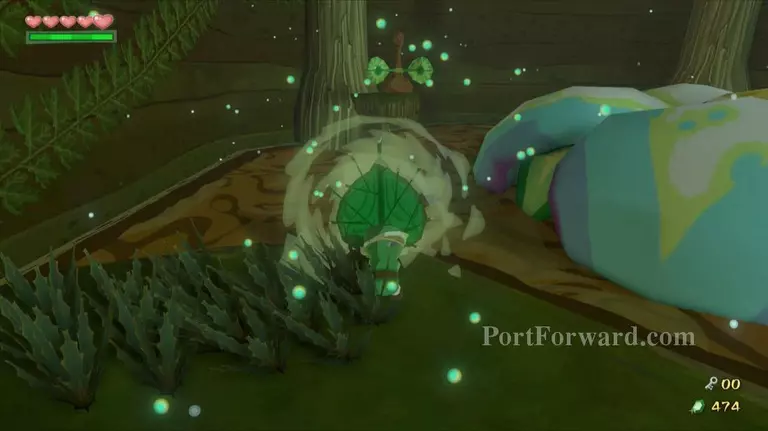
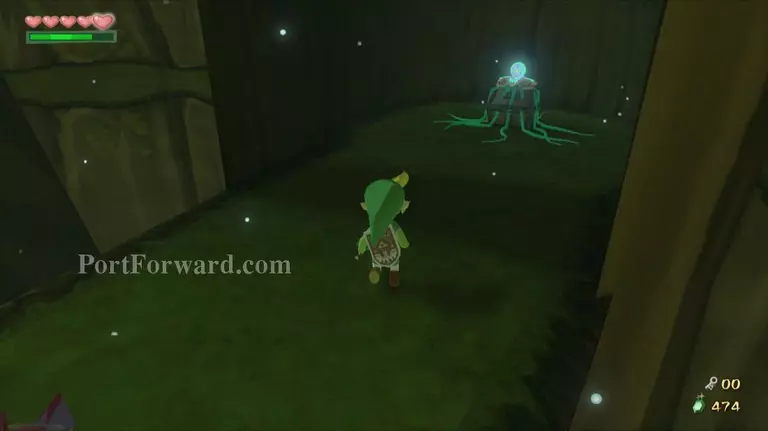
When you walk forward you will see Makar standing on a flower.

When you approach Makar the flower will eat him and the battle with Kalle Demos will begin.
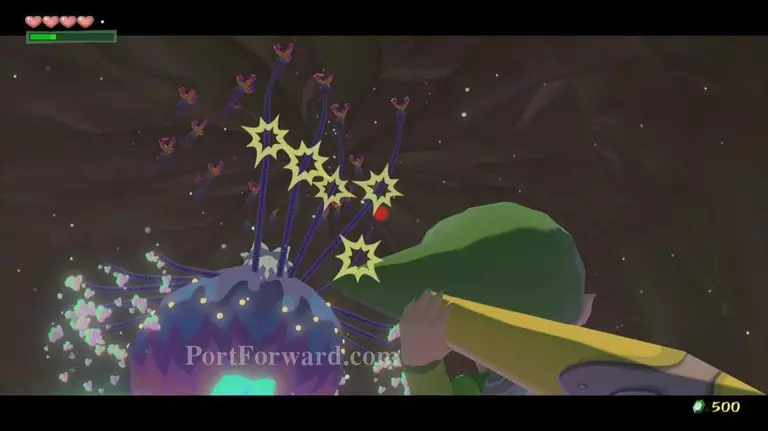
The boss will attach itself to the ceiling with the many vines it possesses.
Use the Boomerang to target them and cut them loose from the ceiling.

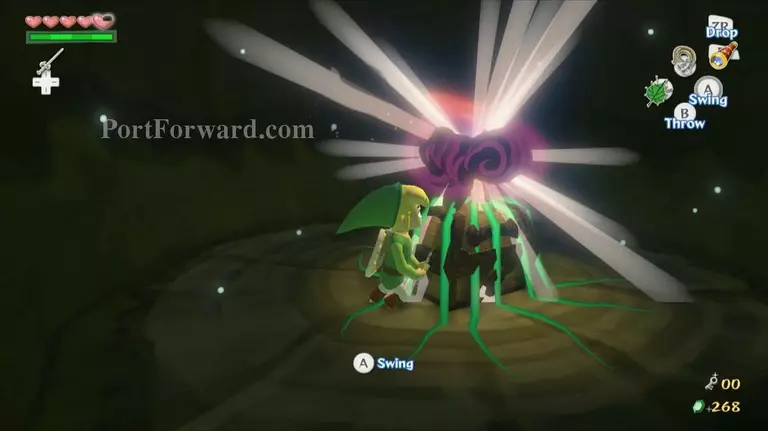
"Kalle Demos will try and use its lower vines to slam the ground or use them to go underground and pop up to hurt you. You can run or roll to avoid both of these attacks.

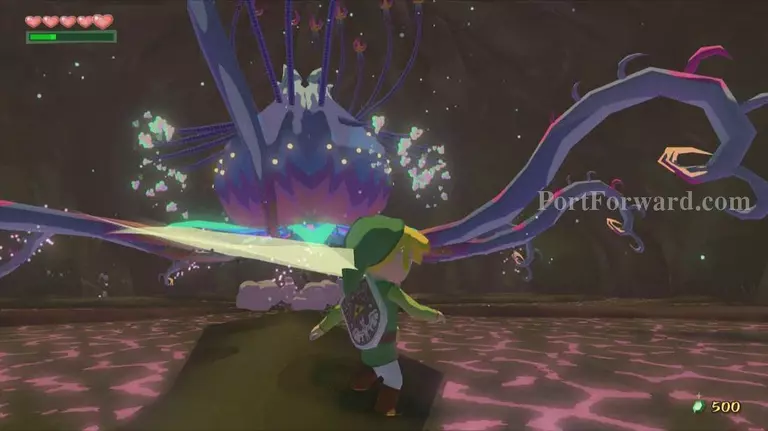
Once the vines have been cut down you can charge in and attack the plant at the center. Hit it a few times and back out of the flower. If you stay there too long, the petals will fold in and cause some heavy damage. Keep repeating this process until you defeat the plant. Makar will be freed and a heart container will be left in the room.
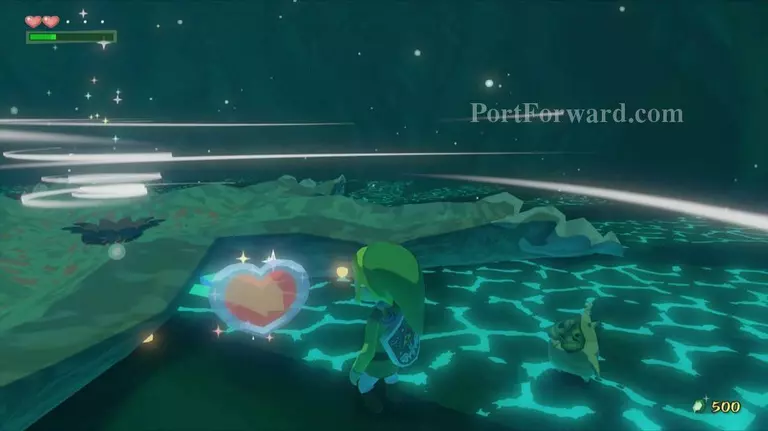
Makar will thank you for rescuing him and he will remember the ceremony. Grab the Heart Container and step into the whirlwind for you and Makar to be teleported back to the Great Deku Tree.
"The Great Deku Tree expresses his happiness for Makar's safe return. Makar apologizes for his disobedience and the Great Deku Tree tells him to be more careful from now on. You are given Farore's Pearl as a reward for saving Makar.
More The Legend of Zelda: The Wind Waker Walkthroughs
This The Legend of Zelda: The Wind Waker walkthrough is divided into 47 total pages.


