
This The Legend of Zelda: The Wind Waker walkthrough is divided into 47 total pages.
You can jump to nearby pages of the game using the links above.
8.1 Great Sea Goodies
After completing the Forbidden Woods, there are a few goodies for us to collect here at the Forest Haven, as well as TONS of new stuff we can find along the Great Sea. Nothing in section 8.1 is required at all, so if you'd like to skip ahead in the main q
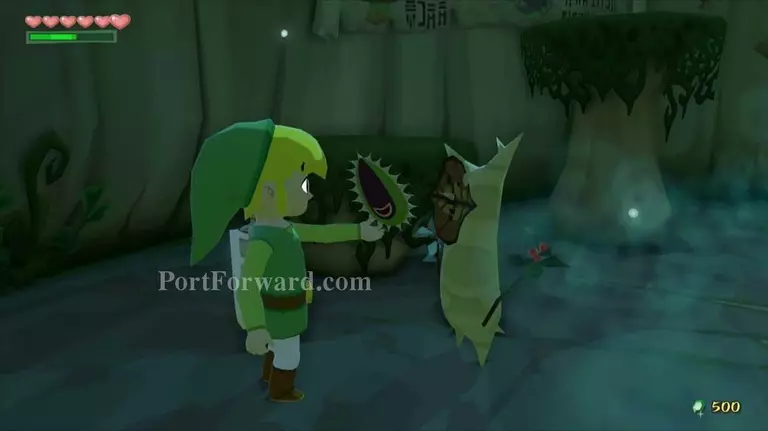
Back inside of the Forest Haven, Link can enter Hollo's Potion Shop. Inside, Link will meet Hollo, one of the few Korok's that did not leave the forest. Link can speak with Hollo and if he shows him some Boko Baba Seeds, Hollo will jump over to his mixing pot and give Link some blue potion! Link will need to have an empty bottle in order to get this potion. Blue potion replenishes both life and energy.
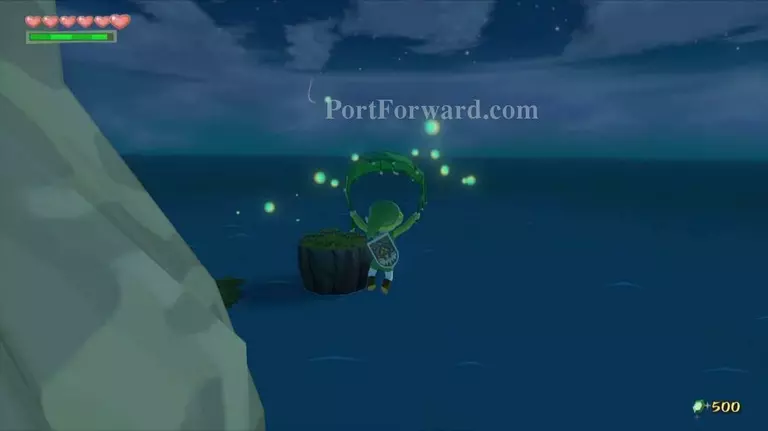
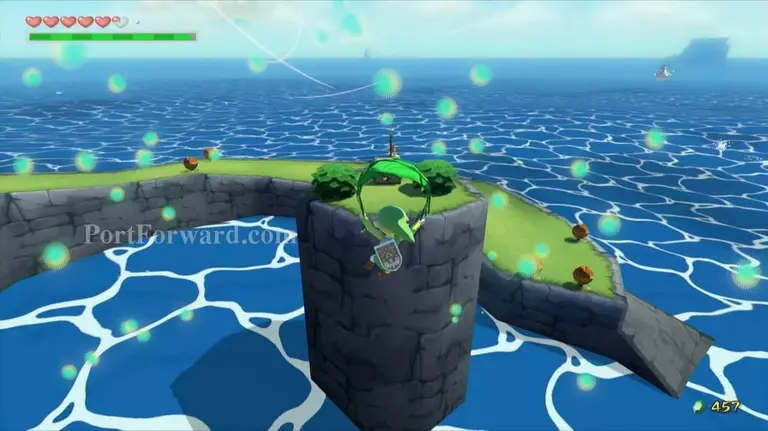
Back near the Deku Tree, use the boko bulbs to climb near the top of the Forest Haven. Exit the Forest Haven in the same direction as if you were heading back to the Forbidden Woods.
Play the Wind's Requiem and shift the wind so that it is blowing to the southeast. Use the Deku Leaf and soar over to the distant island. Open the treasure chest here to get Treasure Chart # 3.
Return to Beedle's shop near the entrance to the Forest Haven. We will need at least two Hyoi Pears in order to get some optional items in this section.

It's a good idea to buy at least two of them, and perhaps a third one just in case. If you'd like to have the Fishman mark your map, you should also buy a handful of All-Purpose Bait.

Nearby at the landing spot of the Forest Haven there is a Red Mailbox. It will be bouncing back and forth, signifying there is a letter.
The letter is from Prince Komali's father and he wants to thank Link for his deeds back at Dragon Roost Island. He explains how the postbox system works and will reward link with Piece of Heart #6.
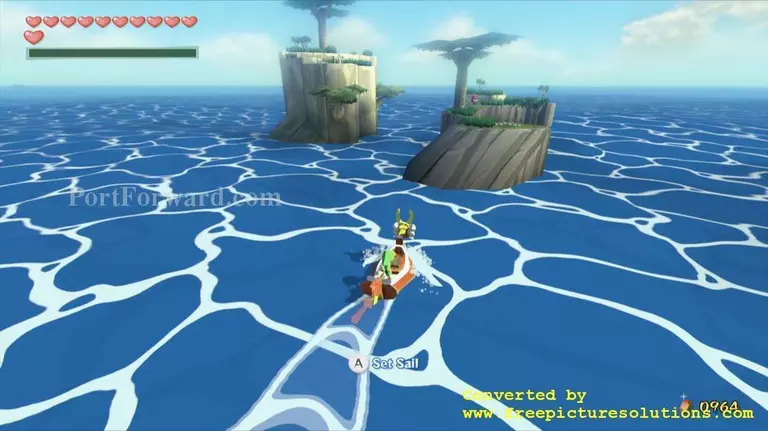
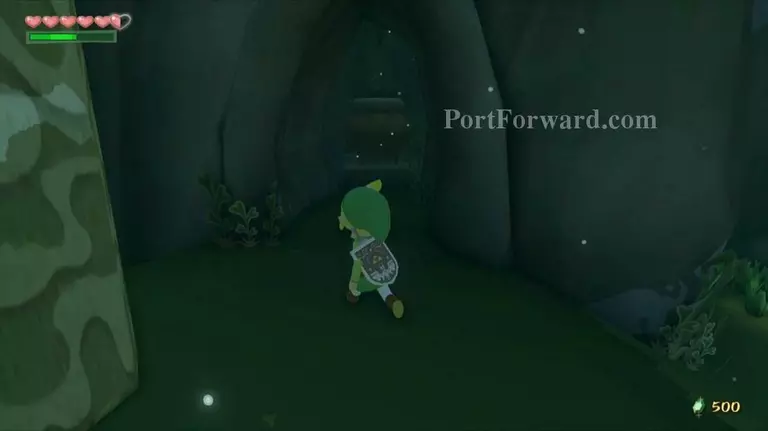
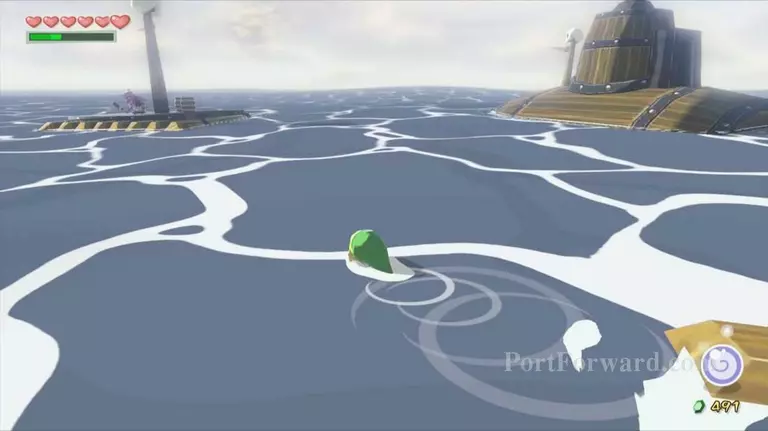
Our next destination is one screen to the east of the Forest Haven, over at the Cliff Plateau Isles. Sail on over to the smaller set of islands.
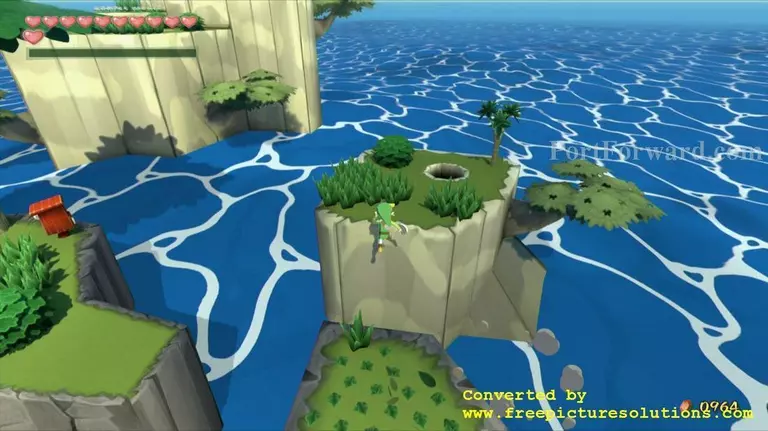
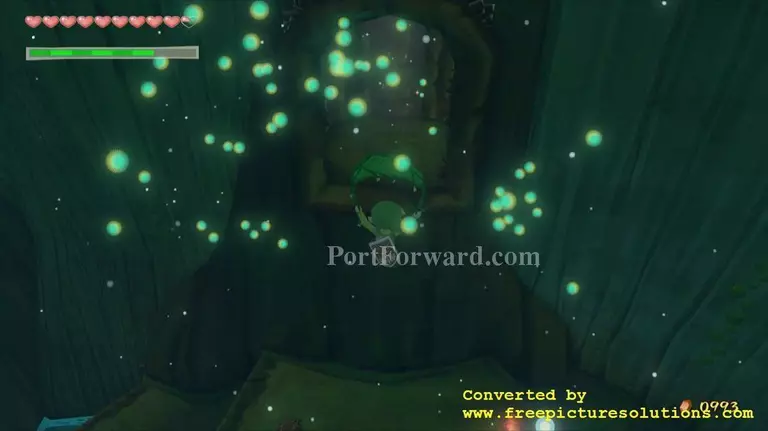
"Link can climb up the islands and jump from one to the next. At the last island, Link will find a small cavern, so go ahead and drop inside.
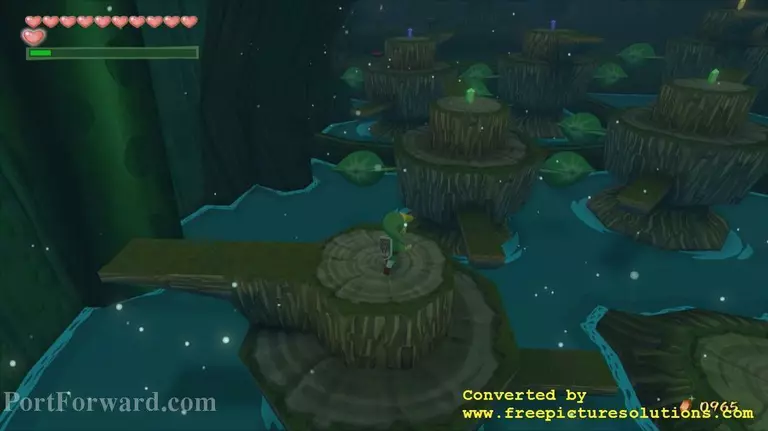
The first portion of this cavern has a series of platforms above the water, which each holding some rupees. Go ahead and gather up the rupees as you'd like.
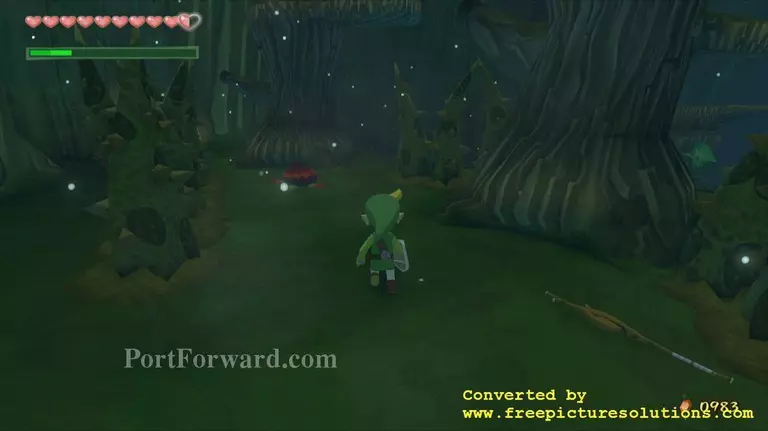
Once you reach the land area, be careful of all the vines that sprout up from the ground. Walk around and defeat all of the boka babas that are found here.
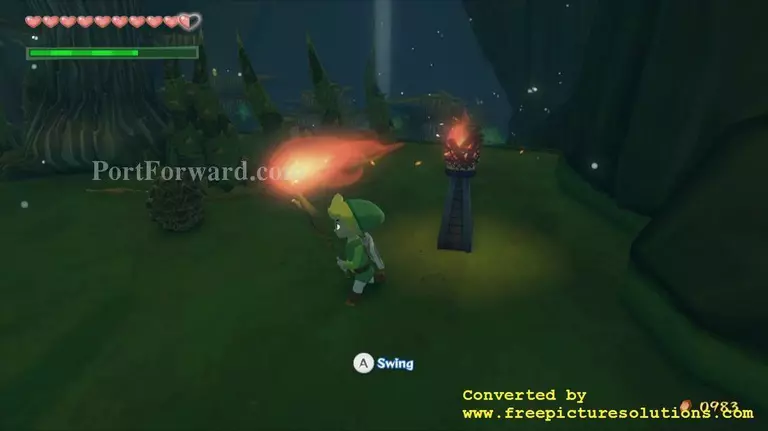
The last of the boko babas will leave a bulb that Link can use to shoot himself up to the higher platform. Before stepping into the bulb, grab one of the Boko Sticks that was left by a boko baba. Use the torch to light it on fire and then jump into the boko bulb.
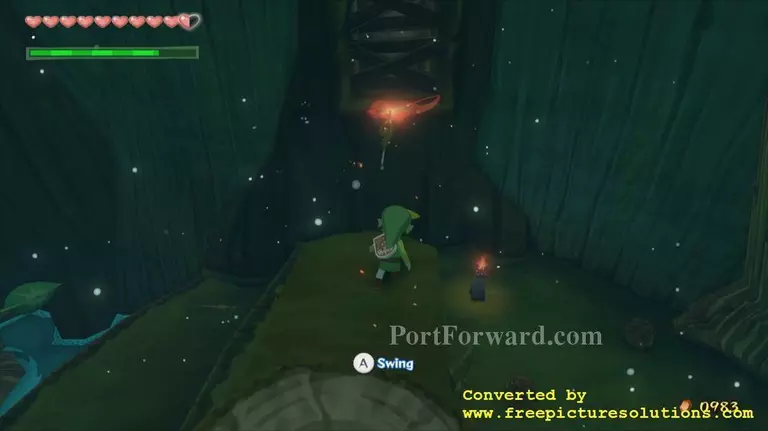
On the higher ledge, jump over to the next ledge and you'll see some wooden planks in the distance. Toss the flaming boko stick at the sticks to light them on fire, revealing the pathway.
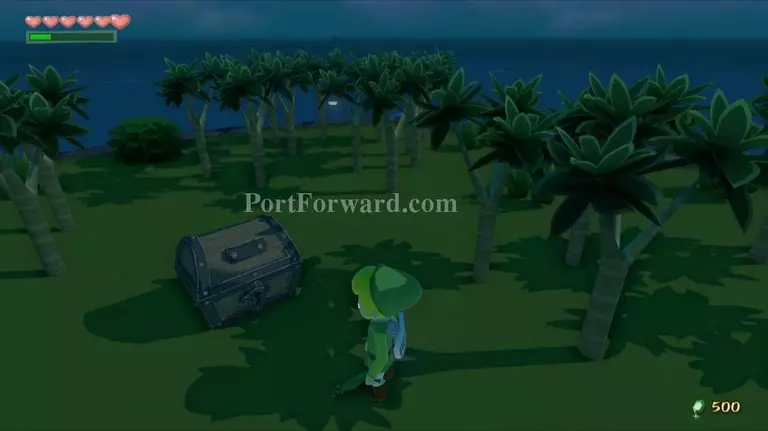
Before jumping on over, there is a treasure chest on the ground floor just below you that is surrounded by vines. You can fall right on top of the treasure chest and open it to get a Joy Pendant. Once you open the treasure chest, the vines will disappear.
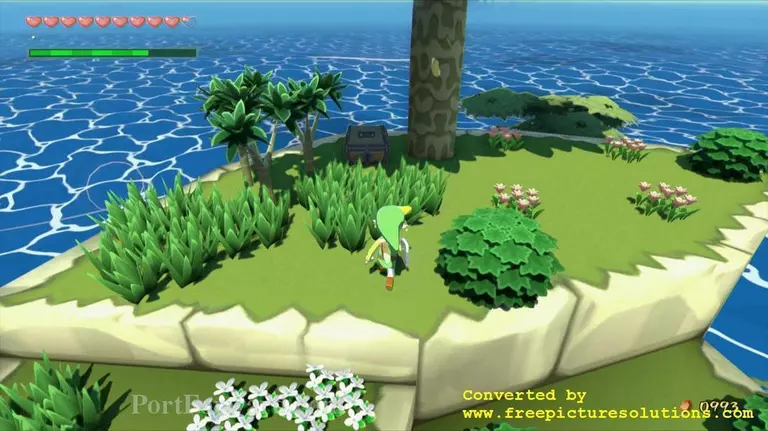
Get back up to the higher platform and soar on over using the Deku Leaf. Step into the portal to head back outside, now on top of the larger of the two islands. Climb even higher and open the treasure chest here to get Treasure Chart #25.
There is also a Blue ChuChu nearby, so be sure to snatch away the Blue Chu Jelly. These ChuChu can electrocute Link if he comes near, so keep your distance and stun him with your boomerang. Blue ChuChu leave behind rare Blue Chu Jelly, which later can be used at Windfall Island as another means of making Blue Potion.
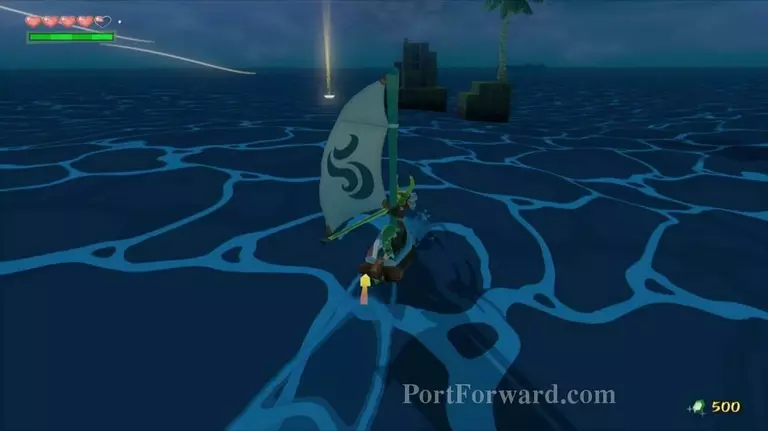
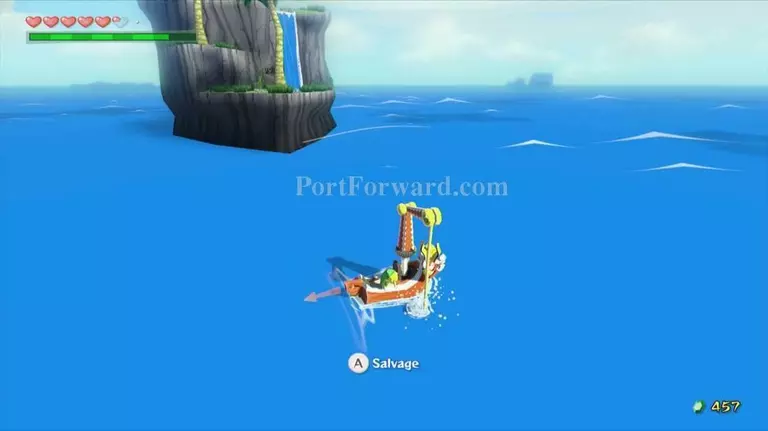
Our next destination is one square to the southeast of the Forest Haven. This area is known as the Five-Star Isles, and as its name suggests, there are five islands. Previously, we acquired Treasure Chart #33 and its corresponding Sunken Treasure is located here at Five-Star Isle. If you've opened the chart, you will see the glowing spot just southeast of Five-Star Isle. Sail on over and salvage the treasure chest to get Piece of Heart #7.
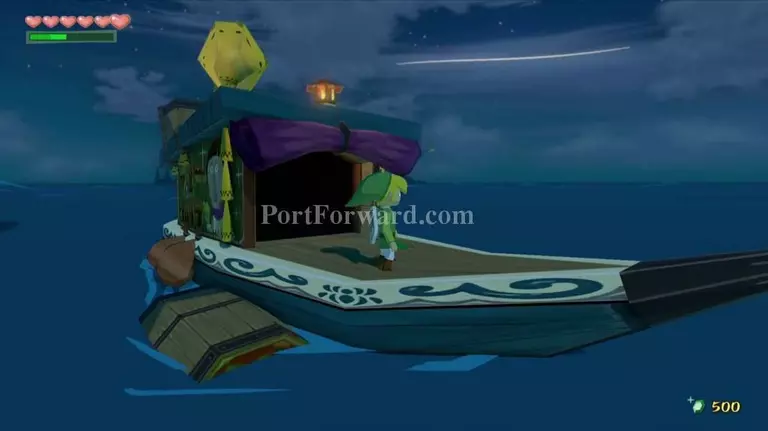
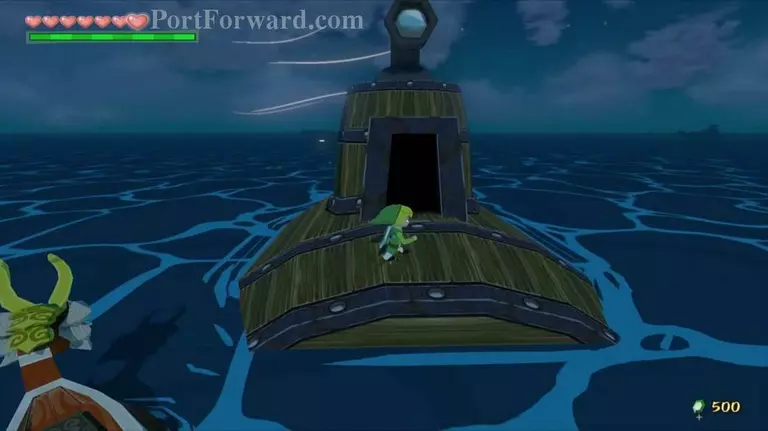
Link's next destiatoin is at a Submarine at the far southeastern corner of the region. As with most of the submarine locations, there are several Bokoblin just outside.
You can use your grappling hook to steal Joy Pendant spoils from them.
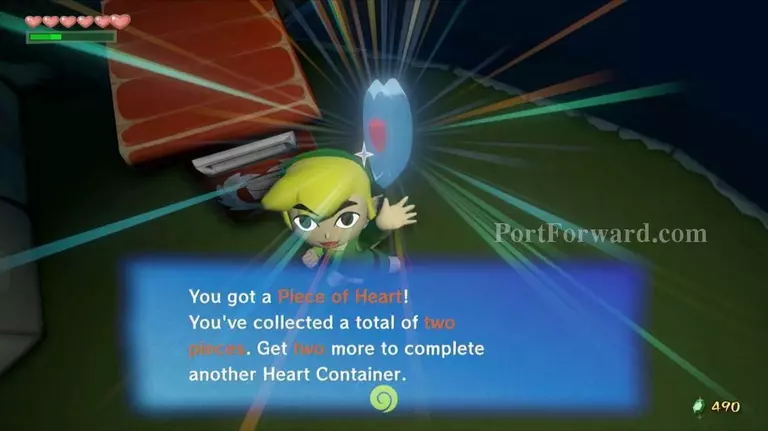
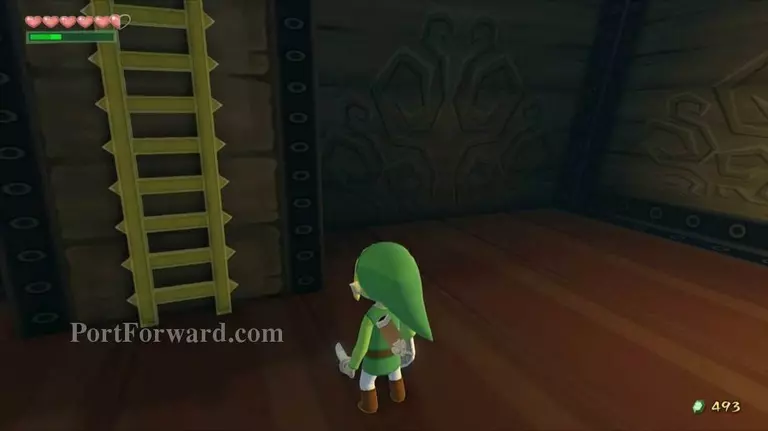
Walk inside the submarine and you'll find a bunch of Keese and Bokoblin. Defeat them and a ladder will fall down. Climb up the ladder and open the treasure chest here to get Piece of Heart #8.
Jump back on the King of Red Lions and change the wind so that it is blowing to the west. One square region over, Link will find the Boating Course. Climb onto the larger island and climb to the very top. Change the wind direction so that it is blowing to the north and then use your Deku Leaf to soar over tot he other smaller island. Drop down the hole that is found here.
Inside you'll be confronted by an endless amount of miniblins that occupy this area. Use your boomerang to hit the three switches that are in the room, causing a treasure chest to appear. Open up the chest to get the Submarine Chart. As its name suggests the submarine chart will allow Link to see the locations of all the submarines in the Overworld.
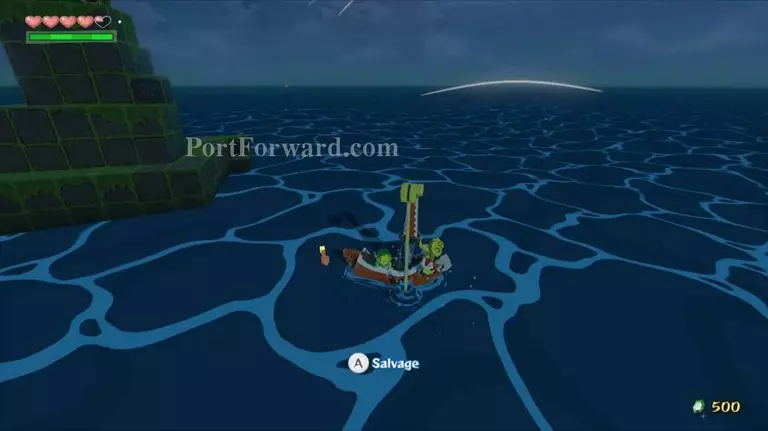
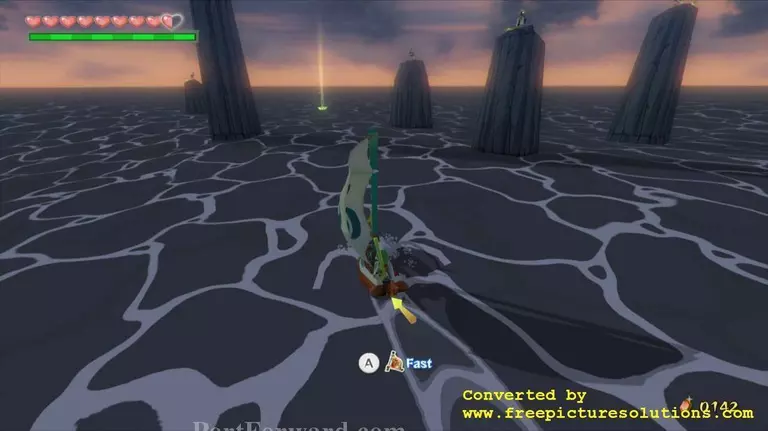
Change the wind direction to the west once again and sail over to the next square region. Here you will find the Angular Isles. During the Forbidden Woods, we acquired Treasure Chart #15. If you open up this treasure chart, a treasure is revealed just to the southwest of the larger Angular Isle. It is clearly seen by the glowing light that is emanating from the sea. Sail on over and use the Salvage Arm directly above the glowing light and Link will pull up a sunken treasure. Inside, Link will find Piece of Heart #9.
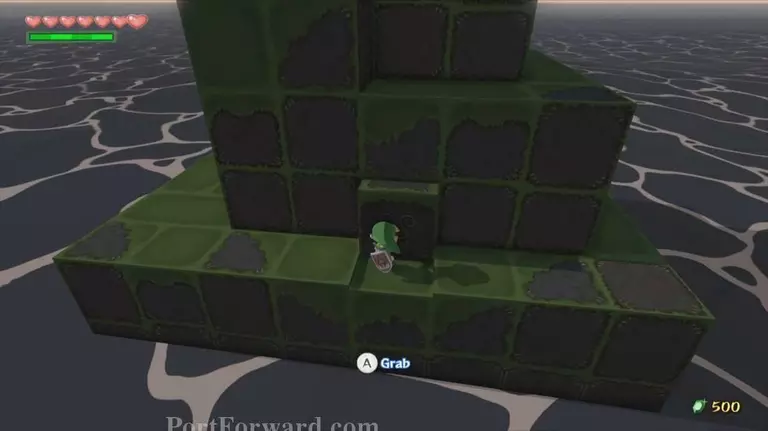
Jump off the boat and climb up the larger of the two islands. The island is made up of a series of blocks. From where you initially climb up, walk to the other side of the island and you'll find a block that Link can pull out from the rest of the formation. Do so and then use it to climb up.
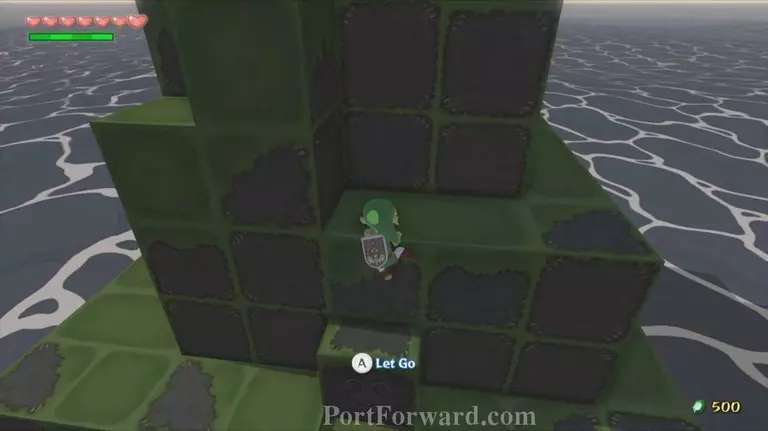
Continue walking around the blocks and you'll find a moveable block sticking out. Push it and it will fall to the area below. You can then pull it over two blocks so that you can use it to climb even higher. Climb up and pull one more moveable block.
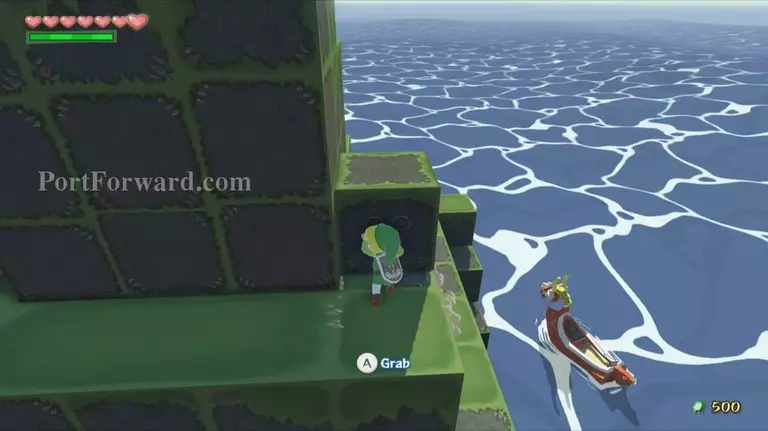
You'll now be able to reach the top of this island, where a treasure chest can be found that contains Piece of Heart #10. However, we need to be careful as there is a rare Blue ChuChu found at the top of the island.
Jump back onto the King of Red Lions and sail westward one more screen.
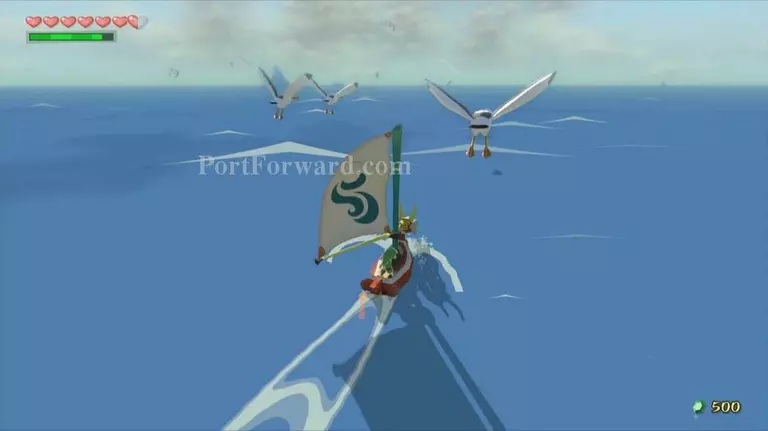
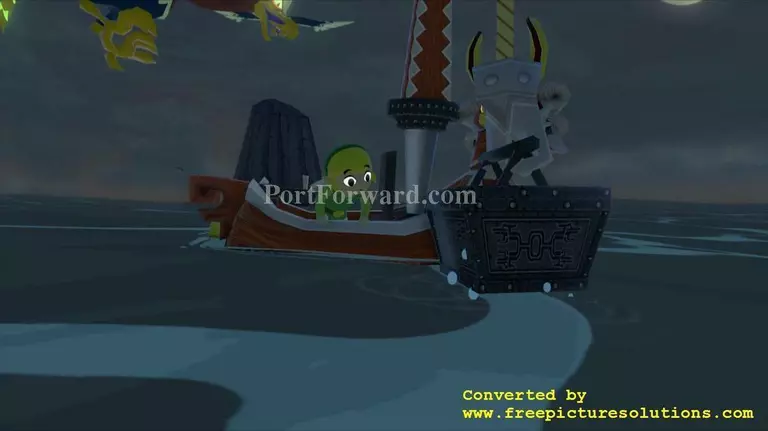
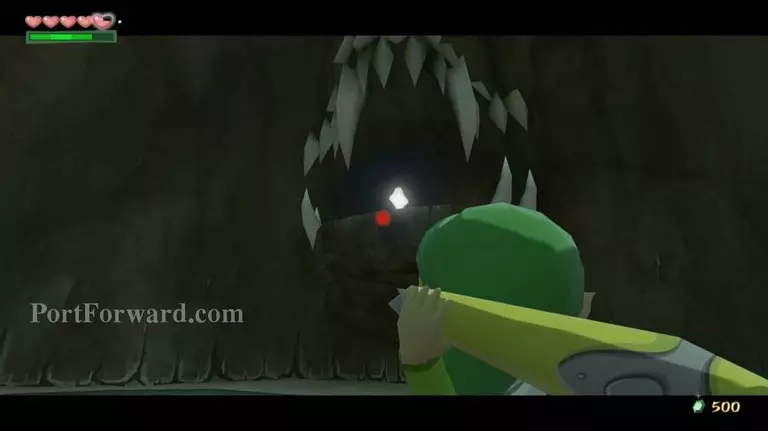
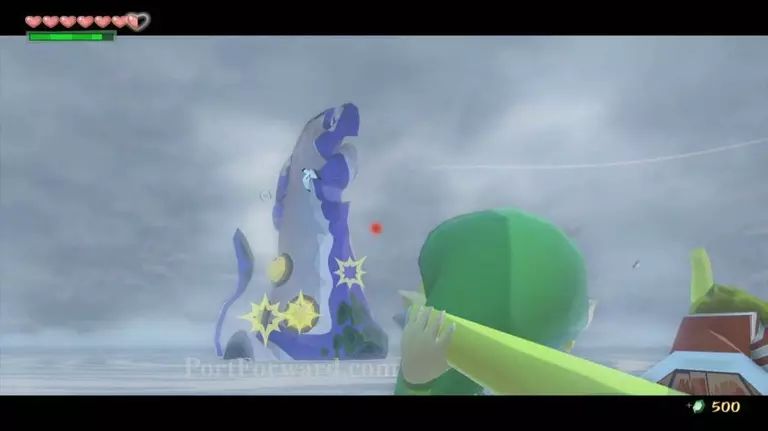
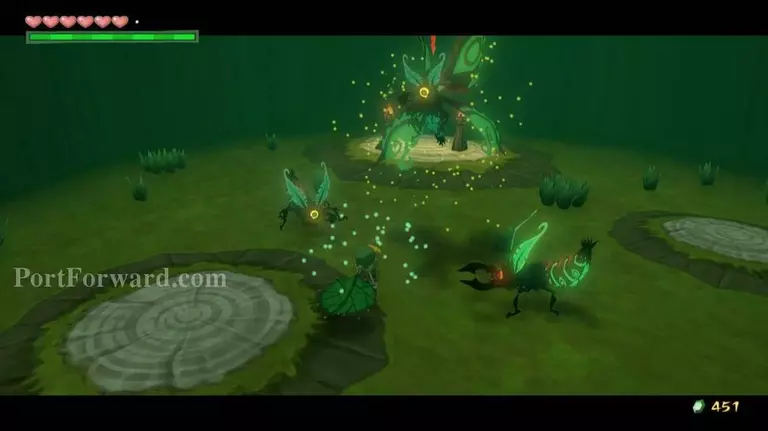
Sail towards the flock of seagulls that you see in the distance. Once you draw closer, a huge Big Octo will appear from the water. These massive creatures have large eyes attached to their bodies. Throughout the Great Sea, Link will encounter 4-eyed, 8-eyed, and 12-eyed Big Octos. This one, having only 4 eyes, is much easier to to defeat.

The boat will automatically move around the Big Octo. Use the boomerang to target the eyes and then hit them. With the boomerang, each eye will take three hits to kill. Once Link has hit all four eyes three times a piece, the Big Octo will be defeated.
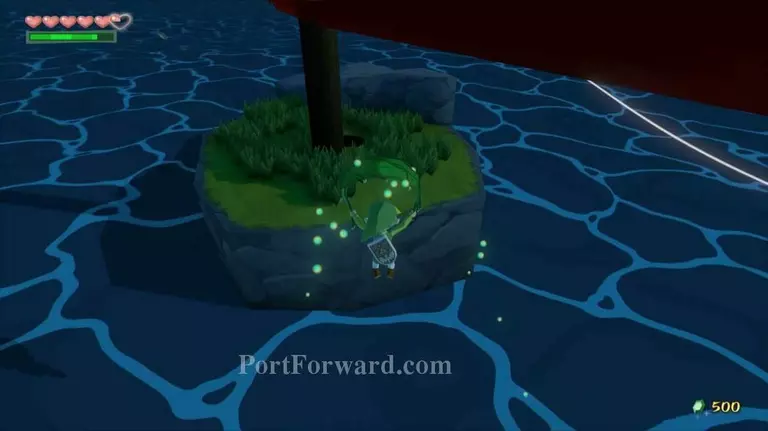
After defeating the Big Octo, a Great Fairy will appear and thanks you for defeating the Big Octo. As a reward for your work, the Great Fairy will award Link with the Magic Meter Upgrade.
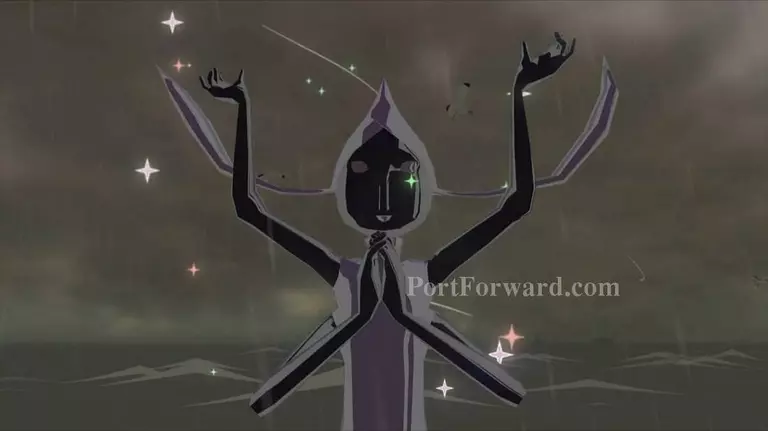
This will double the amount of magic that Link can hold at a given time.
Jump back on the boat and sail westward one more square region, this time arriving at Headstone Island. Before landing on the actual island, sail to the north where Link will find another submarine. Inside, Link will find a large amount of Rats that will carry bombs. Additionally, there are bombs on the ground, making for a rather unstable environment.
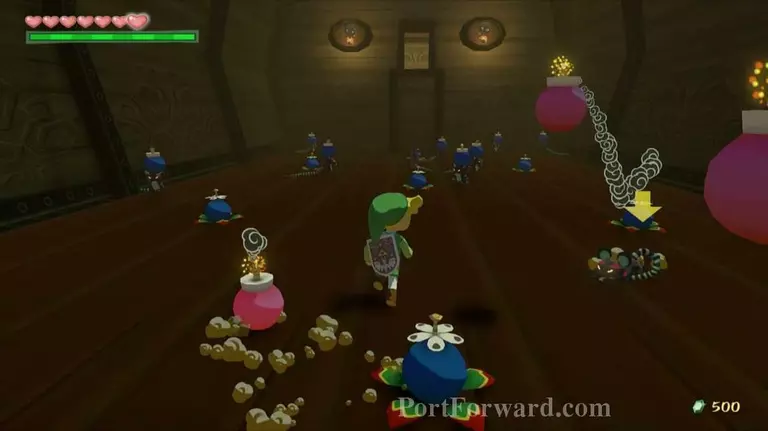
Using the boomerang to hit the rats until all of them have been defeated. Climb the ladder that appears and open the treasure chest here to acquire Treasure Chart #14.
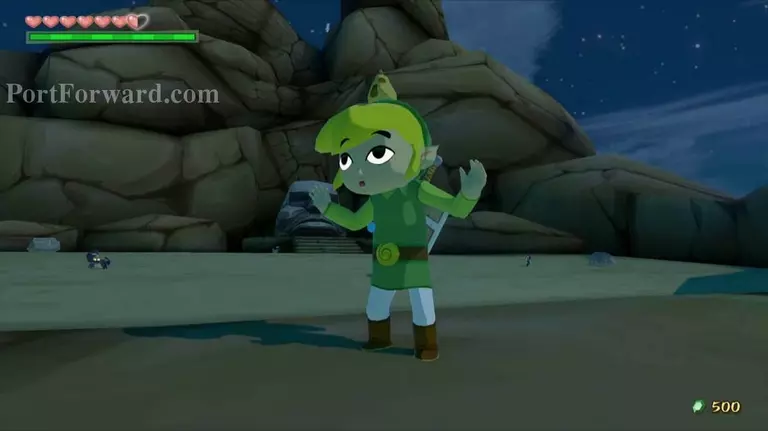
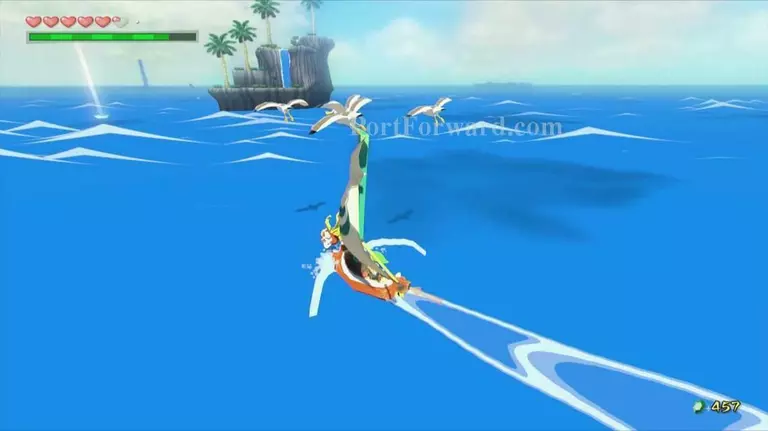
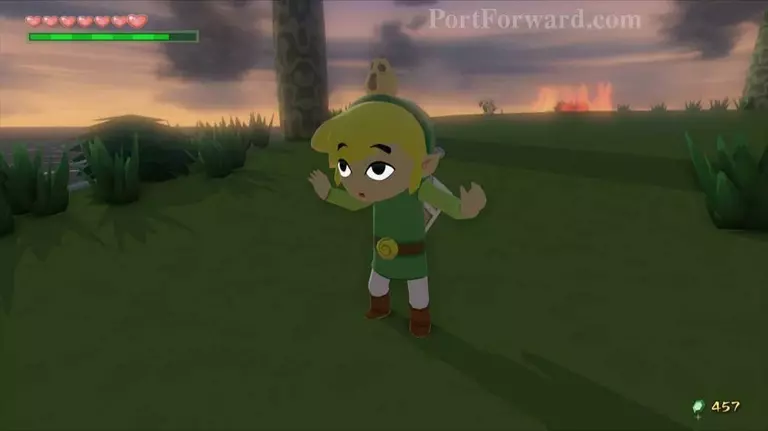
Now ride the King of Red Lions over to the main land of Headstone Islane. Use a Hyoi Pear to summon a seagull. Use the seagull to fly up to the top of Headstone Island where you will find the heart piece.
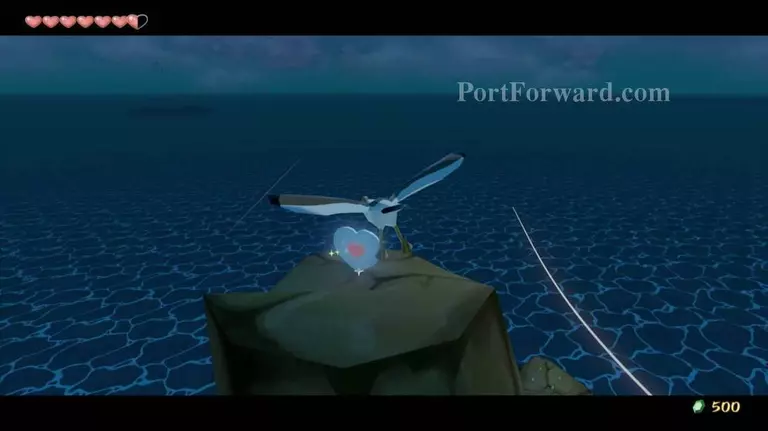
Fly right into it and then cancel flight, in which Piece of Heart #11 will be delivered to Link.
Our next destination is two square regions to the west at the very southwest corner of the map. You'll pass right by Outset Island, and it is a good spot to stock back up on All-Purpose Bait and Hyoi Pears if you need to. Continue sailing west until you reach Horseshoe Island.
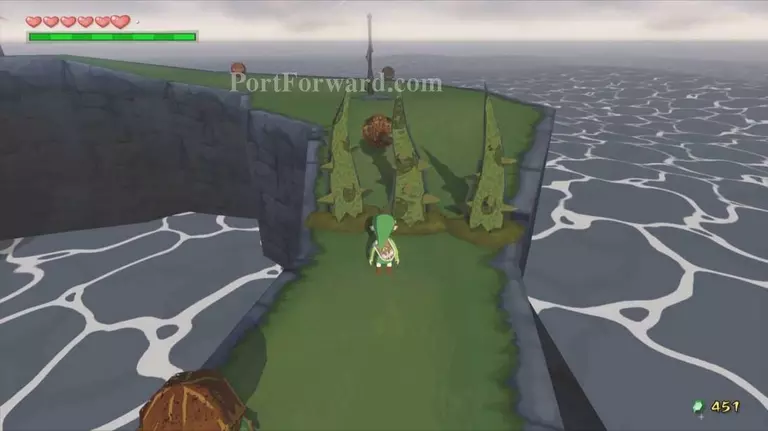
The island is almost like a mini-golf course. When you climb onto the land, there are vines that appear, preventing you from continuing onward. There are large nuts just before the vines and if you look carefully, you will see holes in the distance beyond the vines. Link needs to pickup a nut and toss it at the hole in the distance. If it doesn't land perfectly, Link can use the Deku Leaf to blow it further. If it completely misses, don't worry, as the nut will regenerate after a few moments.
There are three holes all together and the first two are fairly straight forward. The third one is a bit trickier as the nut is set beyond the vines. Link will need to use his Deku Leaf to get it perfectly into the hole. Once all three have been completed, a treasure chest will appear on the tall island in the middle of this area. We'll get this in just a moment.
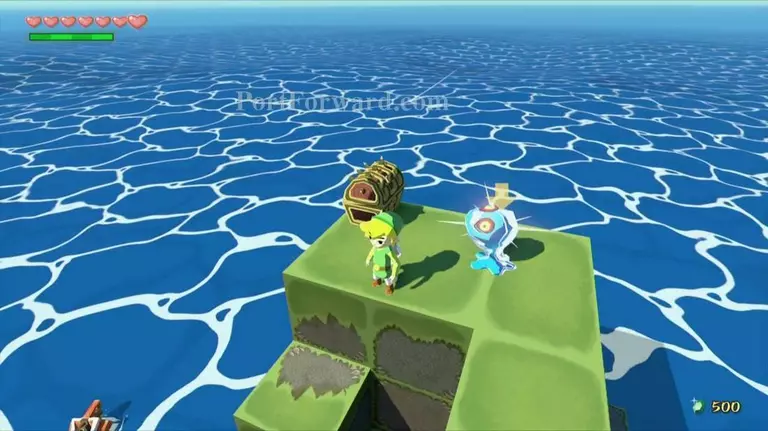
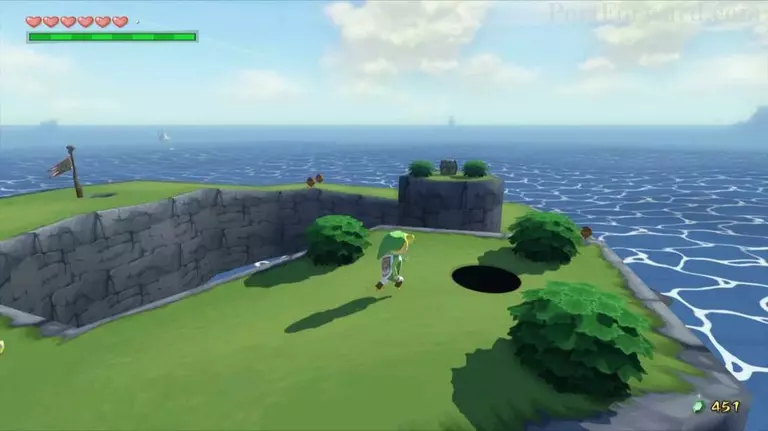
Continue walking to the top of this island and drop down the hole that is found here. Inside you will find a large winged Mothula, along with a pair of wingless mothulas. Defeat them and a treasure chest will appear that contains Treasure Chart #8.
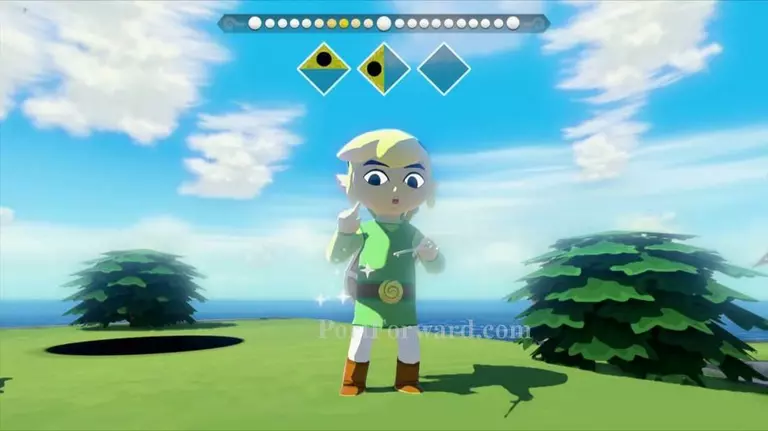
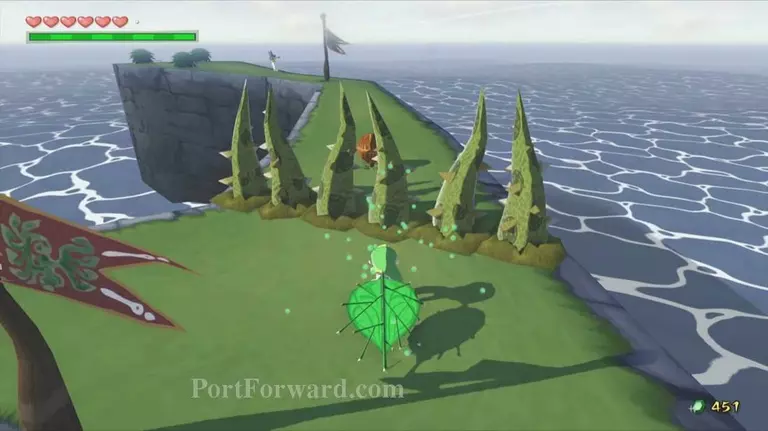
Back outside, play the Wind's Requiem and blow the wind to the east.
Use the Deku Leaf and soar on over to the large island in the center of this region. Open the chest to acquire Treasure Chart #28.
Our next stop is one square region north over at Diamond Steppe Island. If you have beaten Salvatore's Sinking Ships mini-game in less than 20 cannon shots, you will have acquired Treasure Chart #23.
The sunken treasure is located just to the west of Diamond Steppe Island. Sail on over to the glowing spot in the sea and pull up the treasure to get Piece of Heart #12.
Continue northward along the sea to arrive at Needle Rock Isle. Walk onto the land and use a Hyoi Pear to summon a seagull. There is a switch that the seagull needs to hit at the very top of the island. However it is heavily guarded by kargaroks.
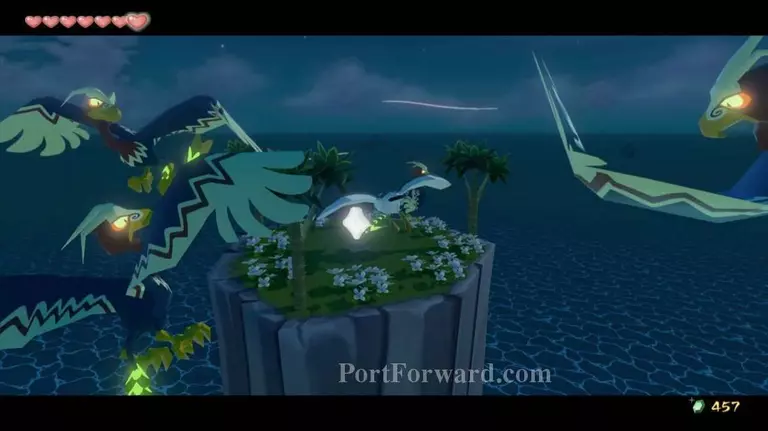
"The trick is to keep pressing 'A' and that usually will keep you safe from the kargaroks. Once the seagull hits the switch, flames that were surrounding a nearby treasure chest will disappear. Run on over and open the treasure chest to get Piece of Heart #13.
More The Legend of Zelda: The Wind Waker Walkthroughs
This The Legend of Zelda: The Wind Waker walkthrough is divided into 47 total pages.


