This The Legend of Zelda: The Wind Waker walkthrough is divided into 47 total pages.
You can jump to nearby pages of the game using the links above.
6.1 The Great Sea
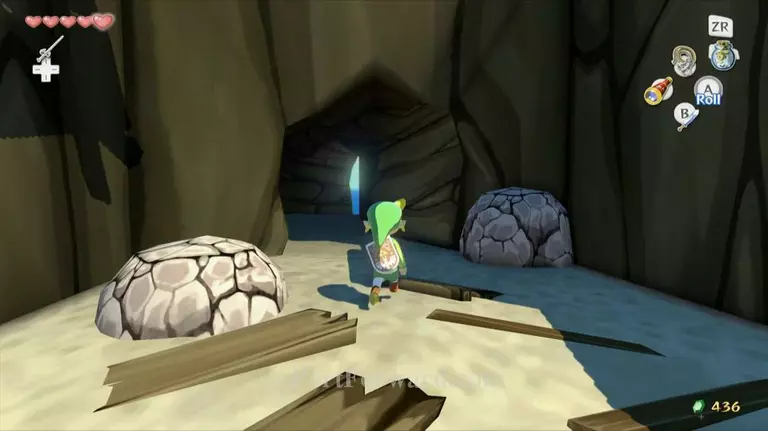
"After acquiring Din's Pearl and regaining control of Link, there are a few goodies for us to collect here on Dragon Roost Island. The first is nearby at the Wind Shrine. From where the King of Red Lions is located, turn around and pass through a narrow tunnel. Jump into the water and swim to the small piece of land.
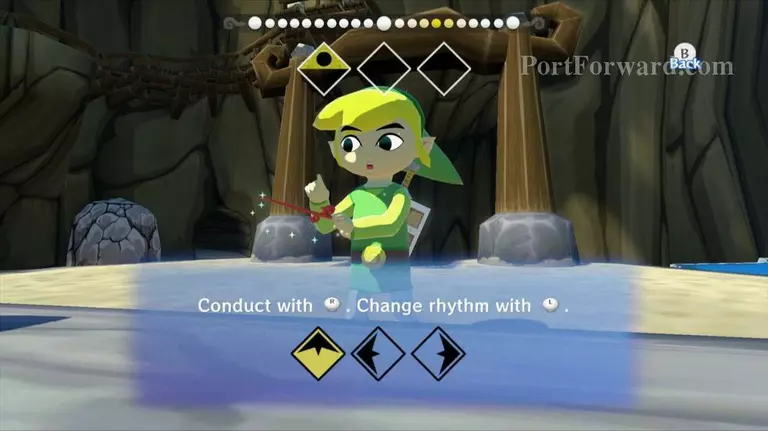
After acquiring the new song, there is one optional goody for us to collect. Traverse the island and make your way back inside where many of the Rito reside. Climb to the top and speak with Baito, the new Rito who is working at the mail-sorting station. (Note: If you didn't complete this portion of the quest before Dragon Roost Cavern, than the initial Rito will still be here and he'll first talk to you about mail-sorting.)
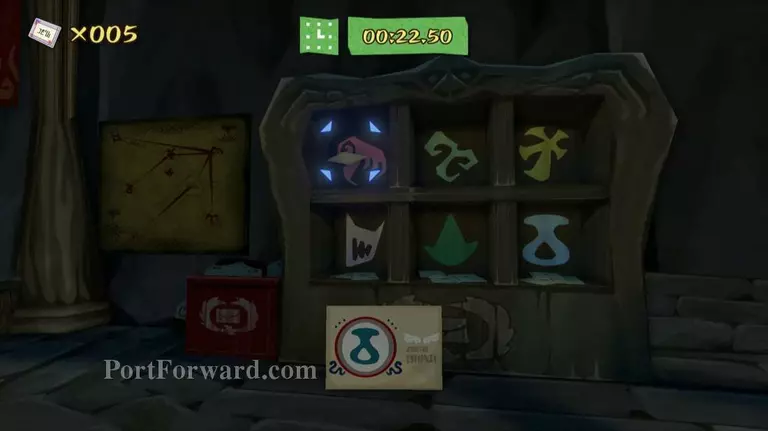
Sort 25-pieces of mail within 30 seconds and Baito will be so excited that he will feel the need to tell his Mom. Since he cannot leave his job, he asks Link to put a letter to his mom in the postbox.
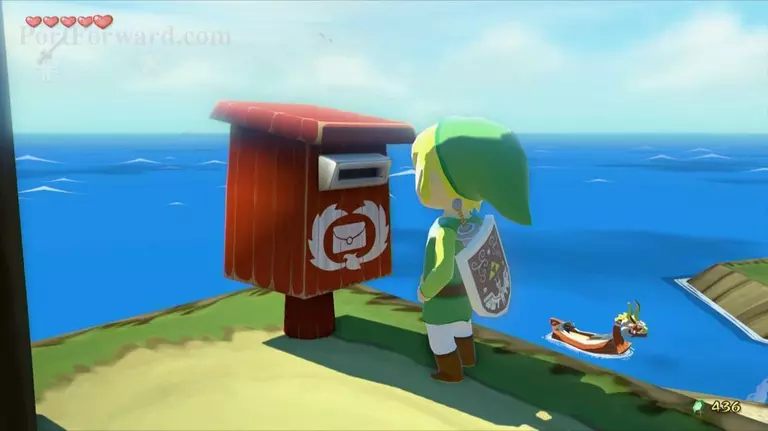
Head back outside towards the King of Red Lions and along the way, Link will find a red postbox. Drop off the 'Note to Mom' by selecting it while standing in front of the postbox and pay the 5 rupees of postage.

We'll continue with this side quest in a little bit, but for now, there is nothing left for us to accomplish here on Dragon Roost Island. Return to the King of Red Lions and play the Wind's Requiem, blowing the wind to the south. The King of Red Lions will tell you some back story and mentions that you need to go south to get the next pearl.
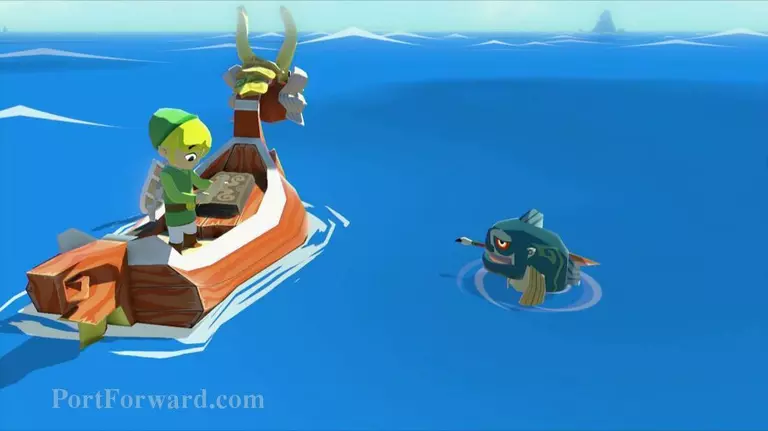
Climb on the boat and turn to the south. Pull out the sail to begin our journey to our next destination. When you reach the edge of Dragon Roost's border, a Fishman will stop you. One of these little guys can be found in every square region of the Great Sea map. He will mark your map and give you a hint about whichever square region you are in. For other square regions, if Link sees a Fishman jumping out of the water, he can ride over to that area and drop some All-Purpose Bait, causing the Fishman to speak with him and mark his map.
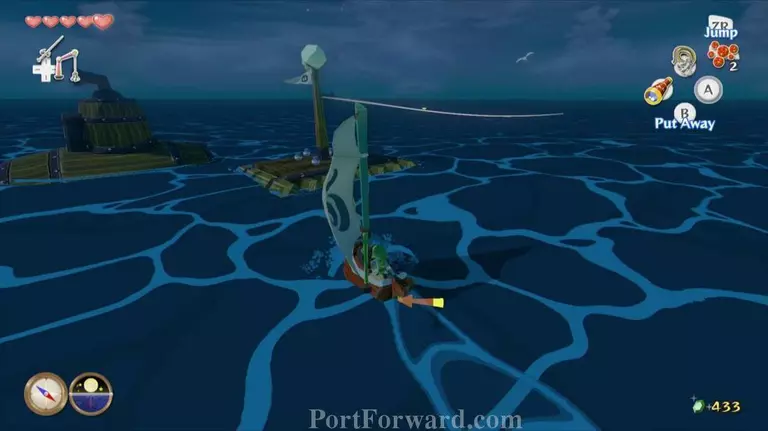
From Dragon Roost Cavern, continue sailing southward towards the destination on your map. Along the way, you can find the various Fishmen and mark your map. The first two square regions that Link travels through are Fire Mountain and Eastern Triangle Island. Unfortunately, there isn't anything significant that we can do at this point at either location.
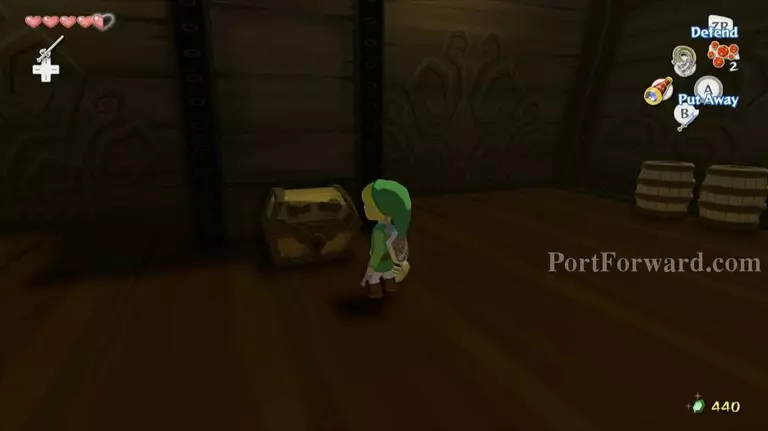
The next square region, which is one square north of our destination, is Bomb Island. There isn't much we can do on the actual island itself, but just south of it, Link will find a submarine, along with a small raft with a Pink Bokoblin on it. Whenever you see Bokoblins, you can use your grappling hook on them to get a spoil, which in the case of Bokoblins, is always a Joy Pendant. We will be needing a handful of these later on in the quest.

Jump over the submarine and head inside. There are a trio of Bokoblins in here, so collect joy pendants from them and then defeat them. Once all three have been done away with, a treasure chest will appear. Open it open to get the second Empty Bottle! Head back to the King of Red Lions and continue sailing southward.
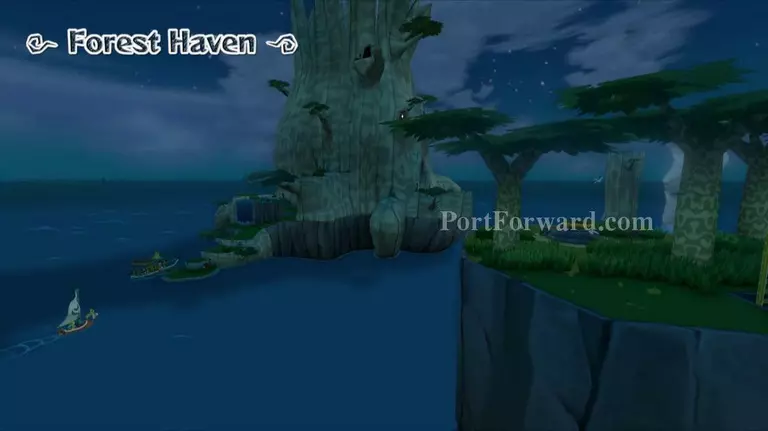
Once you get near the Forest Haven, the King of Red Lions will tell you that inside this sacred place lies the spirit of the earth, the Great Deku Tree, and that he will give you Farore's Pearl.
More The Legend of Zelda: The Wind Waker Walkthroughs
This The Legend of Zelda: The Wind Waker walkthrough is divided into 47 total pages.