
This Tomb Raider walkthrough is divided into 25 total pages.
You can jump to nearby pages of the game using the links above.
Research Base - Ancient Tomb
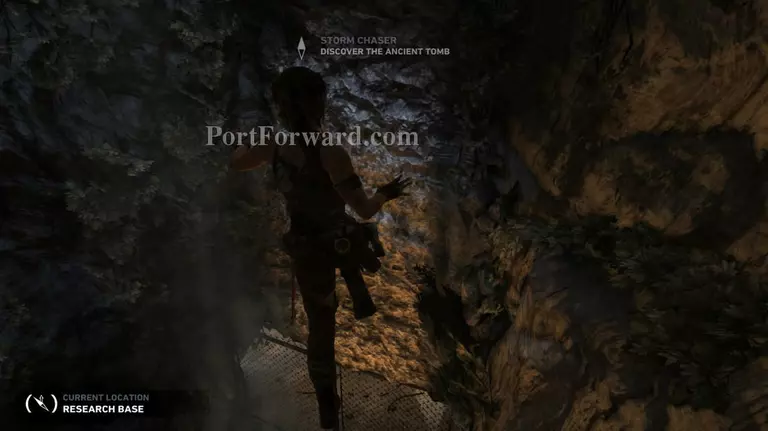
Jump down the hole and you'll land into some water.
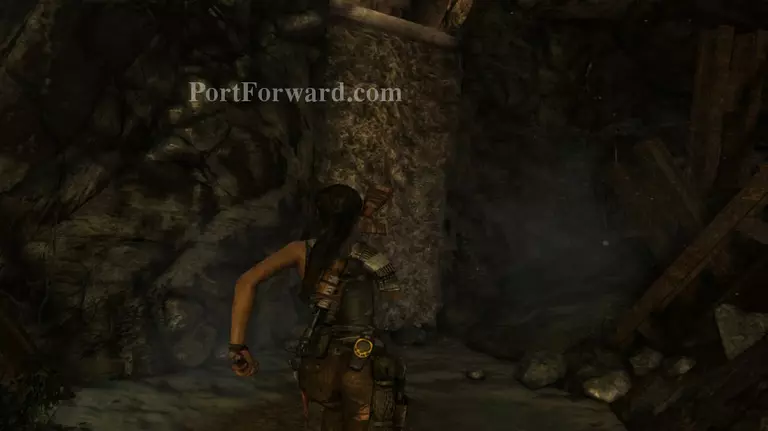
Follow the water to the end and you'll find a section of the wall that you can climb on.
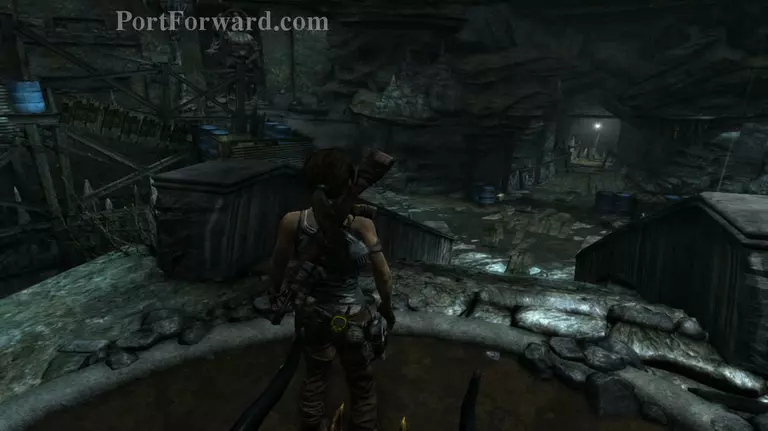
Once you get to the top, look to the left and you'll see a small crack in the rocks that you can squeeze through. Go through it to enter the research base.
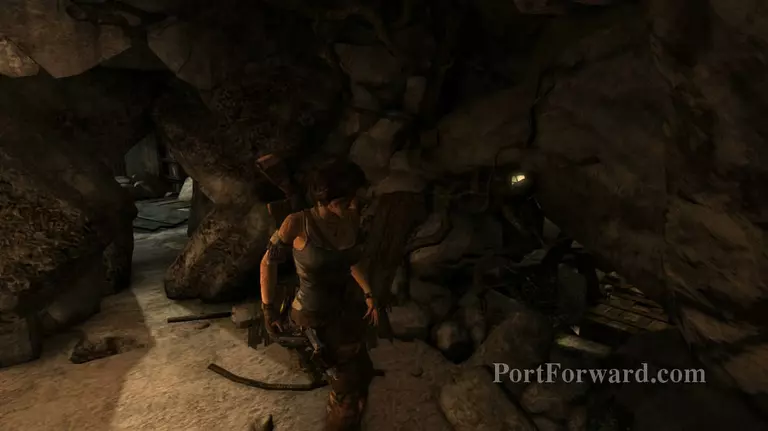
Drop down the lower floor and you'll hear some Solarii members talking. Make your way to the door on the far right side beyond the campsite and shoot an arrow on the first one's head.
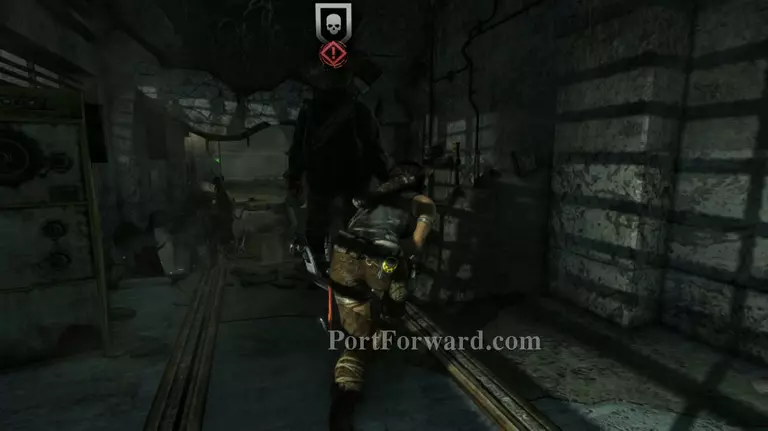
Then sneak up on the second one and do a stealth kill. You can use the campsite now. If you have the competition bow at this point then I would suggest you get the penetrating arrow upgrade. The competition bow is an upgraded version of the compound bow.
Penetrating arrows go through armor. So if you're up against fully armored enemies shooting their heads will still kill them like when they don't have armor. That's pretty useful later on.
You'll also receive another entry in Lara's journal as soon as you sit at the campsite.

Head back to where you killed the Solarii and jump down into the water. Make your way to the opposite side and climb up on that end. There's a gate there with a panel on the left side. Push the green button to open the door.
Head inside the area and you'll see an elevator there. Push the button and you'll find that it will get stuck. You need to crash this elevator down.
To do that climb up the stack of crates on the right side of the elevator and pry the cog (gear) off of the elevator with your climbing axe.
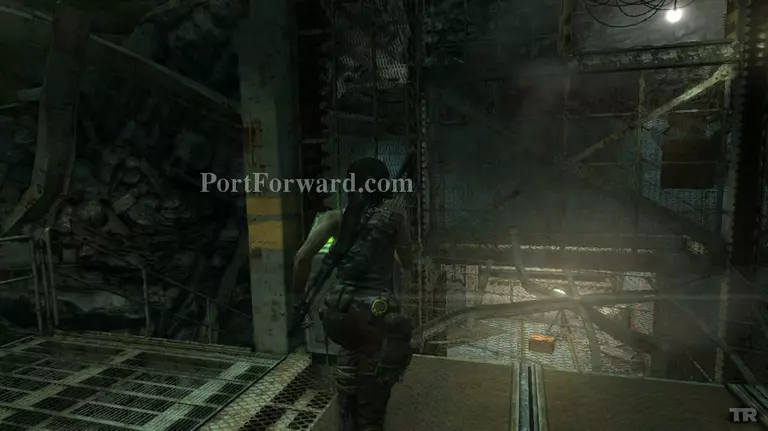
Climb on top of the elevator and use the small gap on the right side to climb over the fence. Before proceeding up the stairs go down first and pry the gate on the right side open.
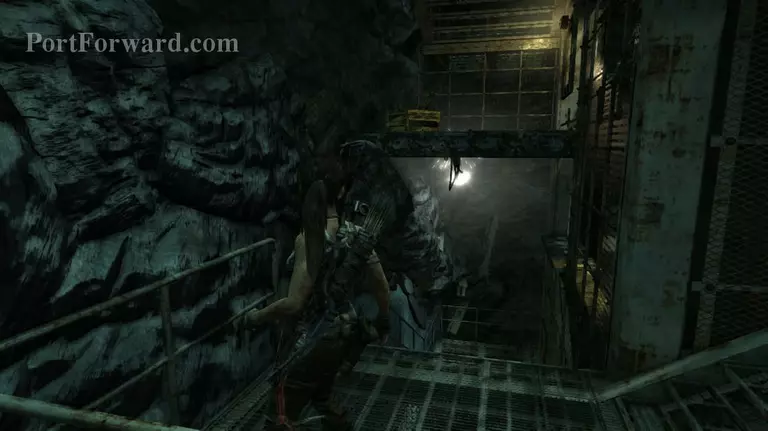
Now climb up to the third floor and call the elevator. Once it gets to the third floor head down towards the landing between the second and third floor. You'll see a small extension of the floor. Jump towards it and pry the cog loose.

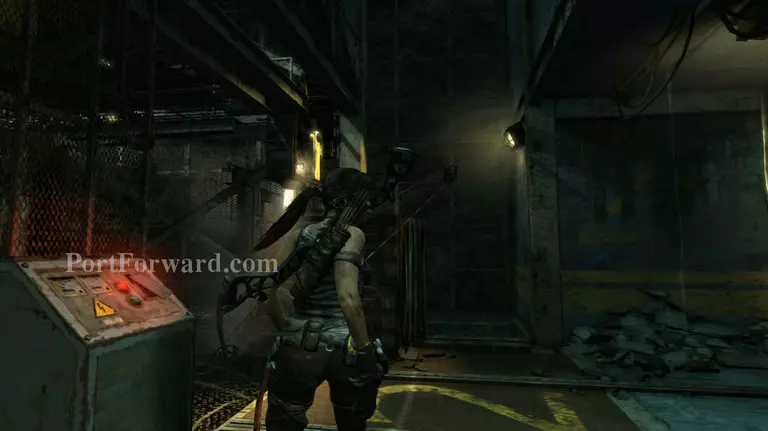
After that go to the fourth floor, but don't call the elevator yet. Instead take out your shotgun and shoot the barricade on the right side of the elevator shaft.
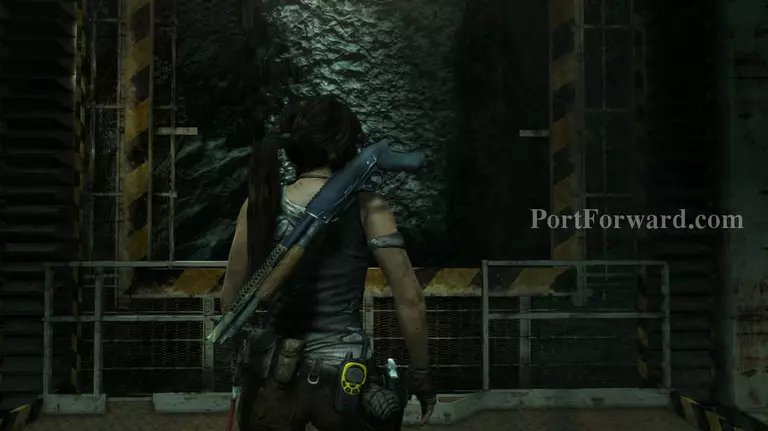
Then call the elevator and jump down the elevator shaft before the elevator goes up. Wait for it to level with the hole that you shot the barricade from and jump towards the wall and use your climbing axe.

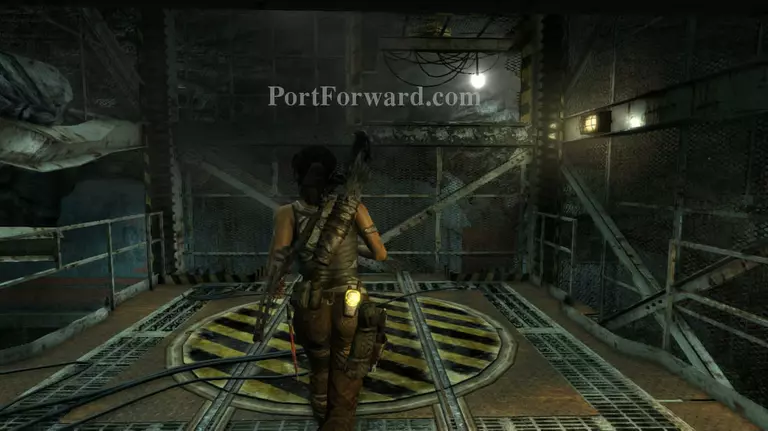
From there shimmy over to the left side until you get to the small platform that extends from the wall. Jump towards it then pry the cog loose.
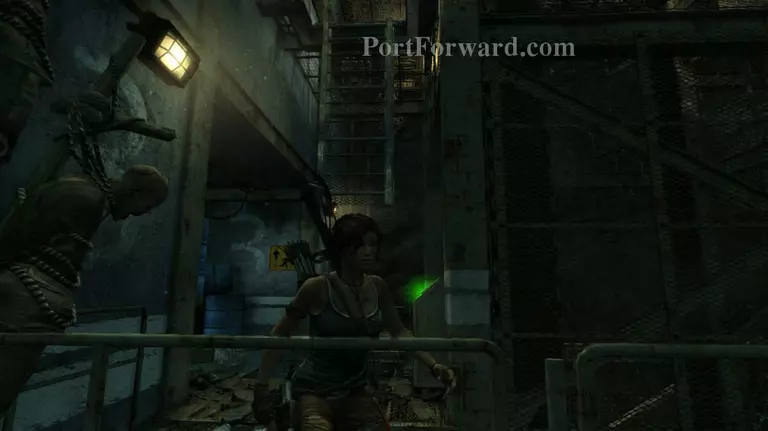
Drop down to the third floor from there and head for the elevator button. Don't press it. You'll see half a ladder extending from the ceiling. Jump towards it and climb up. You can see the last cog here, pry it loose and the elevator will crash down.
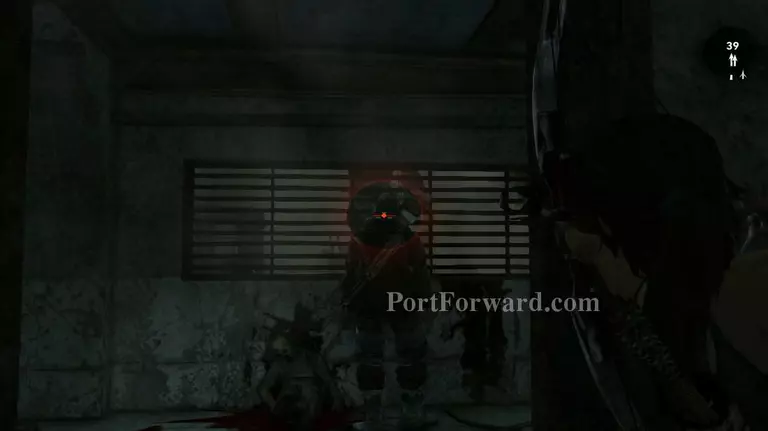
Go back down to the second floor and jump on the fallen elevator. Head inside the hole in the wall and you'll hear some Solarii people patrolling the area. Hide behind the blue barrels and shoot the first on in the head.

Now follow the second one into the corner and perform a silent kill on him.
Head further down the tunnel and you'll find a tomb. Climb up the stairs to start the cutscene.
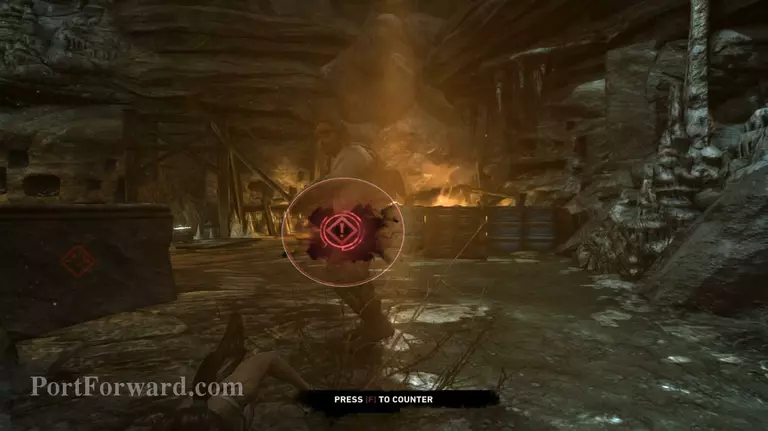
After the cutscene head back out the way you came. The Solarii will bomb the exit and you'll be forced to fight them.
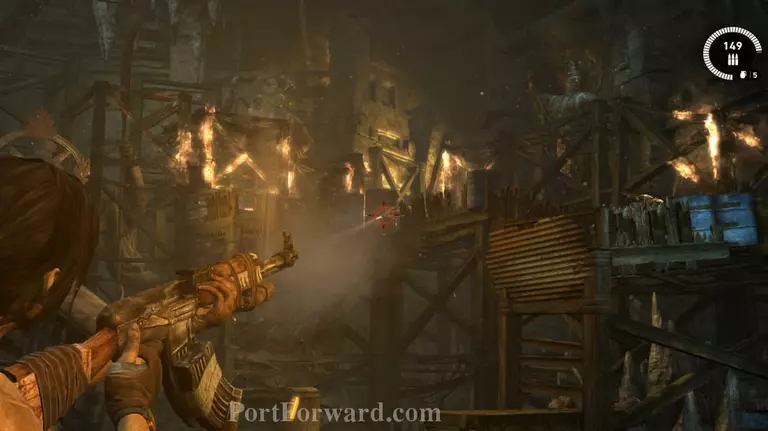
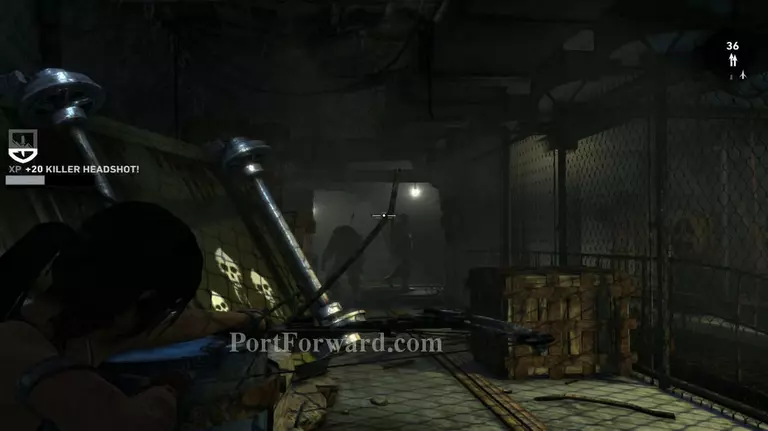
Hide behind cover and equip your machinegun. Wait for them to go near the oil barrels and shoot the barrel to cause an explosion. This is the easiest way to thin them down quickly.
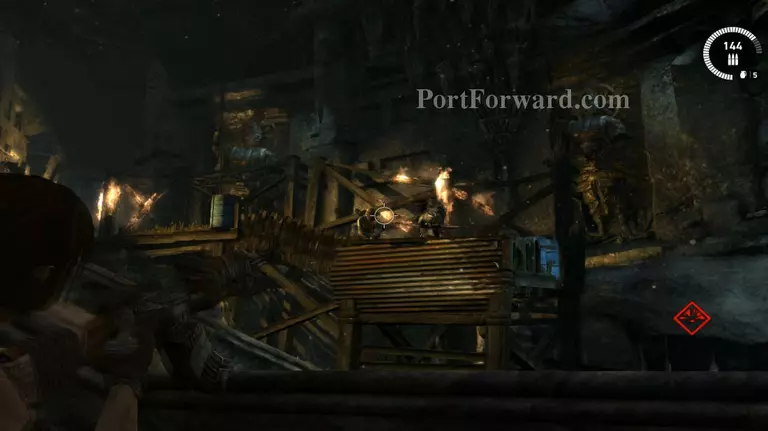
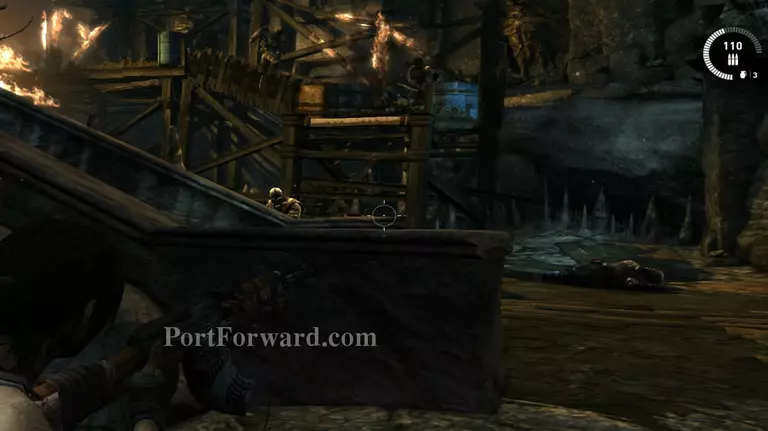
Personally I find that the stair railing is the best place to take cover. You've got good distance between you and the Solarii as well as a good cover spot and wide enough area to dodge when they throw bombs.
Eventually melee fighters will come down and attack you. Don't bother too much with them just dodge their attacks to kill them off quickly.
After killing the second wave of Solarii the barricade that they're hiding on will come down and you can either make a run for it or stay and finish them off.
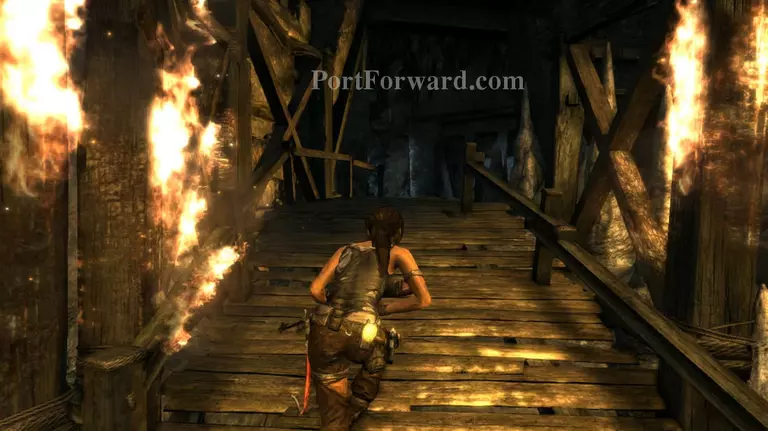
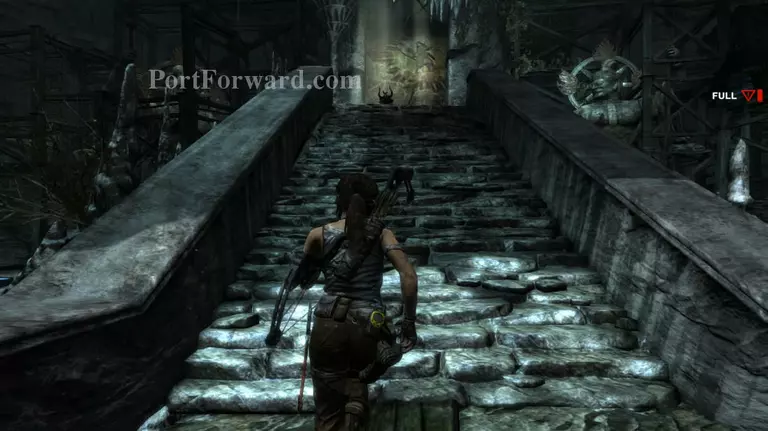
Regardless of which one you chose to do, head up the newly revelead climbable wooden planks on the wall and turn left. At the end of the path turn right and you'll see a bridge. Head across it and into the small tunnel.
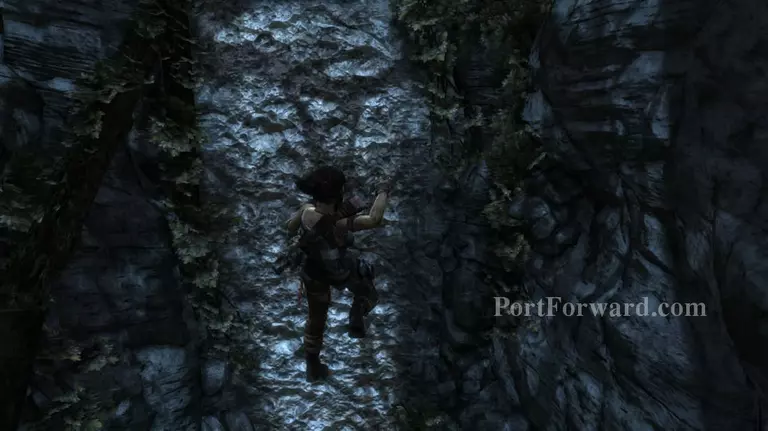
You'll slide down the path and survival instincts will kick in. Press E as soon as you get near the opposite wall and climb up to the top.
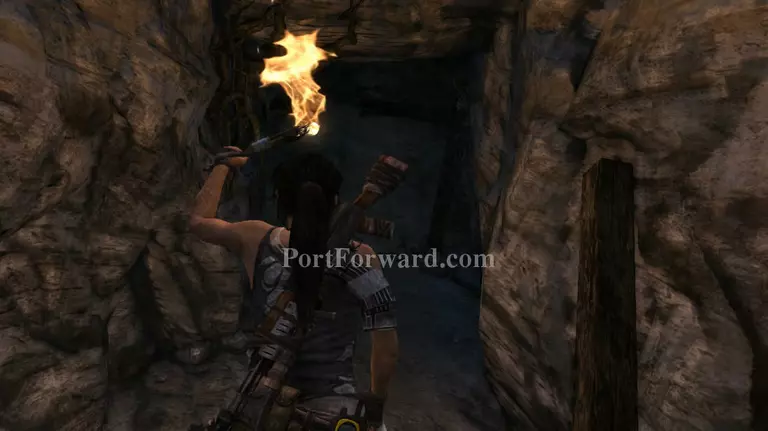
Follow the tunnel to the end and you'll receive a call from Reyes. Hurry and find the exit at the end of the tunnel.
More Tomb Raider Walkthroughs
This Tomb Raider walkthrough is divided into 25 total pages.


