
This X-Men Destiny walkthrough is divided into 8 total pages.
You can jump to nearby pages of the game using the links above.
Mission 2
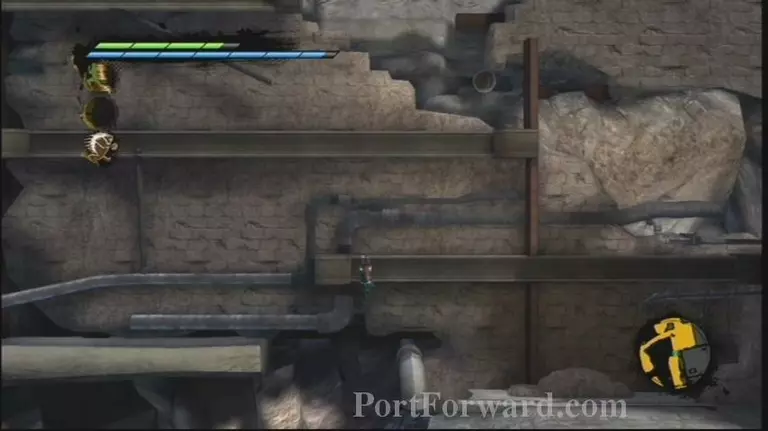
Great begin, there's a Dossier when you go outside. Go around the building and shimmy over the ledges.
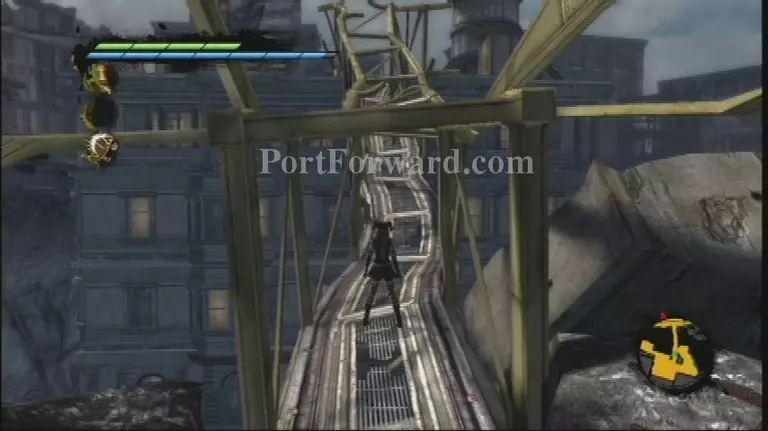
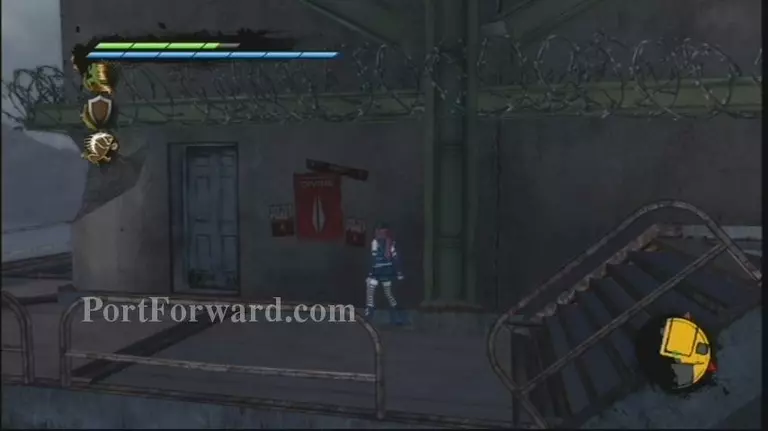
You'll see a cutscene where a young lady is cornered by a few Purifiers. Get the Propoganda Poster here and afterward cross the crashed tower framing a temporary scaffold. There are a handful of adversaries here, and a Dossier in the right corner on the water tower.
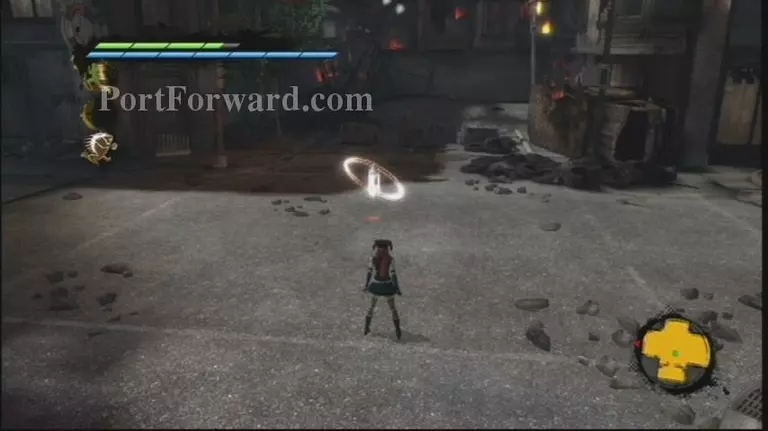
Head to the checkpoint. Here, Pyro will offer you a Challenge Arena. Complete it for a X-Gene. After you're carried out, look simply to the right of where you conversed with Pyro to discover a Propoganda Poster.
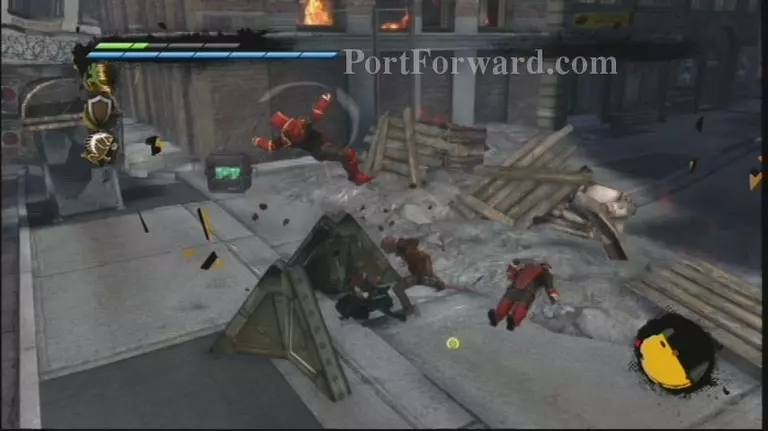
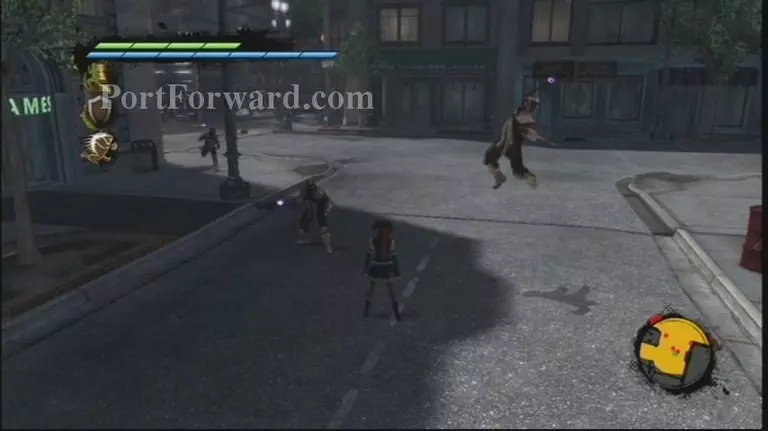
Converse with Mystique and Nightcrawler. At the end you can decide to help either Pyro or Nightcrawler. It is possible that one will bring about a X-Gene and some fighting. You'll need to at last begin utilizing that evade catch when the adversaries begin discharging firearms at you. Use solid assaults to beat down the aggregations.
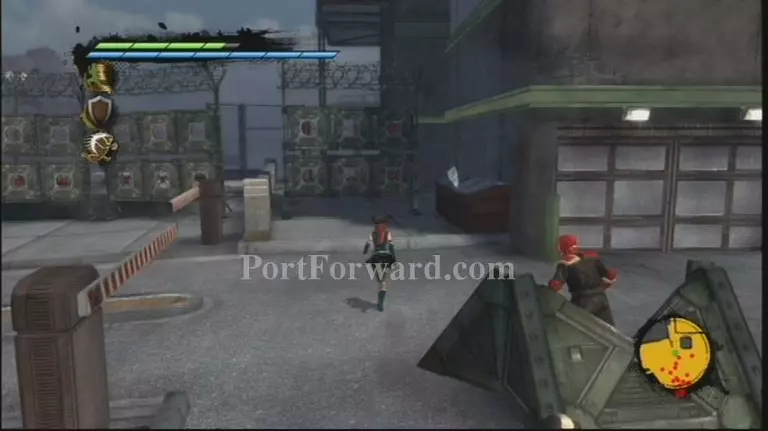
After things chill off, you'll need to help Forge. This isn't excessively hard, and there are turrets to help you. Simply don't meander too a long way from him, as foes will target him and he'll require your assistance.

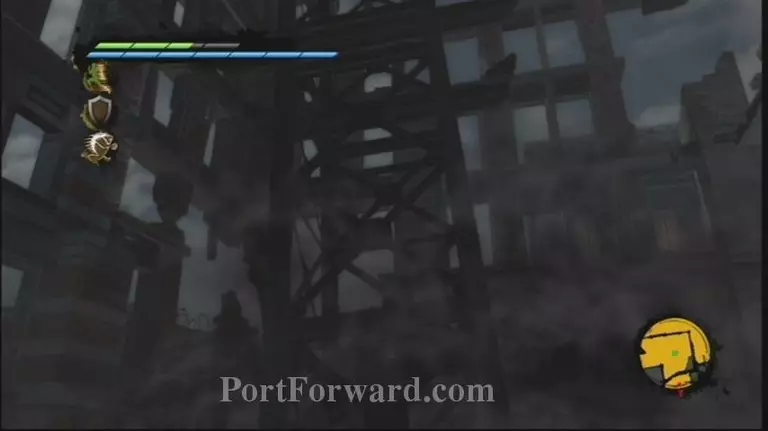
A short time later, the Polaroid dish to reveal to you a building to climb. On the top, there is a Propoganda Poster to the right. Drop down on the other side and down to the ground floor.
There's a Dossier here on a three seat sofa by the divider. Battle off the foes, and after that punch down the tower when they're all gone. It'll crash down the divider and make room ahead.
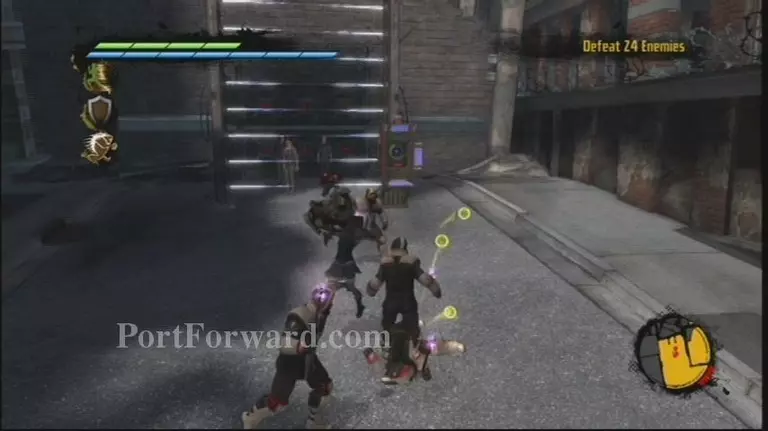
After he cut scene with Magneto, head through the divider pulverized by the tower. Search for the Propoganda Poster over the road, close to the cell. Get the Purifiers out and crush the cell's board to free the prisoners. Head around the curve to the waypoint. Cyclops and Quicksilver are sitting tight for you.
Pick your side and get a X-Gene as your prize. Punch the door open, and watch the cut scene. You may perceive the Dossier over the dumpster as the Polaroid container over the Purifiers. We'll get that in a minute. Great venture through you can discover a X-Gene to your right, along the wall in the corner. Right away go to the left half of the building with the stairs on it, and snatch that Dossier.
When you get the foes out, head up the stairs. Around the first corner get the Propoganda Poster, and after that at the end, scale the shafts to the roof.
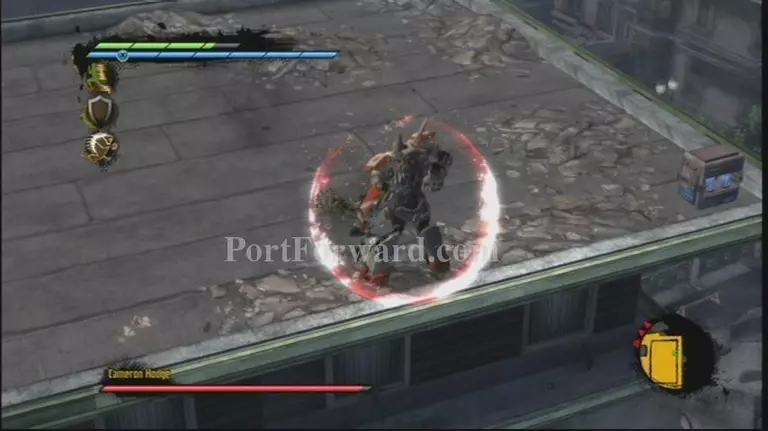
It's supervisor time, now. The avoid catch is helpful here at whatever point he propels rockets. When he bounced into the air; only sit tight for the focusing on pillars to close in and afterward evade at last. Fundamental combos will harm him fine. It's a simple battle.
More X-Men Destiny Walkthroughs
This X-Men Destiny walkthrough is divided into 8 total pages.


