
This X-Men Destiny walkthrough is divided into 8 total pages.
You can jump to nearby pages of the game using the links above.
Mission 3
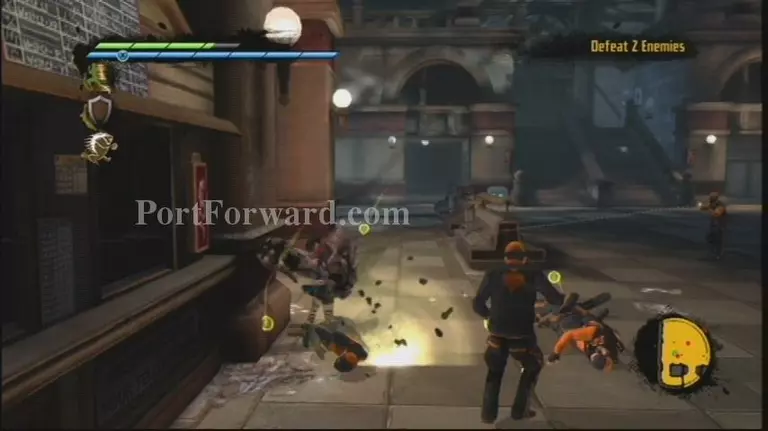
Mystique is holding up close to the begin, and you're going the fraternity course, you can do a Challenge Arena. At the begin of this stage, you'll experience a couple veiled men. Battle your direction first floor. There's a Propoganda Poster. On the ground floor, to the left by the ticket office, you can discover a Dossier.

Go up the stairs on the furthest side of the entryway. The waypoint is to the right, yet up the stairs to the left you can discover a Propoganda Poster. Head to the waypoint after.
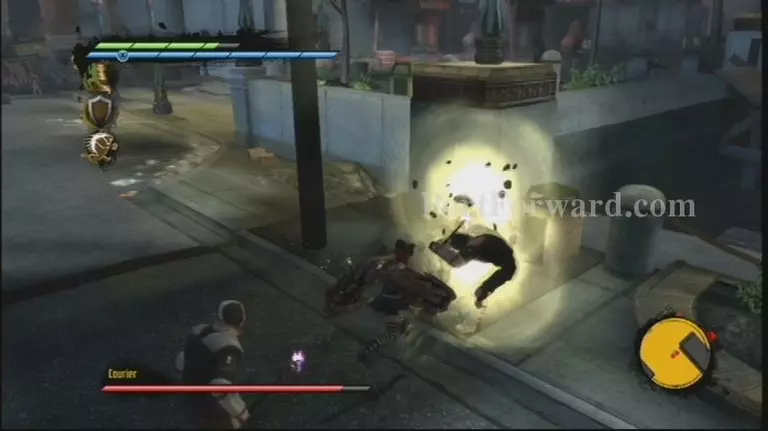
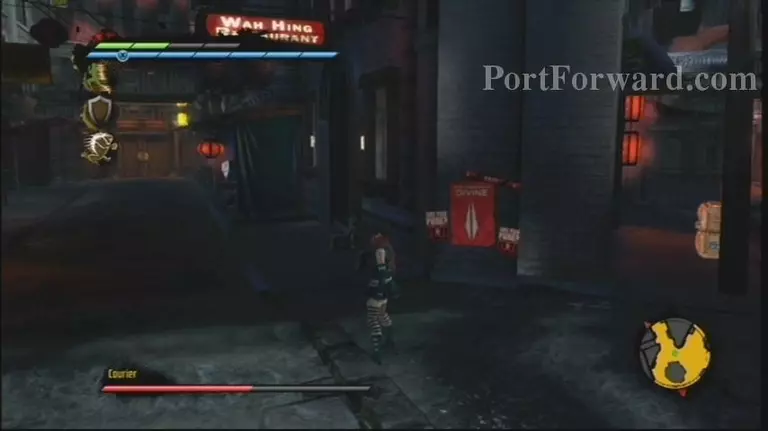
You go out into the Chinatown roads. Take after you guide and find the Courier that needs help. Battle off the Purifiers and after that head up the long set of stairs.
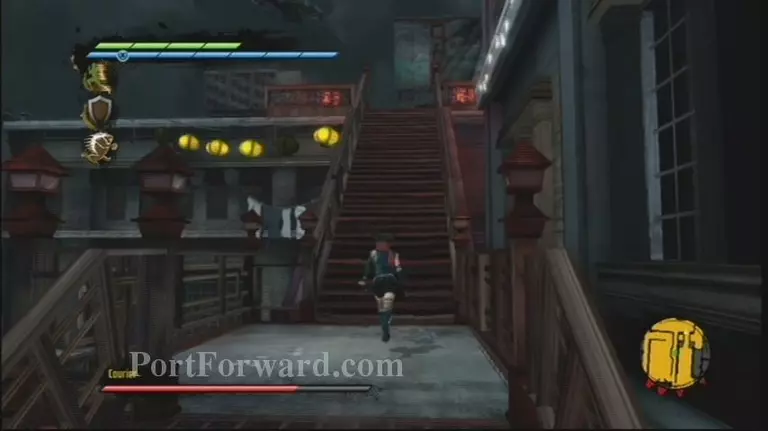
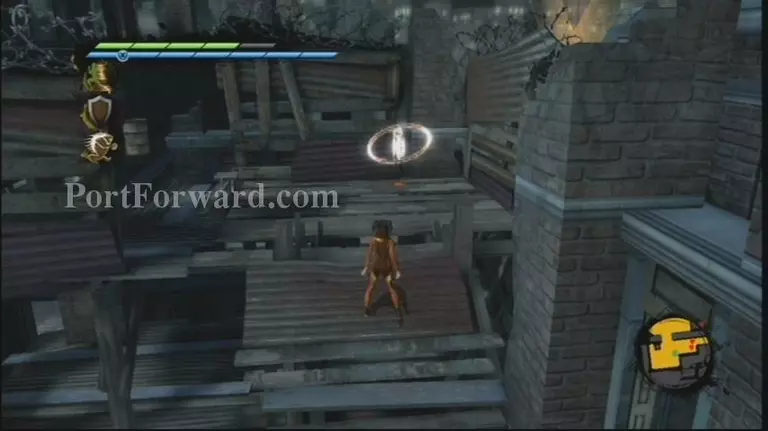
Go up the stairs. There's a battle up there. Close to the secured scaffold, there's a Propoganda Poster. Make room and you'll see a concise scene of a few choppers.
Cross the scaffold and head first floor. Northstar shows up and you will safeguard the Courier. Continue taking after the Courier. You'll get several cutscenes with helicopters before entering a commercial center zone.
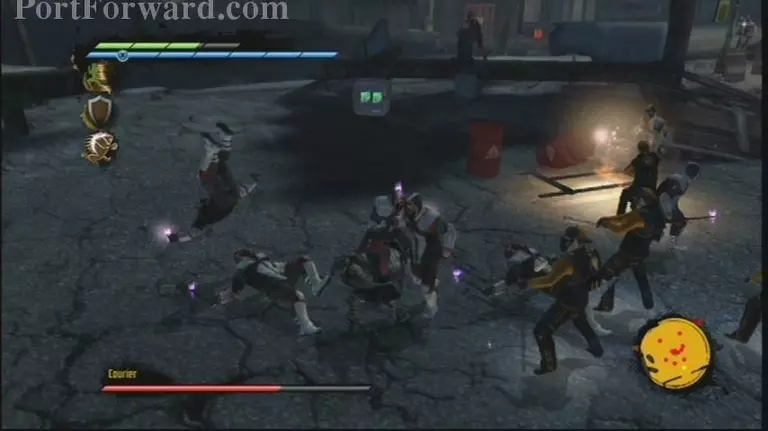
On the left divider, you can discover a Propoganda Poster. On the furthest end of the region, there's an alternate Propoganda Poster close to a green Orb holder. Close to this, by a stand with a red lamp, there is a Dossier. Adhere near the Courier while you fight off the 28 foes. As long as you don't relinquish him for long, its simple.
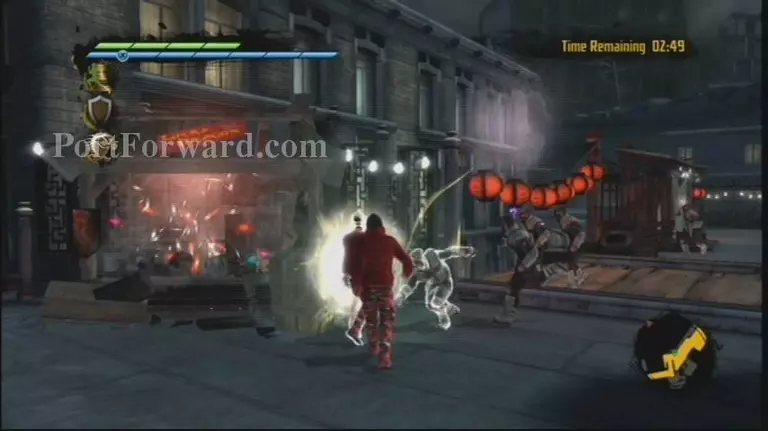
Subsequently, you have the opportunity to converse with Toad for a Brotherhood mission, in the event that you pick. You simply need to punch each of the firecrackers stands and you can overlook a large portion of the Purifiers. Of course, your prize is a X-Gene.
Head through the recently opened door out of the business zone. Directly after this, look down the back road to the left for a Propoganda Poster. Keep on followwing this rear way for a X-Gene. Only ahead in the corner there's a Dossier.
Chase after the way to the following range. You can see the Rogue Hand up ahead. In a corner to the right you can see a X-Gene. Up ahead on the right half of the Rogue Hand, there's a Propoganda Poster. Head to the club entryway when you're primed.
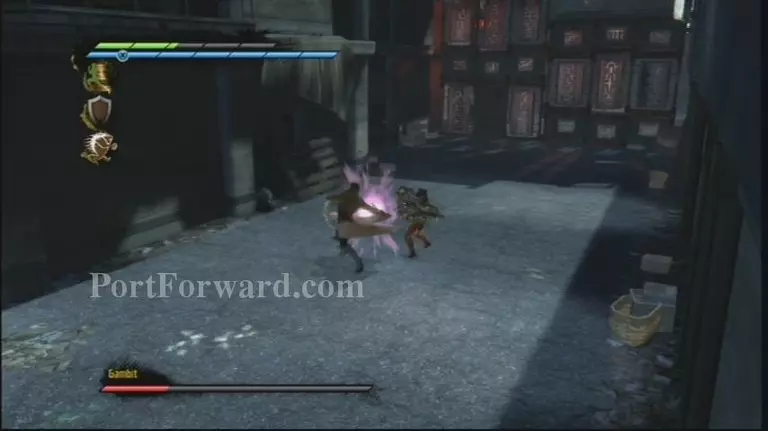
You'll have a supervisor battle with Gambit after this. He goes really simple on you. Simply utilize the avoid to stay away from his cards and afterward move in with some substantial ambushes and combos between his assaults. You'll have a visit thereafter.
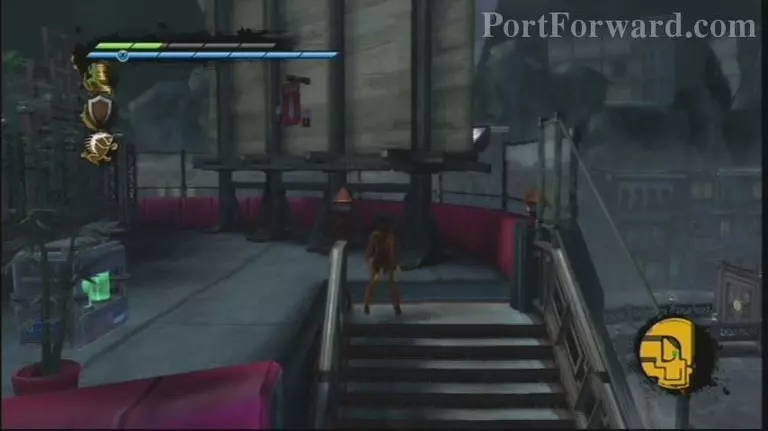
When you leave the club, get the Dossier sitting on the bar. Take off of the club and take the stairs to the top to recover a Propoganda Poster on the of the announcement, and after that bring the stairs down to ground level.
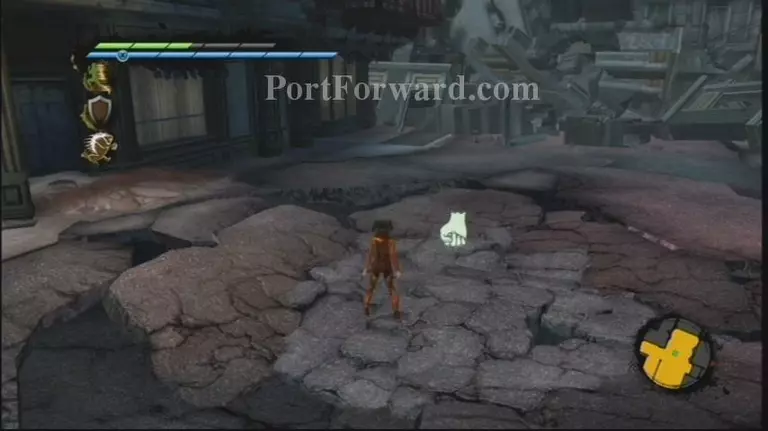
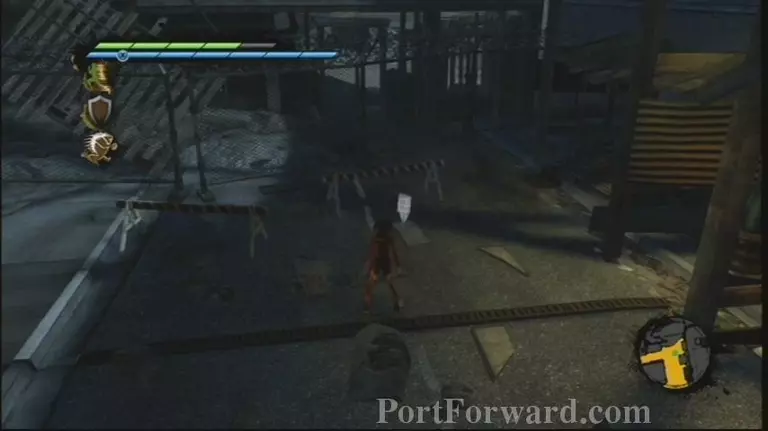
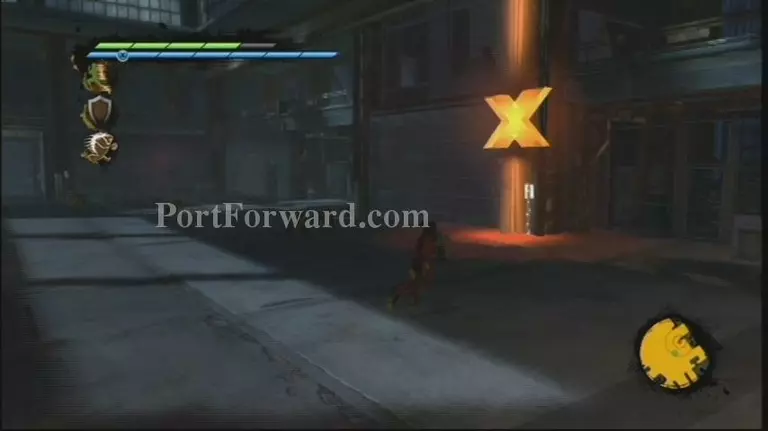
Head through several waypoints and crush the cavity with a hopping hard strike to crush through the floor. As opposed to taking the left way to the X marker, take the right way through the cell entryway and drop down to get to a Challenge Arena, which yields a X-Gene, as dependably. A while later, head the other way and trip the funnels out to ground level.
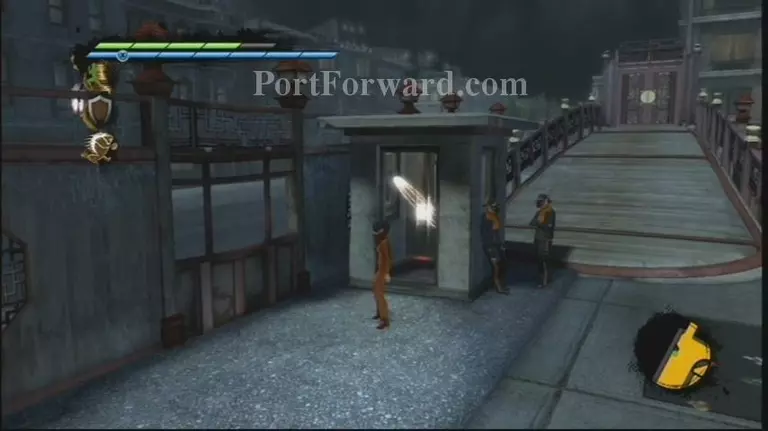
Jump over the holder and the wall. You'll see a short cut scene. There are a couple of foes on the ground. You can take the stairs or scale the divider to the top. Jump up the ledge and make a mental note of this spot. To begin with, go right (down the stairs) and around the bend and get the Propoganda Poster as an afterthought of a holder.
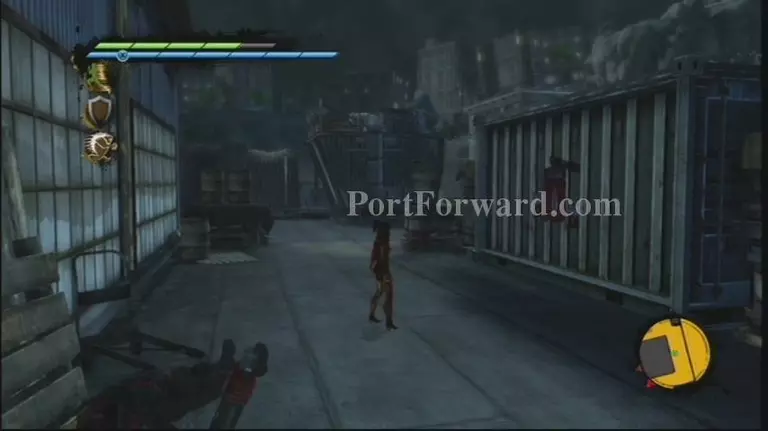
Come back to the point and go up the stairs to the top and promptly go left and up the stairs and around the board way to get a Dossier. Keep going up the stairs. You'll get a X-Gene and after that see a long drop down to the warehouse doorway waypoint. Go in.
There's an alternate X-Gene tucked away in the corner of the warehouse. There are heaps of adversaries to battle here. A short time after you open a carport entryway. Not long after this Gambit appears. These flamethrower gentlemen are intense. In the event that you have it, the Pyro Defensive X-Gene is extremely useful here on the off chance that you have it. Went assaults can additionally help an extraordinary arrangement. Overall, try your hardest to ambush from behind. After a tiny bit, you can hit a catch to open the route for the truck and trigger the end of the mission. A concise visit with Gambit results. A while later, crush through the mesh to achieve the metro level.
More X-Men Destiny Walkthroughs
This X-Men Destiny walkthrough is divided into 8 total pages.


