
This X-Men Destiny walkthrough is divided into 8 total pages.
You can jump to nearby pages of the game using the links above.
Mission 4
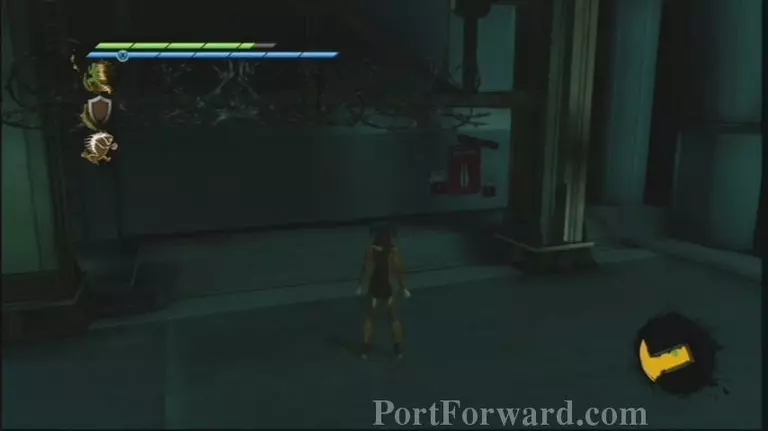
Comfortable begin of the mission, off to the right, you can catch a X-Gene. On the off chance that you go down the short deadlock passage inverse from the control board to open the way, you can discover the stage's first Propoganda Poster on the left half of the corridor. Hit the board to move to the following room.
You'll converse with Quicksilver quickly in the following range. There's nothing in this corridor, only head past a few doors. In the following territory, you'll recognize your energy gage quick exhausting. There's a little gadget that resembles a tripod with four Tvs on it. This is known as a dampener. Crush it rapidly to stop the dying. Close to a green Orb Container, behind a few boxes, you can discover a Dossier (imagined). Pop the control board to proceed onward.
In the following range, you'll see Colossus take a beatdown. There's another adversary sort here, the U-Men. They're solid however moderate. Around the end of the lobby, you can look left to see a X-Gene, and a Propoganda Poster on the holder right alongside it. Experience the way to the following lobby.
Be snappy on the avoid catch, there are two grenadiers behind the boundaries. Continue emulating the foyer. You'll go to a room where they secure you and you need to battle a Cleanser. Go at him hard so he doesn't have an opportunity to ambush.

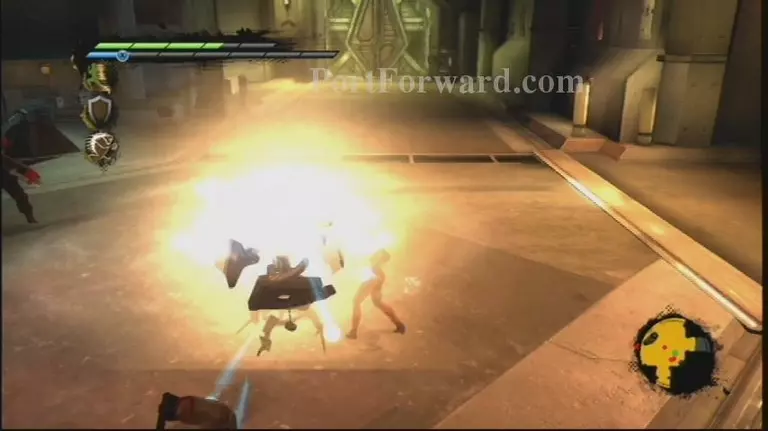
Simply past this you go to a room with three Stalkers (mechs). On the off chance that you hop over the stage with the Stalkers, you can get to a X-Gene and a Propoganda Poster (both unmistakable in the picture beneath).
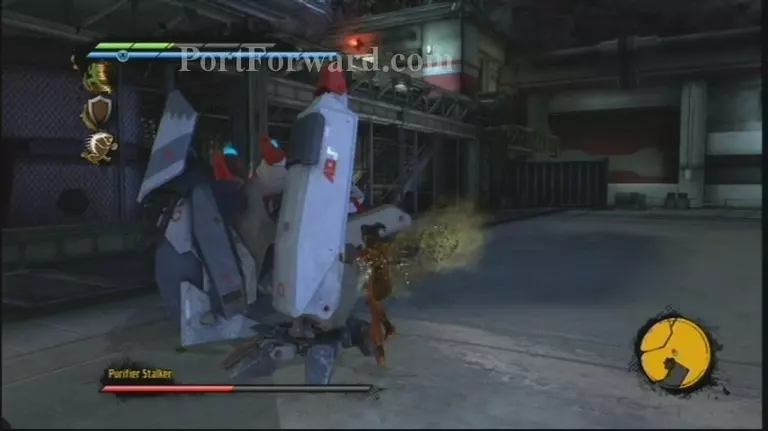
Simply past this, the Purifiers drop a Stalker into see if you're tough where it really counts. You can detect a Dossier on a box close where the Stalker is dropped in. This battle is a bit harder than most. Stay behind or to the side of the Stalker and abstain from strolling close it when it steps. Possibly utilize shot ambushes or hopping strike to harm one of the legs, and afterward while its down go at it hard and attempt to complete it off before it gets move down. You're remunerated with a X-Gene when its carried out.
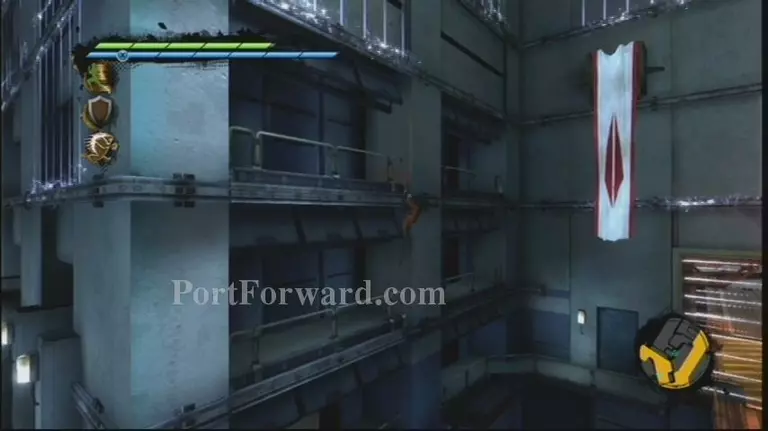
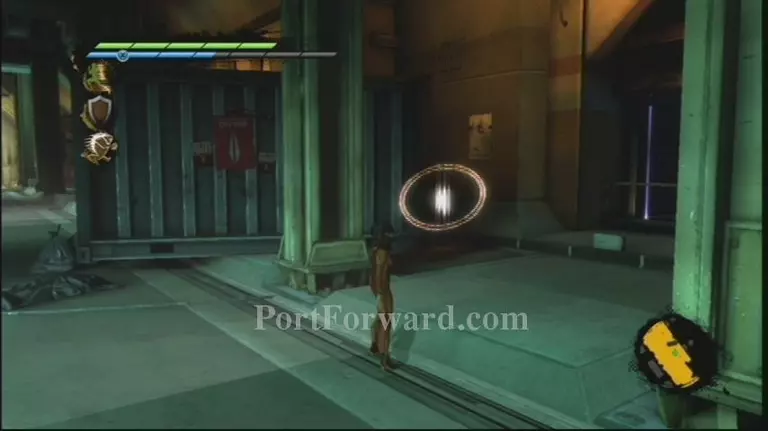
At the waypoint, you'll be offered a Challenge Arena, to win an alternate X-Gene. After this you need to make a run for an alternate dampener rapidly. There are a considerable measure of foes here, including a Cleanser, so continue moving and don't get cornered. Subsequently you'll need to shimmy along the ledges while maintaining a strategic distance from the electric fields. Simply continue going right to the X-Marker.

You meet Colossus after this. Converse with him about Quicksilver. You have an alternate battle much like the last one. There is a Propoganda Poster here, close to the build of the stairs with respect to the left side. You will shimmy around precisely the same as last time. Whoopee, reusing!
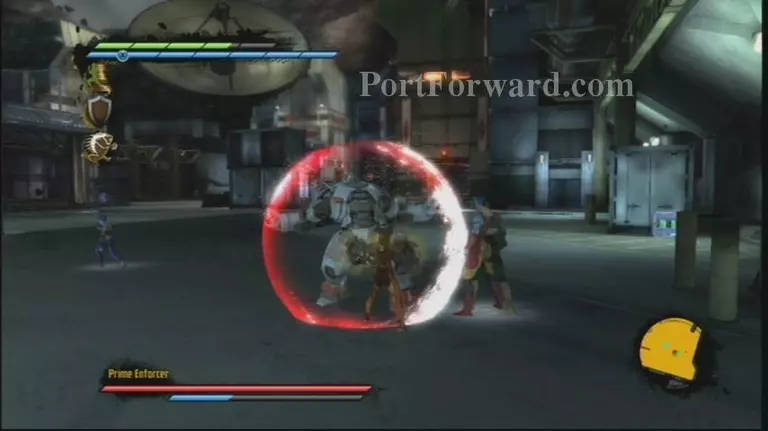
A short time later, you can pick between Quicksilver and Colossus for your decision of Challenge Arena. In the following region, you'll have a battle where you're helped by each of the three mutants that you've met in this way. The help makes this a simple battle, even with an Enforcer at the end. A short time later, head down the incline at the X-Marker, and search for the Propoganda Poster on the left divider before you adjust the corner.
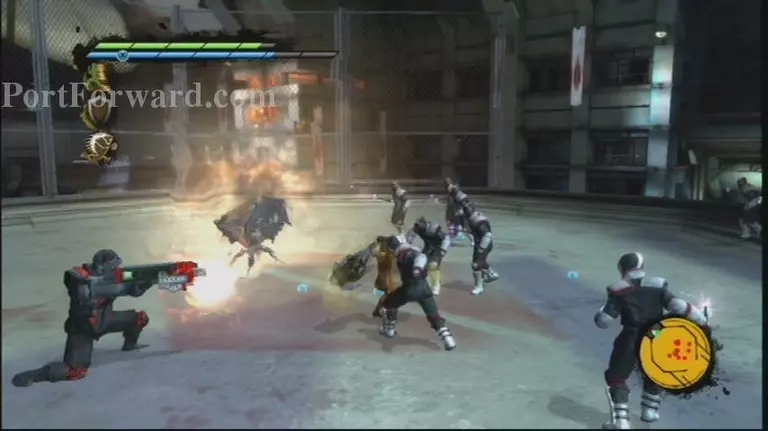
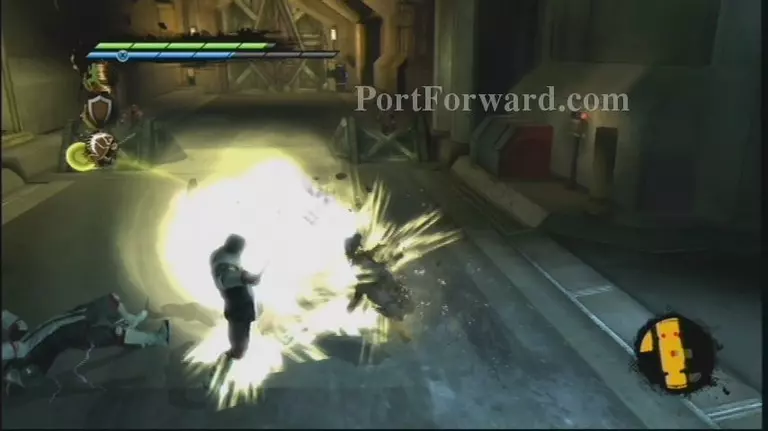
After you are divided from the others, head move down the slope. This time, an entryway in a steel wall is open and you can climb the stairs. This will take you to an obvious helipad territory, with an alternate dampener you have to take out ASAP. There are a couple U-Men to be mindful of here, too. Utilize a great deal of solid ambushes to beat down the aggregations and stay moving. Combo just in the event that you have space to. A solitary Cleanser closes the battle.

There's a little control room contiguous this. Not just is it stamped as your next goal, it has a Dossier, Propoganda Poster, and a X-Gene. Crush the control board and bust through the mesh and head once again to the room where the others were trapped.

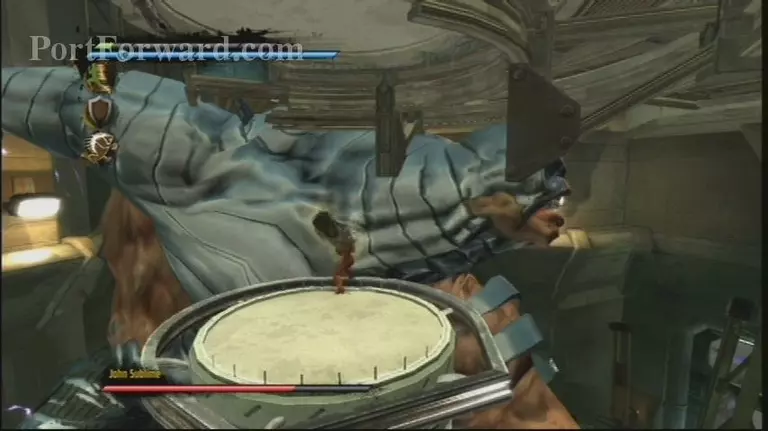
Manager time! John Sublime is absolutely scary to take a gander at, and he does pack a mean punch, yet he's abate. You can't generally spook him, the key here are simply attempt at manslaughter methods. Get in, land a hit or two and avoid away. Not excess

He channels Quicksilver's forces next, and all of a sudden doesn't appear to be so pokey. Despite the fact that he moves quicker, his punches are still abate and simple to peruse. Notwithstanding he'll begin recuperating himself in the center. Crush the generators each one time he does this as fast as could be expected under the circumstances.
After the generators are down, he assumes Surge's energy and some way or another develops tremendous. His examples are totally diverse now. When he crushes his clench hand down, it'll discharge a blue wave that you need to hop over. He'll likewise shoot a shaft that you have to run from. Intermittently his clench hand will get stuck and the unit in the center will never again be jolted. At the point when this happens, climb the unit in the center, punch him in the face, and after that hop down. You'll need to rehash this a couple times.
More X-Men Destiny Walkthroughs
This X-Men Destiny walkthrough is divided into 8 total pages.


