
This X-Men Destiny walkthrough is divided into 8 total pages.
You can jump to nearby pages of the game using the links above.
Mission 6
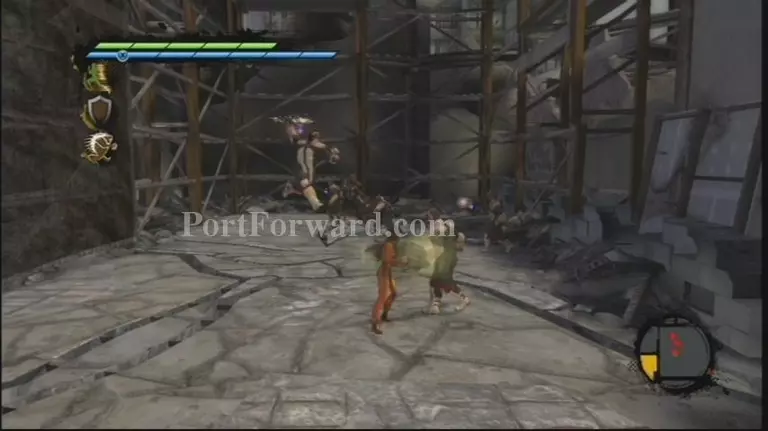
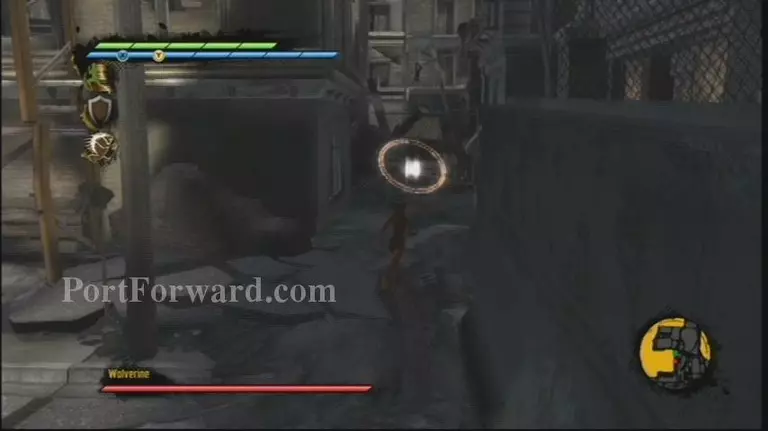
You need to do some visiting at the start of the mission before you can proceed onward. This provides for you an opportunity to certify your faction fidelity. Thereafter you'll teleport up above to a battle against a group of Purifier punks.
When they're clear, head down the steps. Search for the dampener and strike it immediately. There's likewise a X-Gene in the corner of this room. Head down an alternate flight and get the following dampener off the beaten path.
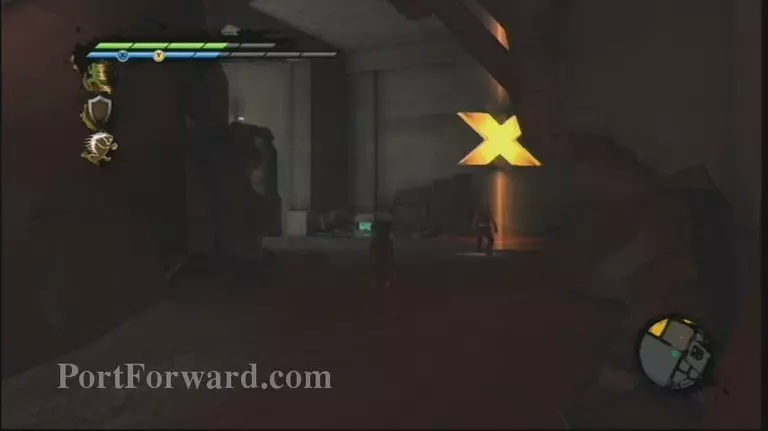
Presently you need to climb a few funnels to get over a laser obstruction. On the opposite side of this obstruction, you can discover a Propoganda Poster. Climb the funnels on the other side to achieve the top and after that crush the vent and drop down inside.
You get to pick another force to open, and they you need to battle a Stalker. This is really unpredictable following there's very little room to move. Don't get got bound without room to move left or right. Spam shots or simply be prepared do some extravagant footwork to stay away from his steps up close. There's a Dossier on top of a mainframe unit in this room. Some Orb Containers in the corner will help you recuperate.
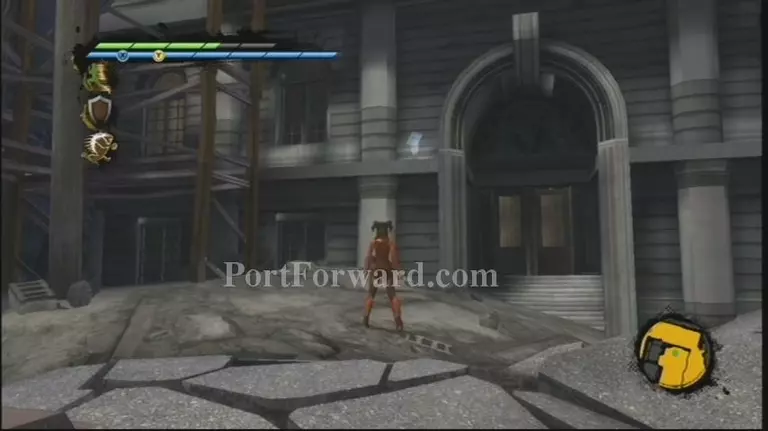
Head to the X-Marker by the gap in the divider. In the wake of conversing with Forge, complete Caliban the gap. Converse with him and he opens the route outside.
There's a Dossier, envisioned beneath, in this open air zone loaded with holders, not a long way from where you came outside. There's additionally another foe sort, solid X-Gene improved Purifiers. They're solid yet moderate and doltish.
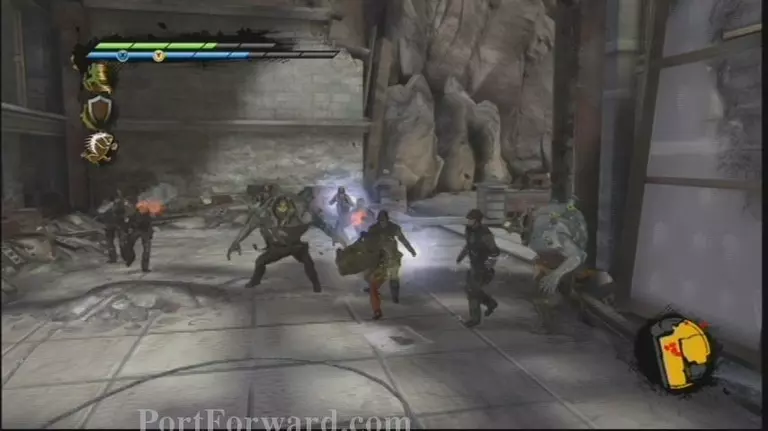
In the wake of getting out the adversaries, converse with Northstar for a decently simple Challenge Arena to get an alternate X-Gene. After this, you, Juggernaut, and Caliban will handle a group of X-Gene Purifiers. You'll get to converse with Juggernaut for a bit after the battle.
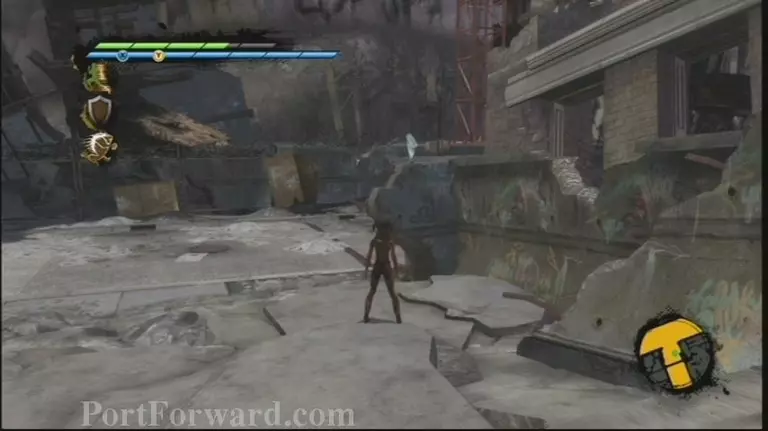
After you're carried out conversing with the huge galoot, he crushes down a blockade. Simply past this blockade, off to the right, there's a transport stop, with a Propoganda Poster on it. On the furthest end of this territory, close to the two green Orb Containers, there's a Dossier. Take after the X-Markers until you make up for lost time with Wolverine.
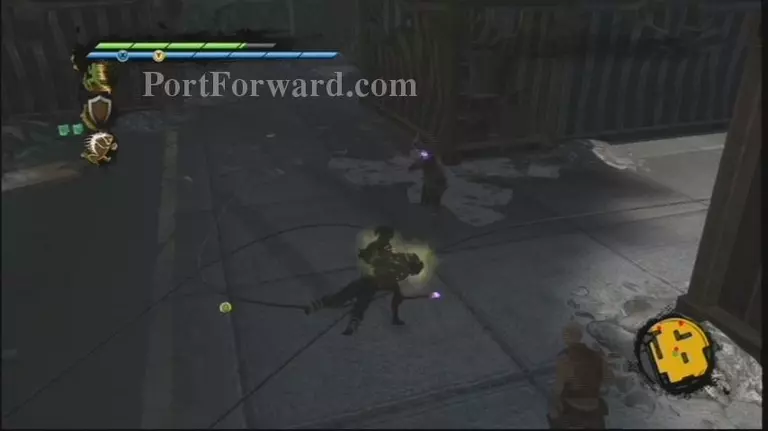
Wolverine is wild, and you need to cut him down. He's rapid, however he could be brushed pretty successfully. Simply avoid his ambushes and sit tight for an opening, and afterward evade away when your combo closes. Additionally make sure to get the X-Gene tucked away in the corner.

Move up the platform to the X-Marker. There are some simple foes up here revealing to some not-exceptionally noteworthy mutant forces. After you scale the divider, search for a X-Gene.
Battle your route along the roofs. Some of these fellows can propel some influential shots, so continue moving dependably and attempt to crush up the gatherings with substantial assaults. Go to the X-Marker and ascend to the crane. Turn the crane and afterward stroll crosswise over it to achieve the following crane. Go to the controls for this crane and pivot it too. You can now cross to a roof.
Crush through the roof down to the ground level. On the left, there's a really clear Propoganda Poster, and on the right only ahead, there's a Dossier.
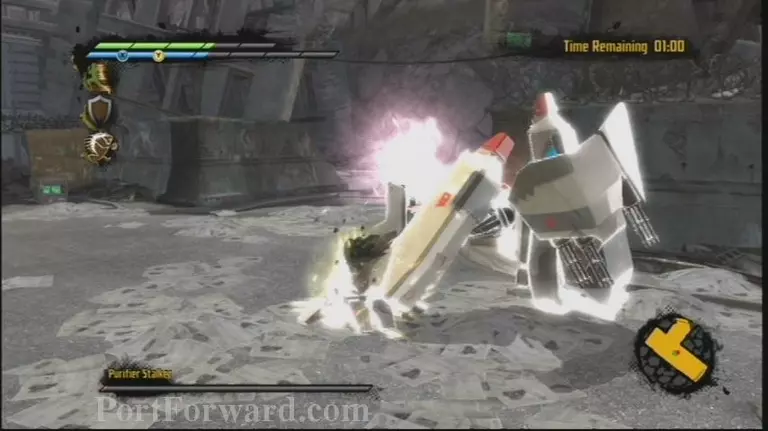
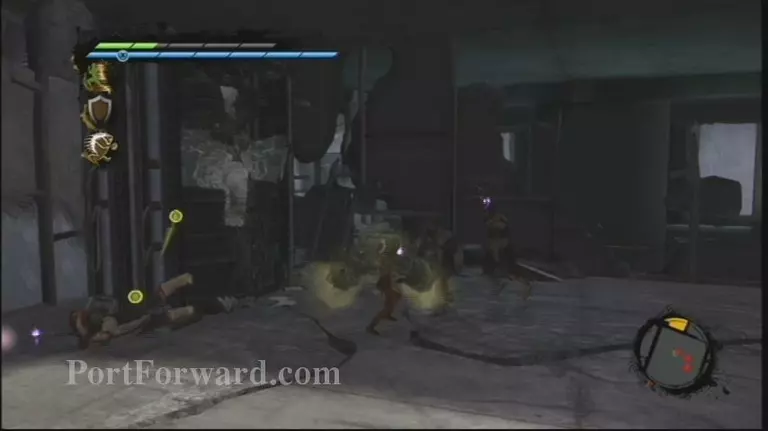
There's an immense snare after this, with a Stalker and huge amounts of changed Purifiers. Enormous, clearing spook ambushes like Boulder Dash work well here. There's very little space for spread. The Stalker ought to be your first necessity. Go to Pixie a while later.
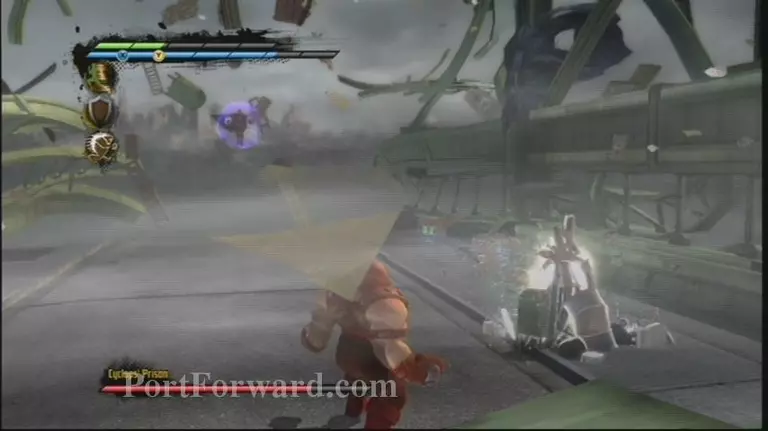
After the cut scene, you'll have a battle on a flying bit of an extension. You can't battle Magneto or Juggernaut specifically. Rather, strike the lump of trash encasing Cyclops, and utilize your avoid to stay away from the hurled autos and Juggernaut's charges. After three times, you'll go down.

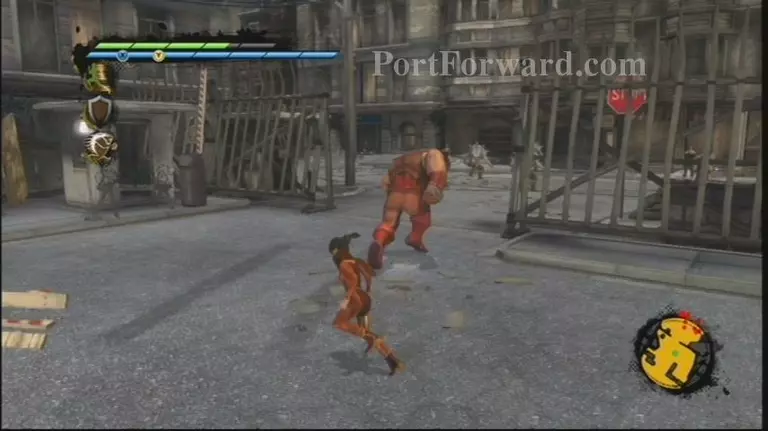
Presently you need to battle Juggernaut specifically. It's really clear, sit tight for him to charge and after that go hard. He'll go down pretty rapidly.
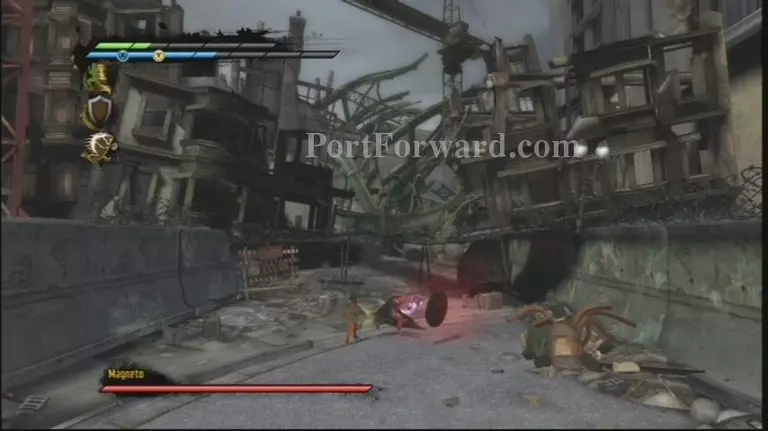
At last, you'll be at the end of a long back street. Magneto tosses garbage at you, and you'll need to hop over it or avoid it. Work your route send and after that free Cyclops. At the point when Cyclops ambushes, you can bounce in and pound Magneto with

After the battle you can at last pick your partnership.
More X-Men Destiny Walkthroughs
This X-Men Destiny walkthrough is divided into 8 total pages.


