
This Batman: Arkham Origins walkthrough is divided into 17 total pages.
You can jump to nearby pages of the game using the links above.
Finding Pengiun
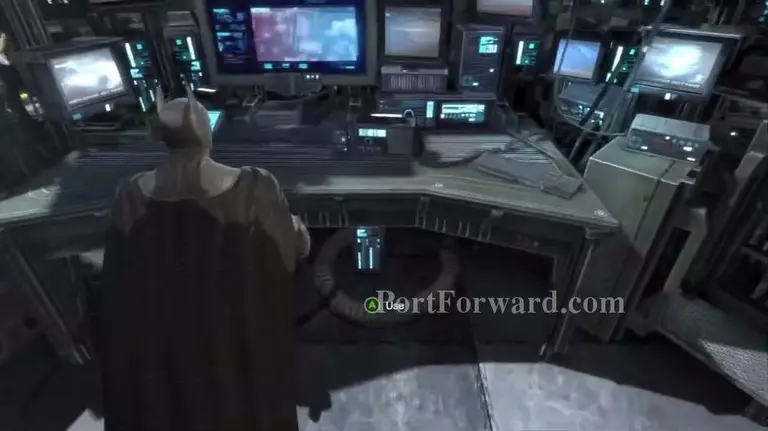
After defeating Croc, Batman will escape and go to the Batcave, there walk up to the Batcomputer and use it. Then walk up to the Batwing and use it.
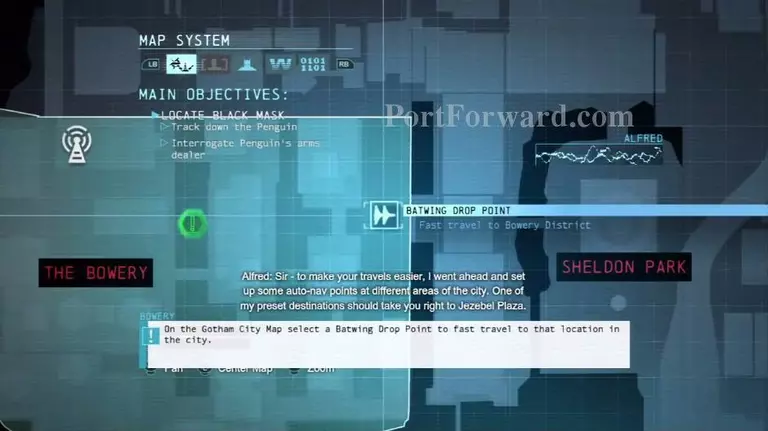
After the cutscene go to the Batwing, and select the waypoint to fly there.
Instead of the waypoint, Batman will have to drop at a Relay Station, go through the door until you reach the guards.
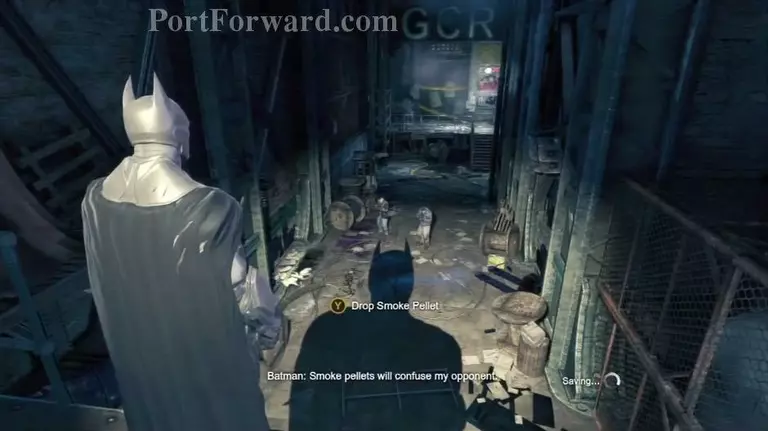
Press the appropriate button to drop smoke.
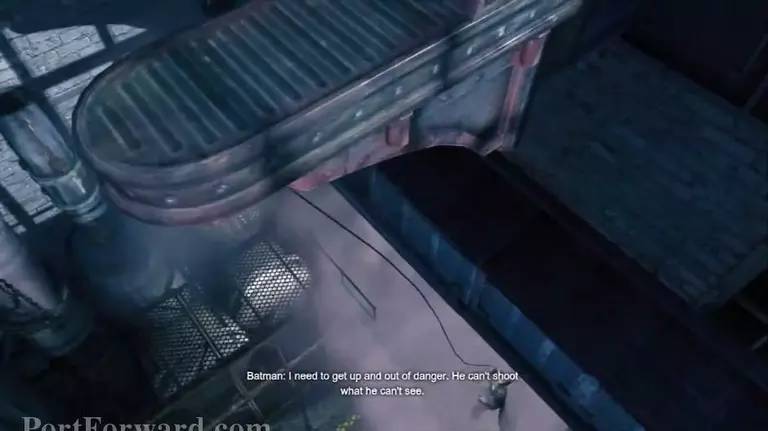
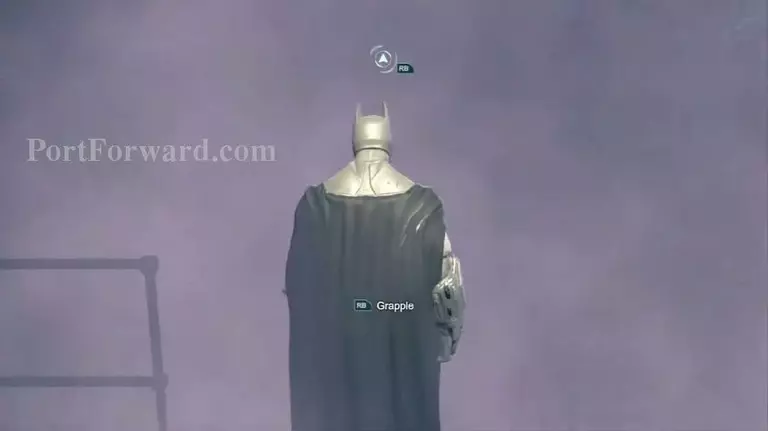
Then press the Grapple button to grapple up and escape the enemy's sight.

Using the Grapple Gun while on the platform, go across to the one above the enemy, then use the Inverted Takedown to take him out.
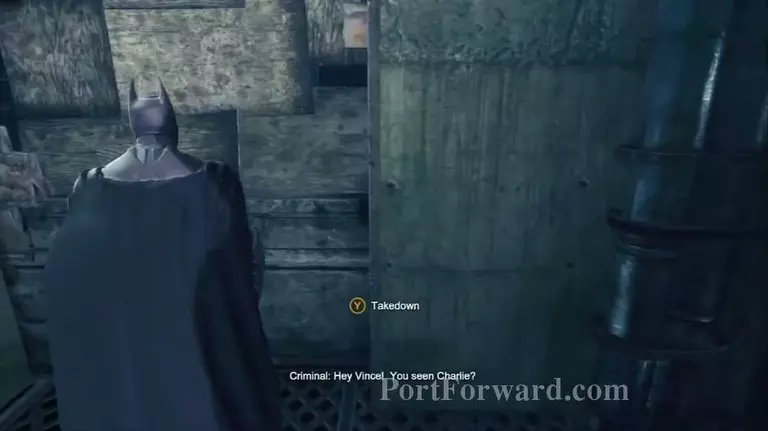
Then glide down and go through the vent, where you will reach a guard behind a vent, take him down using the appropriate button.
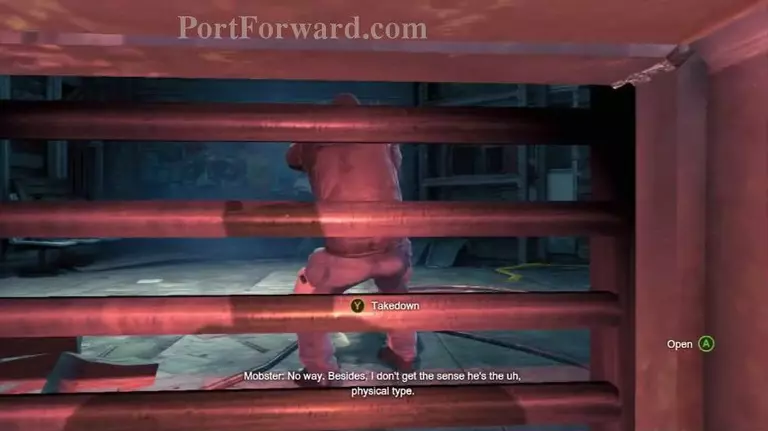
Go forward until you reach the guard behind the wooden platform, take him down through the wood using the appropriate button.
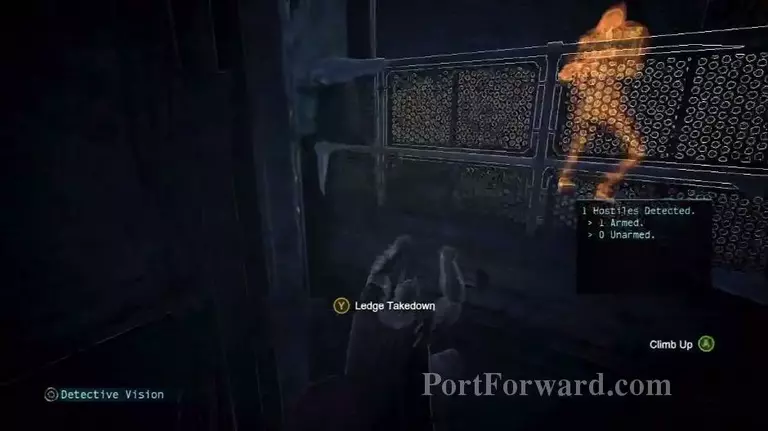
Go forward and use the grapple gun to reach the guard above.Use the appropriate button to take him down from behind the ledge.
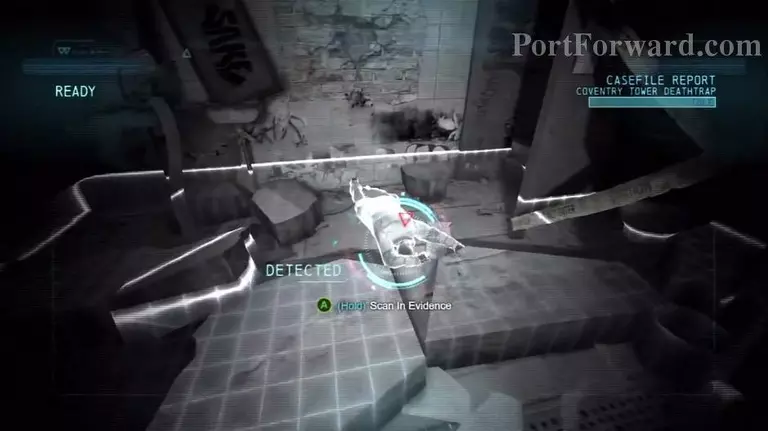
Go forward to the Relay Station door, using the detective vision scan the crime scene, first scan the body.

Then scan the DNA.
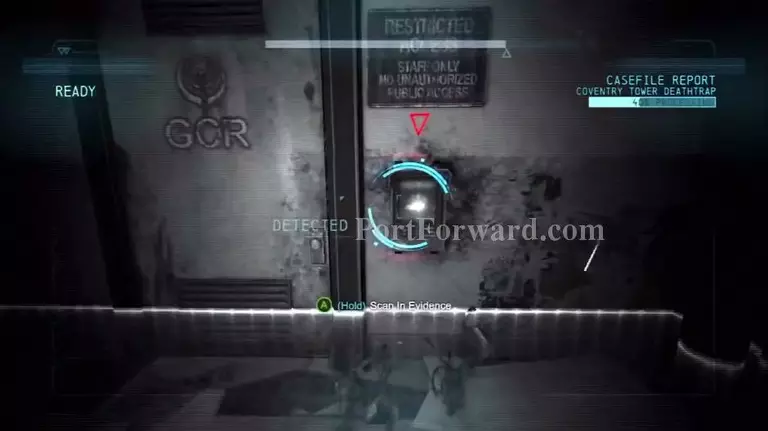
Reverse the crime scene time using the appropriate buttons and then scan the Lock Device.
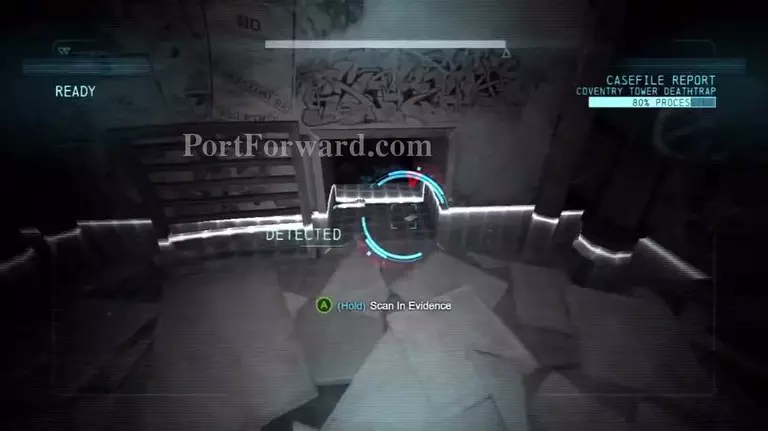
Then reverse and forward the time until you find out where the key card lands, open the vent and scan the card.
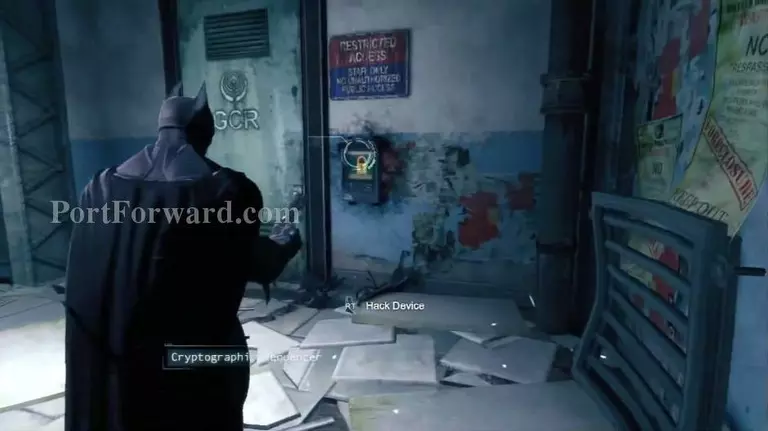
Then select the Cryptographic Sequencer and hack the device.
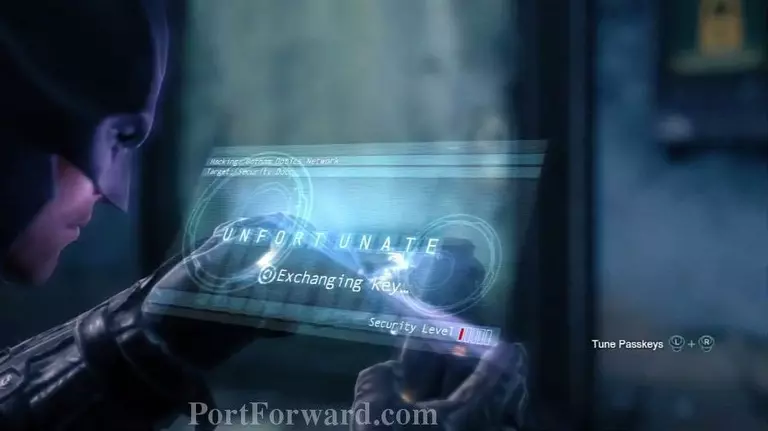
Use the appropriate buttons to find the correct password to hack the device.Then walk inside and go to the Relay Room, open the door and hack the device like before.
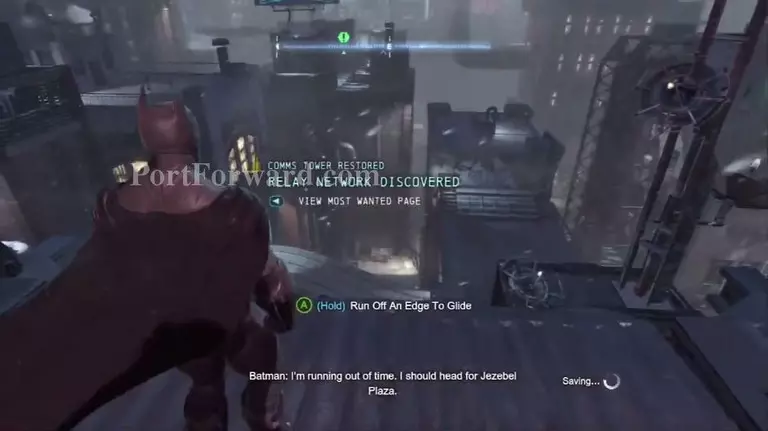
After hacking the device, get out of the room and go out to Gotham City.Follow the waypoint on the map to continue your mission.

Wait for the Arms Dealers to meet.
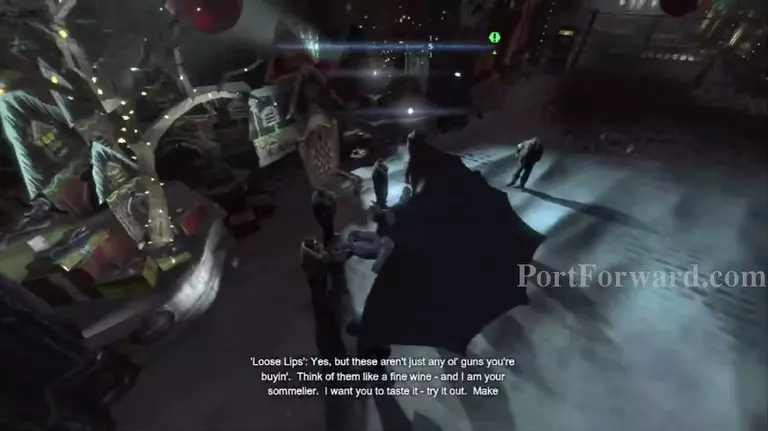
Then drop down and disable them.
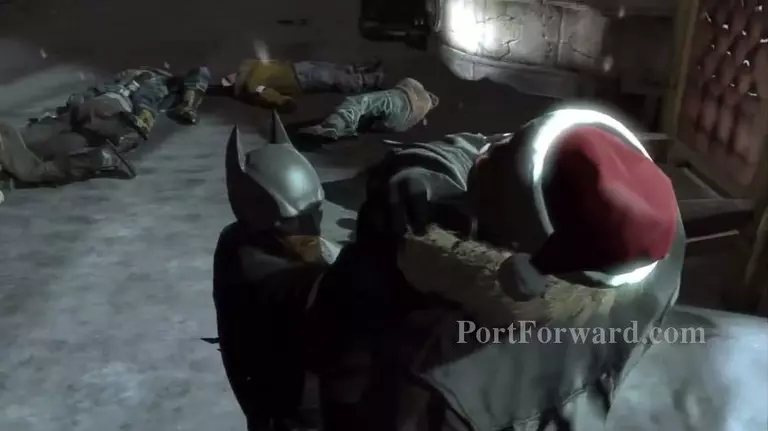
Walk up to the last one and interrogate him.
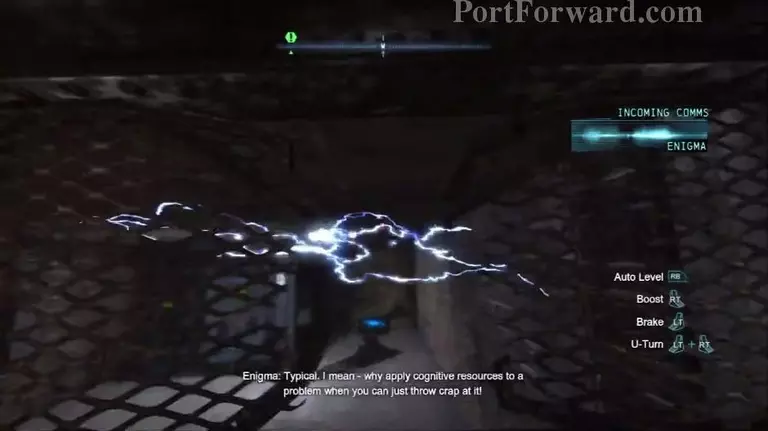
Follow the waypoint, defeat the guards there and select the Controlled Batarang. Throw it through the Electricity.
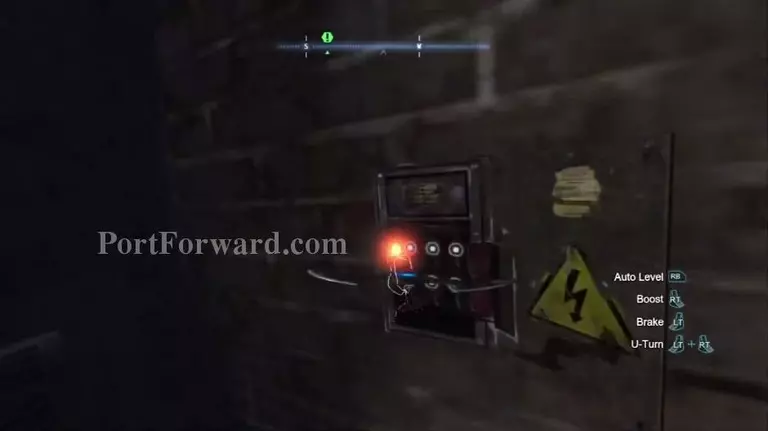
Then hit the Panel inside the room to open the door.Walk inside, open the door, and hack the device.
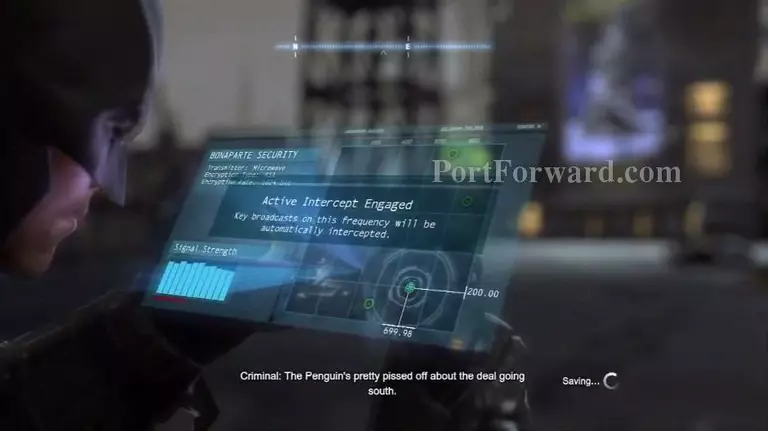
Then using the Cryptographic Sequencer find the source of the communication channel.
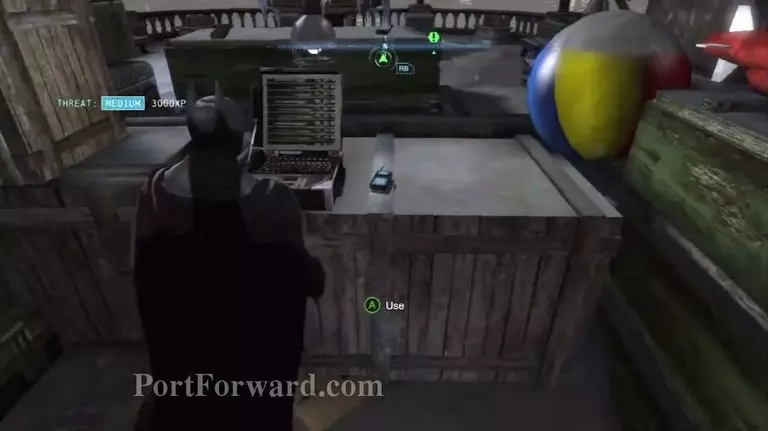
Follow the waypoint, defeat the guards and use the Laptop.
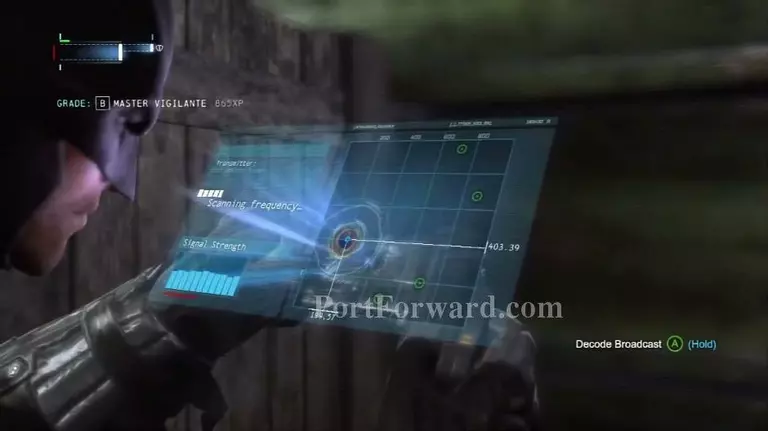
Then find another part of the location of the communication channel.Do this for remaining cards.
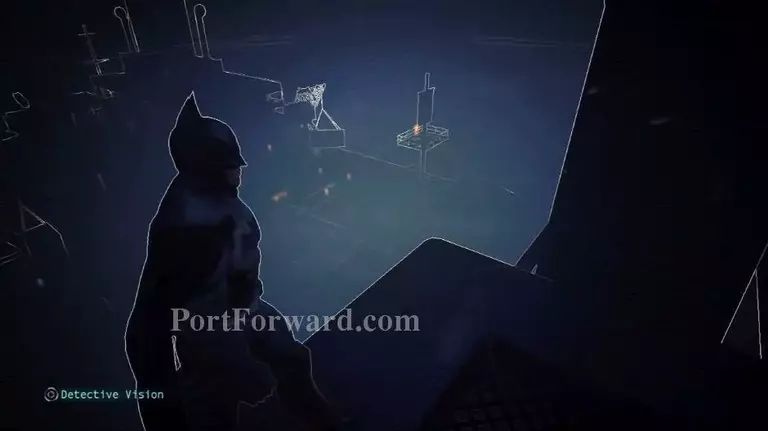
After you find Pengiun's location, you need to take out the snipers first before jumping down on the boat.
First take down the one on the Crow's nest.

Then the sniper on the container.Then you can defeat the remaining guards.For the ones below the desk it is best to throw a Smoke Pallet at them and disable them while they are stunned by the smoke.
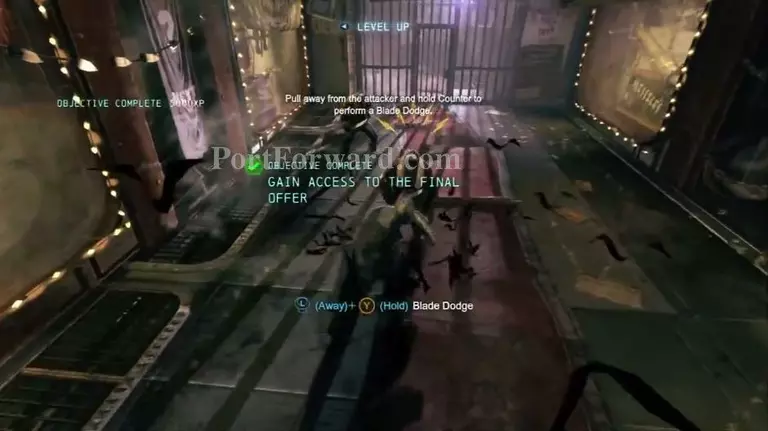
Walk inside and using the appropriate buttons evade he's blade attacks.
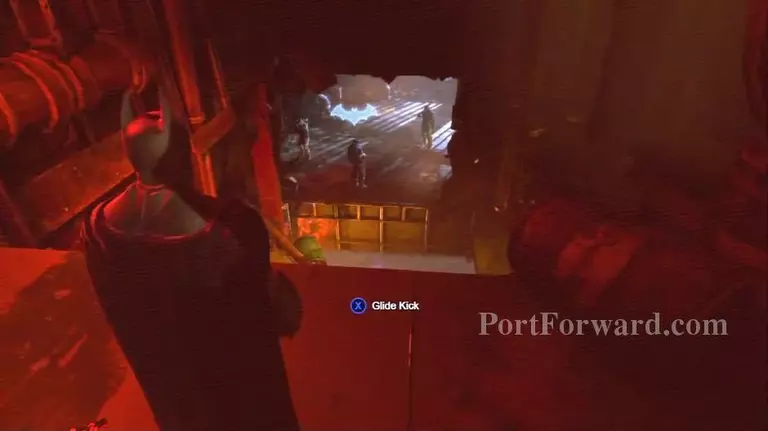
Go through the rooms, you will be engaged by guards, disable them.When you reach the point where you are above a group of guards use the Glide Kick to knock out the first guard and then disable the rest.
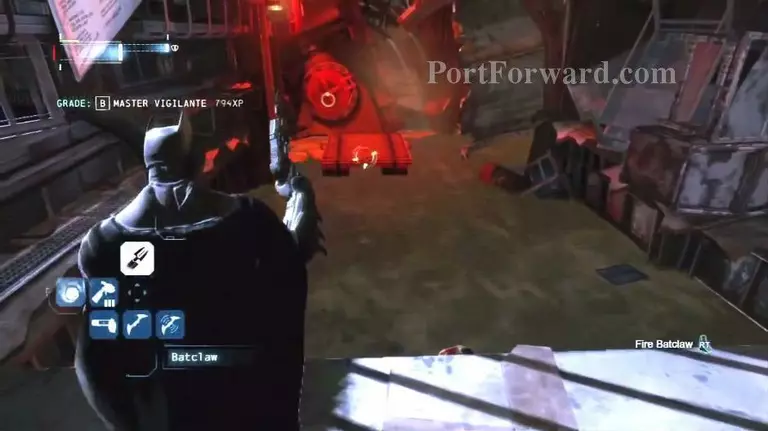
The use the Batclaw to pull the platform toward you, climb on it and pull yourself toward the rings on the walls until you reach the other side.

Using the same technique pull down the wall and then using the Grapple Gun climb up.
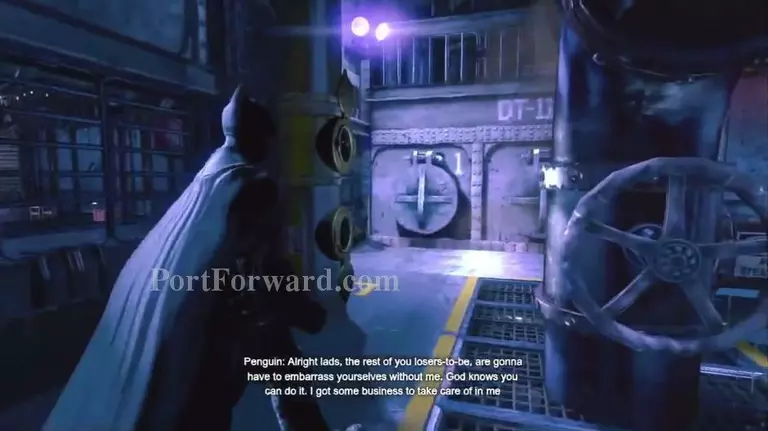
When you reach the open Gas Pipes, wait for them to stop blowing then pass through.
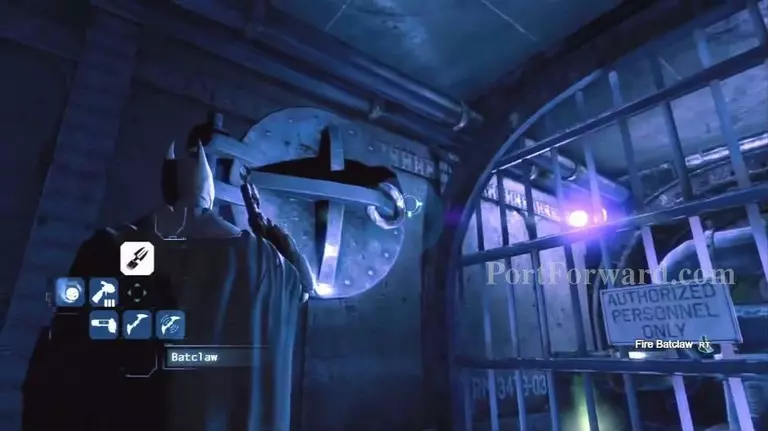
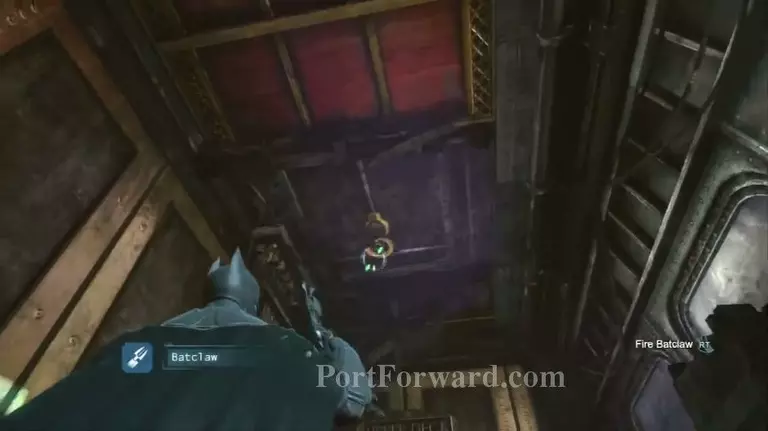
Climb up, then when you reach the opening like on the picture, use Batclaw to open it and climb through.
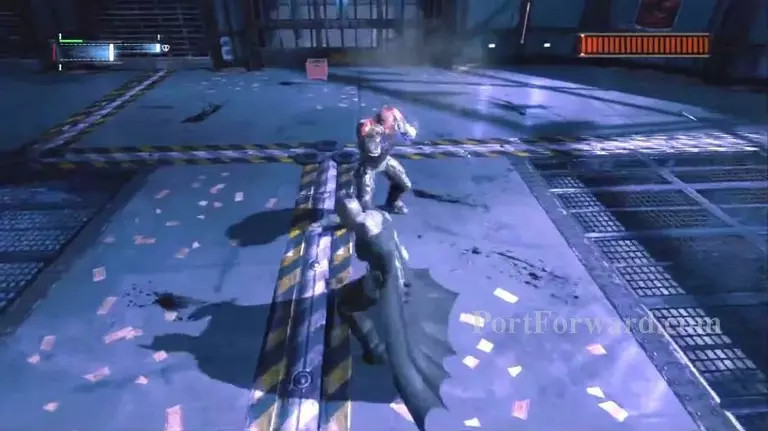
When you climb down from the vent, you will fight the Electrocutioner, jump walk up to him and hit him once and you will win the fight, then take care of the guards that will attack you, then walk up to the last remaining and interrogate him.
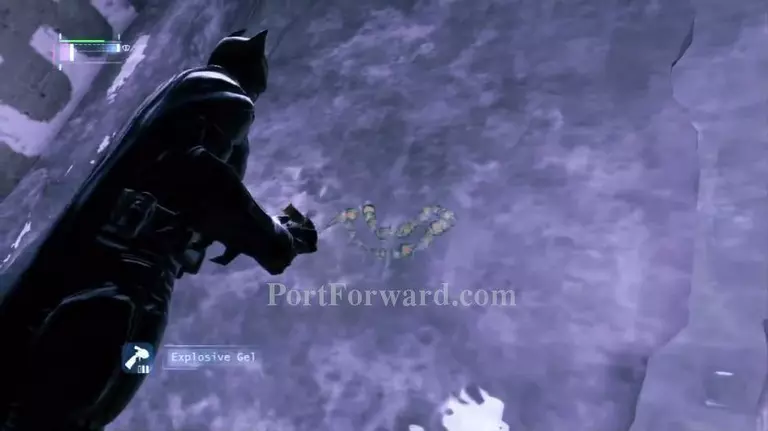
Continue forward, using the Explosive Gel destroy the Ice wall and move forward.
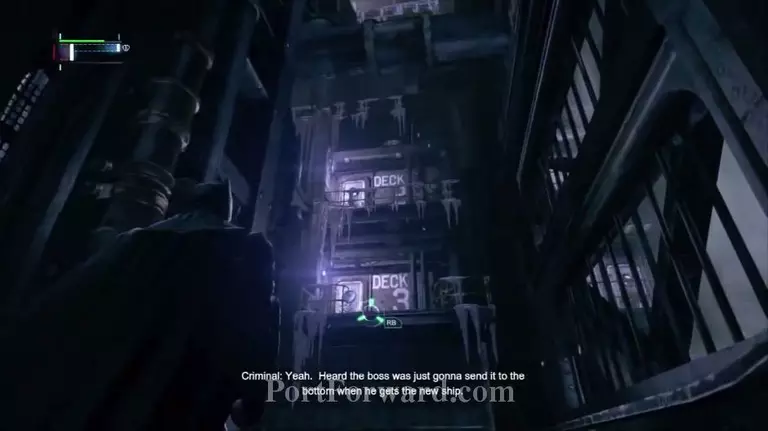
Using the Grapple Gun pull yourself on the ledge, then jump on the ledge, navigate around it and using the Grapple Gun pull yourself to the guards on the platform.
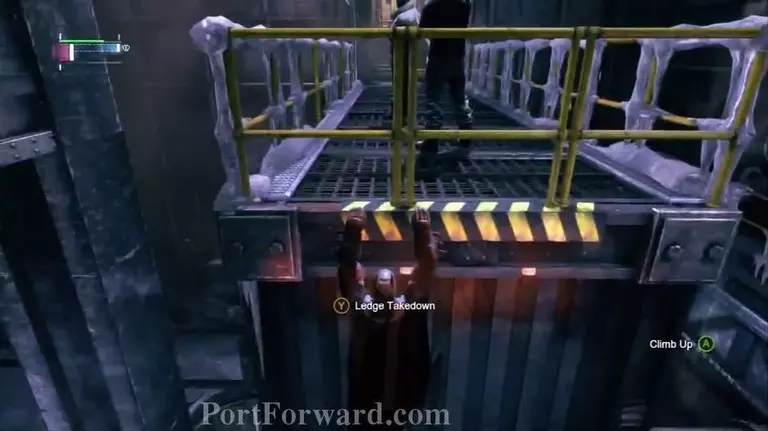
The like before, use the Ledge Takedown to remove one of the guards then disable the other and move forward.
Disable the guards at the entrance then pull down the wall like before using the Batclaw, then climb up using the Grapple Gun and go through the vent.
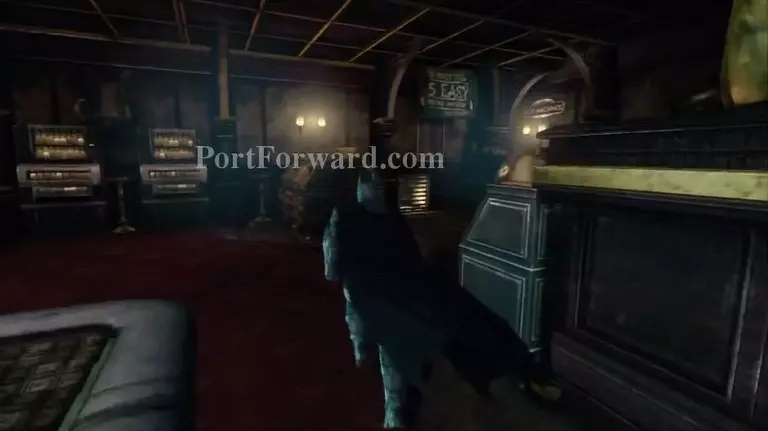
In the Casino room, disable the guards and find the vent, go through it.
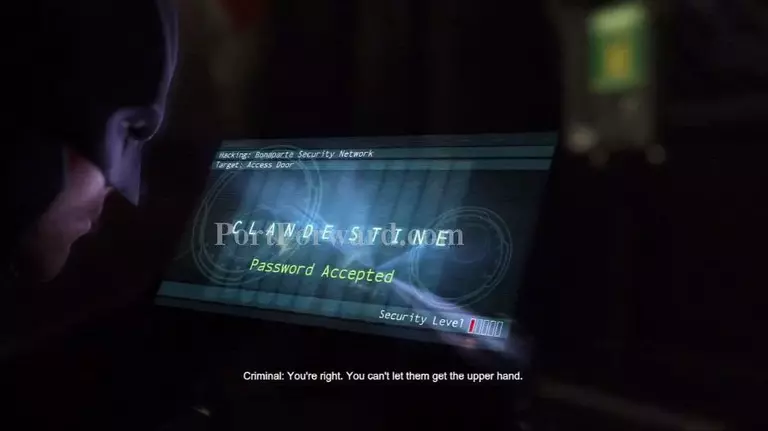
Then hack the device.
Hacking the device will open the Hidden Locked Door, defeat the guards that came out of it and move forward, use the elevator to go up.
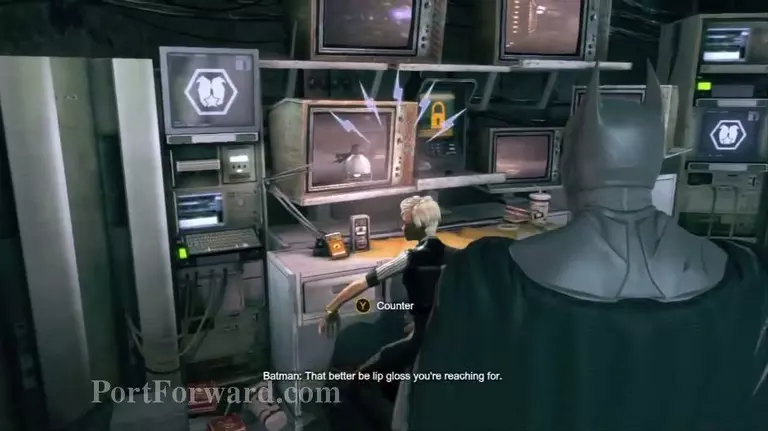
Batman will walk up to the woman, she will try to hit you with a Bat, use the counter button when the Blue Marker appears to counter her attack, hack the device on her computer to open the door.

Then jump through the glass like before and continue to the Theater.
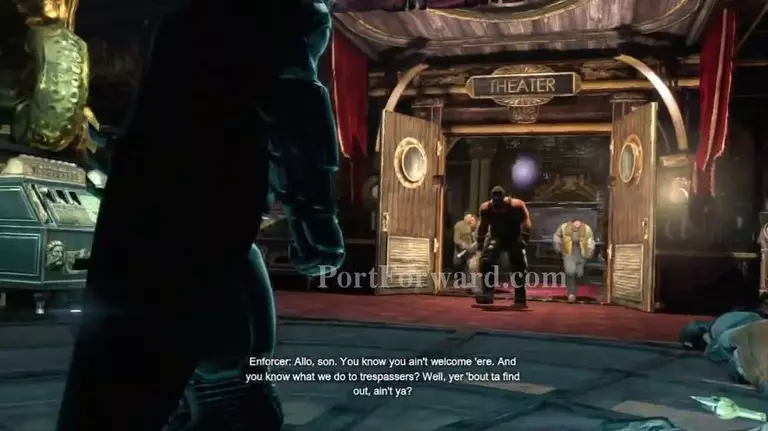
You will face a tougher opponent this time, to damage the Big Enemy use the Cape Stun like on Killer Croc (3times) then take him down using regular attacks.
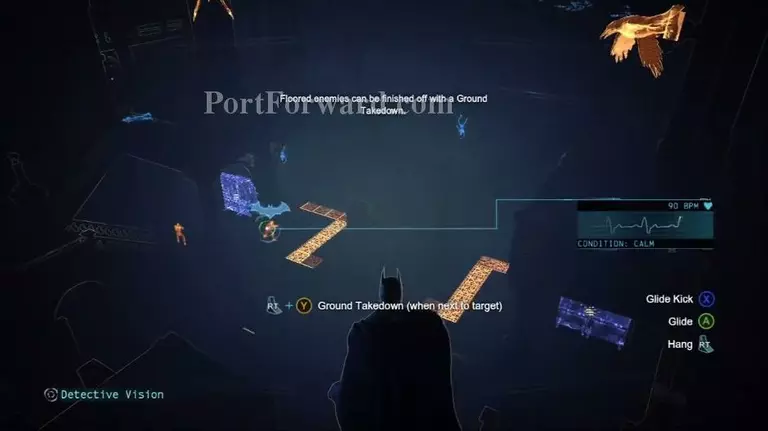
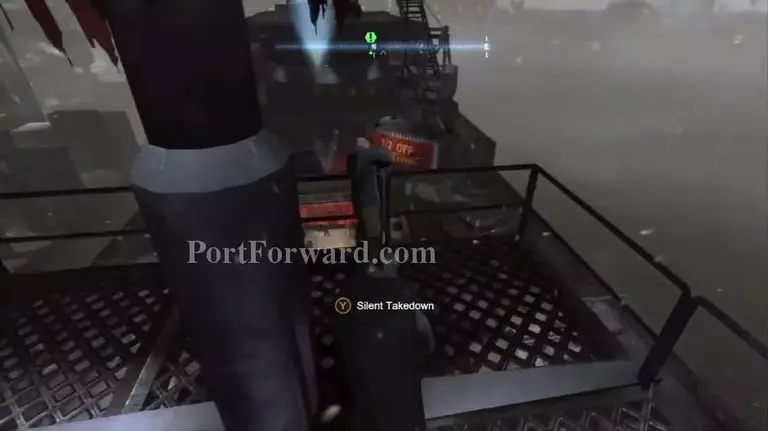
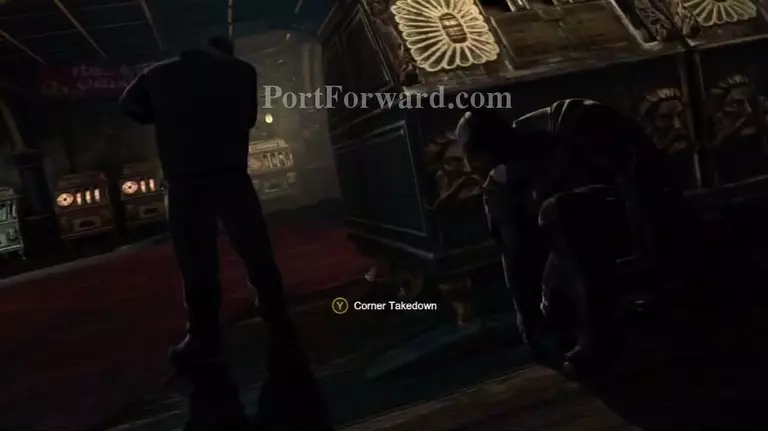
Moving forward you will be prompt with a Predator Room, using the platforms above, ambush your enemies by jumping down and taking them down one by one, try not to be seen, use the Silent Takedown from behind the enemy.

Go into Pengiun's office, disable the guards and interrogate Pengiun.
More Batman: Arkham Origins Walkthroughs
This Batman: Arkham Origins walkthrough is divided into 17 total pages.


