
This Bionic Commando Rearmed walkthrough is divided into 24 total pages.
You can jump to nearby pages of the game using the links above.
Area 04 - The Weapons Storage Cave

Descend into Area 04, The Weapons Storage Cave.
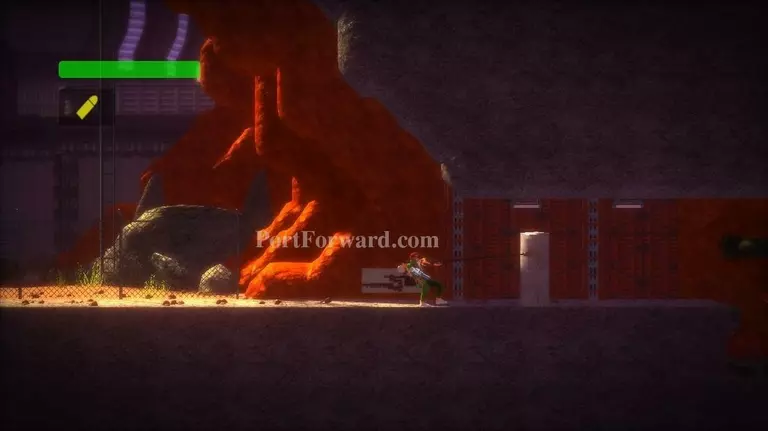
Use your grapple to pull the cement pillar down.
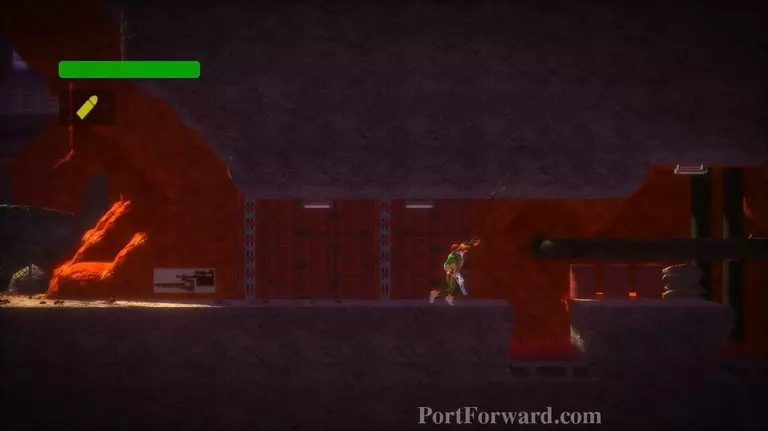
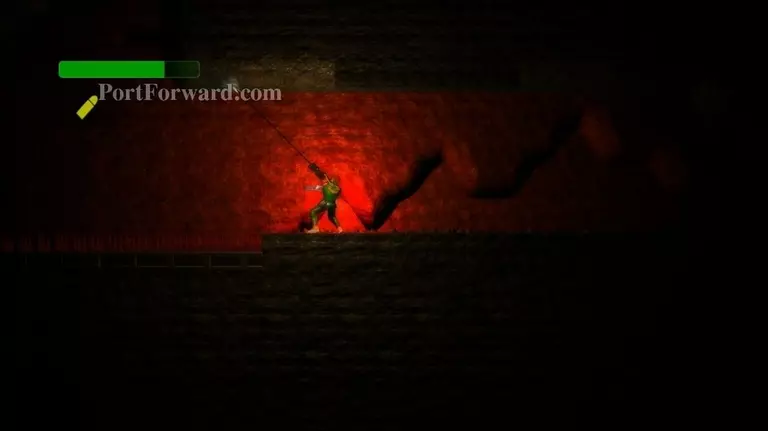
Swing over the pit.
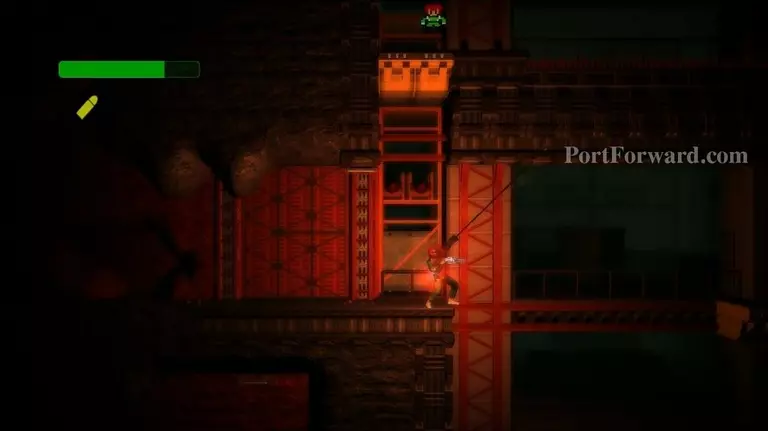
Continue to swing over several pits. You should only have to do one swing for each pit.
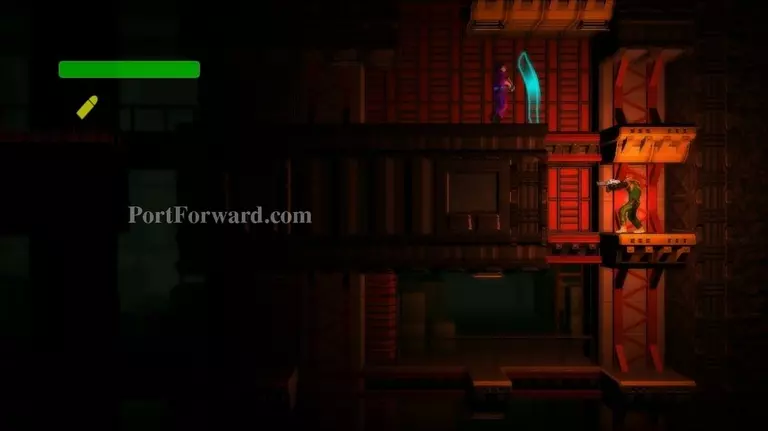
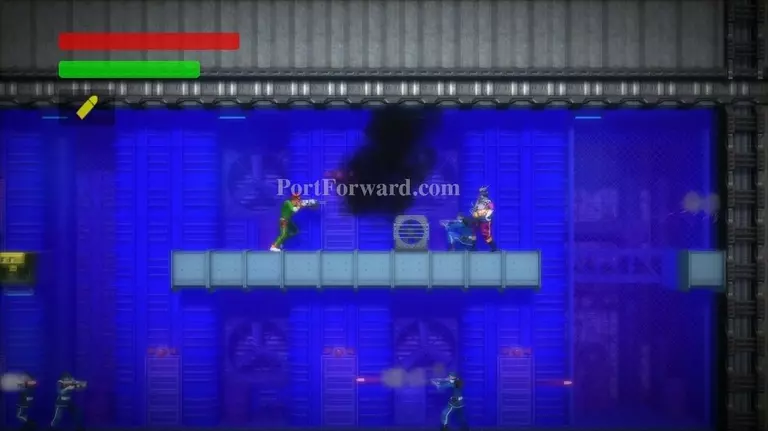
Quickly shoot the enemy in front of you. Then swing over another spike pit.
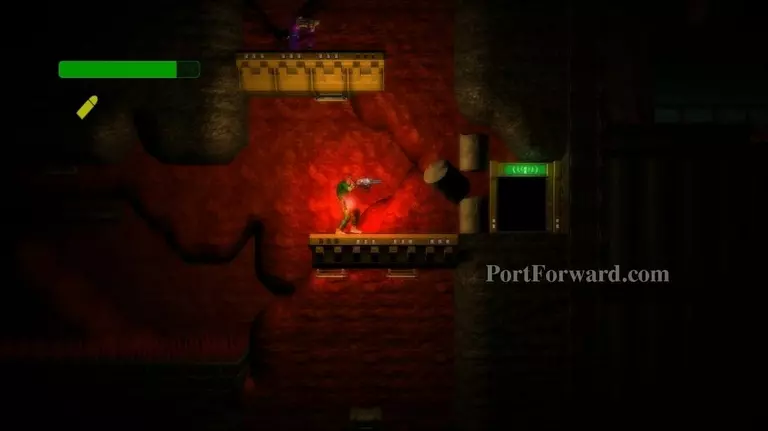
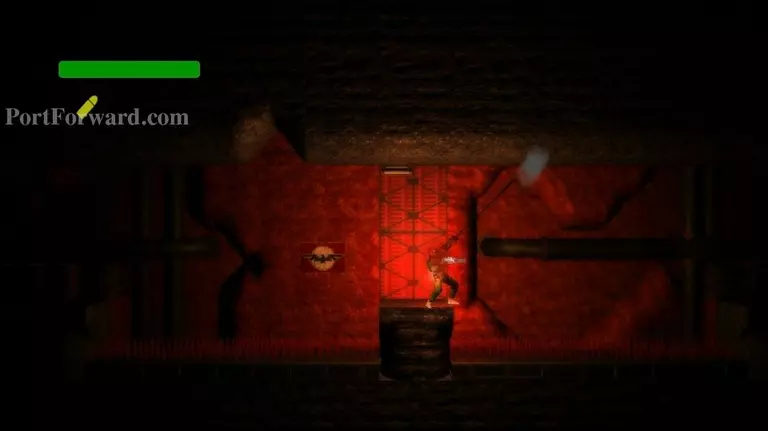
Climb up to the platform in front of the communications room. Grapple the pillar down, then enter the room and contact HQ.
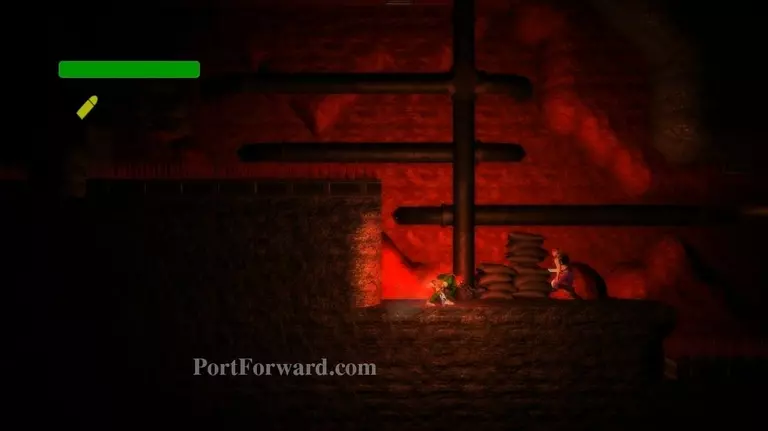
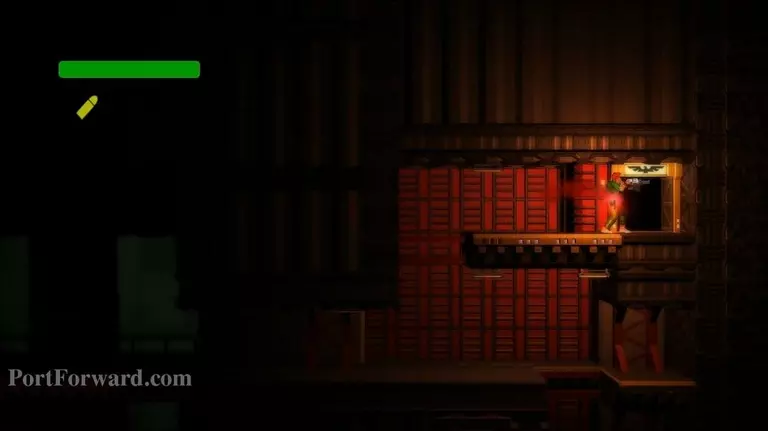
Just a little ways to the upper left of the communications room there will be a cracked wall. Use your grenades to open it.
Enter the revealed room.

Grab the secret. It unlocks Secret Challenge 4. Exit this room.
Go further to the upper-left. There is another wall to destroy with your grenades. This is a secret area and is optional. If you'd rather skip it, head right instead.
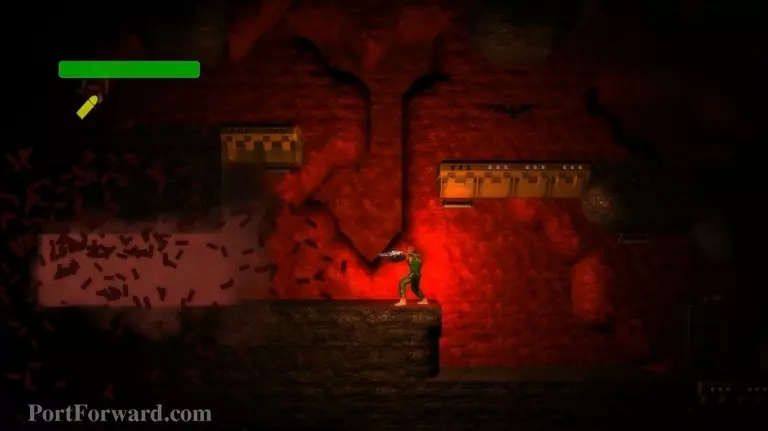
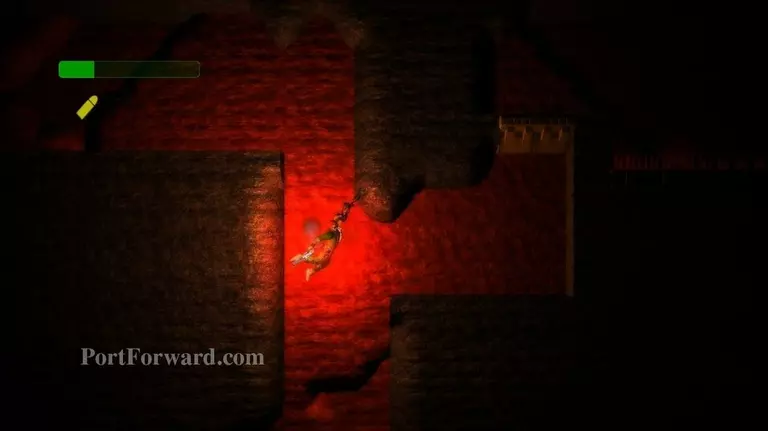
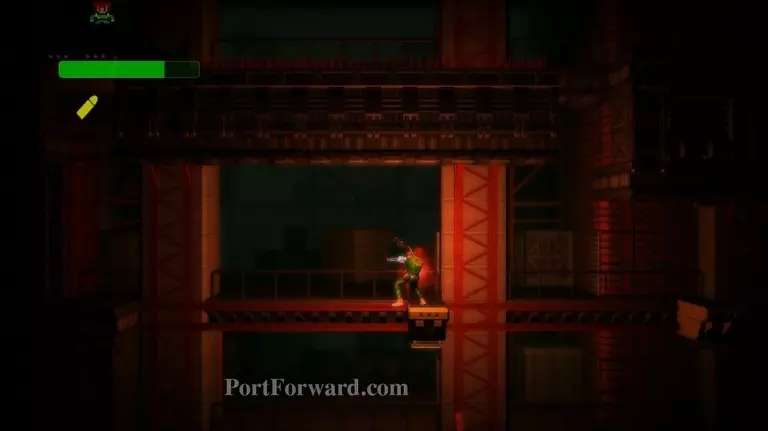
You'll come to a spike pit. Swing across it.

After two swings try to grapple upward and catch the platform. Climb up the platforms.
Head right and fall down the pit, grabbing the first ledge you come to.
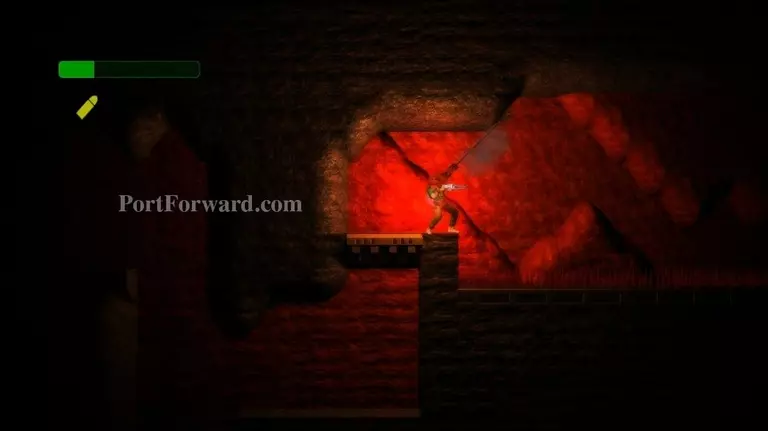
Climb up on the platform, then swing across the spike pit.
Keep swinging until you make it to the Yashichi. Grab it and then fall down the pit to your left.

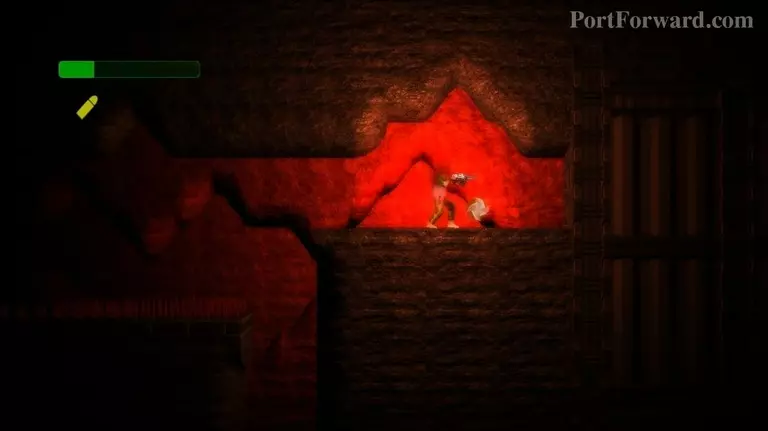
If you skipped the secret area continue here. Knock down the pillar with your grapple, then shoot the enemies.
There is an extra life above, but it is a bit difficult to get. First swing rightward and land on the small platform to the right.
Now swing back to the left.
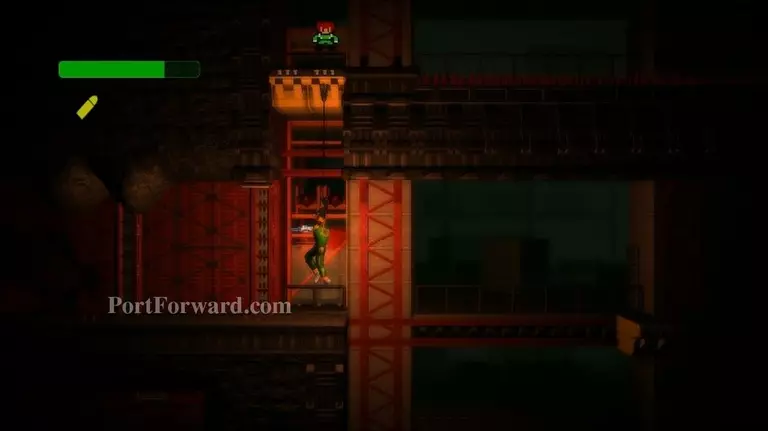
Attempt to grapple upward and grab the platform before you land. Pull yourself up and get the extra life.
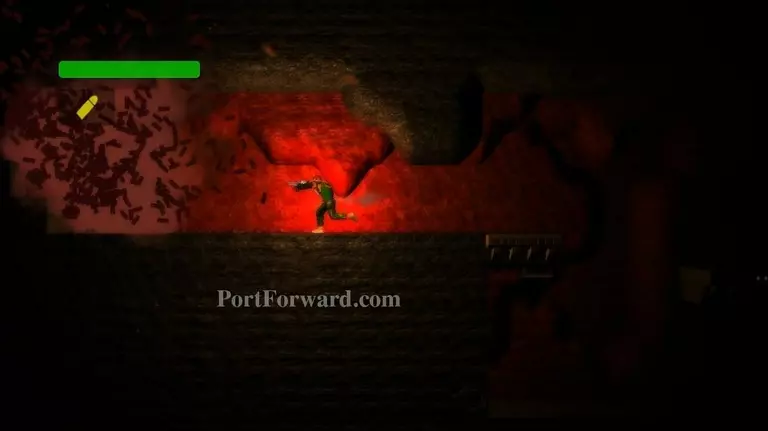
Swing across the spikes until you come to a pit to fall down.
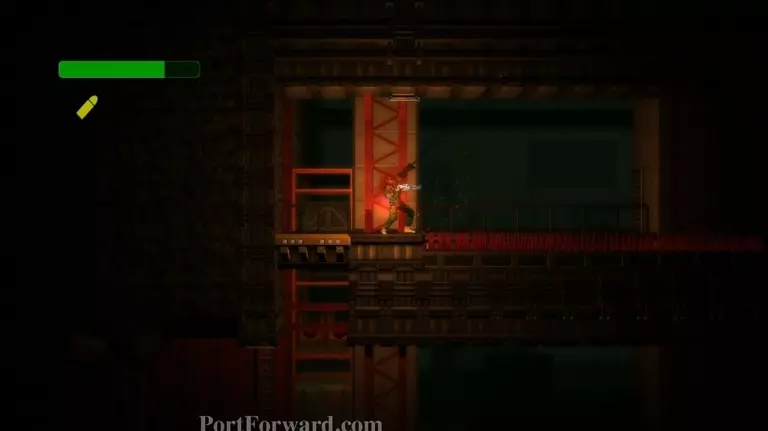
Climb rightward and then upward. You'll reach an enemy with a shield. Just duck and fire and eventually he'll turn around and die.
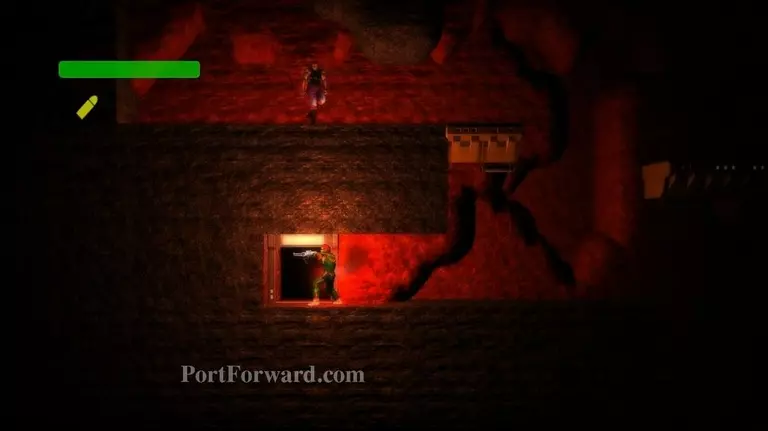
Enter the door found at the upper-right.
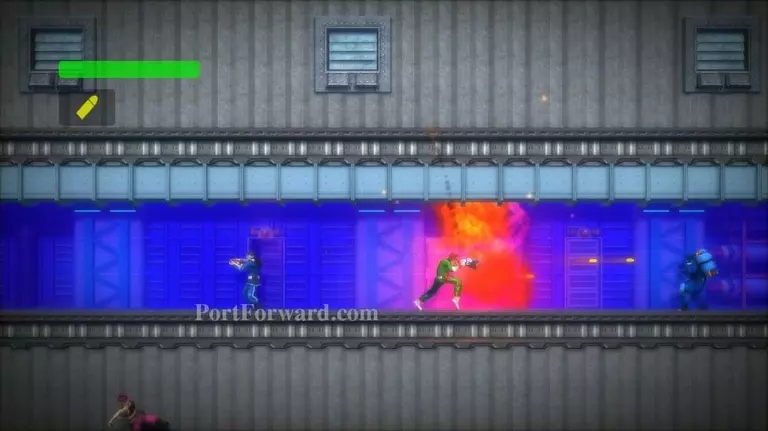
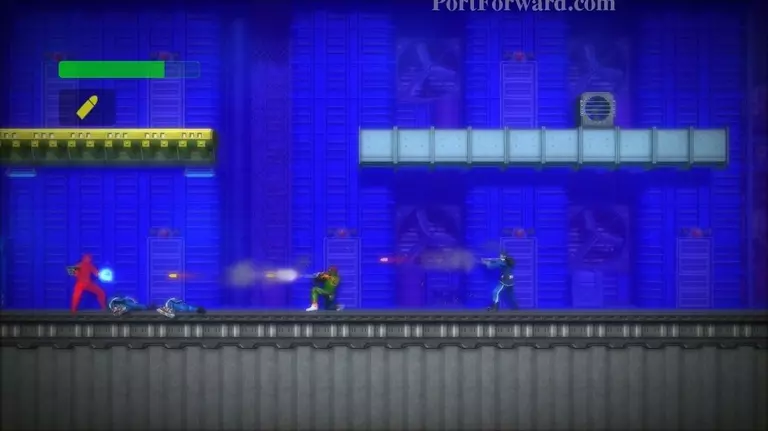
Run to the right, taking out enemies as you go.

You'll come to the next boss, the 1st Platoon.
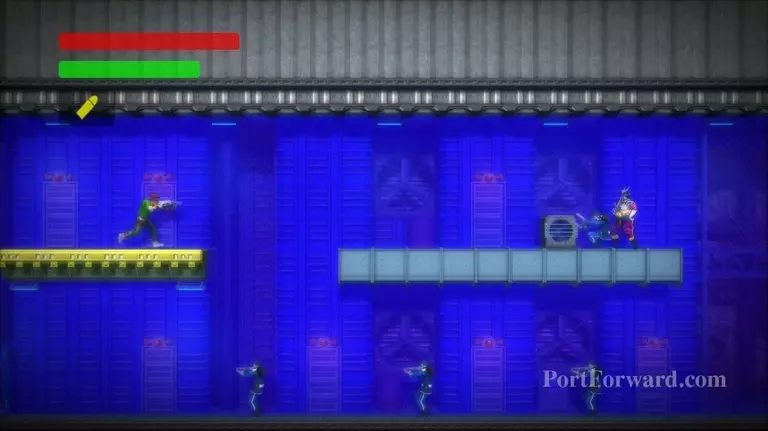
Get on the yellow platform and swing across to the right platform.
Throw a grenade to kill the boss.
Then fall to the lower level and just duck and take out the rest of them. Very easy.
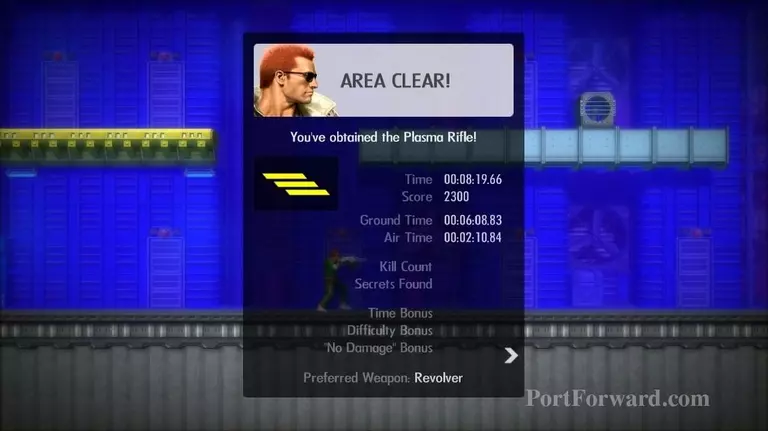
Area Clear! You'll obtain a Plasma Rifle.

Haley will explain that it is a Raytech Plasma Repeater. It works great for neutralizing energy fields, like those shields carried by some Imperials. It's also good against mechanical enemies.
More Bionic Commando Rearmed Walkthroughs
This Bionic Commando Rearmed walkthrough is divided into 24 total pages.


