
This Bionic Commando Rearmed walkthrough is divided into 24 total pages.
You can jump to nearby pages of the game using the links above.
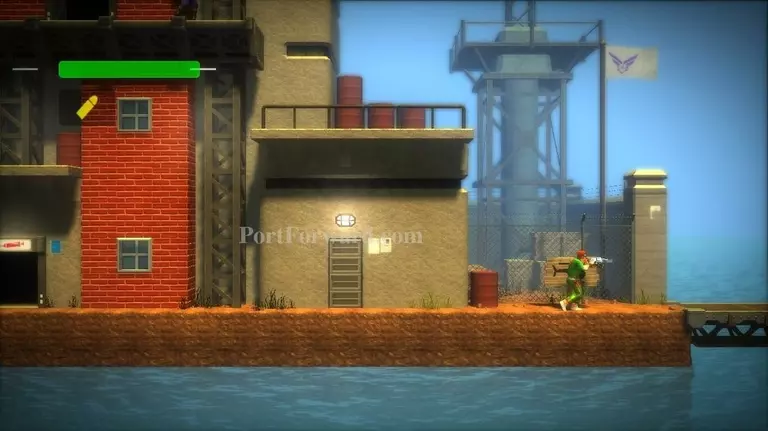
Area 15 - FSA Camp
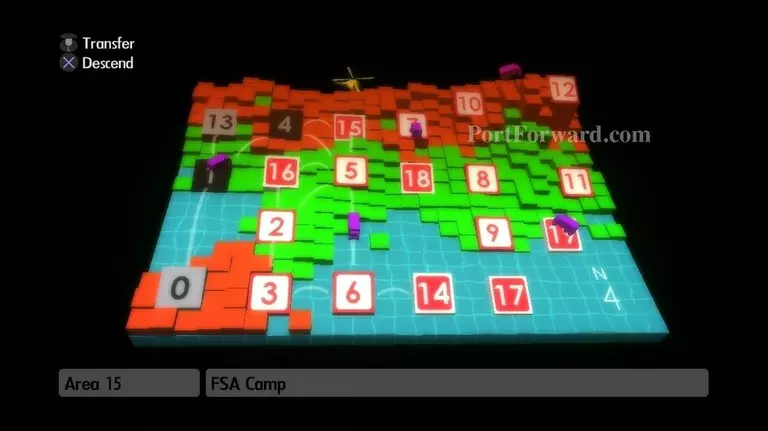
Land in Area 15, the next FSA Camp.
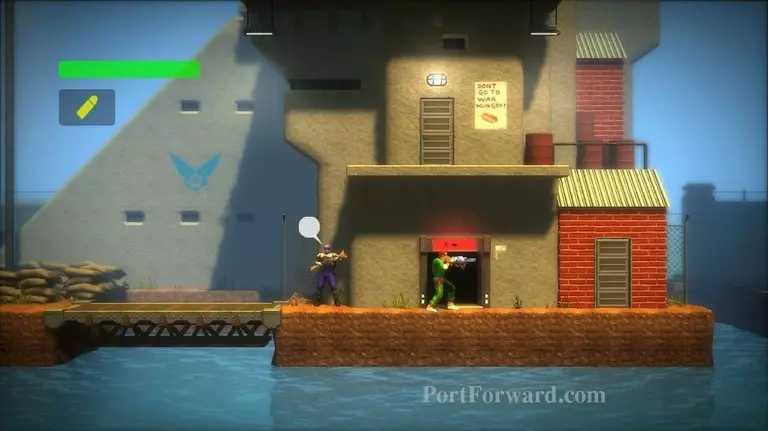
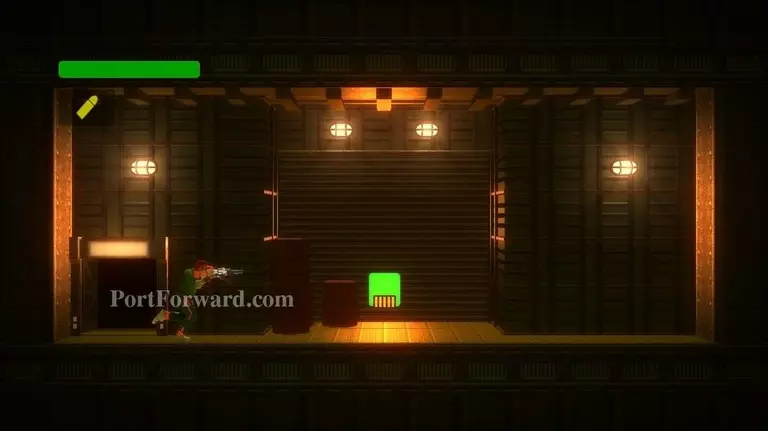
Enter the first door on your right.
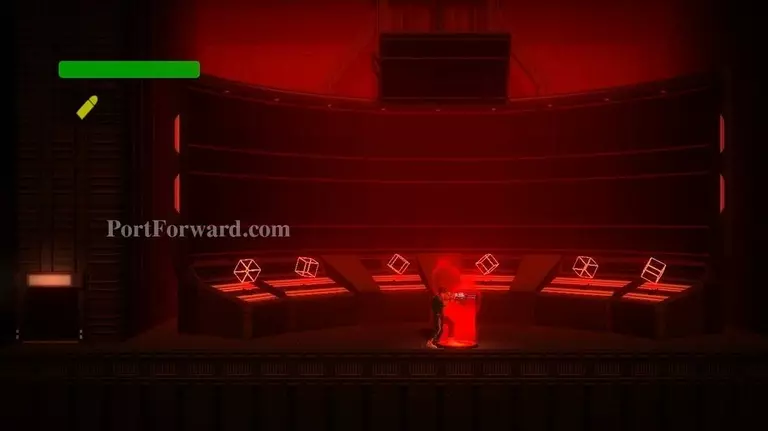
Press up at the center of the room.

This unlocks Challenge Rooms 9-16.
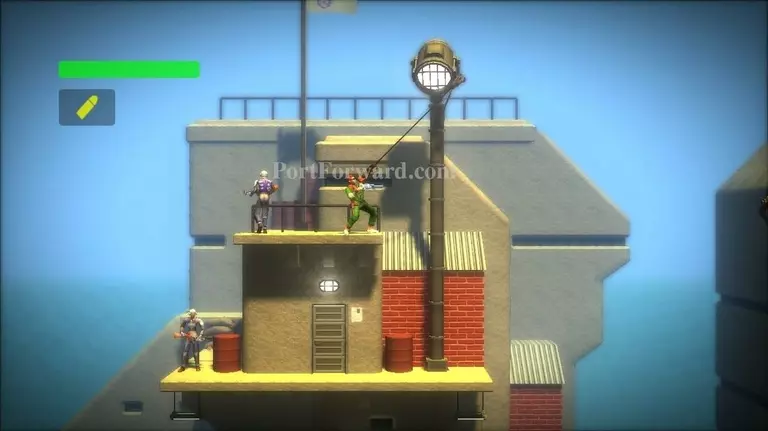
Climb to the top of the building. Grapple onto the lamp and swing to the right.
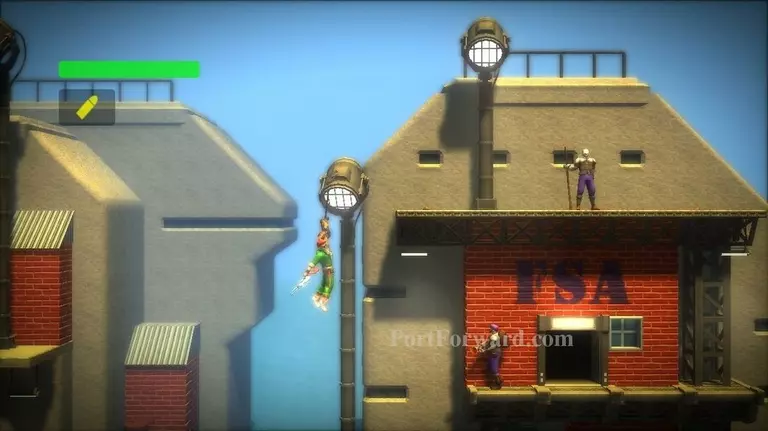
Grab the next lamp in your path.
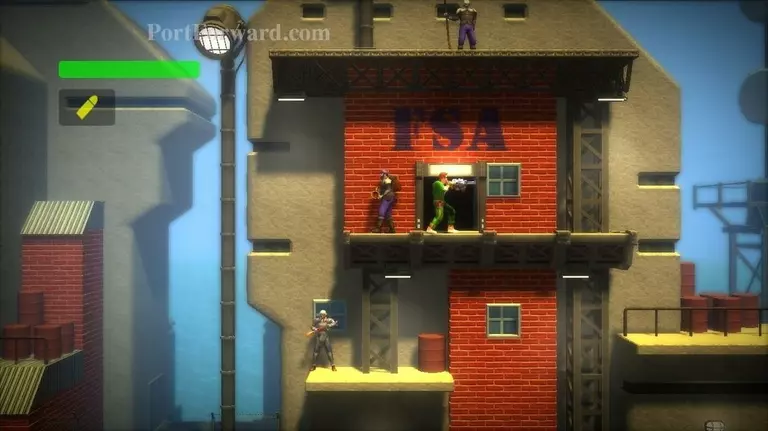
Enter the door with FSA above it.
Grab the Green Comms Chip.
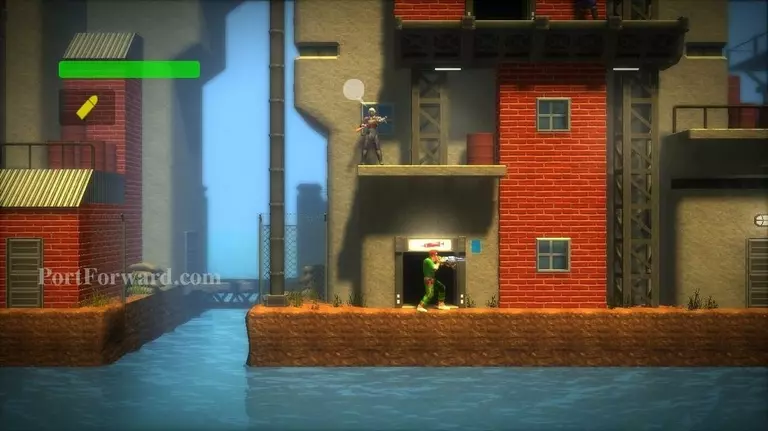
Enter the door at the bottom of this building.

You'll find an extra life in the upper-right corner. Careful of the spike pit.
Exit the area or call for extraction.

Haley will explain that the Green Communicator Chip is needed in Areas 02, 03, and 06 to stay in touch with HQ.
More Bionic Commando Rearmed Walkthroughs
This Bionic Commando Rearmed walkthrough is divided into 24 total pages.


