This Bionic Commando Rearmed walkthrough is divided into 24 total pages.
You can jump to nearby pages of the game using the links above.
Area 01 - The Oil Refinery
![Bionic Commando Rearmed Walkthrough - Bionic Commando-Rearmed 0022](bionic-commando-rearmed-0022-small.webp)
Select Area 01 From the overview map.
![Bionic Commando Rearmed Walkthrough - Bionic Commando-Rearmed 0023](bionic-commando-rearmed-0023-small.webp)
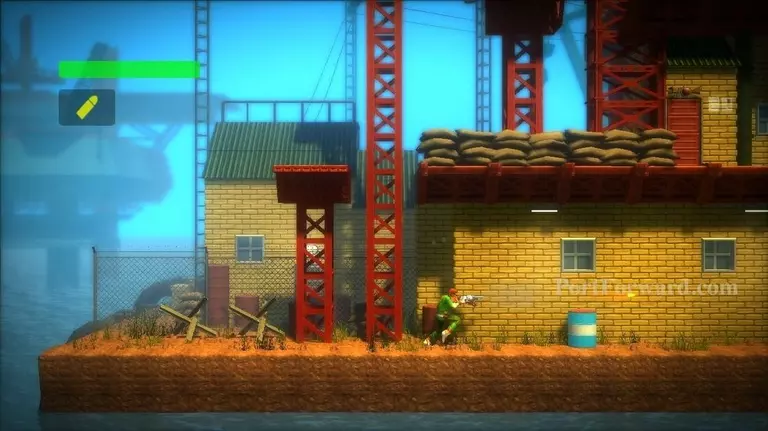
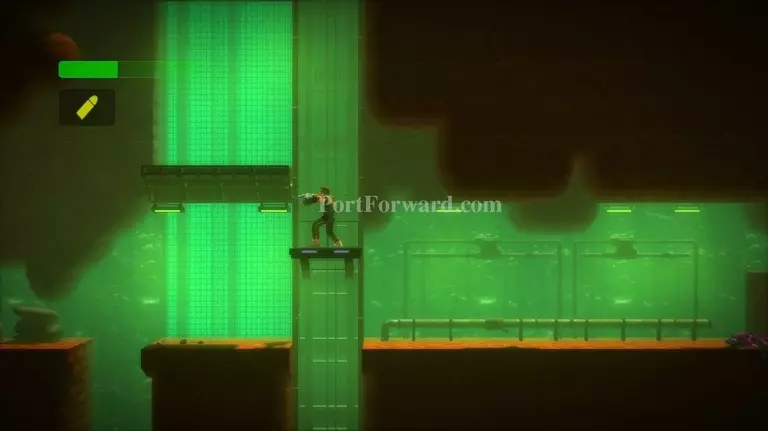
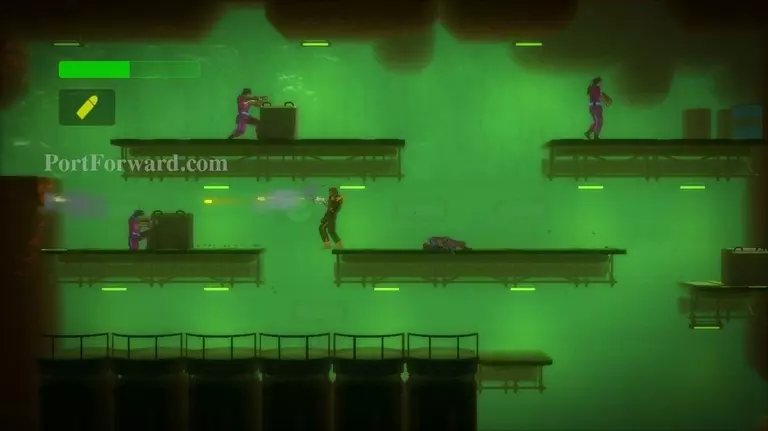
Climb up the ledges, defeating enemies along the way.
![Bionic Commando Rearmed Walkthrough - Bionic Commando-Rearmed 0024](bionic-commando-rearmed-0024-small.webp)
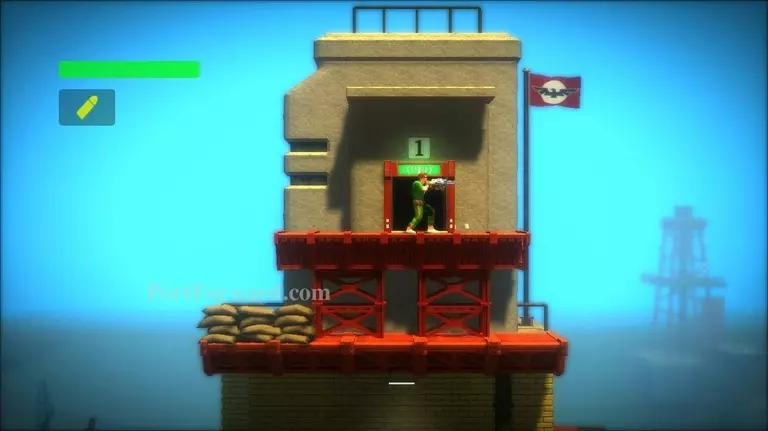
Enter the door at the top of the building.
![Bionic Commando Rearmed Walkthrough - Bionic Commando-Rearmed 0025](bionic-commando-rearmed-0025-small.webp)
Access the terminal.
![Bionic Commando Rearmed Walkthrough - Bionic Commando-Rearmed 0026](bionic-commando-rearmed-0026-small.webp)
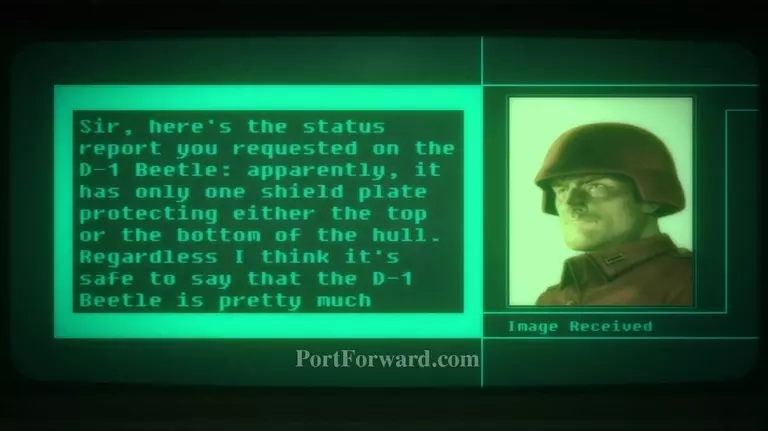
Choose to Contact HQ.
![Bionic Commando Rearmed Walkthrough - Bionic Commando-Rearmed 0027](bionic-commando-rearmed-0027-small.webp)
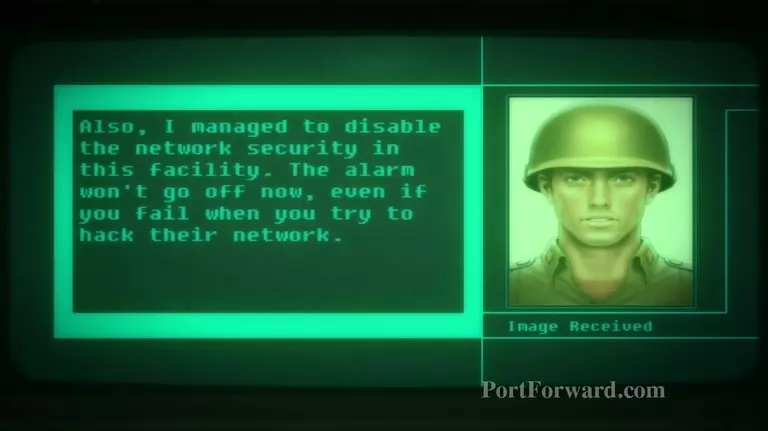
HQ will unlock a door for you. They will also disable the security in this facility, allowing you to hack the computer with no consequences for failure.
![Bionic Commando Rearmed Walkthrough - Bionic Commando-Rearmed 0028](bionic-commando-rearmed-0028-small.webp)
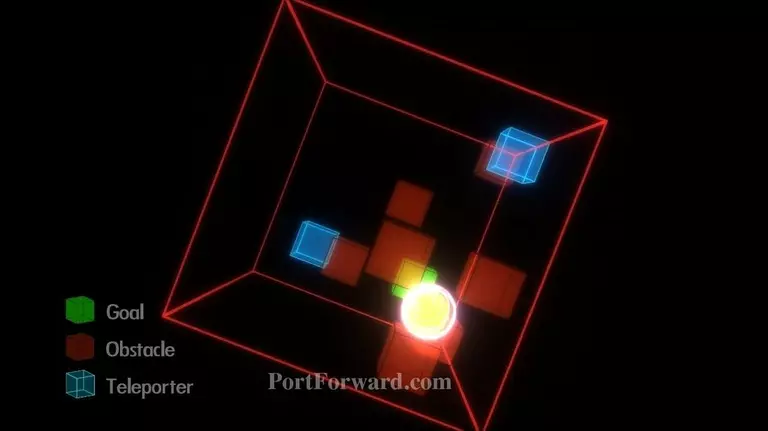
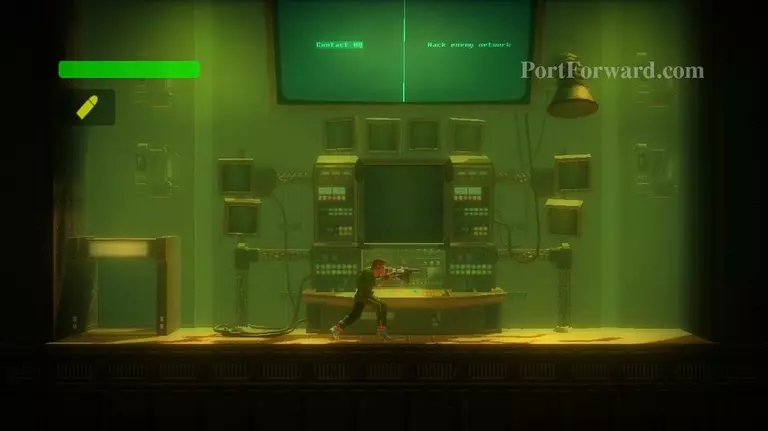
After talking to HQ, choose to hack the enemy network. Your goal is to get the yellow ball into the green cube. To do this, you rotate the camera until you can find a place that the ball could land if it fell from your viewpoint. Keep having it fall onto other blocks until you can land it in the green cube.
![Bionic Commando Rearmed Walkthrough - Bionic Commando-Rearmed 0029](bionic-commando-rearmed-0029-small.webp)
Hacking is optional, but it gives you enemy information that may be useful.
![Bionic Commando Rearmed Walkthrough - Bionic Commando-Rearmed 0030](bionic-commando-rearmed-0030-small.webp)
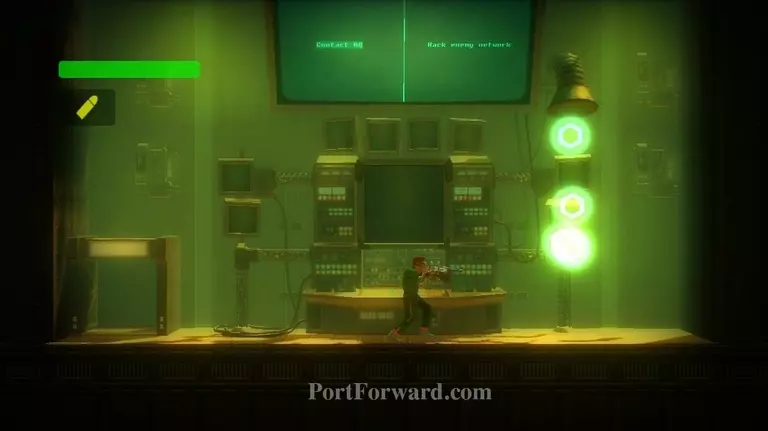
After hacking the enemy network, you'll receive some goodies to pick up. Collect them and exit the room.
![Bionic Commando Rearmed Walkthrough - Bionic Commando-Rearmed 0031](bionic-commando-rearmed-0031-small.webp)
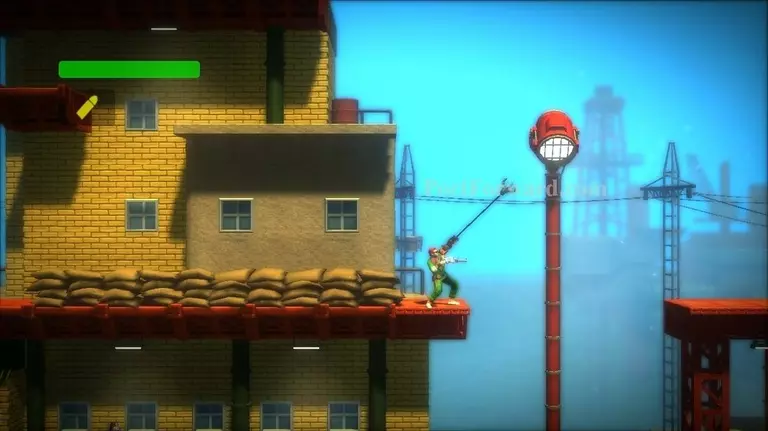
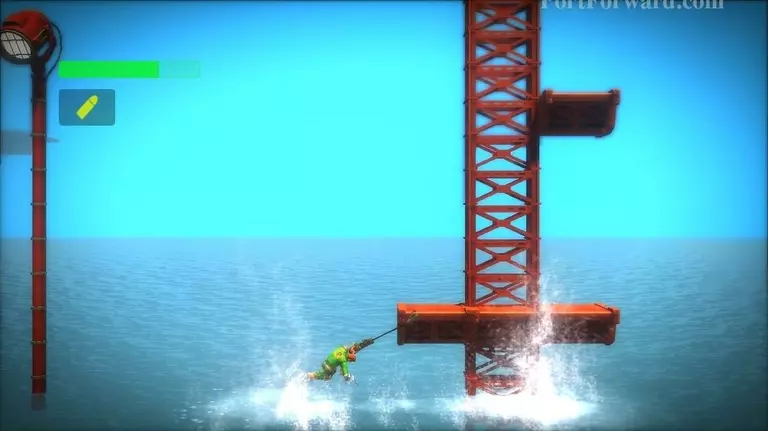
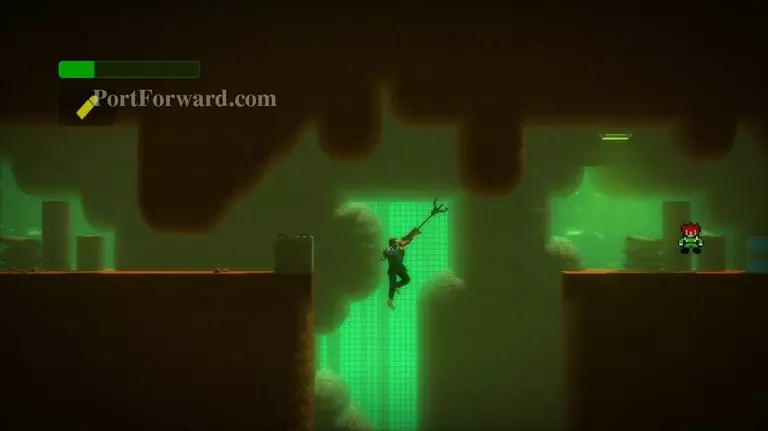
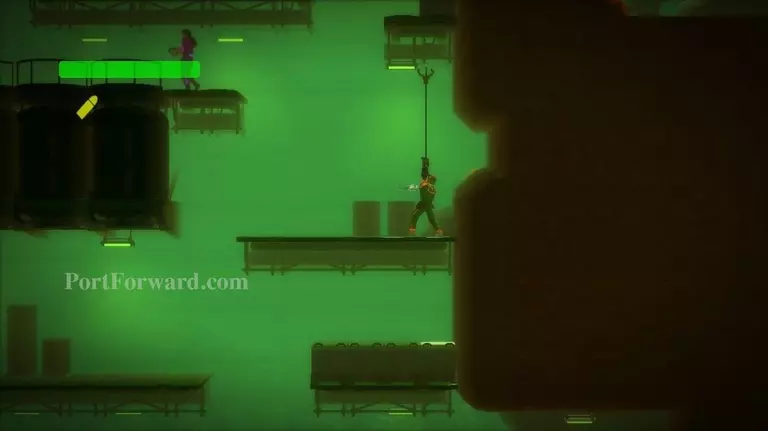
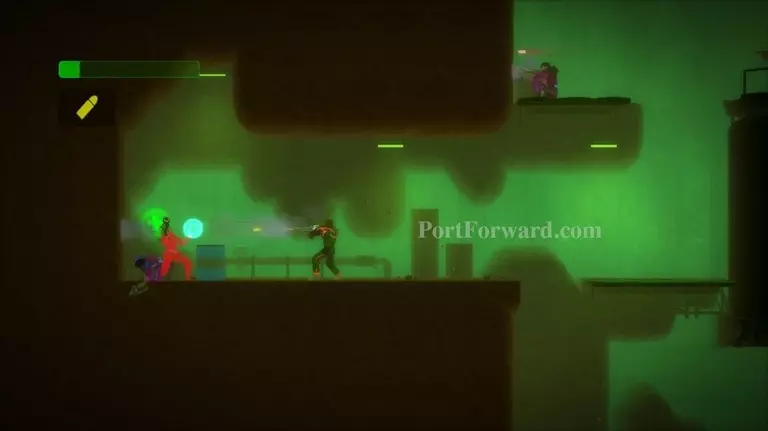
Drop down to the right two times and you'll come to a red lamp post. Use your grapple to swing across to the other side.
![Bionic Commando Rearmed Walkthrough - Bionic Commando-Rearmed 0032](bionic-commando-rearmed-0032-small.webp)
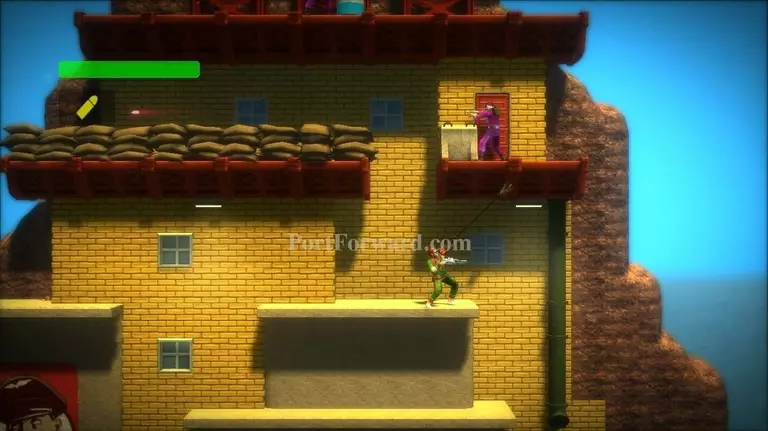
Climb up the building here as well. Here you'll have to grapple past the concrete block, lift yourself up, and defeat the enemy.
![Bionic Commando Rearmed Walkthrough - Bionic Commando-Rearmed 0033](bionic-commando-rearmed-0033-small.webp)
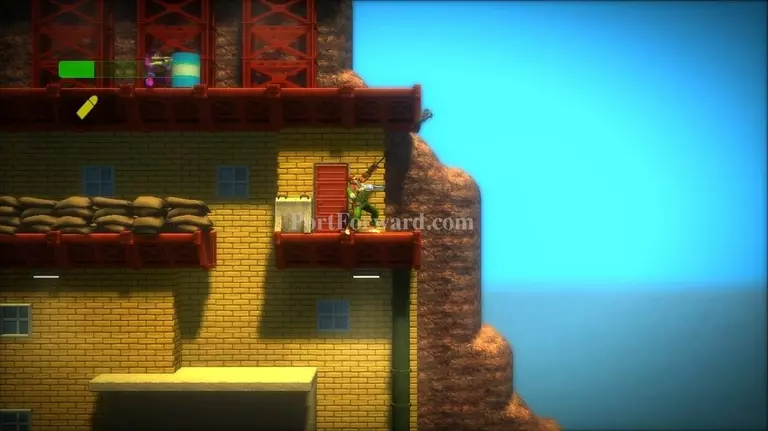
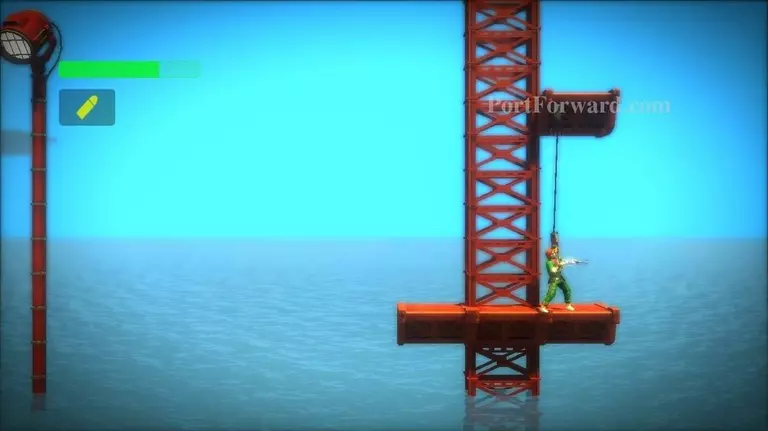
To get the first secret of the area, grapple the right side of the ledge above (you may want to climb up and go in and back out of the door above to use that as a continue point.) Swing off the ledge to the right.
![Bionic Commando Rearmed Walkthrough - Bionic Commando-Rearmed 0034](bionic-commando-rearmed-0034-small.webp)
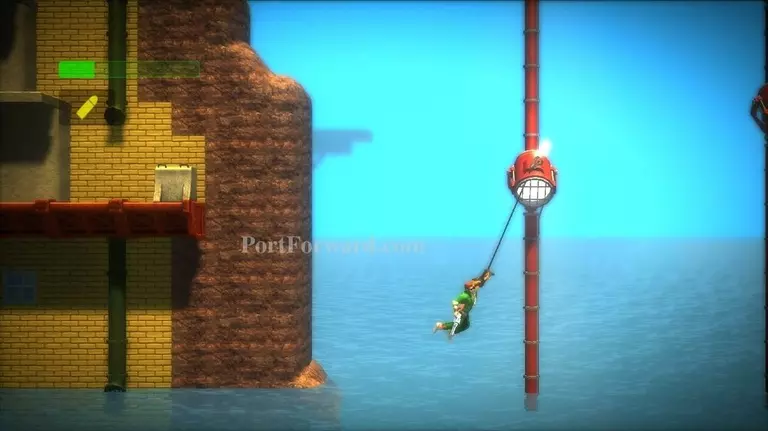
As you're falling grab the bottom lamp.
![Bionic Commando Rearmed Walkthrough - Bionic Commando-Rearmed 0035](bionic-commando-rearmed-0035-small.webp)
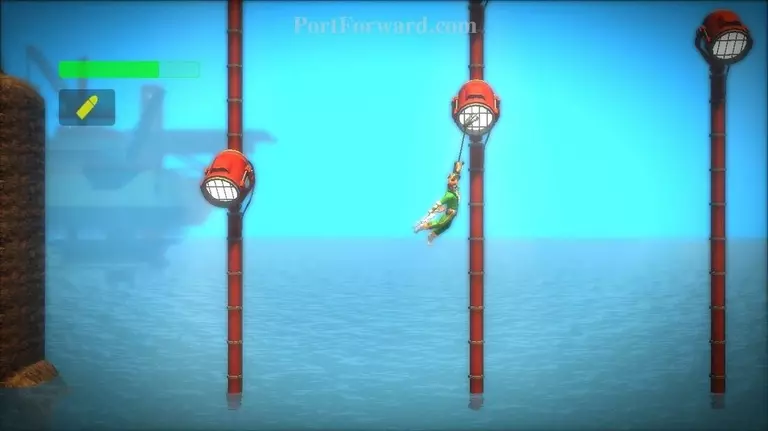
Continue to swing across the next two lamps.
![Bionic Commando Rearmed Walkthrough - Bionic Commando-Rearmed 0036](bionic-commando-rearmed-0036-small.webp)
Grab this ledge and pull yourself up.
![Bionic Commando Rearmed Walkthrough - Bionic Commando-Rearmed 0037](bionic-commando-rearmed-0037-small.webp)
Climb upward.
![Bionic Commando Rearmed Walkthrough - Bionic Commando-Rearmed 0038](bionic-commando-rearmed-0038-small.webp)
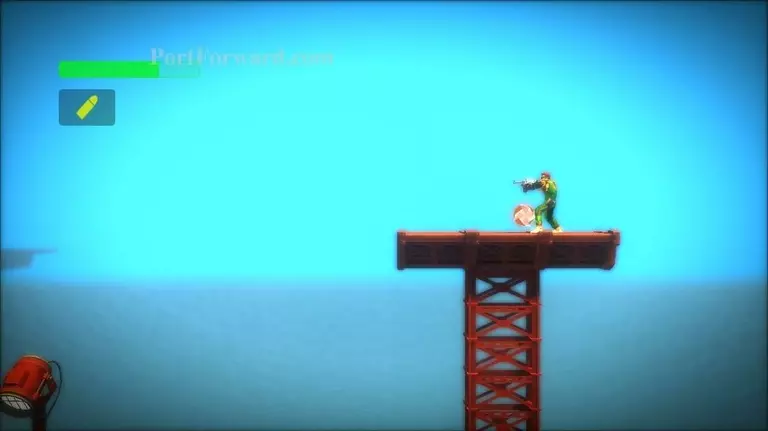
Grab the Yashichi. Head back to the left where you swung over. If you die you'll still keep the secret item.
![Bionic Commando Rearmed Walkthrough - Bionic Commando-Rearmed 0039](bionic-commando-rearmed-0039-small.webp)
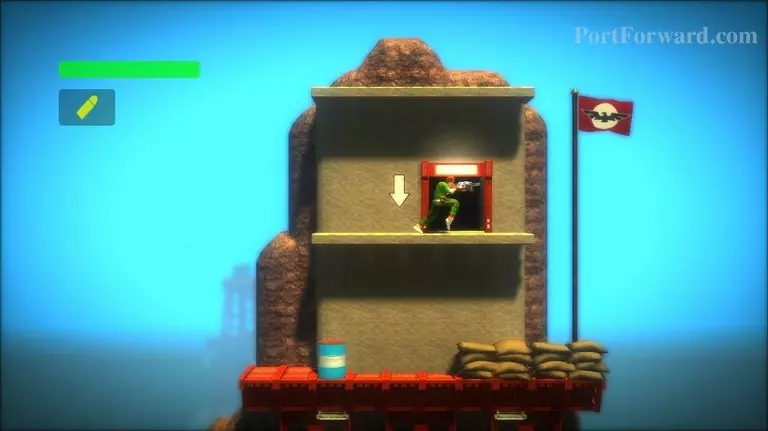
At the top of this building, enter the doorway that HQ unlocked for you.
![Bionic Commando Rearmed Walkthrough - Bionic Commando-Rearmed 0040](bionic-commando-rearmed-0040-small.webp)
Take the elevator downward.
![Bionic Commando Rearmed Walkthrough - Bionic Commando-Rearmed 0041](bionic-commando-rearmed-0041-small.webp)
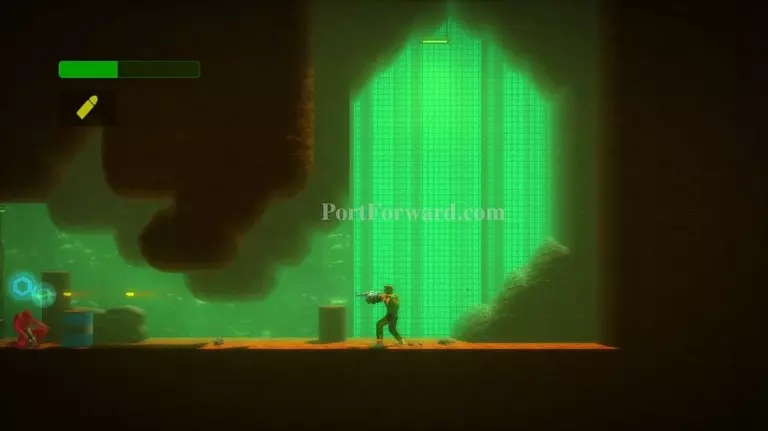
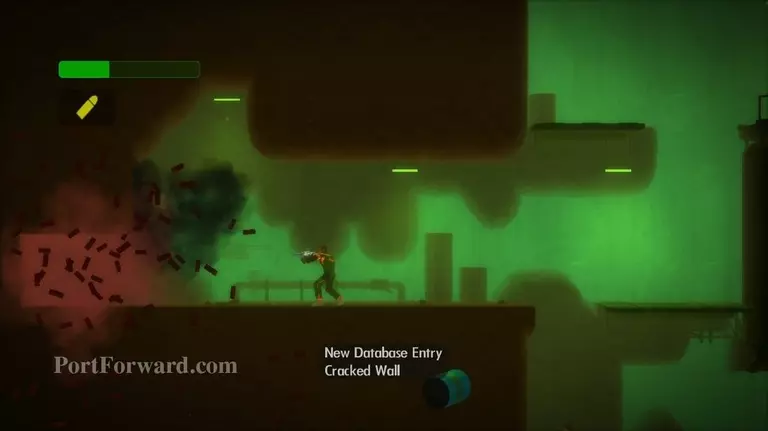
Destroy the battery powered barrier and then walk right.
![Bionic Commando Rearmed Walkthrough - Bionic Commando-Rearmed 0042](bionic-commando-rearmed-0042-small.webp)
Duck and use your grapple on the cement block. Then use the grapple button to pull yourself toward the block.
![Bionic Commando Rearmed Walkthrough - Bionic Commando-Rearmed 0043](bionic-commando-rearmed-0043-small.webp)
Swing over the gap to get an extra life.
![Bionic Commando Rearmed Walkthrough - Bionic Commando-Rearmed 0044](bionic-commando-rearmed-0044-small.webp)
Fall down the gap and walk rightward to get back to the elevator.
![Bionic Commando Rearmed Walkthrough - Bionic Commando-Rearmed 0045](bionic-commando-rearmed-0045-small.webp)
Go up the elevator.
![Bionic Commando Rearmed Walkthrough - Bionic Commando-Rearmed 0046](bionic-commando-rearmed-0046-small.webp)
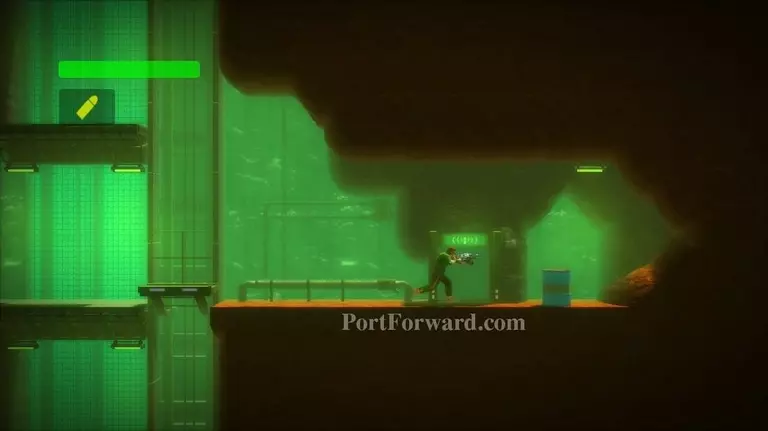
As you're going up the elevator, keep a lookout on the right for a communications room. Enter the room and talk to HQ.
![Bionic Commando Rearmed Walkthrough - Bionic Commando-Rearmed 0047](bionic-commando-rearmed-0047-small.webp)
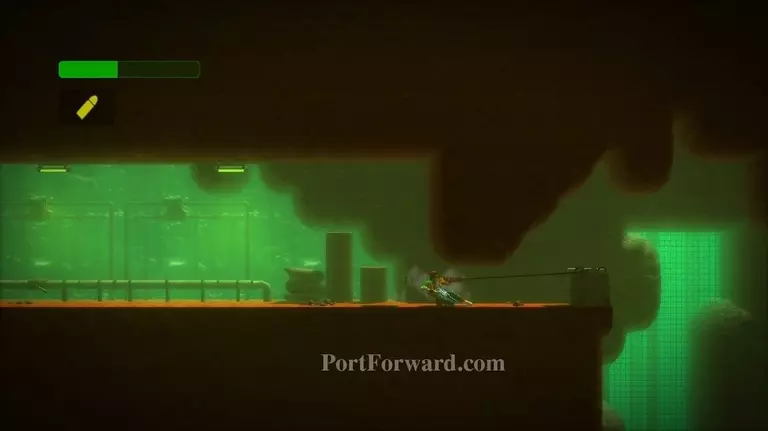
Exit the communications room and head left, past the elevator. Kill the enemy here.
![Bionic Commando Rearmed Walkthrough - Bionic Commando-Rearmed 0048](bionic-commando-rearmed-0048-small.webp)
Grapple the roof and pull yourself up. Shoot the battery powered barrier to shut off the electric wall.
![Bionic Commando Rearmed Walkthrough - Bionic Commando-Rearmed 0049](bionic-commando-rearmed-0049-small.webp)
Climb upward a short ways.
![Bionic Commando Rearmed Walkthrough - Bionic Commando-Rearmed 0050](bionic-commando-rearmed-0050-small.webp)
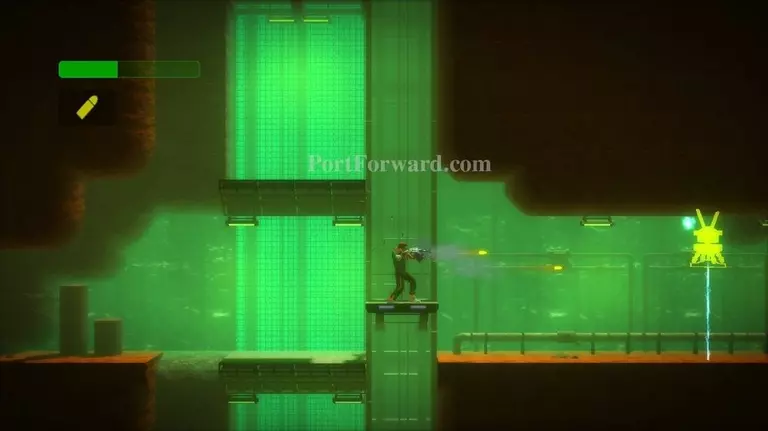
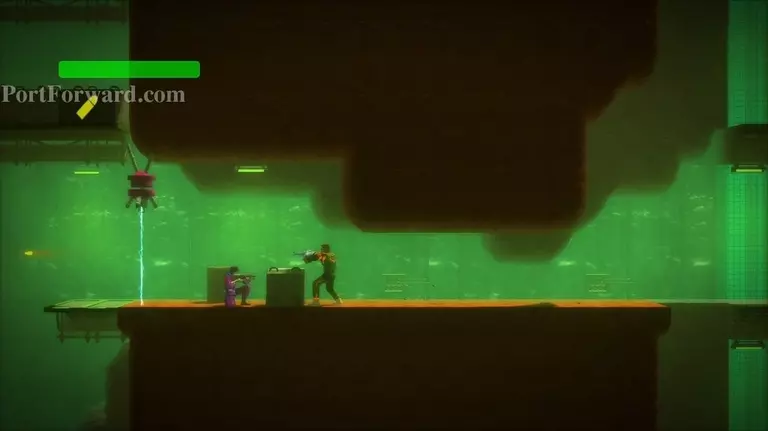
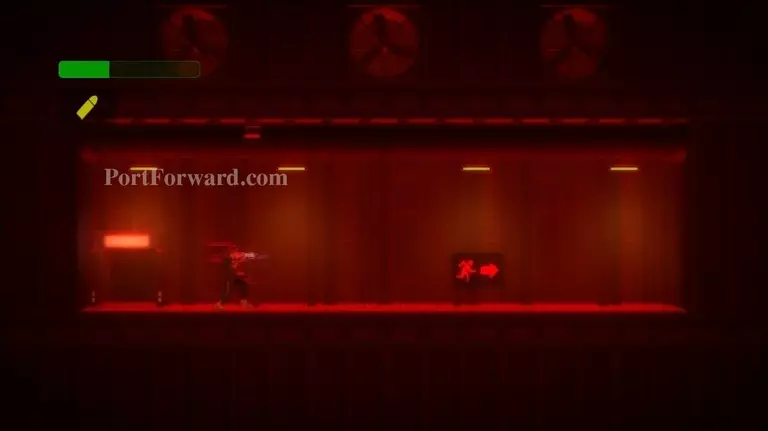
Travel left, taking out the enemies in your path.
![Bionic Commando Rearmed Walkthrough - Bionic Commando-Rearmed 0051](bionic-commando-rearmed-0051-small.webp)
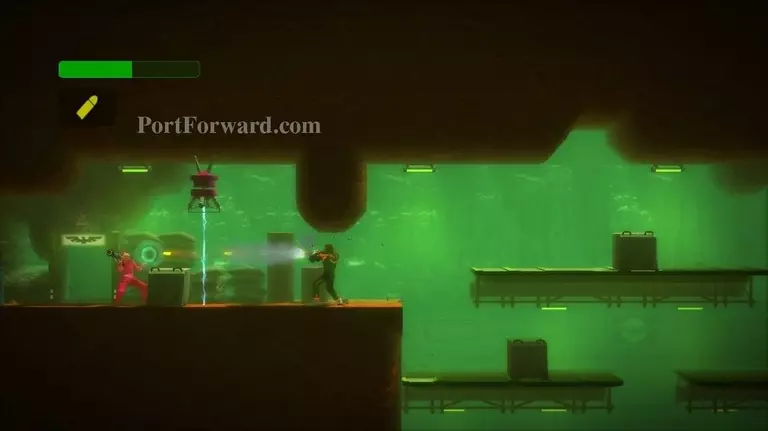
An enemy with a rocket launcher will be hiding behind a cement block. Shoot him, avoiding his shots as best as possible.
![Bionic Commando Rearmed Walkthrough - Bionic Commando-Rearmed 0052](bionic-commando-rearmed-0052-small.webp)
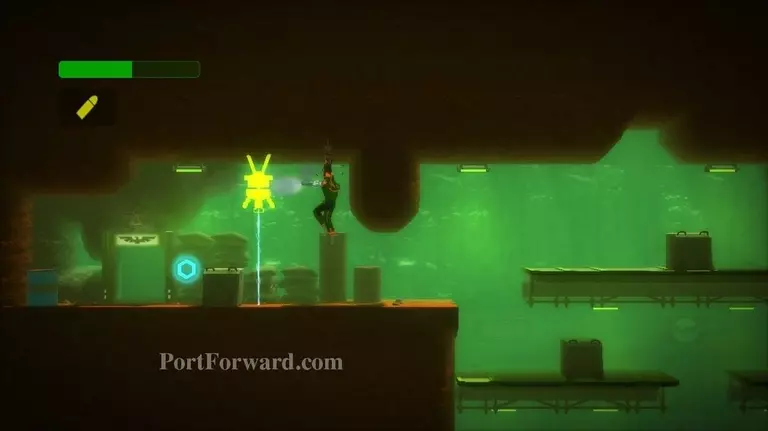
Destroy the electric wall.
![Bionic Commando Rearmed Walkthrough - Bionic Commando-Rearmed 0053](bionic-commando-rearmed-0053-small.webp)
Enter the doorway.
![Bionic Commando Rearmed Walkthrough - Bionic Commando-Rearmed 0054](bionic-commando-rearmed-0054-small.webp)
![Bionic Commando Rearmed Walkthrough - Bionic Commando-Rearmed 0055](bionic-commando-rearmed-0055-small.webp)
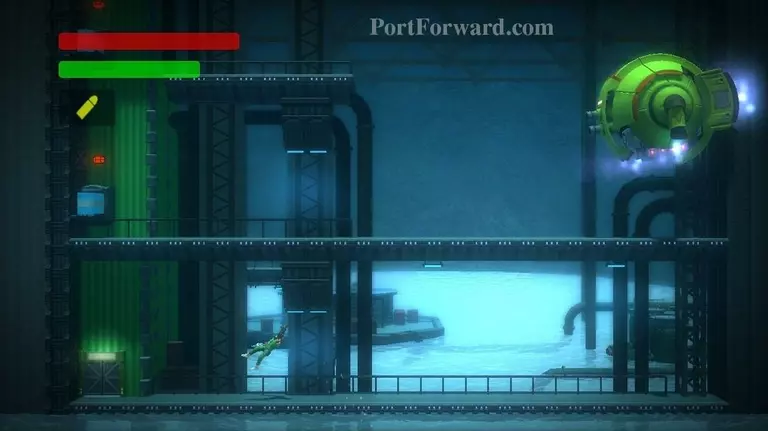
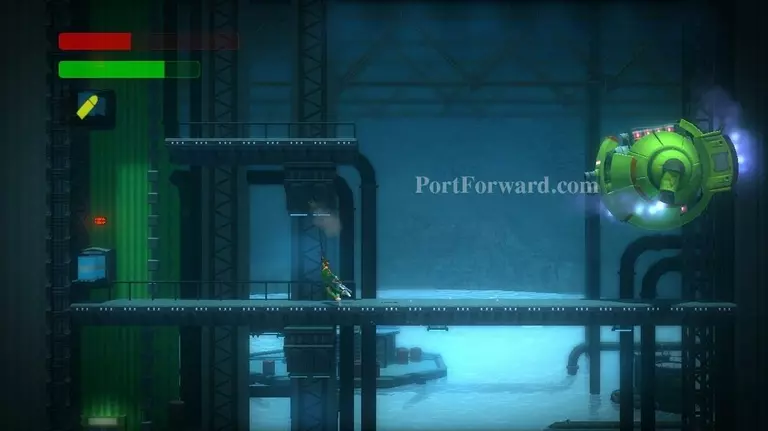
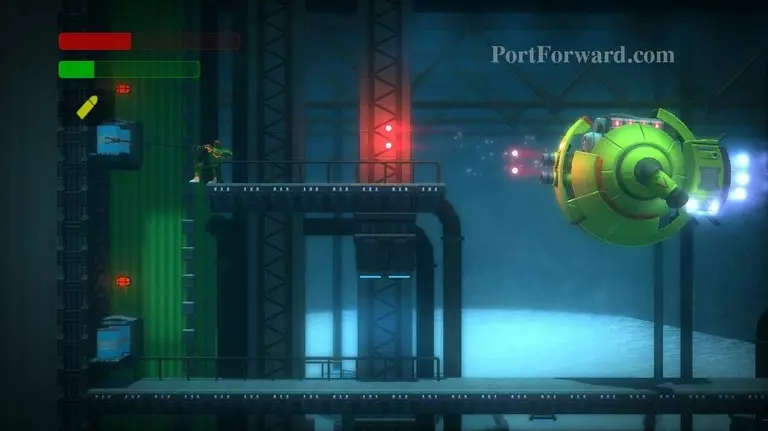
You have entered the first boss chamber. This is the D-1 Beetle. Grapple the platform support to swing high enough to grapple to the main platform.
![Bionic Commando Rearmed Walkthrough - Bionic Commando-Rearmed 0056](bionic-commando-rearmed-0056-small.webp)
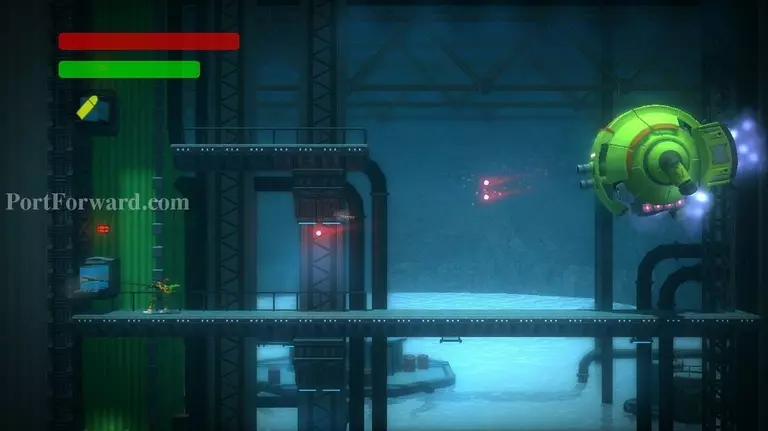
Grab a barrel with your grapple.
![Bionic Commando Rearmed Walkthrough - Bionic Commando-Rearmed 0057](bionic-commando-rearmed-0057-small.webp)
Throw the barrel at the underside of the D-1 Beetle.
![Bionic Commando Rearmed Walkthrough - Bionic Commando-Rearmed 0058](bionic-commando-rearmed-0058-small.webp)
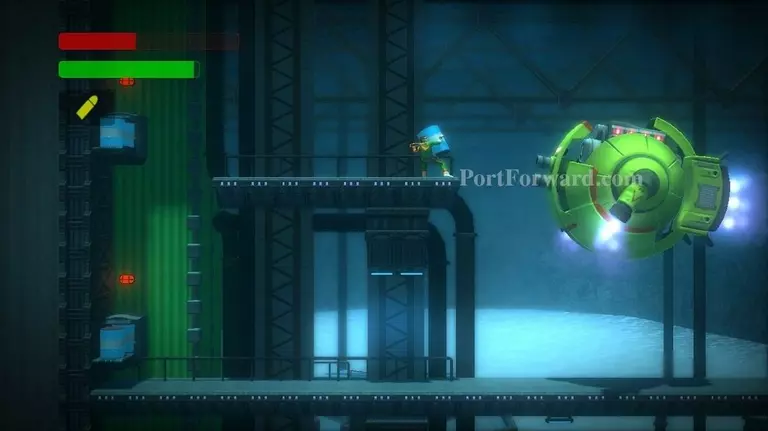
If successful, it'll fall to the ground and expose it's backside. Shoot it as much as you can.
![Bionic Commando Rearmed Walkthrough - Bionic Commando-Rearmed 0059](bionic-commando-rearmed-0059-small.webp)
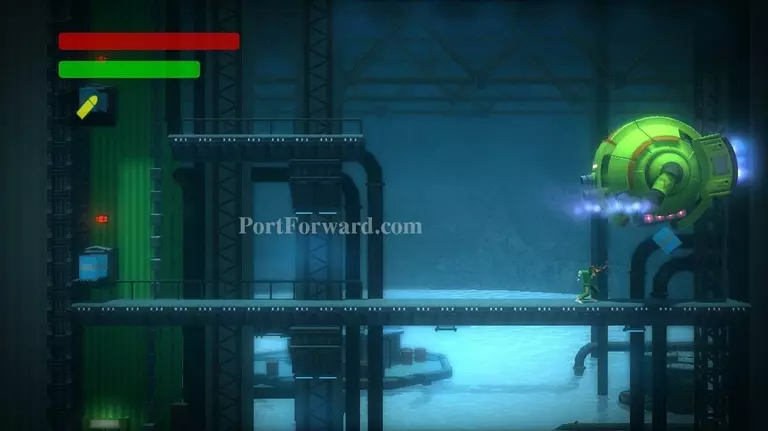
Now the D-1 Beetle will move it's protective plate to the bottom, exposing the top of it. Swing up to the upper platform.
![Bionic Commando Rearmed Walkthrough - Bionic Commando-Rearmed 0060](bionic-commando-rearmed-0060-small.webp)
Grab the barrel here. The barrel will block any shots from the D-1 Beetle.
![Bionic Commando Rearmed Walkthrough - Bionic Commando-Rearmed 0061](bionic-commando-rearmed-0061-small.webp)
Throw the barrel at the top of the D-1 Beetle.
![Bionic Commando Rearmed Walkthrough - Bionic Commando-Rearmed 0062](bionic-commando-rearmed-0062-small.webp)
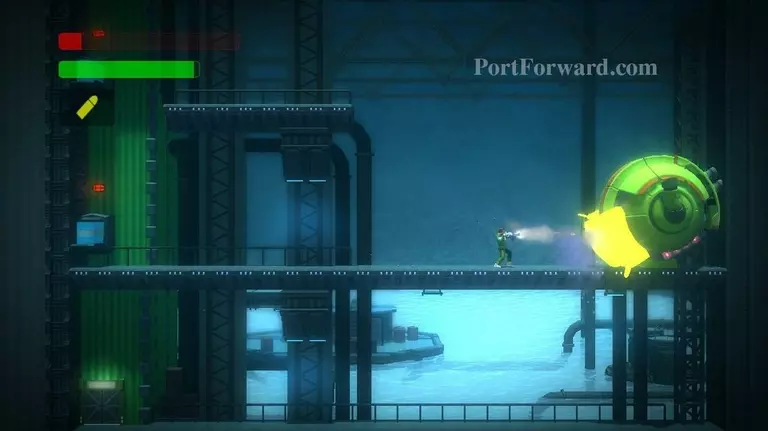
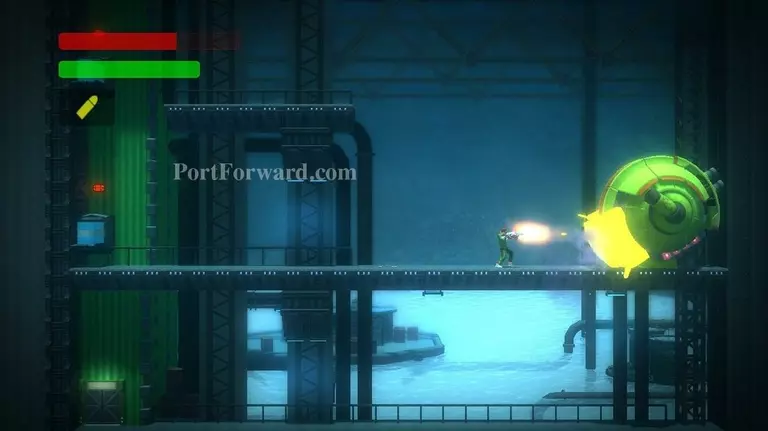
If successful, it will once again fall to the ground. You should be able to finish it off this time.
![Bionic Commando Rearmed Walkthrough - Bionic Commando-Rearmed 0063](bionic-commando-rearmed-0063-small.webp)
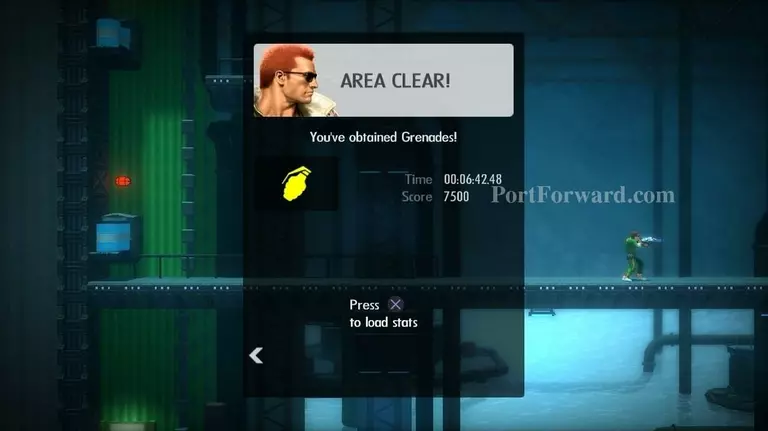
Area Clear! You now have grenades!
![Bionic Commando Rearmed Walkthrough - Bionic Commando-Rearmed 0064](bionic-commando-rearmed-0064-small.webp)
You can come back to this level to obtain the second secret. Go to the far left side of the cave area (below the door to the boss' chamber. You'll find a heavy weapons soldier. Defeat him.
![Bionic Commando Rearmed Walkthrough - Bionic Commando-Rearmed 0065](bionic-commando-rearmed-0065-small.webp)
Use the grenades on the wall behind him.
![Bionic Commando Rearmed Walkthrough - Bionic Commando-Rearmed 0066](bionic-commando-rearmed-0066-small.webp)
Enter the revealed doorway.
![Bionic Commando Rearmed Walkthrough - Bionic Commando-Rearmed 0067](bionic-commando-rearmed-0067-small.webp)
This unlocks Secret Challenge Room 1
More Bionic Commando Rearmed Walkthroughs
This Bionic Commando Rearmed walkthrough is divided into 24 total pages.