
This Bionic Commando Rearmed walkthrough is divided into 24 total pages.
You can jump to nearby pages of the game using the links above.
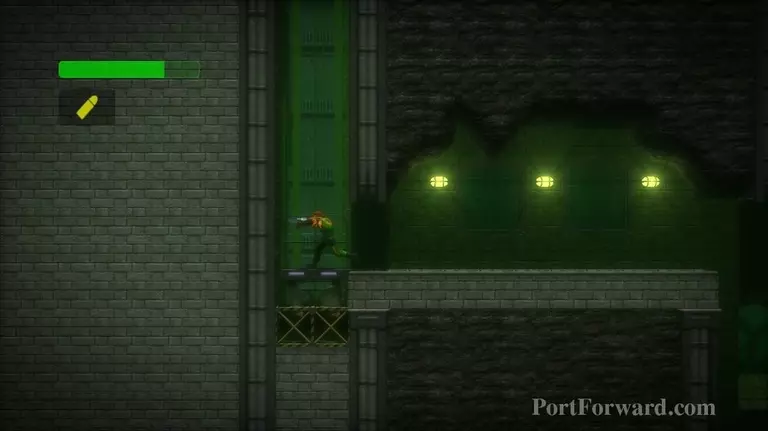
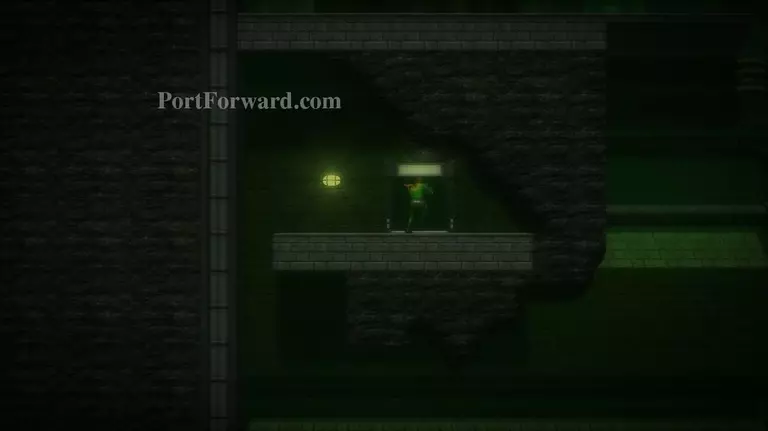
Area 02 - The Sewer Station
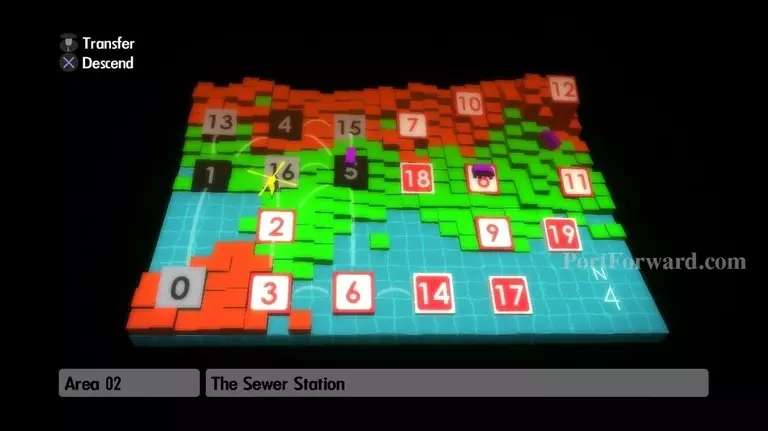
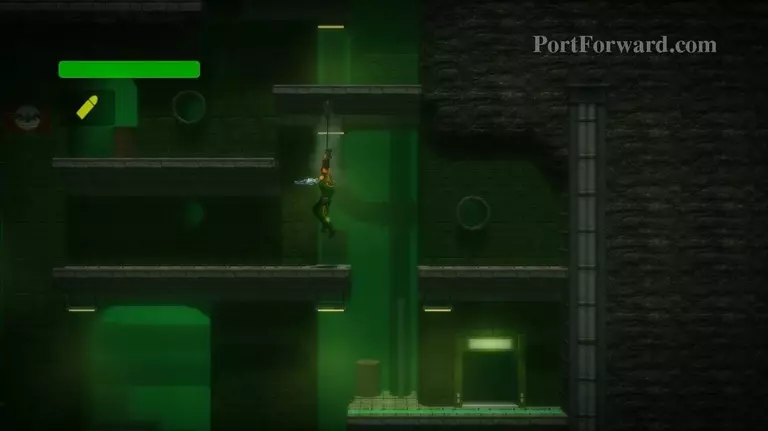
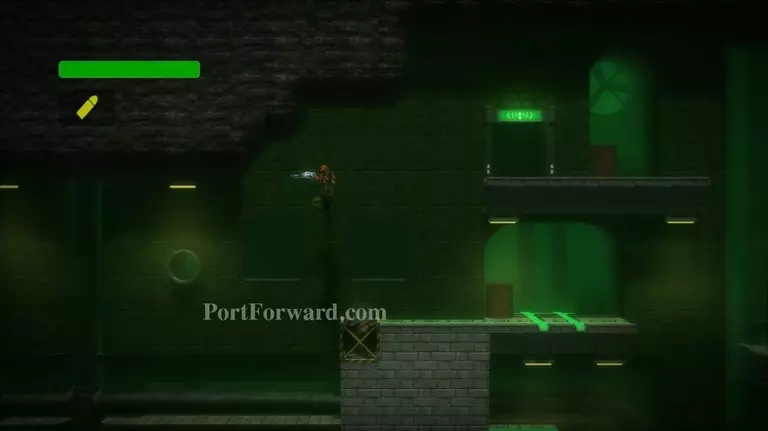
Descend into area 2, The Sewer Station.
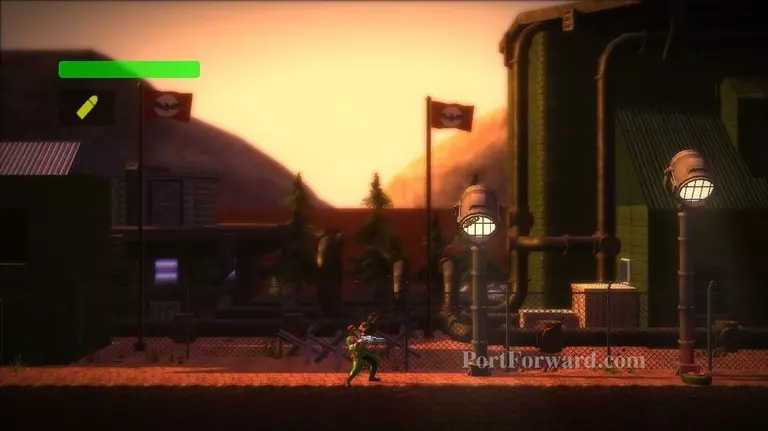
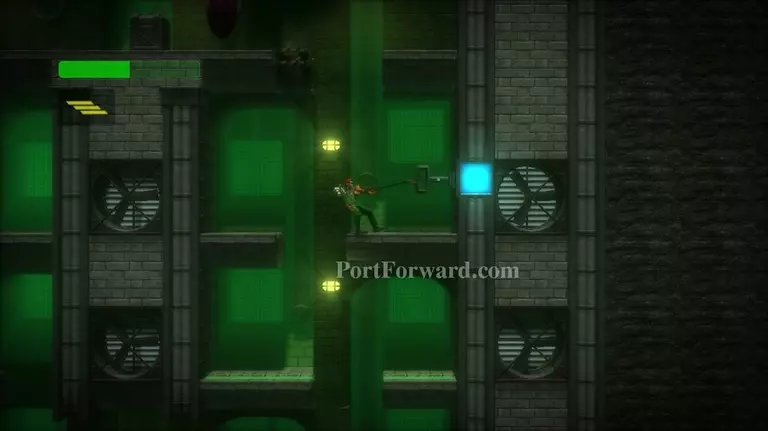
There is a landmine on the ground. Grab the first lamp and swing rightward.
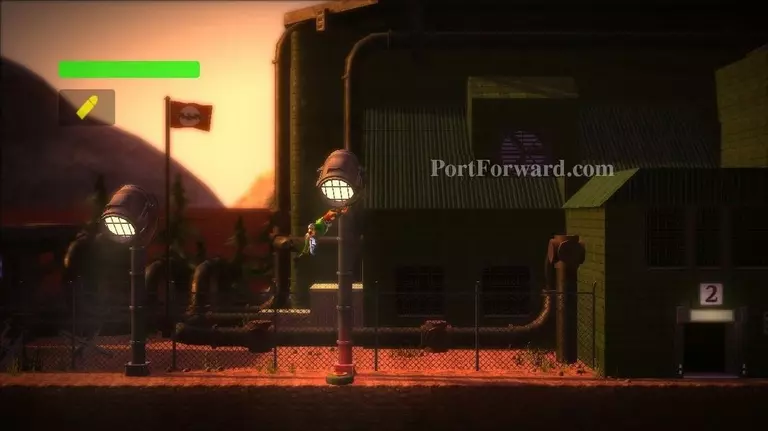
Next, grab the second lamp and swing rightward again. Then enter the room with the large 2 over it.
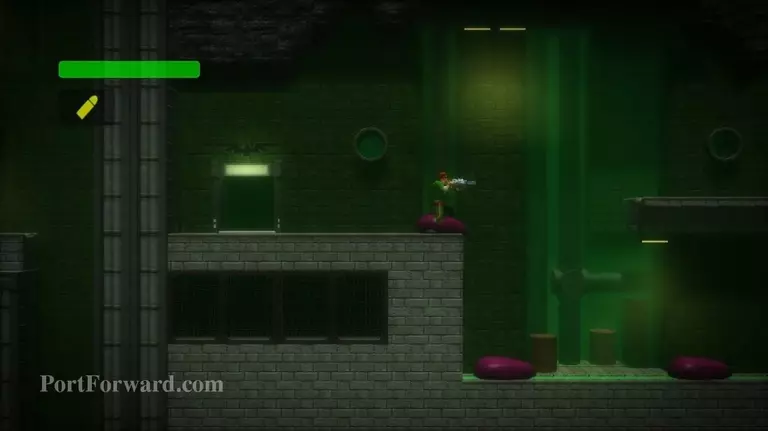
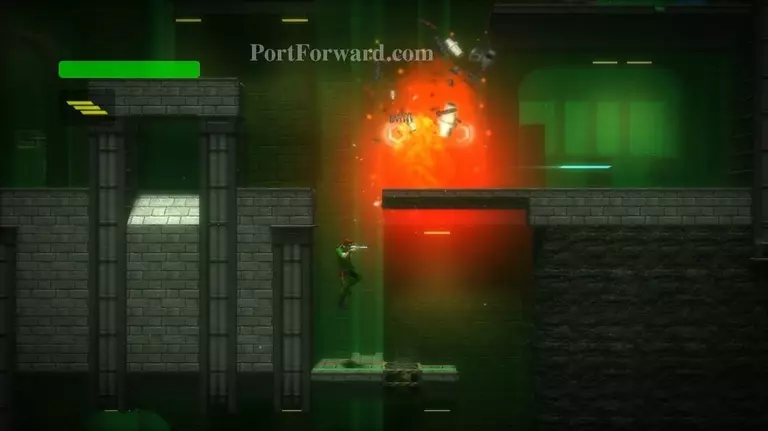
Some slimes will carry you rightward. You can escape them using your grapple, but just let them take you all the way to the right, into a pit.
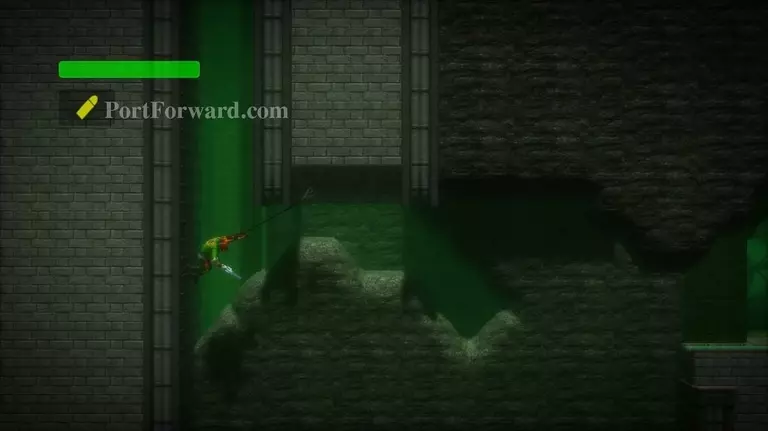
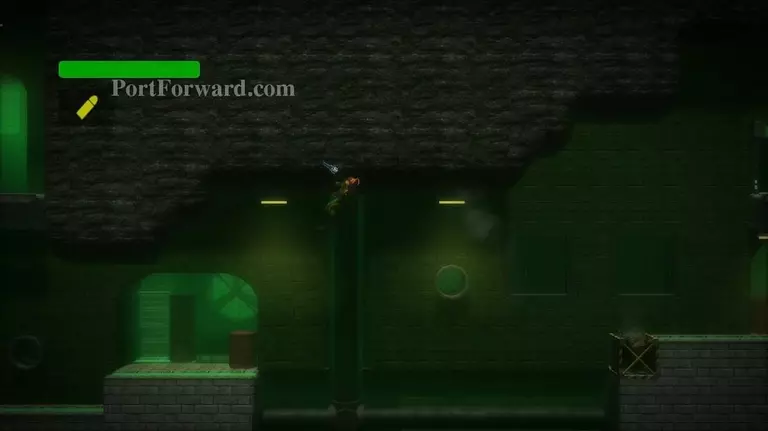
As you're falling, grapple the roof to your right.
Swing rightward.
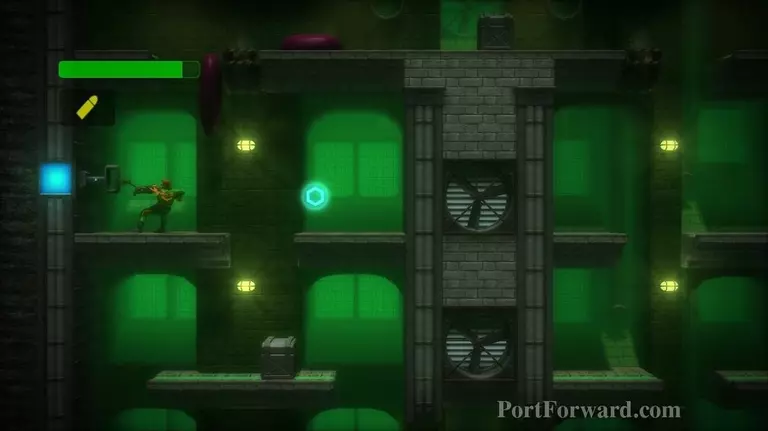
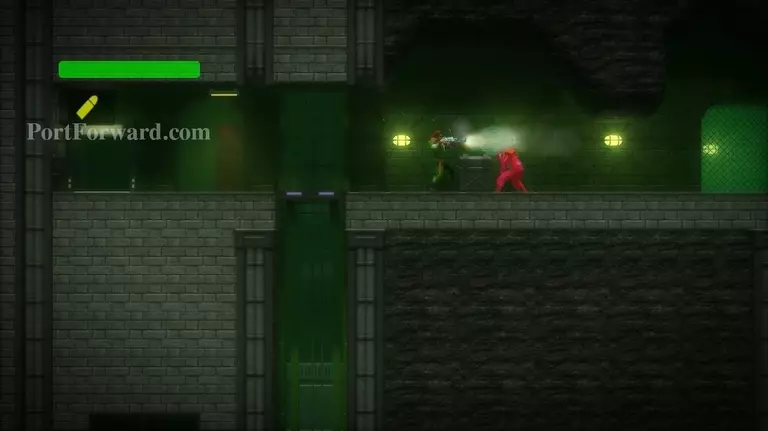
You should land on the platform on your right. Defeat the enemy, then walk into the elevator.
Take the elevator up a small bit and collect the Yashichi to your right.

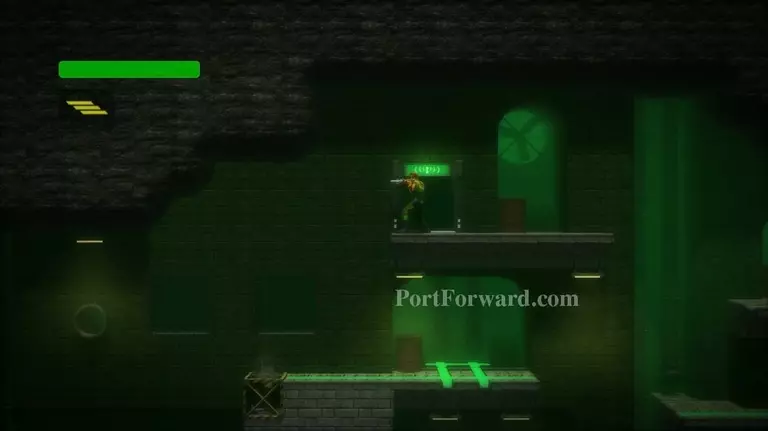
Take the elevator all the way to the top and enter the door to your left.
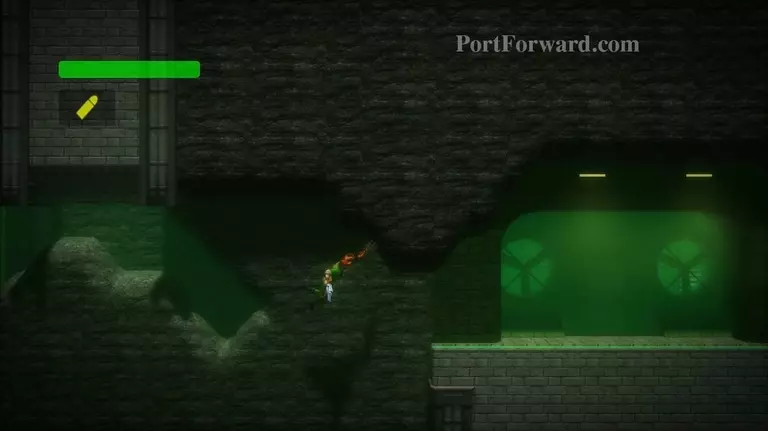
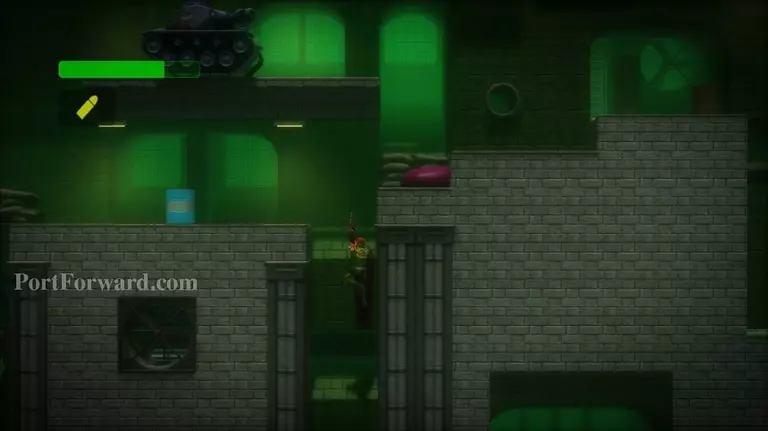
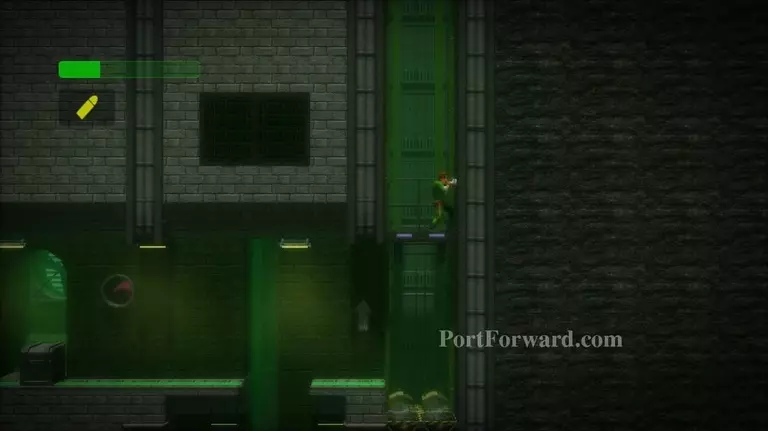
You'll exit a door, right above the pit the slimes dropped you down. Climb upward.
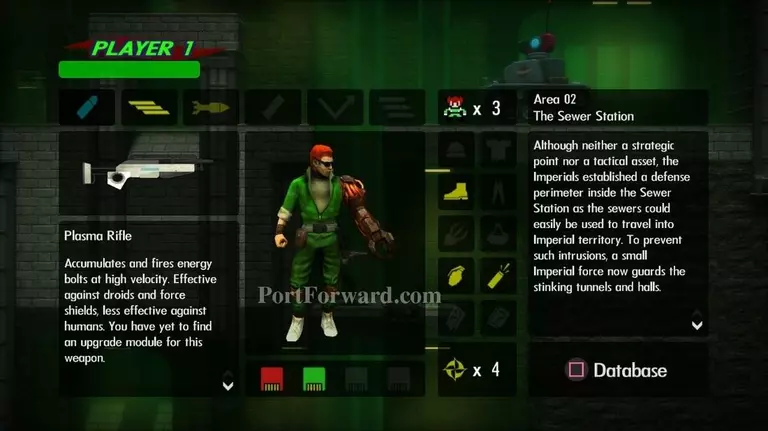
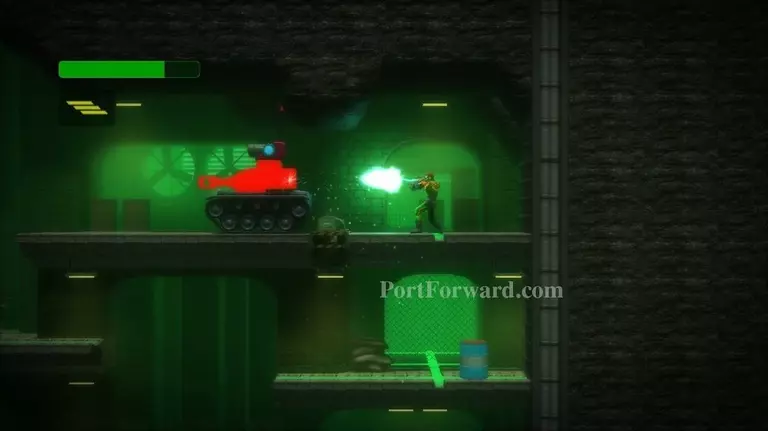
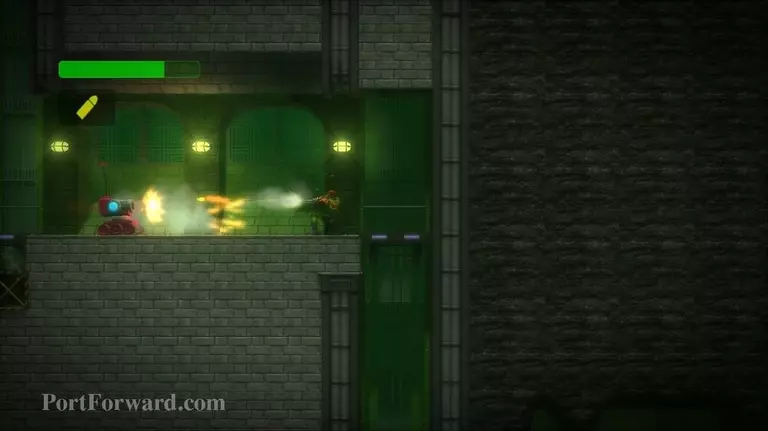
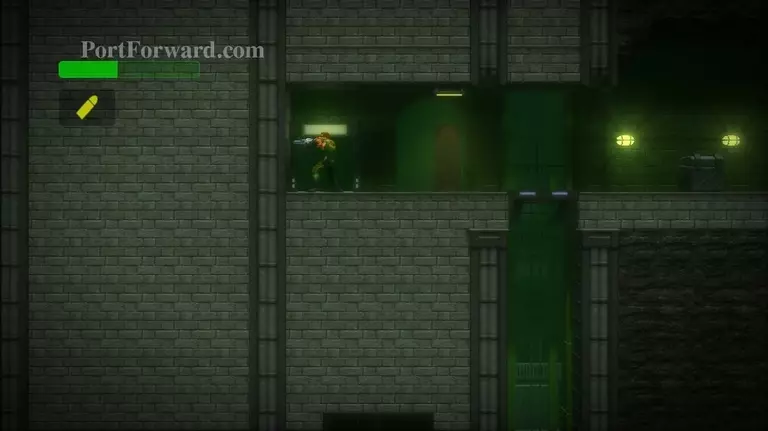
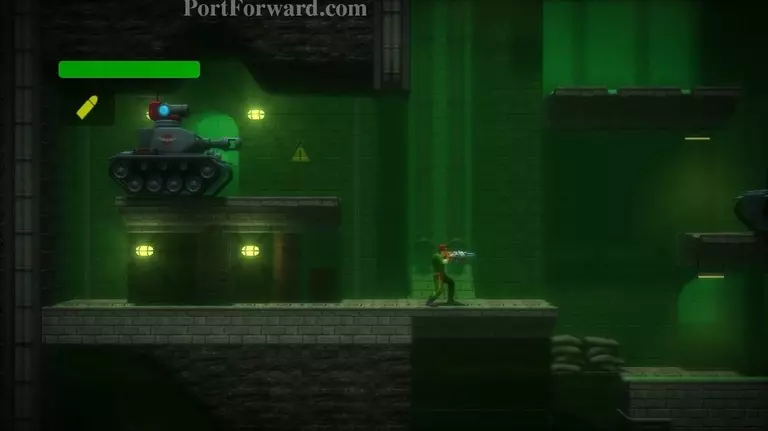
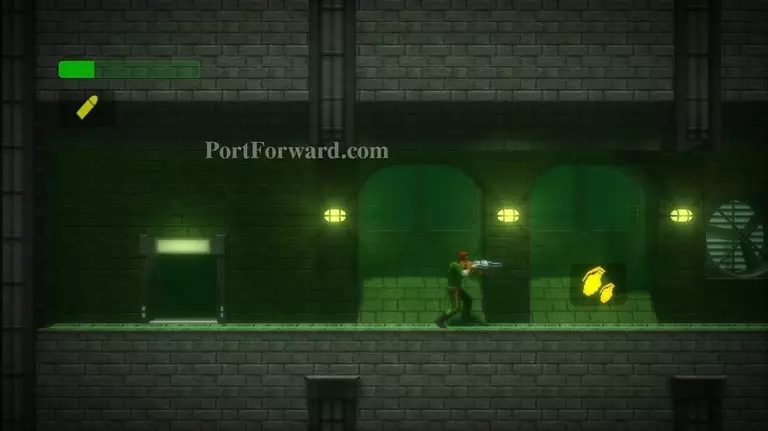
You'll come to a Tank Droid. Change to your Plasma Rifle (using the select button, then R1) to defeat it.
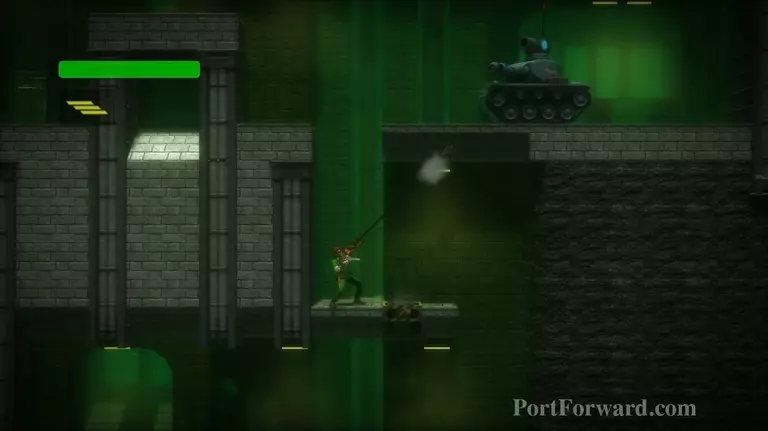
Climb in front of the Tank Droid.
Shoot the tank's cannon with your Plasma Rifle.
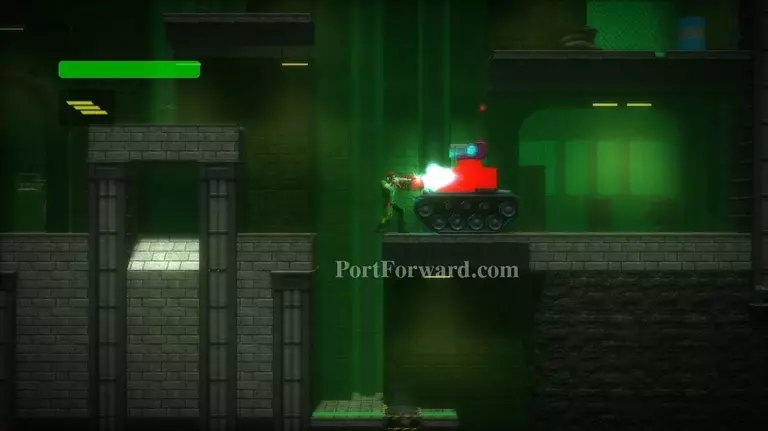
After several shots, it'll explode.
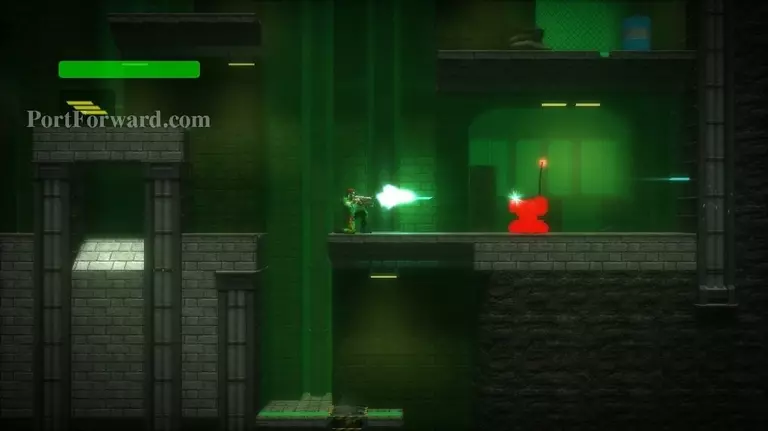
A Mini Tank Droid will remain. Destroy it as well.
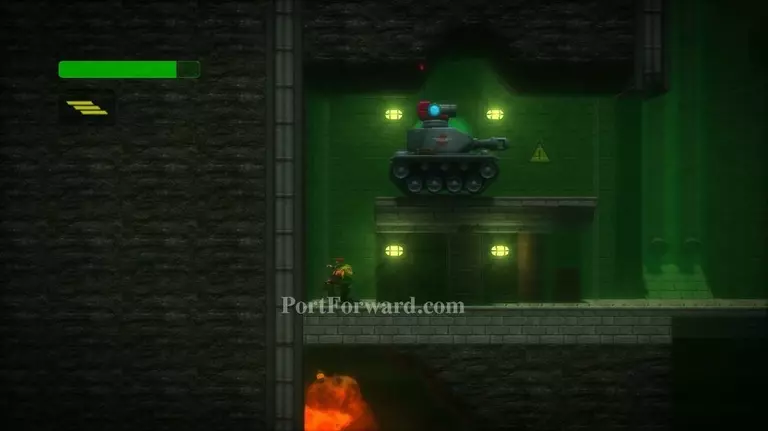
Climb to the top and destroy the tank here as well.
Continue to your left. Enter the Communications Room and talk to HQ.
Let the fan blow you upward.
Then grapple and swing to your left.

You should land on the other side of the pit.
Continue left until you reach another tank. Fall down the pit in front of the tank.
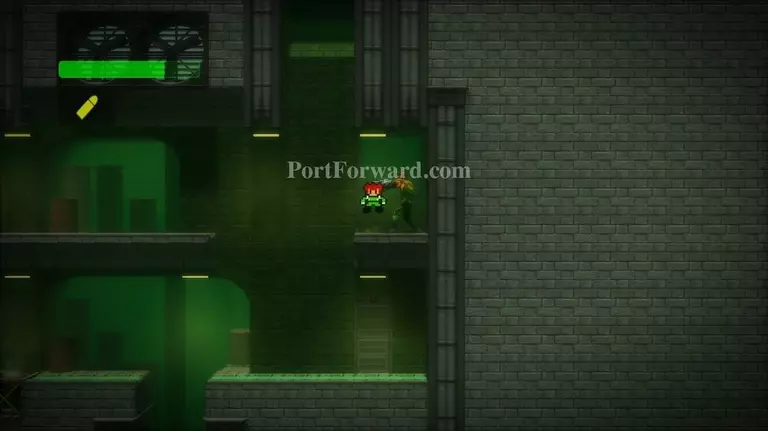
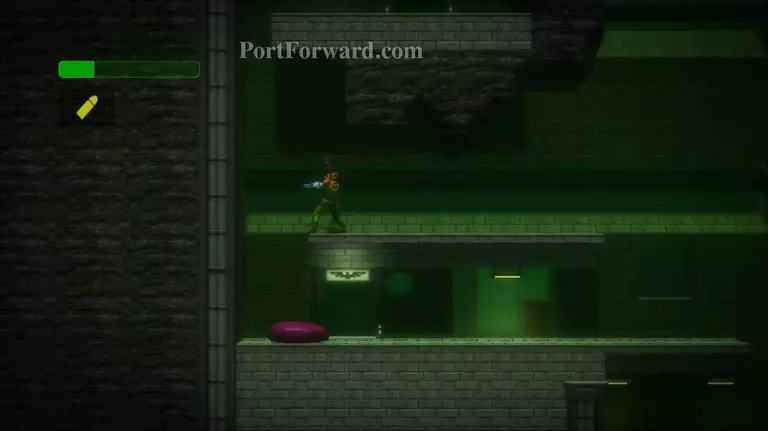
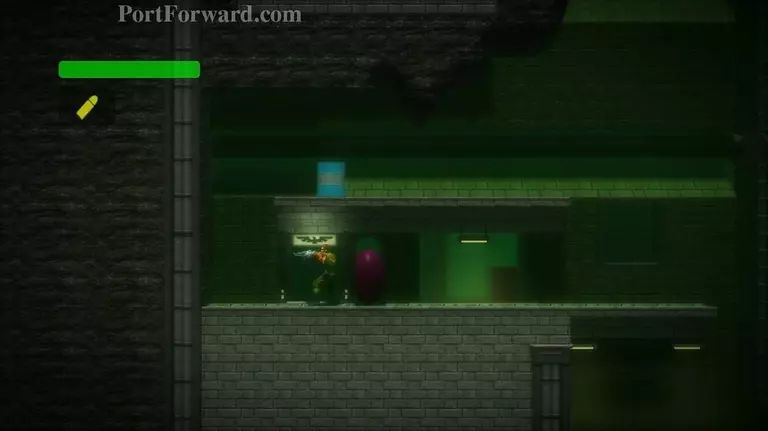
When you land, you'll find an extra life.
Swing all the way left until you come to an elevator. Ride it upward.
Destroy the Mini Tank Droid here, then continue up the elevator behind it.
Take out the enemies at the top of the elevator.
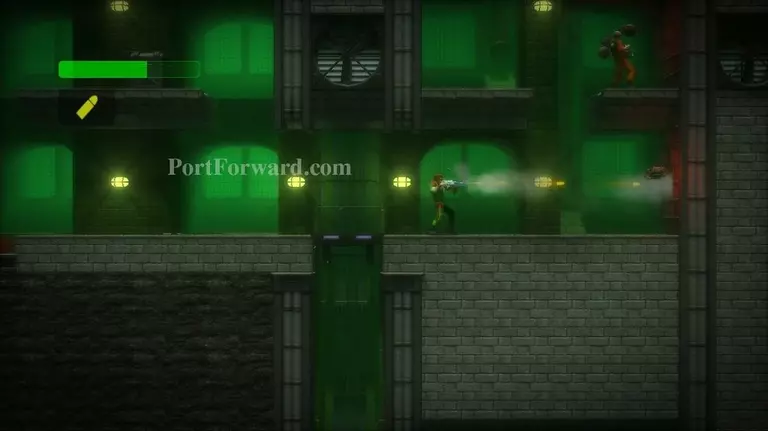
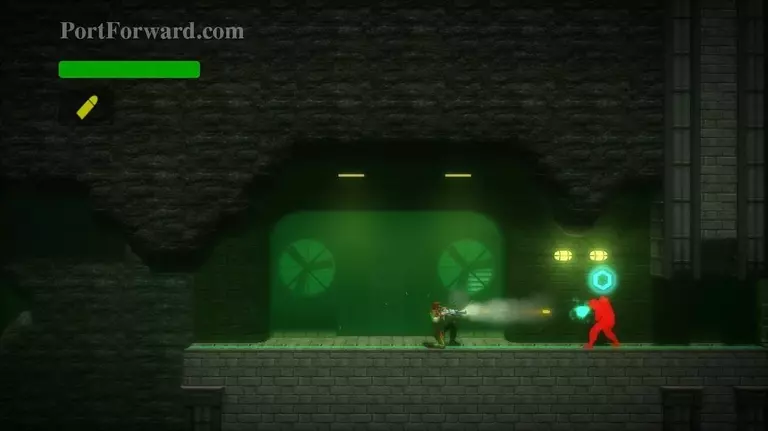
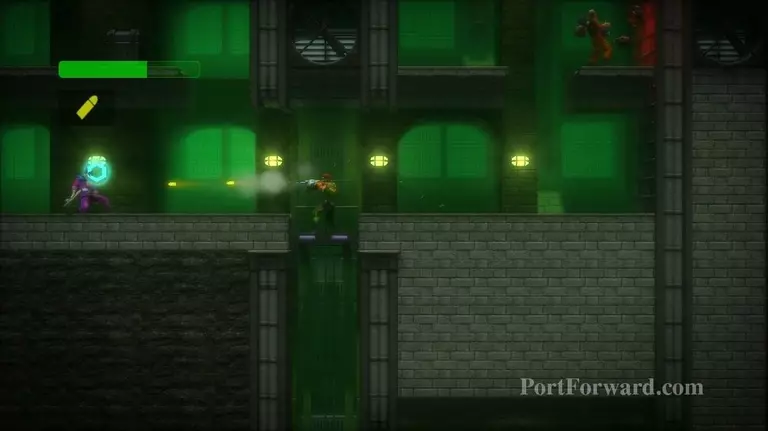
One of them will send some flying explosive droids at you. Shoot them before they hit you and kill the guy or he'll keep sending them.

Climb up the right path. Destroy the shielded enemy.
Pull the switch behind him.
Now pull the switch found in the path on your left.
Go to the upper-right of the room and take the elevator you find upward.
Pulling those switches unlocked a secret door here. Enter it.

Collect Secret Challenge 2, then exit the room.
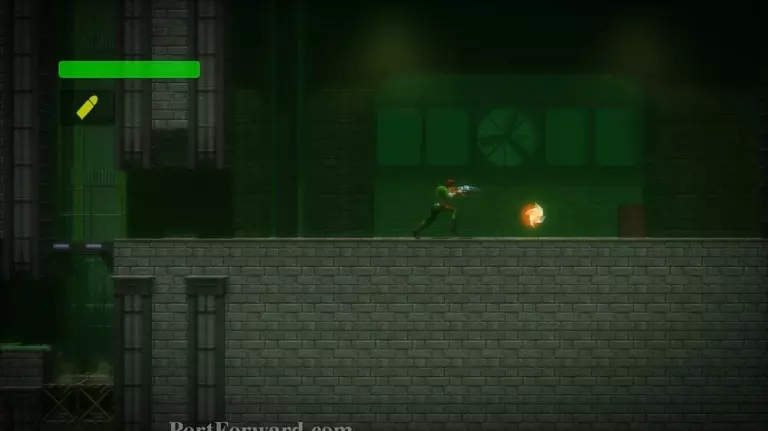
Go rightward, defeating enemies in your path. Drop down the pit you come across.
You should land near a Tank Droid.
Walk to the left wall. Press down and throw a grenade. You'll destroy a secret wall below you. Now walk off the right side of this platform.
You'll drop near the Boss Room. Get on the left side of the platform above it and grapple upward.
Enter the door found here.
You'll find a Grenade upgrade here.

Now you can throw two grenades, instead of one. Exit the room and drop back down to the Boss Room.
Enter the Boss Room.

You'll fight the boss named Fabricator.
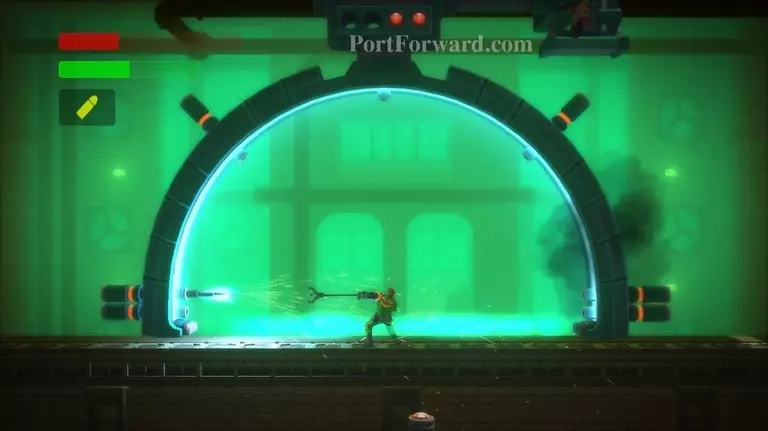
Get in the center of the machine. Spikes will try to stab you from many directions. Before one launches at you, it will light up. The spikes on the left and right of you have two heights. You have to duck when you block the lower ones.
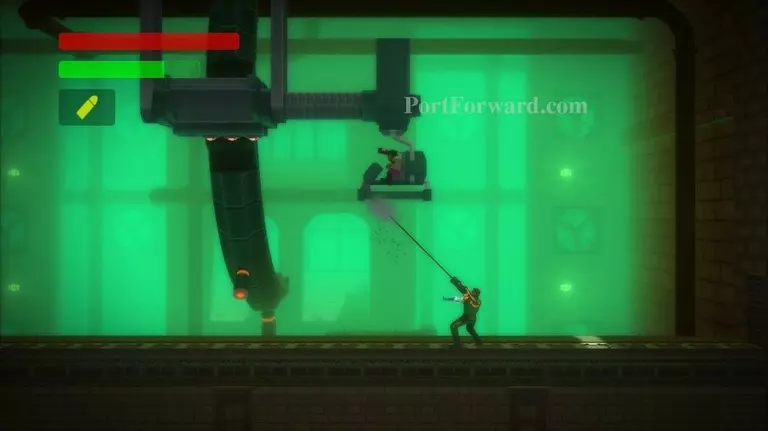
After blocking several spikes. The Fabricator will recharge for a bit. Latch on to the driver's platform and swing over to the left.
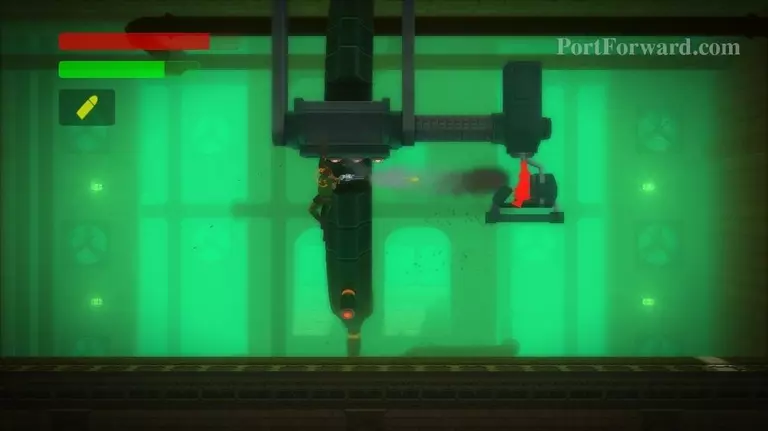
Grab the top of the machine and pull yourself up. Shoot the driver.
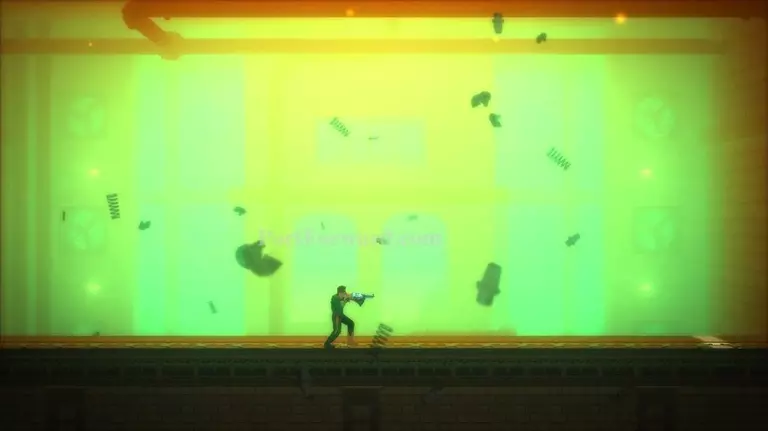
Repeat the process until the Fabricator is destroyed.
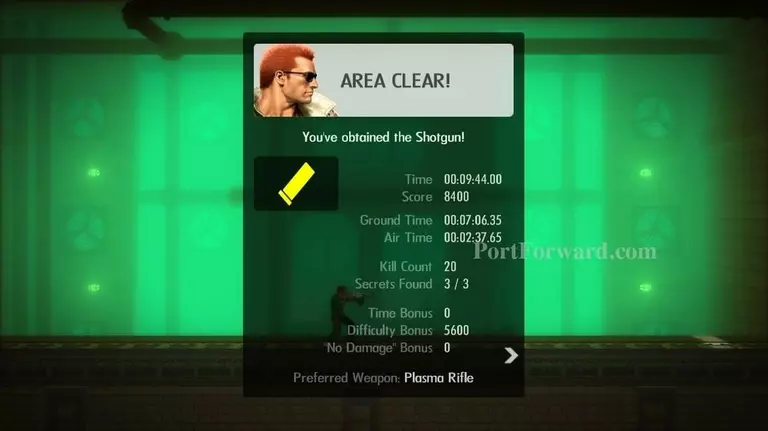
Area Clear! You'll obtain the Shotgun.
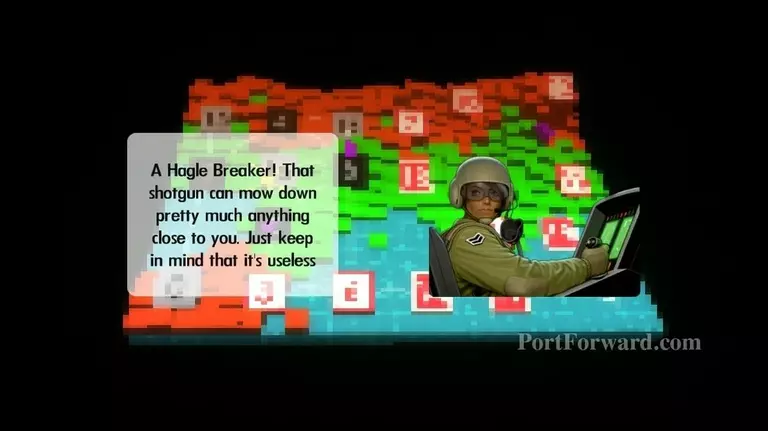
Haley will explain the Shotgun is great a short range only. It is also handy to make yourself start swinging again when grappled.
More Bionic Commando Rearmed Walkthroughs
This Bionic Commando Rearmed walkthrough is divided into 24 total pages.


