Bionic Commando Rearmed Walkthrough Area 06 - The Docks

September 12, 2016 (Last Updated: ) | Reading Time: 7 minutes

This Bionic Commando Rearmed walkthrough is divided into 24 total pages.

You can jump to nearby pages of the game using the links above.
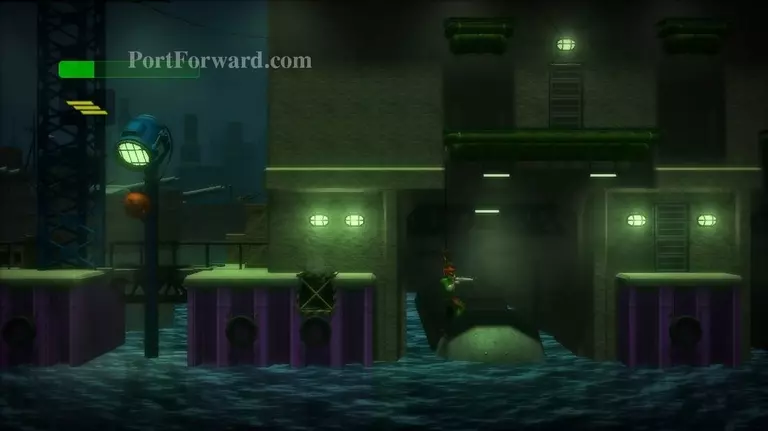
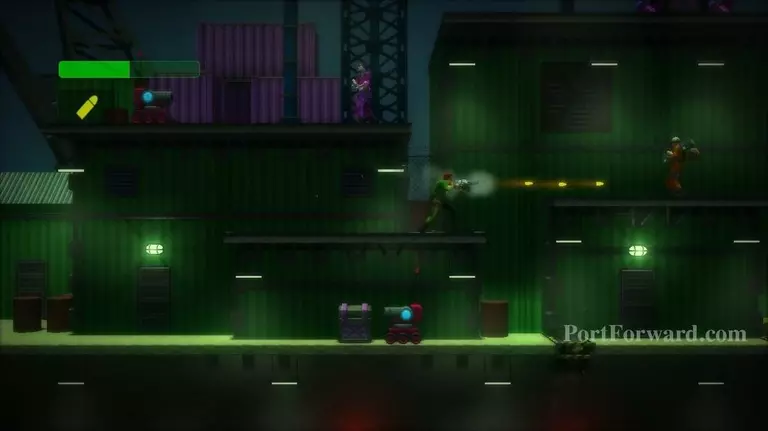
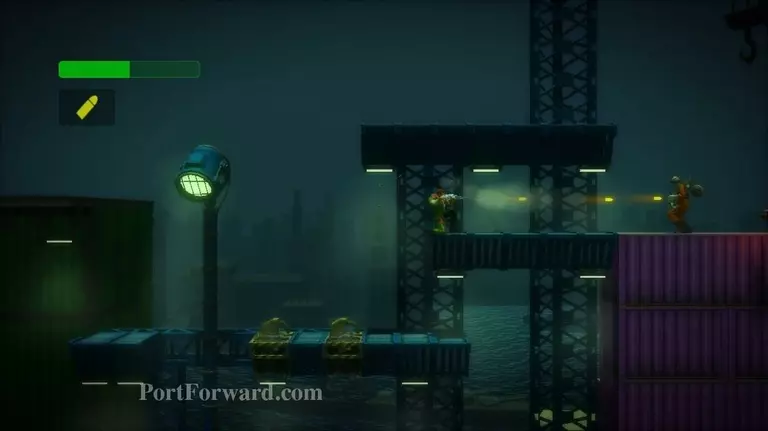
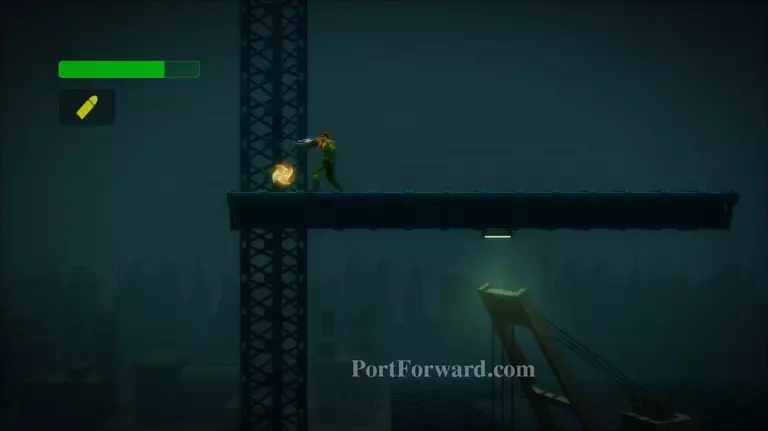
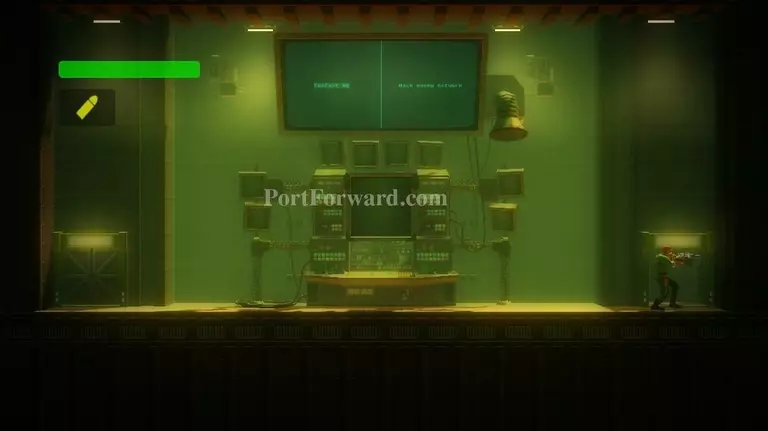
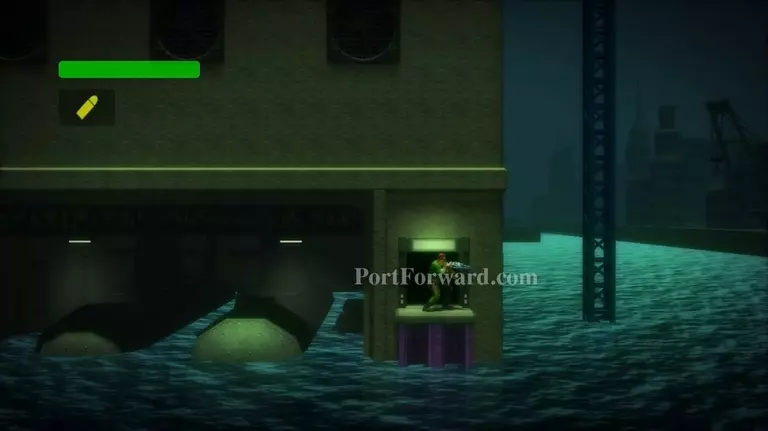
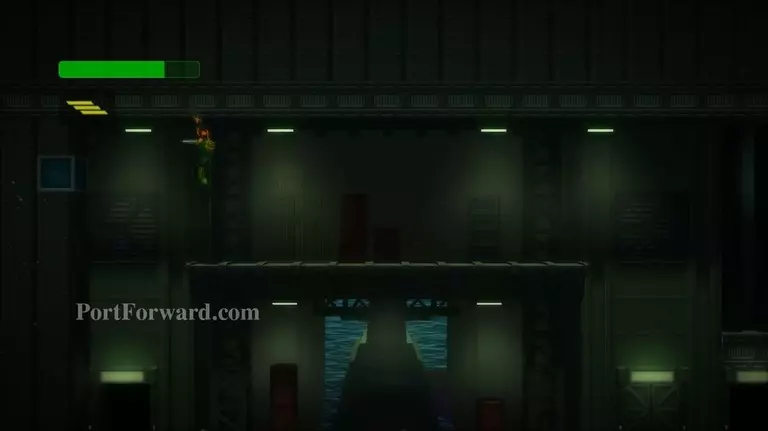
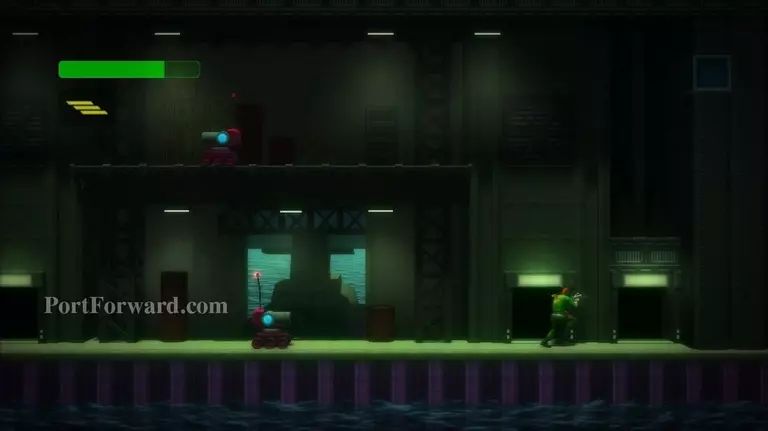
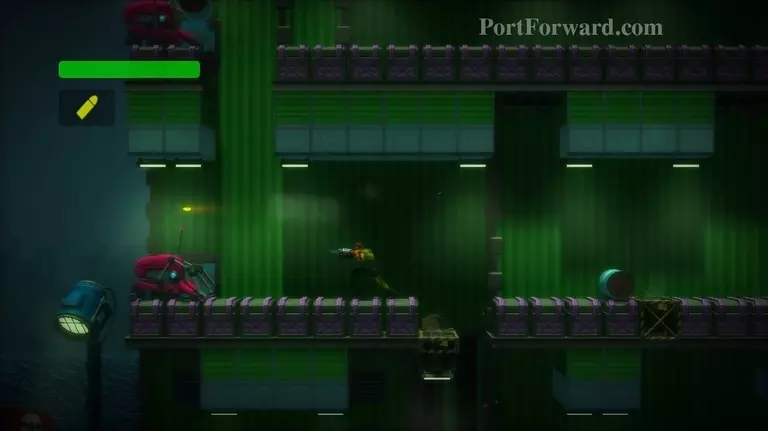
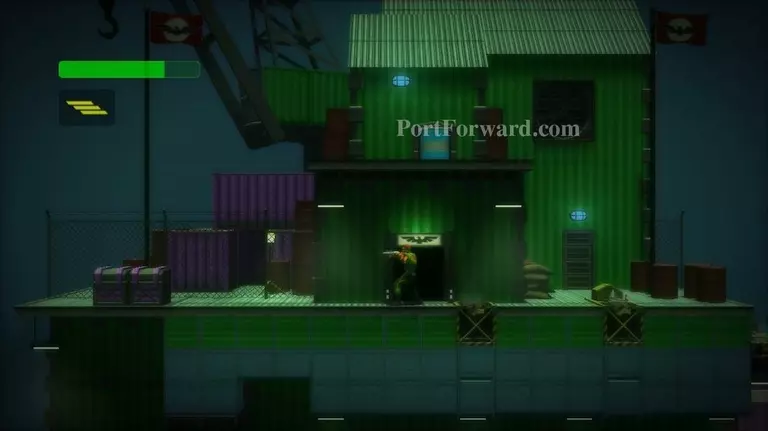
Area 06 - The Docks

Bionic Commando Rearmed Walkthrough - Bionic Commando-Rearmed 0226

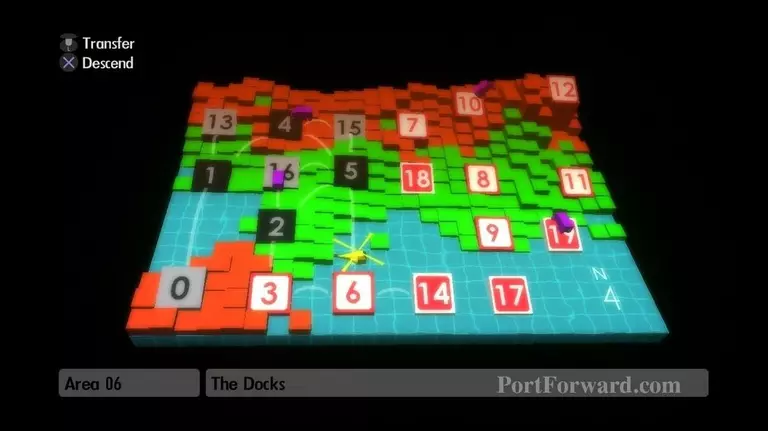
Descend into area 6, The Docks.

Bionic Commando Rearmed Walkthrough - Bionic Commando-Rearmed 0227

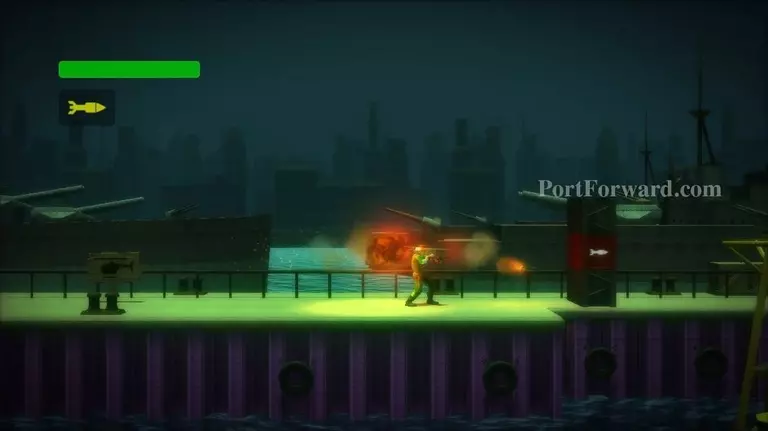
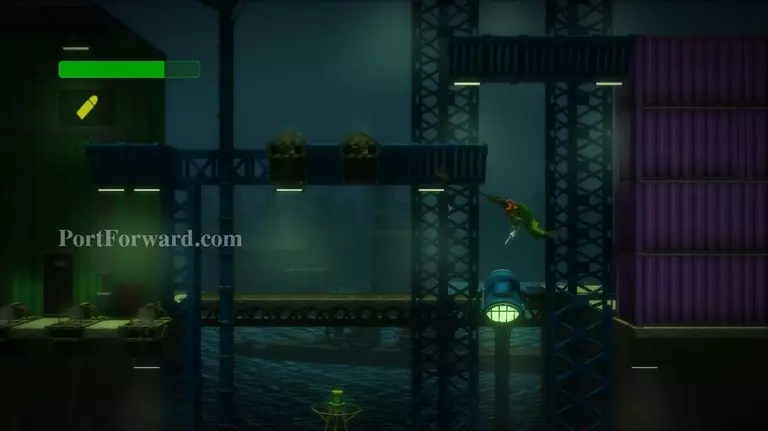
Use your Bazooka to destroy the wall.

Bionic Commando Rearmed Walkthrough - Bionic Commando-Rearmed 0228

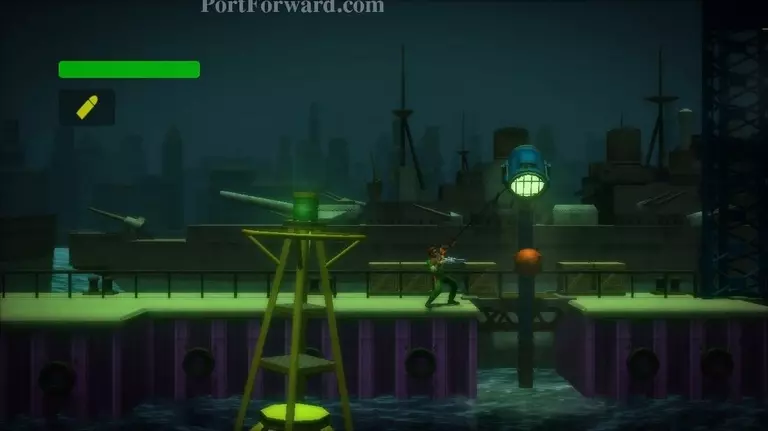
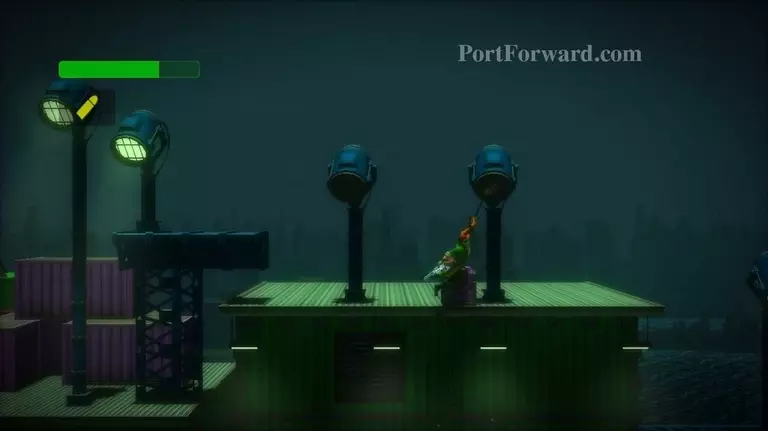
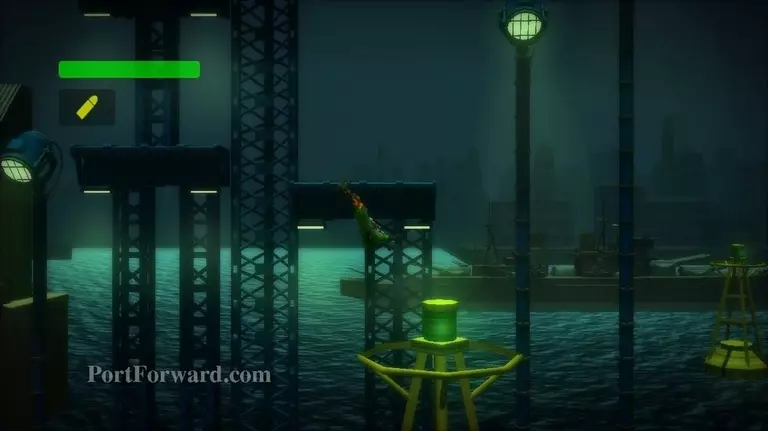
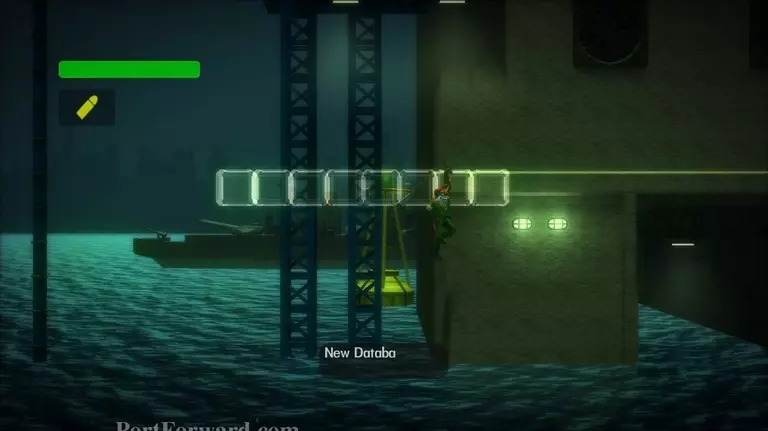
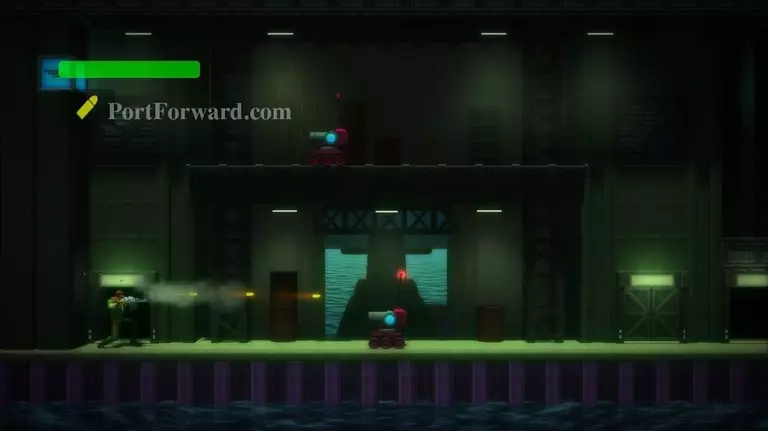
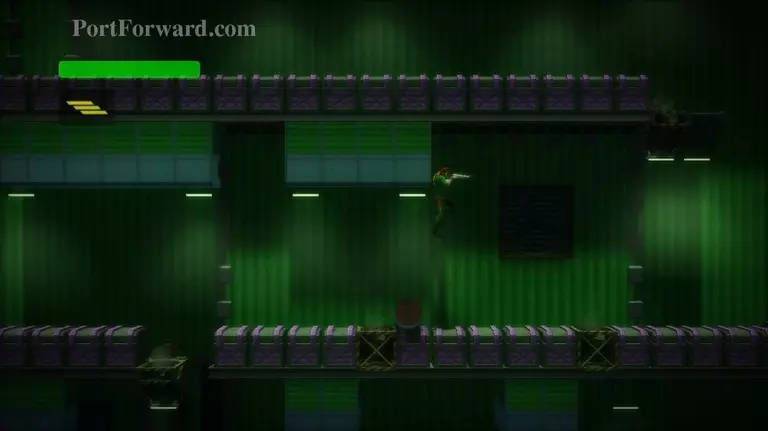
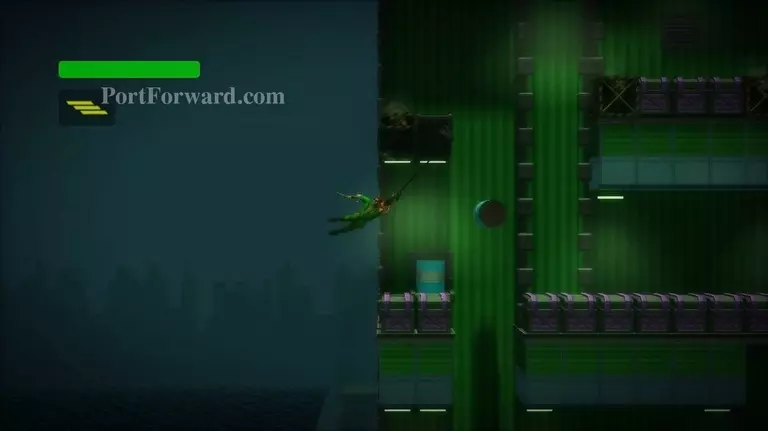
Grapple onto the lamps. Wait to swing until the spiked ball is out of the way.

Bionic Commando Rearmed Walkthrough - Bionic Commando-Rearmed 0229

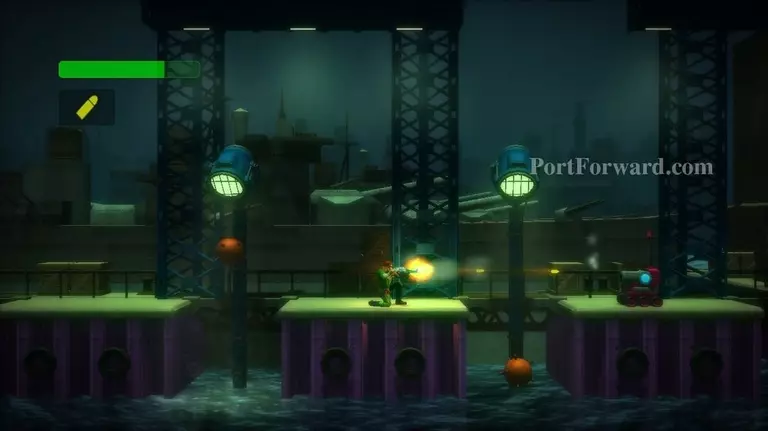
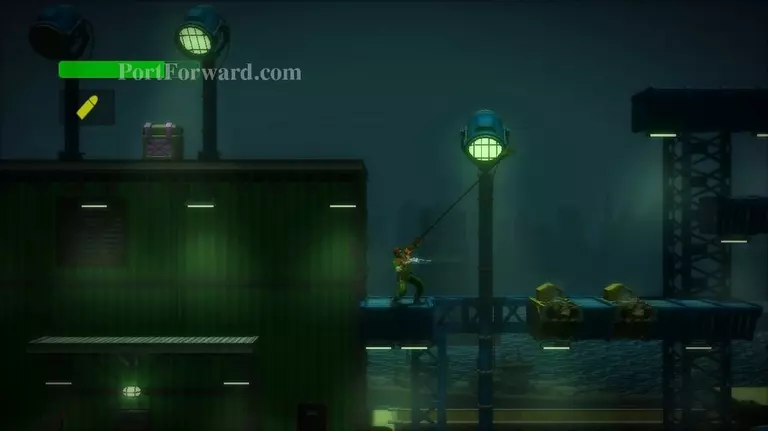
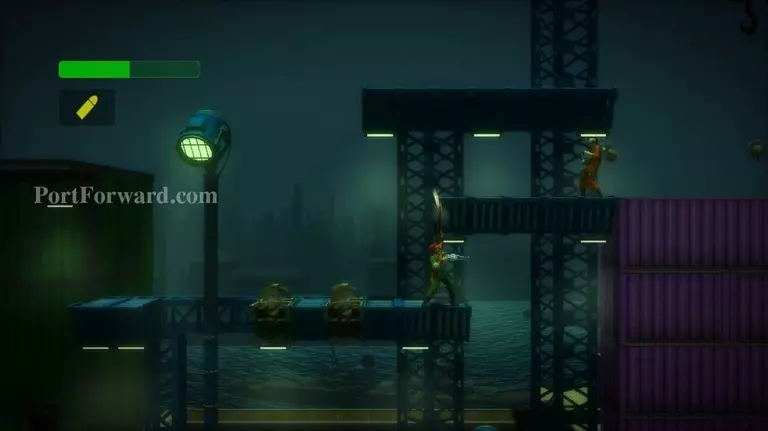
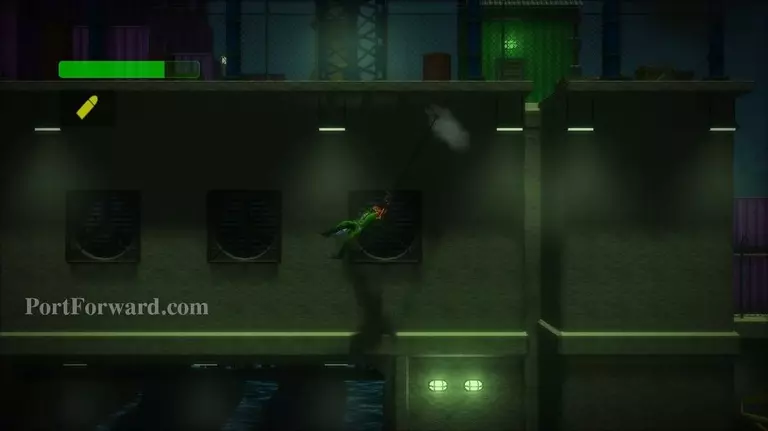
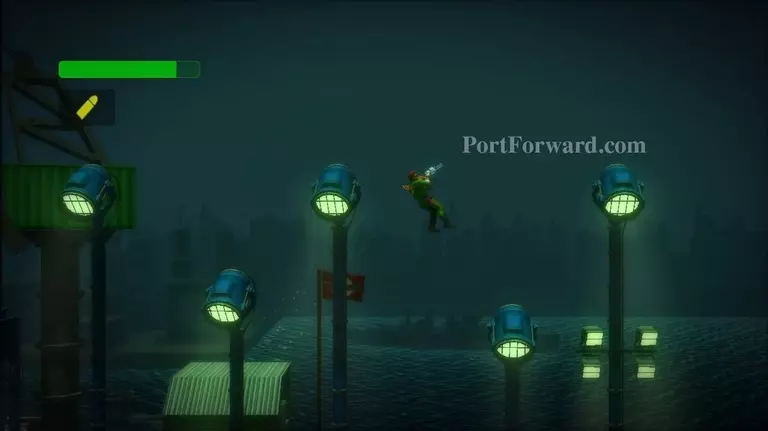
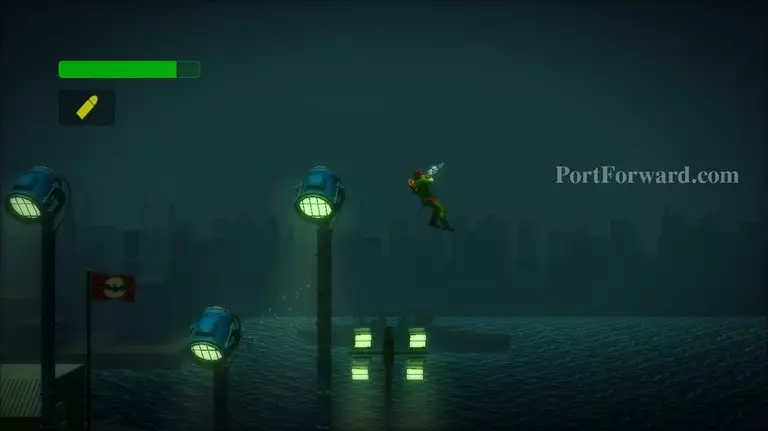
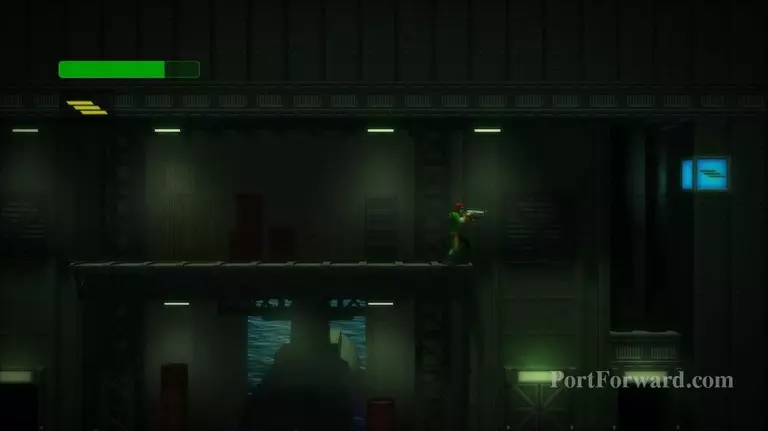
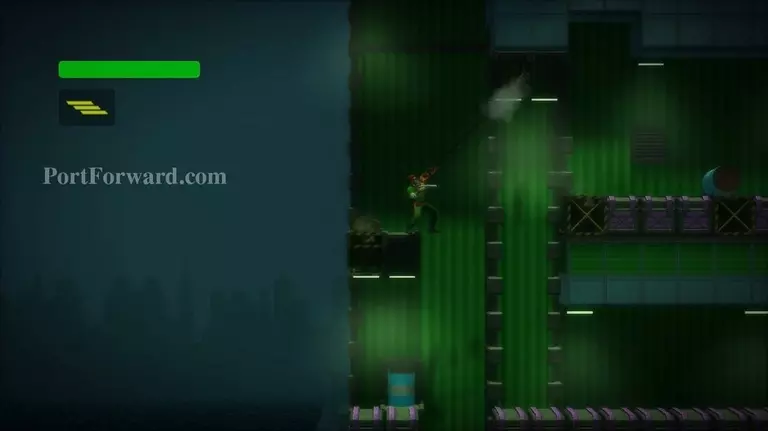
Continue swinging rightward using the lamps. Destroy the Mini Tank Droids as you go.

Bionic Commando Rearmed Walkthrough - Bionic Commando-Rearmed 0230

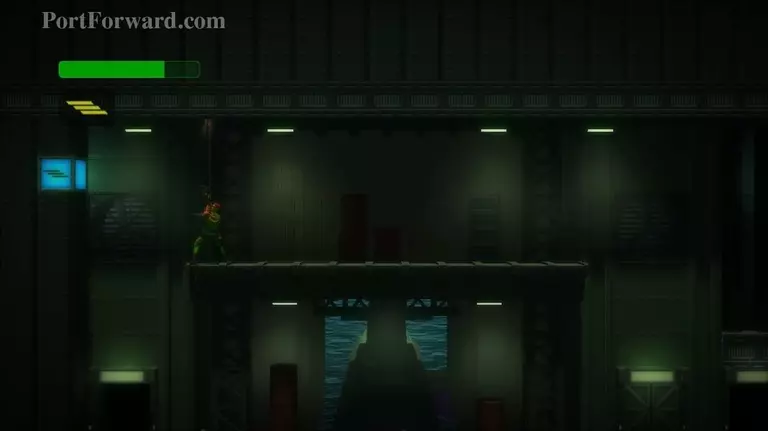
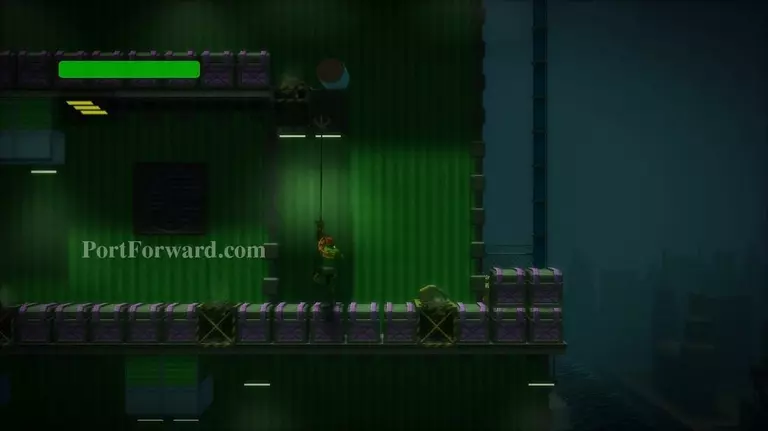
The platform after the last lamp has a fan that'll blow you upward.

Bionic Commando Rearmed Walkthrough - Bionic Commando-Rearmed 0231

Use your grapple to latch onto the platform above you.

Bionic Commando Rearmed Walkthrough - Bionic Commando-Rearmed 0232

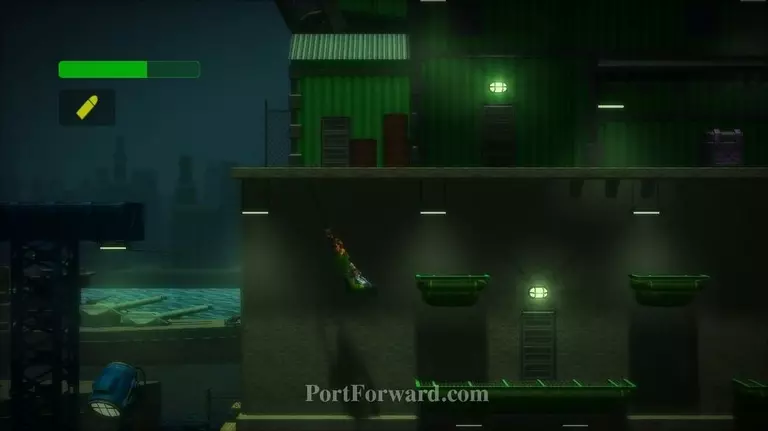
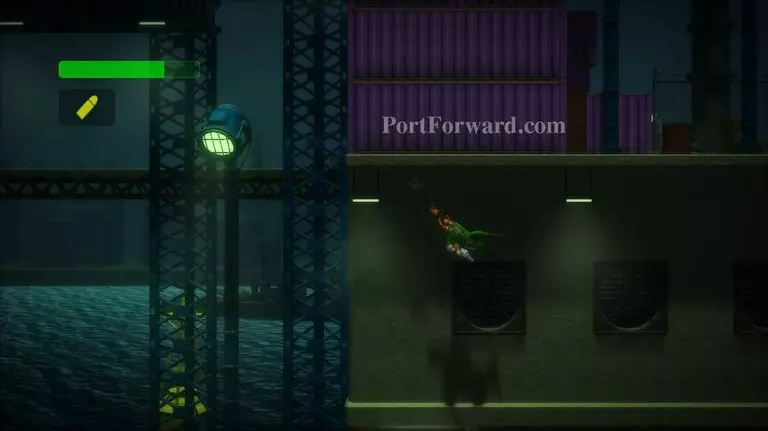
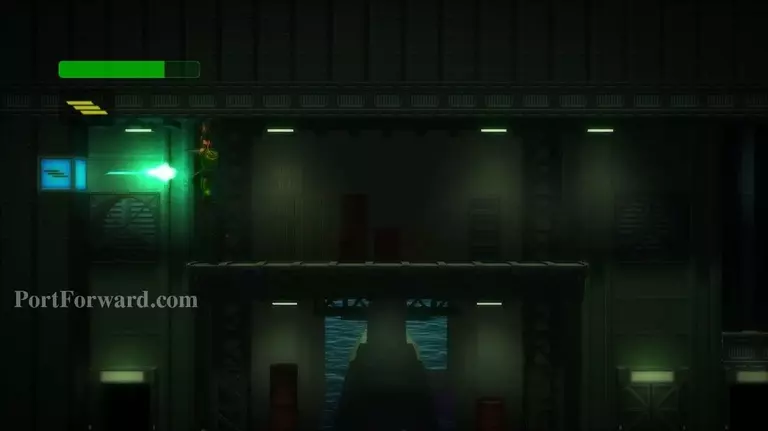
Go up a small ways and then swing leftward to some blue platforms.

Bionic Commando Rearmed Walkthrough - Bionic Commando-Rearmed 0233

Fall off the left side of this platform, then turn around and grapple it. Swing left.

Bionic Commando Rearmed Walkthrough - Bionic Commando-Rearmed 0234

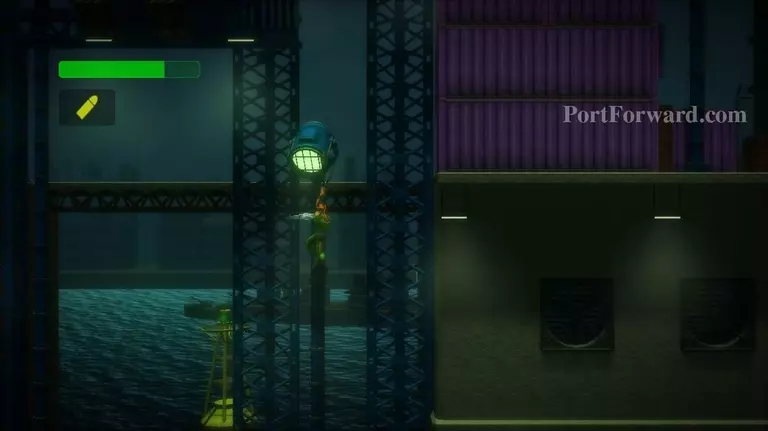
Grab the next blue platform on your left.

Bionic Commando Rearmed Walkthrough - Bionic Commando-Rearmed 0235

Get the Extra Life on top, then go back and continue scaling the building upward.

Bionic Commando Rearmed Walkthrough - Bionic Commando-Rearmed 0236

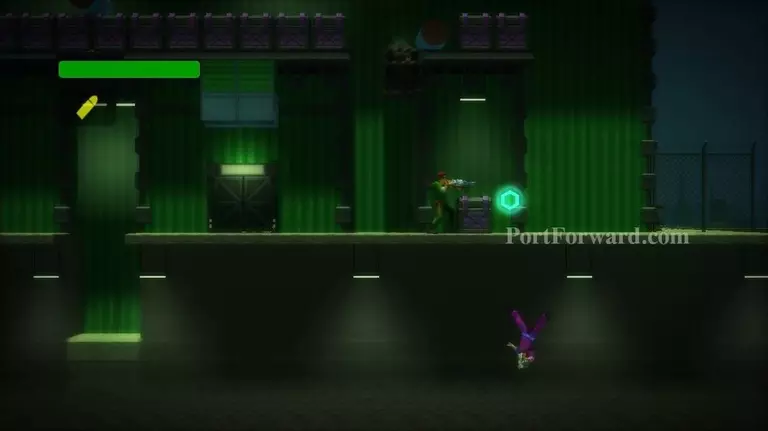
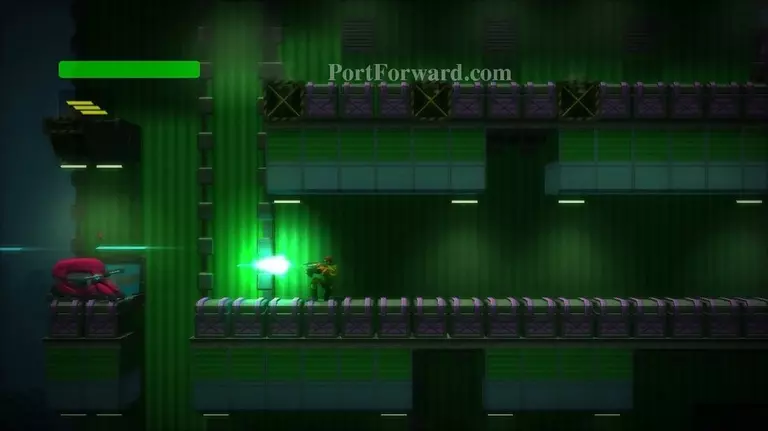
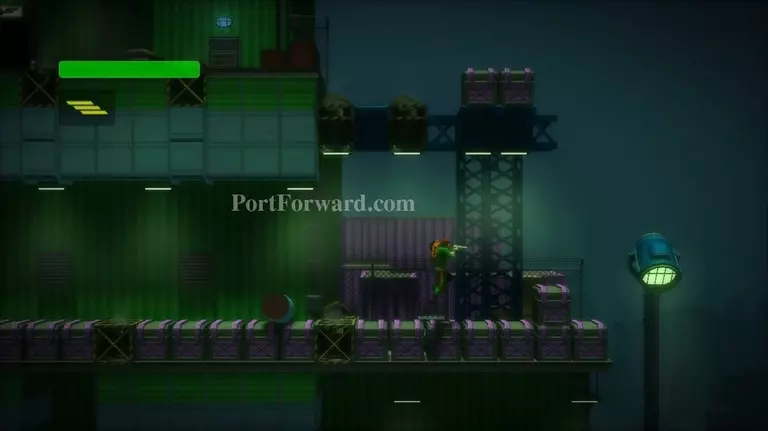
Take out the enemies that throw the exploding droids.

Bionic Commando Rearmed Walkthrough - Bionic Commando-Rearmed 0237

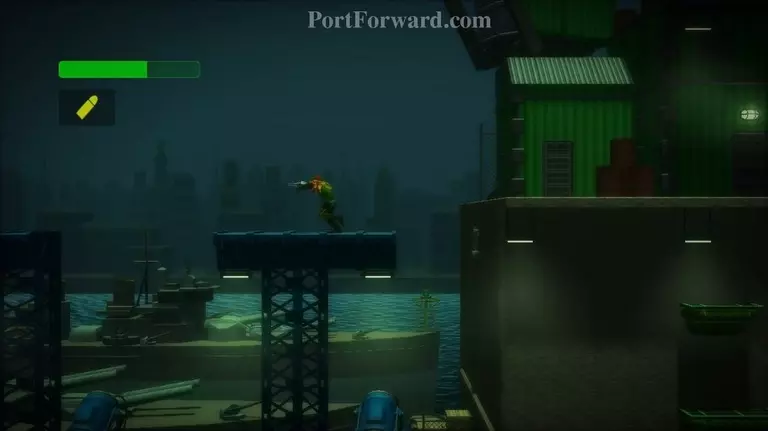
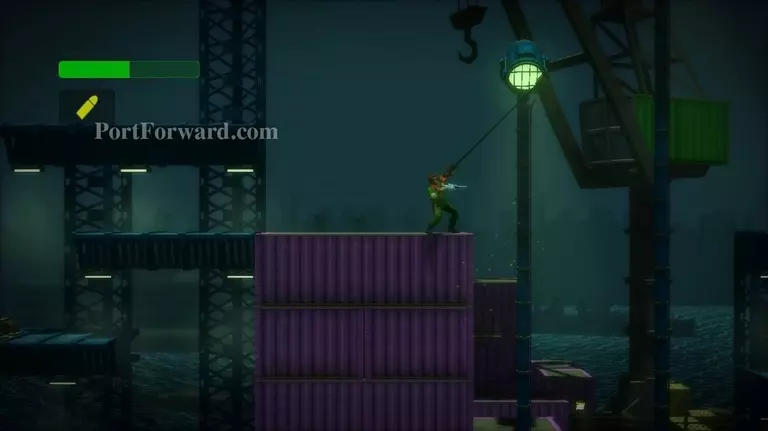
Go to the top of the building. There will be a purple crate in your way on the right. Use your grapple on the lamp to get over it. Then walk off the right edge of the platform.

Bionic Commando Rearmed Walkthrough - Bionic Commando-Rearmed 0238

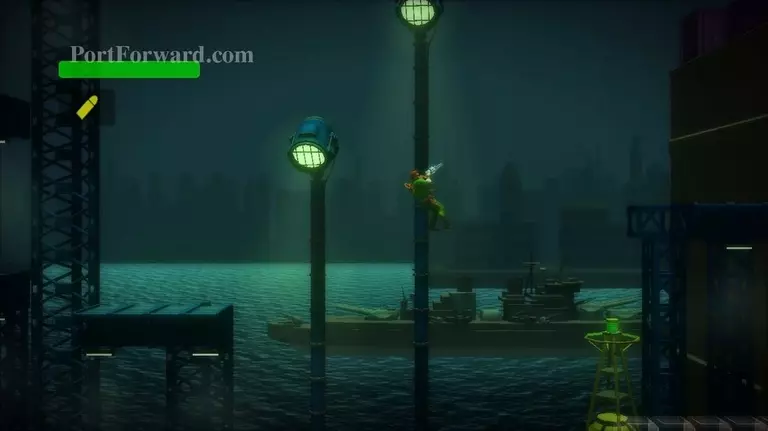
Grab the lamp with your grapple and swing right.

Bionic Commando Rearmed Walkthrough - Bionic Commando-Rearmed 0239

Immediately grapple upward and get on the platform above.

Bionic Commando Rearmed Walkthrough - Bionic Commando-Rearmed 0240

Quickly shoot the enemy before too many droids attack.

Bionic Commando Rearmed Walkthrough - Bionic Commando-Rearmed 0241

There is a secret above this lamp. It's very tough to get, especially since you can't easily get back up here if you fail (unless you play using Co-Op and one player stays on the purple crate.) Grapple the right side of the lamp.

Bionic Commando Rearmed Walkthrough - Bionic Commando-Rearmed 0242

Pull yourself up and then face right.

Bionic Commando Rearmed Walkthrough - Bionic Commando-Rearmed 0243

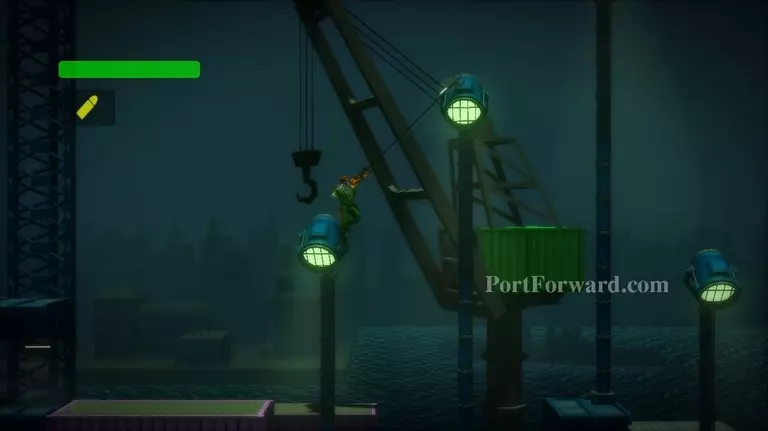
Press up to climb on top of the lamp. Quickly grapple to the next lamp on your upper-right. You want to grapple the right side of this lamp as well, which is tricky. Pull yourself up and face right.

Bionic Commando Rearmed Walkthrough - Bionic Commando-Rearmed 0244

If you don't grapple the right side, you can climb the lamp and then as you're falling hope to grapple it again. Another way is to press down and immediately grapple afterward.

Bionic Commando Rearmed Walkthrough - Bionic Commando-Rearmed 0245

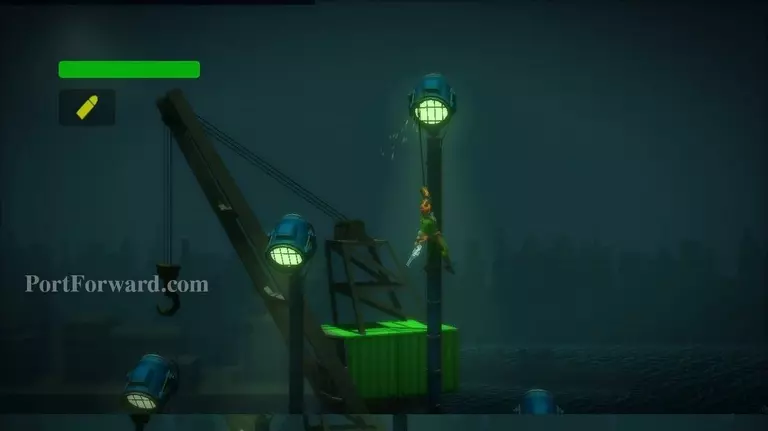
Climb on top of the second lamp and grapple the third lamp.

Bionic Commando Rearmed Walkthrough - Bionic Commando-Rearmed 0246

Swing leftward off the lamp. Grapple up to the platform above.

Bionic Commando Rearmed Walkthrough - Bionic Commando-Rearmed 0247

On top of the platform you'll find a Yashichi.

Bionic Commando Rearmed Walkthrough - Bionic Commando-Rearmed 0248

If you fail to get up to the secret, you can attempt to swing under the platform to the left.

Bionic Commando Rearmed Walkthrough - Bionic Commando-Rearmed 0249

Continue swinging left.

Bionic Commando Rearmed Walkthrough - Bionic Commando-Rearmed 0250

Grab the lamp.

Bionic Commando Rearmed Walkthrough - Bionic Commando-Rearmed 0251

Climb the lamp and grab onto the blue platform. Now you can attempt the secret again.

Bionic Commando Rearmed Walkthrough - Bionic Commando-Rearmed 0252

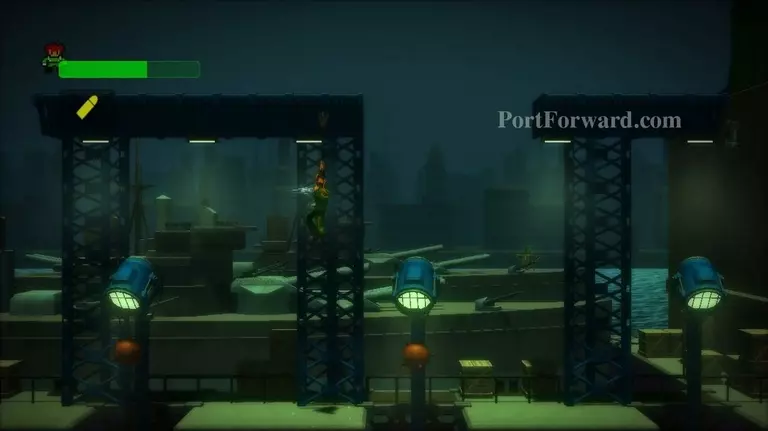
After you get the secret, or want to continue on, grapple rightward along the lamps.

Bionic Commando Rearmed Walkthrough - Bionic Commando-Rearmed 0253

Swing off the far-right lamp.

Bionic Commando Rearmed Walkthrough - Bionic Commando-Rearmed 0254

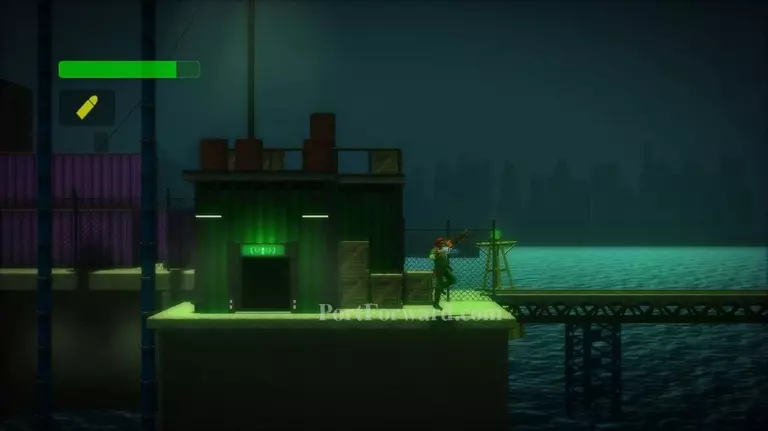
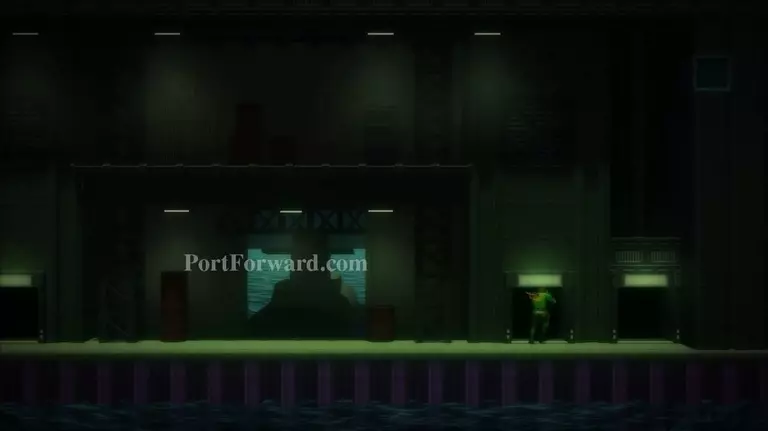
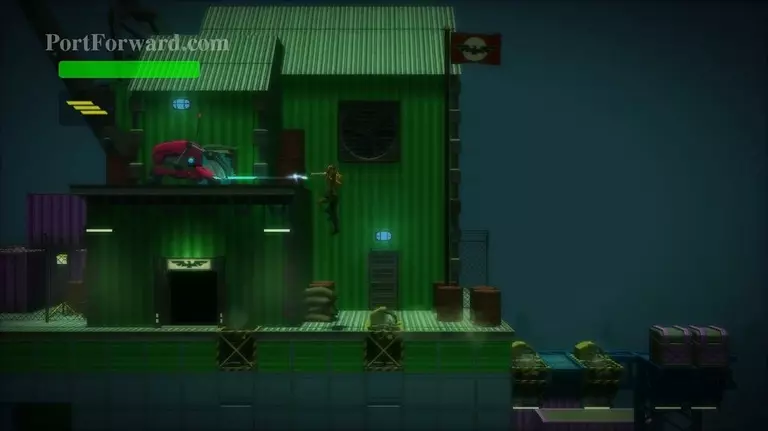
You should land on a platform with a Communications Room on it. Enter the room.

Bionic Commando Rearmed Walkthrough - Bionic Commando-Rearmed 0255

Talk to HQ and then exit using the door on the right side.

Bionic Commando Rearmed Walkthrough - Bionic Commando-Rearmed 0256

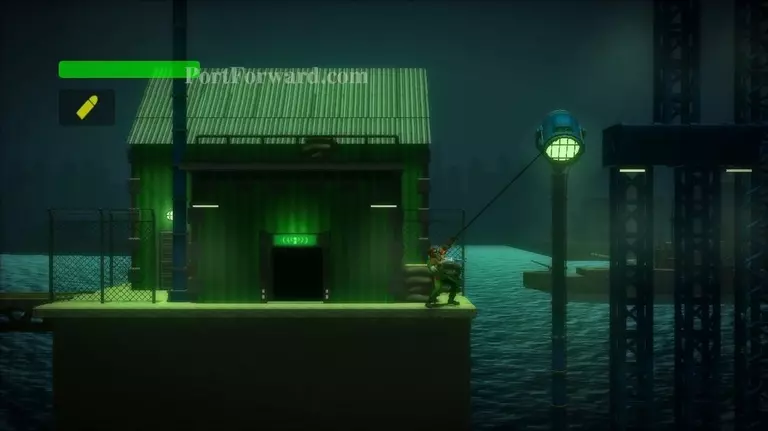
Grapple the lamp and swing right.

Bionic Commando Rearmed Walkthrough - Bionic Commando-Rearmed 0257

Catch yourself on the platform and climb up.

Bionic Commando Rearmed Walkthrough - Bionic Commando-Rearmed 0258

Then swing right by grappling the lamp.

Bionic Commando Rearmed Walkthrough - Bionic Commando-Rearmed 0259

Catch the white see-through blocks.

Bionic Commando Rearmed Walkthrough - Bionic Commando-Rearmed 0260

Climb upward.

Bionic Commando Rearmed Walkthrough - Bionic Commando-Rearmed 0261

When you can no longer go up, go rightward. You should pass a closed door. Swing over the purple crate that blocks your path.

Bionic Commando Rearmed Walkthrough - Bionic Commando-Rearmed 0262

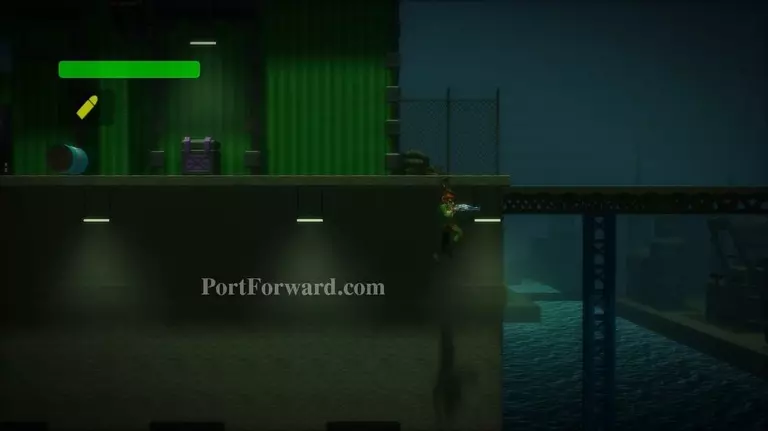
Walk off the right side of the platform, then turn around and grab on. You'll want to be latched just to the left of the right light.

Bionic Commando Rearmed Walkthrough - Bionic Commando-Rearmed 0263

Fall down and you'll land at a door.

Bionic Commando Rearmed Walkthrough - Bionic Commando-Rearmed 0264

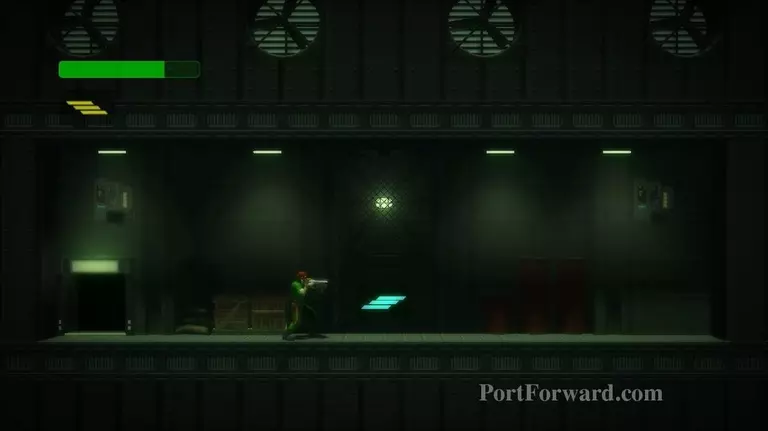
Destroy the Mini Tank Droids inside the room.

Bionic Commando Rearmed Walkthrough - Bionic Commando-Rearmed 0265

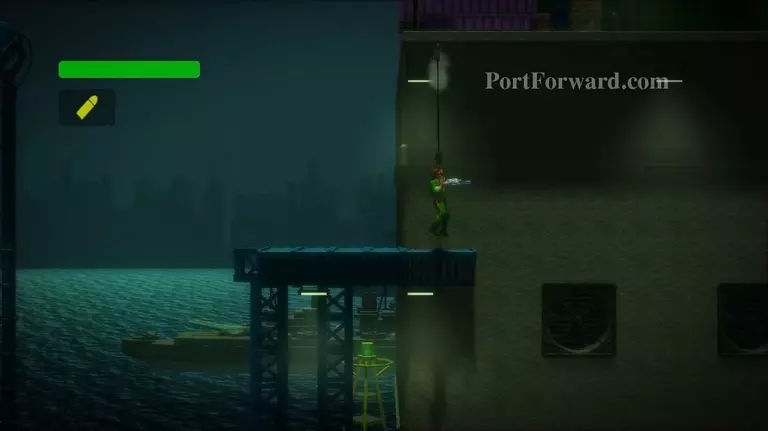
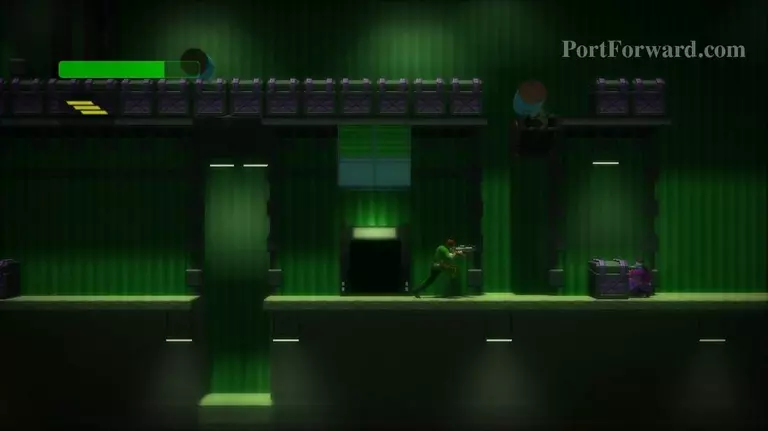
Climb up the platform. Switch to your Plasma Rifle and grapple the roof.

Bionic Commando Rearmed Walkthrough - Bionic Commando-Rearmed 0266

Shoot the blue switch on the wall as you pull yourself up.

Bionic Commando Rearmed Walkthrough - Bionic Commando-Rearmed 0267

The switch should turn off.

Bionic Commando Rearmed Walkthrough - Bionic Commando-Rearmed 0268

Now do this to the switch on the right side of the room as well.

Bionic Commando Rearmed Walkthrough - Bionic Commando-Rearmed 0269

A door will open at the bottom of the screen.

Bionic Commando Rearmed Walkthrough - Bionic Commando-Rearmed 0270

Inside the door you'll find an upgrade to your Plasma Rifle.

Bionic Commando Rearmed Walkthrough - Bionic Commando-Rearmed 0271

Exit the room using the right door.

Bionic Commando Rearmed Walkthrough - Bionic Commando-Rearmed 0272

You'll exit out the door you passed earlier. Climb up where the blue barrels are falling.

Bionic Commando Rearmed Walkthrough - Bionic Commando-Rearmed 0273

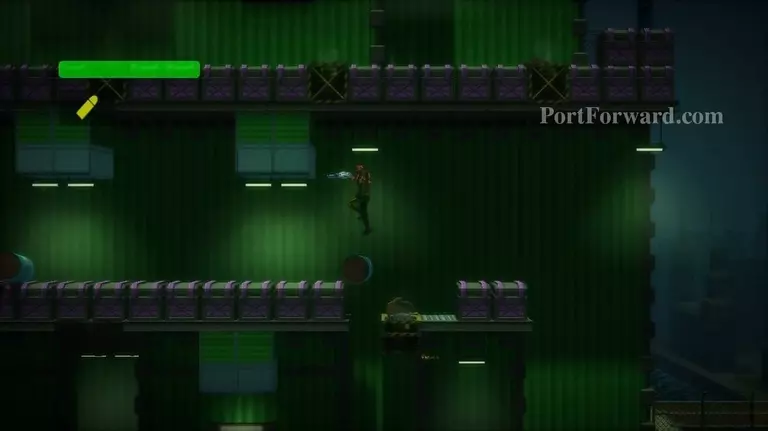
Use the fan to blow you up to the left. Continue left. The barrels won't hurt you, just knock you around.

Bionic Commando Rearmed Walkthrough - Bionic Commando-Rearmed 0274

When you come to a fan above you, grapple it and climb up.

Bionic Commando Rearmed Walkthrough - Bionic Commando-Rearmed 0275

Destroy the Barrel Droid.

Bionic Commando Rearmed Walkthrough - Bionic Commando-Rearmed 0276

Go right.

Bionic Commando Rearmed Walkthrough - Bionic Commando-Rearmed 0277

Grapple the platform above, to the right of the fan you find.

Bionic Commando Rearmed Walkthrough - Bionic Commando-Rearmed 0278

Go left and kill the Barrel Droid you find there.

Bionic Commando Rearmed Walkthrough - Bionic Commando-Rearmed 0279

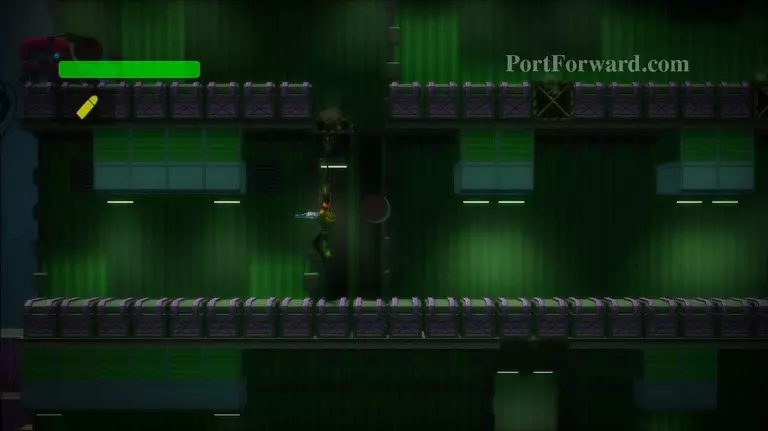
Grapple up to the platform on your upper-left. Careful not to get knocked down by barrels.

Bionic Commando Rearmed Walkthrough - Bionic Commando-Rearmed 0280

Get on the platform, but avoid the fan. Grapple to your upper-right and swing right, avoiding the barrels.

Bionic Commando Rearmed Walkthrough - Bionic Commando-Rearmed 0281

Go rightward. On the right side of the building you'll see two fans above you with a platform between them. Grapple to the platform between the fans and go left.

Bionic Commando Rearmed Walkthrough - Bionic Commando-Rearmed 0282

Destroy the last Barrel Droid.

Bionic Commando Rearmed Walkthrough - Bionic Commando-Rearmed 0283

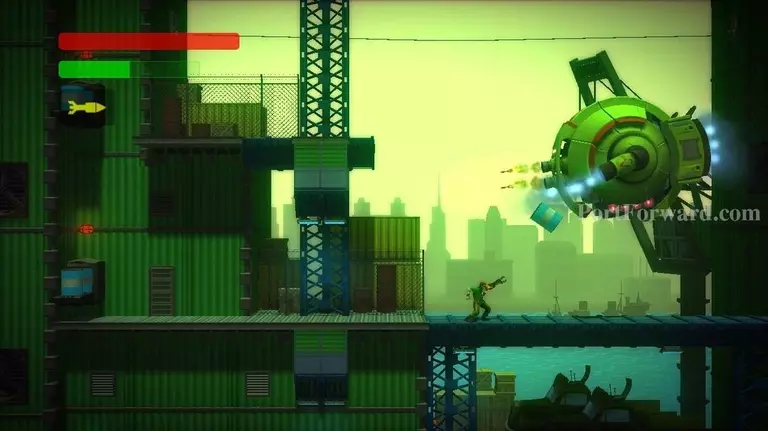
Enter the Boss Room.

Bionic Commando Rearmed Walkthrough - Bionic Commando-Rearmed 0284

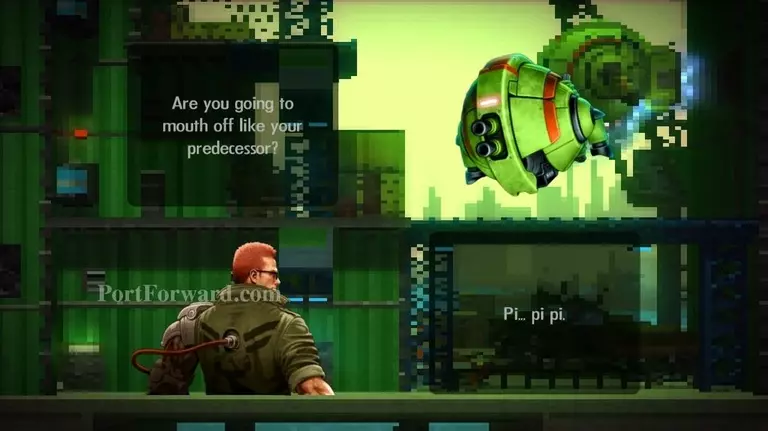
This boss will look familiar. You found one nearly identical in Area 01. This is the D-1 Beetle v2.

Bionic Commando Rearmed Walkthrough - Bionic Commando-Rearmed 0285

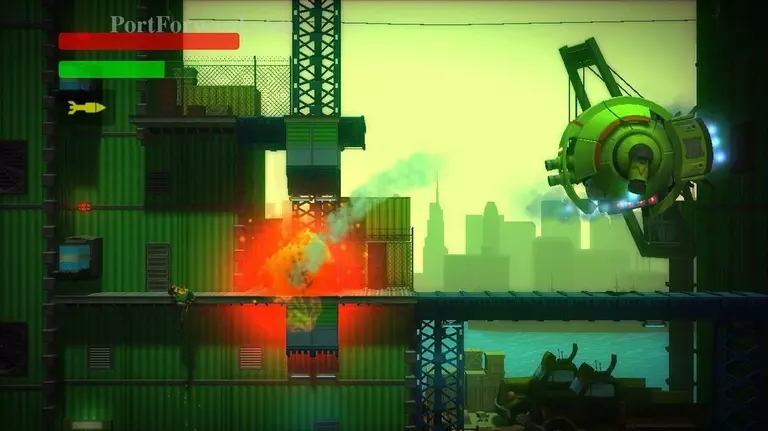
Grapple up to the platform that the D-1 Beetle is hovering over. Now the D-1 Beetle will shoot rockets, which will destroy any barrel you are carrying.

Bionic Commando Rearmed Walkthrough - Bionic Commando-Rearmed 0286

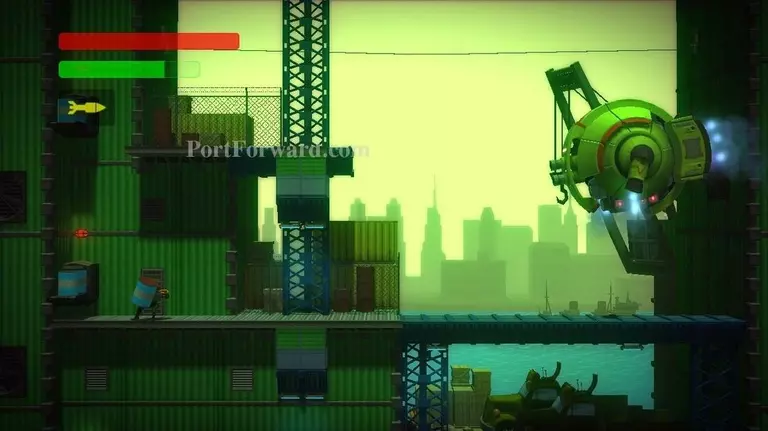
Grab a barrel from the left side of the screen.

Bionic Commando Rearmed Walkthrough - Bionic Commando-Rearmed 0287

Carry the barrel over to the D-1 Beetle and throw it.

Bionic Commando Rearmed Walkthrough - Bionic Commando-Rearmed 0288

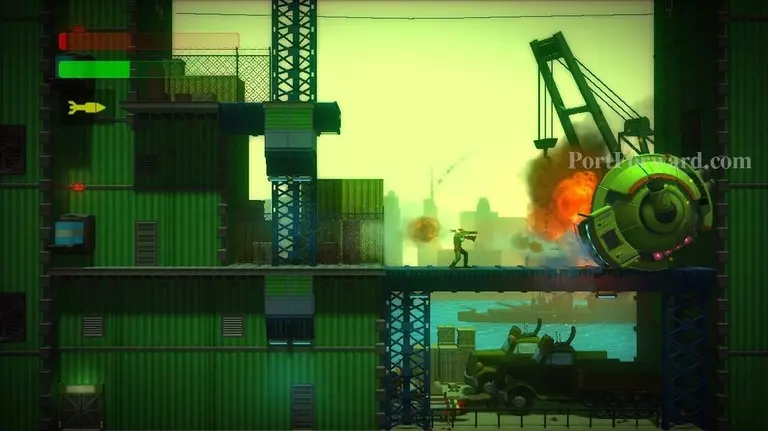
If you hit the D-1 Beetle, it will fall to the ground and expose it's back to you. Use your Bazooka to destroy it quickly. You should be able to destroy it before it can get back up.

Bionic Commando Rearmed Walkthrough - Bionic Commando-Rearmed 0289

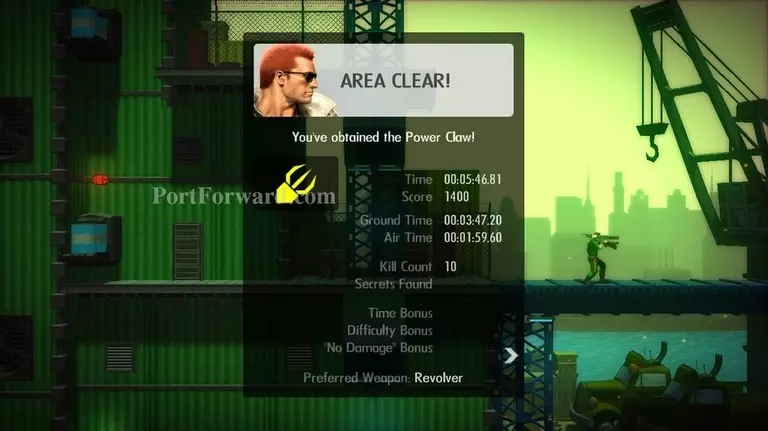
Area Clear! You have obtained the Power Claw.

Bionic Commando Rearmed Walkthrough - Bionic Commando-Rearmed 0290

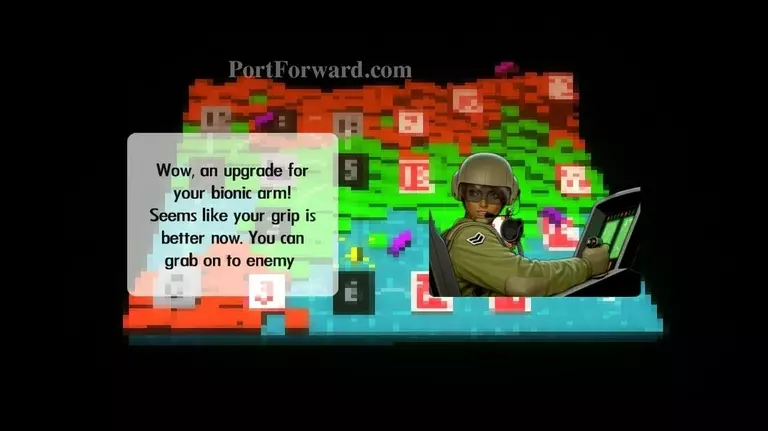
Haley explains that the Power Claw will let you grab onto enemies and use them as shields. She also tells you that it is needed in Area 03.

More Bionic Commando Rearmed Walkthroughs

This Bionic Commando Rearmed walkthrough is divided into 24 total pages.

More From Portforward