This Bionic Commando Rearmed walkthrough is divided into 24 total pages.
You can jump to nearby pages of the game using the links above.
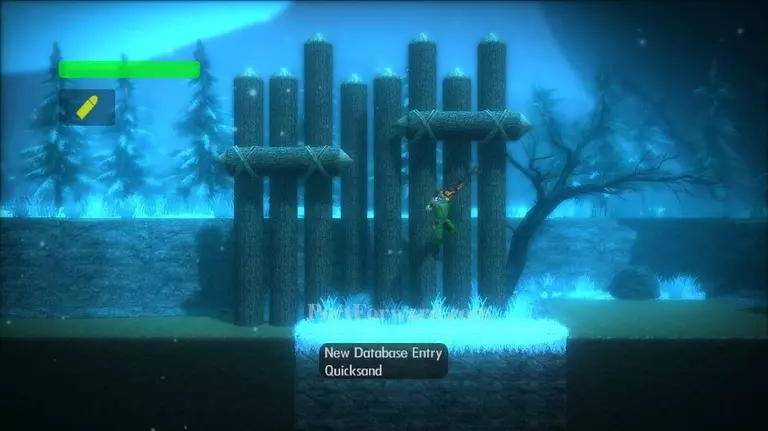
Area 03 - The Secret Mountain Pass Base
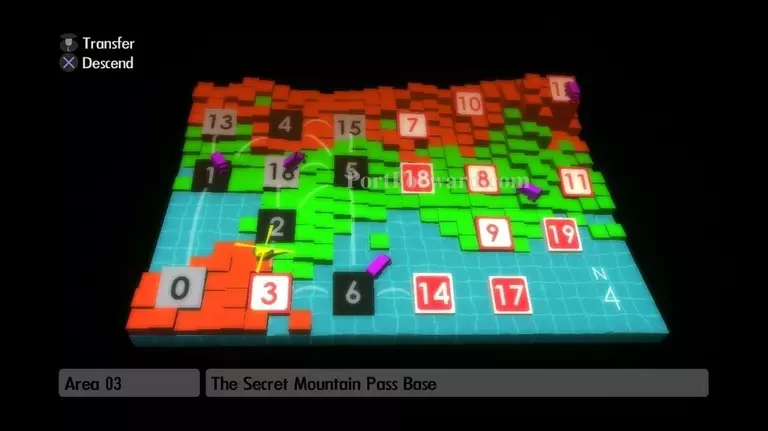
Descend into area 3, The Secret Mountain Pass Base.
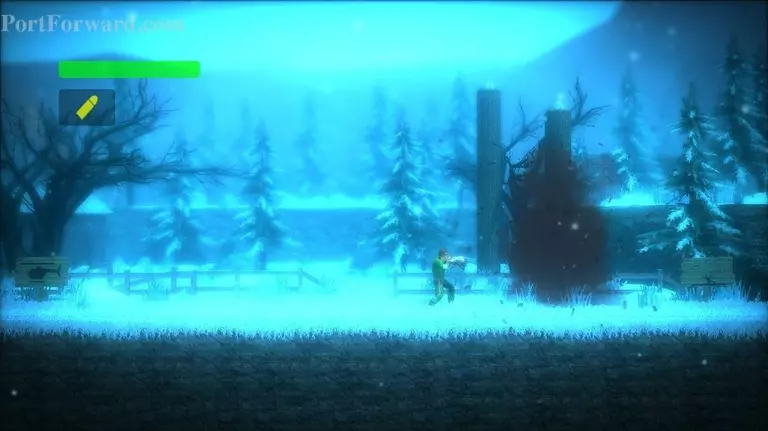
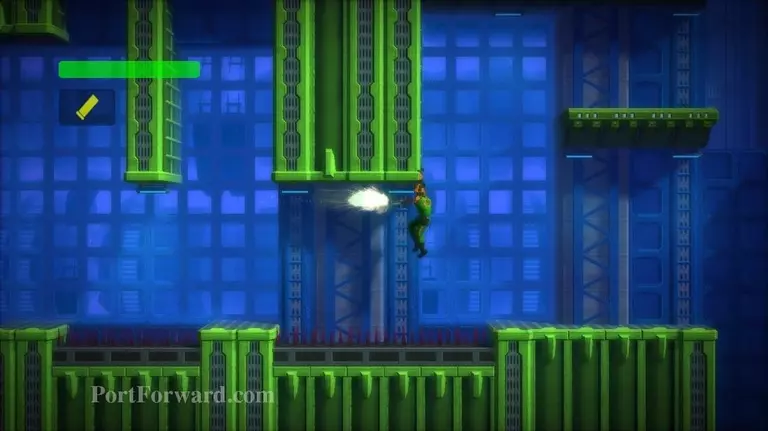
Use your upgraded claw to destroy the wall.
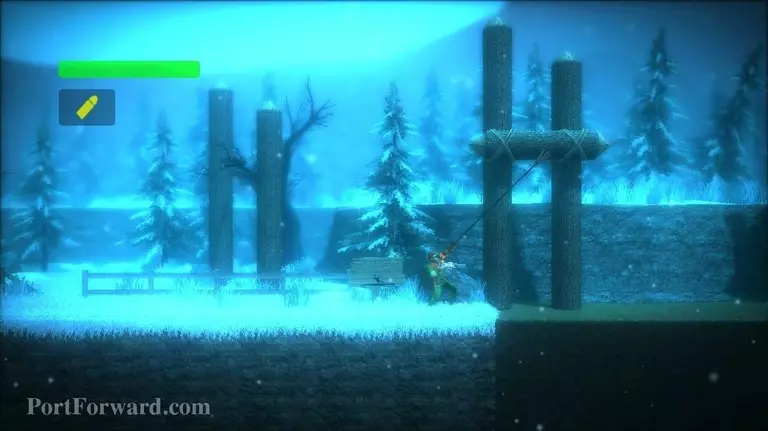
Swing across the quicksand.
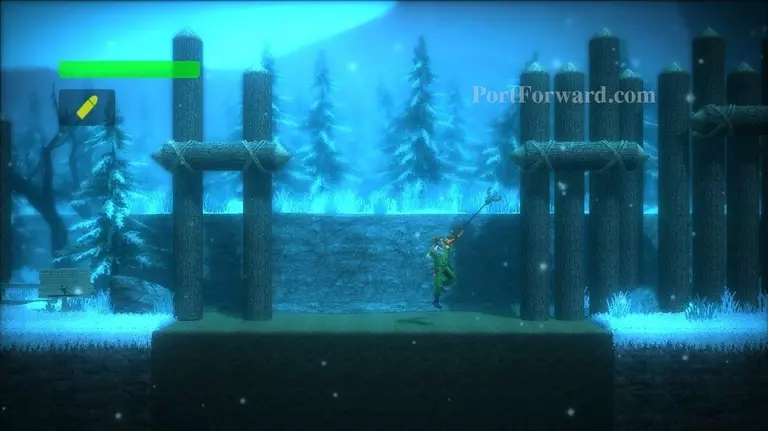
Grapple to the next log and continue swinging.
Swing over the next quicksand pit.
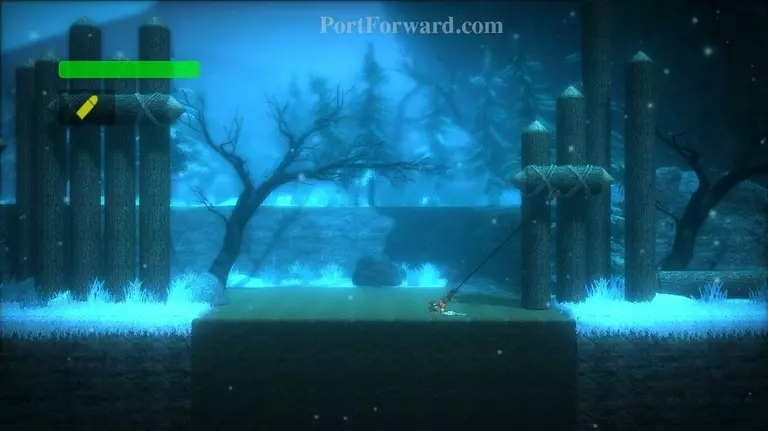
The quicksand won't kill you instantly. You have a little time before you sink so far that you die. If you can grapple something and swing out, you'll still be able to make it across.
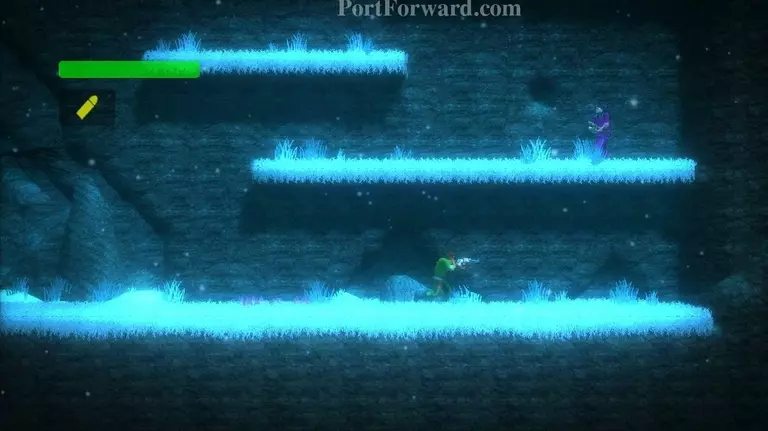
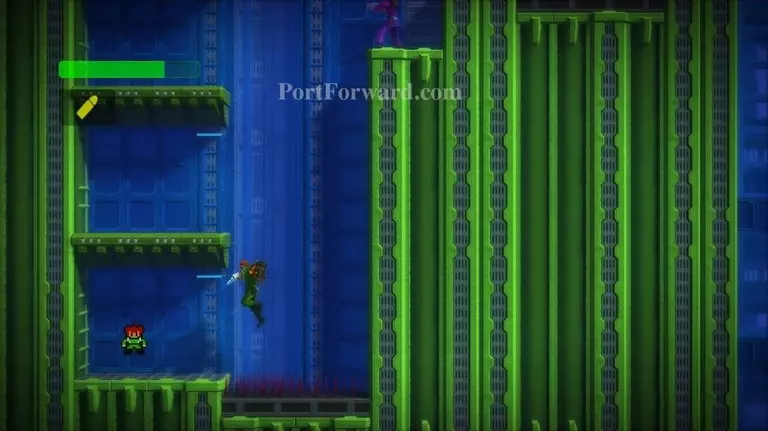
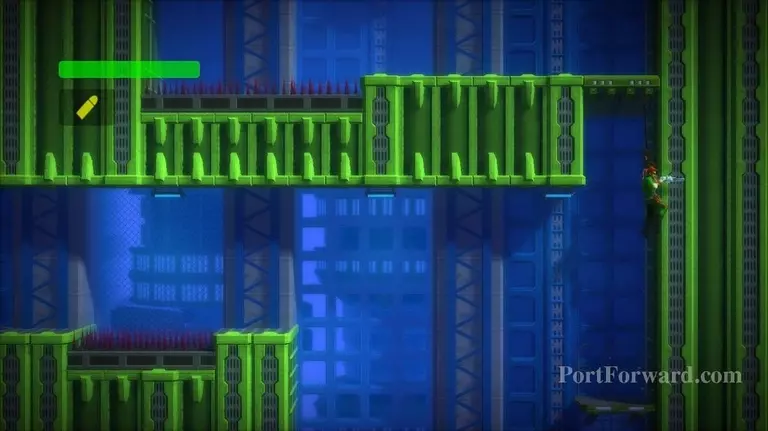
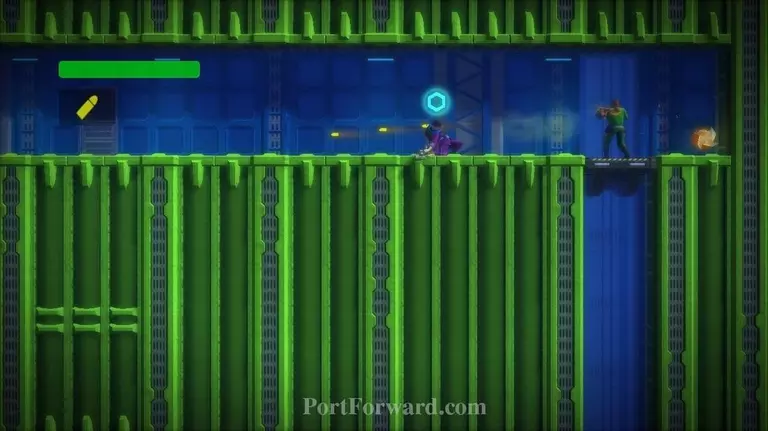
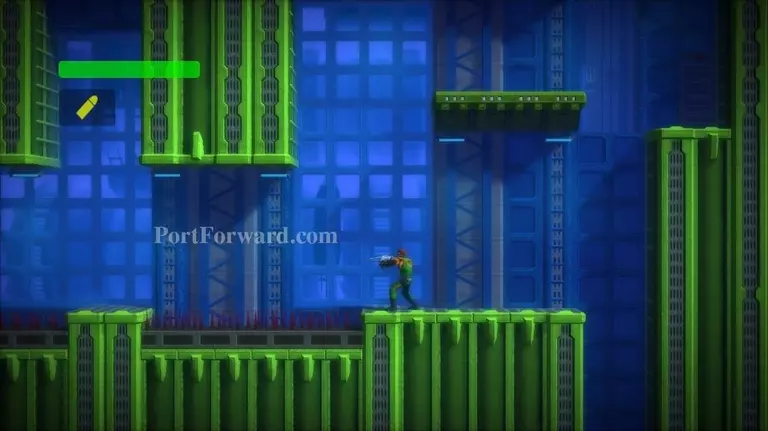
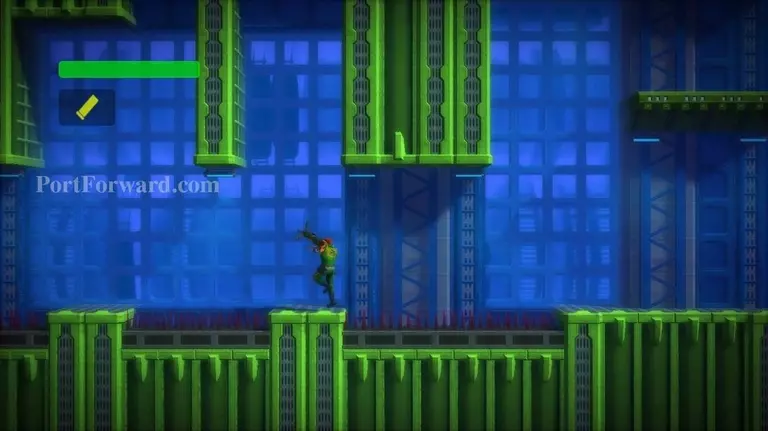
Walk right. Don't stop or a bear trap might hurt you. There are two of them to avoid.
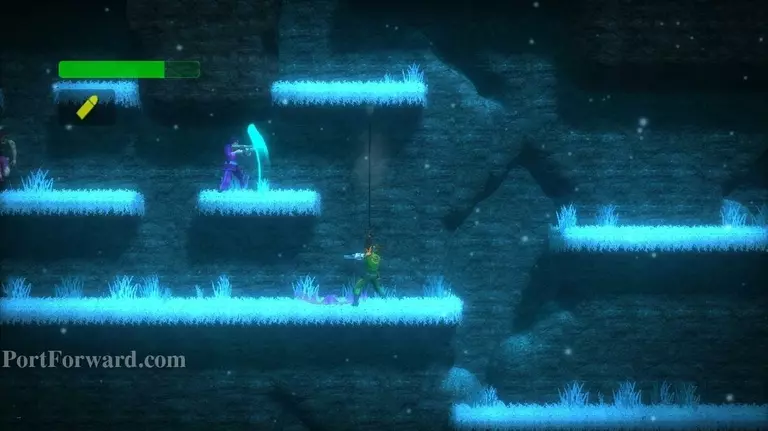
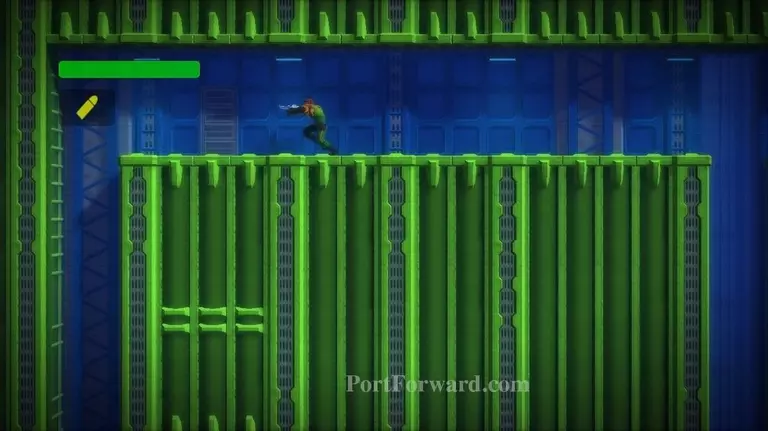
Climb upward, killing or avoiding enemies.
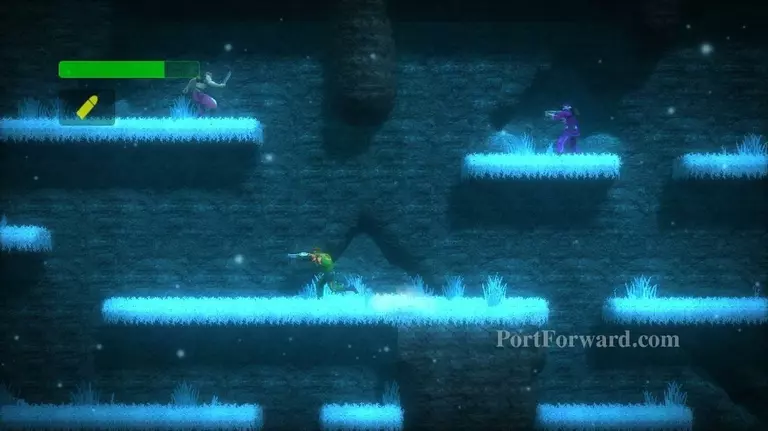
When you're almost at the top, you'll come to a fork where you can go up and left or up and right. Go up and right.
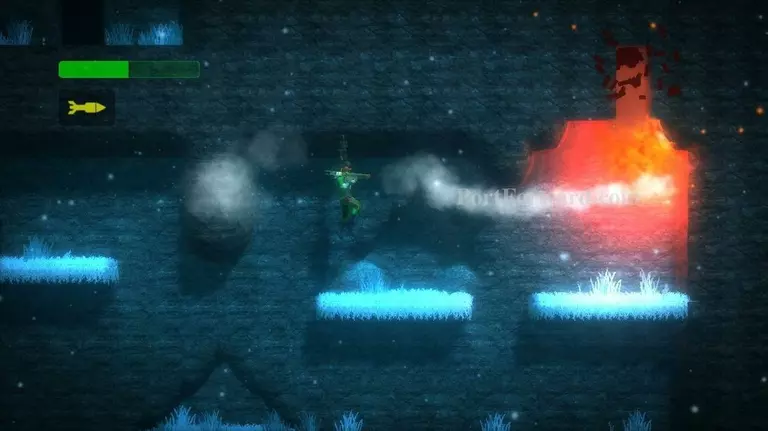
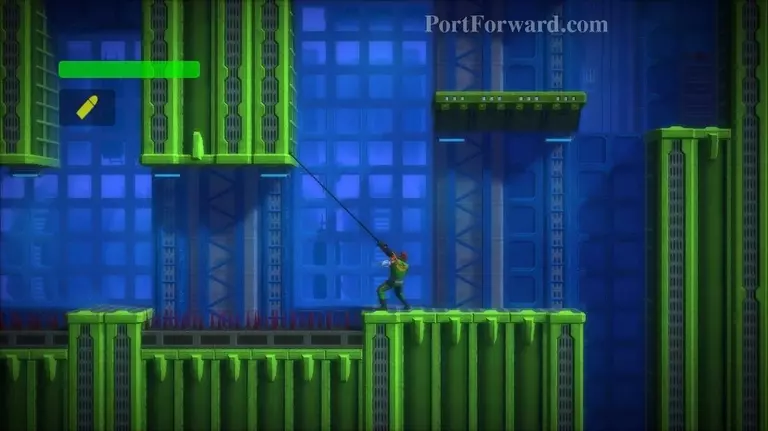
Attach yourself to the roof and use your Bazooka to destroy a crack in the upper-right wall.
Head down and to your right and you'll find a door that has been revealed.
Inside the door you'll find Secret Challenge 3.
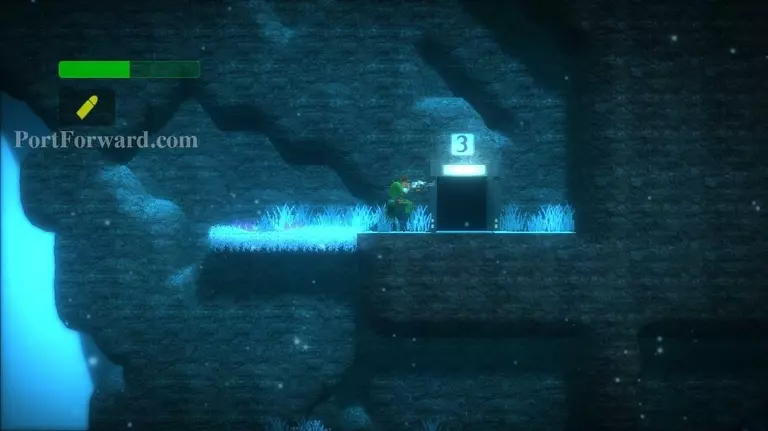
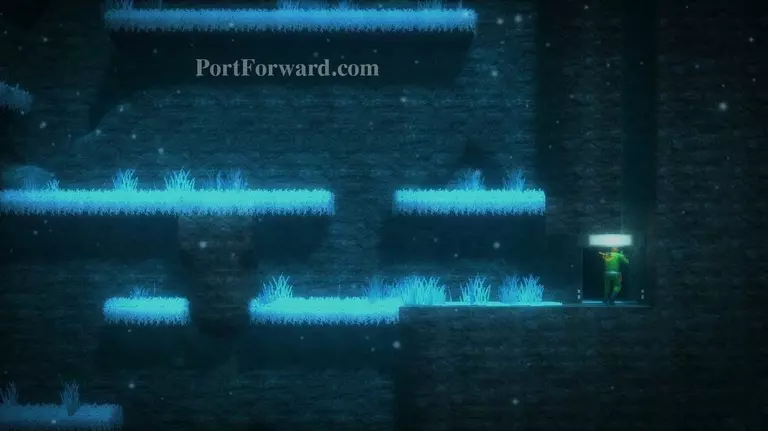
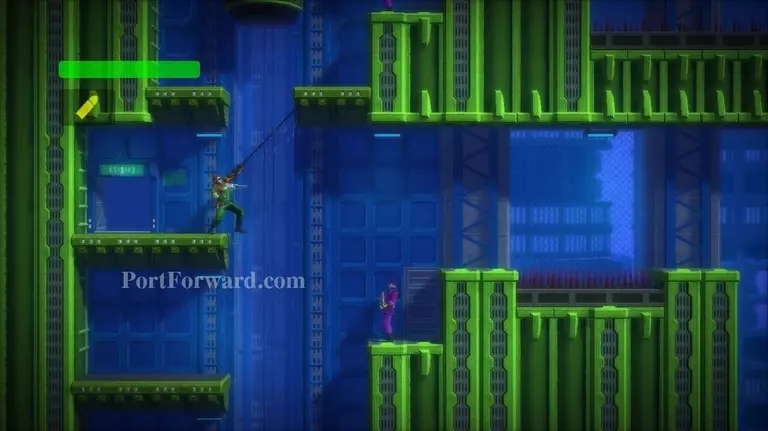
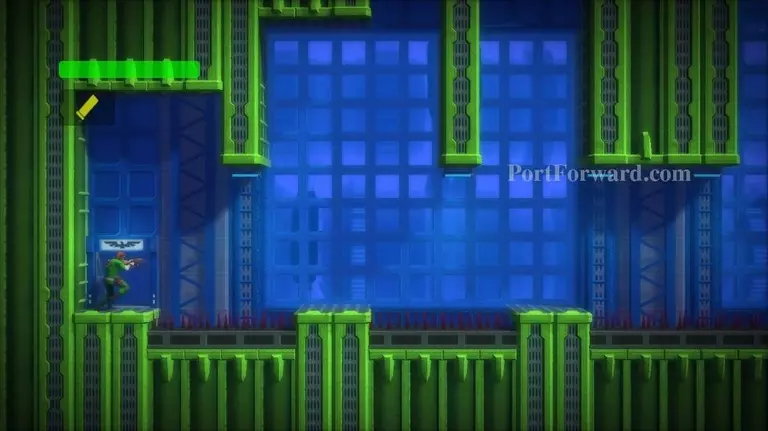
Now continue climbing as far up and left as you can. You'll find a door labeled "3". Enter.
Fall down to your left.
Continue to fall until you reach a platform above a Communications Room.
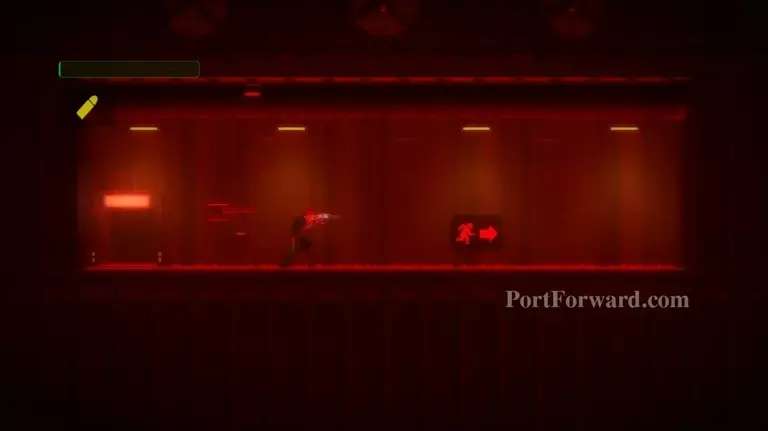
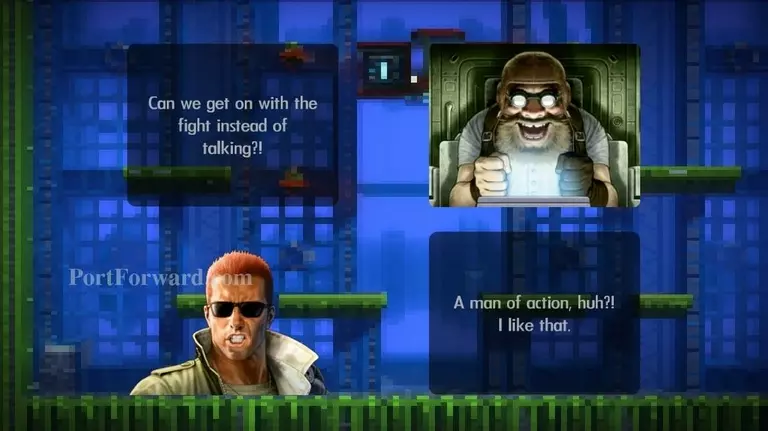
Fall and grapple the platform above the Communications Room. Swing left and enter the room. Talk to HQ and exit.
If you fall down from the Communications Room, you'll find an extra life. You have to grapple at the right time or you'll die, so it may not be worth the effort.
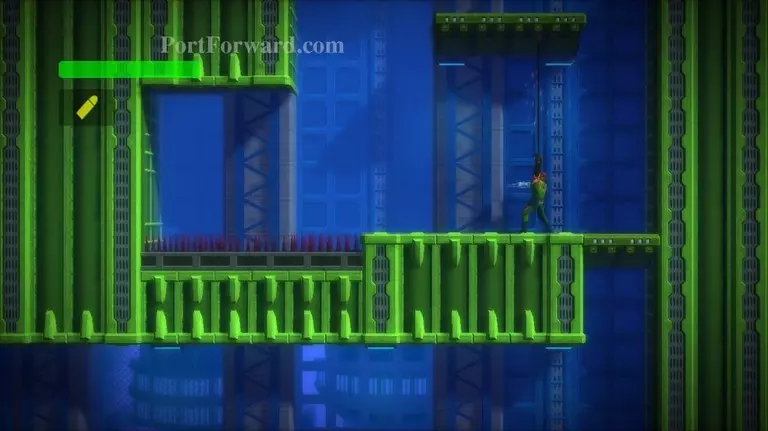
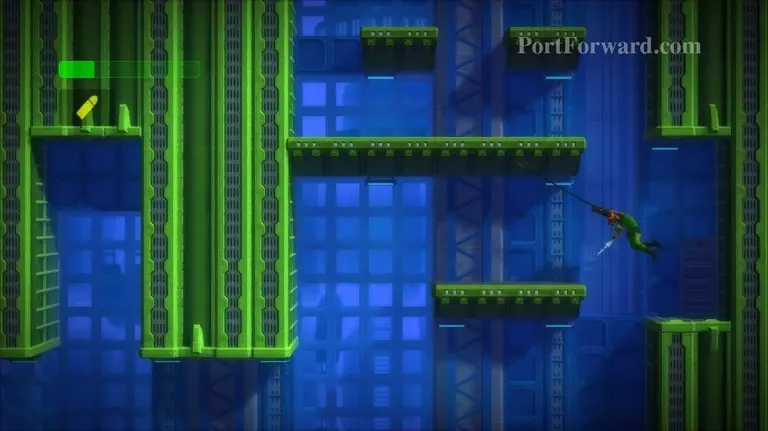
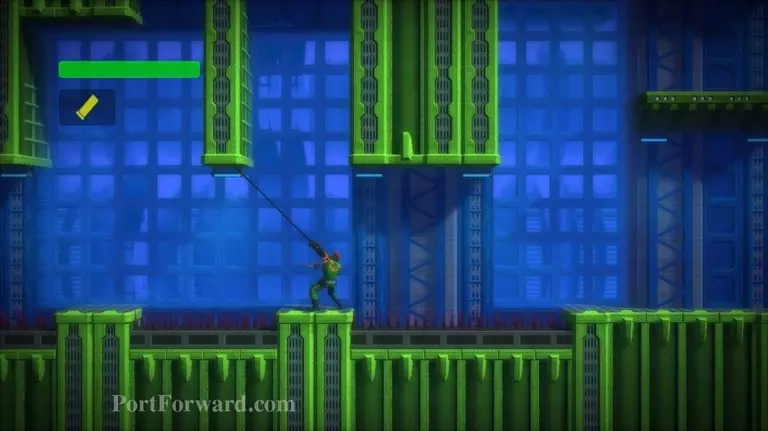
Swing right from the Communications Room.
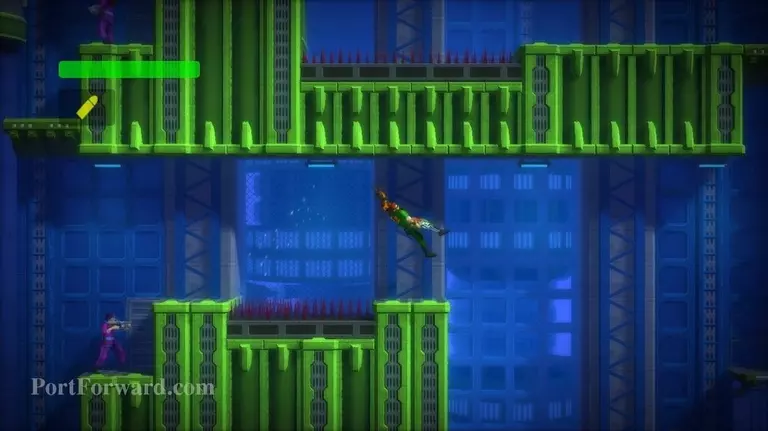
Continue swinging along the roof, avoiding the spike pit.
You want to swing all the way to the right.
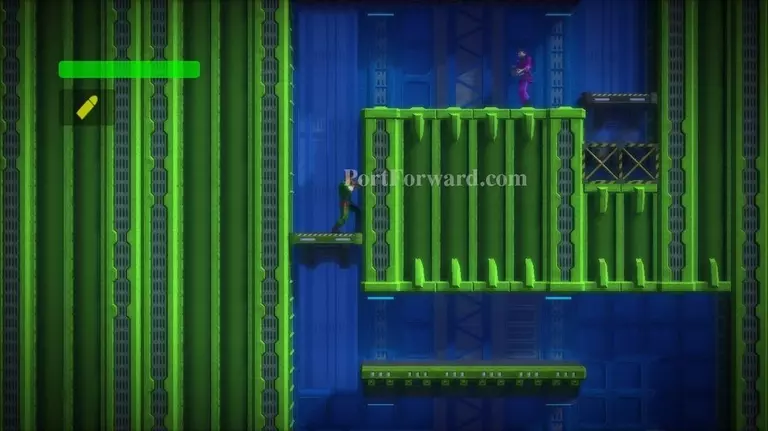
Grapple up to the platform at the far right. It's a bit tricky to do. If you fall you won't be able to get back up without dying (unless you are playing Co-Op.) This leads to a secret. If you don't want the secret you can skip this part.
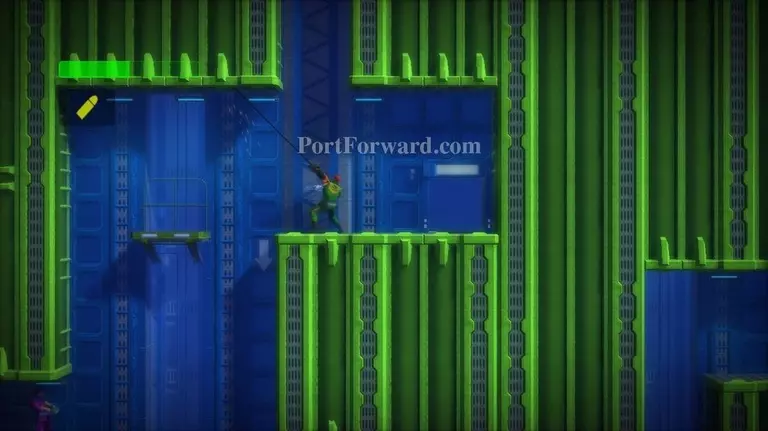
Continue upward.
Ride the elevator on your left up. Kill the enemy at the top.
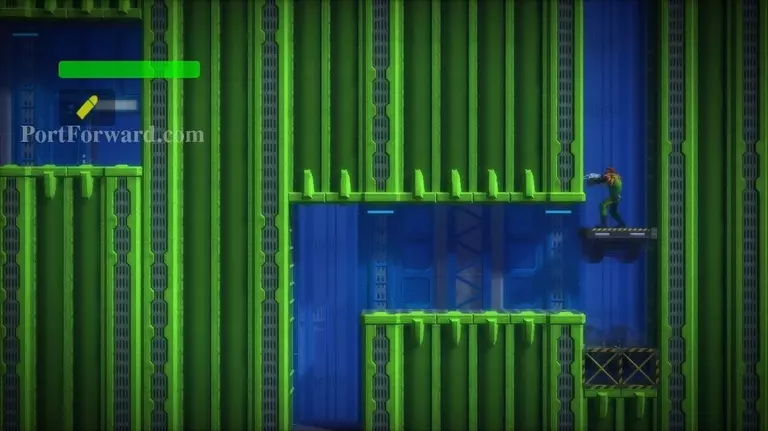
Now ride up the right elevator.
At the top you'll find a Yashichi.
Walk left and drop off the platform. You'll drop to the door that brought you into this area. Go back toward the Communications Room.
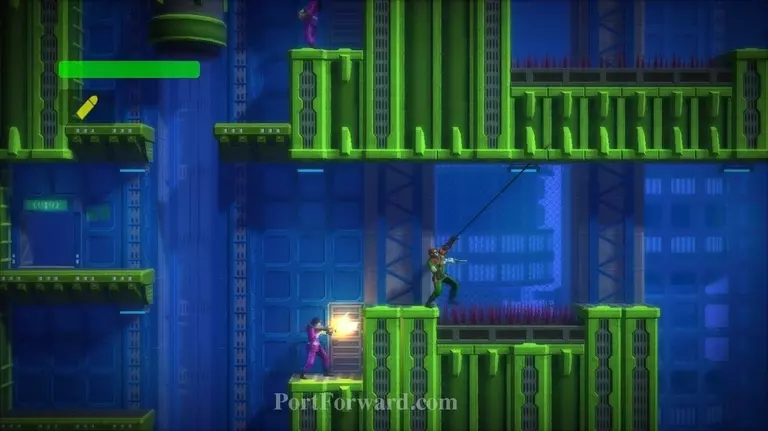
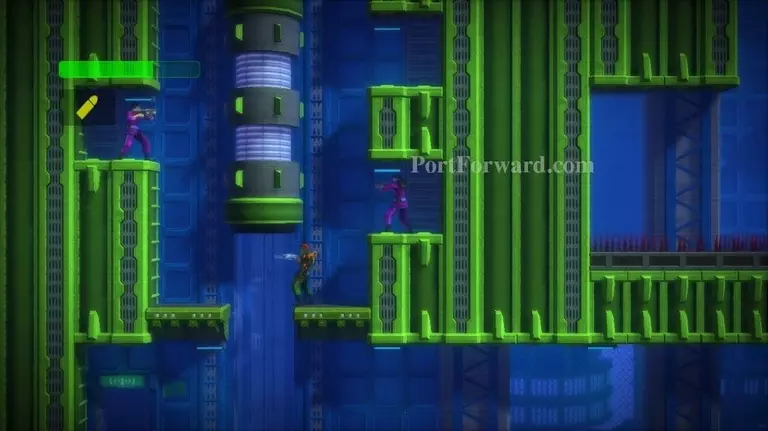
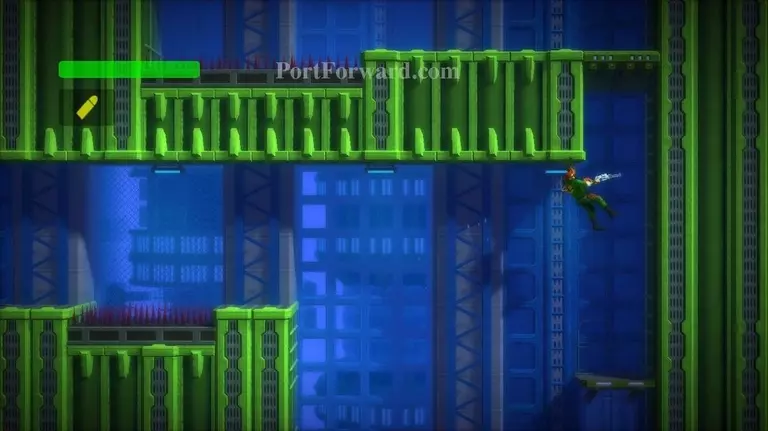
Swing right, over the spike pit.

You'll fall past some small platforms.

Grab the lower-right platform and use it to swing rightward.
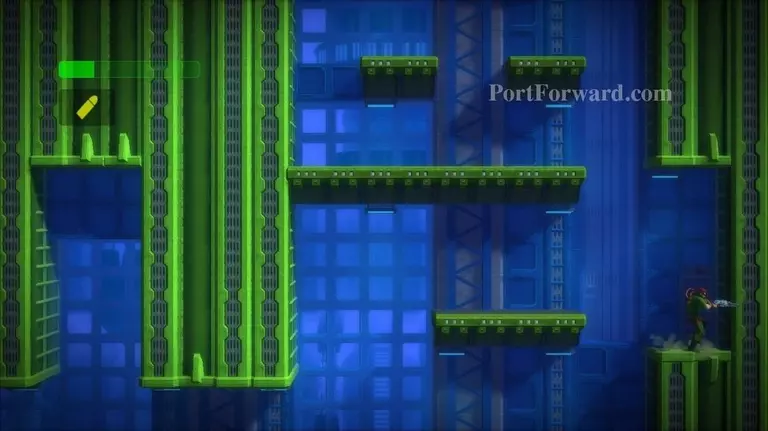
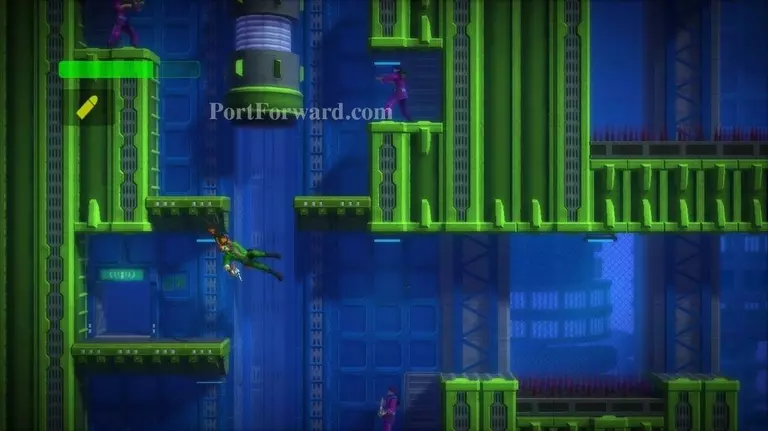
You'll land in an alcove.
Grab the platform to your upper left. Pull yourself up and drop straight down onto the platform below you.
Walk off the left side of the platform. You'll be in front of a spike pit.
Grapple the ceiling over the spike pit.
I ended up pulling myself up by accident. I used the shotgun to make me swing again. Then swung to the left.
It landed me perfectly onto the platform after the spike pit.
Grapple the next part of the ceiling and continue swinging left.
Enter the Boss Room.
Boss: Power Pod
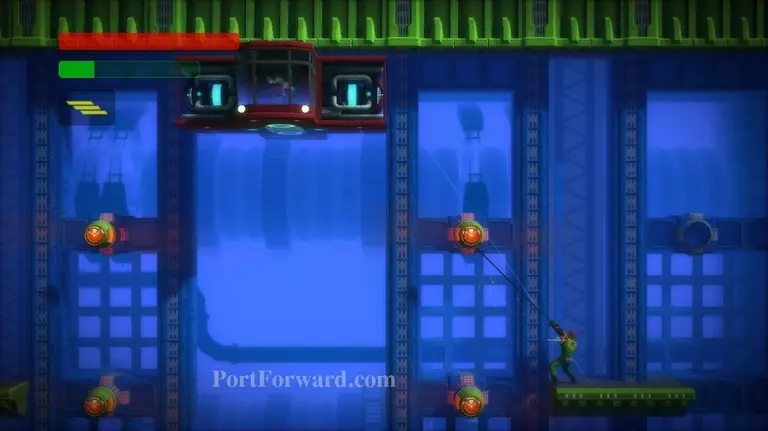
The boss will try to hover as high as possible. He'll shoot lasers down at you. They will appear faint at first, letting you know where they are going to fire, so they are easy to avoid. Occasionally he'll fire lasers from both sides at once. You can avoid these by being in the center of the room. Grapple onto the lights to reach Power Pod.
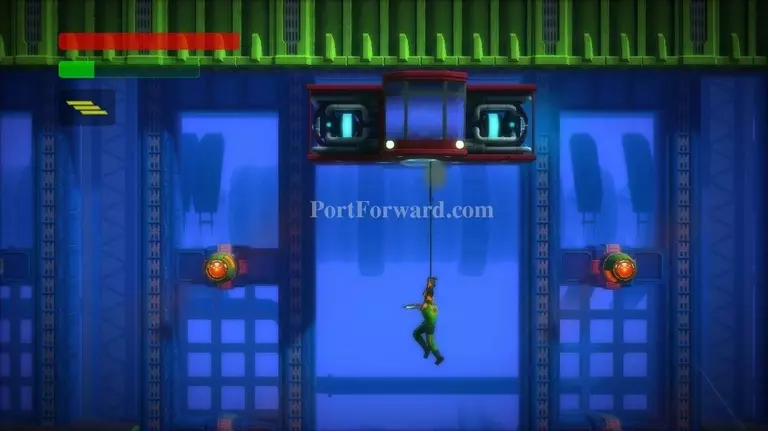
Attach to his bottom.
Retract your arm. If you don't he won't come down all the way.
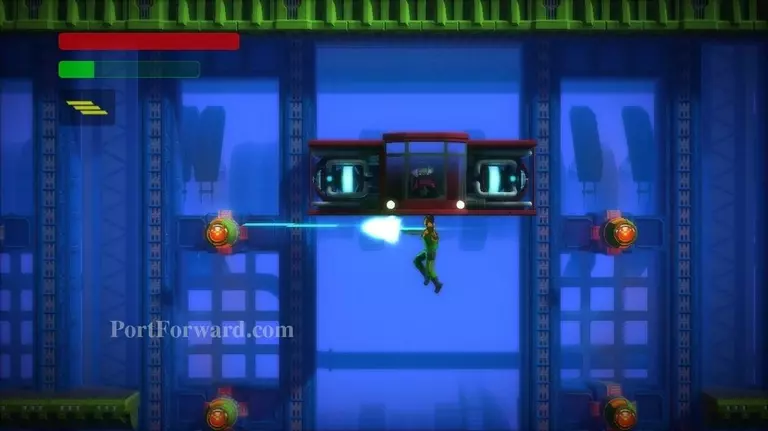
Use your Plasma Rifle to shoot the droids flying around the room.

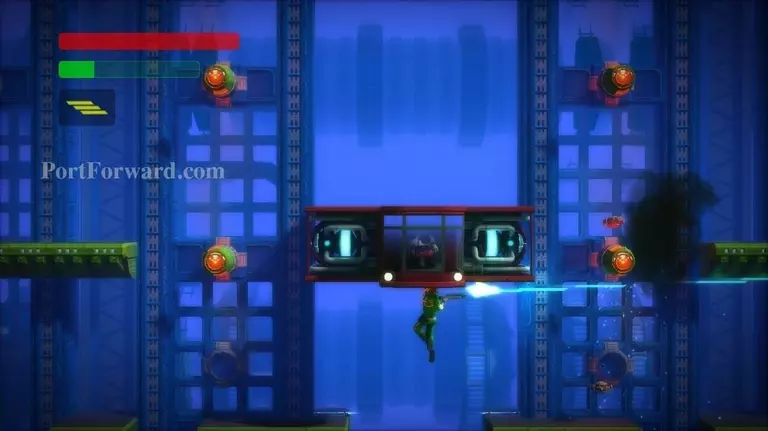
When Power Pod hits the platforms below. He'll temporarily be disabled.
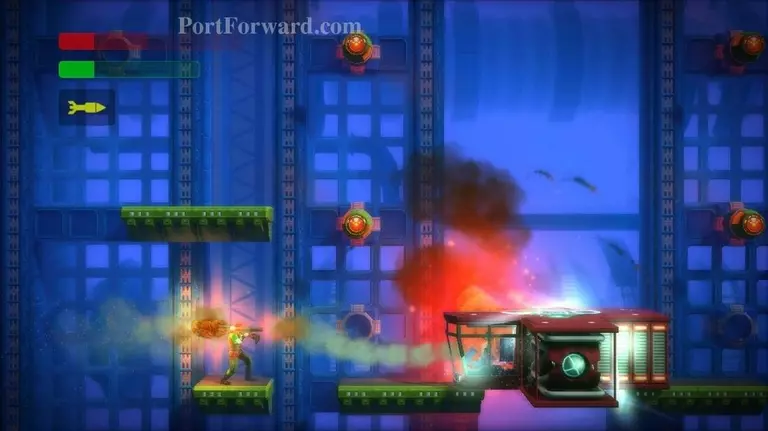
Get on the far platform to his left and use your Bazooka to destroy him quick.
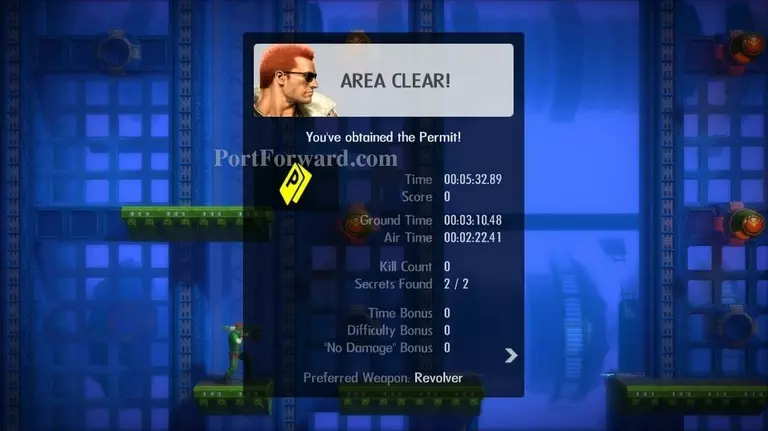
Area Clear! You will obtain a Permit.
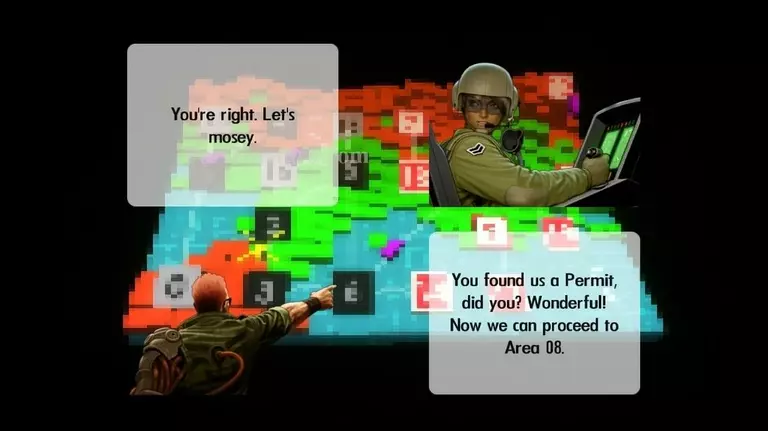
Haley will explain that the Permit allows you to proceed to Area 08.
More Bionic Commando Rearmed Walkthroughs
This Bionic Commando Rearmed walkthrough is divided into 24 total pages.