
This Borderlands 1st release walkthrough is divided into 52 total pages.
You can jump to nearby pages of the game using the links above.
Dahl Headlands: Powering The Fast Travel Network
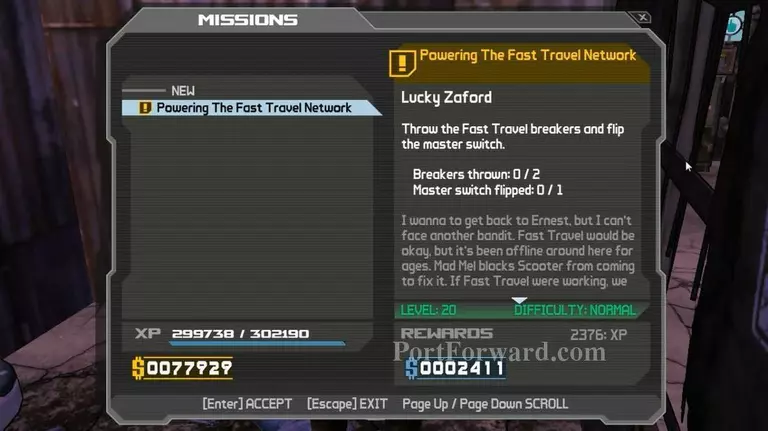
Mission overview.
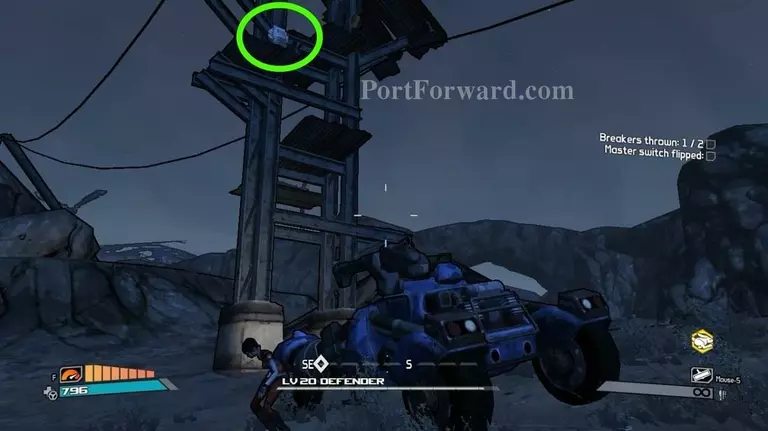
Firstly, go to the first waypoint. As you can see the switch in the green circle. You have to make your way up there.
Jump on a rock nearby.
Jump on this.
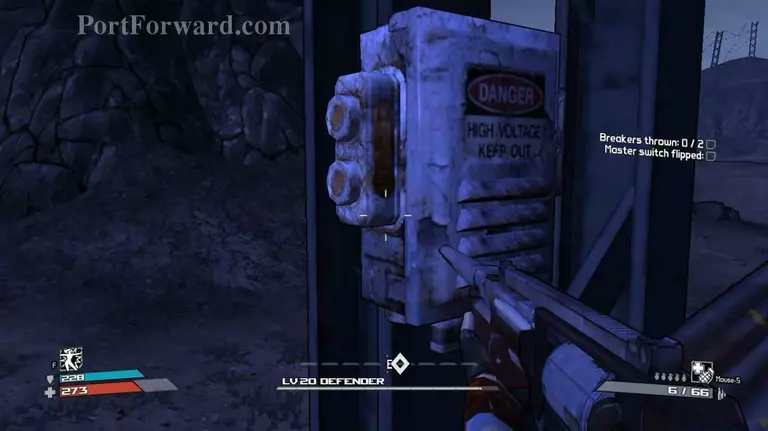
Use the switch.

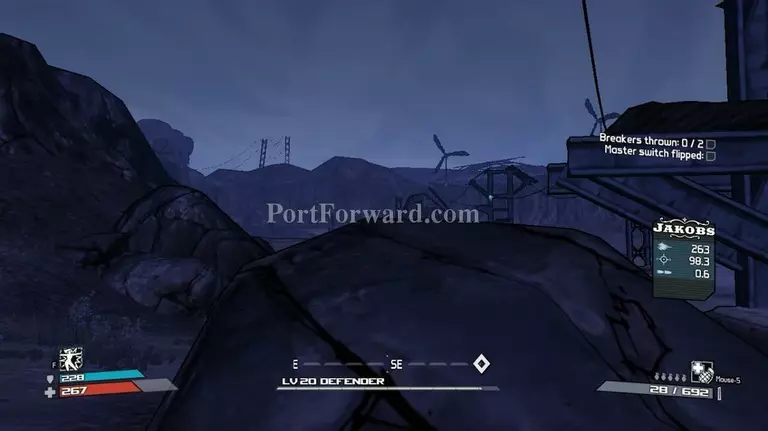
Go to nearby waypoint.
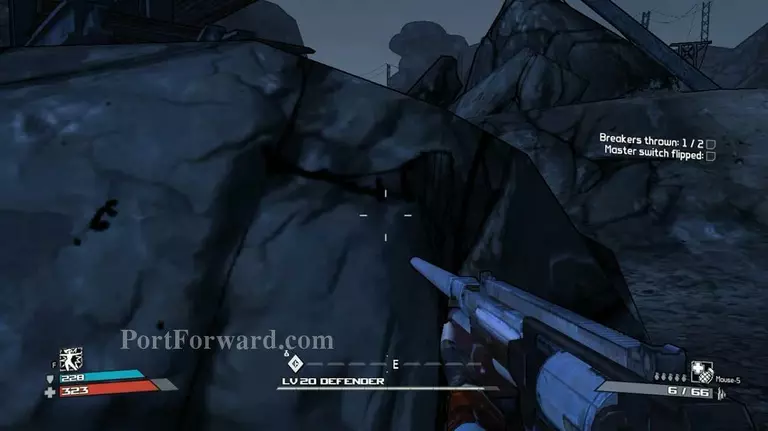
Jump on top the rock near it.
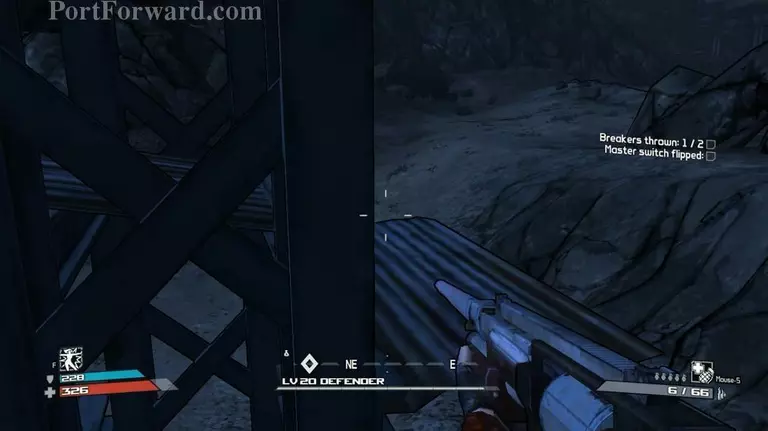
Keep jumping while following the path.

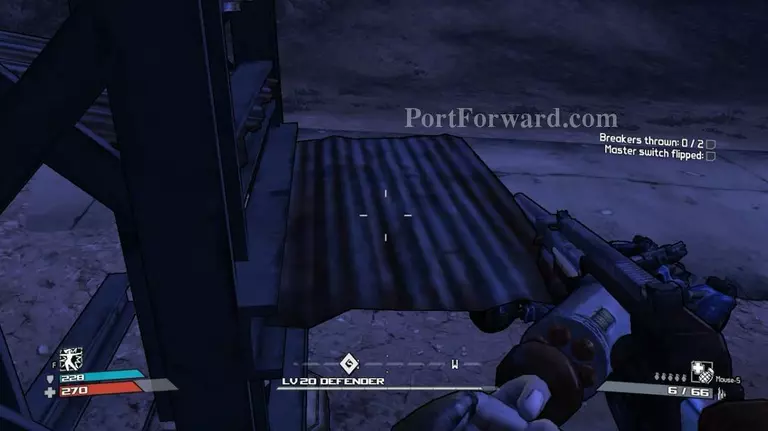
Now jump on this.
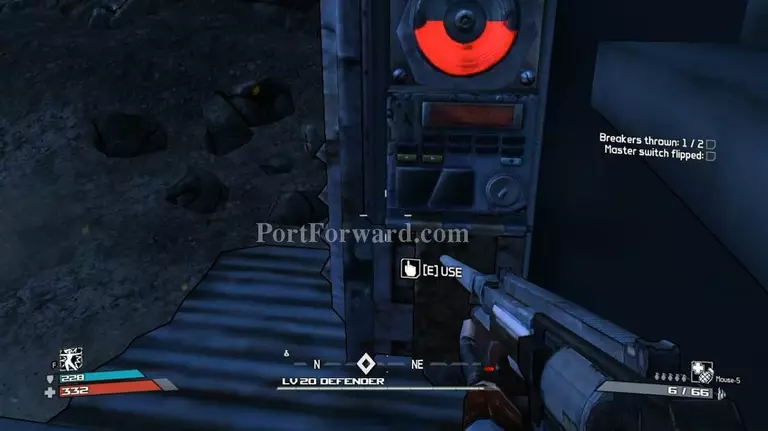
Use the switch. You're done with the switches. Move on to the next waypoint.
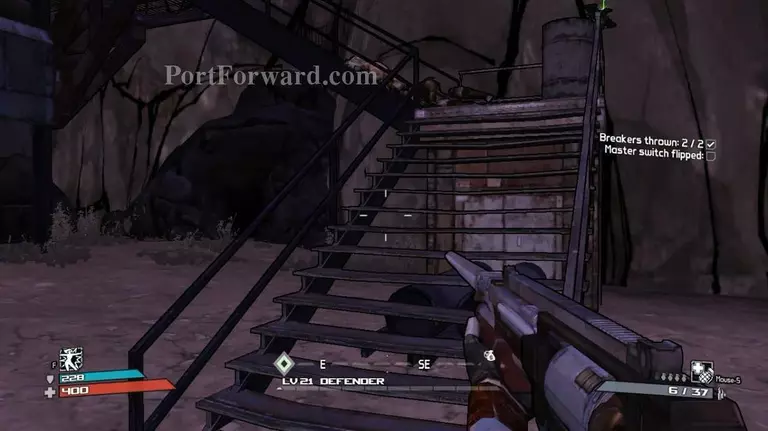
When you had clear this area, you can find the master switch by going up through this stair.
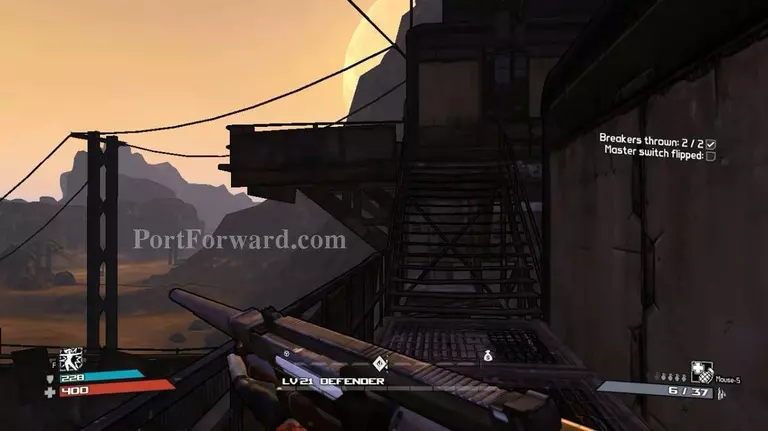
"Go straight.
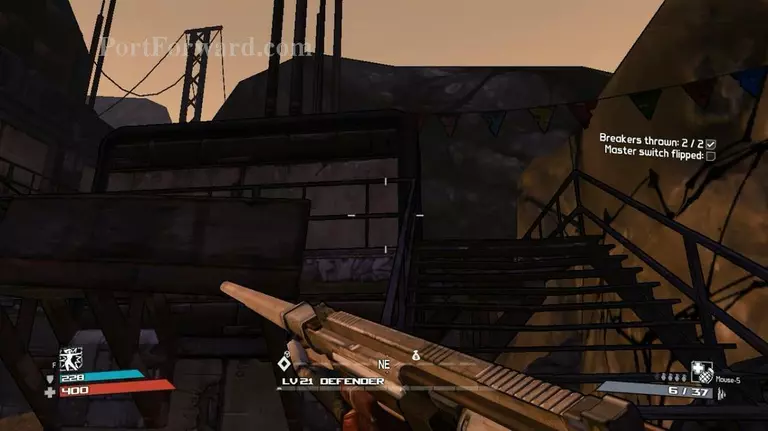
"Go up and turn left
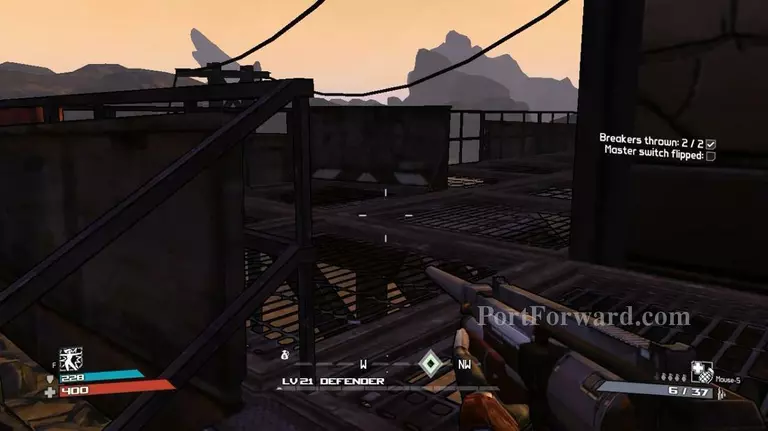
Go here (turn left) and then right.

You should find the switch nearby. Mission completed.
More Borderlands 1st release Walkthroughs
This Borderlands 1st release walkthrough is divided into 52 total pages.


