
This Borderlands 1st release walkthrough is divided into 52 total pages.
You can jump to nearby pages of the game using the links above.
Arid Badlands: The Mine Key
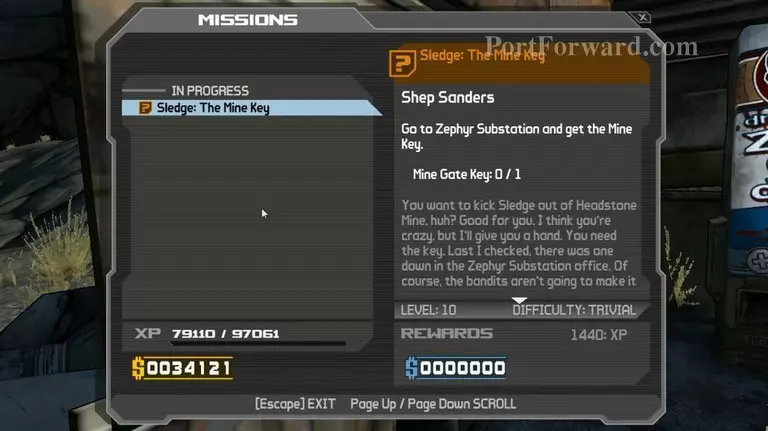
Mission overview.
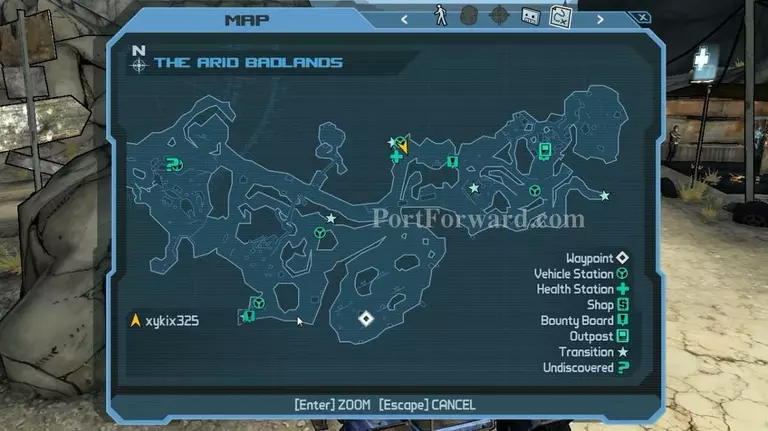
Now go to the waypoint.

Just enter the building and use the paper on the table to finish the mission.
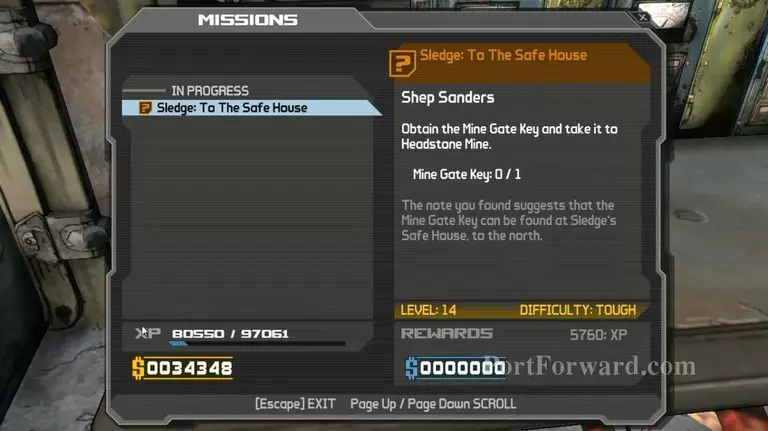
Arid Badlands: Sledge: To The Safe House
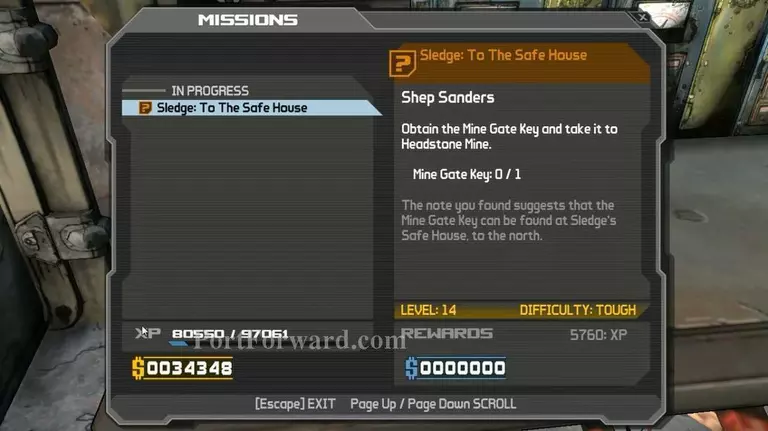
Mission overview.
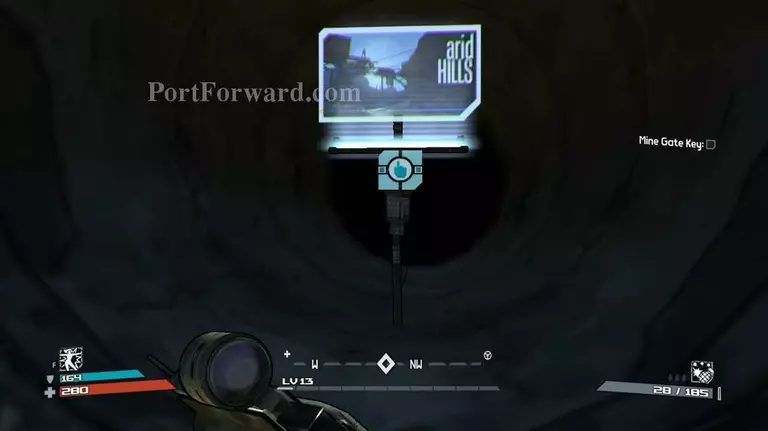
Head to the Arid Hills.
Make way to the waypoint.
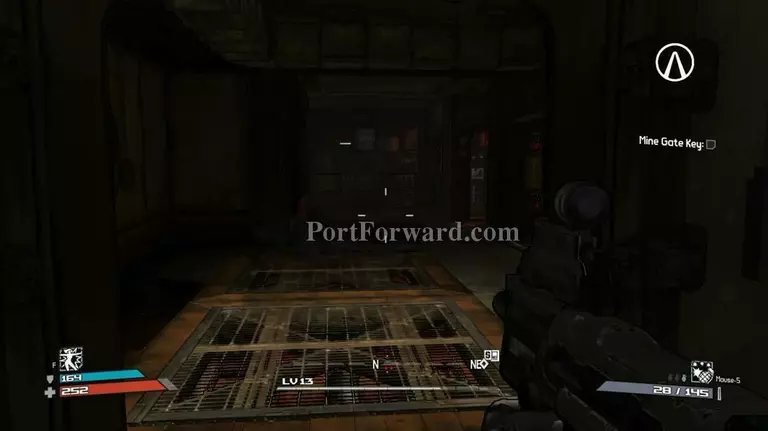
Once inside, make sure that you have enough ammo.
When you get down, there's no turning back. So be prepared.
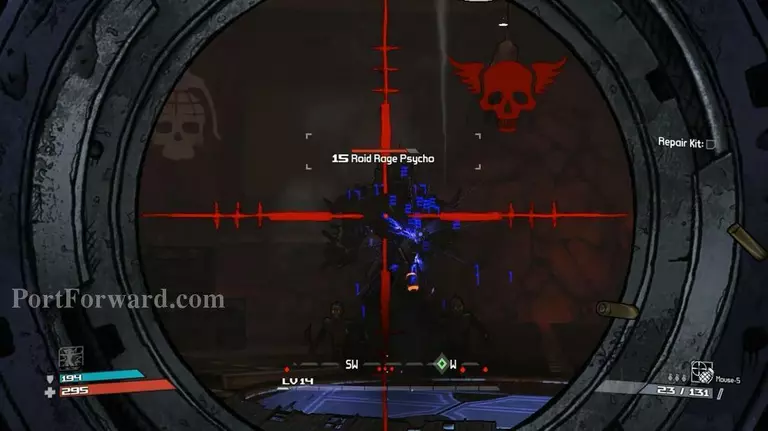
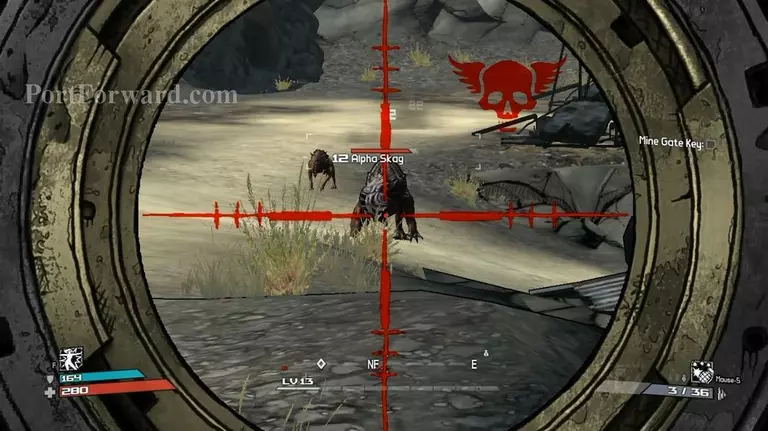
You'll fight the Raid Rage Psycho. Since he's big, you can evade his attack easily while keep aiming and shooting his head.
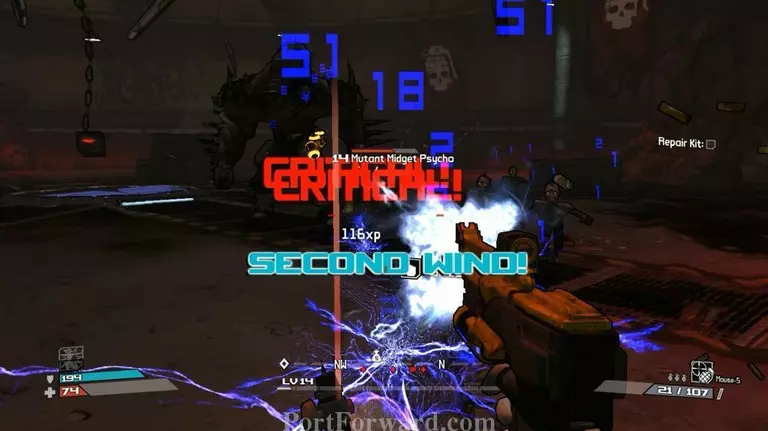
Sometimes, luck not on your side. So, use the weak enemies around you to get the second wind.
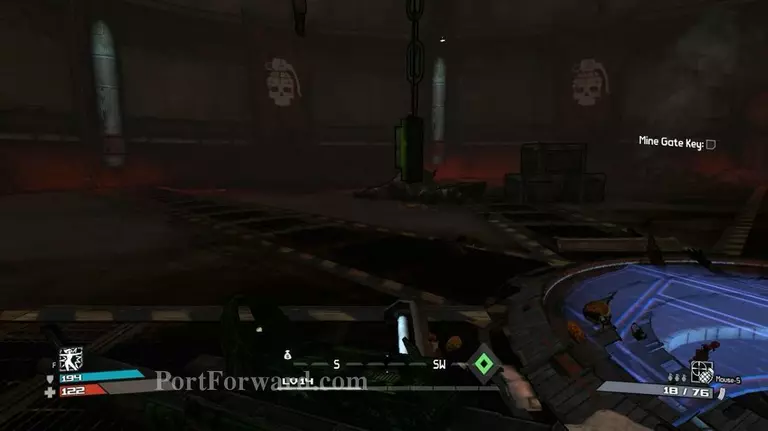
To continue, find the hanging switch near the blue circle platform.
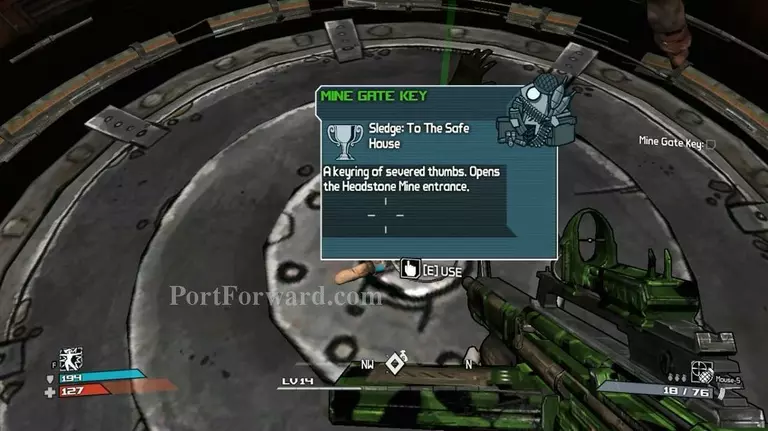
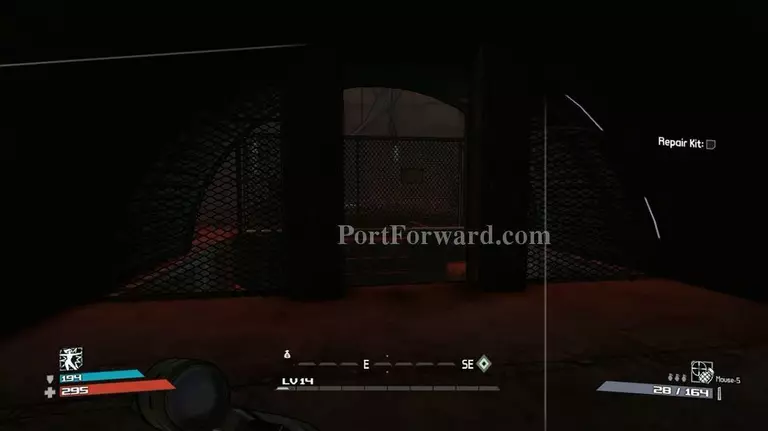
Take the mine key.
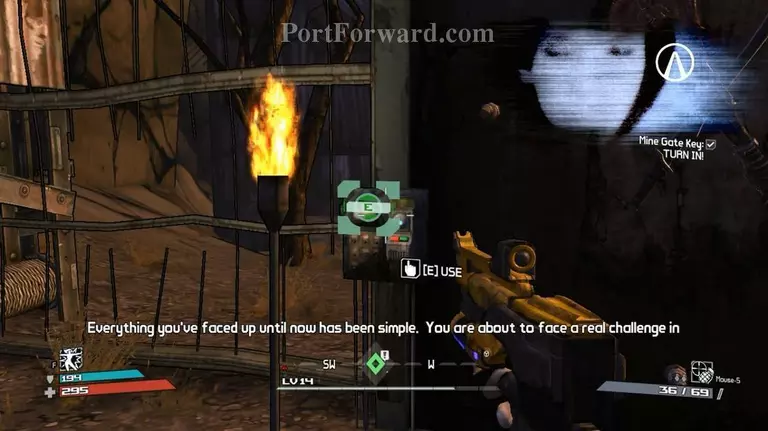
Go to the waypoint and turn it in over here.
More Borderlands 1st release Walkthroughs
This Borderlands 1st release walkthrough is divided into 52 total pages.


