
This Castlevania: Lords of Shadows walkthrough is divided into 46 total pages.
You can jump to nearby pages of the game using the links above.
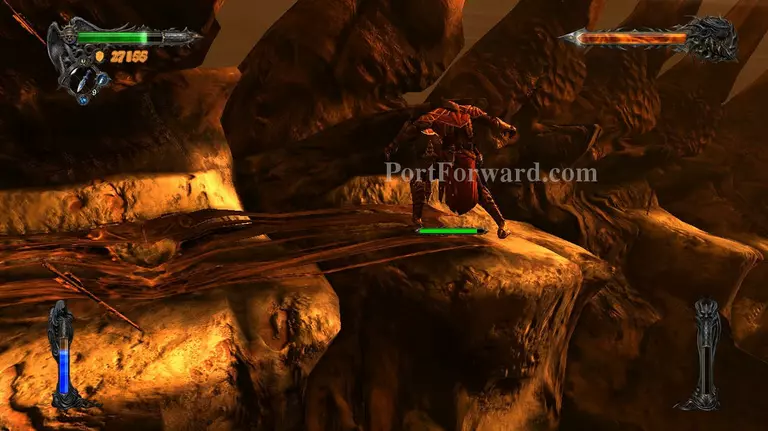
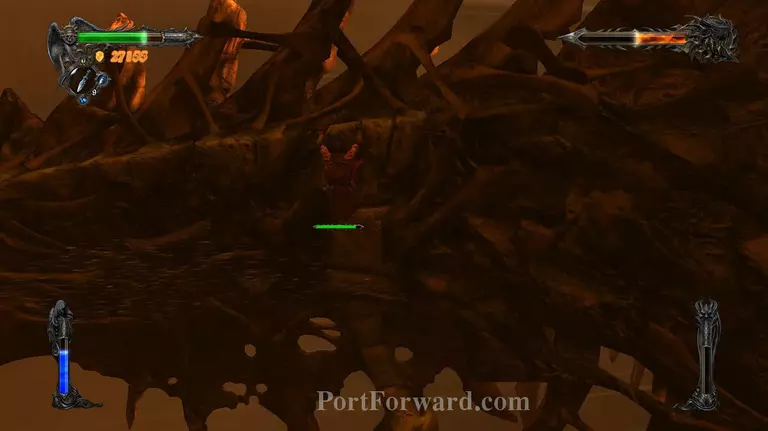
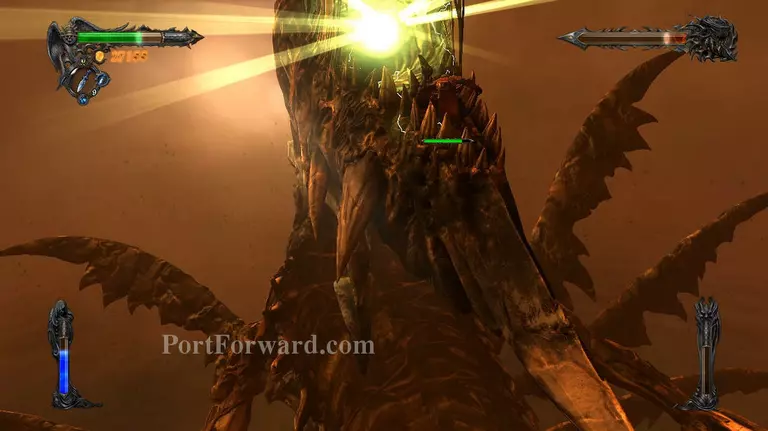
The Dracolich
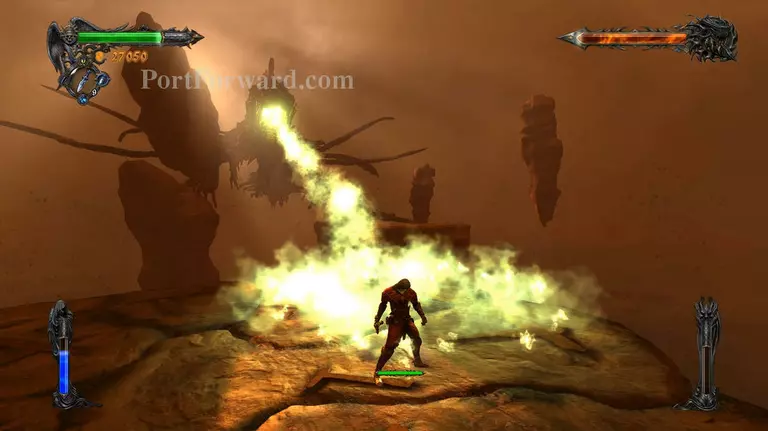
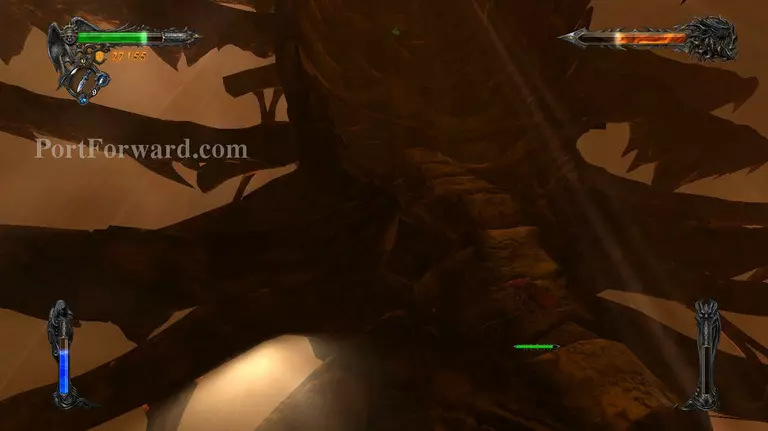
the Dracolich will be flying around the platform that you're standing on at the start of the battle. Wait for it to get close, then dodge away when it starts breathing flames at you.
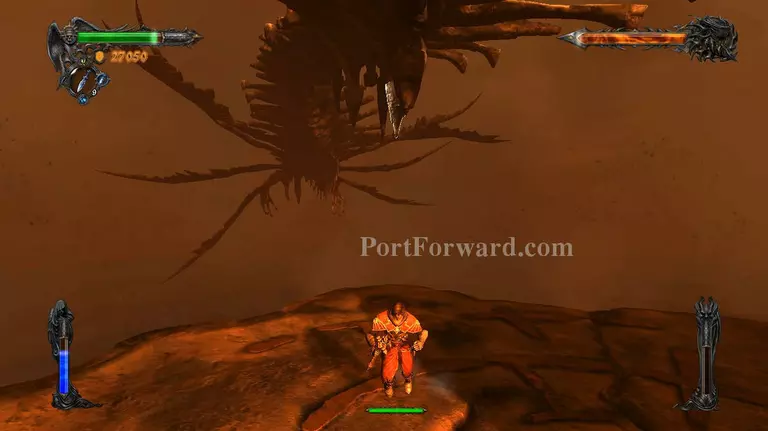
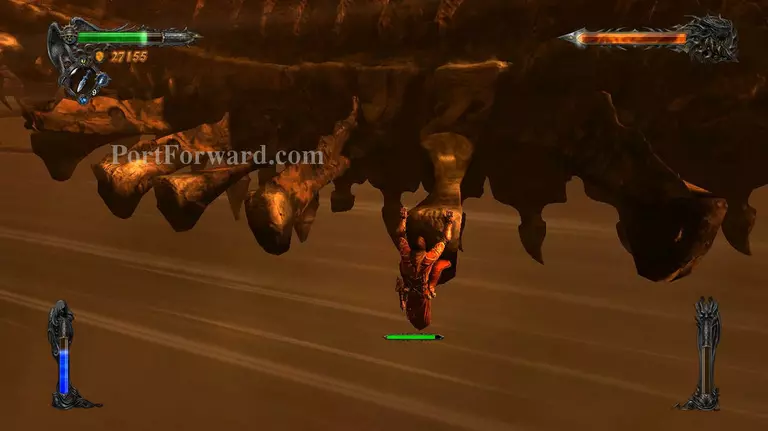
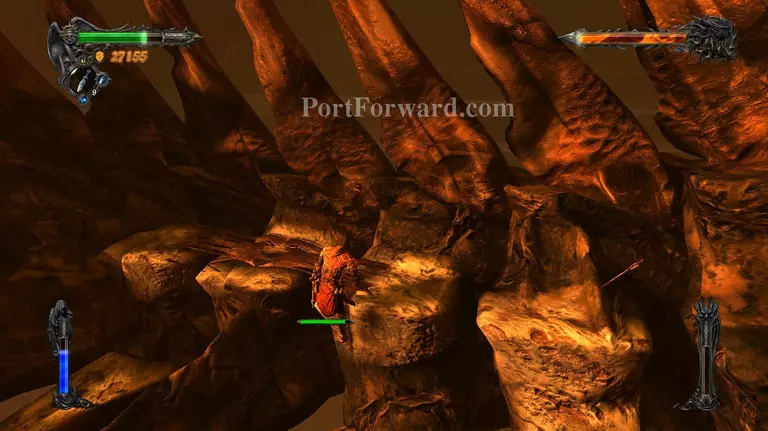
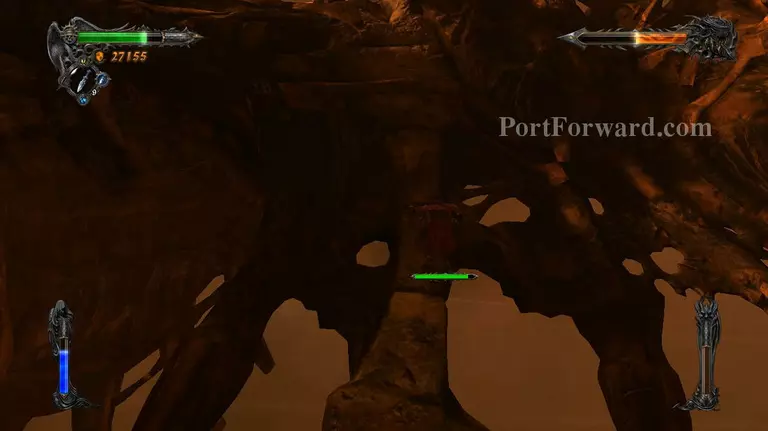
Underneath it you'll find a glowing spike, press U to grapple on that spike and get on the Dracolith.
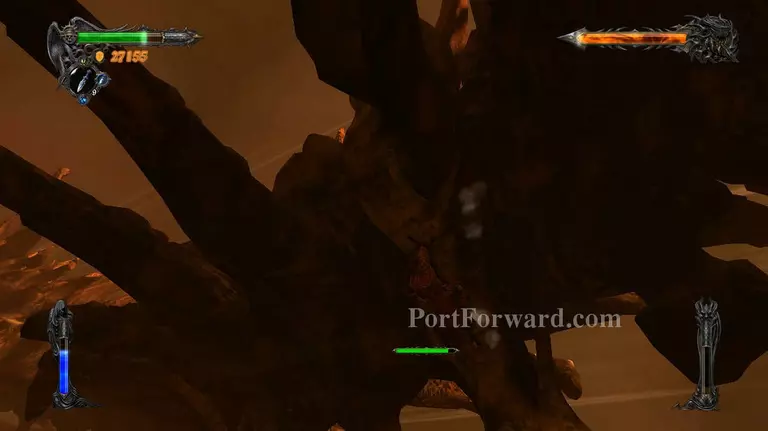
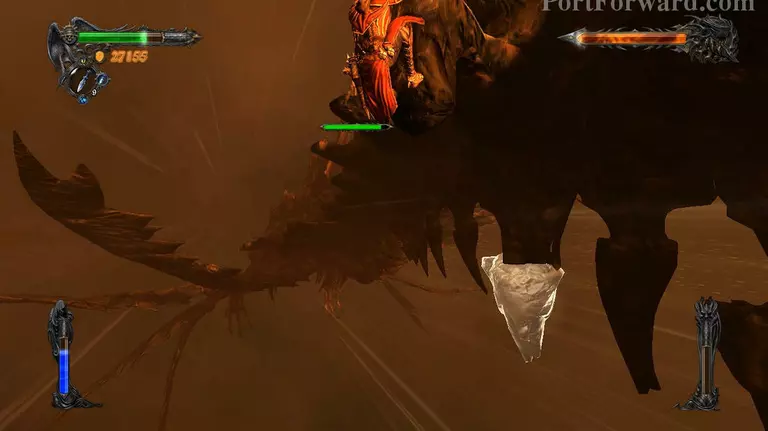
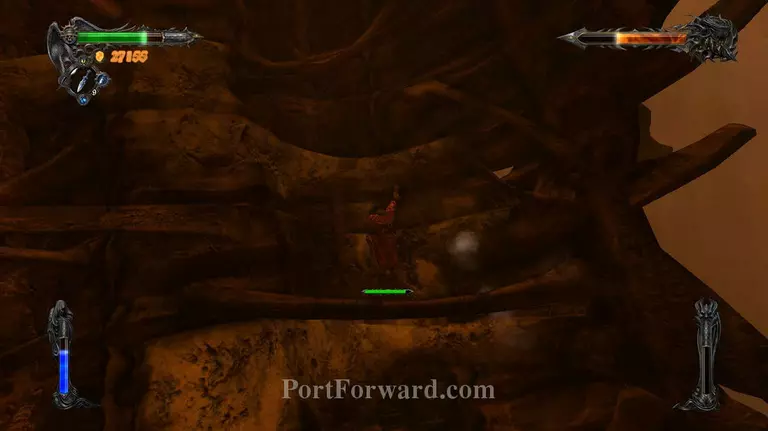
Once you're on the Dracolith, things will be easier. Shimmy over to the left side of the spike and climb up to the spine. Make sure to press U when it tries to shake you off.
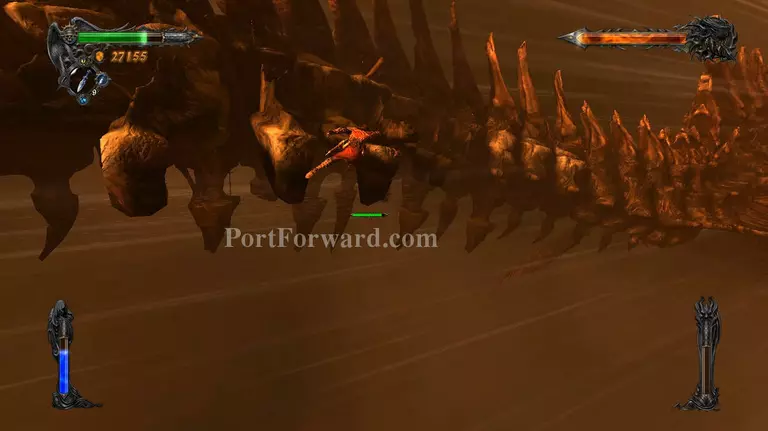
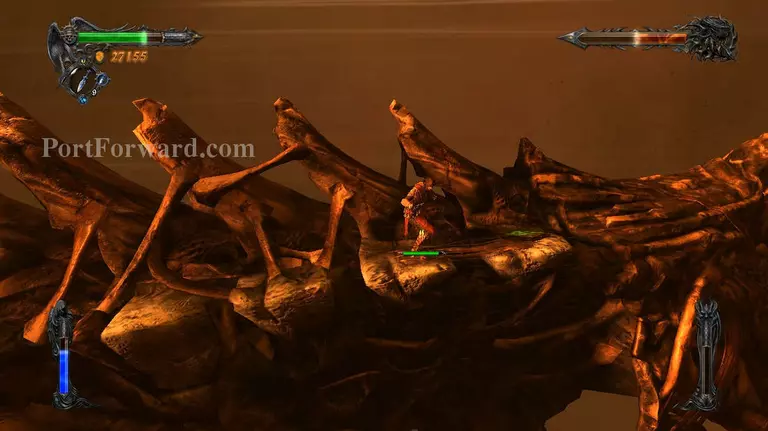
Jump across the next 2 vertebras and climb up, then walk across the stretched out flesh in between the next vertebra and climb down on the last one.
Once you've climbed down, jump to the vertebra on the left and drop down on the rib bone. Walk to the end of the rib and drop down on that too.
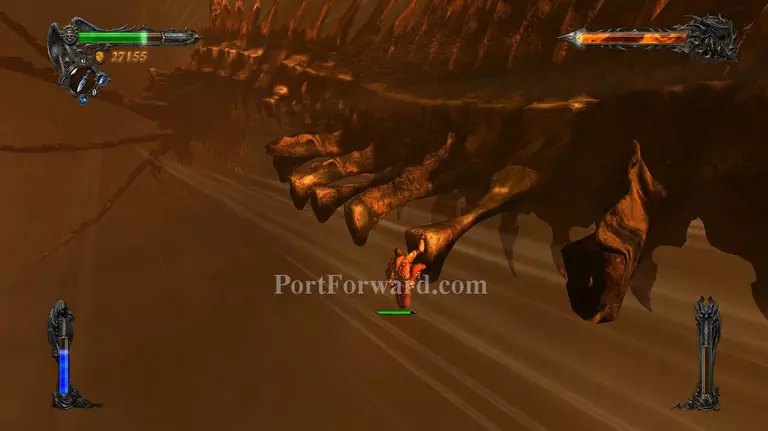
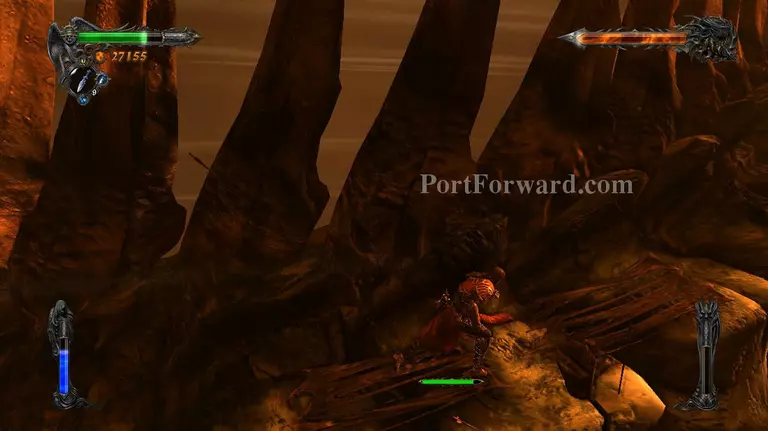
Now this is the tricky part and probably also the part that you will most often fall off of the Dracolith. You need to jump towards the rib bone on the right, the problem is the bones move around a lot. Don't jump towards the bone when it's too far away. Wait for it to get close then, then jump.
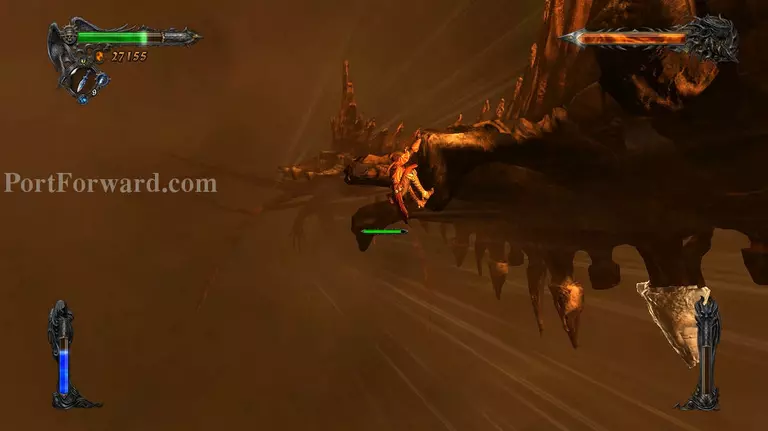
Make your way to the third bone on the right and wait for the spike under the Dracolith to light up and press U to grapple on it.
Shimmy over to the right and make your back up to the spine.
Now jump over to the vertebra on the left and climb up. Walk across the stretched out flesh and drop down on the last vertebra.
From there you need to make your way to next clean rib bone on the right, that's the 5th rib bone on that side, not counting the one you climbed down from.
Climb back the rib and up the spine. Continue to make your way to the left side and down on the last vertebra, walk along the rib and drop down at the end of it.
Now jump towards the lone rib bone on the right side and another spike underneath will glow. Use your chain again to grapple onto it.
Shimmy to the left side of the spike, then climb back up the spine through the spike. Make your way to the left side via the stretched out flesh and drop down on the last vertebra again.
Climb down the rib bone and another spike will glow, use your chain to get to it, then shimmy to the right side and start climbing back to the spine.
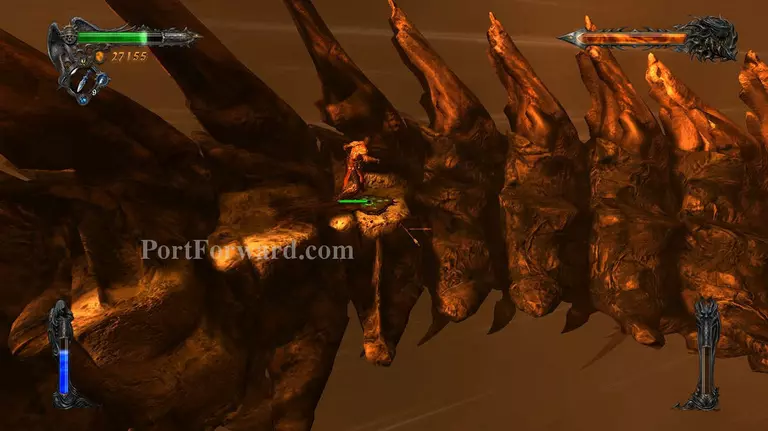
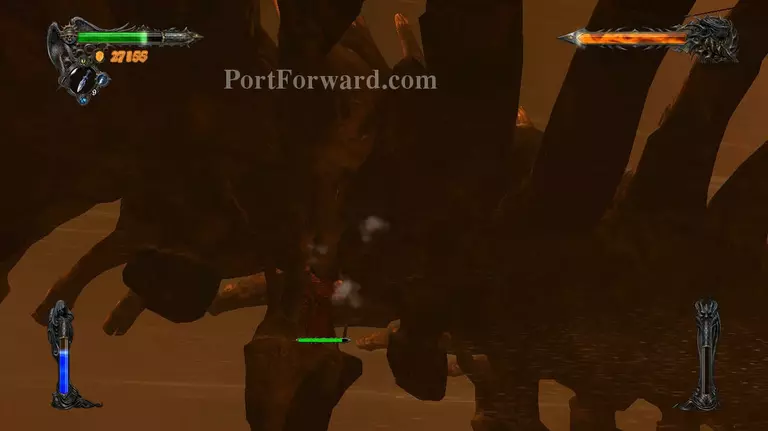
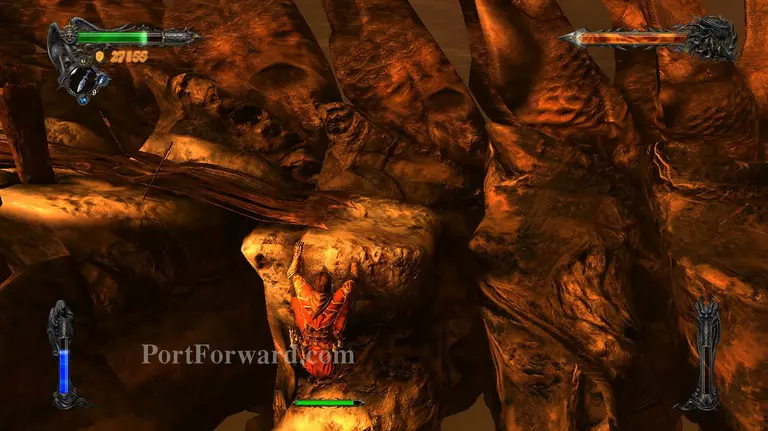
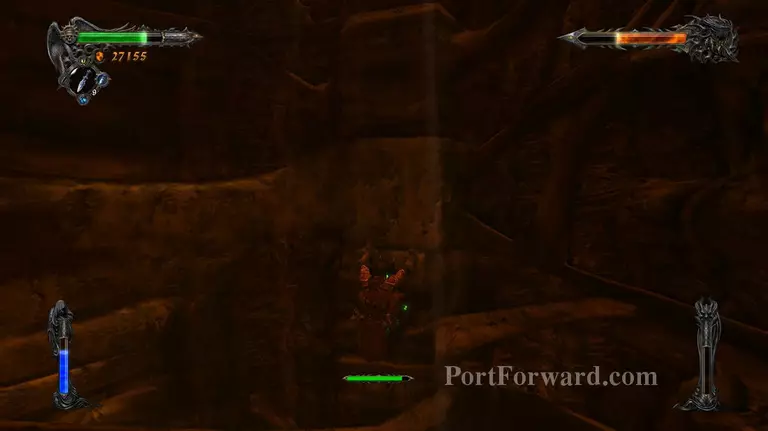
Jump to the next vertebra and climb up, then make your way to the rune. Finally you get to the first rune. Press J to attack the rune, you can hit it up to 4 times, then prepare to get shaken off.

After smashing the rune, make your way to the other side via the part of the spine that got crushed and drop down on the side of the spine.

Jump towards the next vertebra on the left side and climb up on it, then walk along the flesh and drop down at the last vertebra. Jump across to the next one on the left and drop down on the rib bone.
Climb down the side of the rib and jump across to the third third bone from where you are. Then climb up and head for the second rune and destroy it.
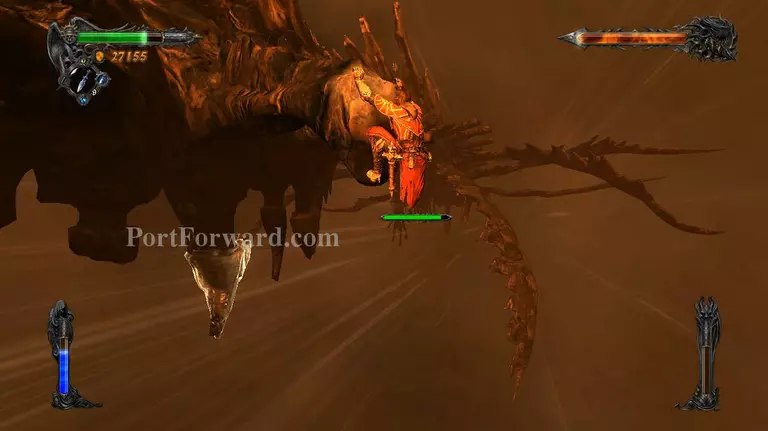
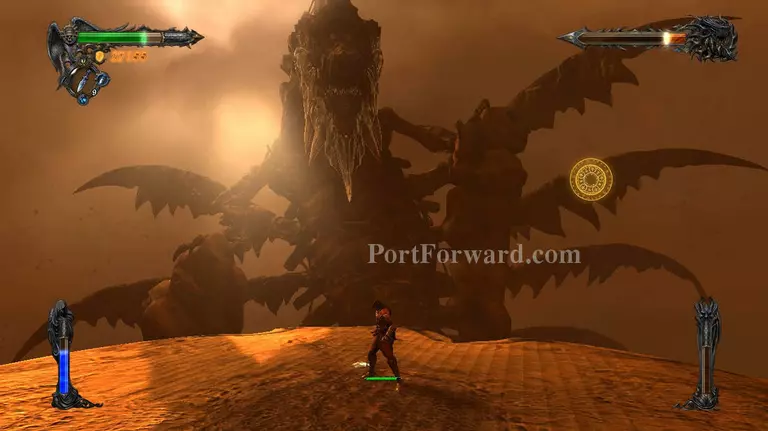
After destroying the second rune, the Dracolith will then start to ascend to the skies, changing the position of it's body and allowing you to traverse its lower part.
Shimmy around the side of the spine and underneath the Dracolith, then make your way up. You'll immediately se the rune. When climbing up you'll find that a piece of flesh is blocking your path. Shimmy to the right and continue climbing up.
Shimmy over to the left, then climb up to the last rib and go to the right, then drop down directly in front of the rune and destroy it.
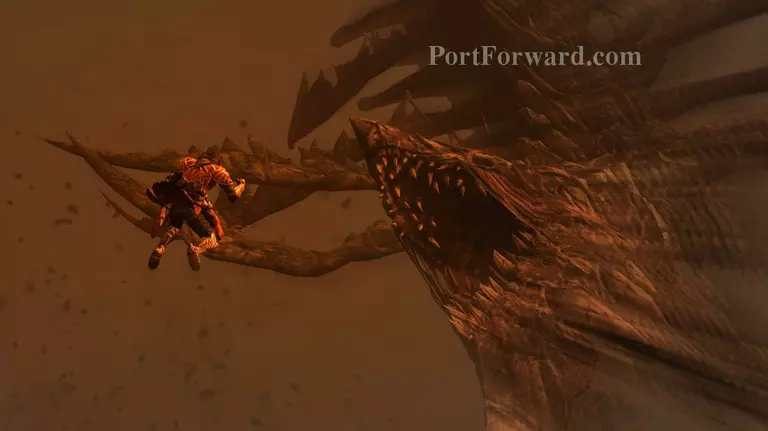
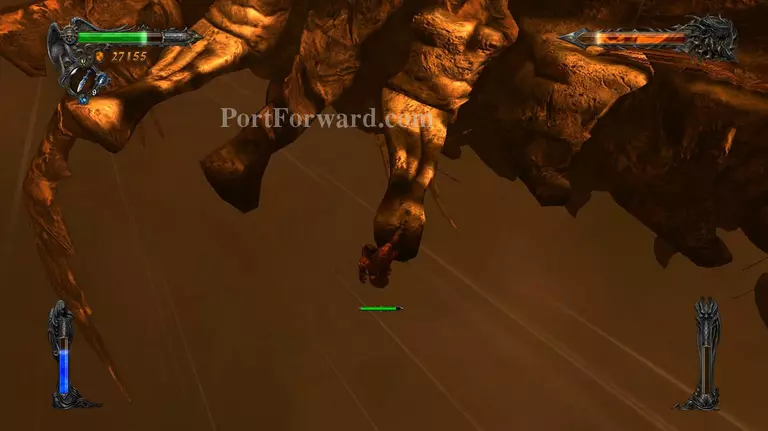
After destroying the third rune, the Dracolith will go rabid and throw Gabriel off and attempt to eat him. Press any button at the right time to activate the seraph wings and avoid it.
After landing back on the Dracolith, head to the right and climb down towards the spike.
Shimmy to the right side of the spike and climb back up on the opposite side. Make your way to the neck bones and start jumping towards the left.
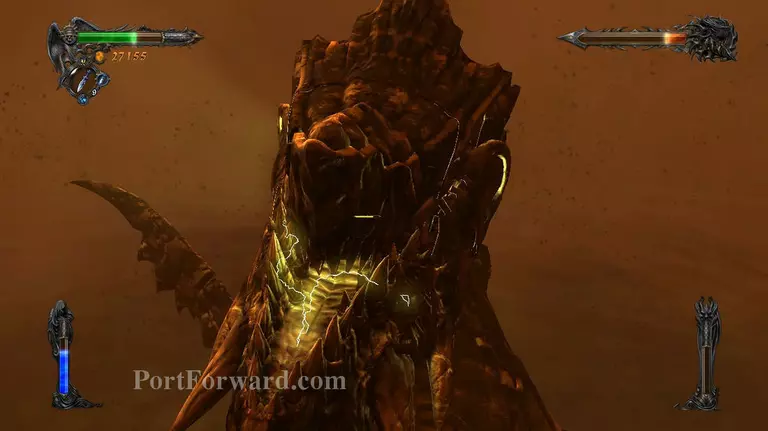
You'll find the fourth rune on the last bone before the head. Start smashing it, when it finally breaks the Dracolith will fall to the platform.
It will climb back up and you'll see the last rune inside its mouth. The Dracolith's jaw will automatically start glowing. Press U to latch onto it and enter its mouth.
Now comes the tricky part. As soon as you enter the Dracolith's mouth it will attempt to kill you by breathing fire at you. When you get inside its mouth quickly press W and K to jump up, regardless of whether you can see Gabriel or not.
Start press J immediately after that and the Dracolith will abandon its attack and screech in pain. After a few strikes it will throw you off and you'll have to repeat the process again until the rune shatters.
More Castlevania: Lords of Shadows Walkthroughs
This Castlevania: Lords of Shadows walkthrough is divided into 46 total pages.


