This Castlevania: Lords of Shadows walkthrough is divided into 46 total pages.
You can jump to nearby pages of the game using the links above.
Woes Moor
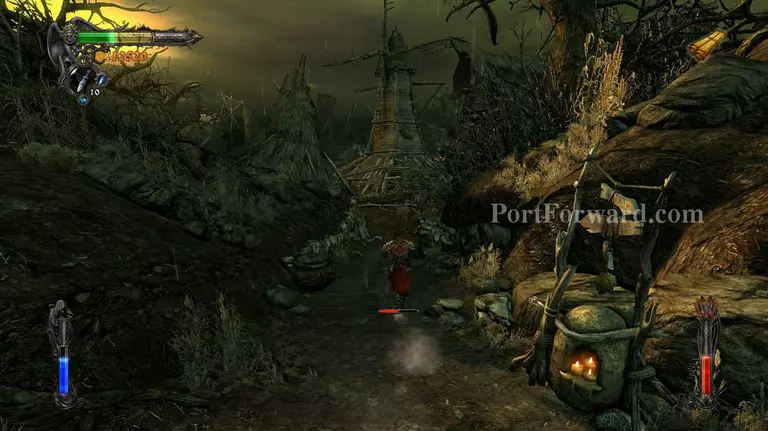
Babayaga will send you off to look for 3 keys. After the cutscene head down the path on the left side and head into the town ruins.
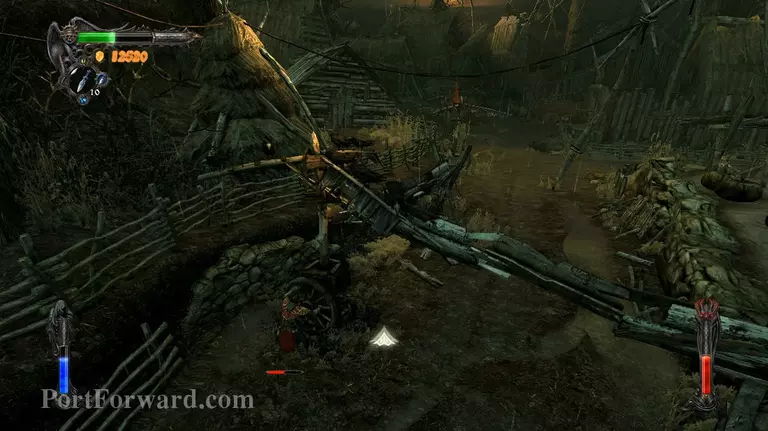
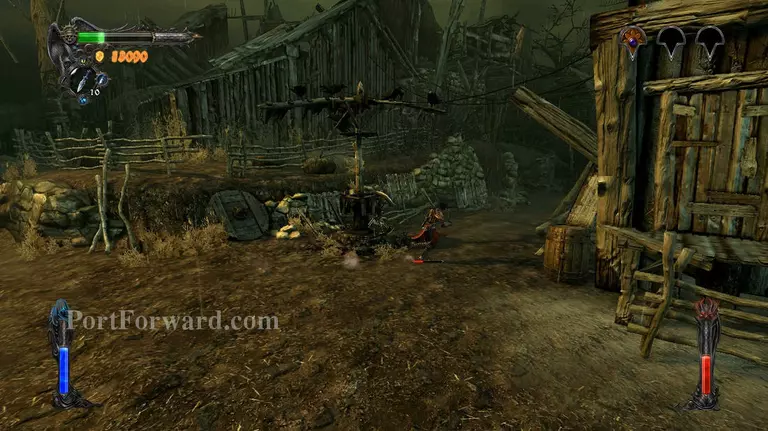
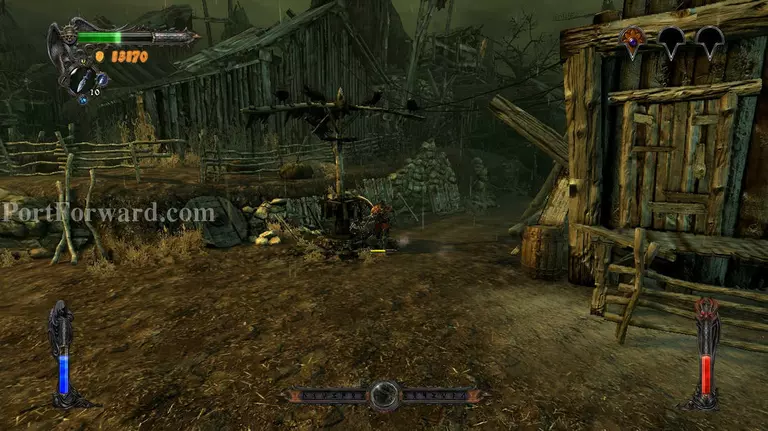
When you get to the clearing the game will immediately show you a flock of crows. Approach the wheel underneath the pole that their standing on to shoo them.
Follow them to the next post that they'll stand on and shake it again. The crows will land on the scarecrow this time and it will come to life.
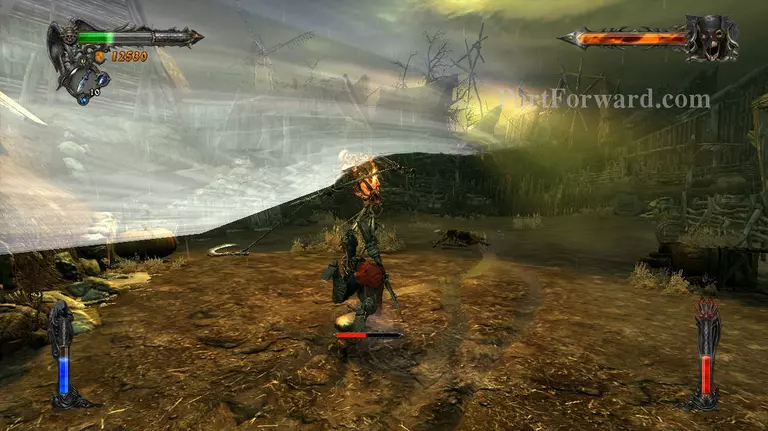
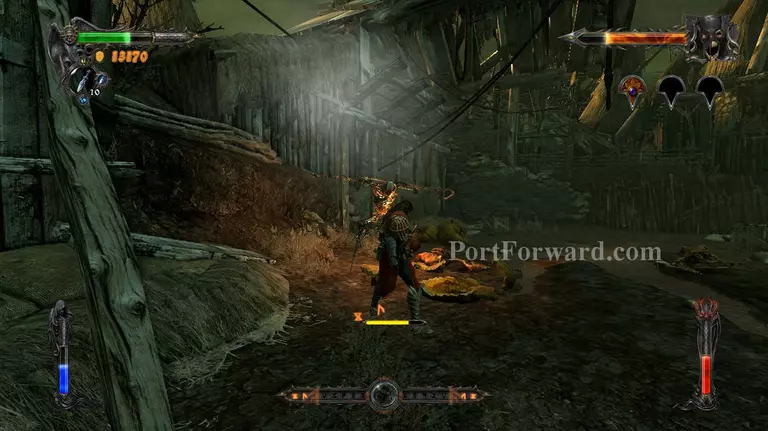
This guy has a wide range for his attacks and has a boss like status due to his health bar, but this battle is in no way hard. Just block his attack and retaliate with your own attacks and he'll die in no time.
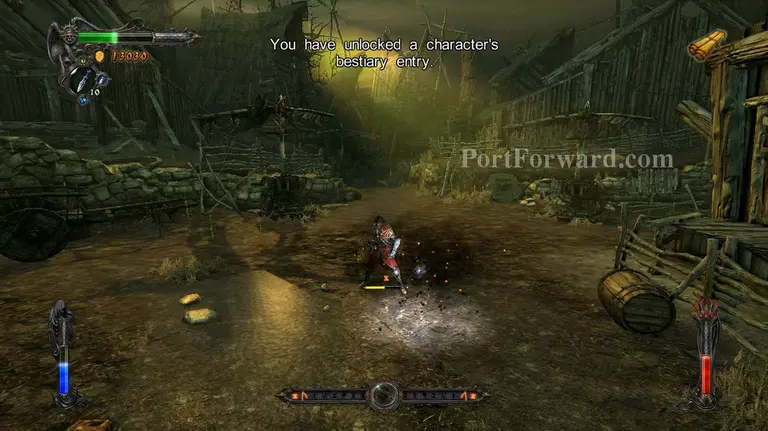
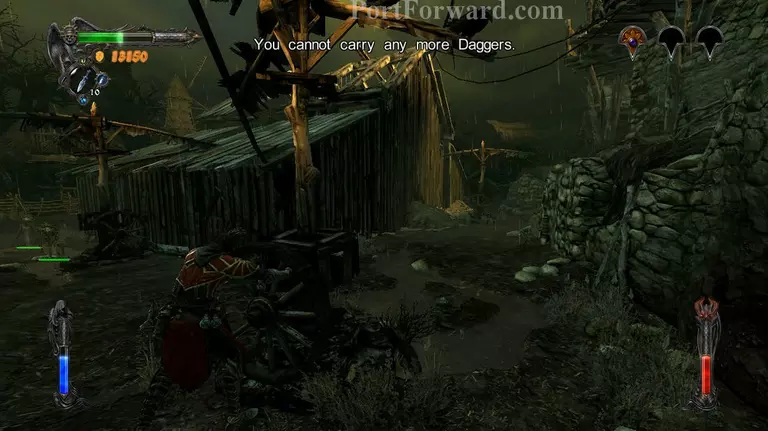
The scarecrow will drop a key once it dies. Take the key, this is one of the keys that Baba yaga sent you to find.
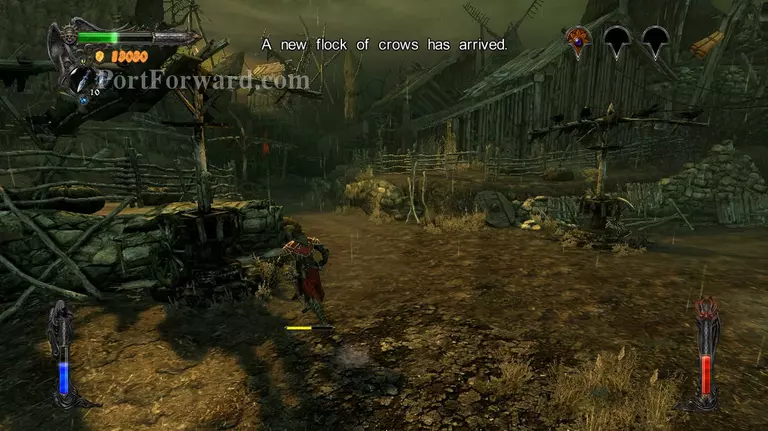
After killing the scarecrow, head over to where the crows are standing and shake the pole again. They'll move to the pole at the right side and a second flock of crows will arrive at a different post.
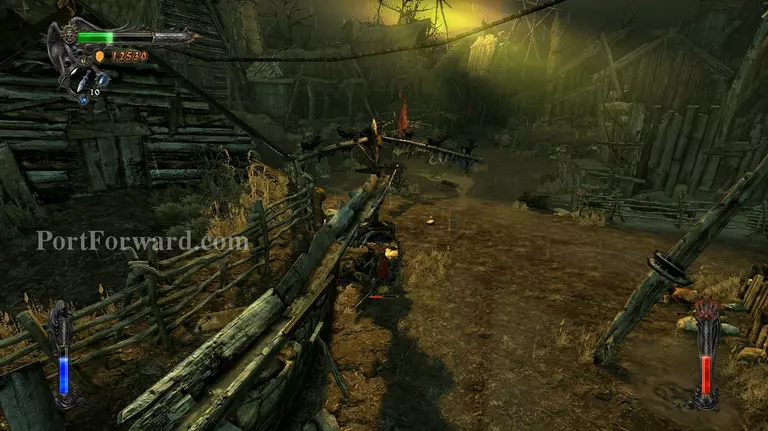
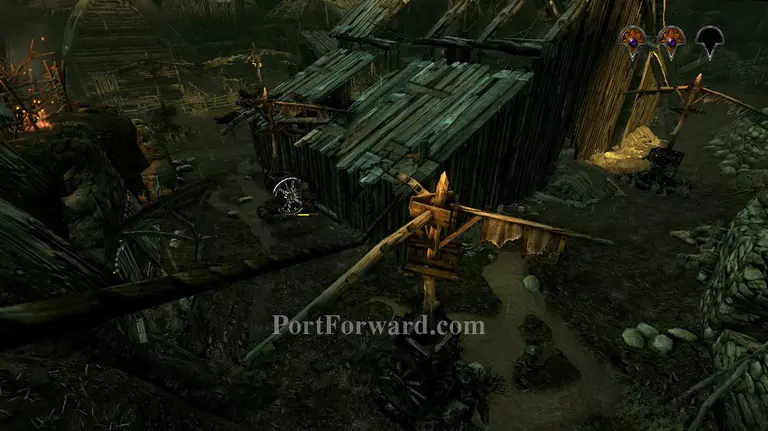
Take the path right in front of you and go around the side, you'll find a barricade. Use your chain to take down the barricade and go through it.

Head up the path and you'll find the area where the second flock of crows landed. Shake the pole to make them move to the poles below, then follow them.
Go back down and this time take the path to the right side of where you fought the first scarecrow.
Shake the pole near the wall and the crows will move to the one right in front of it. Leave this flock alone for now.
Go back to the crossroads and shake the pole where the first group of crows are sitting. Shake the pole and they'll move to the pole on the left side of this one.

Now go back to the second batch of crows and shake the pole, they'll move to the pole that you just shook before this one. Follow them there and they'll attempt to move to the next one, but the previous batch is there so they'll move further to the right.
Follow the crows and shake the post that they're standing on one more time. The crows will then land on the second scarecrow and you'll be able to fight him.
The scarecrow will be just like the first one, take it down quickly and retrieve your second key. These bosses doesn't seem like they were designed to be bosses.

Head back down to the crossroads and the game will inform you that the crows have moved to a different location. Follow them to the side of the barn.
You'll find the first batch of crows at the back of the barn. Shake the post and make them move, then follow them and shake the post again. They'll move on to the next post. Leave them alone after that.

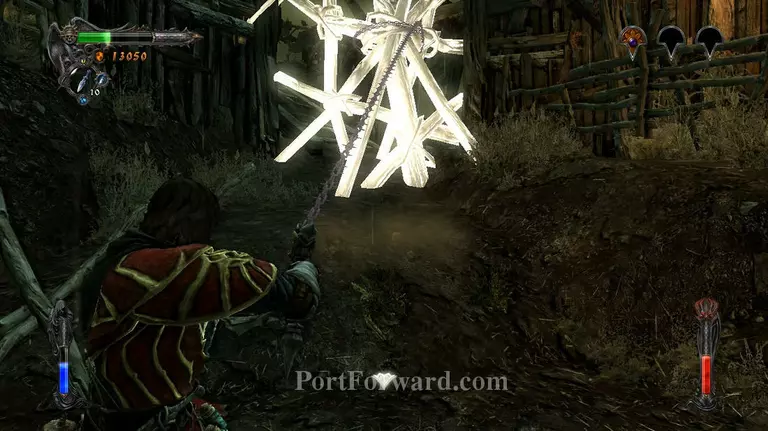
From the last post, go left, then down. You'll find a glowing part of the wall. Use the chain to pull it down and you'll find a third flock of crows inside.

Charge up your magic bars and keep on shooing the third set of crows (the ones from the barn) until they reach the scarecrow.
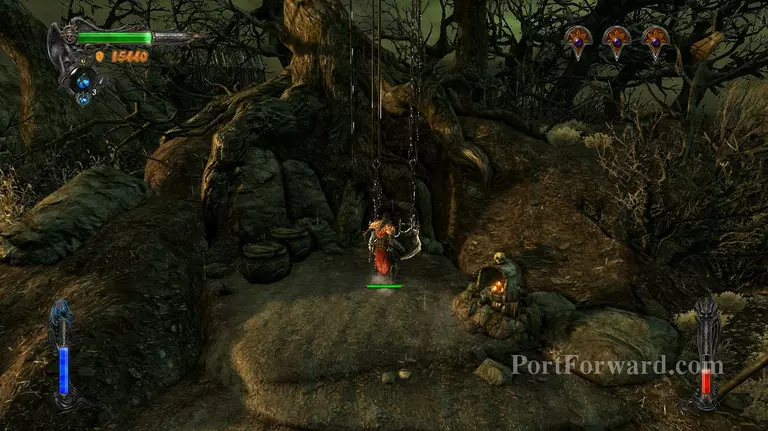
Defeat the last scarecrow and take his key, then backtrack to the beginning of the village and use the sack to get back to Baba's hut.
More Castlevania: Lords of Shadows Walkthroughs
This Castlevania: Lords of Shadows walkthrough is divided into 46 total pages.