
This Castlevania: Symphony of the Night walkthrough is divided into 34 total pages.
You can jump to nearby pages of the game using the links above.
Reverse Caverns (Revisited)
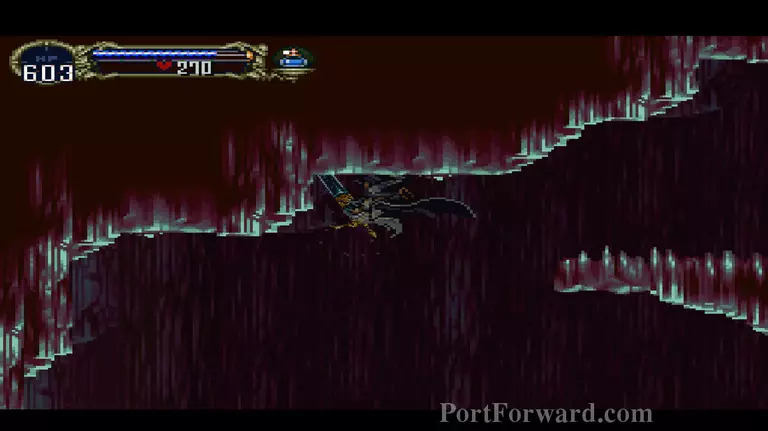
Continue heading left, and exploring the underwater areas. Use Moon Jump, Double Jump, and Wolf Form transformations to get higher up.
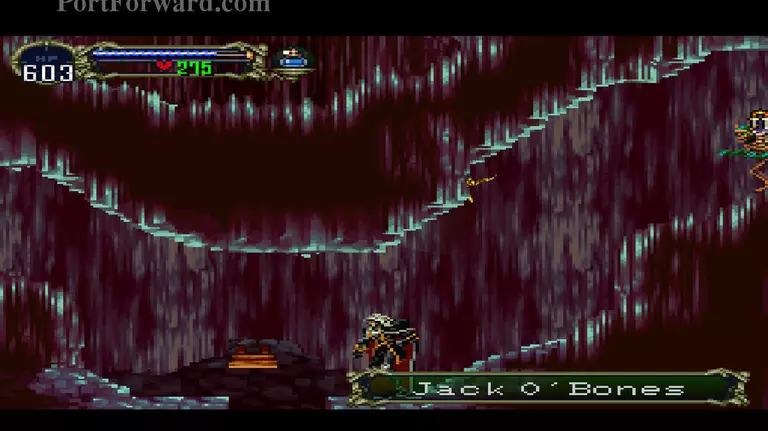
Drop down underneath the wooden platform when you get to it. Fully explore the castle-ish portion of the Caverns.

Remember you can break the wall on the right side of the room that contains a Life Up for a Diamond.
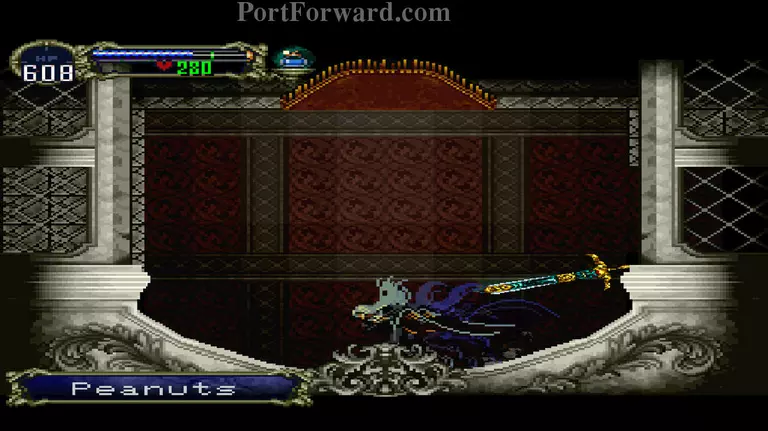
The room in which you fought Succubus has an infinite supply of Peanuts.
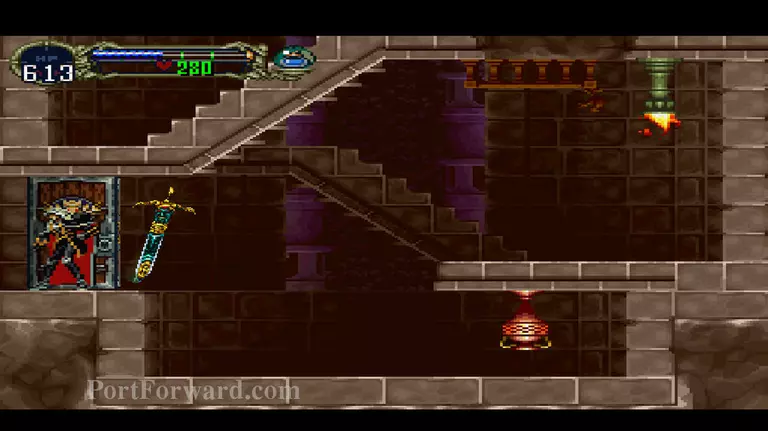
Once you're done, jump up the long fall and back into the caves.
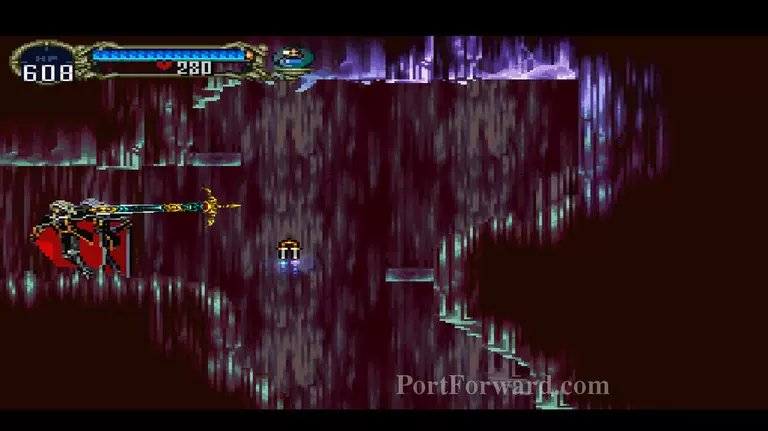
Before heading into the next boss fight, bring up your inventory screen.
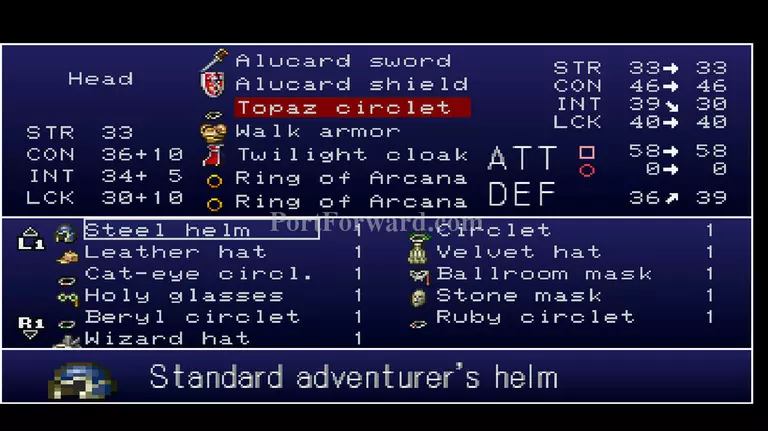
Equip the Topaz Circlet.
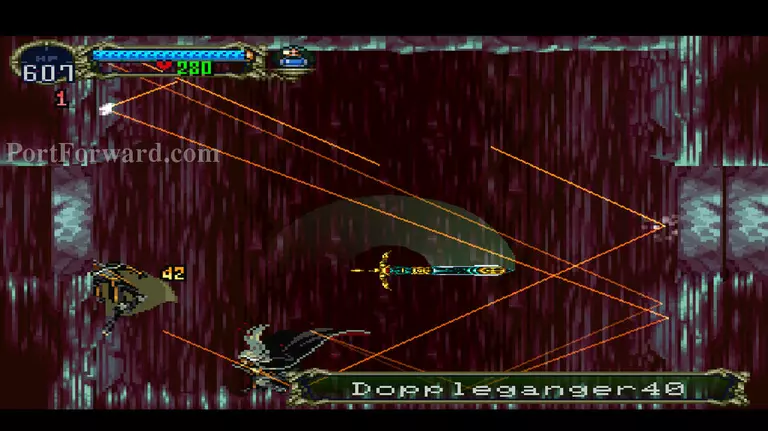
Doppleganger40 is a clone of Alucard who is set at level 40.
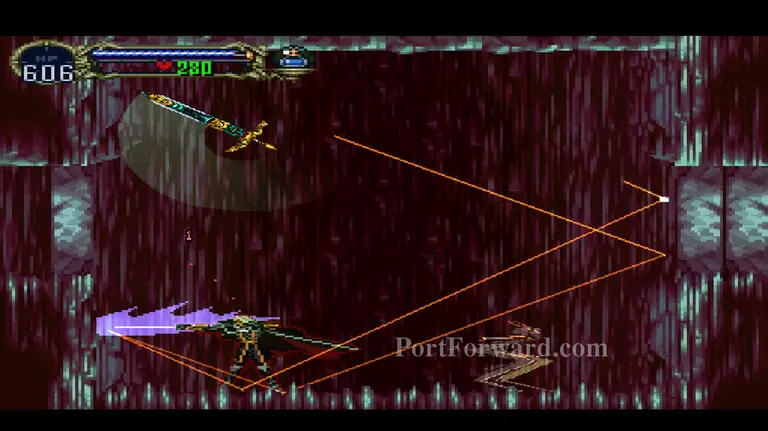
Wing Smash attack,
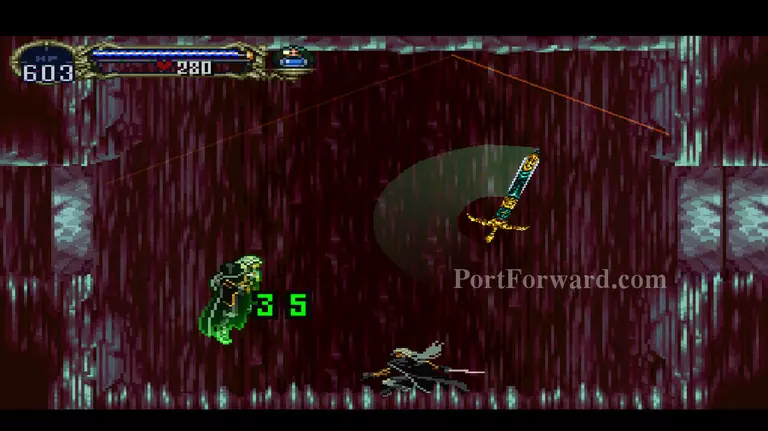
Using a poison sword (If you equipped the Topaz Circlet, this will heal you for 35 health),
Using a stone sword

"And using a short sword.

You'll find lots of Dark Ocotpi in the chamber where Scylla was. Use your shield's ability to dispatch all of them.
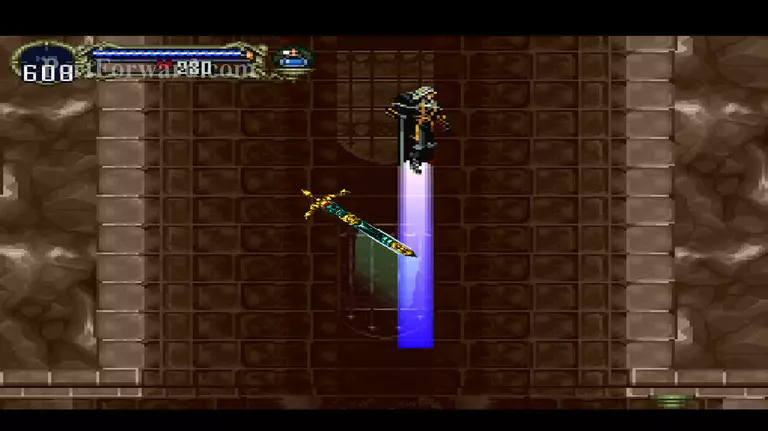
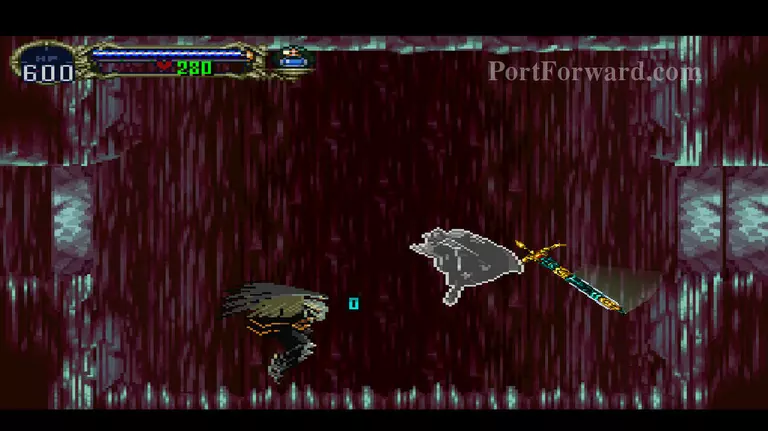
You'll find a Dark Blade to your right. Backtrack to the room that you originally jumped in from the long fall in the tower.

Slash the ceiling on the right side to reveal a passage. Traverse it. Make sure you use Wolf Form to fill in those rough patches in your map.
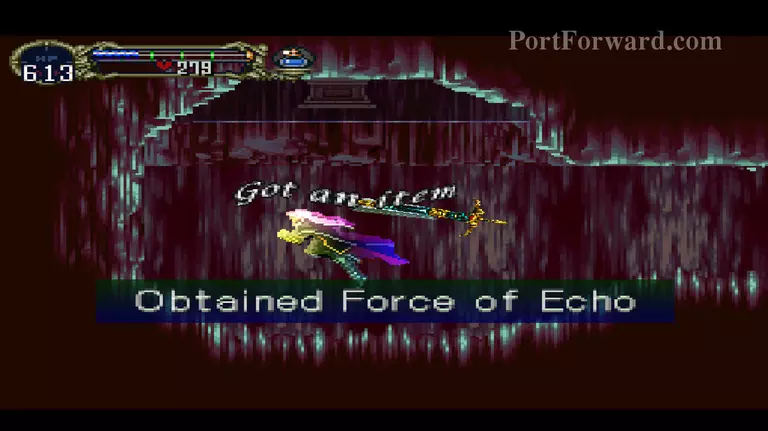
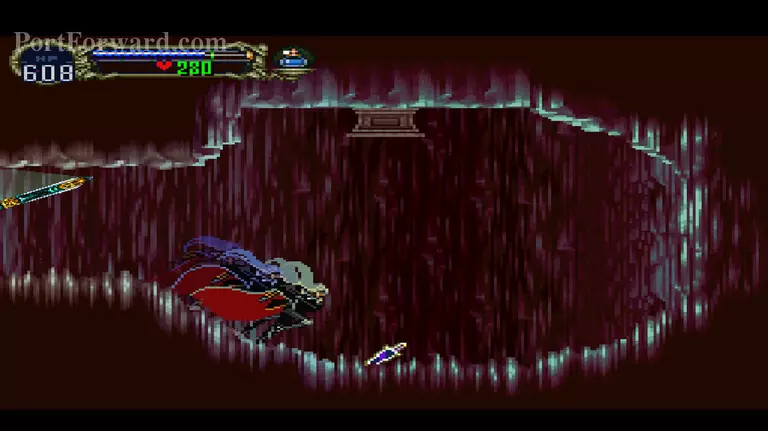
At the very end, you'll find the Force of Echo relic. It allows you to attack enemies with your Bat Form's Echo (TRIANGLE). Head all the way down to the bottom of the tower.
Enter the door, into the Black Marble Gallery.
More Castlevania: Symphony of the Night Walkthroughs
This Castlevania: Symphony of the Night walkthrough is divided into 34 total pages.


