
This Castlevania: Symphony of the Night walkthrough is divided into 34 total pages.
You can jump to nearby pages of the game using the links above.
Underground Caverns
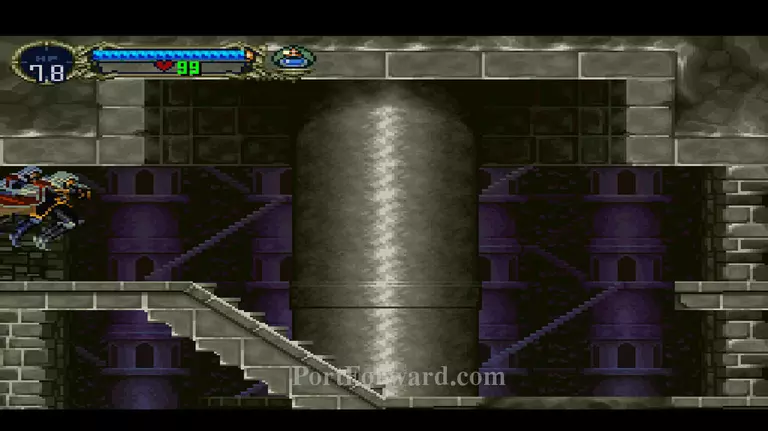
"The room on the right is a save point.
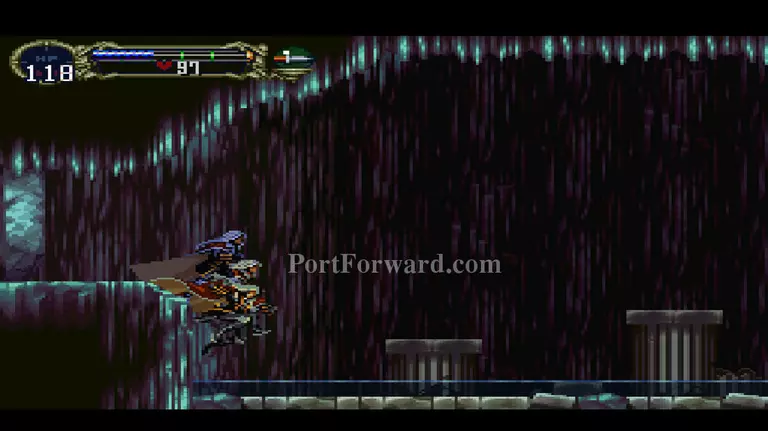
Keep going left through this room. Don't go down just yet.
Grab the heart up, and slash away at the leftmost wall.
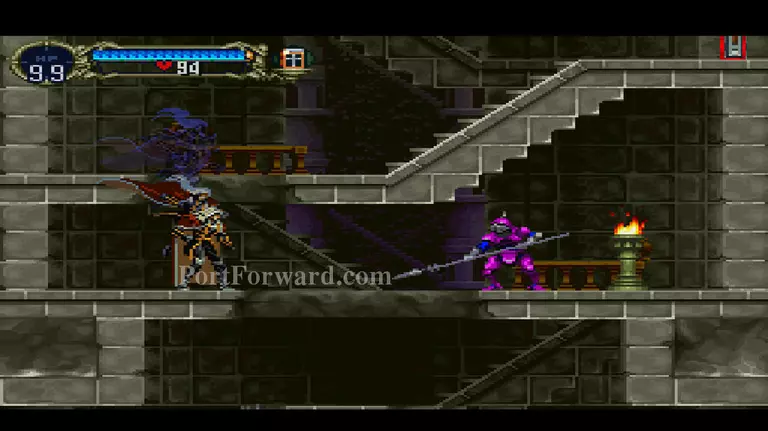
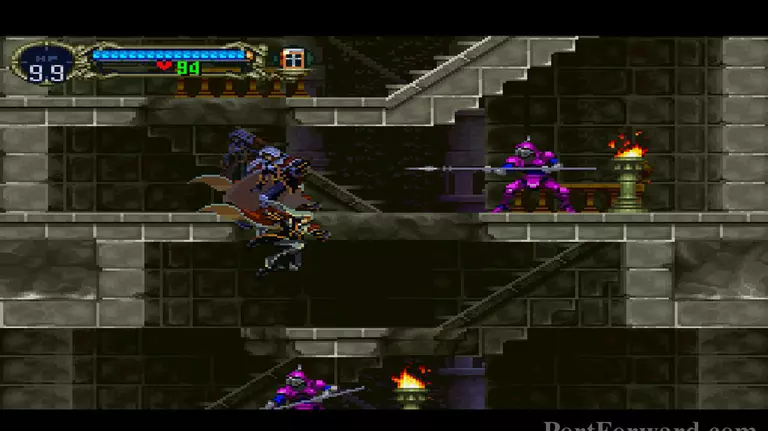
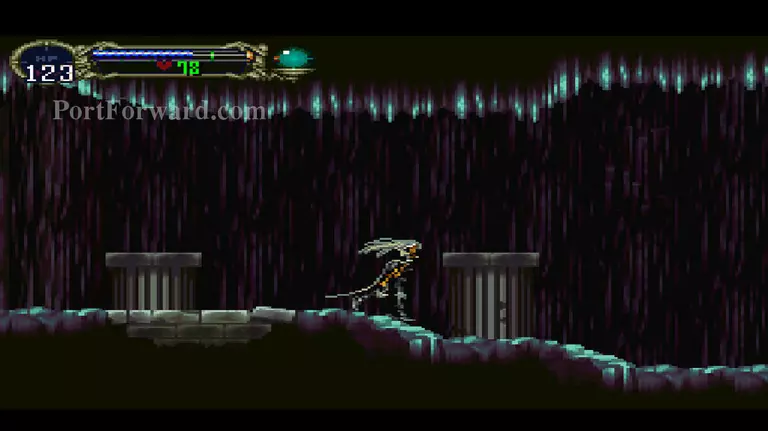
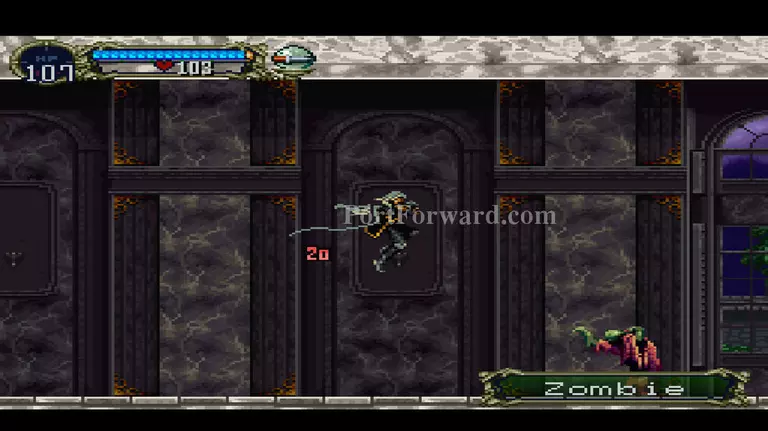
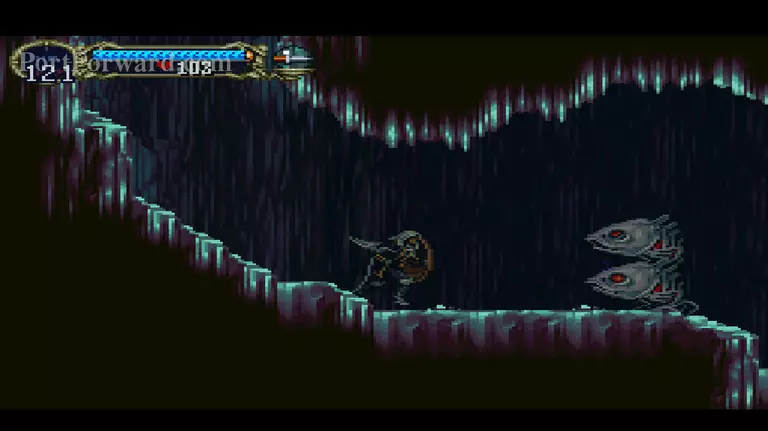
Grab and equip the bandana. Backtrack and drop down where the spear guard and bone archer are.
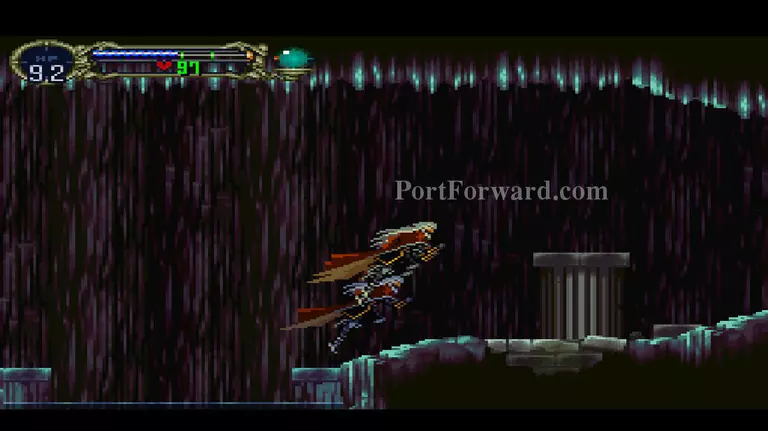
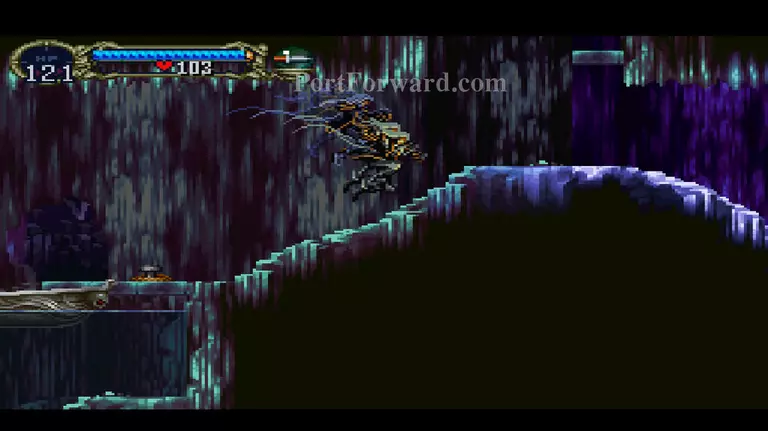
Gradually fight your way down this tower. There's a doorway on the left about halfway down. Explore that area for a Life Up.
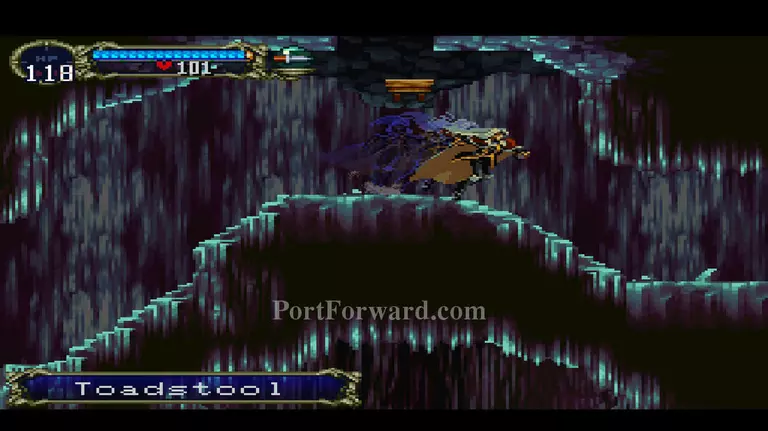
Once you reach the bottom, head right.
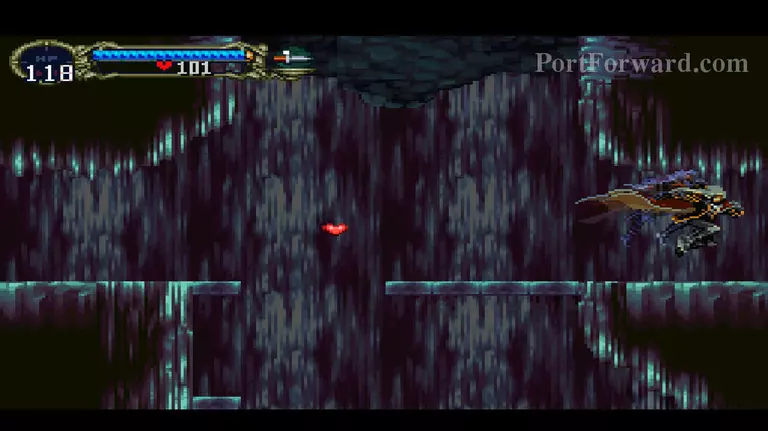
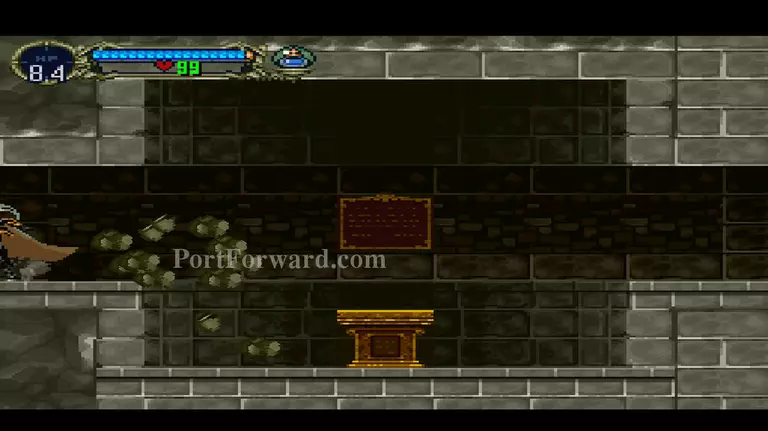
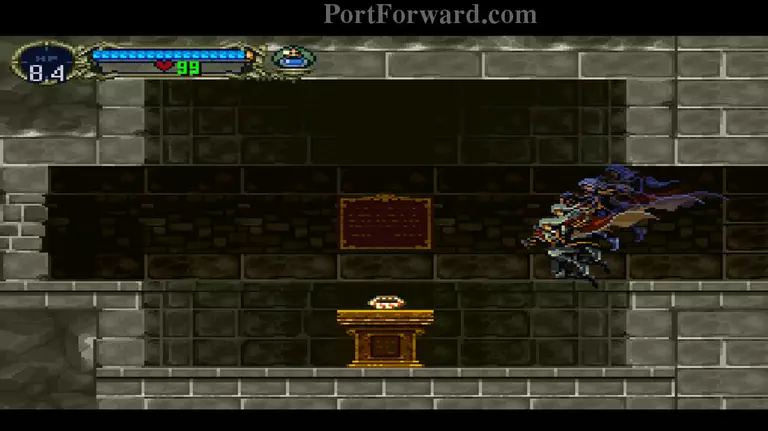
This is a save point. Drop down and enter the doorway on the right.
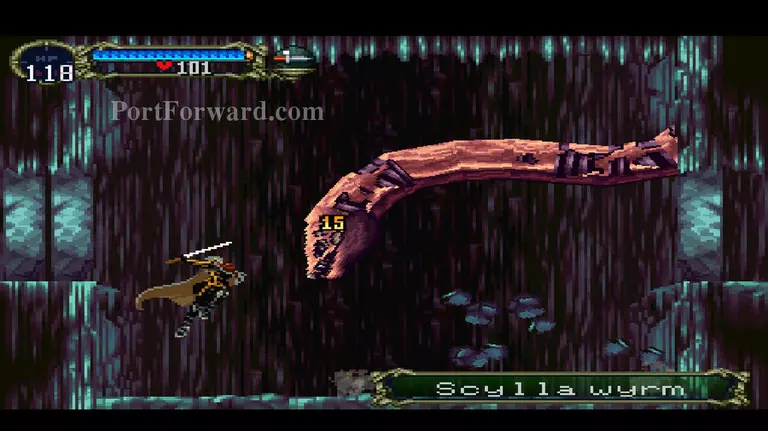
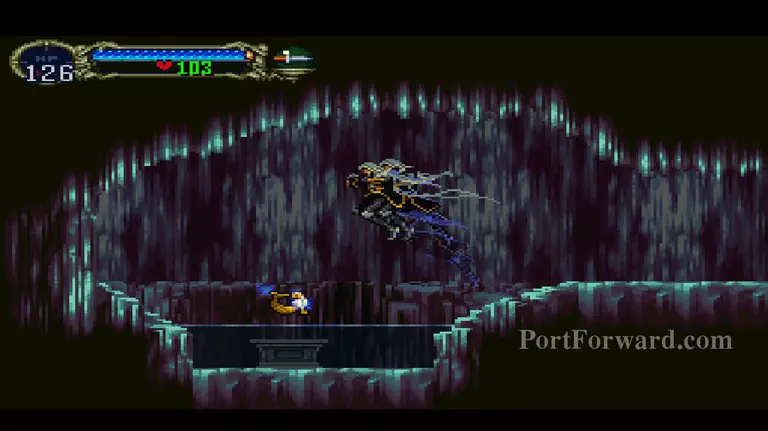
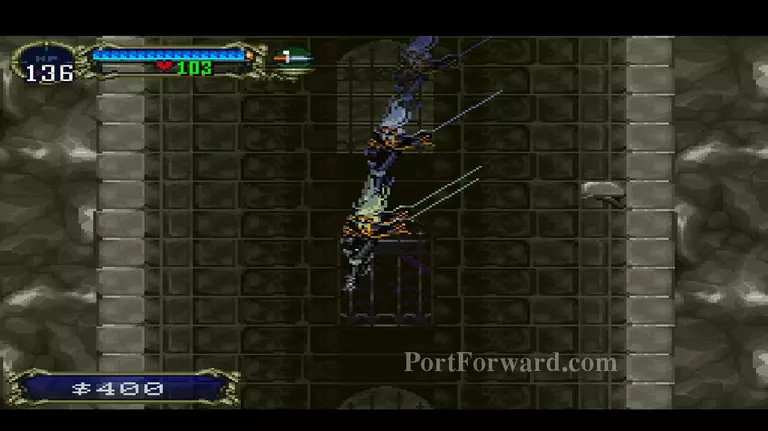
"Boss fight with a Scylla Wyrm.
Once you start moving in this room, the water will rise. This is bad, because Alucard will start taking damage if he is under the water for too long. Hop from column to column until you're safe into the room above.
Head right for a pot roast, then turn around and go left to fight with Scylla.
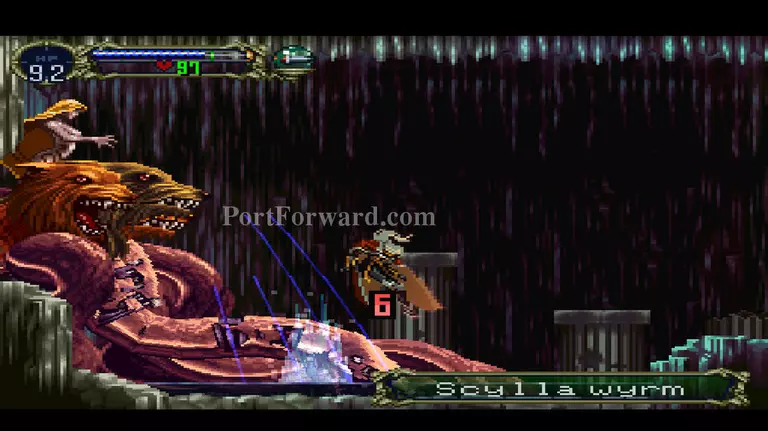
"Scylla is also a fairly easy boss, if you've gotten good at magic casting.
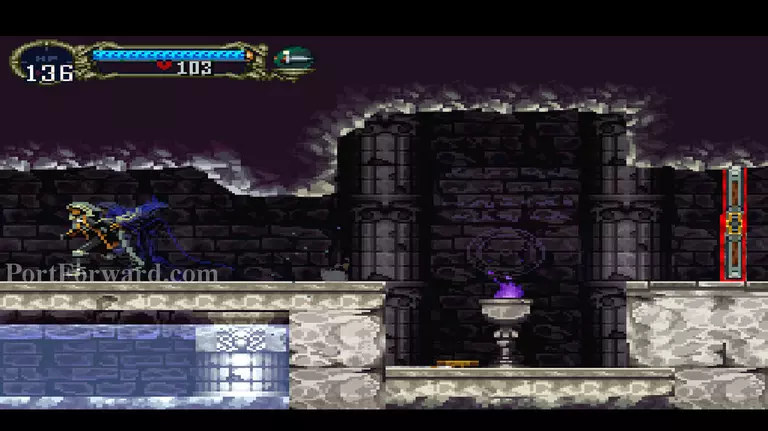
"Once Scylla is down, head into the room she was blocking, and grab and equip your reward: a crystal cloak.
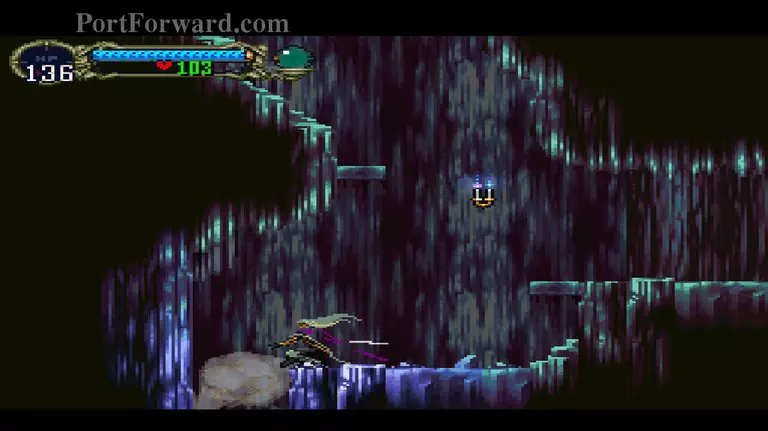
Push this wooden box onto the left wall, and watch the spear guards drown. The level is fairly linear from here. Keep heading left until you reach a waterfall.
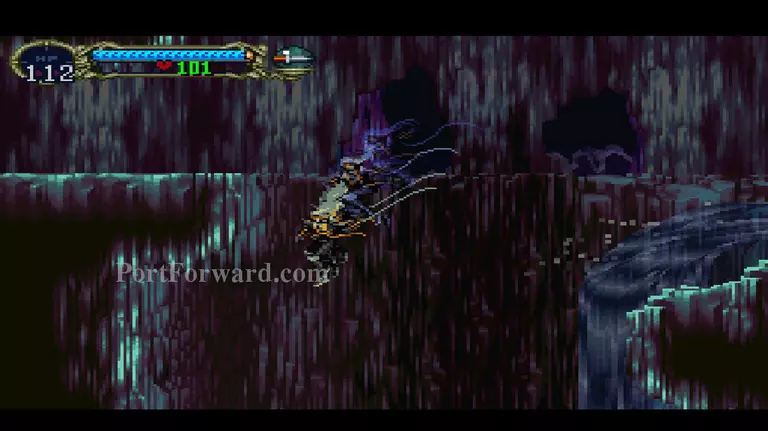
Jump!
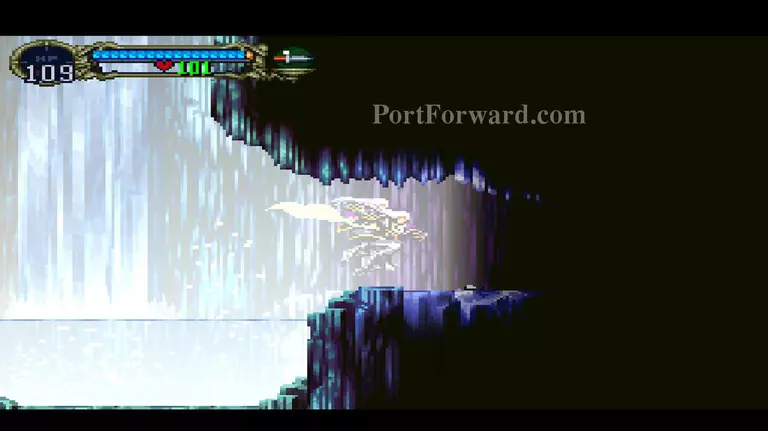
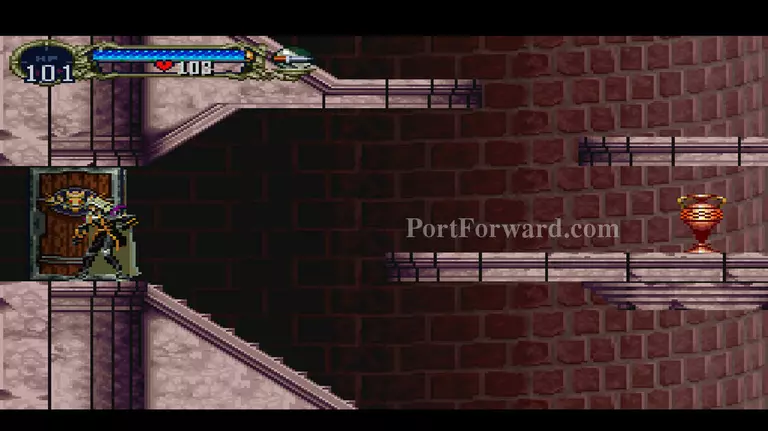
Check out the area behind the waterfall, to the right. You'll find a life up.
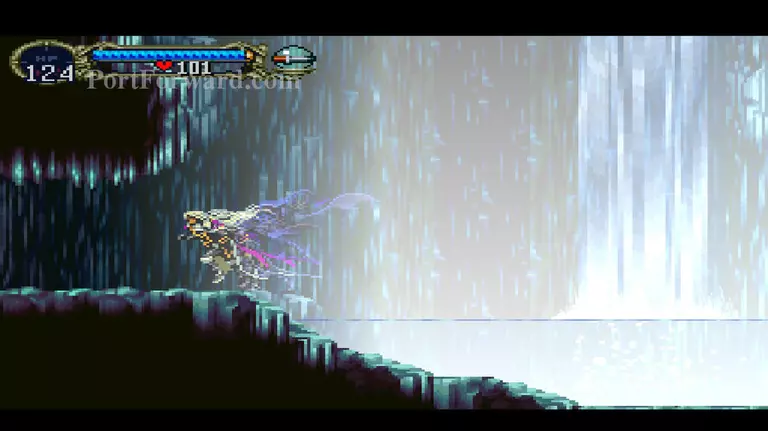
After you grab the life up, go left until you reach the ferryman.
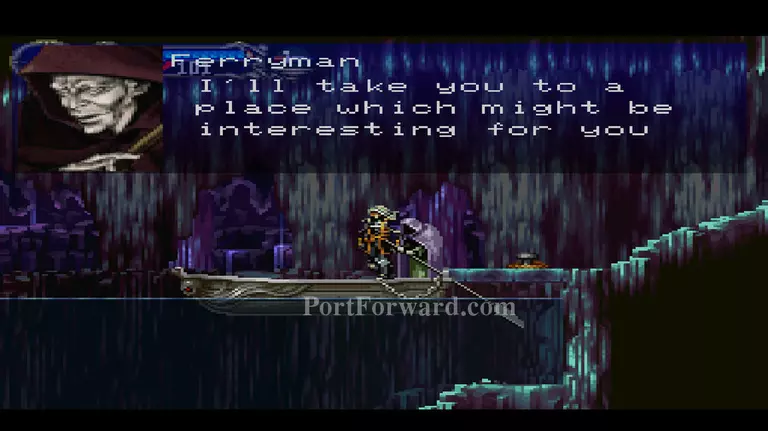
Try your best to stay on the boat while the ferryman rows you over to the other side of the lake.
Once the ferryman finishes crossing the lake, you'll find a Merman statue. This item makes the Ferryman spawn in a secret location. Cross the lake again.
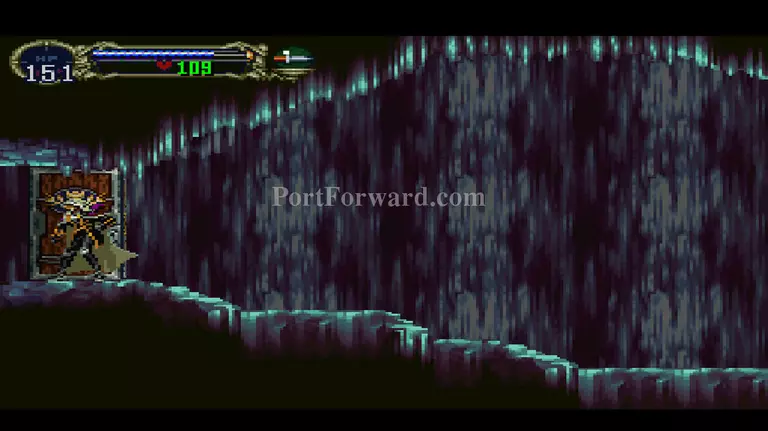
Go up on this crossroad, and enter the door on the left.
This will put you underneath the giant boulder at the Castle Entrance.
Head to the warp room. Warp to the Outer Wall (Worm/Caterpillar).
Head back to the Marble Gallery.
Re-Enter the Underground Caverns.
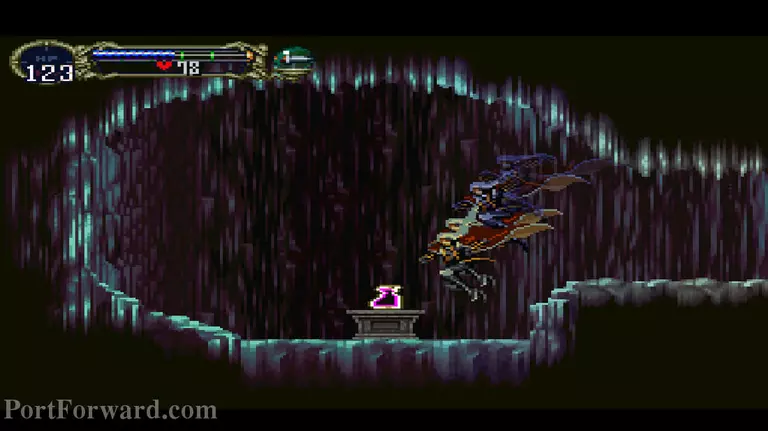
Instead of going left, head down.
Freefall your way down to where the Scylla Wyrm was fought.
Hack away at this area of the floor to reveal a secret passage.
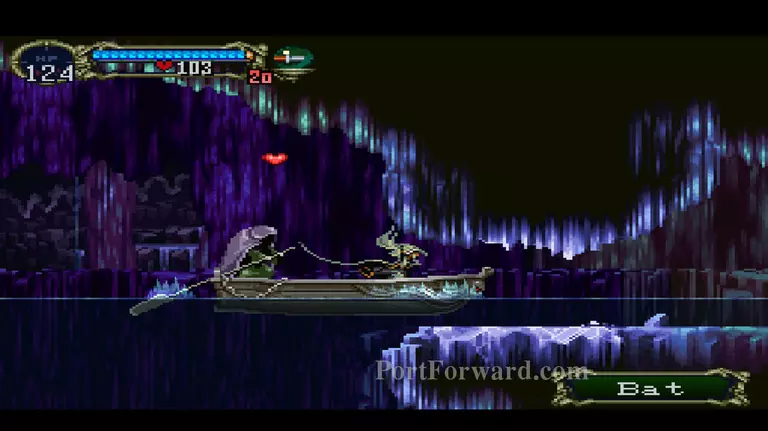
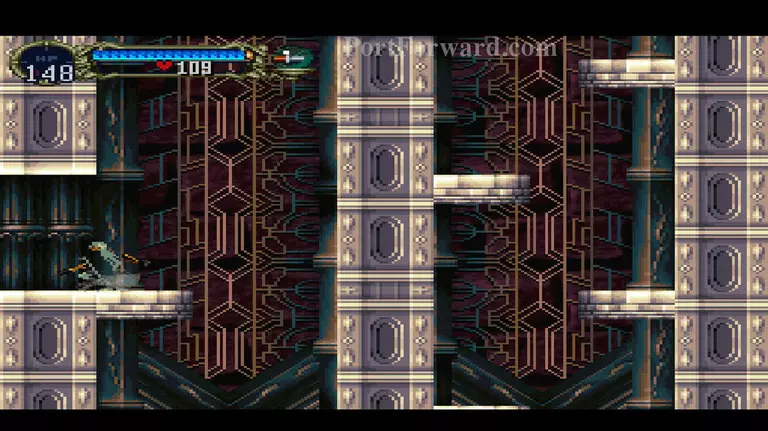
Ride the ferryman's boat across the lake. Watch out for narrow places and bats.
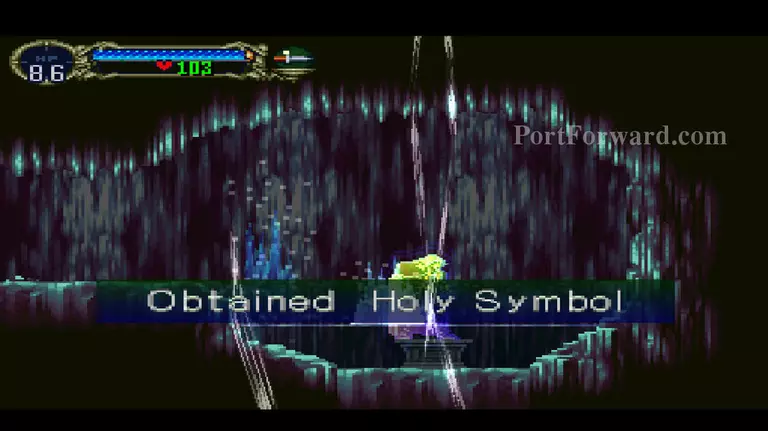
The Holy Symbol allows Alucard to not take damage from water. Instead of riding the boat back, search the water for potions, weapons, and more.
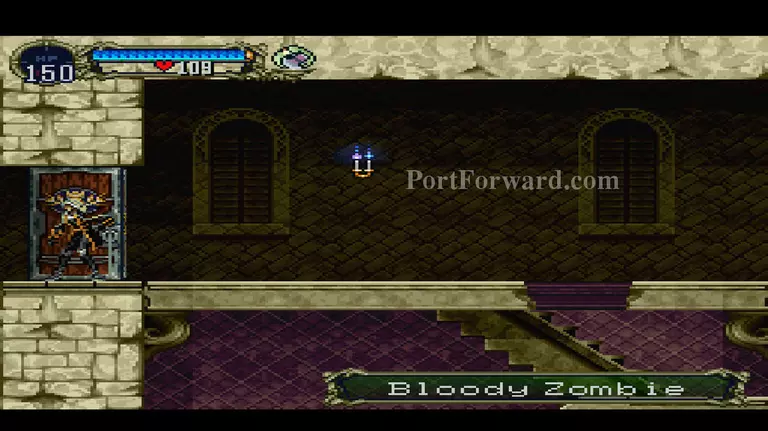
Go through the level again, this time exploring the areas underneath the water. Fishheads are tough enemies, but they provide a lot of experience. If your health gets low, use Soul Steal.
Go to the Castle Entrance.
Go to the Alchemy Laboratory.
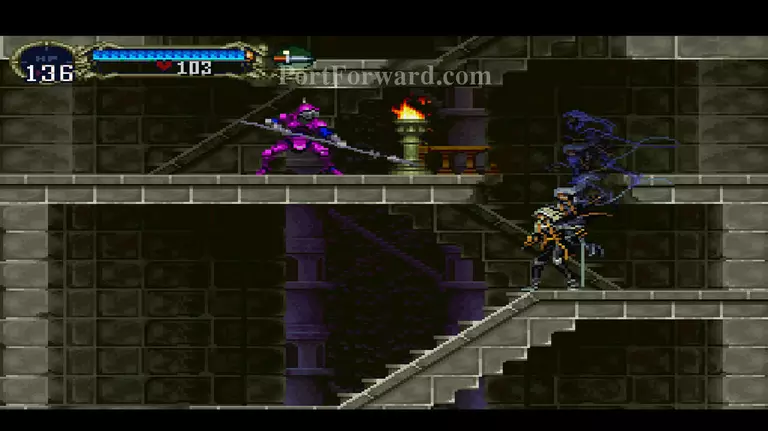
Go the area right outside where the boss battle between Slogra and Gaibon took place. Jump to the left and fall down onto the first ledge.
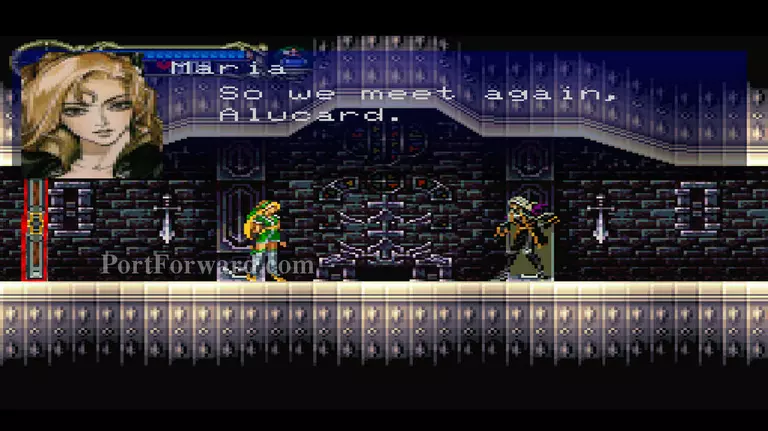
Go through the door and into the next room. A cutscene with Maria takes place. After the cutscene, walk left to gain entrance to the Royal Chapel.
More Castlevania: Symphony of the Night Walkthroughs
This Castlevania: Symphony of the Night walkthrough is divided into 34 total pages.


