
This Chaser walkthrough is divided into 18 total pages.
You can jump to nearby pages of the game using the links above.
Jailhouse
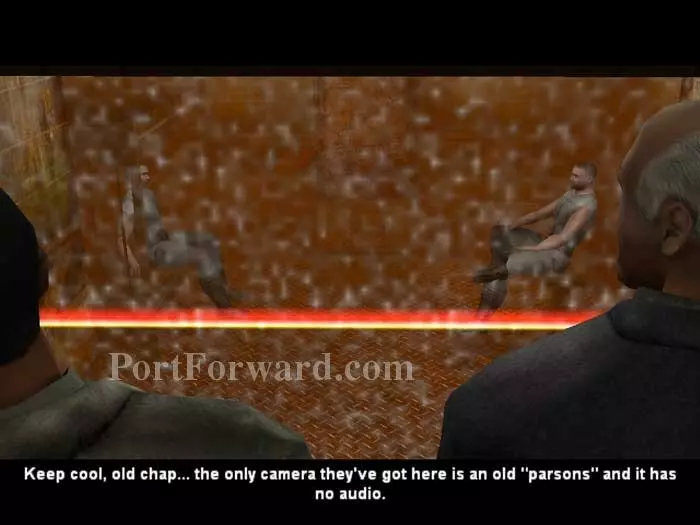
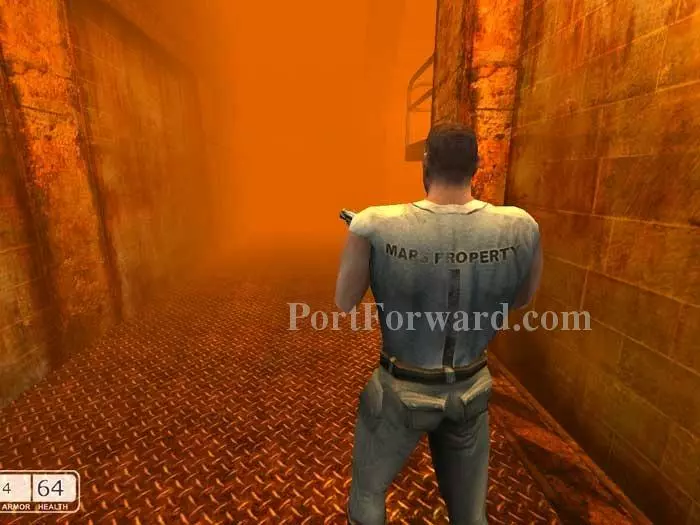
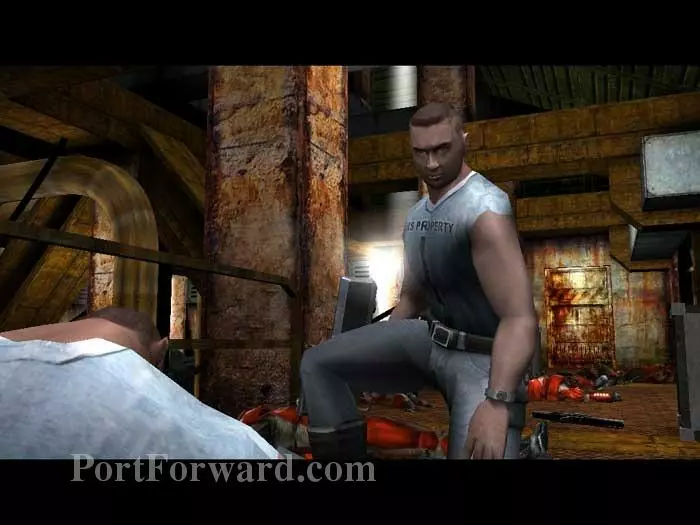
Jay is either none-too-bright or he's helping your jailers -- it isn't entirely clear which.
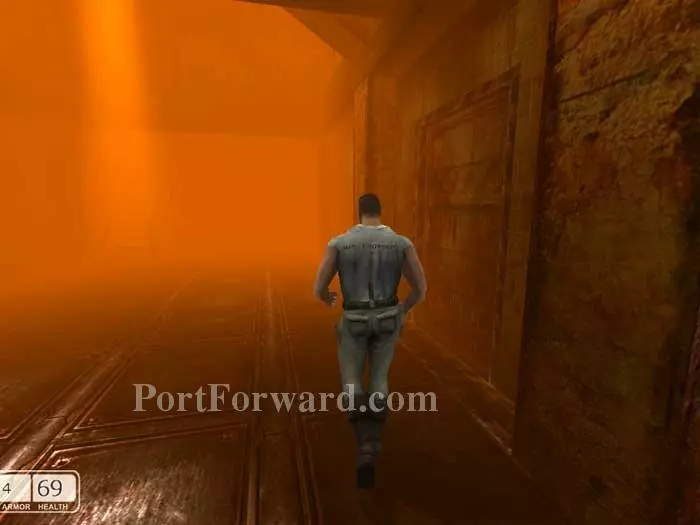
Follow Jay out of the cell, staying as close as possible.
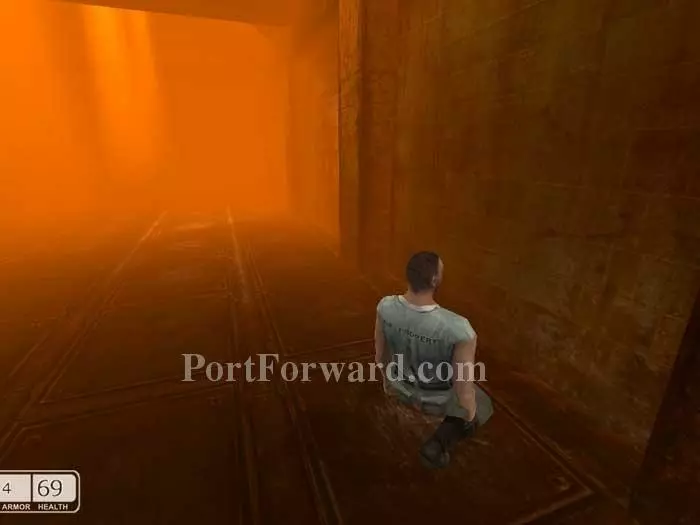
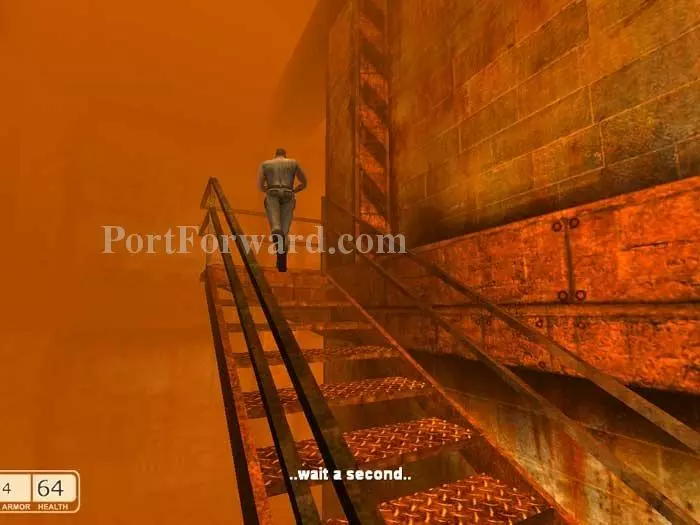
When Jay pauses, as seen here, pause with him.
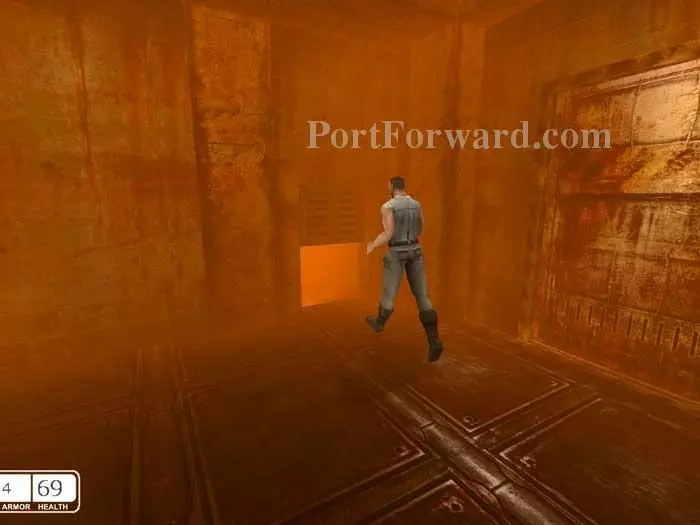
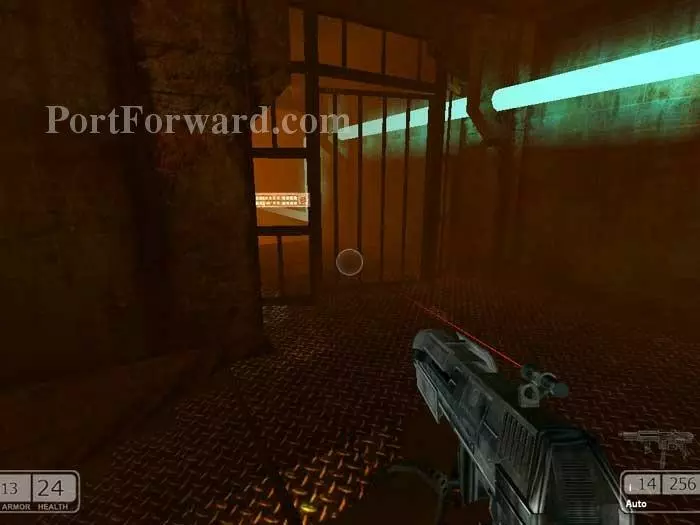
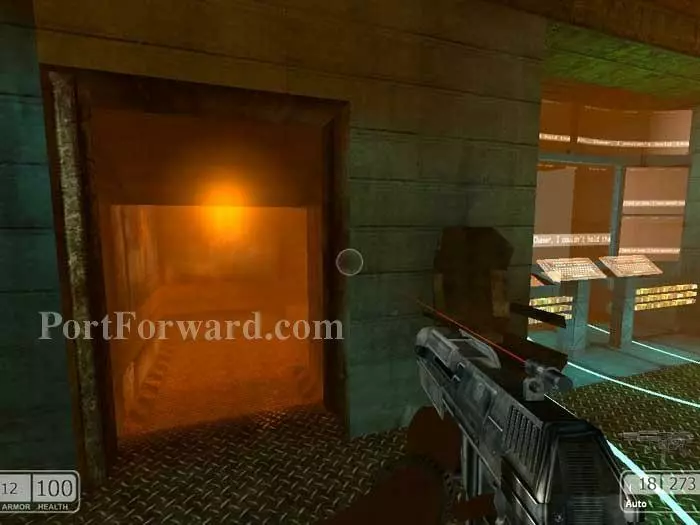
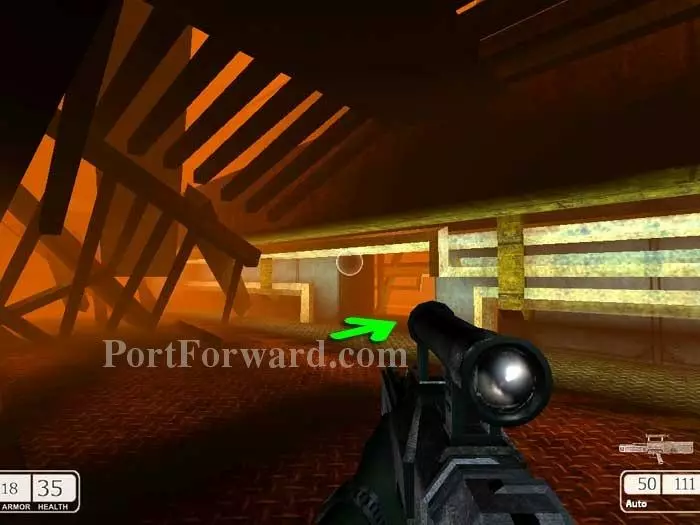
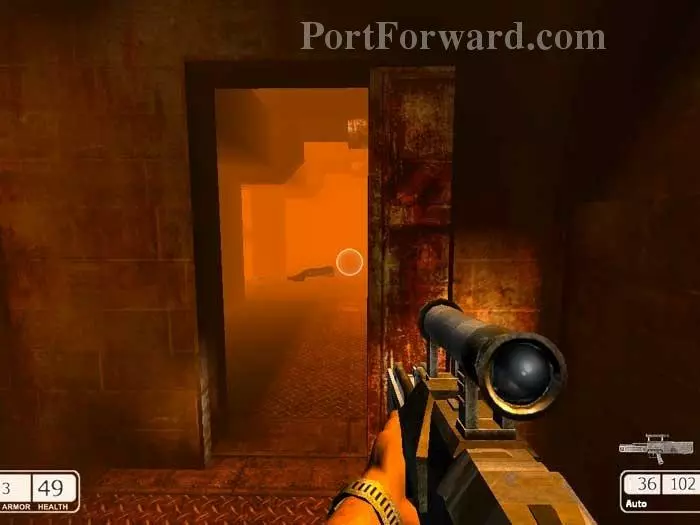
Follow Jay through this access panel.
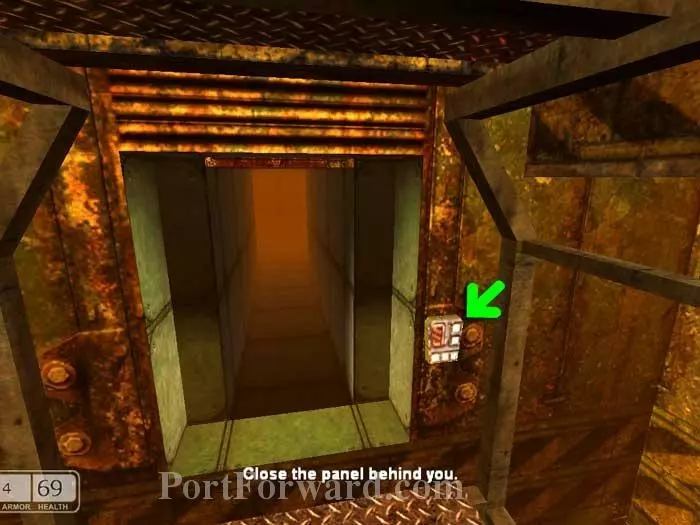
Use the indicated switch to close the panel. The lift will carry you down without Jay.
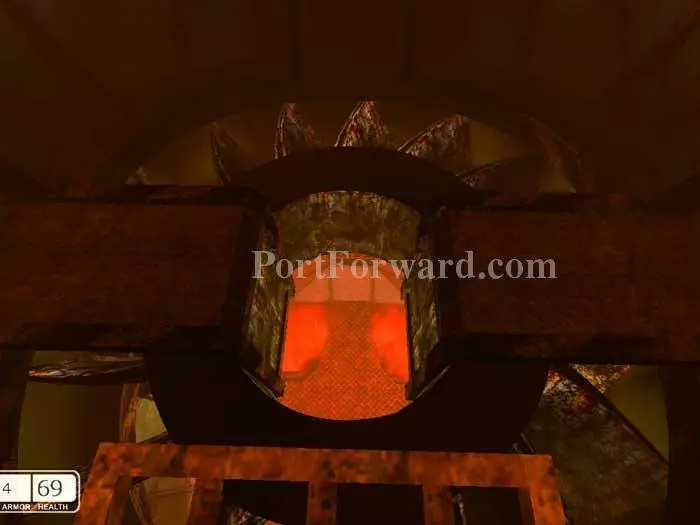
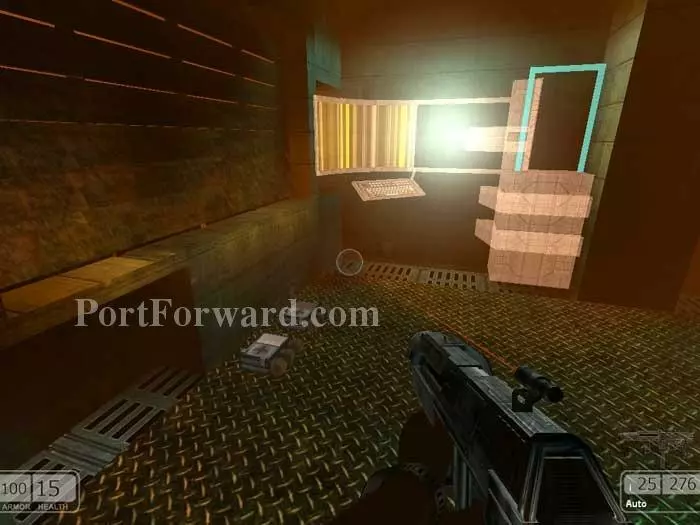
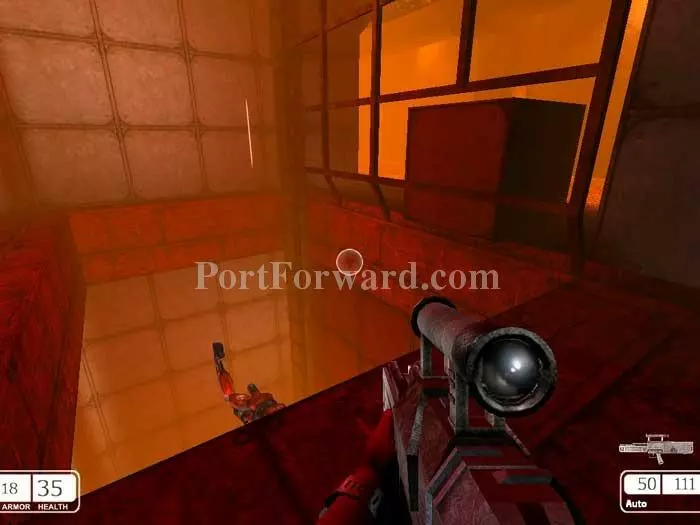
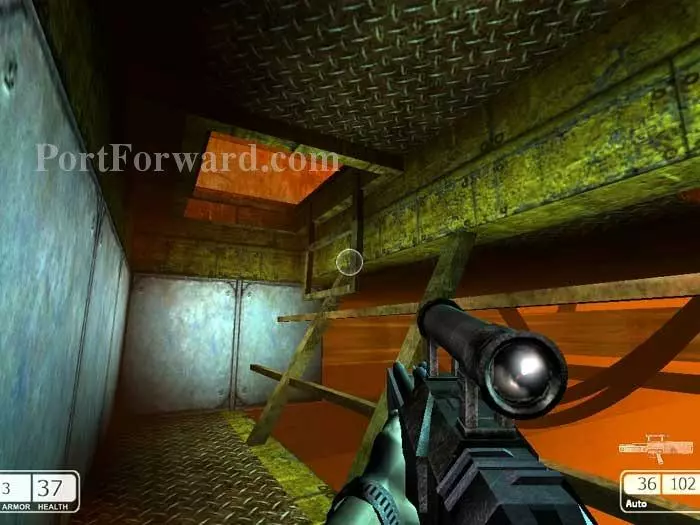
Crawl through the ventilation shaft then drop through here.

Further into the shafts you'll make this leap of faith. The updraft will allow you to drop softly.
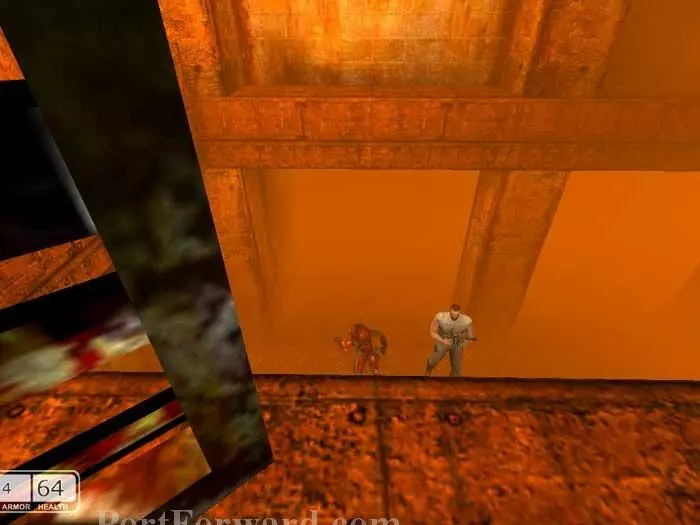
Exit the vents and drop to Jay below.
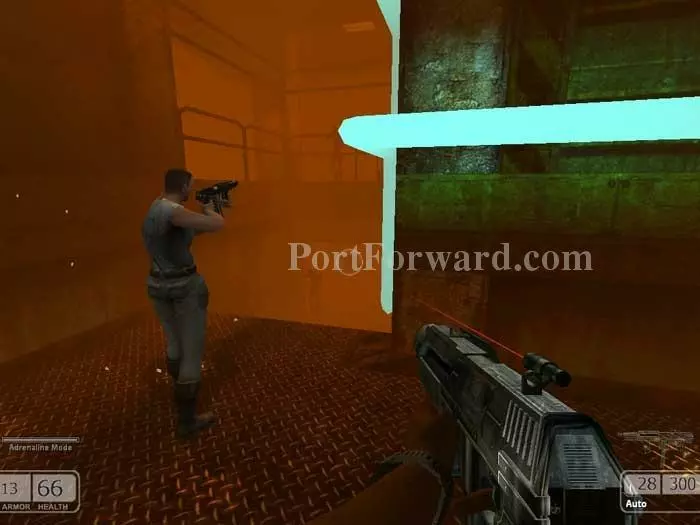
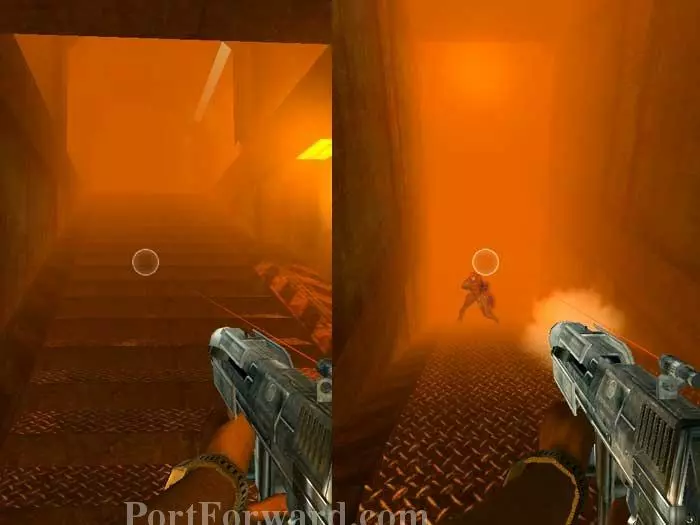
Resume your pattern of following Jay. Walk when he walks, run when he runs, crouch when he crouches.
Wait here while Jay takes out another guard. When Jay returns, approach him and he'll resume.
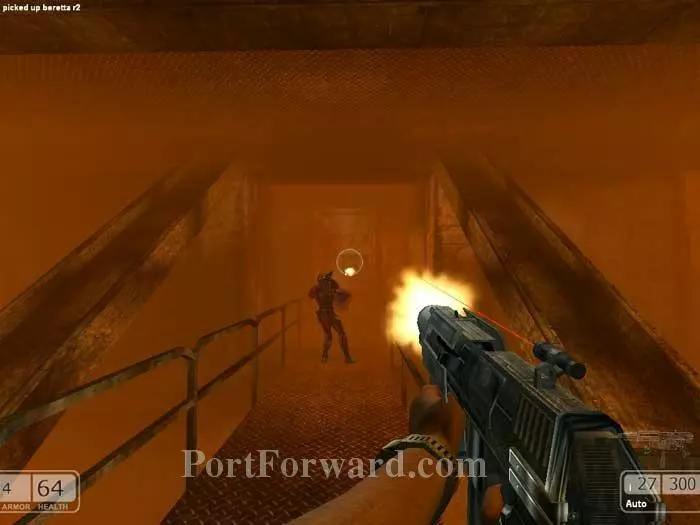
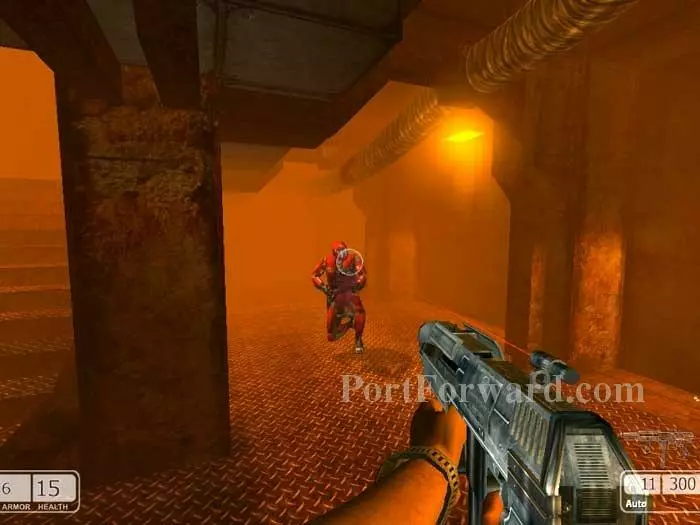
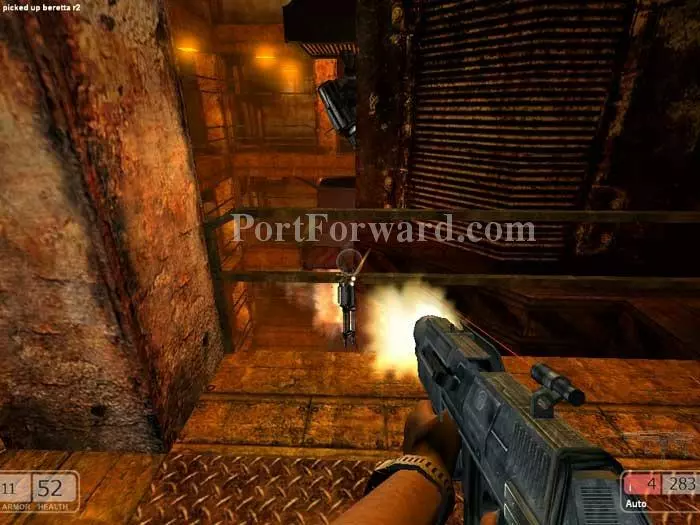
Jay takes out another guard. Grab the Beretta and use it on this guard.
You'll have to take the lead through this next bit. Jay will hold still until you clear the path of guards ahead. Don't venture too far though or you'll set off an alarm and end the mission in failure.
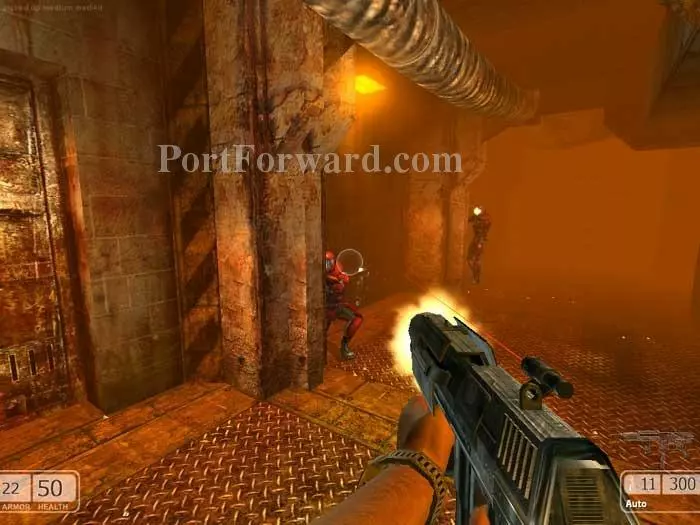
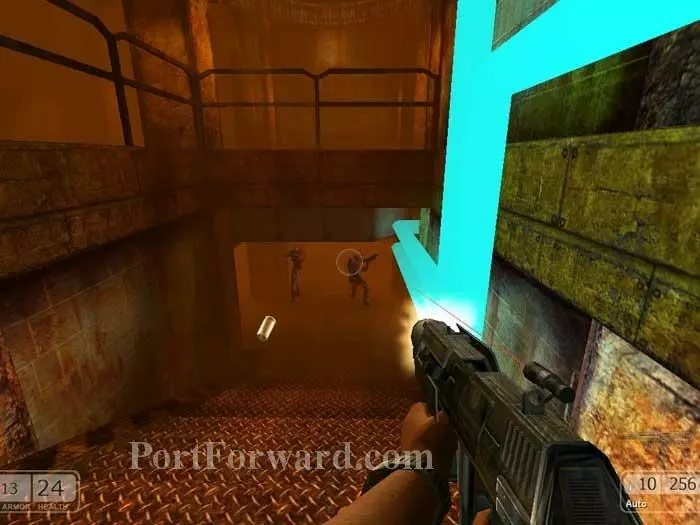
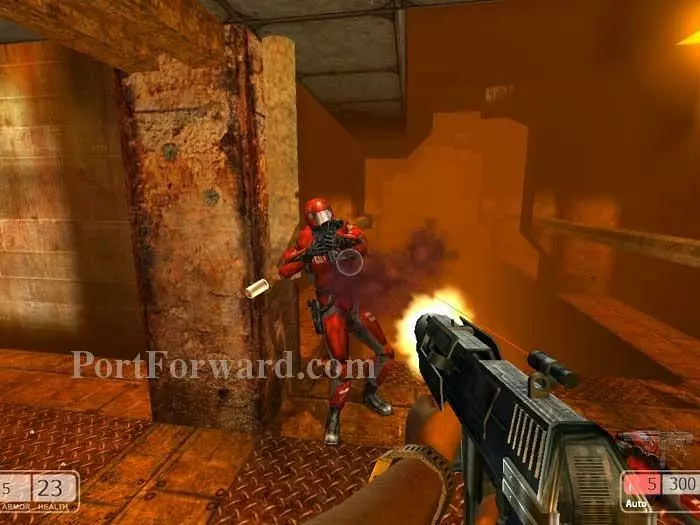
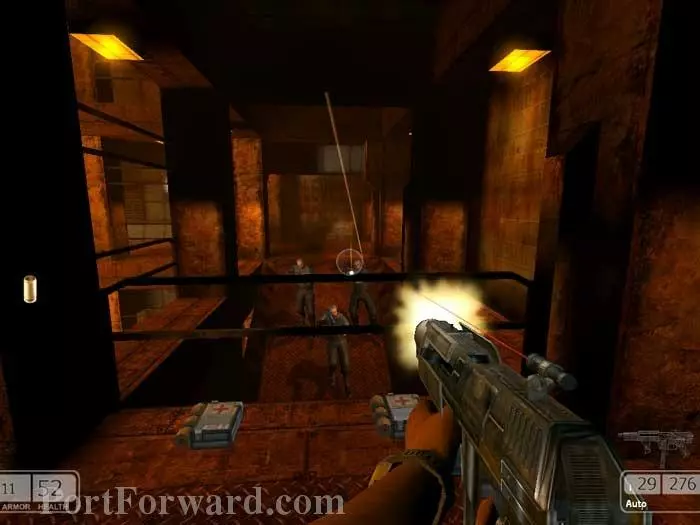
Take out these guards then follow Jay up the stairs where you'll find more resistance.
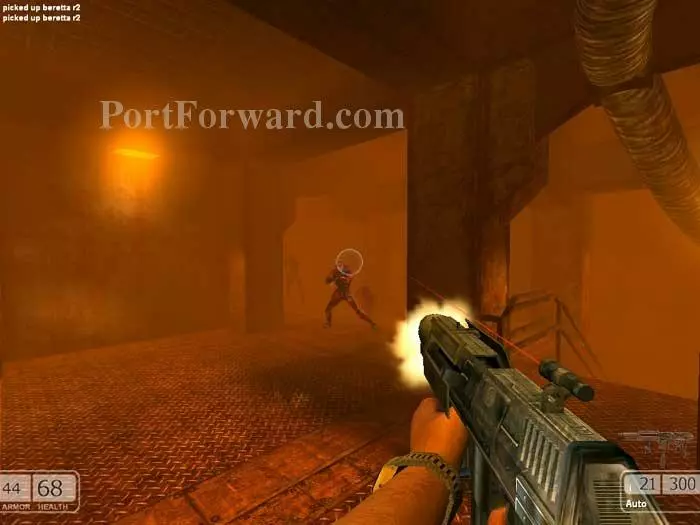
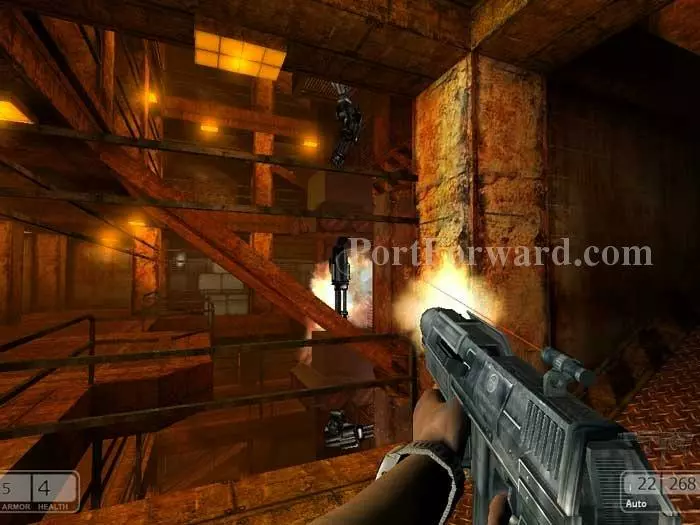
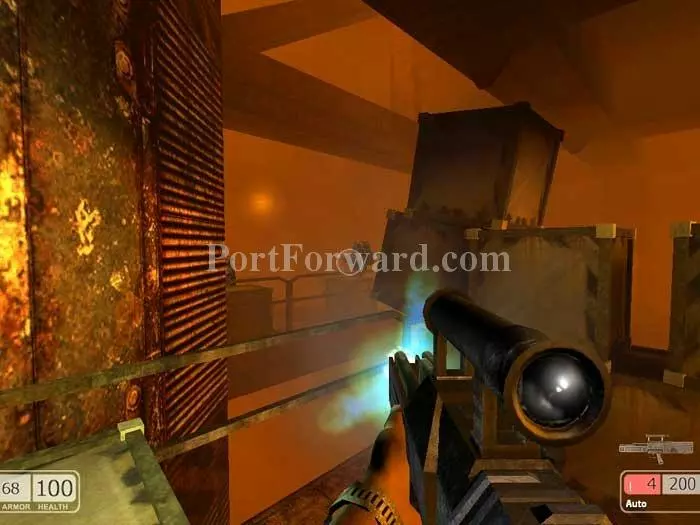
Help Jay take out these guards. You're shooting, yet no alarms are sounding. This is very confusing. Is it a stealth mission or not? And who is escorting whom?
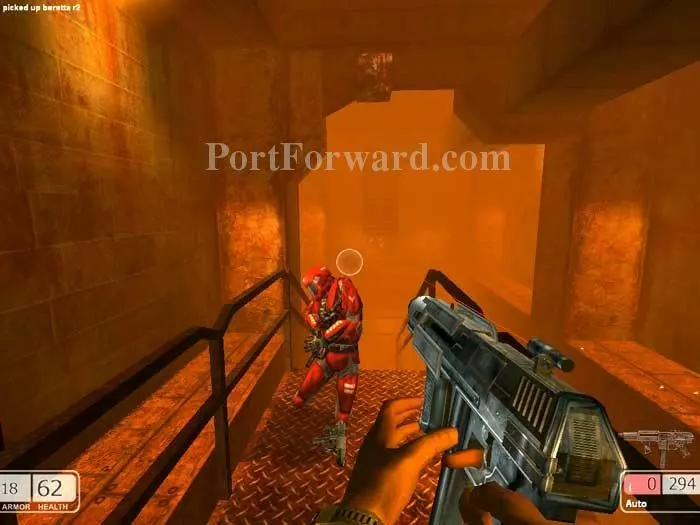
Jay won't continue until you take out this guard at the bottom of the stairs.
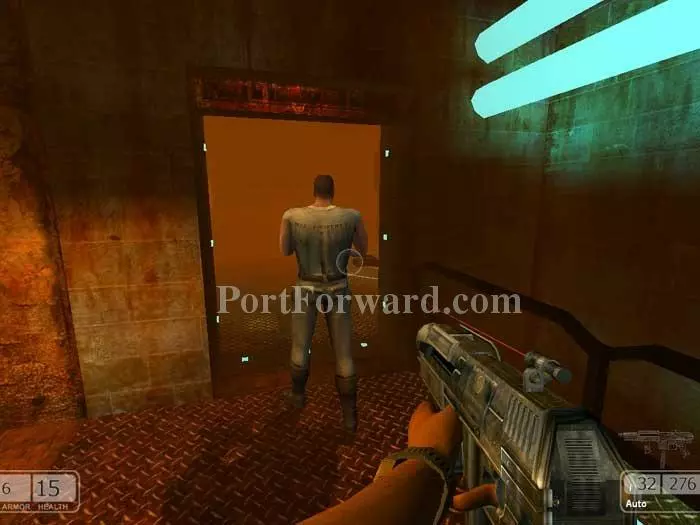
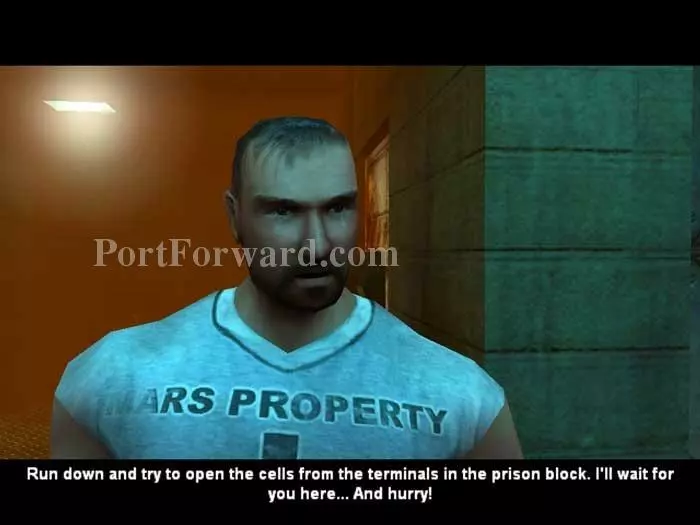
Follow Jay to this control room.
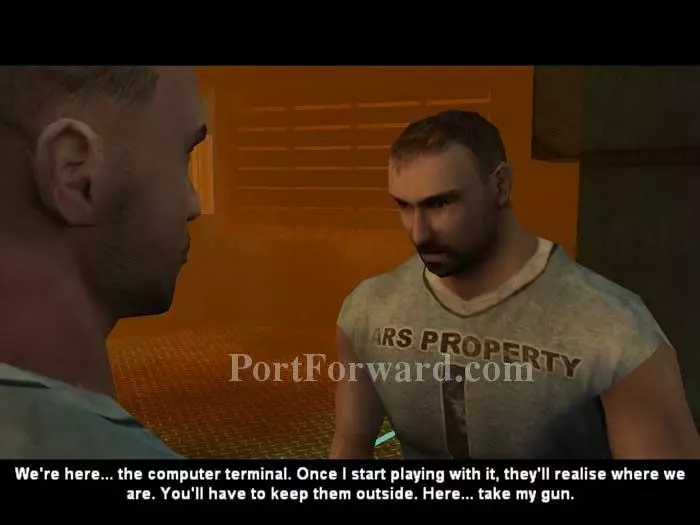
A brief cutscene plays.
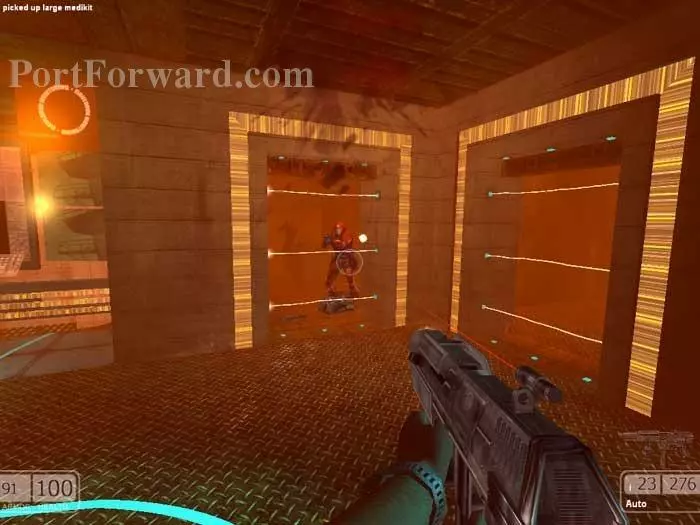
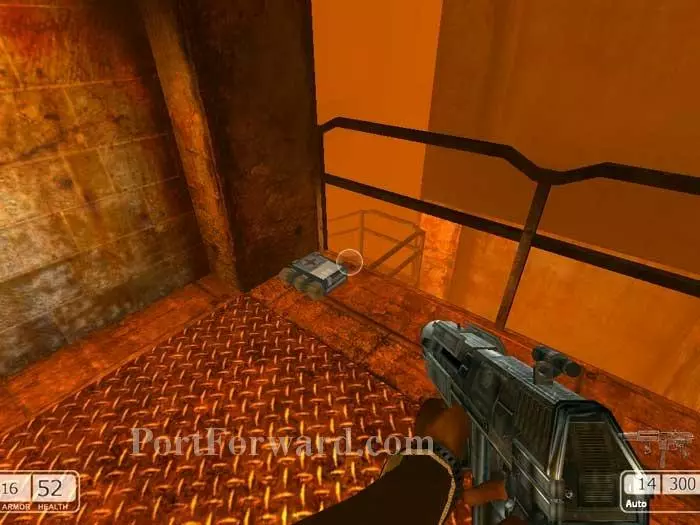
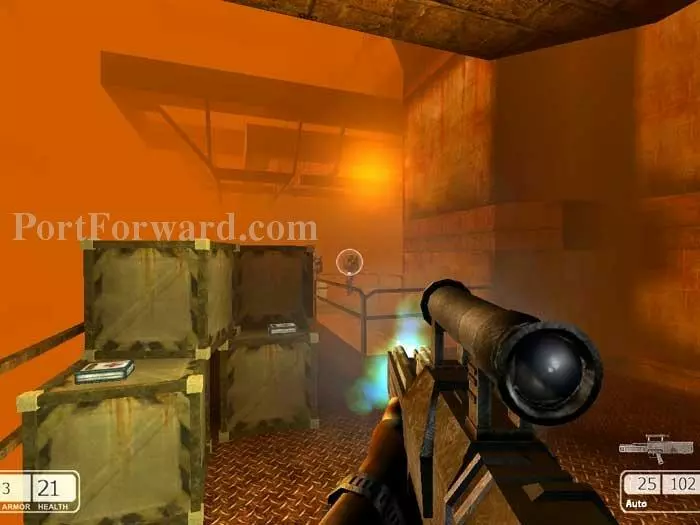
Grab armor and health back here.
Hold off the guards while Jay works the computer.
Another short cutscene.
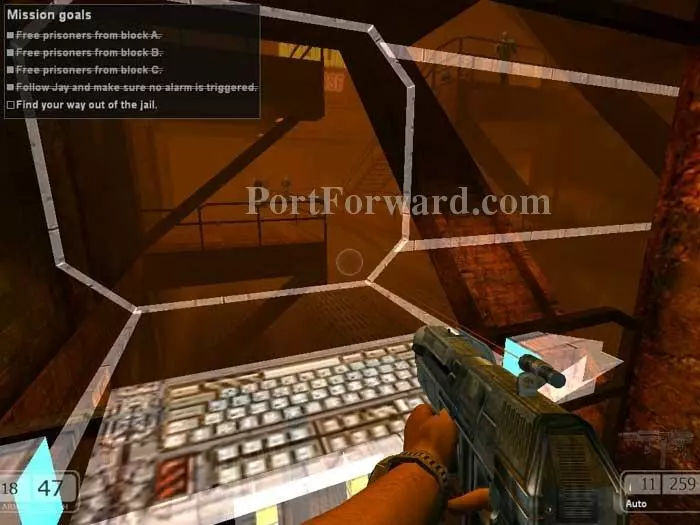
Your objectives are updated -- free prisoners from cell blocks A, B and C. The force fields are down and you can now exit the command center.
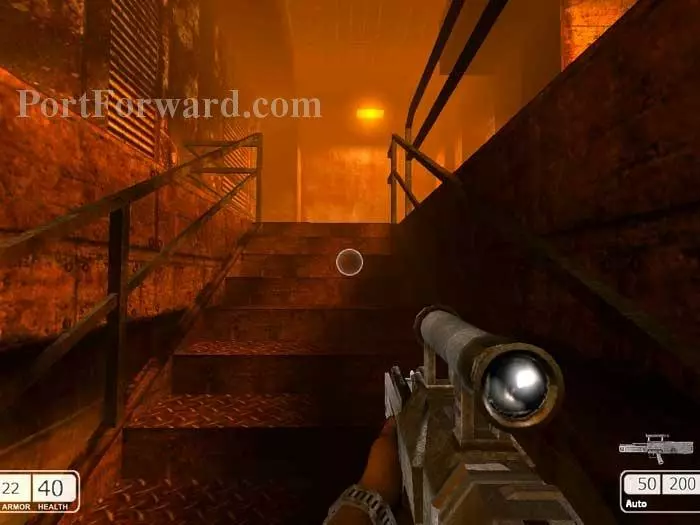
Go upstairs. You'll know that you're on the right path when you meet more resistance.
Watch for enemies spawning behind you. Descend the stairs on the right.
Turn right then continue down these stairs.
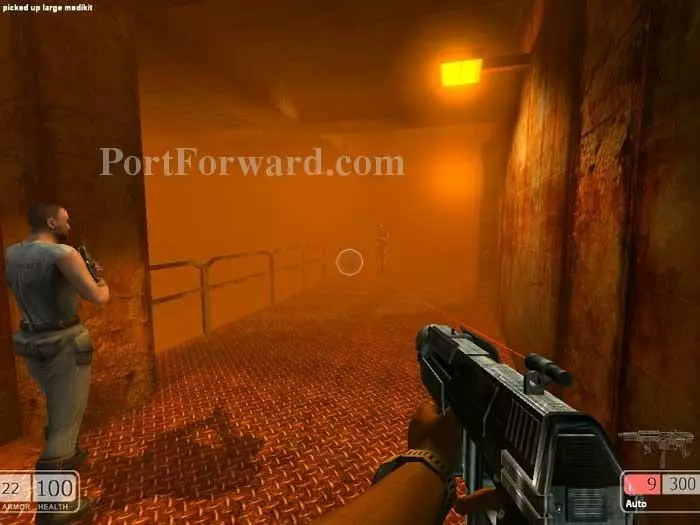
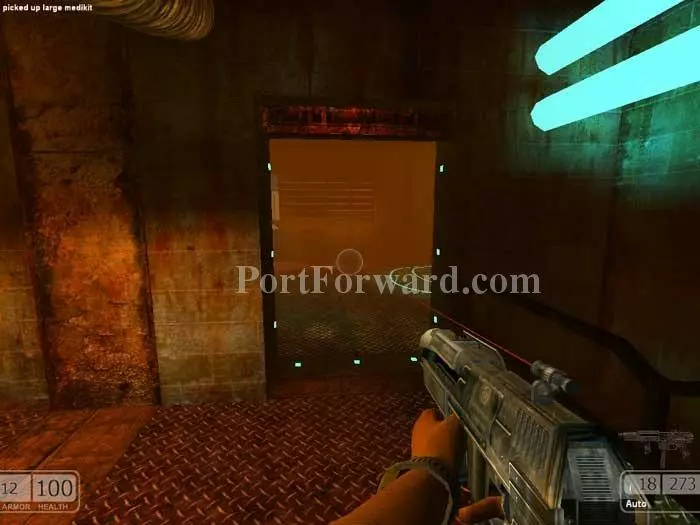
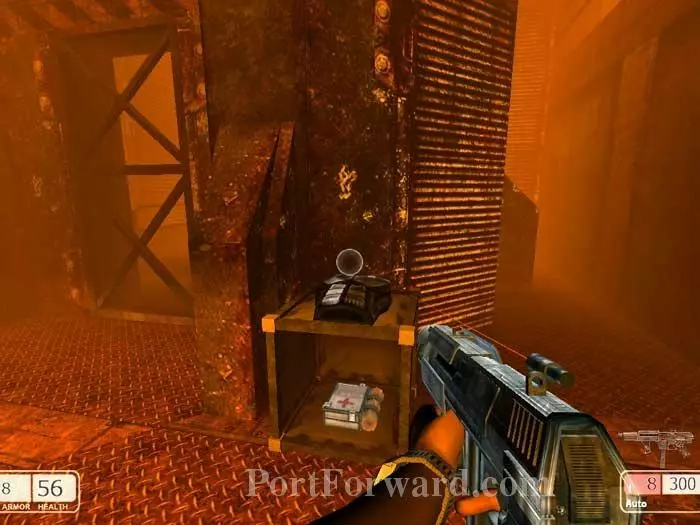
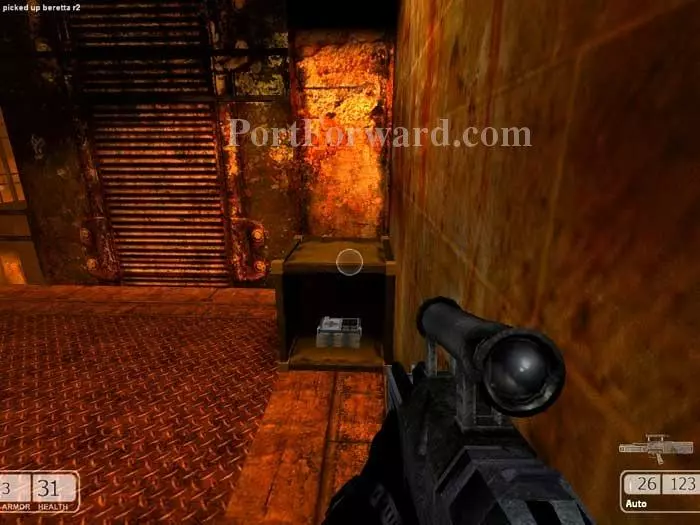
Don't miss this medkit on the right.
Go up the stairs seen on the left then go down the stairs seen on the right.
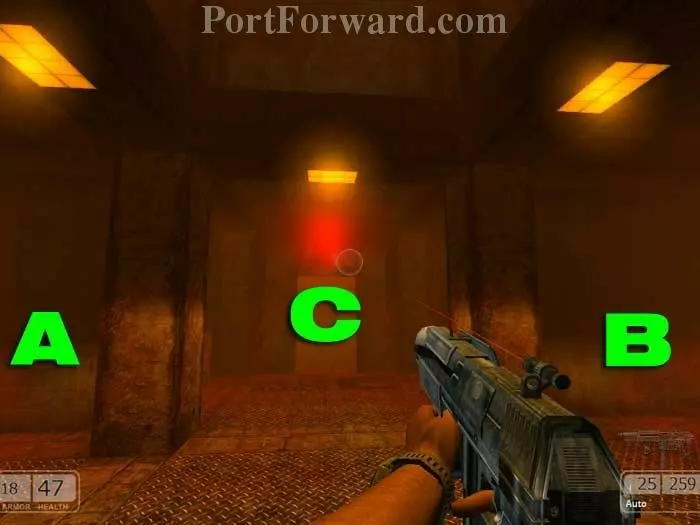
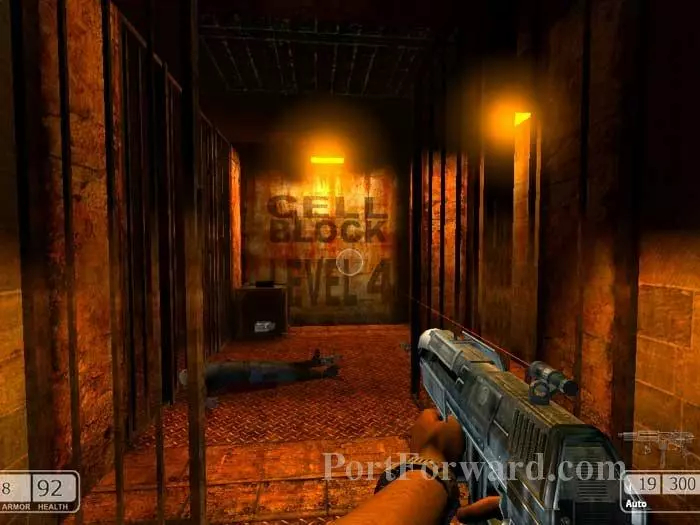
The control rooms for cell blocks A, B and C are as indicated.
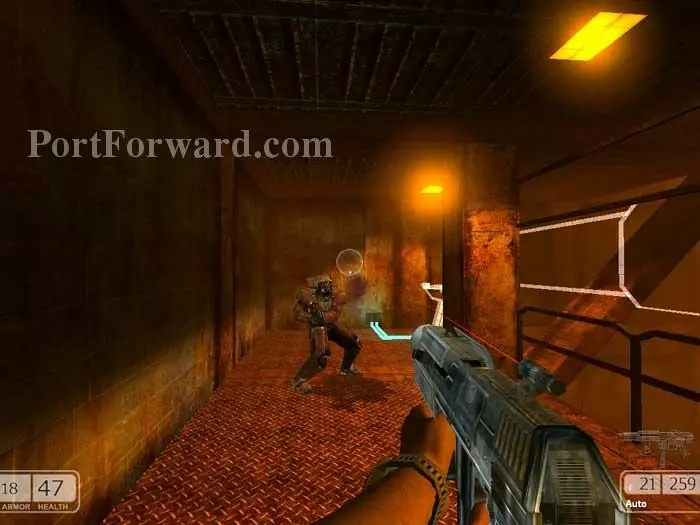
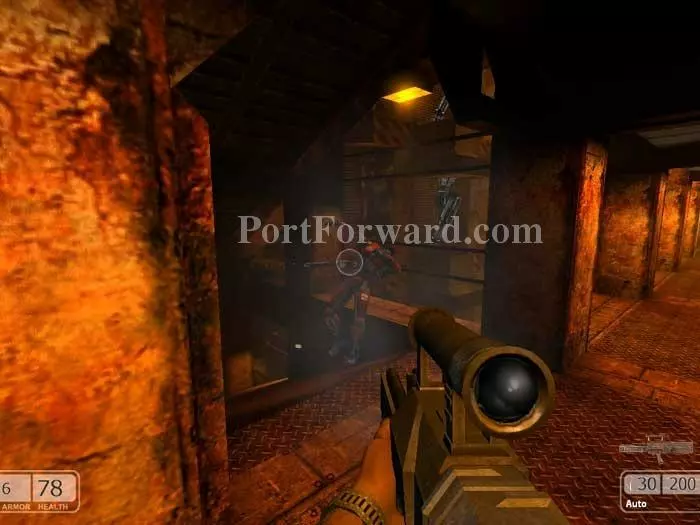
Inside each is an armored trooper.
Activate these consoles to free the prisoners.
Return upstairs and activate this now-working switch to open the door.
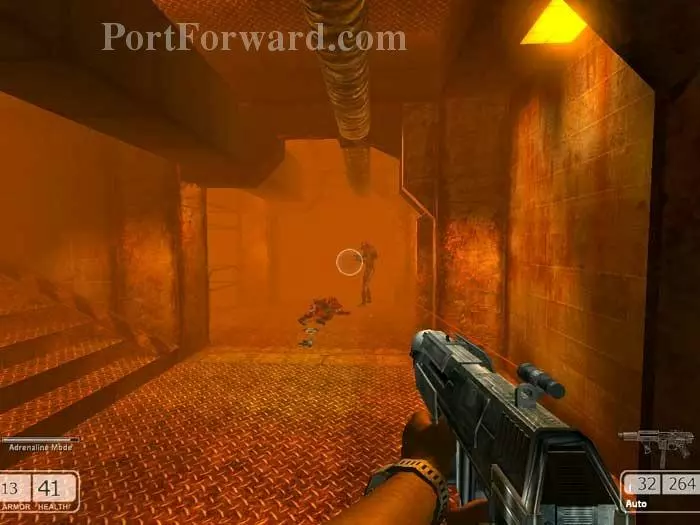
Fight past these two. A large medkit is around the corner to the left.
To the right is the command center where you had left Jay.
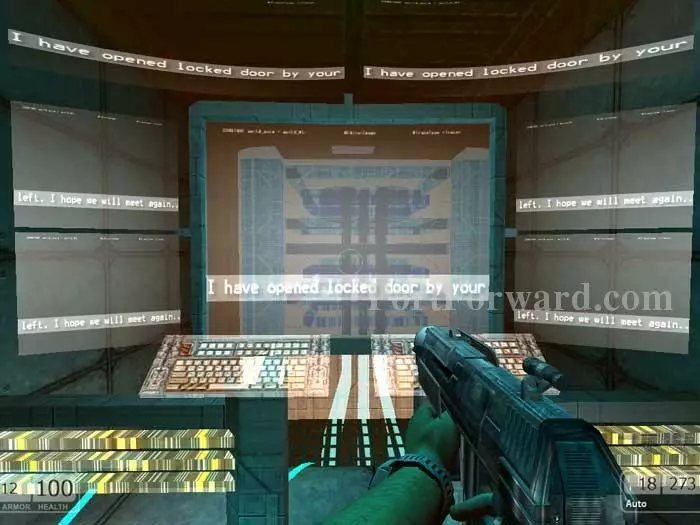
Jay is gone, but this message on the computer tells you to exit out the left door.
Here's the door. Continue through the corridor to end the level.
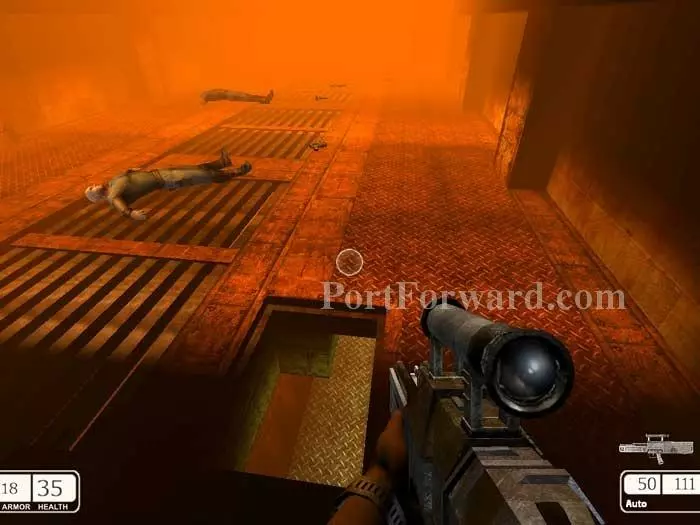
Fight your way along the corridors and down these stairs.
Through a door on the left you'll find this armor and large medkit.

Return upstairs and fight your way down the stairs seen here on the right. The prisoners you just freed will also attack you -- go figure.
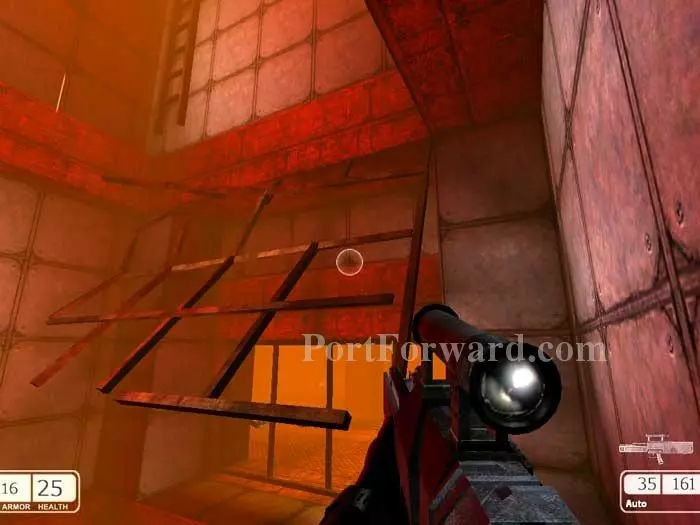
Drop through this opening.
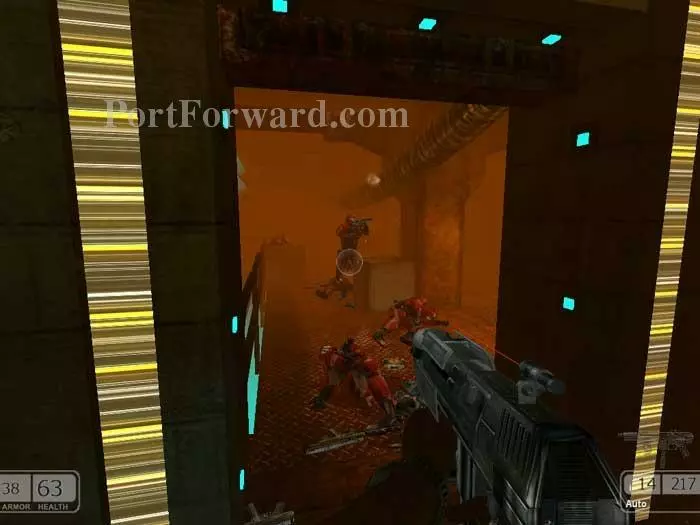
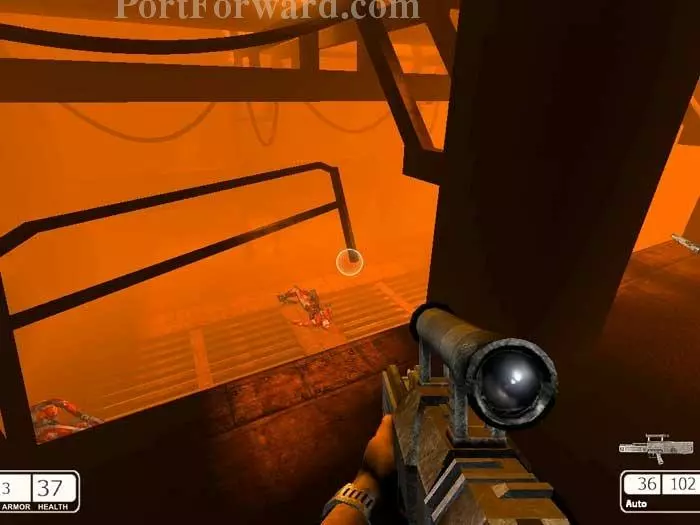
A battle rages above between the guards and the prisoners. Continue through here.
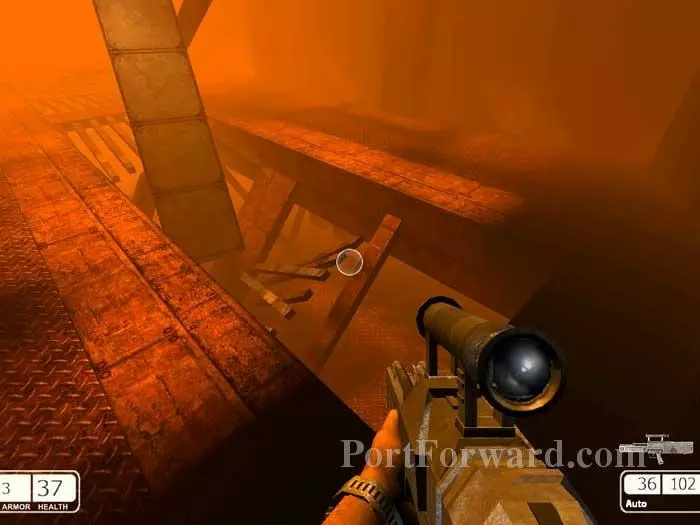
Guards fall down this shaft. Climb the ladder far-right.
Climb the bars to the ladder upper-left.
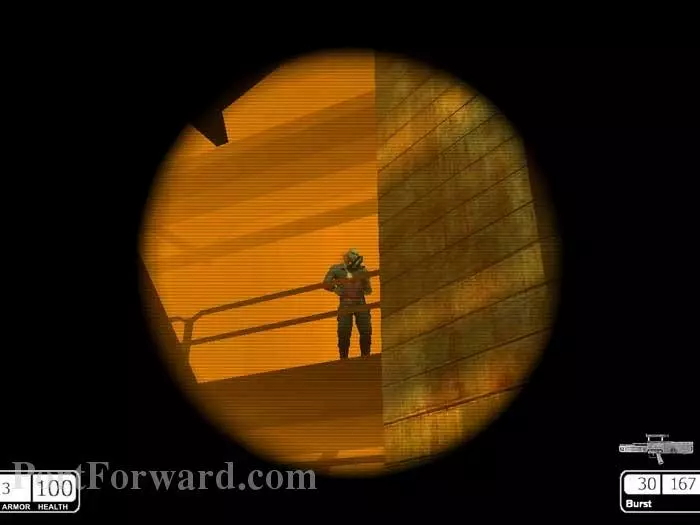
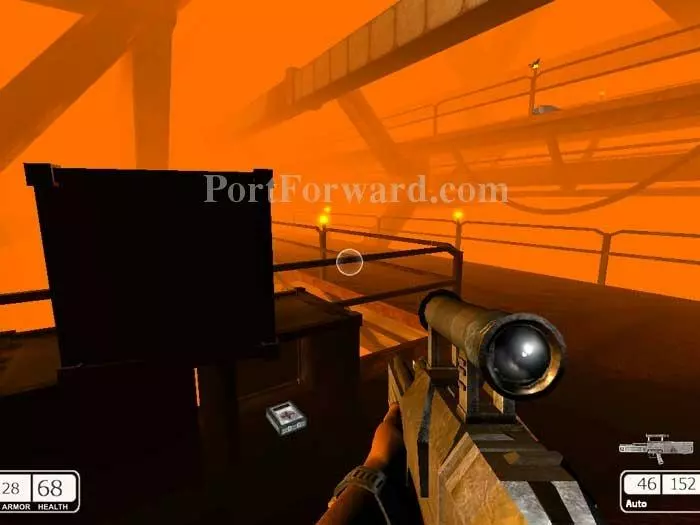
Hold position here and lure the enemy into your crosshairs.
Fire on these two gun turrets while their firing sequence is winding down.
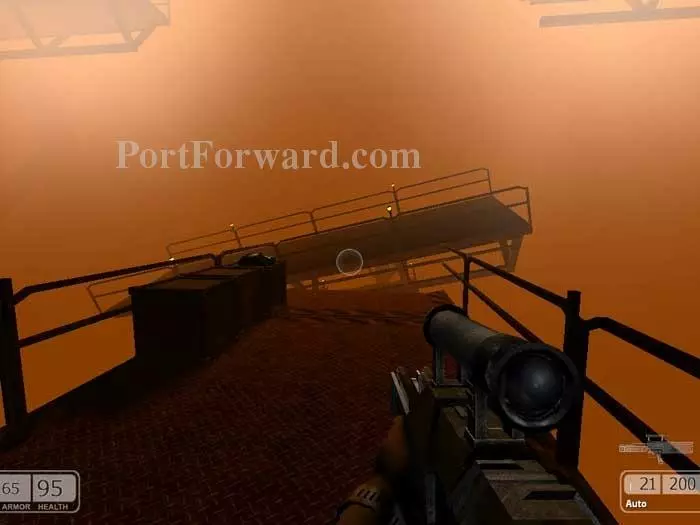
Head left to these two large medkits. Descend the ramp ahead.
Note the health and ammo on the left.
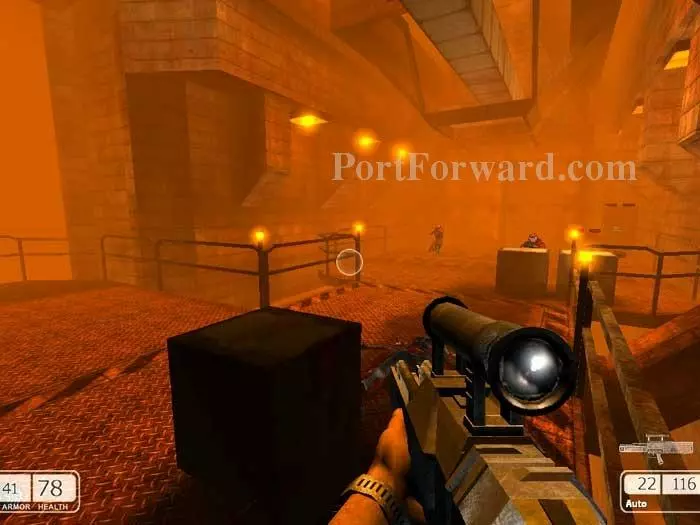
Fight your way farther down the stairs.
Destroy these turrets whenever you can get a clear shot.
Keep an eye out for newly-spawned enemies above.
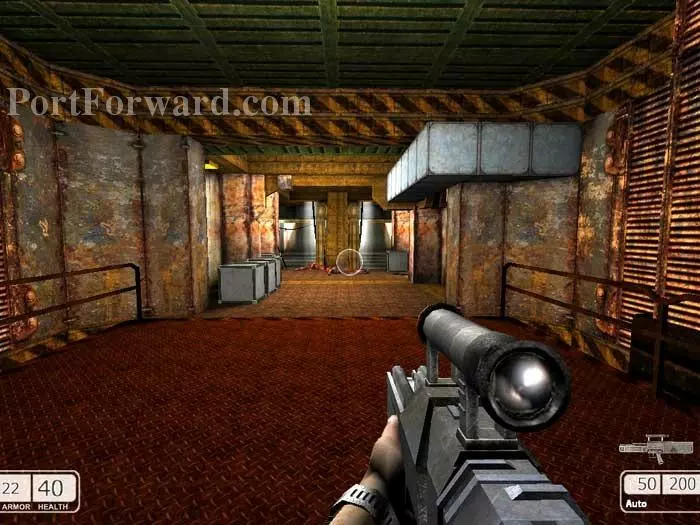
You'll find a medkit in this crate under the stairs.
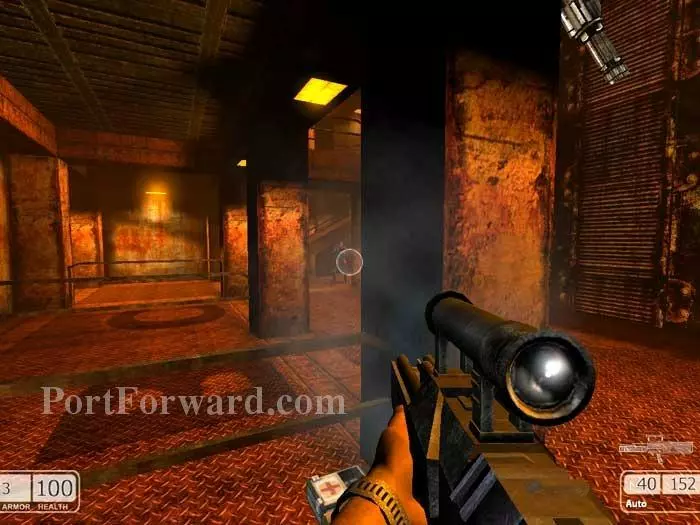
Another medkit can be found here. Continue through a door behind those stairs ahead.
Head through this door.
Drop below.
Drop through here.
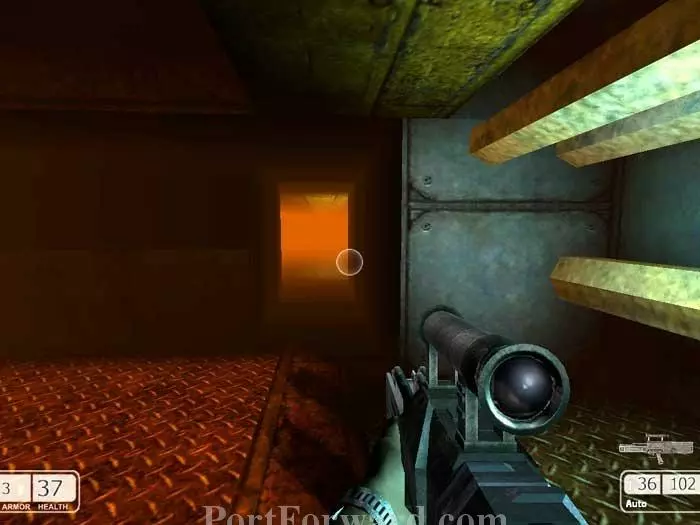
Approach this passage to load the next area.
Climb through that opening above.
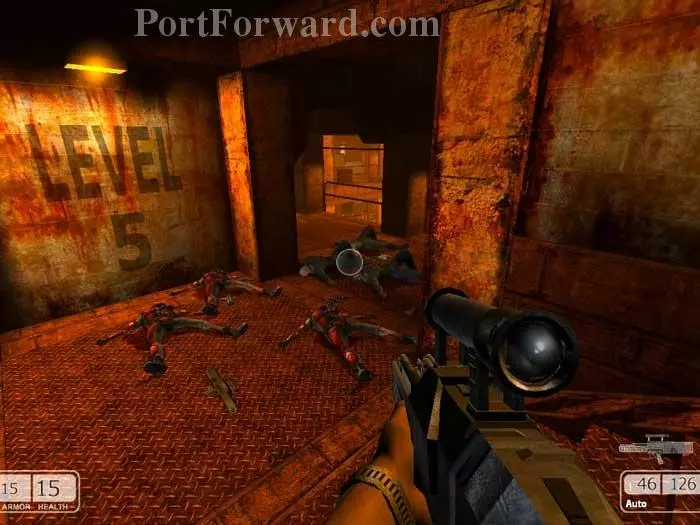
Defeat these guards and the prisoners beyond. Note the medium medkits on the left.
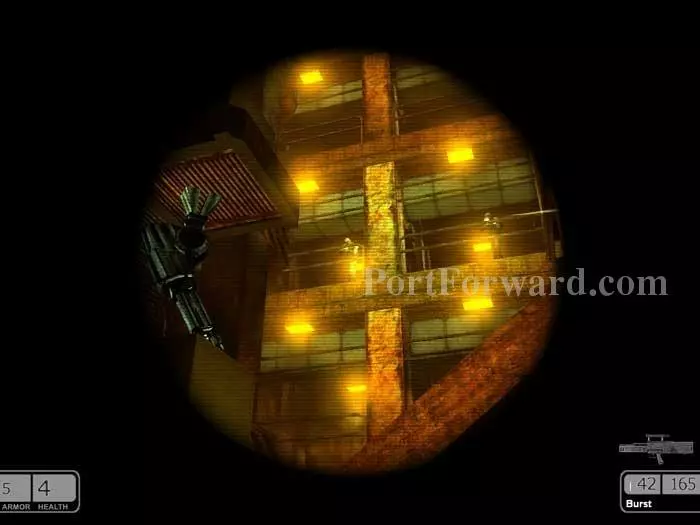
Snipe the snipers above.
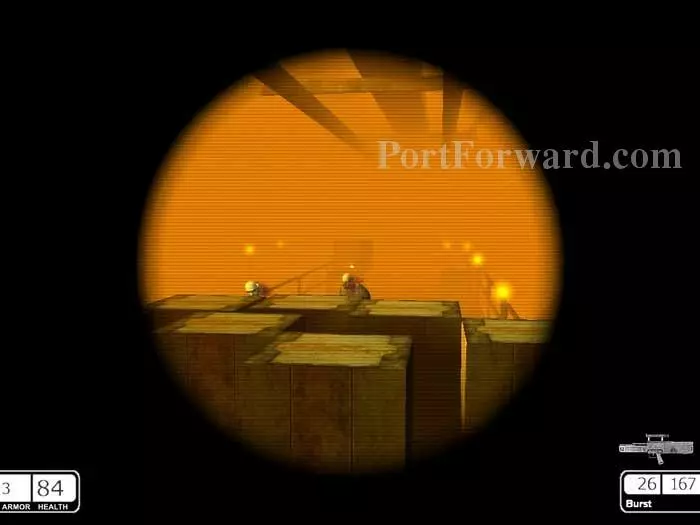
Climb onto a crate to get a bead on these two, then jump over the crates to the other side.
Another medium medkit can be found here.
Armor, health and ammo can be found far-right. Descend the stairs on the left.

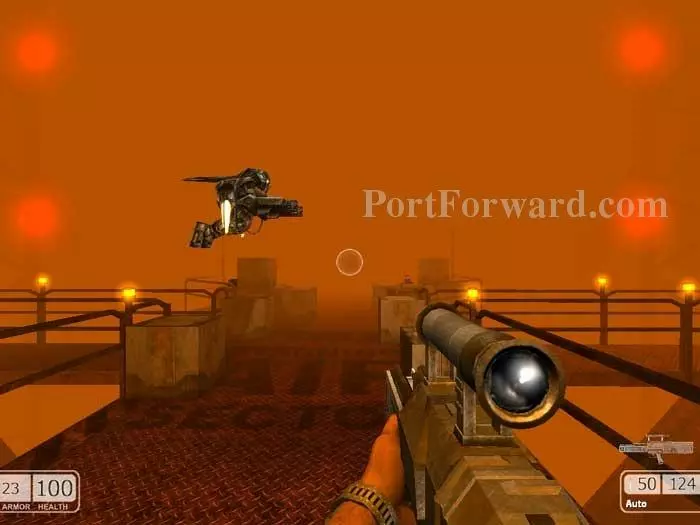
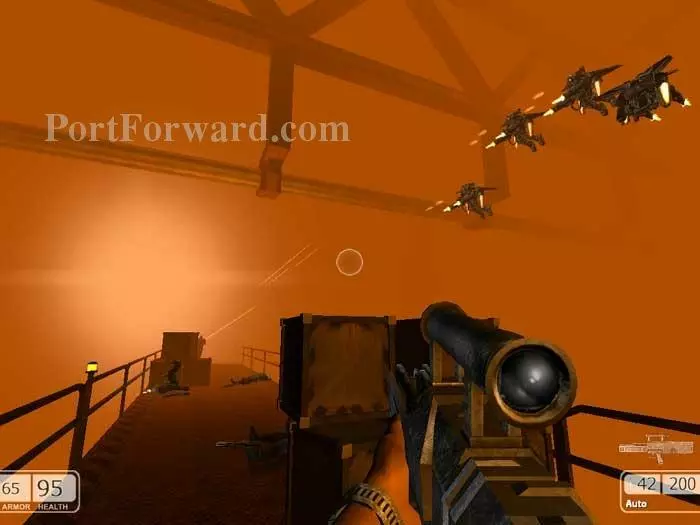
Shoot down this flying - whatever it is. Grab the large medkit on the left. Continue to the right.
This area is pretty cool. Up ahead is armor and a medium medkit. Go right to find ammo and a large medkit before heading left.
Destroy that turret and another just like it ahead. Armor and a large medkit are up the ramp on the left.
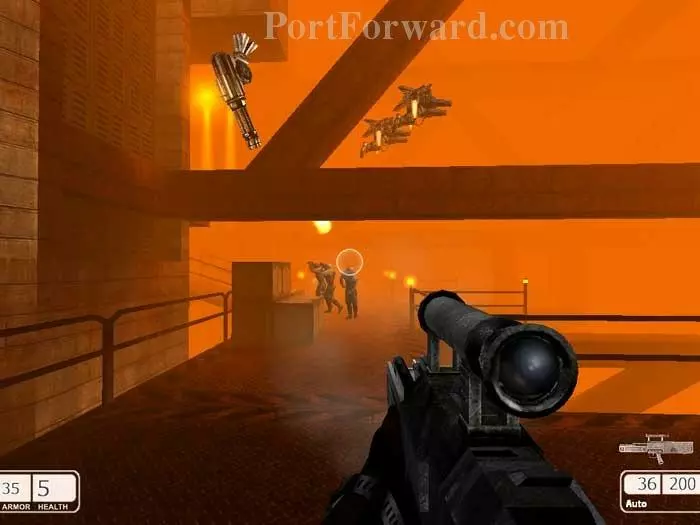
A large explosion and then more flying monkeys attack the prisoners.
The deck above knocks out this pathway. Grab the armor and large medkit on the left.
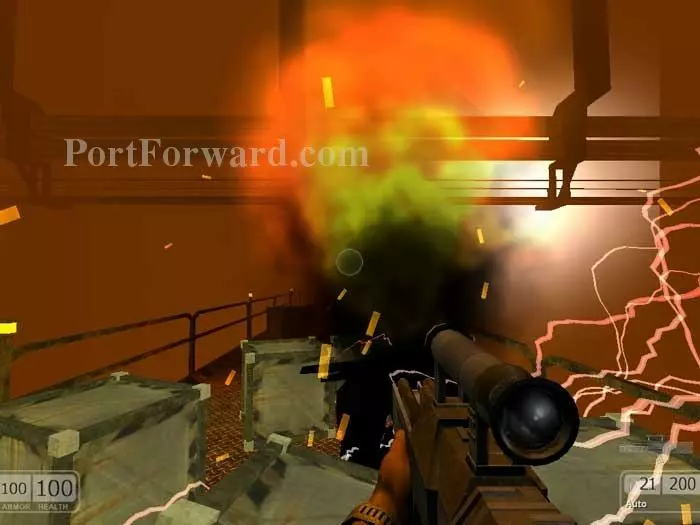
Turn around and it really hits the fan.
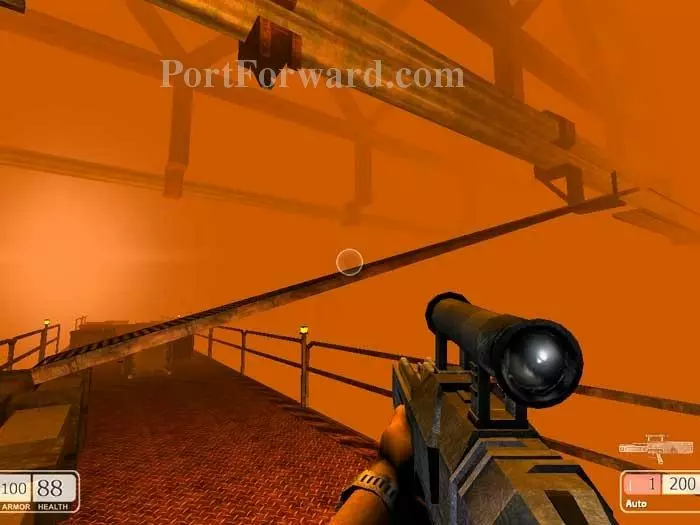
Ramp up this debris, conveniently delivered by the explosion.

Turn left at the top then ready for a fight as you enter that door on the right.
Eliminate the opposition then jump over that railing to the floor below.
Climb these stairs.
Ride this lift up.
Step off the lift to initiate the ending cutscene.
Chaser and Jay are reunited.
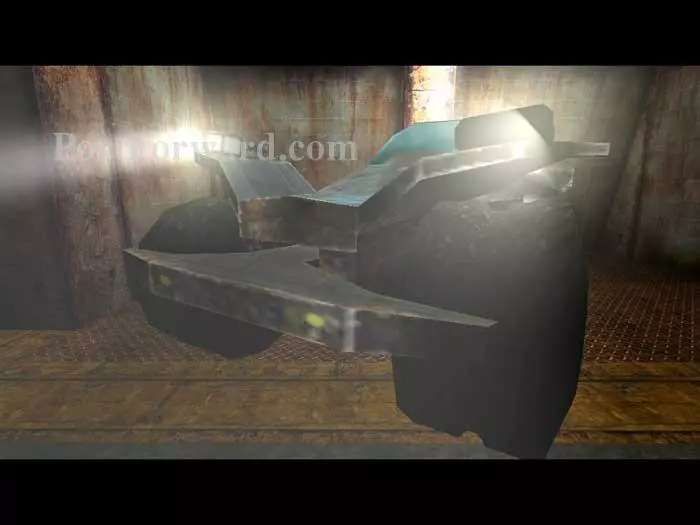
And they drive off in this very cool police car.
More Chaser Walkthroughs
This Chaser walkthrough is divided into 18 total pages.


