
This Chaser walkthrough is divided into 18 total pages.
You can jump to nearby pages of the game using the links above.
Military Depot

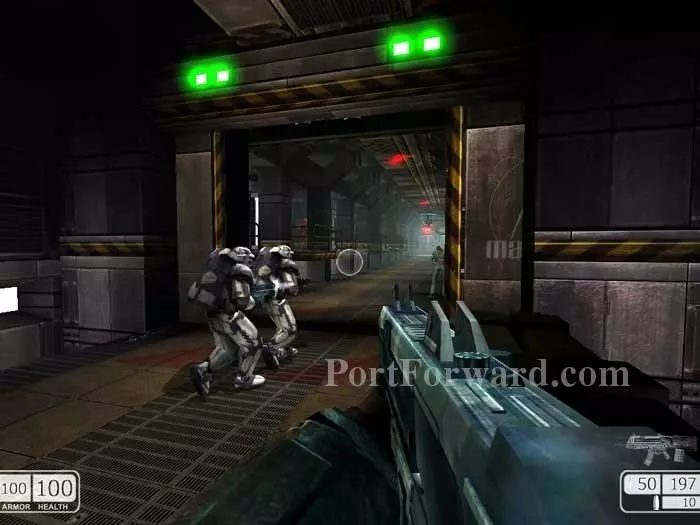
This is the area most aptly identified by the box's "Fight your way through hell" statement.
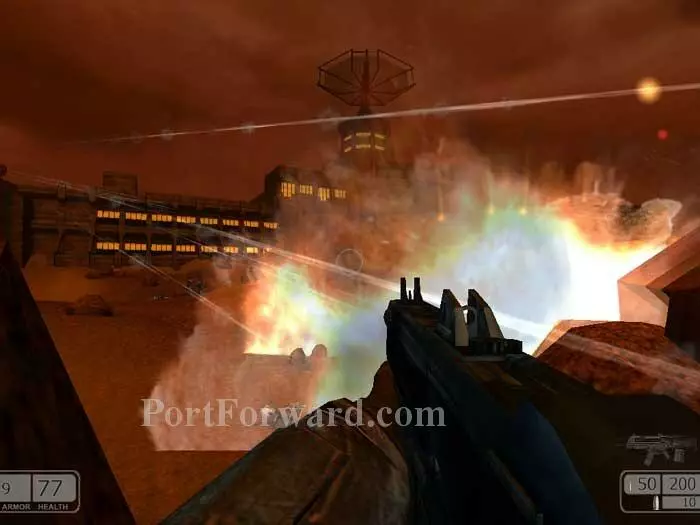
Keep moving. Don't bother to fire upon the enemy, just do your best to dodge their fire.
This really is a spectacular sequence. Your objective is the open door seen here on the left.
Once inside, clear the area of hostiles then hunker down and wait for your buddies to close the door.
Armor and a large medkit can be found here.
Follow your comrades through the newly-opened door. Otherwise, you'll be caught up in an explosion.
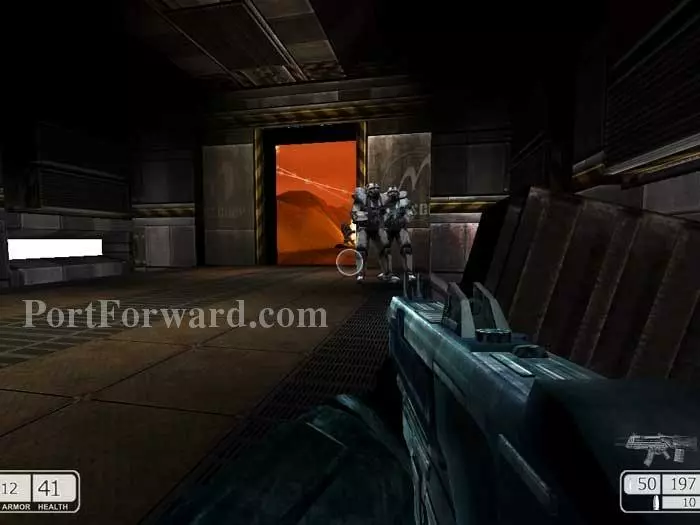
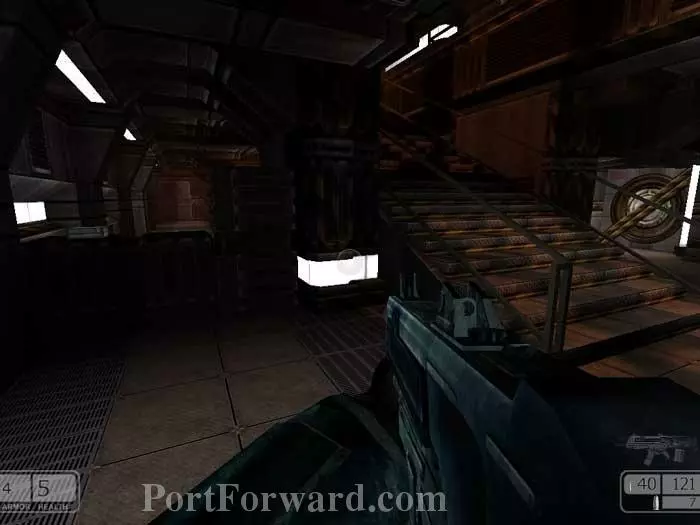
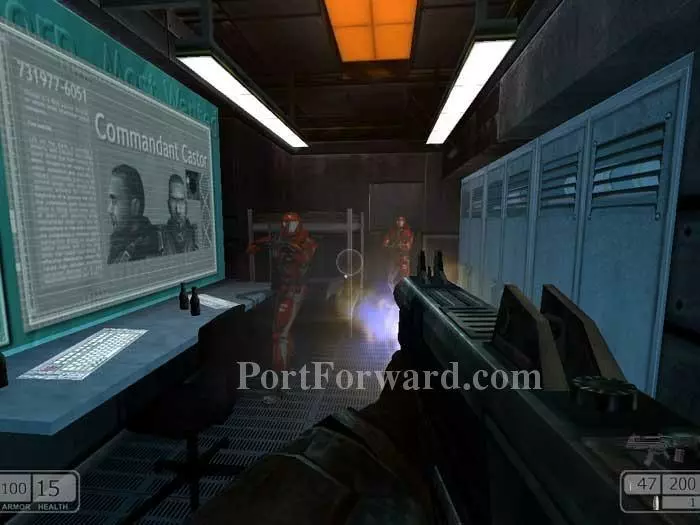
You'll want to take cover immediately. I recommend holding up behind one of these pillars and picking off the hostiles as they approach.
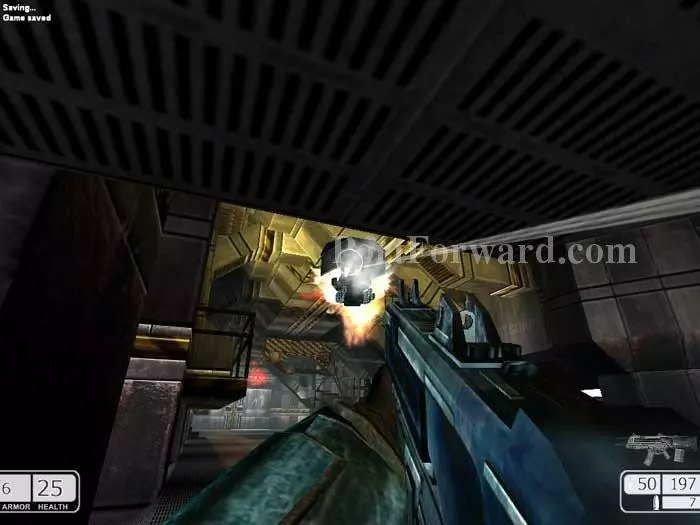
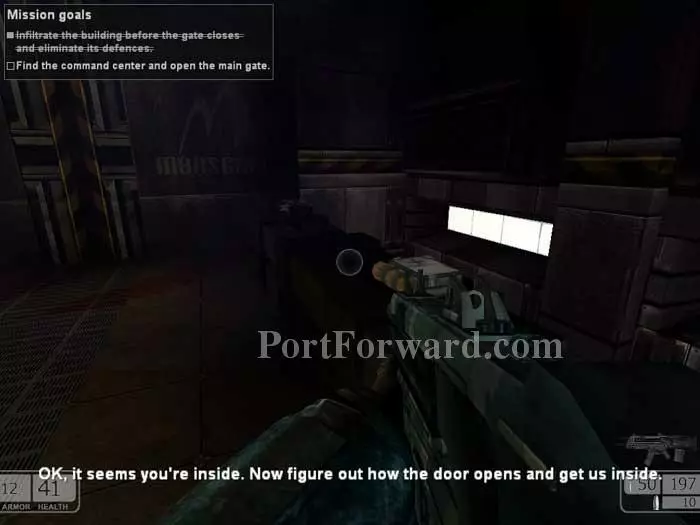
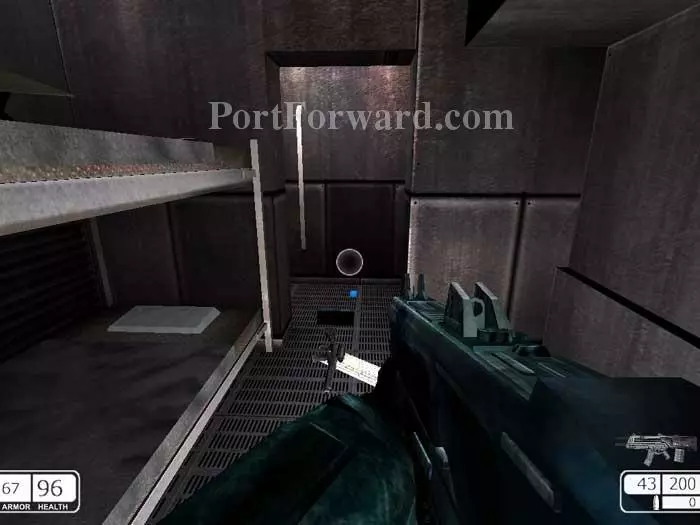
Crouch and advance under these grates then pop out and fire at the drop turret ahead. It takes quite a few shots to destroy the turret so be patient.
Clear the area of any remaining hostiles. Continue through this door.
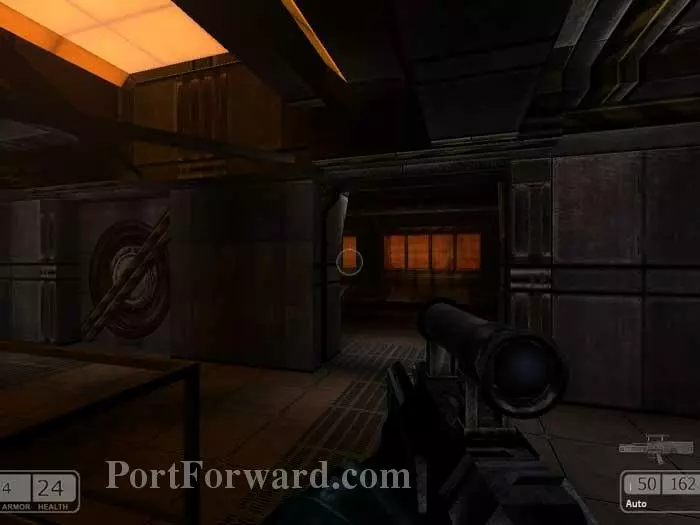
Activate the red panel seen here on the right to update your mission goals.

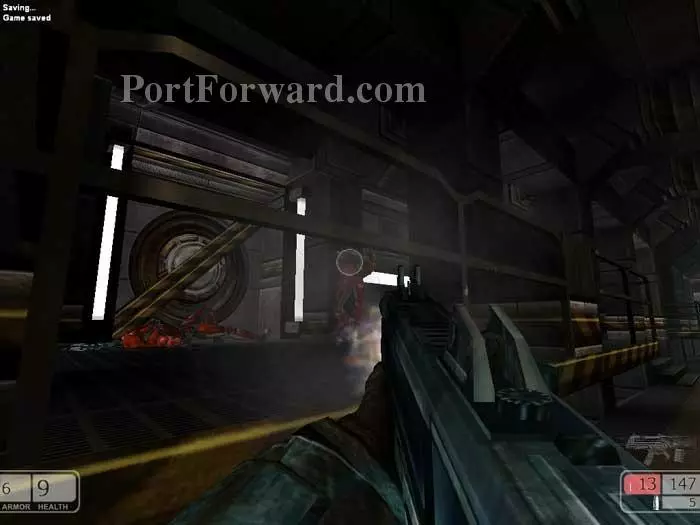
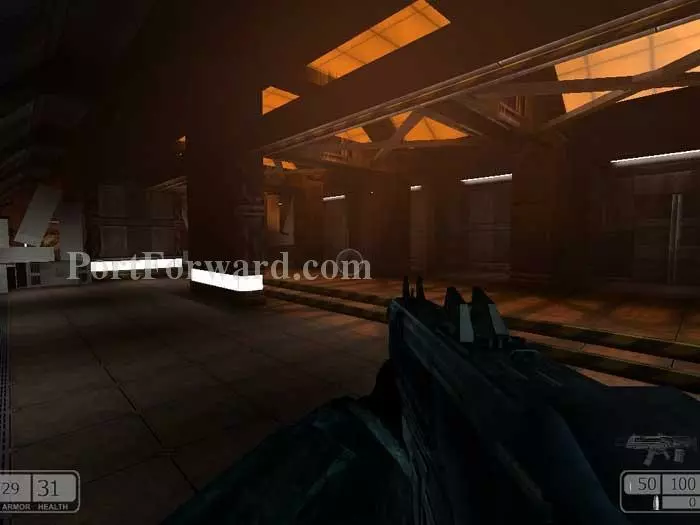
Advance through the corridor ahead, where you can enjoy a view of the rocket's red glare.
Fight past the guards through another round door and up these stairs. Note the large medkit on the left.
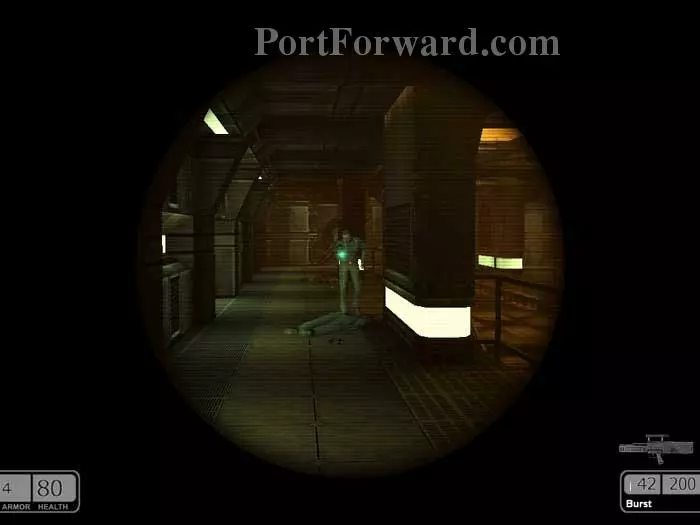
Your sniper scope comes in handy here.
Continue through the door on the right. The door on the left will short out.

Turn right and fight your way to this position. Inside the lounge you'll hear dance music and find a large medkit and armor. The room to the immediate left holds some ammo and a solitary guard.
The room to the left of that holds the security card you need. It's that blue rectangle on the floor.
Search the rooms to the right for supplies, including this one with a medium medkit far-right.
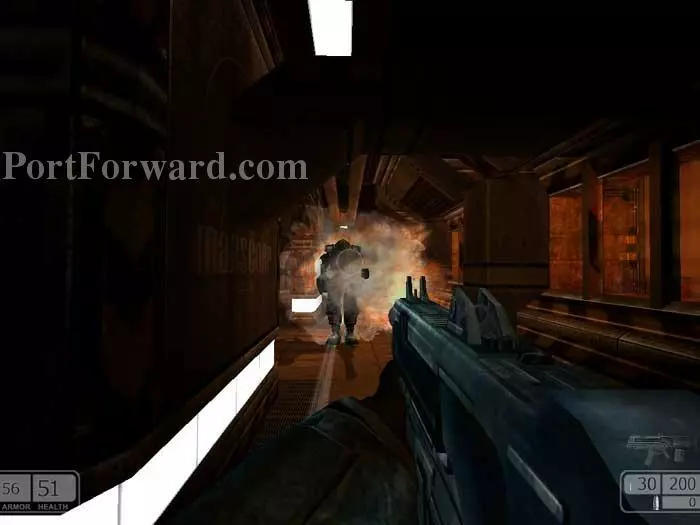
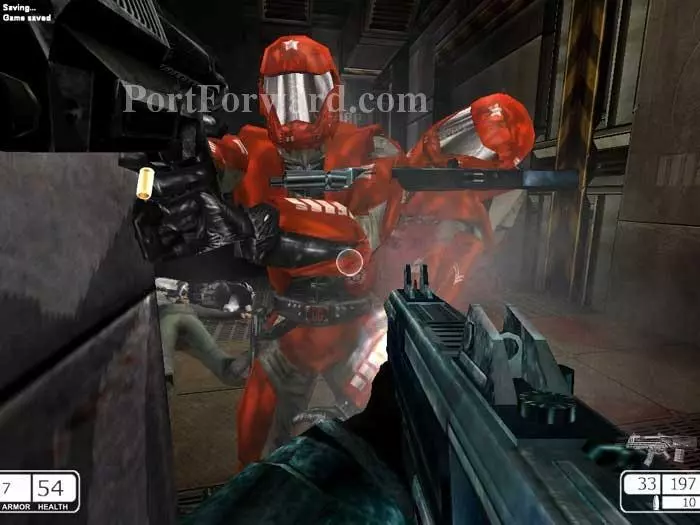
Backtrack past where you turned right and instead continue left. Fight your way through more guards, including this big guy.
More guards will fire from behind the debris on the left. Continue through the door on the right.

Lots of guards in here, and a medium medkit in the center of the room.
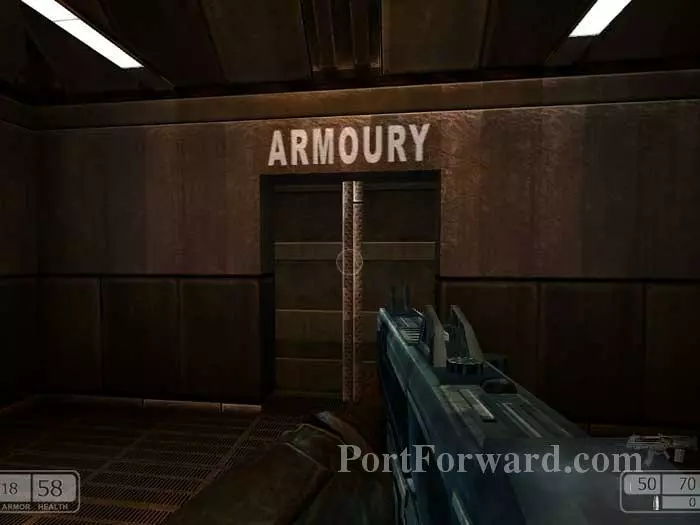
Head into the armory. I guess the British spelling dominates in the future.

Lots of goodies in here. Help yourself.
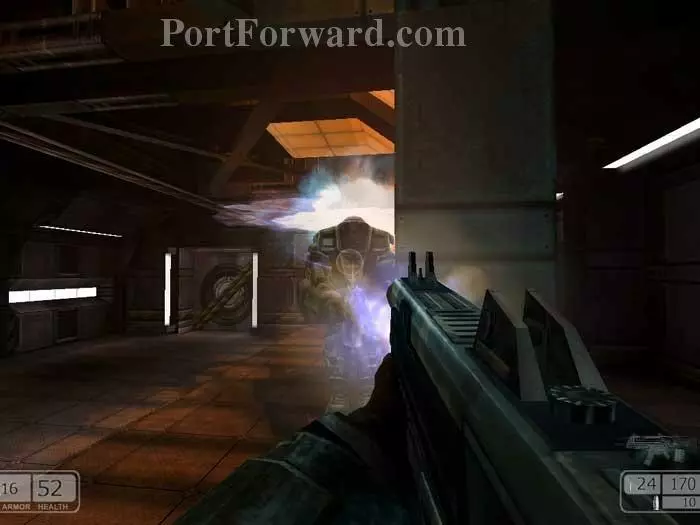
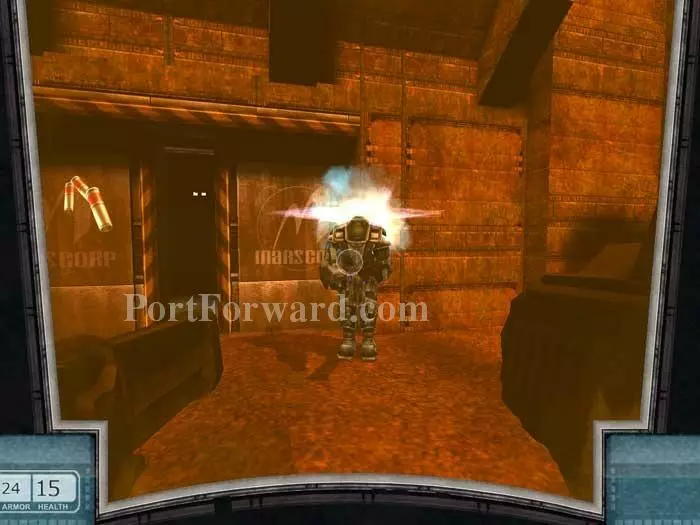
Big guy has spawned outside the armory but he's very slow. Hide behind a pillar, pop out and get in a few shots then repeat.
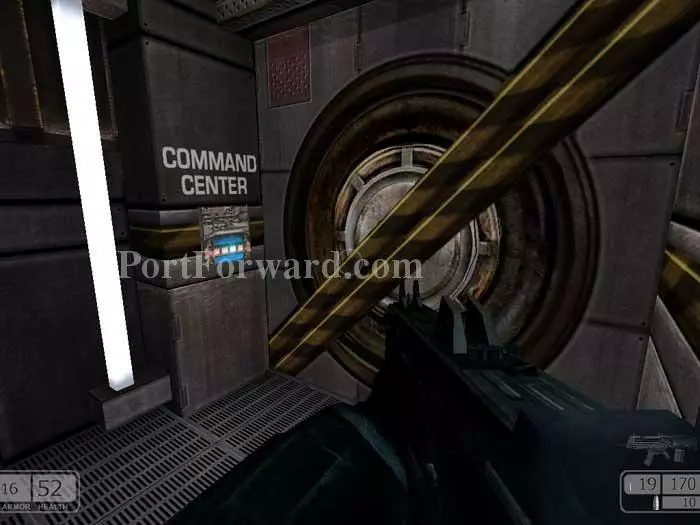
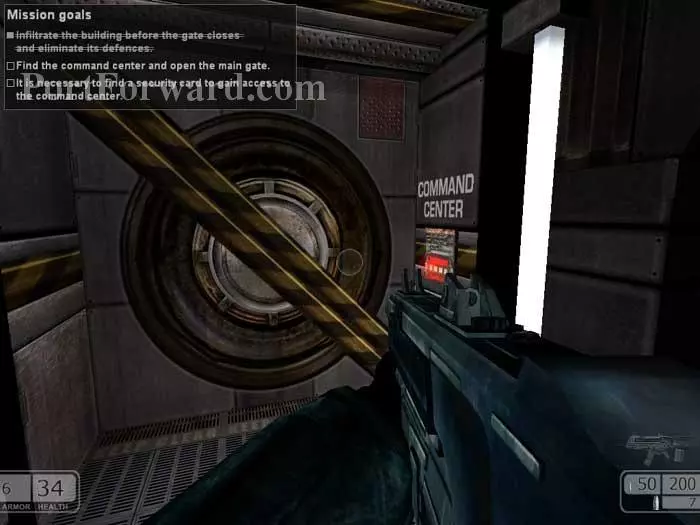
Up ahead is this blue panel. Use your security card to unlock the door.
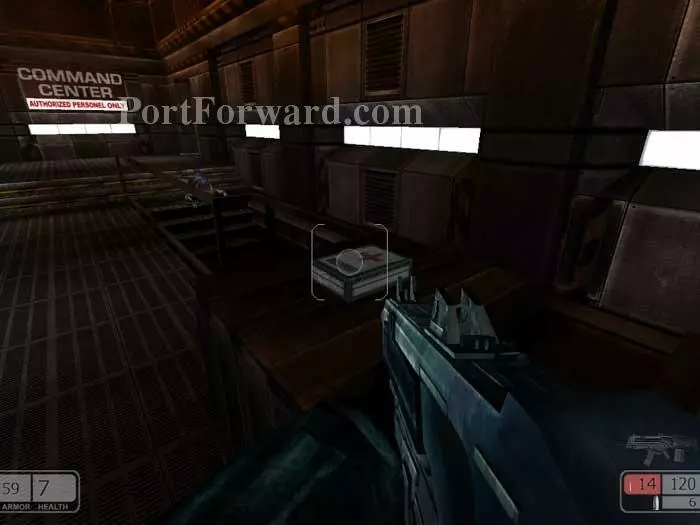
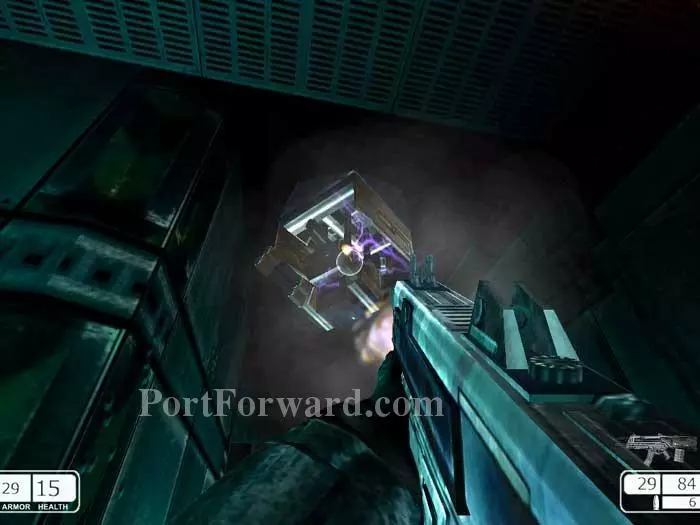
Downstairs you'll find more guards and an automated turret. Upstairs is the command center and this medkit.
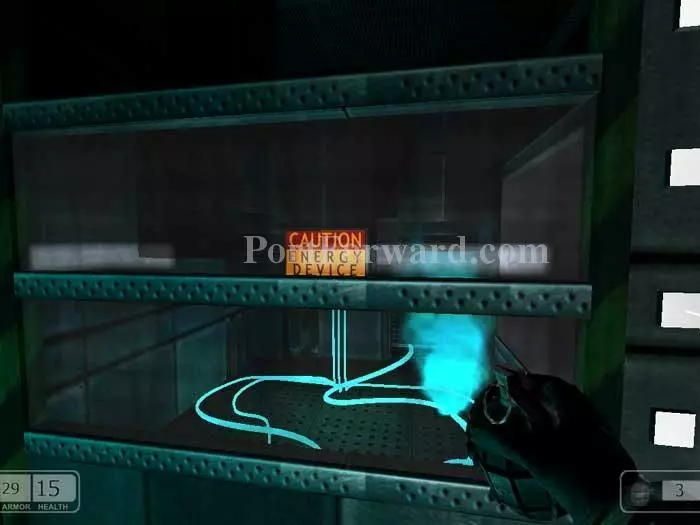
Enter the command center, shoot out the ceiling turret, then toss a grenade onto both of these energy devices. The force field blocking your path is dropped.
More turrets ahead. They shoot in burst mode, so fire at them between bursts.
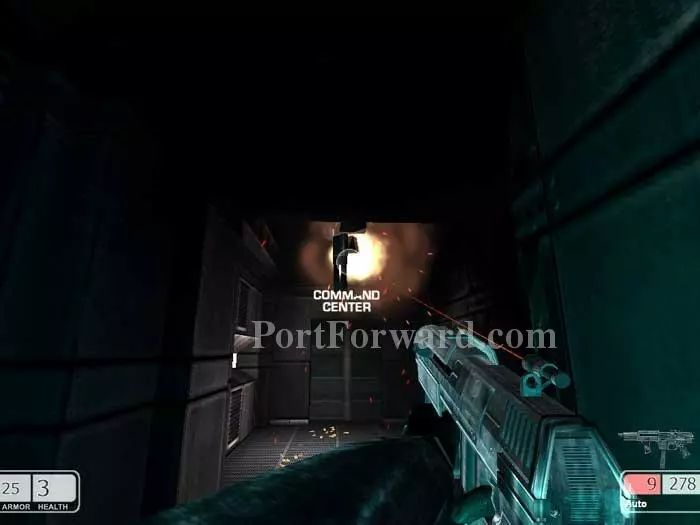
There are two turret-protected command center doors. You want this one on the left.
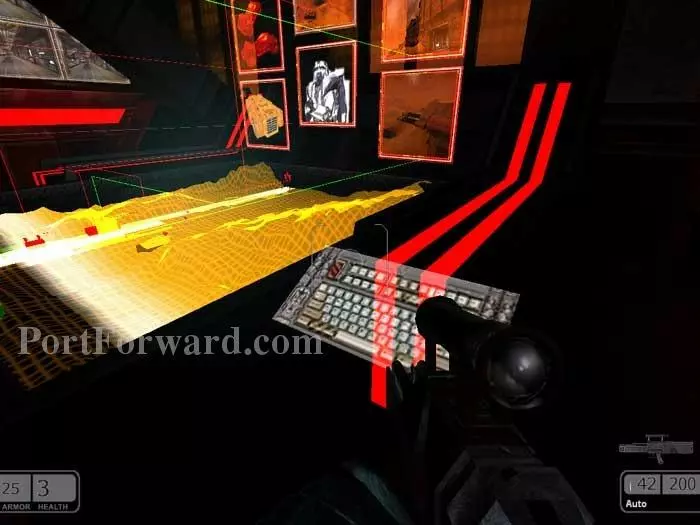
Activate this keyboard to initiate the ending cutscene.
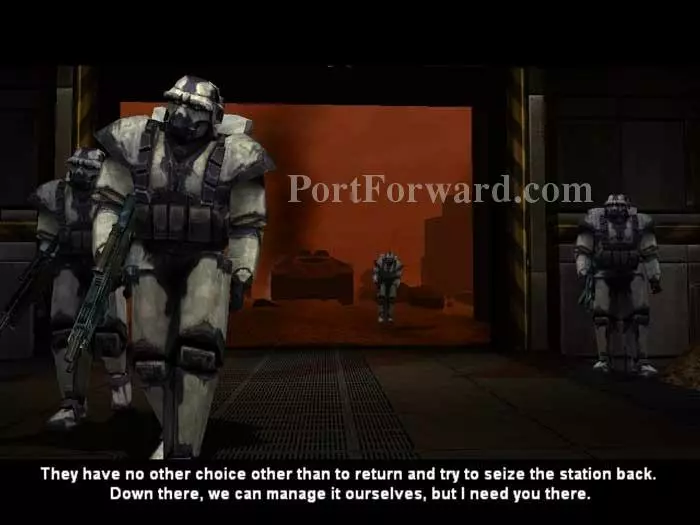
Your comrades capture the depot, but you will have to hold the fort as an attempt to recapture the station is impending. They mention something about an exoskeleton.
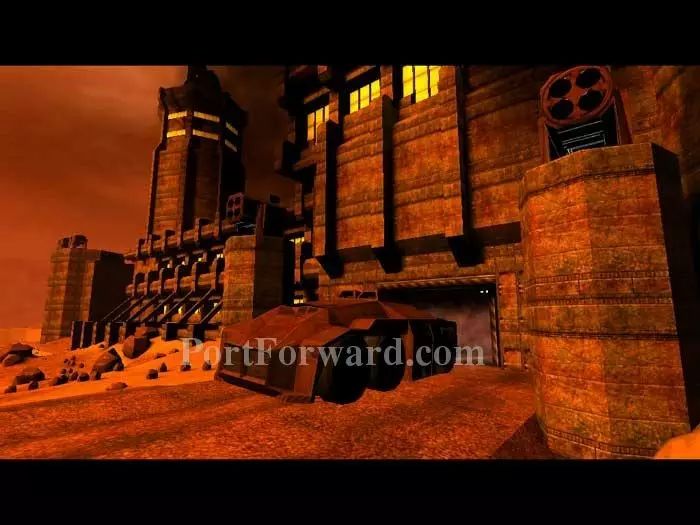
You've been outfitted in an exoskeleton -- sort of like a mini version of a Herc from Starsiege.

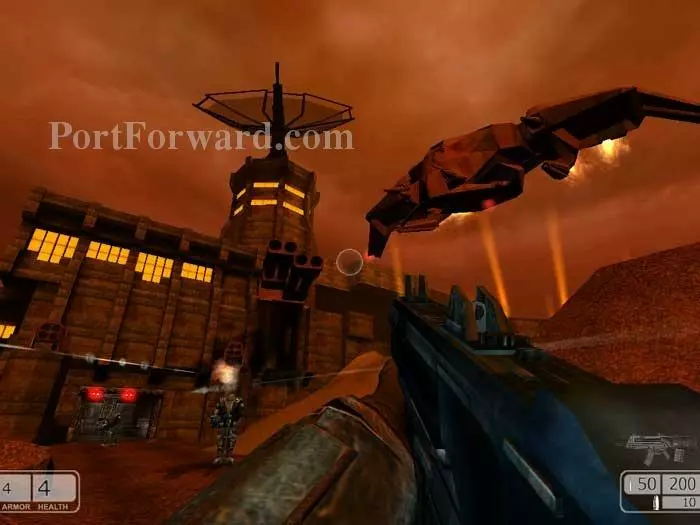
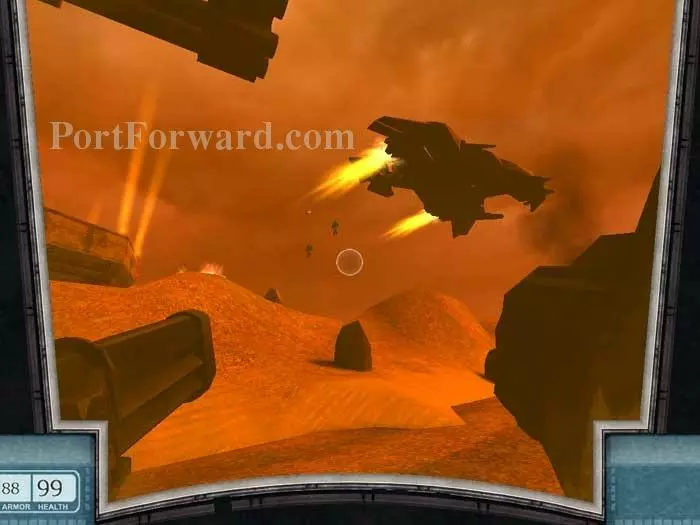
Aircraft will be dropping troops and launching rockets your way.
Your objective is to guard the gate.
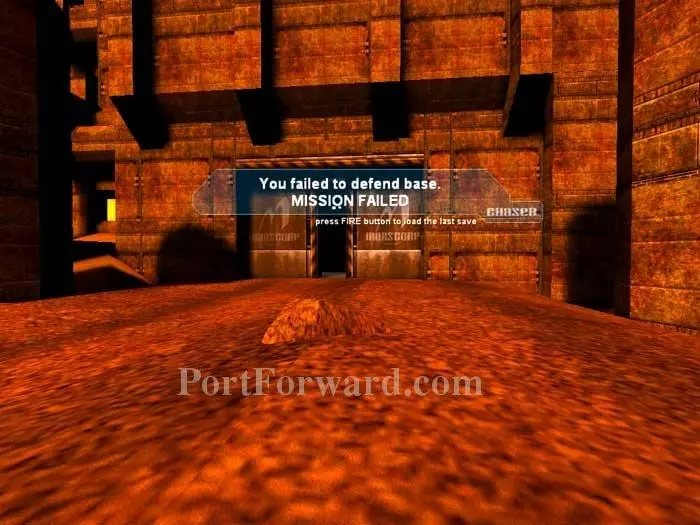
Don't venture far or the mission will end in failure.
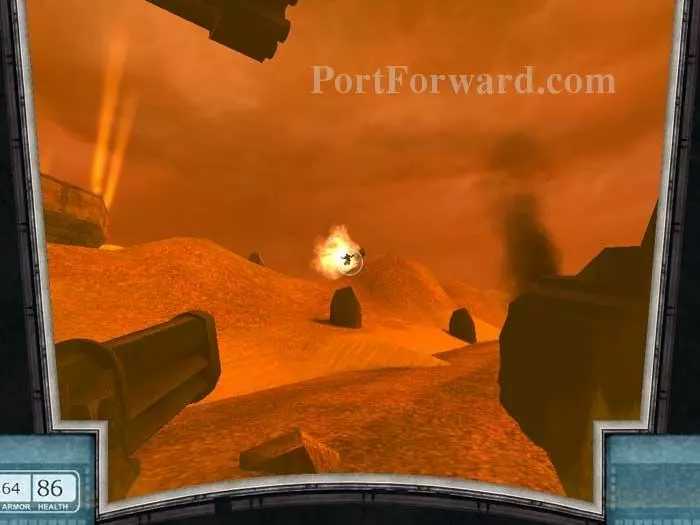
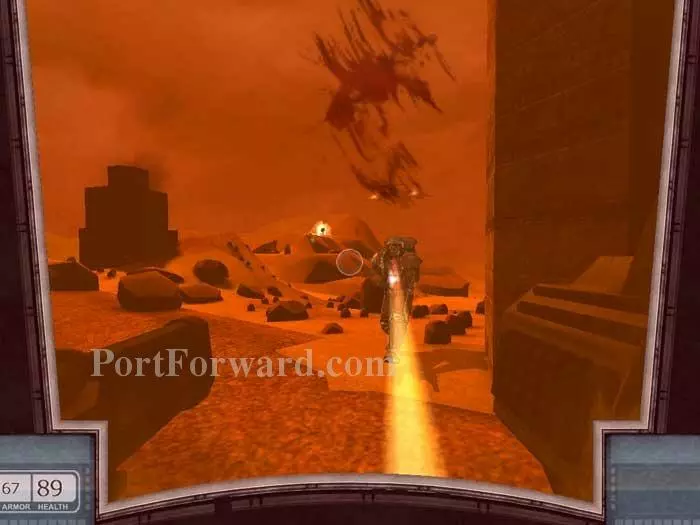
Take out troops as they come over this left hillside.
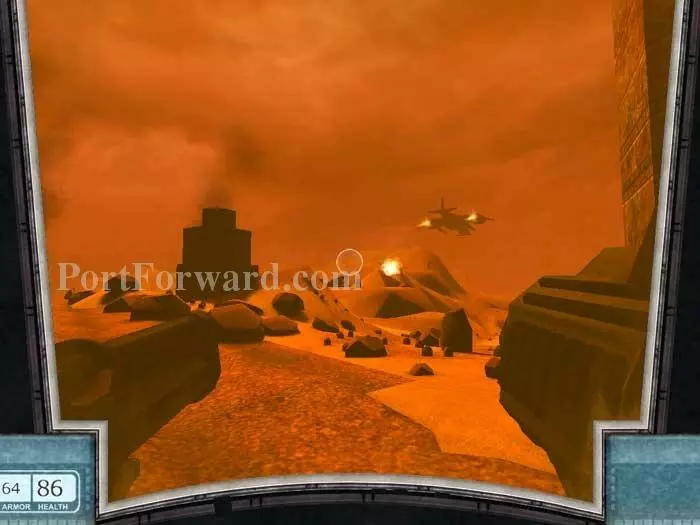
Troops will also approach from this hillside at a distance. You have unlimited ammo, so blanket the area with rockets using your alternate fire.
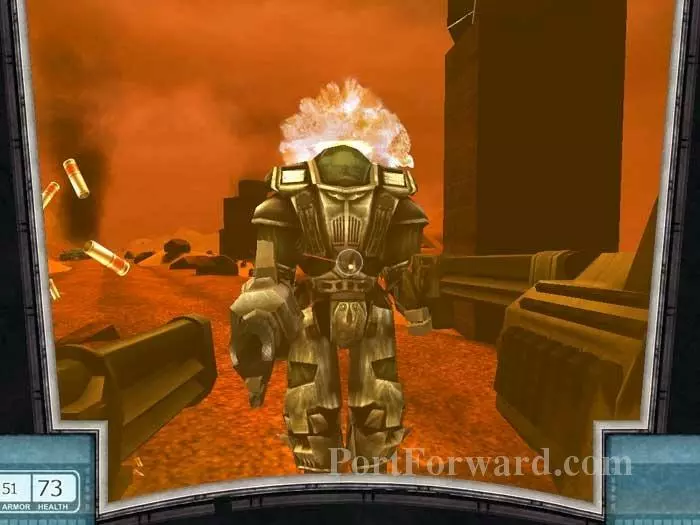
Use your primary fire when they get up close as seen here. If they drop a medkit it will be of no use.
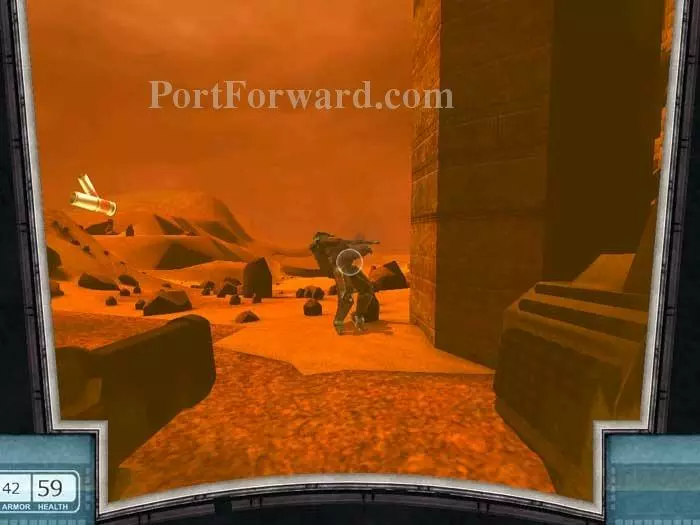
Keep your right flank covered to keep them from sneaking up on you.
And watch your back -- it's possible for them to airdrop right behind you.
Hold out long enough and the final cutscene plays to end the level.
More Chaser Walkthroughs
This Chaser walkthrough is divided into 18 total pages.


