
This Chaser walkthrough is divided into 18 total pages.
You can jump to nearby pages of the game using the links above.
Lomonosov Crater

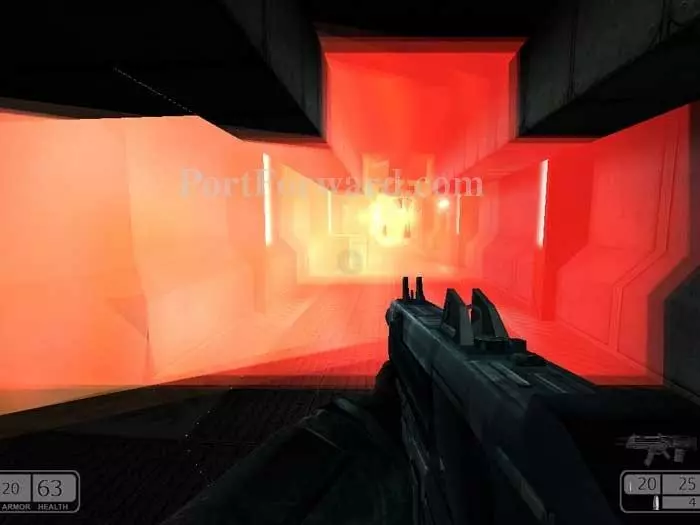
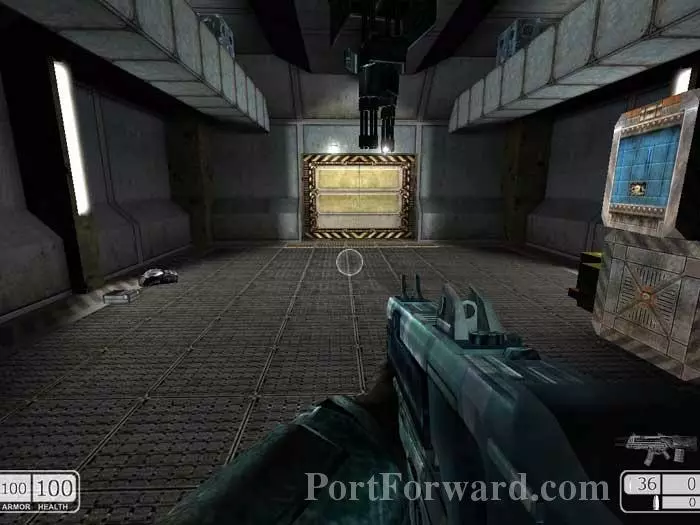
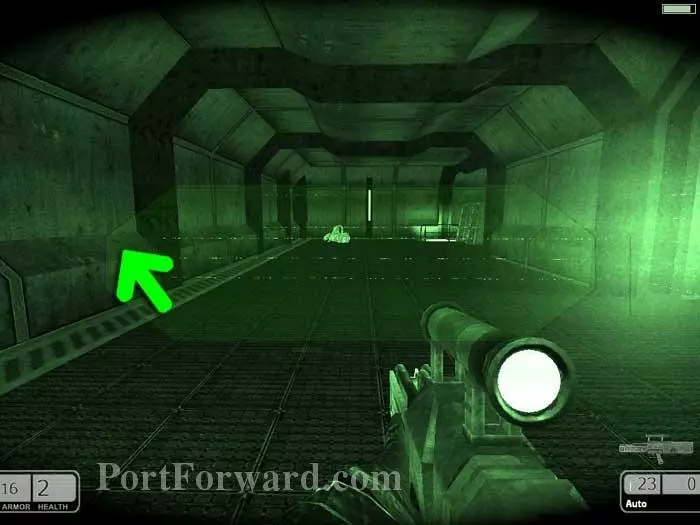
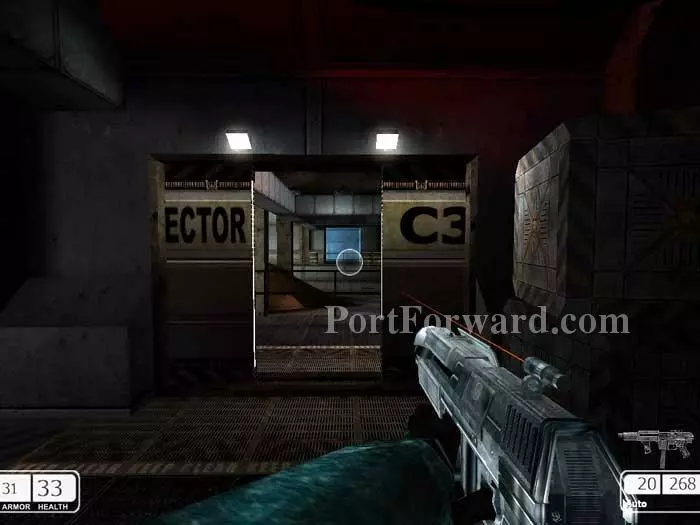
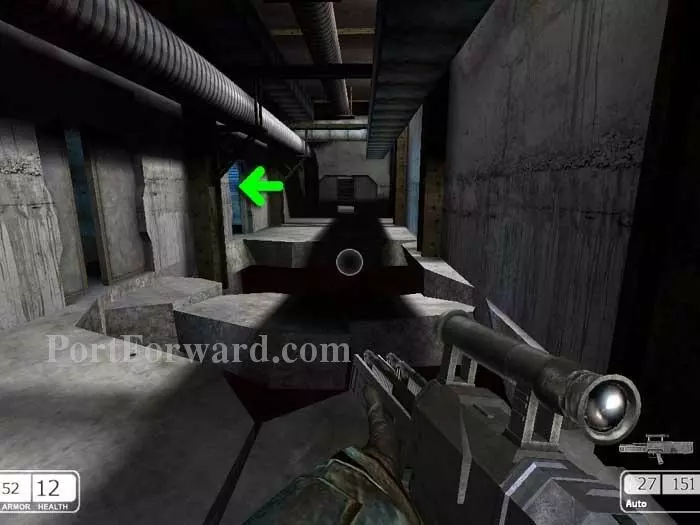
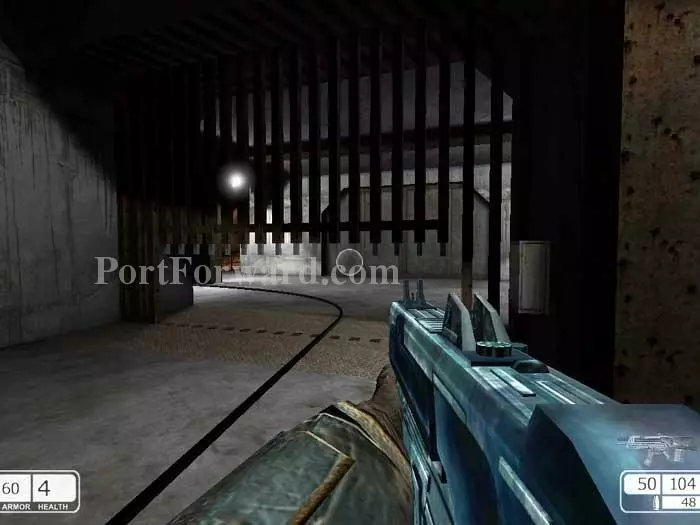
After you run into the room, you'll find an armor vest. Use the doorway for cover and destroy the turret. Continue through the door visible across the hall.
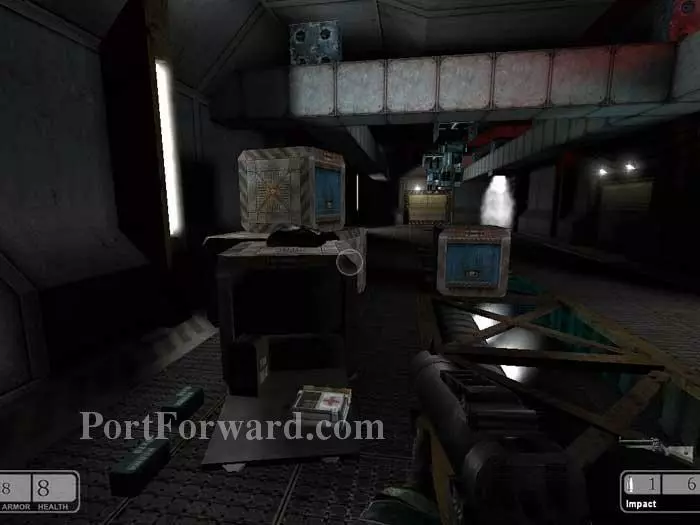
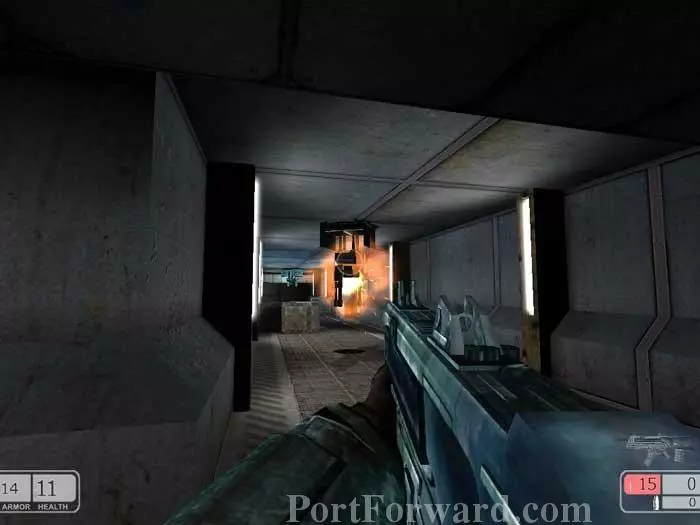
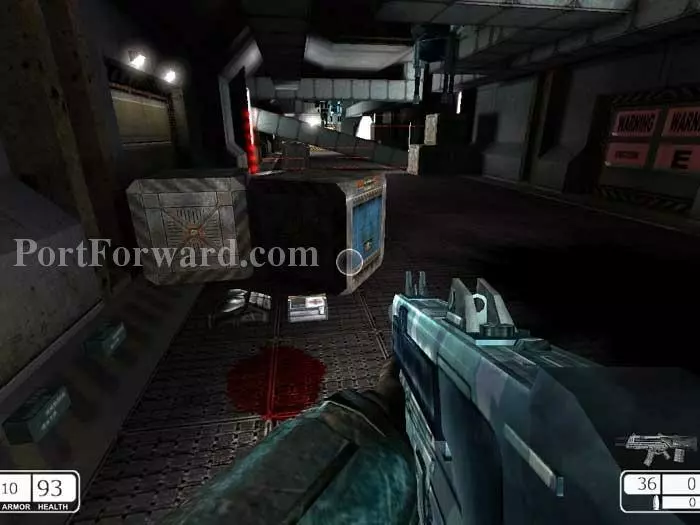
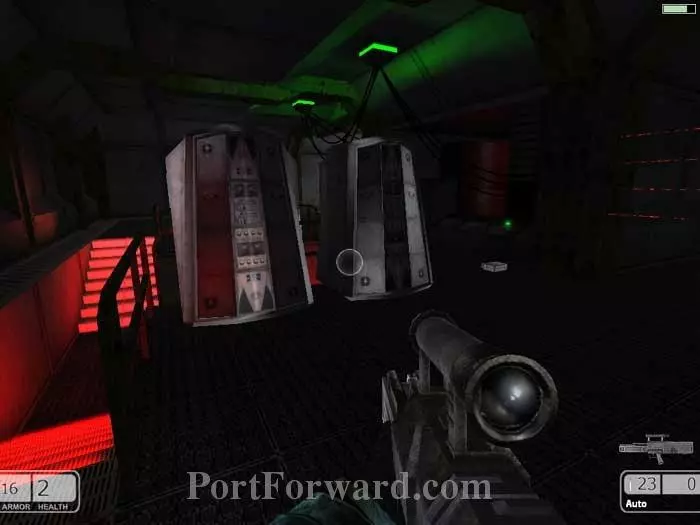
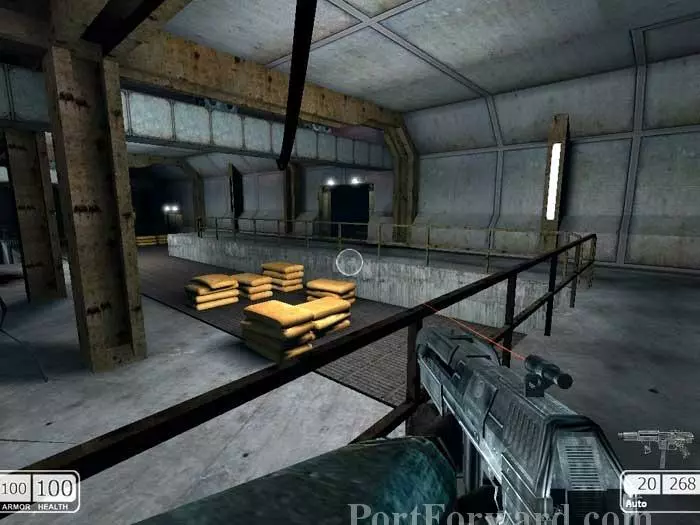
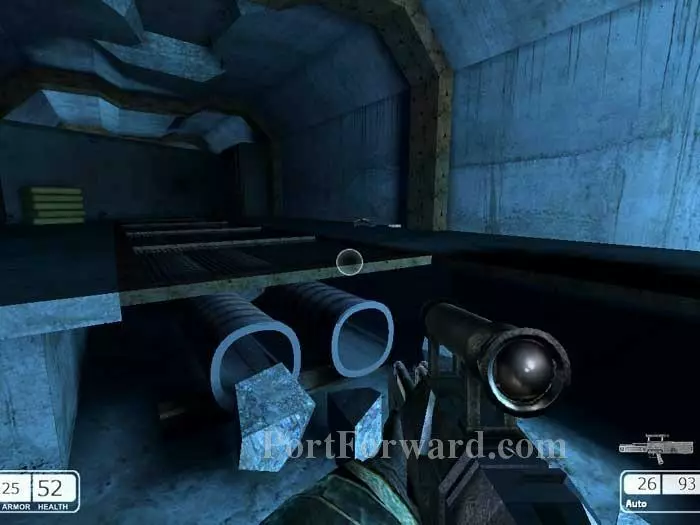
Duck behind these crates on the right and take out this ceiling turret.
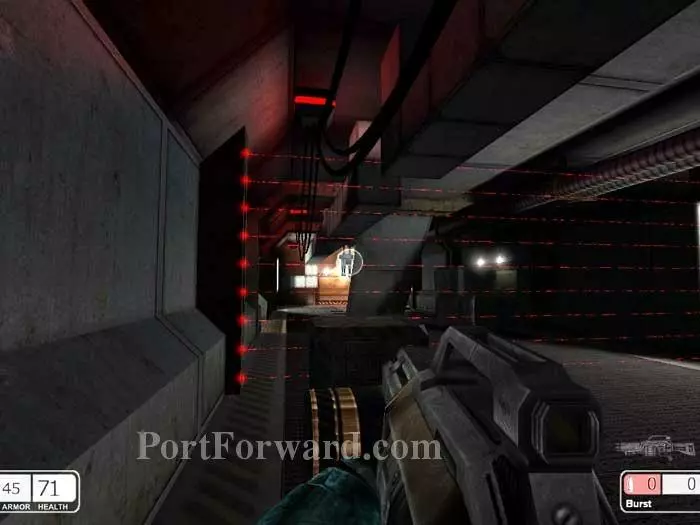
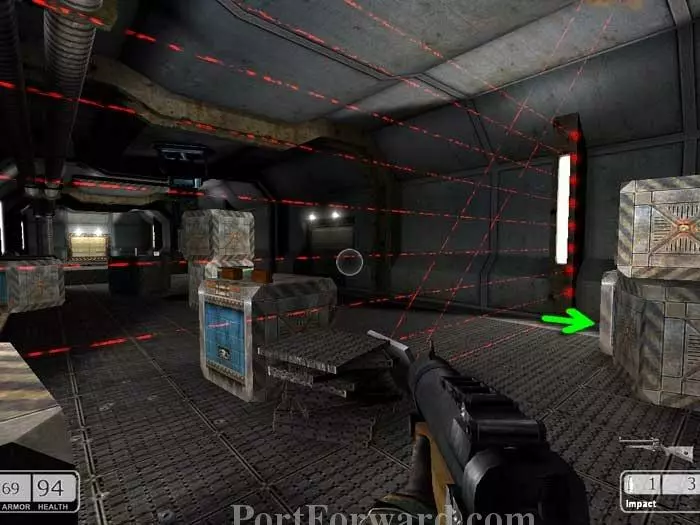
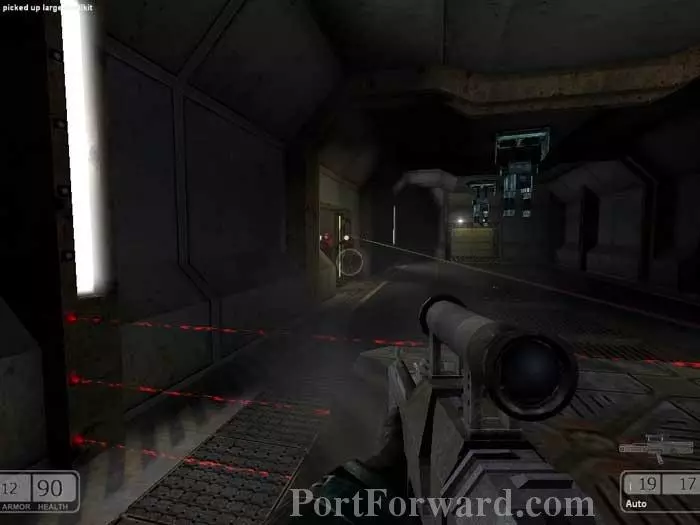
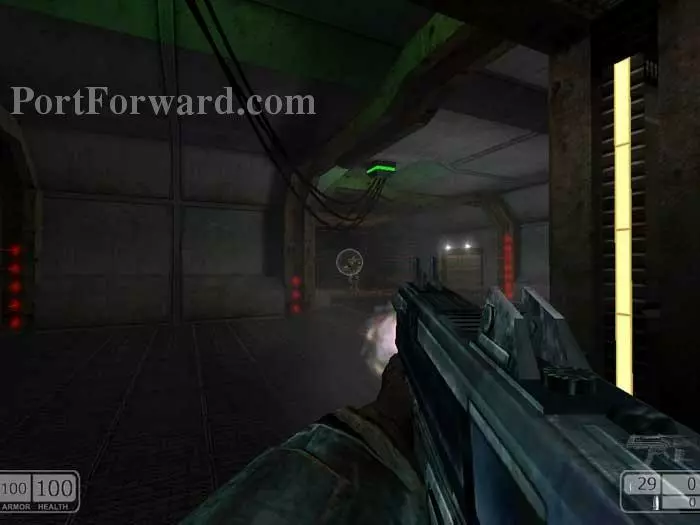
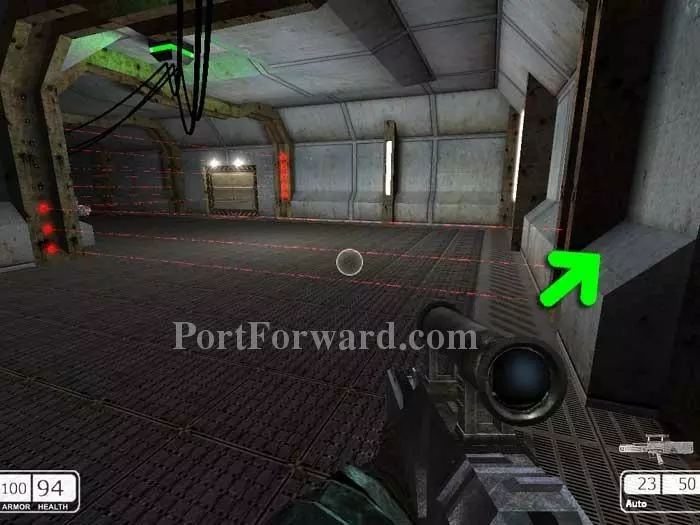
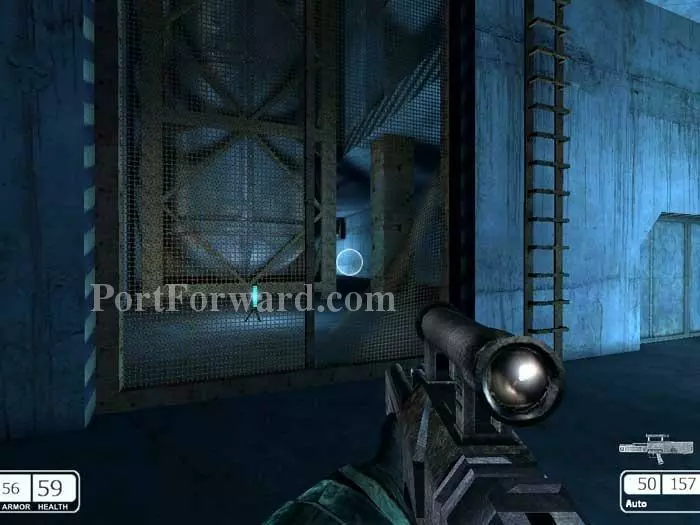
Destroy this turret on the other side of the laser field.
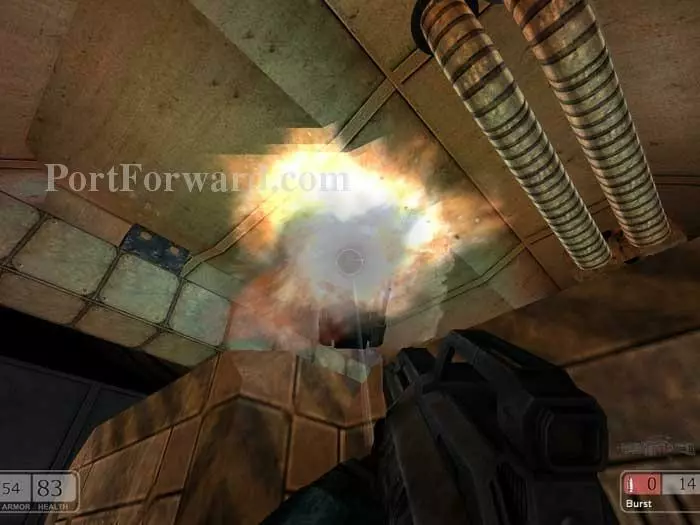
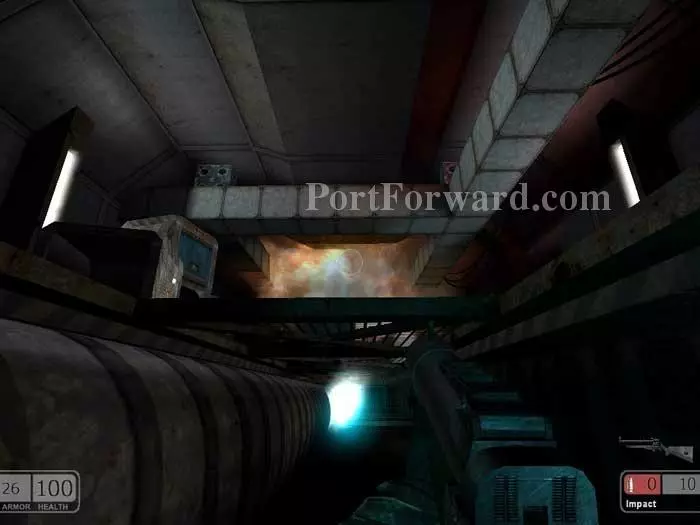
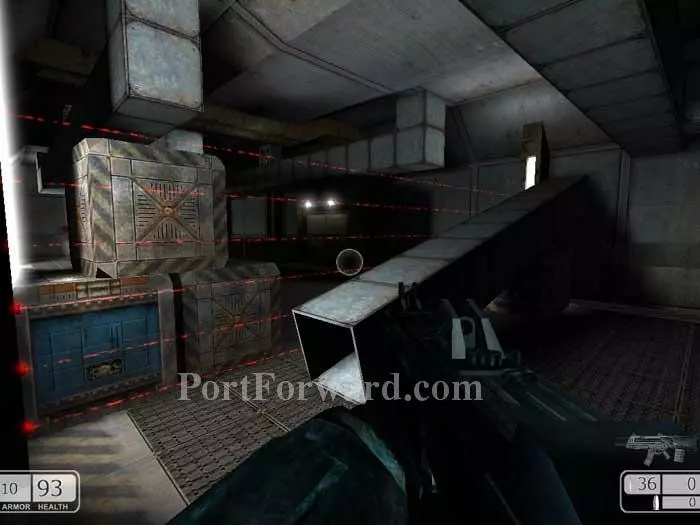
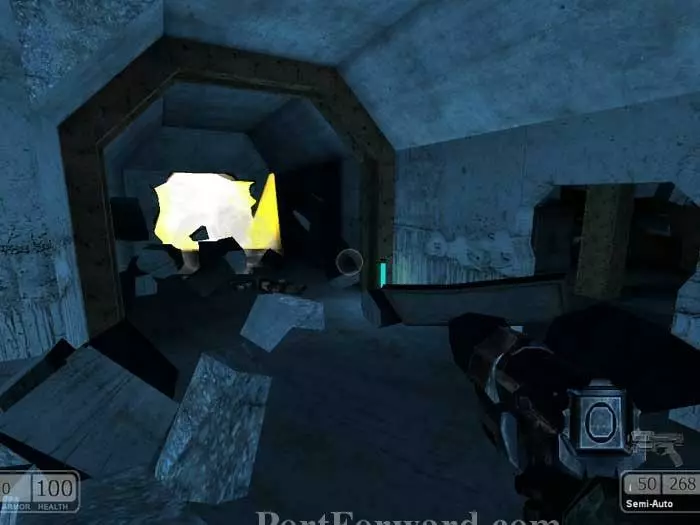
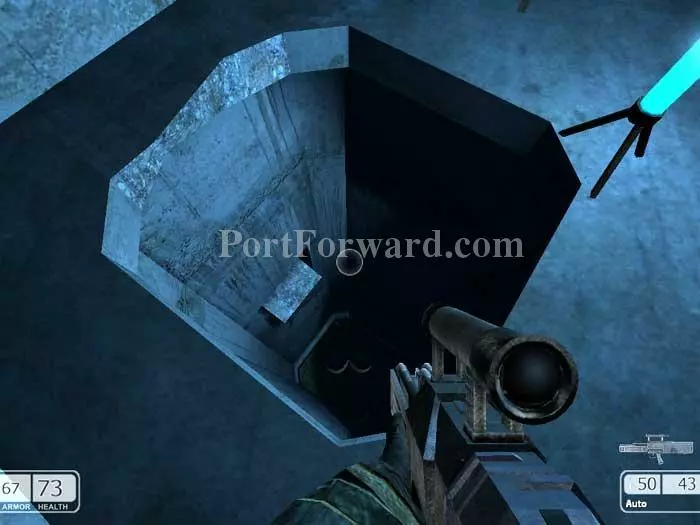
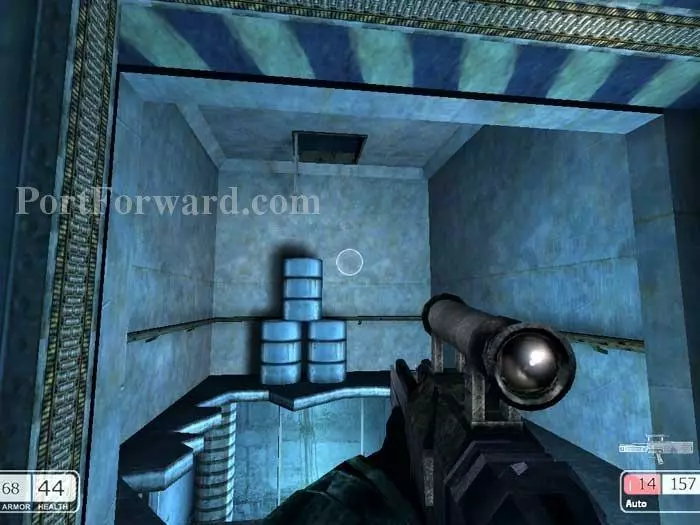
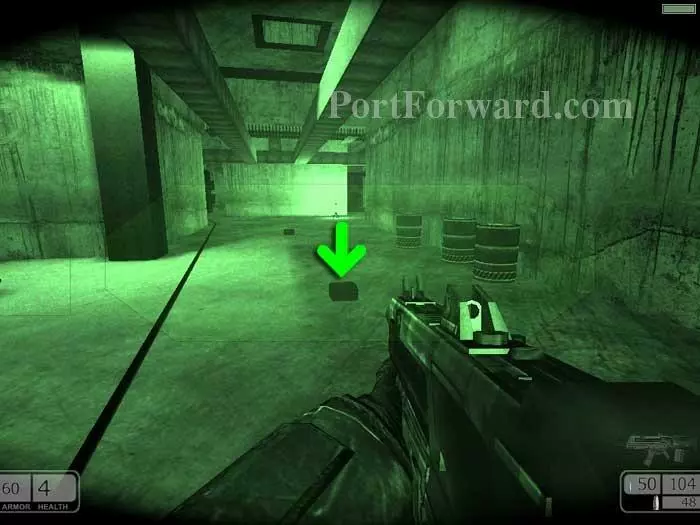
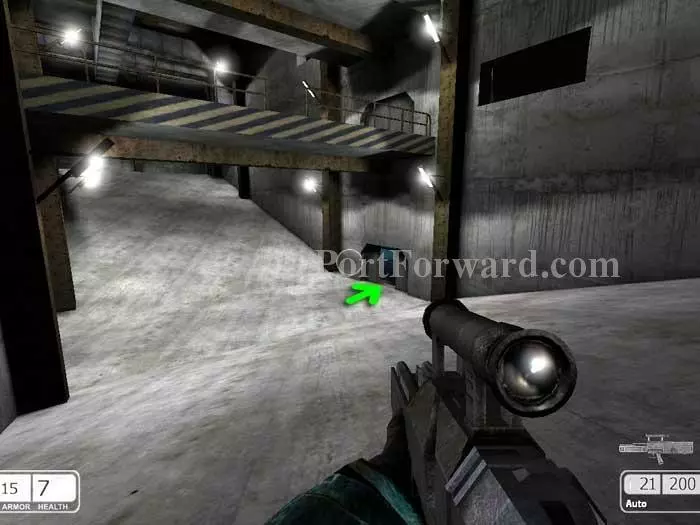
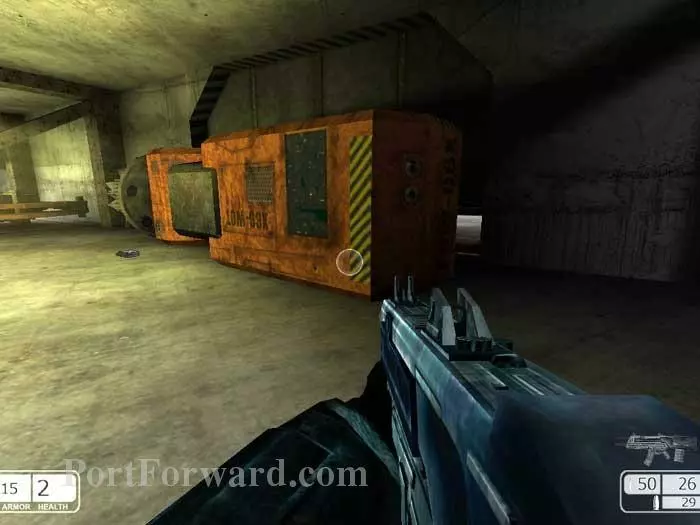
Destroying the explosive barrel opens up a grate in the floor.
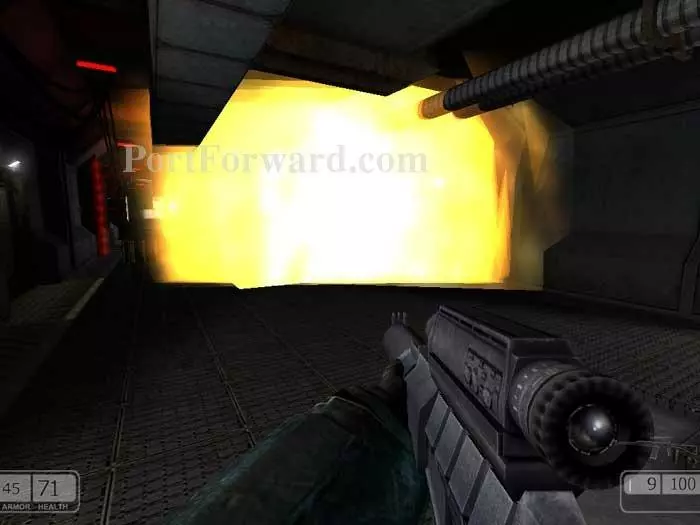
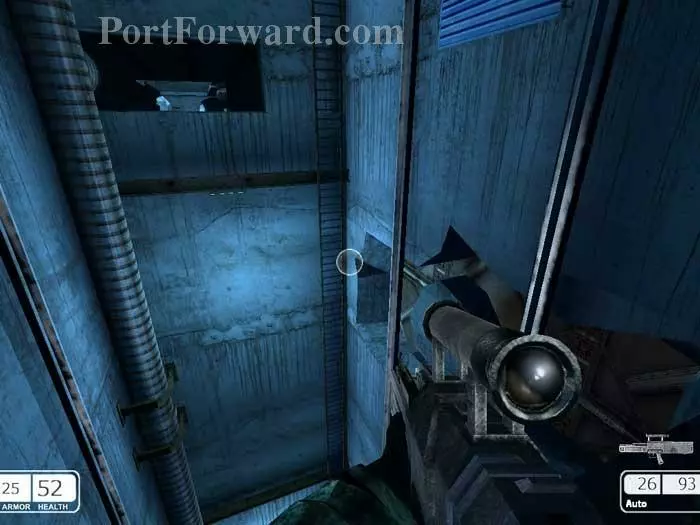
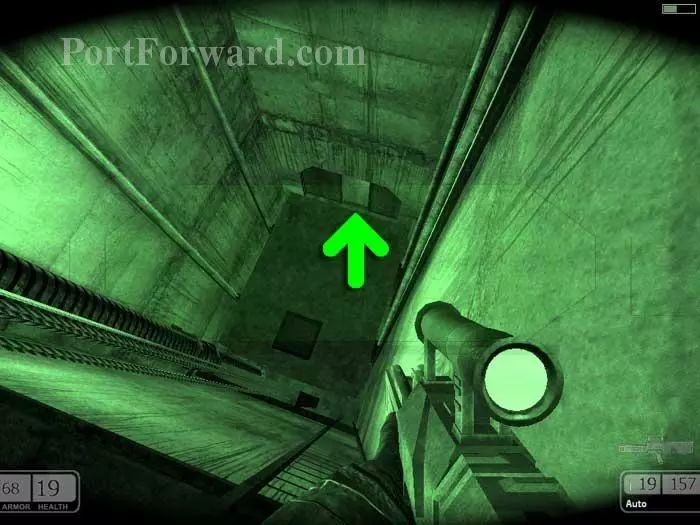
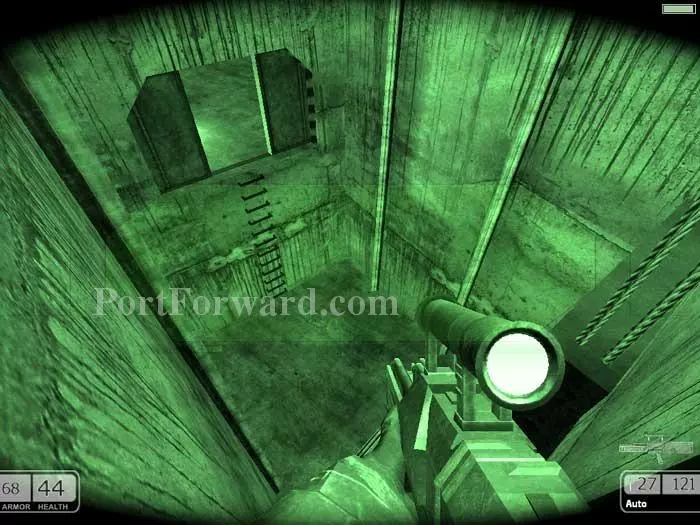
Follow the shaft, descend a ladder, then explode this barrel to open the exit.
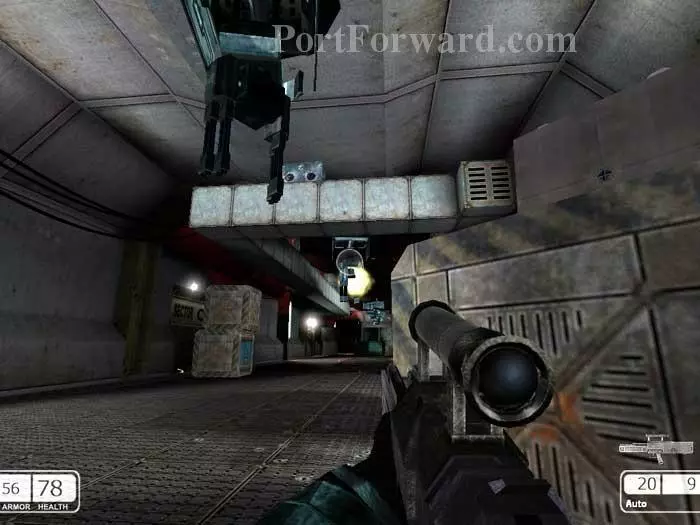
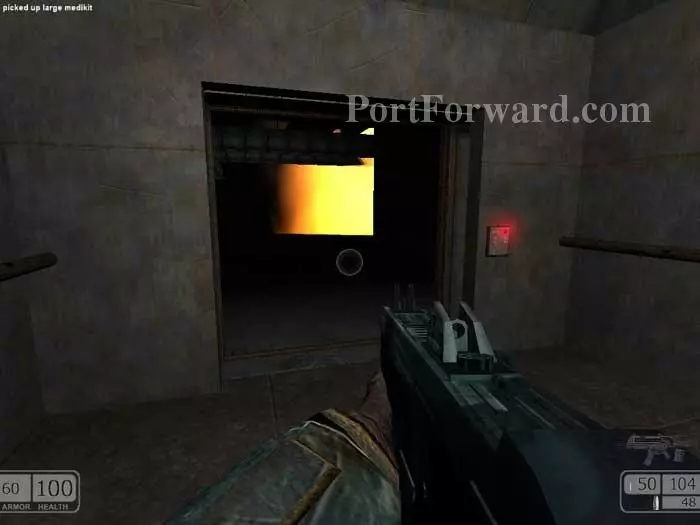
Destroy another ceiling turret before riding this lift up. Note the large medkit.
Destroy this ceiling turret and grab the large medkit and ammo seen on the left.
Destroy a second ceiling turret, seen here on the left, before climbing over the dirt and continuing through the door in the center.
You're now on the opposite side of the laser grid seen earlier. Grab the armor vest on the left, the large medkit on the right, then continue through the door in the center.
Hide behind the crates in the center of the room and destroy all three turrets.
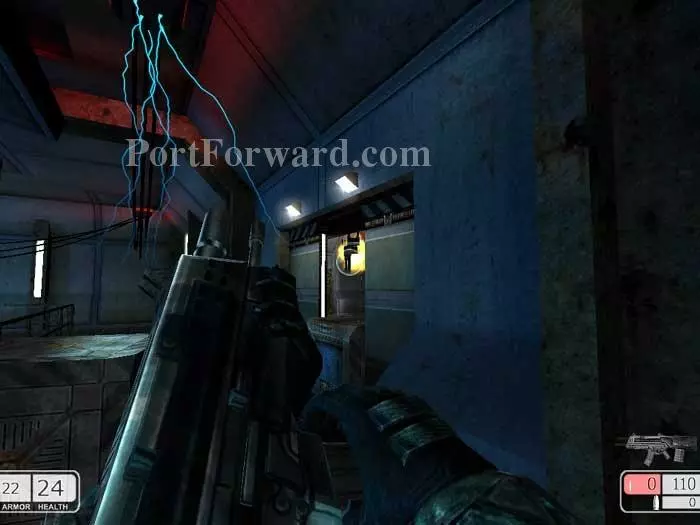
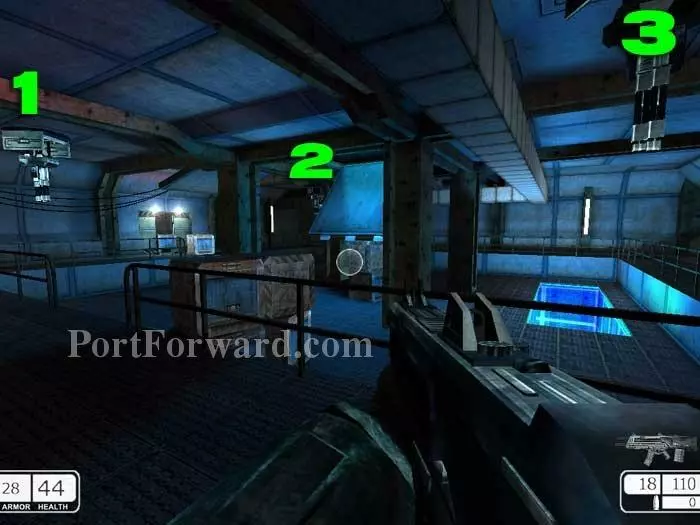
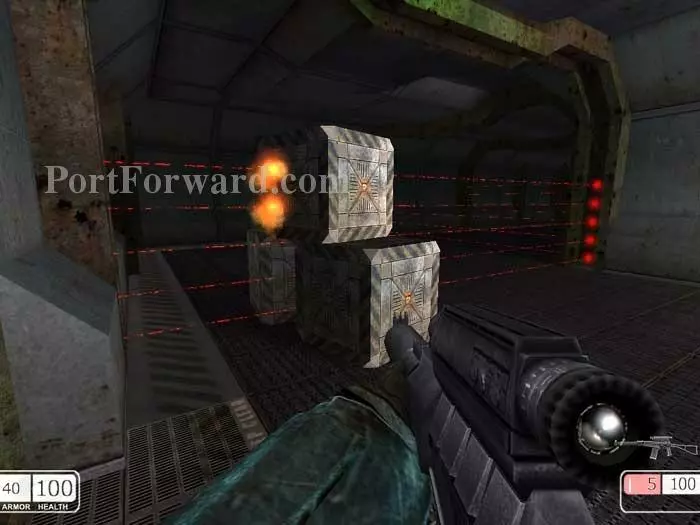
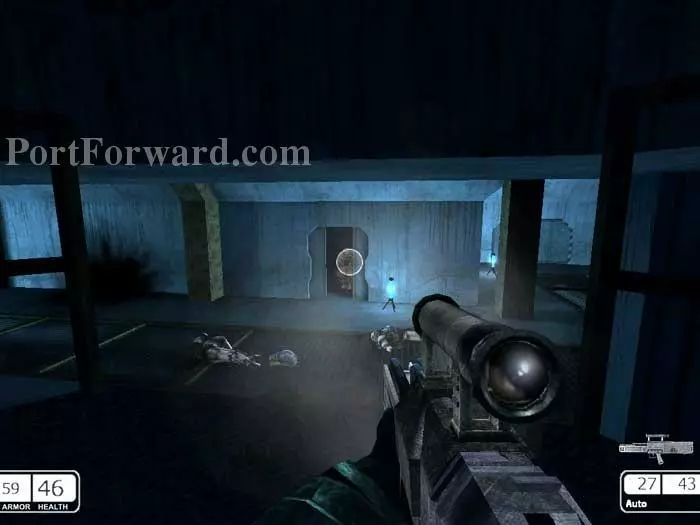
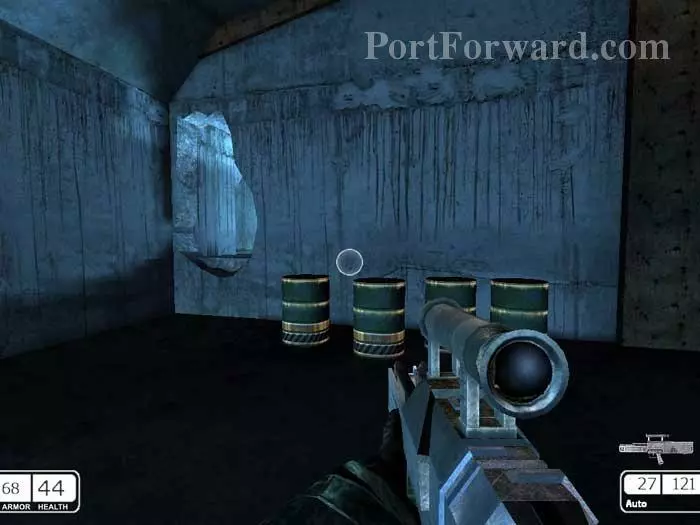
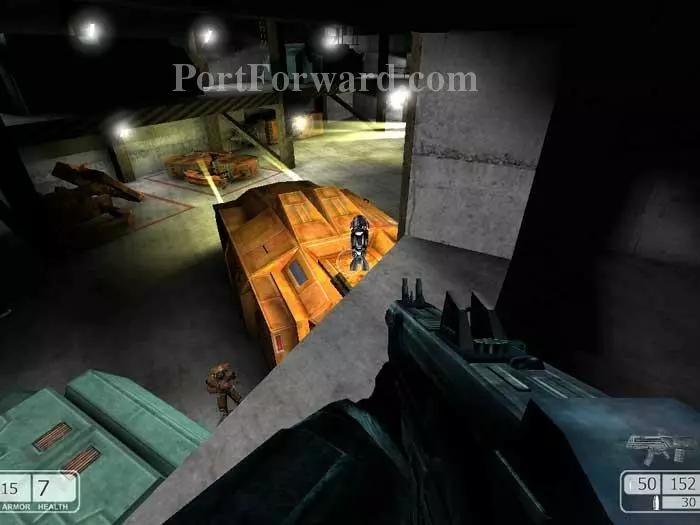
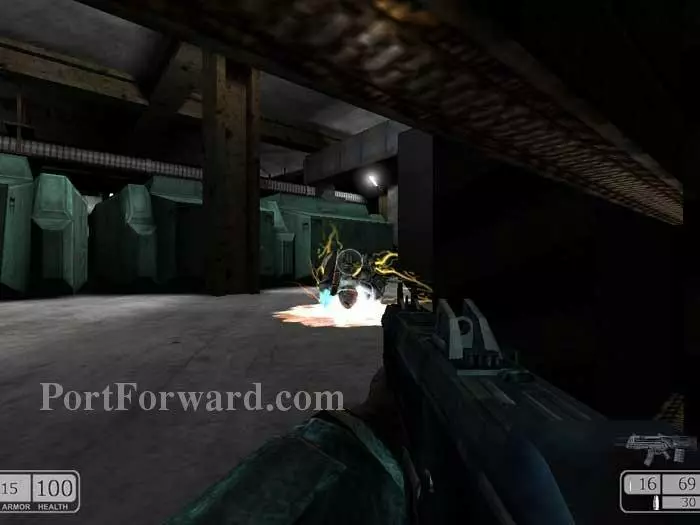
The neighboring room has four turrets, three of which can be taken out from here. The one in the center of the room can be destroyed by firing upon explosive barrels underneath. The one seen here can be taken with direct fire, as well as a similar turret to the right. Just be sure to avoid the blue sparks seen here on the left. Jump over the crate and into the the room once it's safe.
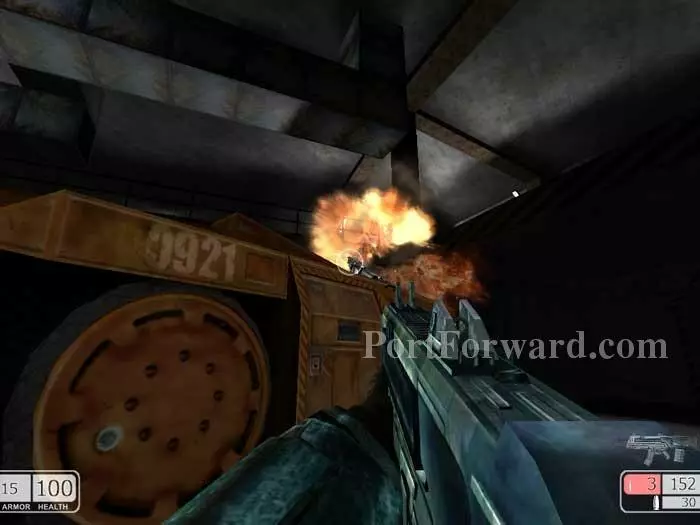
The fourth turret can be taken out by exploding the barrel seen towards the end of the hall. Continue through the door at the far end of the hall after grabbing the large medkit to the left of the lasers.

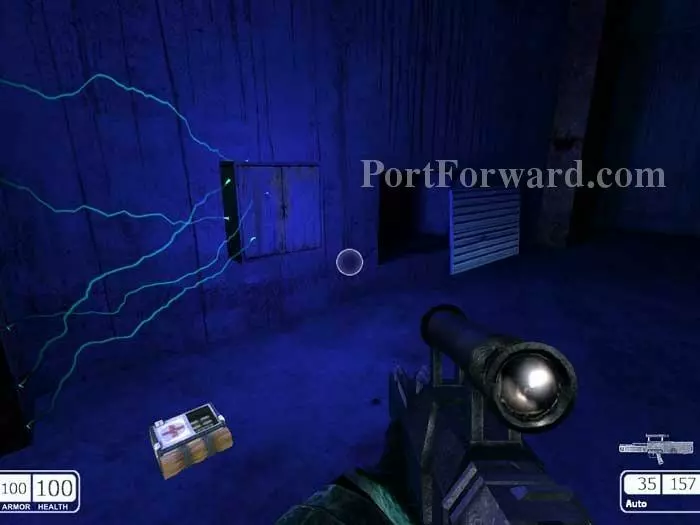
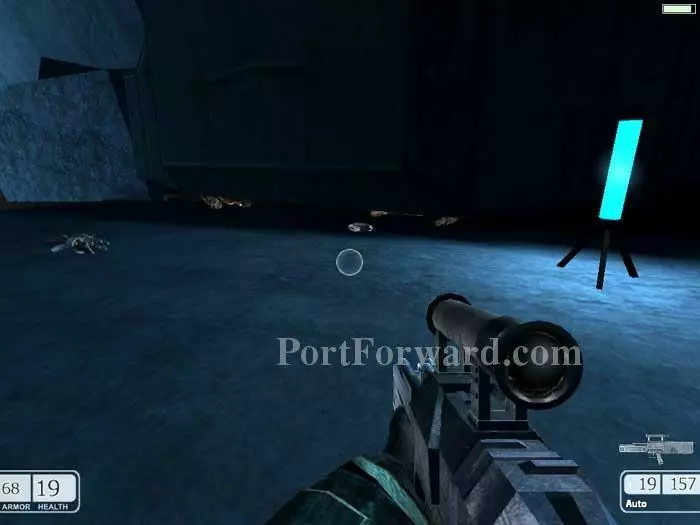
The water is electrified so keep your distance. Grab the ammo on the left, and avoid the temptation to grab the medkit on the floating crate.
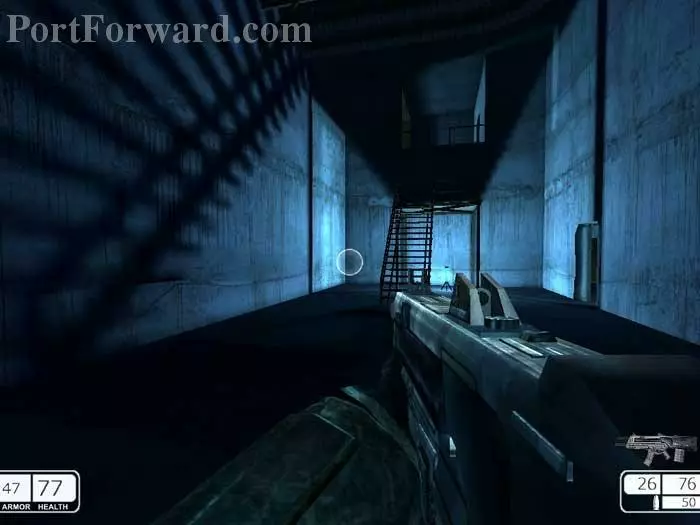
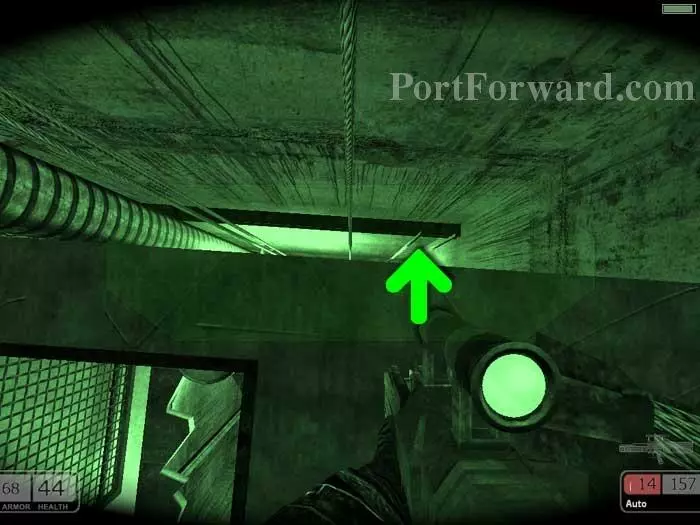
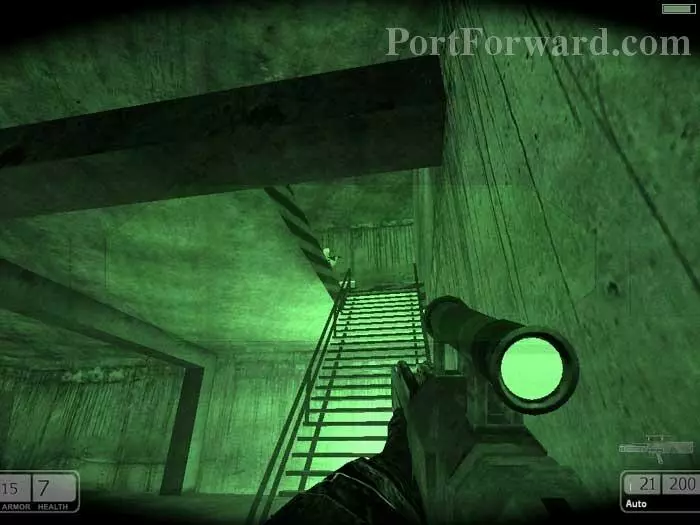
Backtrack under the laser grid and through a door on the right to these stairs. Hop through that broken grate and descend the ladder.
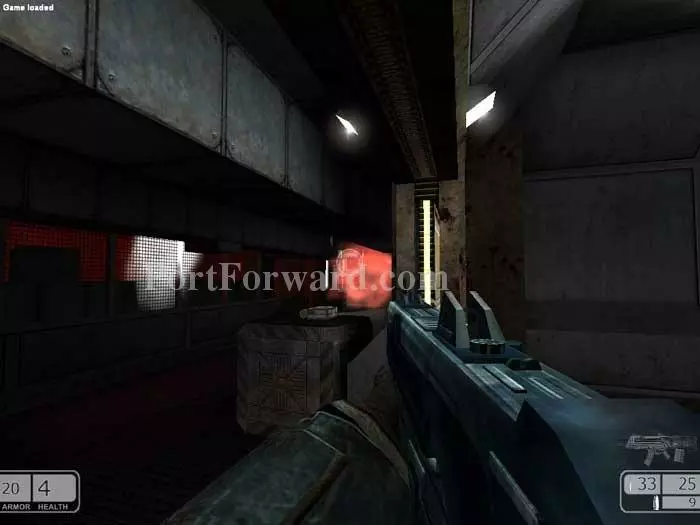
Hug the right wall to protect yourself from the turrets above. Pop out and fire at the three turrets until they are destroyed.
A large medkit, armor and ammo are found here. Continue through the door ahead. Be cautious, as there are more turrets.
The two ceiling turrets and the malfunctioning laser grids can be bypassed by slipping behind these crates on the right, descending a ladder, climbing through the shaft to the other side then climbing up another ladder. I still prefer to destroy the turrets. Note the ammo on the crate ahead.
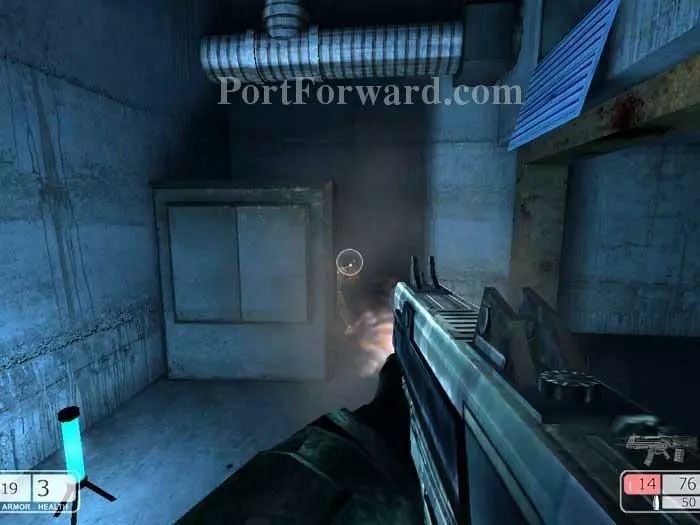
Approach this door and it slides open. One turret is on each side of the door. Note the large medkit on the crate. Continue to the right after destroying the turrets.
Explosive barrels take out the next turret. The one after that you'll have to destroy yourself.
Two more ceiling turrets as well as ammunition are found in this hallway. Continue through the door on the right.
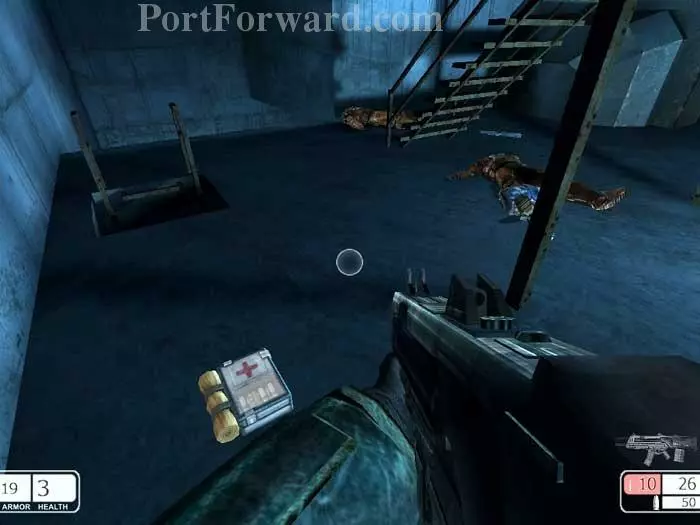
Grab the large medkit from this crate then fight your way through that doorway on the left.

This guy will spawn behind you. He is slow and can be easily outrun if you prefer.
Destroy the ceiling turret on your right as you exit, then ramp up this debris and jump over the laser field.
Grab the large medkit and armor vest seen here, then jump-crouch onto those crates far-right to return to the other side of the laser field.
Continue through this door. Note the medkit and armor on the left. You can return for those once you need them.

Climb these stairs -- note the grate on this side is intact.
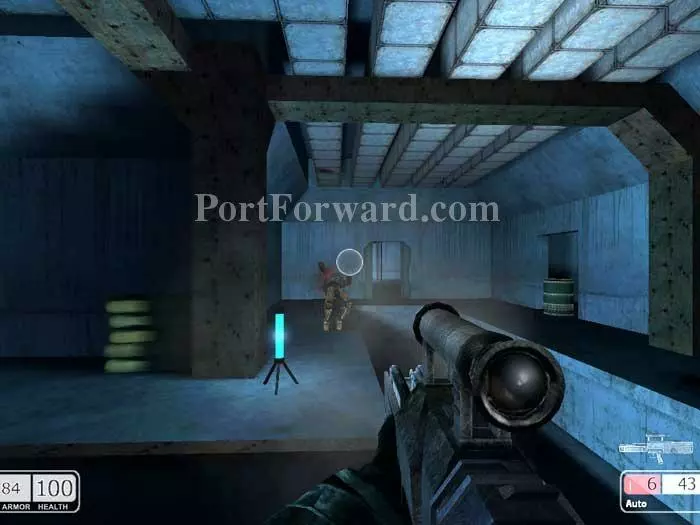
Destroy this armored guard on the right.
Jump-crouch across these crates and destroy a second armored guard. Move quickly to avoid the toxic orange vapor.
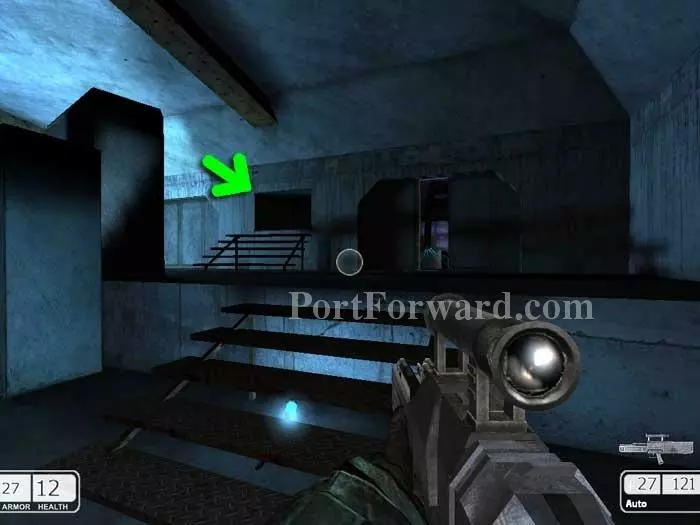
Don't try to jump over these lasers directly. Instead, jump to the indicated ledge first, then hop over the lasers. Crouch under the lasers beyond.
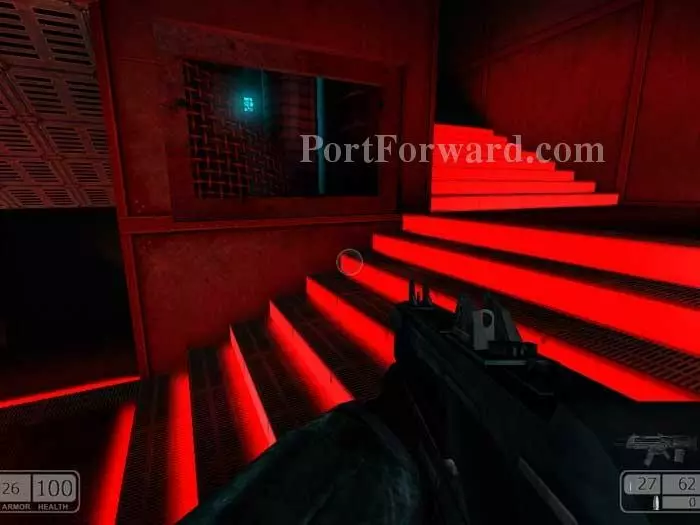
A medkit, an armor vest and ammunition are down the red steps. Another medkit is seen on the right. Activate the green console on the right.
Backtrack to this position and jump onto the indicated ledge before jumping over the lasers. You can now crawl under the lasers beyond and pass through the door. (Another green console just visible to the left can be ignored.)
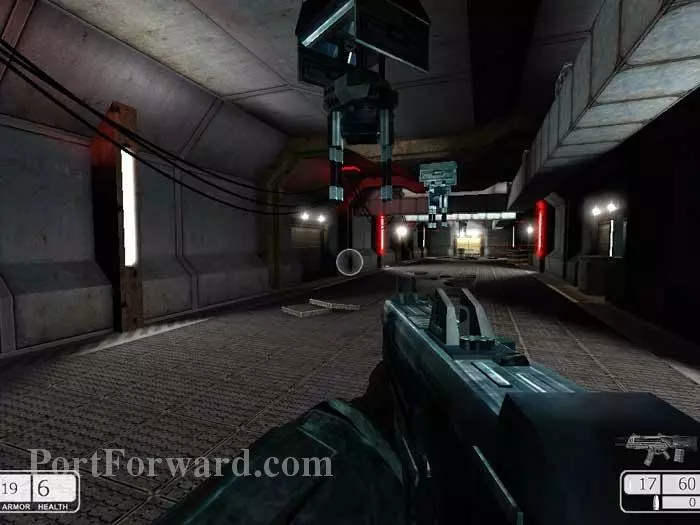
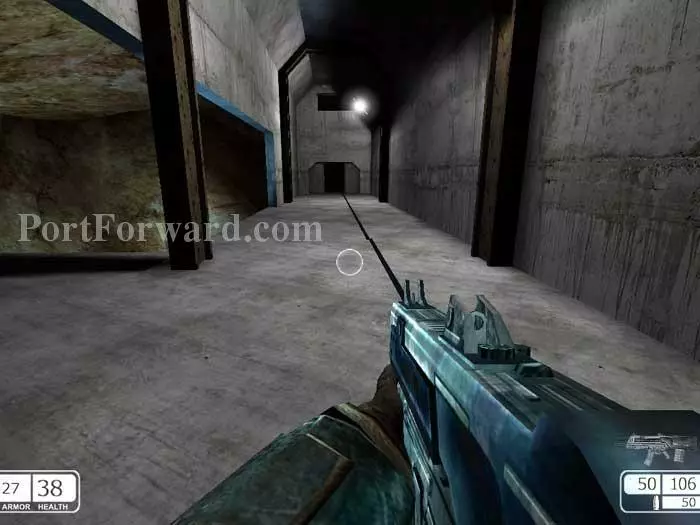
Fight your way down this hall, using the crates for cover as you destroy the ceiling turrets. There is ammo on this crate on the right.
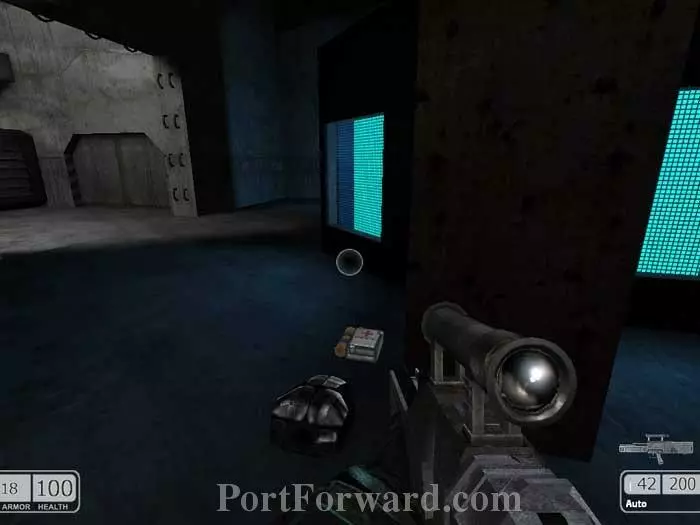
Pass through this door, search the room for health, armor and ammo, then exit out the bluish doorway beyond to load the next level.
Go through that doorway on the right.
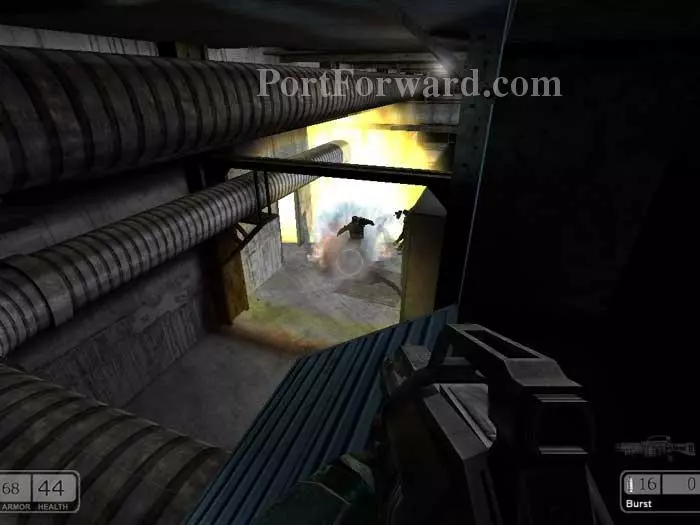
This rubble comes crashing down from above. Don't bother with the battle through the opening on the right. Instead, head left. You'll hear strange noises and then this explosion opens the way ahead.
Drop to the ledge along the right then climb the ladder to the opening seen here to the left of the ladder.
A medium medkit and armor can be found along the right wall. Crawl alongside these pipes to the next room.
Shoot the explosive barrels at the bottom of this hole. Drop to the ledge jutting out then drop all the way down.
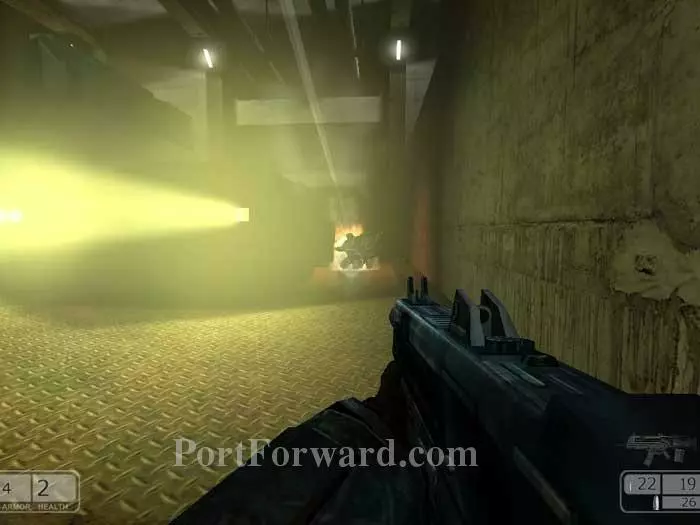
Take out this guy across the way. If you hadn't already shot out the explosive barrels, he could shoot them now, killing you.
Turn left, then continue through this door on the left after grabbing the large medkit and armor vest through the door on the right.
You can avoid a firefight through the right door and just go up the stairs.
Watch out for this guy hiding behind here.
Drop through this ladder on the left.
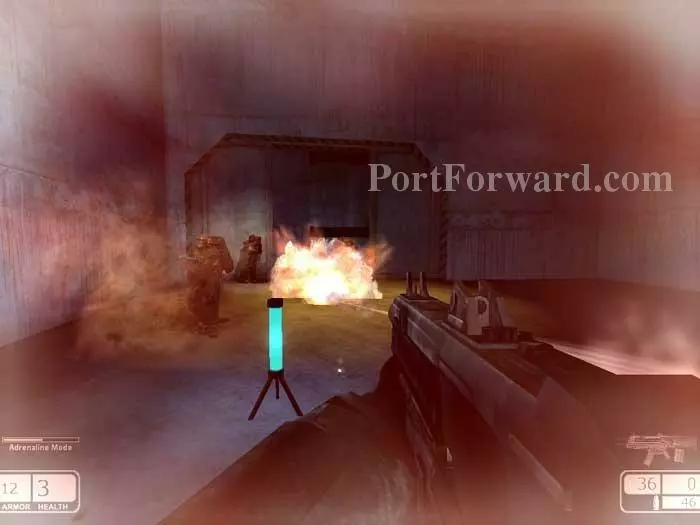
I found Adrenaline Mode to be useful for this firefight.
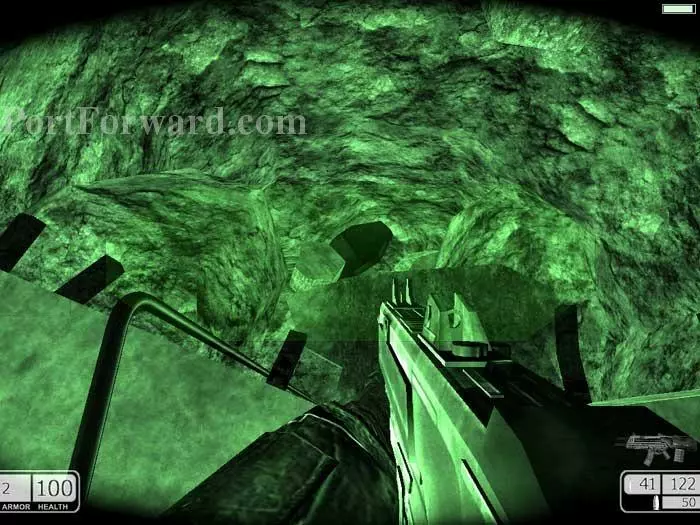
Climb through this hole for a very not-fun jumping puzzle.
You need to start out crawling, not jumping. Crawl left, then right, then circle around to this middle area, where you begin jumping.
Climb straight ahead and use these broken metal rods as a ladder to go higher.
Now you can drop straight ahead.
Lastly, crawl through to here, drop to the ledge and climb out.
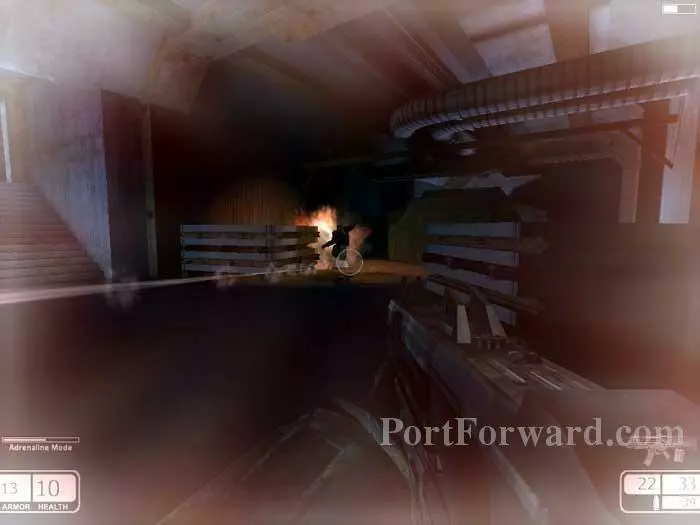
This battle is another good time for Adrenaline Mode.

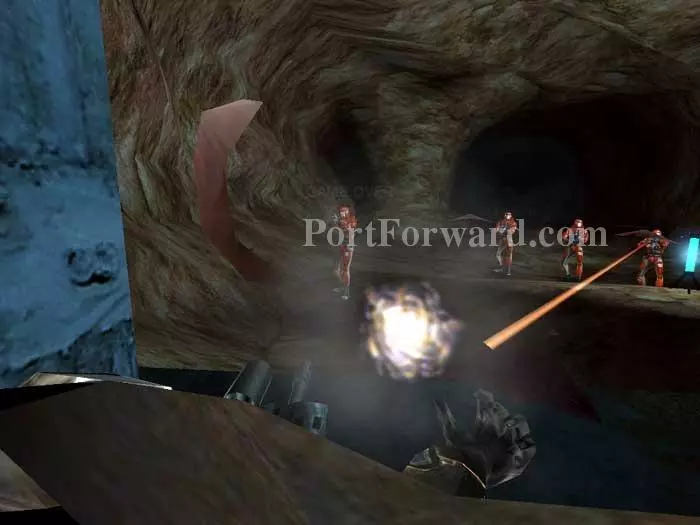
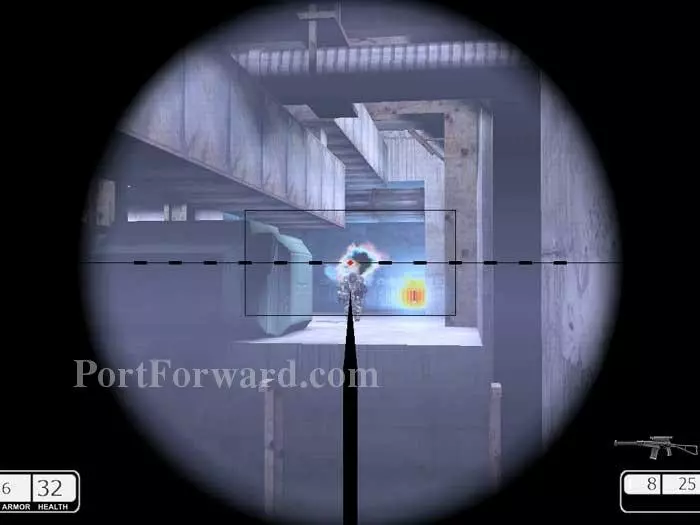
Here I am being killed. That door ahead is where you want to go, and there are a lot of enemies behind it. I ultimately found it helpful to use the sniper scope and slowly chip away at them one at a time.
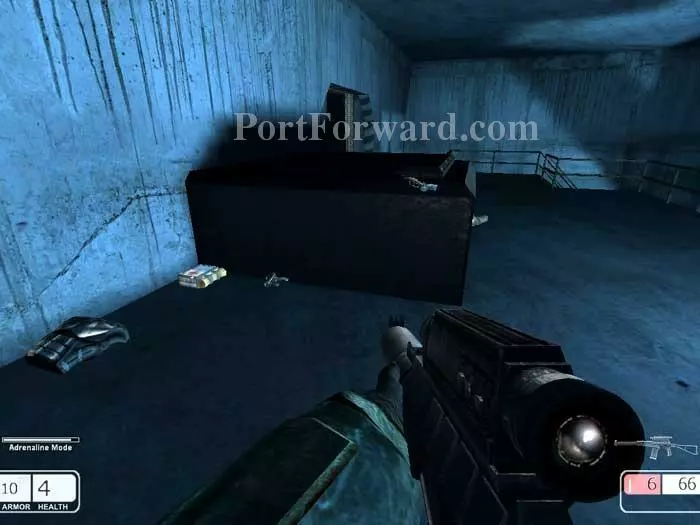
Health, armor and ammo are back here. Don't bother going downstairs.
Instead, continue through here.
Climb down that ladder and hop over the bent wire mesh.
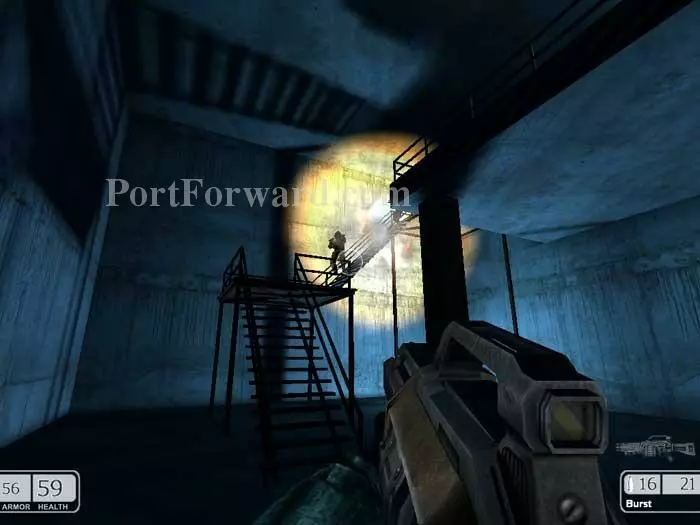
Battle your way up these stairs.
More big guys wait for you up top. If you head right you can ramp up some debris where you'll find a large medkit and an armor vest, then swing around back to this position. Continue through the door ahead.
Crawl into that open ventilation shaft to load the next level.
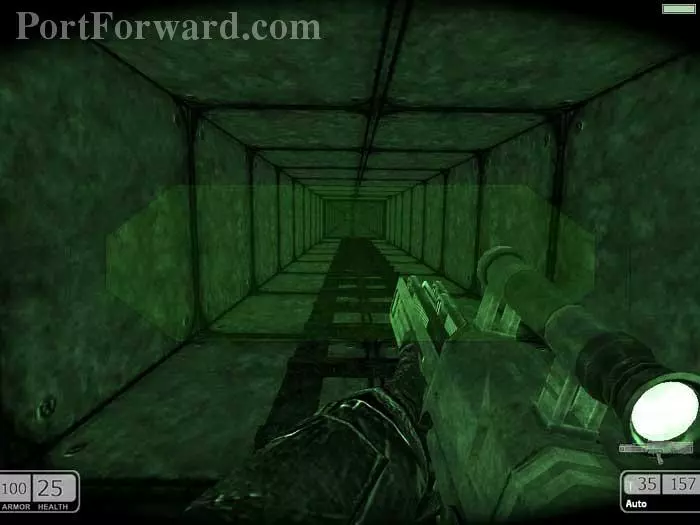
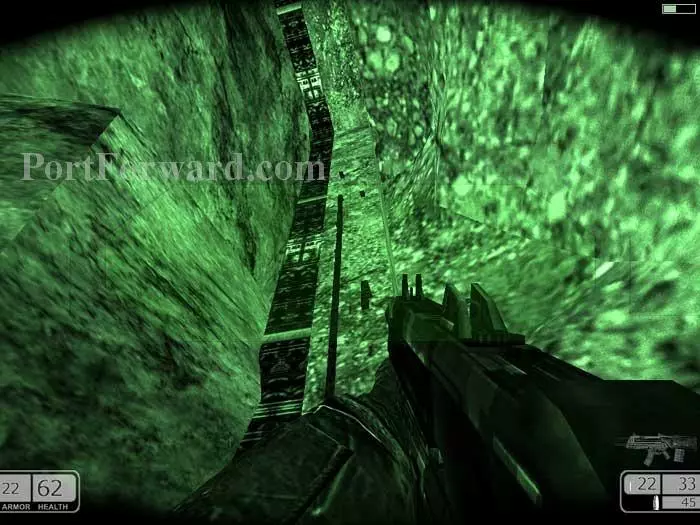
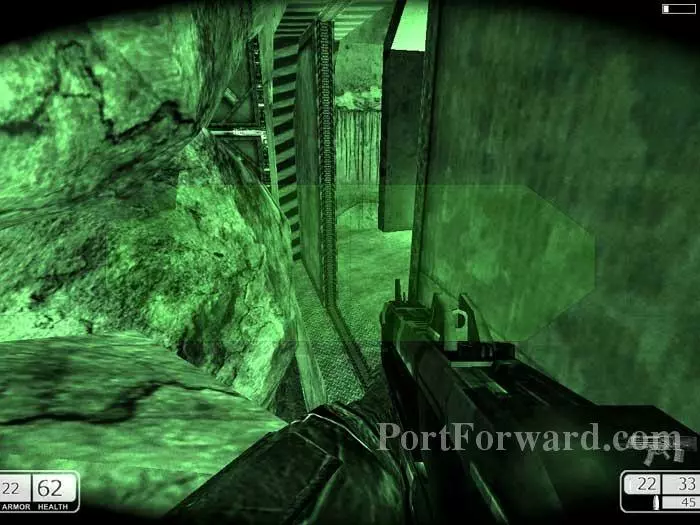
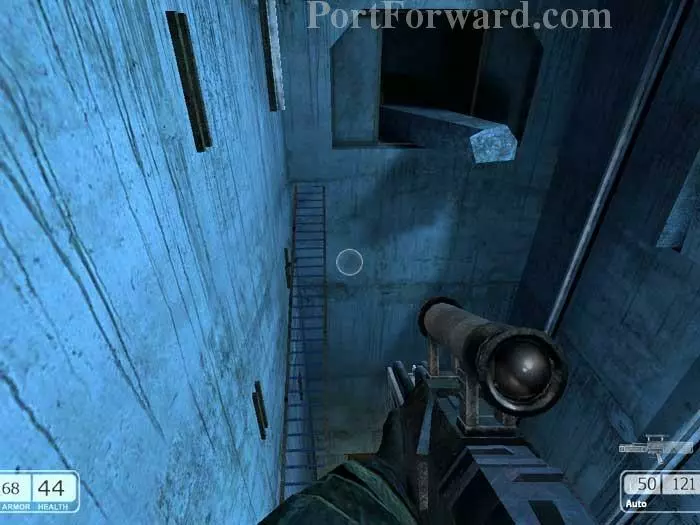
Start by climbing this long ladder.
Take out as many guards as you can before dropping to the catwalk below. Descend a ladder to the right.
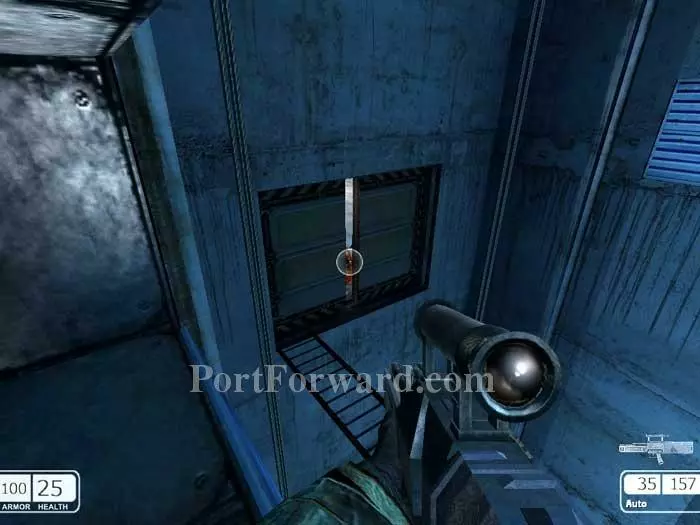
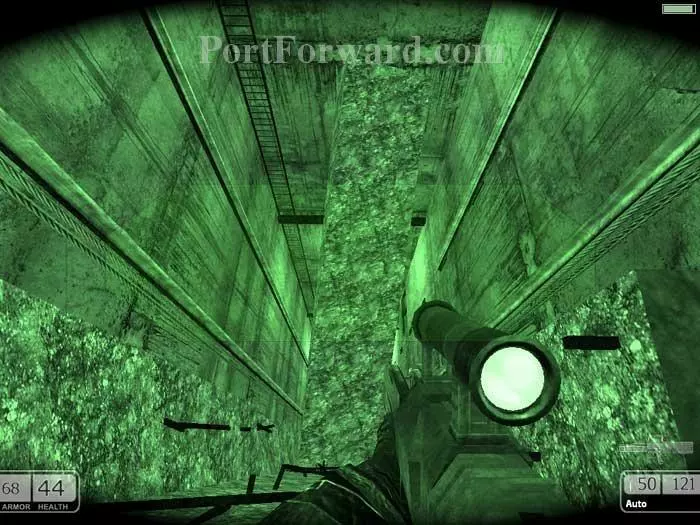
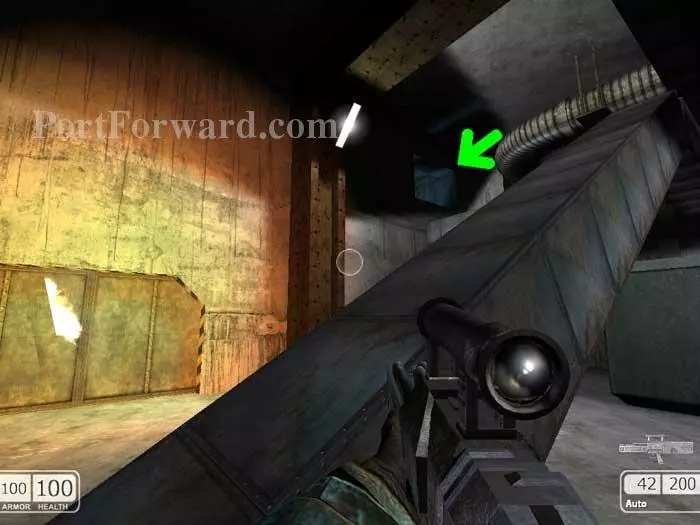
Jump onto the concrete rubble on the right then leap to the indicated vent. If you cause the elevator to fall you can climb the ladder back up to this position. There isn't anything inside the elevator so your best to just avoid it.
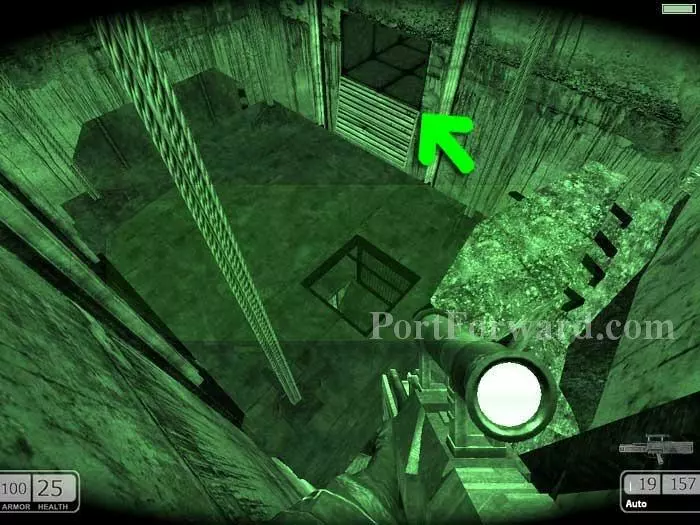
Scurry along this beam to the ladder far-right and climb down. Guards will start firing at you from behind the grate on the left, so move fast.
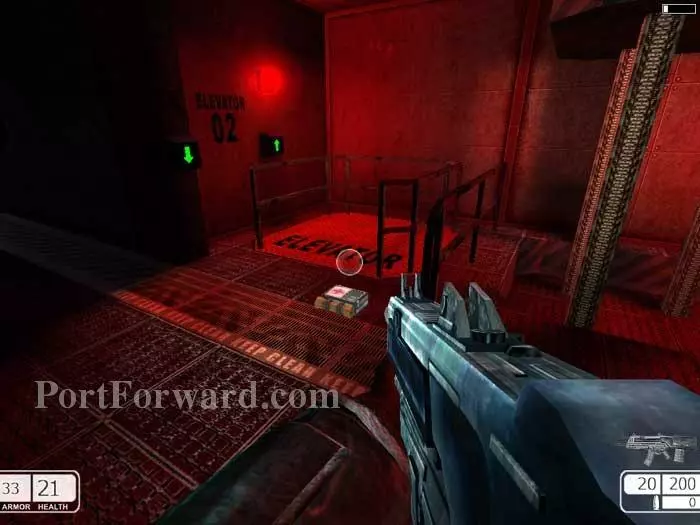
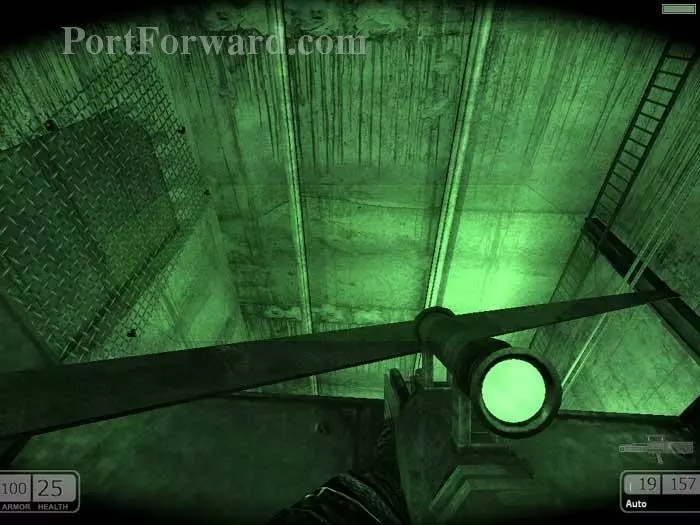
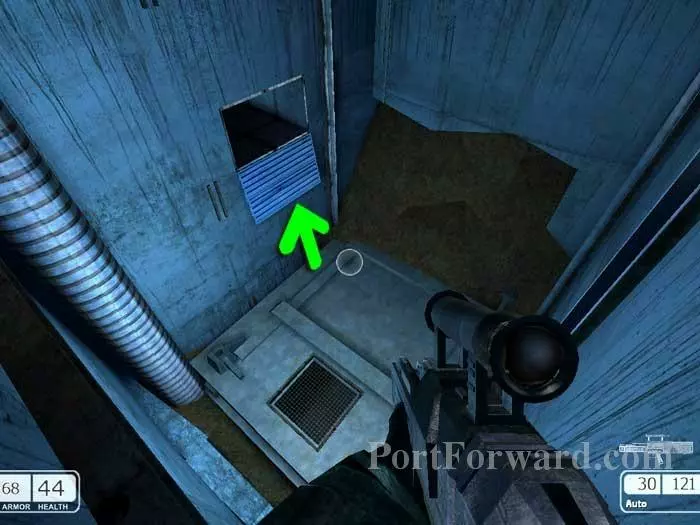
This elevator drops to the bottom of the shaft. Hop down to the roof of the elevator and exit as indicated.
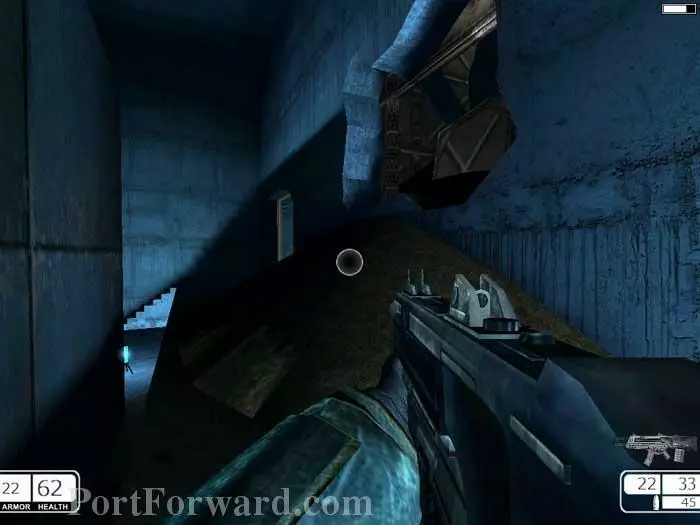
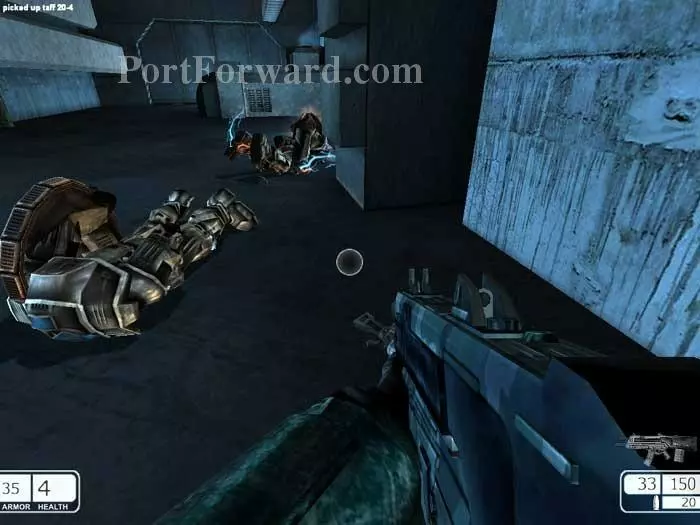
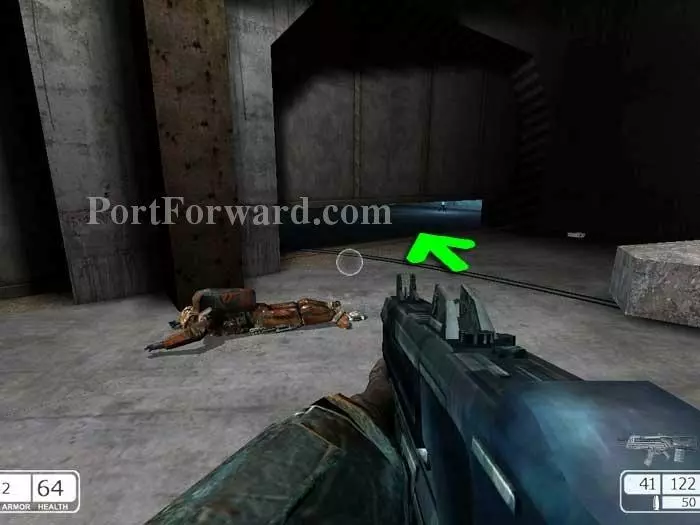
Grab this small medkit and the Taff 20-4.
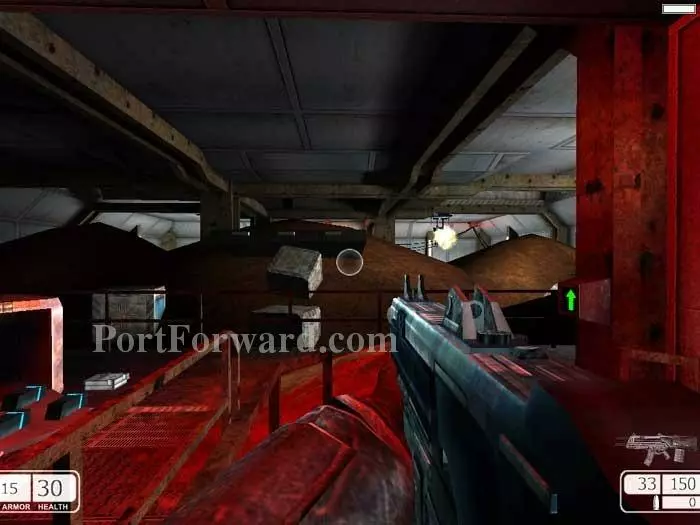
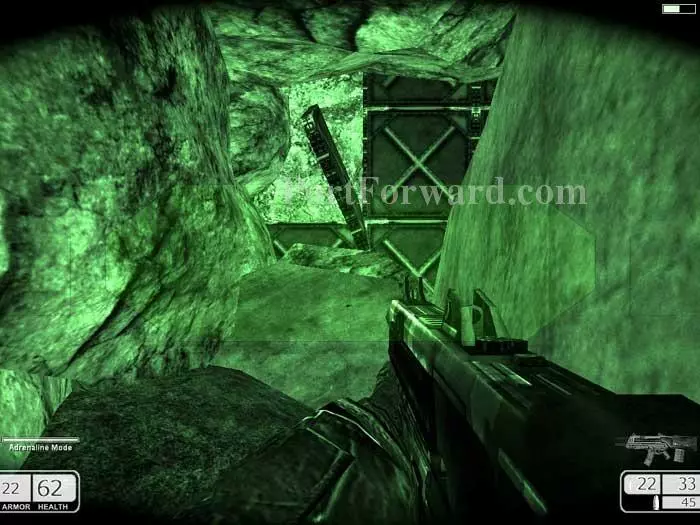
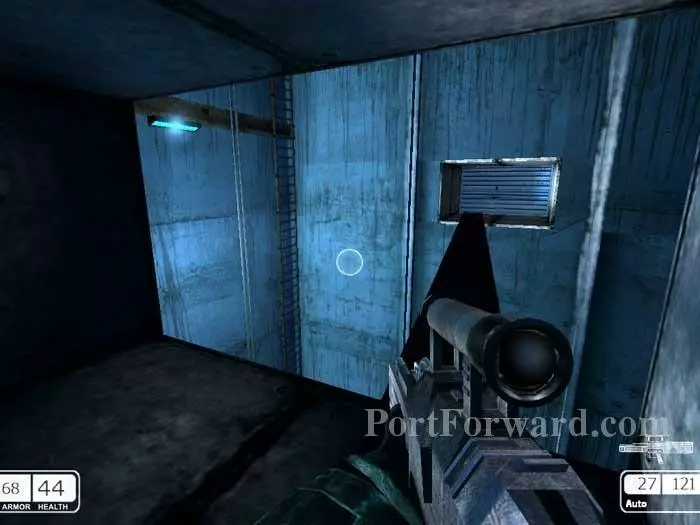
Climb those barrels to reach the vent above.
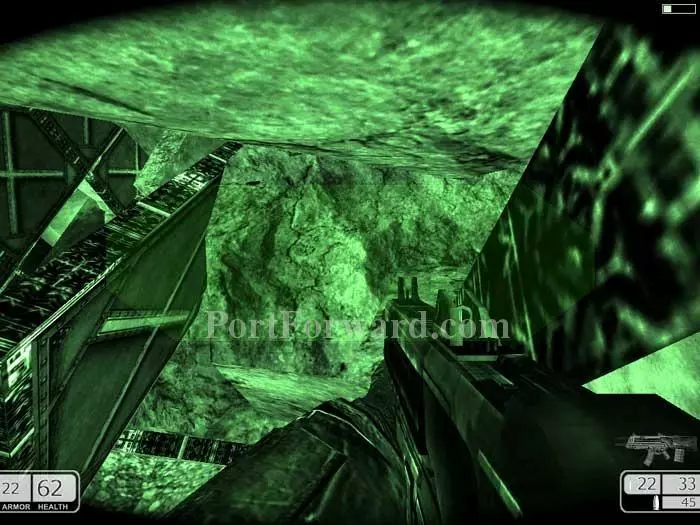
You've just emerged from the opening on the left. Drop as indicated to the ladder below.
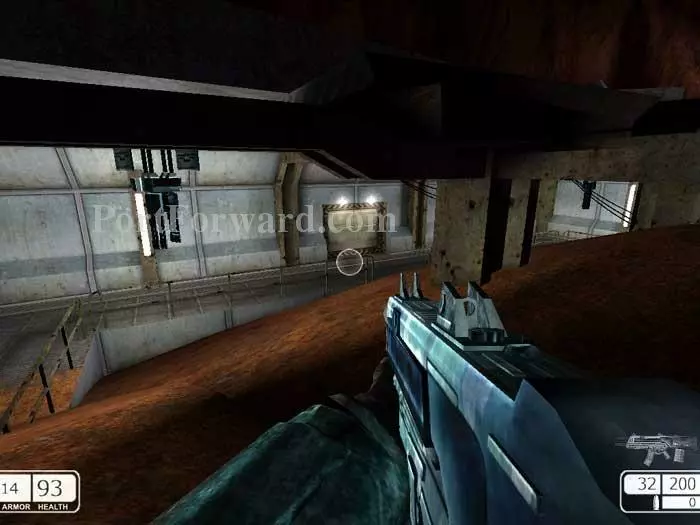
Descend the ladder to this position, drop to the catwalk ahead and enter the opening on the other side.
Crawl to this neighboring shaft, where a bridge-like piece of rubble drops into place, allowing access to the ladder far-left.
Descend the ladder then climb into the indicated vent.
Climb out onto this plank then leap to the ladder far-left.
Descend all the way to the bottom, then climb the ladder seen ahead to exit out that door and load the next level.
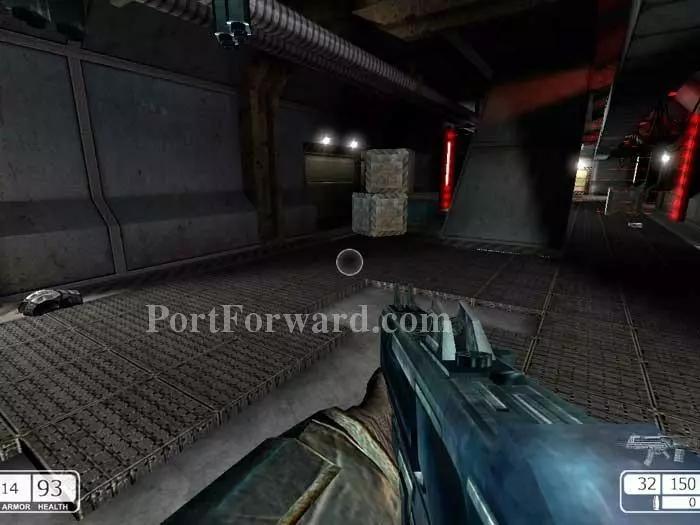
Hop through this hole in the wall.
Continue through the indicated shaft. The door to the right leads to nothing but trouble - three rocket-launching guards and no booty. Avoid it.
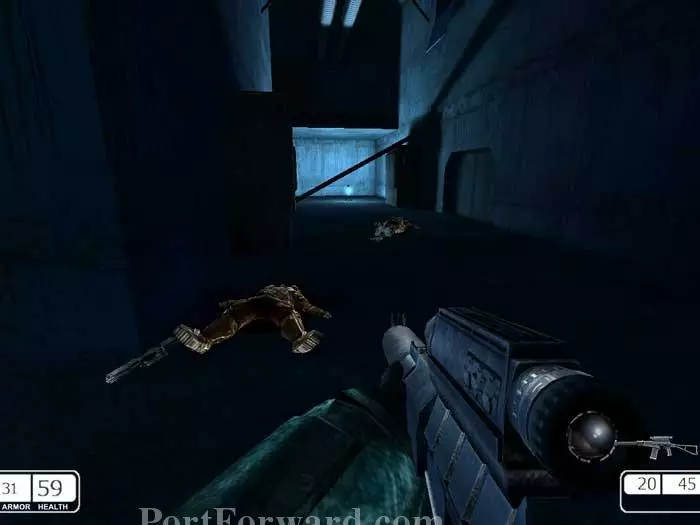
Take out the opposition before dropping below.
Hug the right wall to avoid falling into the chasm. Enter the indicated room to find a large medkit and three grenades. If you're itching for a fight you can continue downstairs, otherwise continue through the door straight ahead.
To the left is a sealed cavern. You want to head right and help your comrades in this battle.
Pick up a medkit and armor vest here.
Climb this fallen vent to the indicated opening.
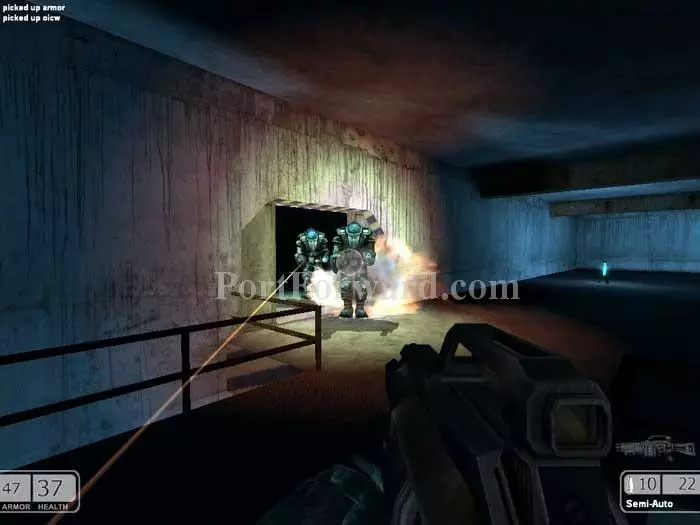
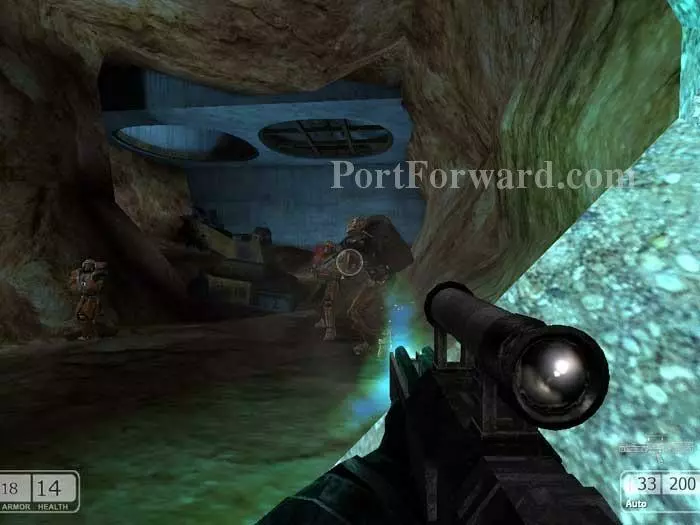
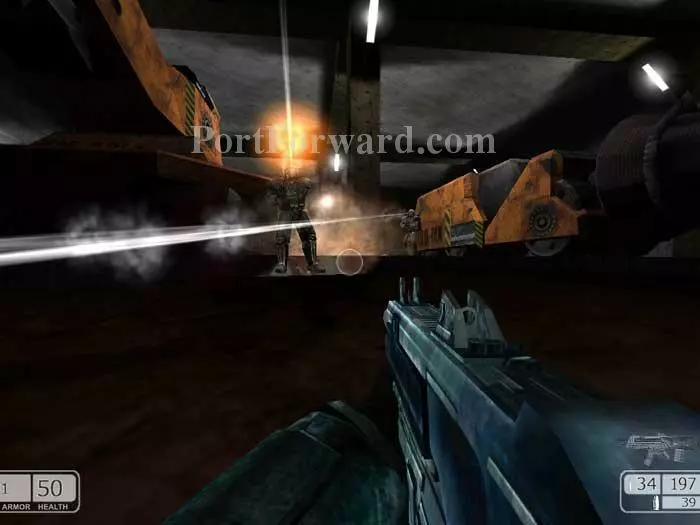
Next up is a nasty battle against a number of RPG-wielding enemies, including these two exoskeletons.
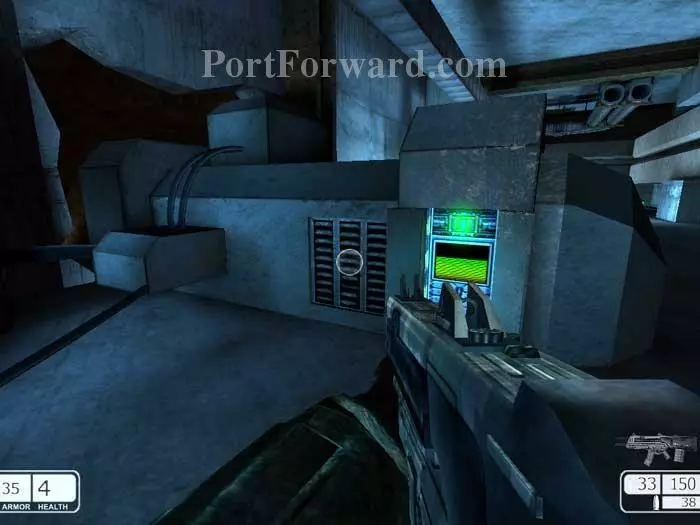
Activate this panel seen on the right then jump through the opening that appears on the left.
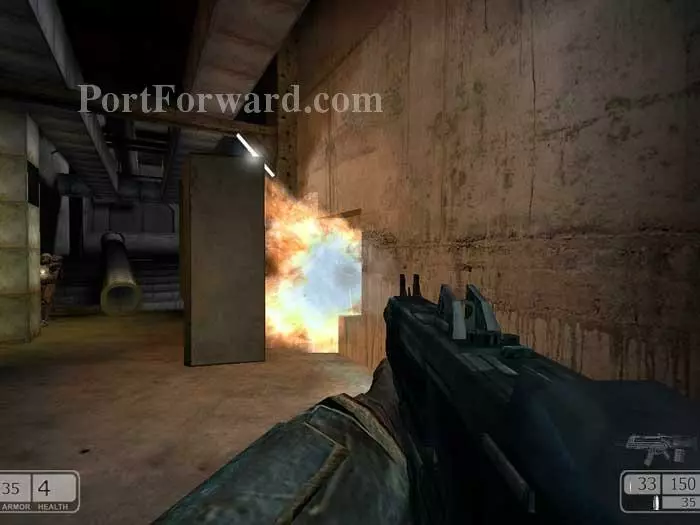
Continue through the opening where this explosion is seen here.
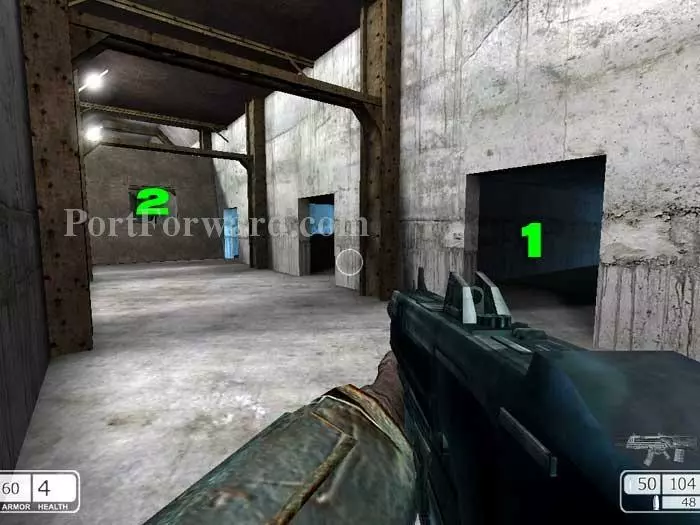
Enter the doorway at (1) then descend the stairs and hop into a neighboring room to emerge on the other side of the partition at (2).

Ascend through here.
Save your game before approaching this gate -- it's about to fall and you are about to be ambushed.
These bombs drop from the ceiling. You can hear their beeps counting down to an explosion.
Quickly make your way to this elevator at the opposite end of the hallway, to the left. You can safely wait out the explosion in here. You don't have to close the door but you can if you like.
Return through the gate that closed on you before, then continue to this battle. These guys are deadly accurate with their RPGs and are not very vulnerable to yours. I recommend primary fire as seen here.
Once the area is secured, slip under this door.
This is a very easy jumping puzzle. Just keep the distances small as you take short hops to the bottom.

Climb through here.

Help your buddies in battle then continue through this tunnel.
Ascend the stairs then go through that door ahead.
Here I am being killed by the welcoming committee on the other side. I actually found it best to snipe them from just outside the doorway.
If you proceed straight ahead you'll be mowed down by automatic turrets. Instead, defeat two guards on this bridge above then head through the indicated doorway.
Climb a ladder and these stairs to defeat two more guards above.
You'll have a better angle on the turrets (and guards) from up here. Hop below, using the green machine seen on the left to break your fall.
Destroy this turret.
Slip under the partially-opened door behind this drilling machine. Note the large medkit to the left.
Take out two exoskeletons.
Snipe this exoskeleton before descending the ladder seen at the bottom of the scope.
This vehicle powers up. Take out these two guards, plus a third to the rear. img(211391); Climb the opposite ladder then take down this exoskeleton. Two large medkits are around the corner on the right. img(211392); Follow that jutting rubble to the rocky ledge. img(211393); Guards pursue through the door next to the explosion. Continue through the doorway on the right. img(211394); Defeat these two then pass through a door on the right. img(211395); Use Adrenaline Mode and your sniper rifle to take out the guards below. img(211396); You'll also have these two guards to contend with as well. img(211397); Fight your way down these stairs and across the catwalk. img(211398); Grab this large medkit before carefully descending those stairs. img(211399); Avoid the hole at the bottom of the stairs. Continue through the open doorway. img(211400); Ramp down this fallen air shaft. (Defeat or ignore the turret to the right.) Ascend those stairs ahead. img(211401); Proceed through the indicated opening. img(211402); Make your way through the tunnel, continuing past the drilling machine as indicated. img(211403); Carefully step across the chasm to the doorway straight ahead. img(211404); Jump-crouch to the ledge above as indicated. img(211405); The tunnel caves in behind you. Drop through a hole behind these ventilation units. img(211406); You're now in a maze. Watch your back as enemies spawn behind you. Fortunately, many medkits can be found in this area. img(211407); You're almost out when you see the stain to the right. Continue as indicated. img(211408); Bear right as indicated. img(211409); To the back-left is this opening, only visible once you are upon it. Pass through the opening to trigger a cutscene and load the next level. img(211410); You've only got one weapon, but you won't need it. Your shooting days are over. img(211411); There's not much to do but advance through the corridor. img(211412); Squeeze left past these fallen shelves. img(211413); Approach that door to initiate the ending cutscene. img(211414); Longwood captures you. Apparently he wasn't killed in the train explosion. img(211415); Castor has been captured, too. (Is that Jay?) It's all very confusing. img(211416); Longwood claims that Castor was behind the attack on Majestic Station, and Castor claims that it was to prevent Longwood from obtaining rebel secrets from your memories. img(211417); It gets worse. Longwood claims that you are Scott Stone, and that you killed the real chaser. Keeping up? img(211418); Chaser (or Stone, or whoever he is) has to choose whom to believe. He chooses to believe Longwood and he shoots Castor. img(211419); And then Longwood has his men kill you. Oh well -- easy come, easy go. img(211420); Lastly, the end credits. I hope you enjoyed this game and of course, I hope my walkthrough helped you! Game on!
More Chaser Walkthroughs
This Chaser walkthrough is divided into 18 total pages.


