
This Deus Ex: Invisible War walkthrough is divided into 11 total pages.
You can jump to nearby pages of the game using the links above.
Liberty Island

Sid Black drops you off at the former UNATCO helipad. If you paid him for a strafing run with his "sunfire missiles" you're in for a disappointment. Maybe you'll get to beat your stolen credits out of him in a sequel. Ava drops you off at the statue, being rebuilt by JC's nanites.

You are now allied with one of the three factions. (1) ApostleCorp (the Dentons) if you rescued Paul. (2) The Illuminati (Chad Dumier and Nicolette DuClare) if you did not allow Dr. Todd to take your blood, but instead killed Paul yourself. (3) The Templars (Luminon Saman) if you allowed Dr. Todd to take your blood. If you aren't allied with ApostleCorp then you will be attacked by this gray and the other ApostleCorp supporters at the statue.

Likewise, unless you allied with the Illuminati, you can expect a rough reception from them at their south docks base camp.

The Templars will pummel you at their camp on the east side if you are not allied with them. In this shot you can see my aggressive defense drone taking out a Templar rocket.

The starting point for all factions is here -- UNATCO HQ.
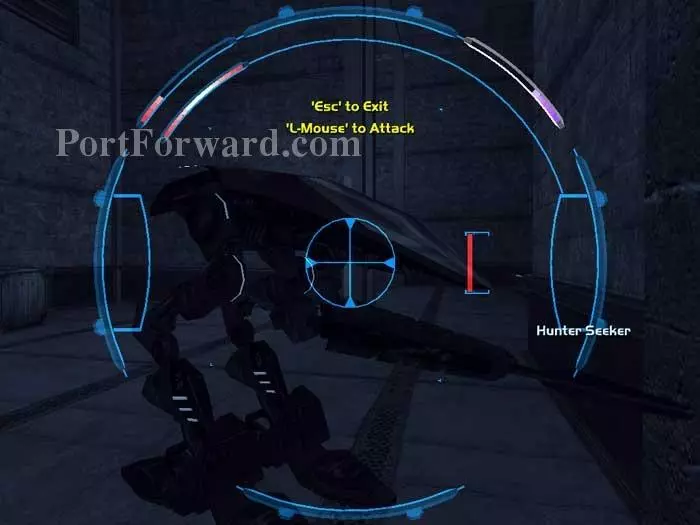
This hunter seeker is unfriendly regardless of your affiliation.
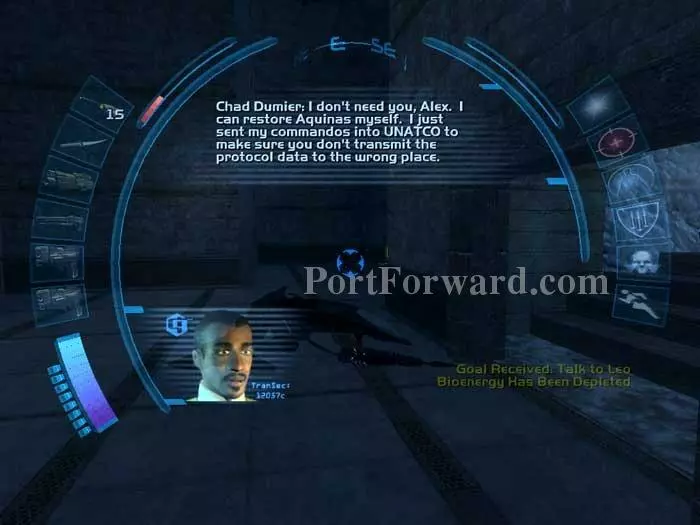
Chad Dumier claims to have sent in commandos, but they only appear if you are allied with the Templars.
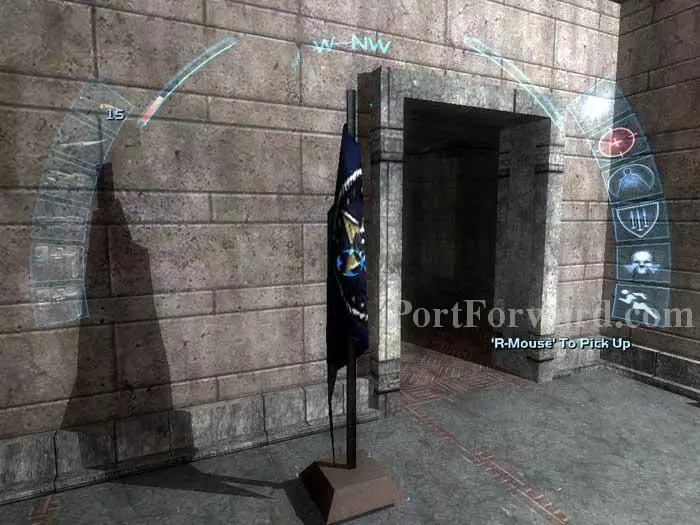
Take note of this flag.
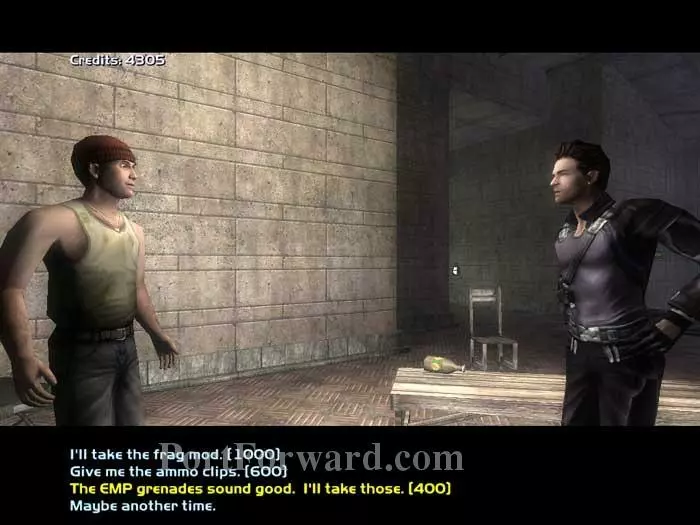
This bum is selling equipment. My preference is the EMP grenades. You can snipe the lone power-armored Paladin from the overlook ahead. You may recognize this as the spot where you exploded Anna Navarre. Continue down either stairway.
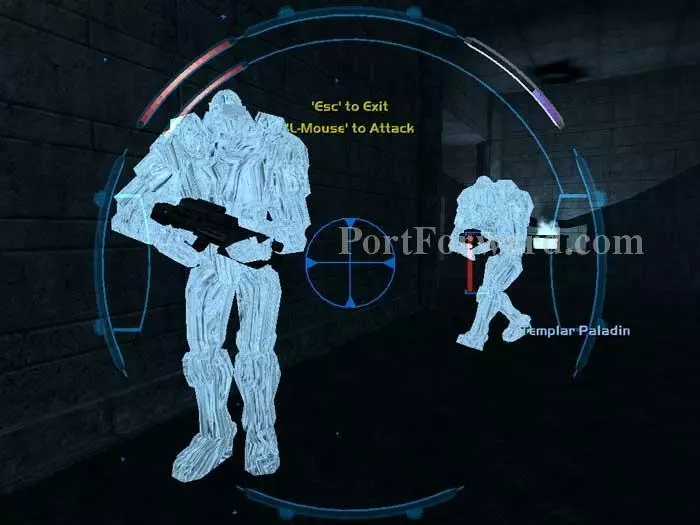
Here's the lone Paladin on this floor. If you didn't snipe him before, you can avoid him with the cloak, use your spy drone or just blow him up. If you are allied with the Templars, you'll witness a battle between them and the Illuminati elite troopers.
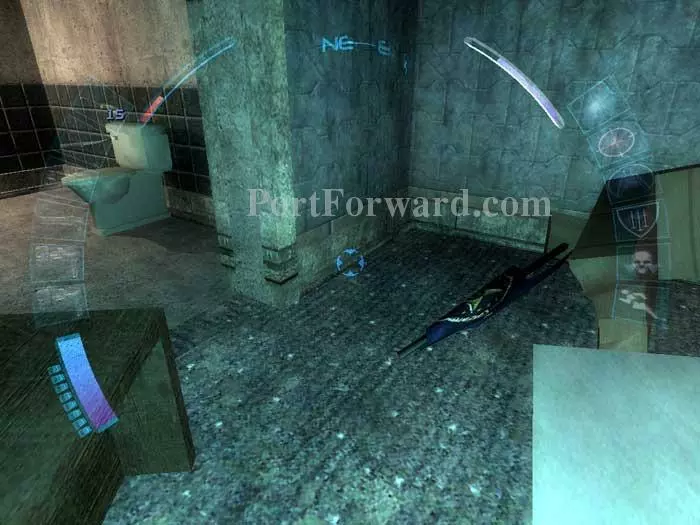
Continue to this toilet in what used to be Joseph Manderley's office. Make sure you save your game before you continue. If you carry the flag noted earlier (the flag seen here does not work) and then flush the toilet...

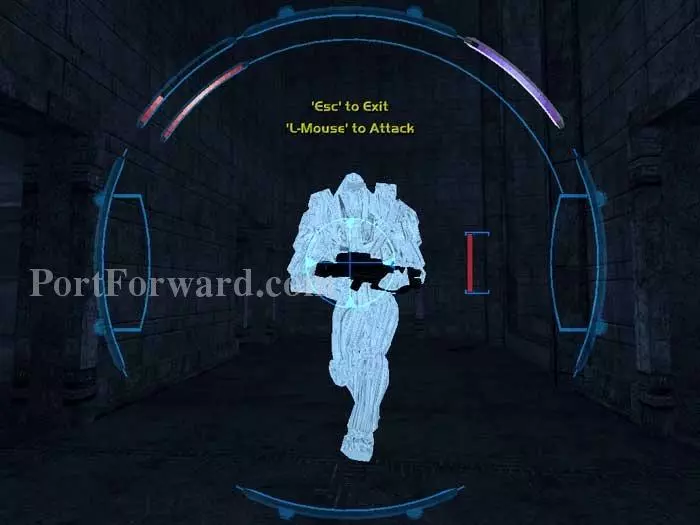
You are transported to what is dubbed, "The REAL Endgame" - the DX2 Rap Party.

You'll find floating datacubes such as this...
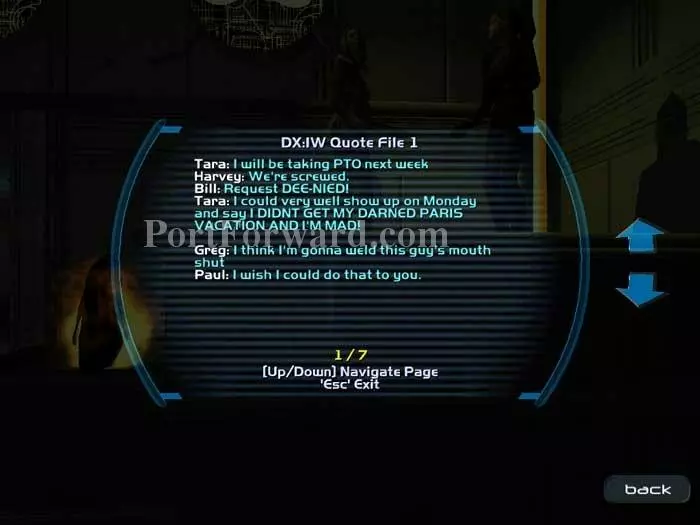
...where you can read indulgent quotes from the development staff. Too bad they didn't indulge us.
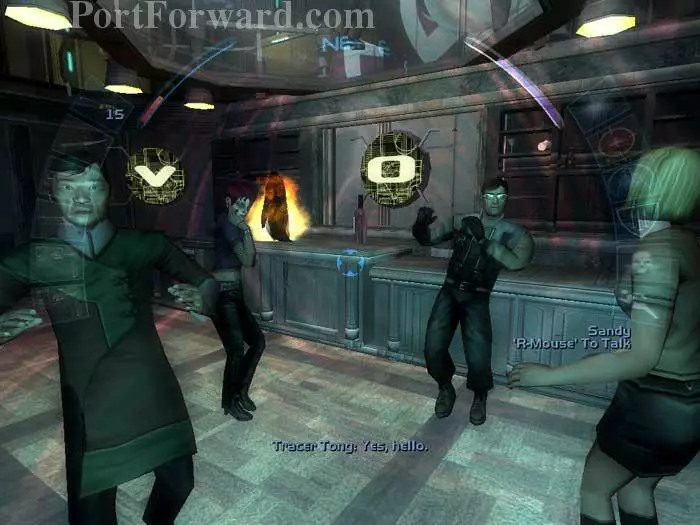
The quotes are boring, but it is fun to watch the 'cast' dancing. It reminds me of the dancing credits from Comedy Central's Strangers With Candy.
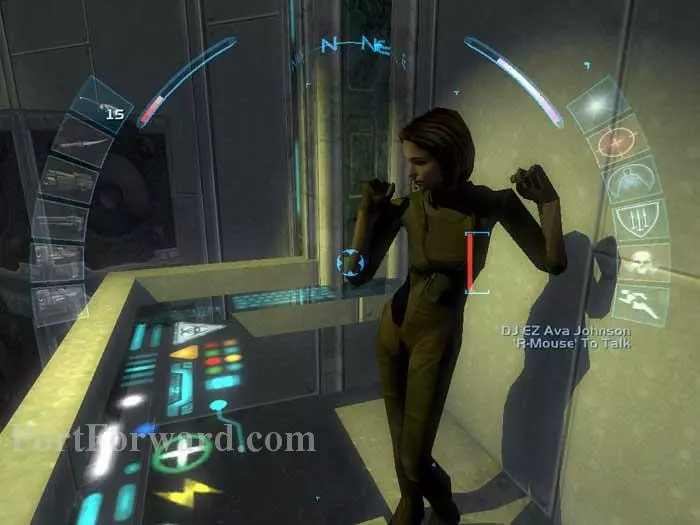
Ava looks just as great as she sounds.
Reload your save to arrive back at UNATCO HQ. Three power-armored Paladins patrol the immediate area below. If you are allied with the Templars you may instead see a mix of Paladins and elite troopers.

You'll find yourself at the ruins of this hallway.
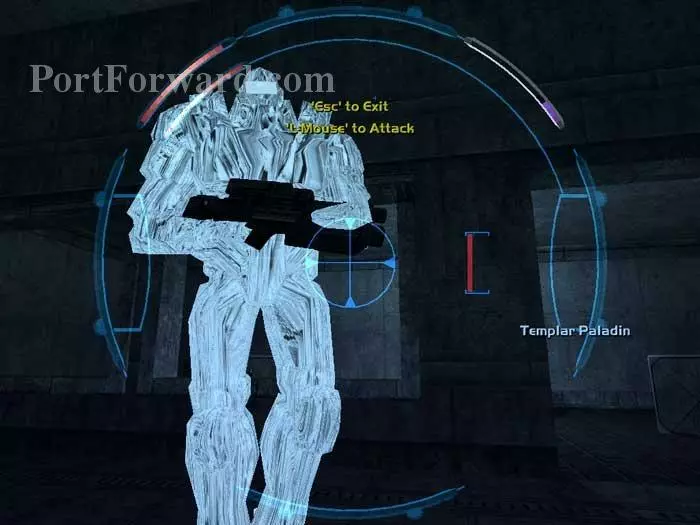
Head left. Send your spy drone all the way back to the holding cells to find this final Paladin. Again, drone him, avoid him, or blow him up.

This datacube has prompted speculation that there may be a seventh secret weapon.
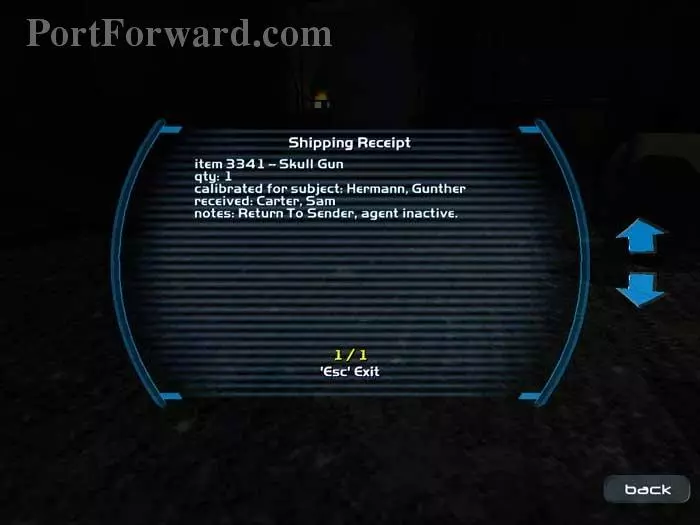
It is a shipping receipt for Gunther Hermann's skull gun. Alas, no such weapon is to be found.
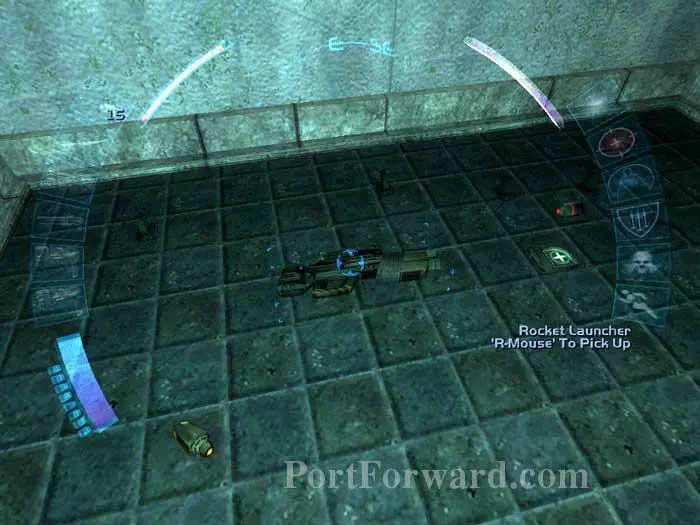
This cell on the far left has lots of goodies, including a rocket launcher, medkit, scrambler grenade, five ammo clips, a noisemaker grenade and a concussion grenade.
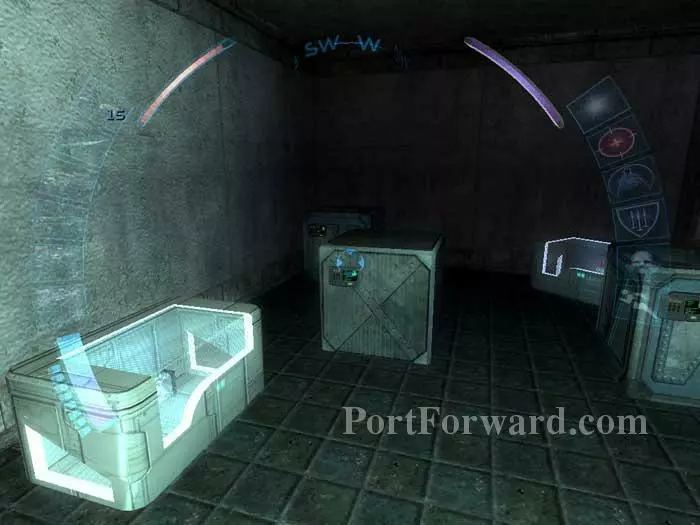
An energy blade can be found to the left of this locked trunk, inside of which you'll find an EMP converter. The locked trunk on the right holds a black market biomod.
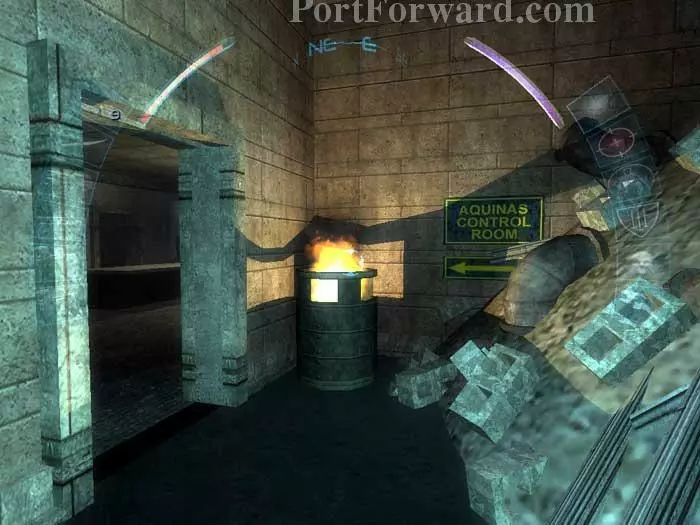
Backtrack to this position and turn right to find the Aquinas control room.
You're in Alex Jacobson's office, complete with secret subfloor. Drop below to find two multitools.

Receive this holocomm message from Saman.

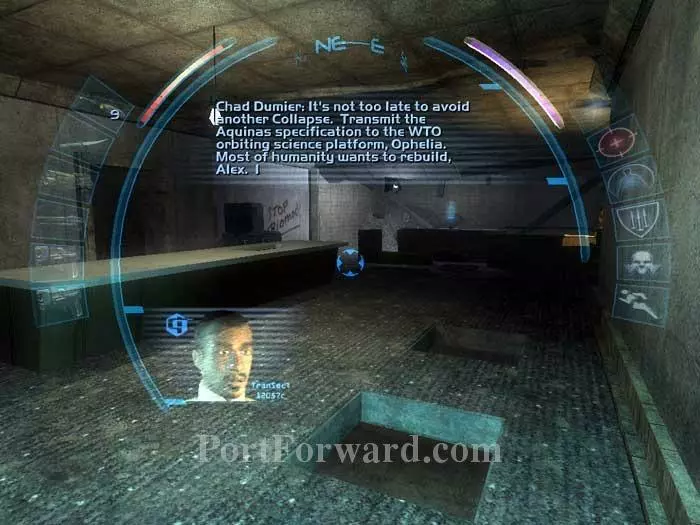
Here is Aquinas Hub - Alex Jacobson's old computer.

Time to decide what faction you wish to support. Yes, you've come all this way and you still can switch sides. Here's where you'll need to save your game if you want to play all endings.

If you find none of these factions appealing, you may be in luck. A fourth outcome is available after speaking to Leo Jankowski in the UNATCO bunker, just outside UNATCO HQ.
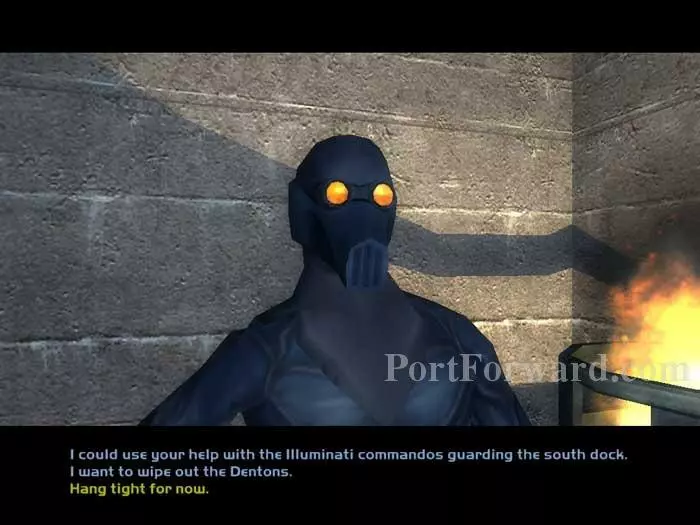
Leo wants all of the leaders killed. Here I recommend dialogue option (3) because Leo dies pretty quickly in combat.
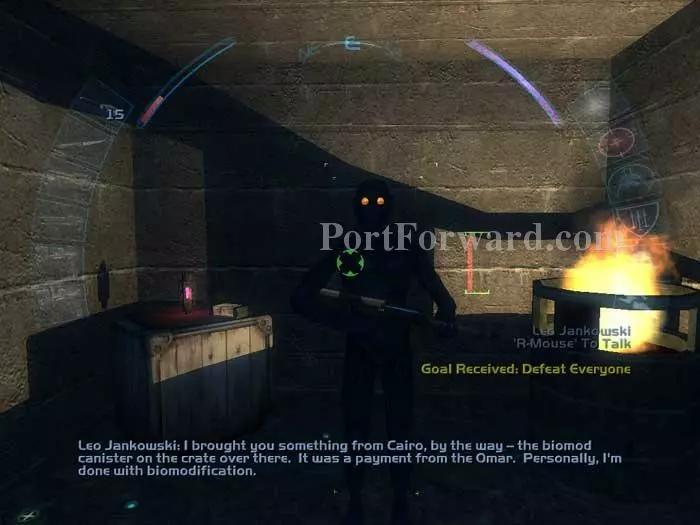
If you helped Leo in Cairo, you'll receive a black market biomod. Grab the refire rate mod, medkit and two energy cells. Choose which side you want to support before continuing.
More Deus Ex: Invisible War Walkthroughs
This Deus Ex: Invisible War walkthrough is divided into 11 total pages.


