
This Deus Ex: Invisible War walkthrough is divided into 11 total pages.
You can jump to nearby pages of the game using the links above.
Trier
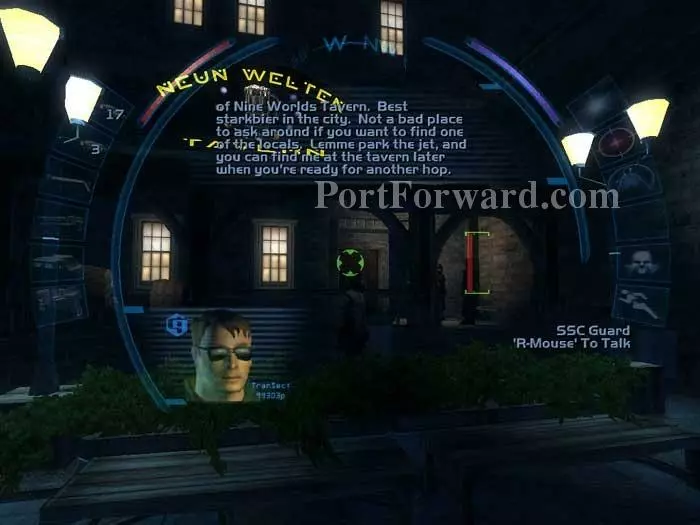
Ava Johnson's chopper will drop you off in Trier, Germany. She suggests you begin your search at the Nine Worlds Tavern. Sid Black's harrier will drop you off right in front of the Nine Worlds Tavern.
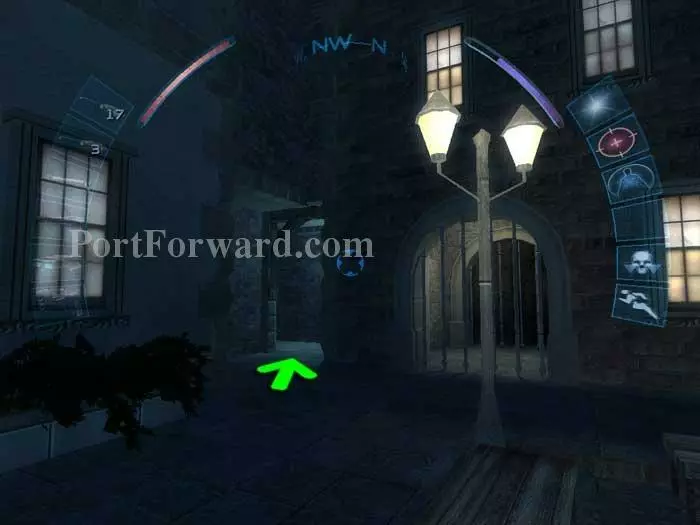
From Ava's drop off position, proceed through this doorway.
Turn right where indicated.
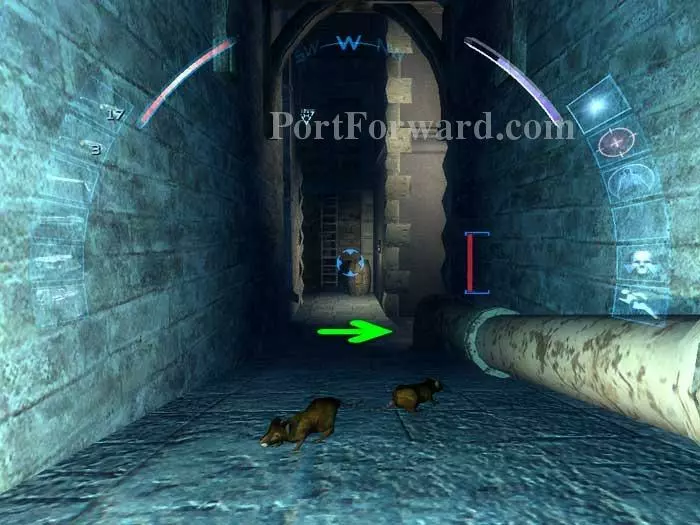
To the left is an ATM and a grate which leads to the Black Gate Ruins -- we're ignoring that for now. Behind your right shoulder are some boxes with an ammo clip. Enter the QueeQueg's on the right.
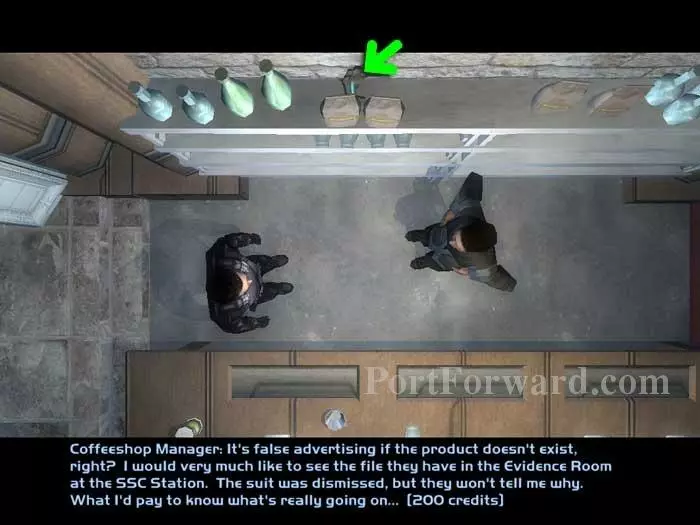
Talk to the Queequeg's manager and receive a new goal -- investigate his lawsuit against Pequod's. Find the office softkey where indicated.
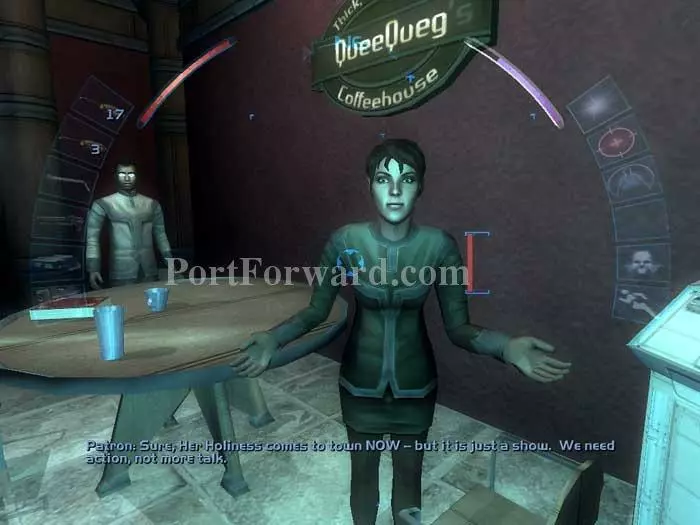
Listen to the patrons' complaints about the disruptions caused by The Order.

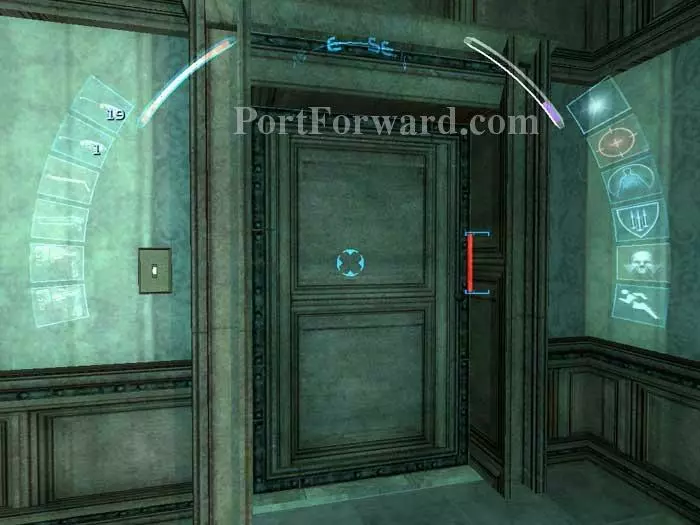
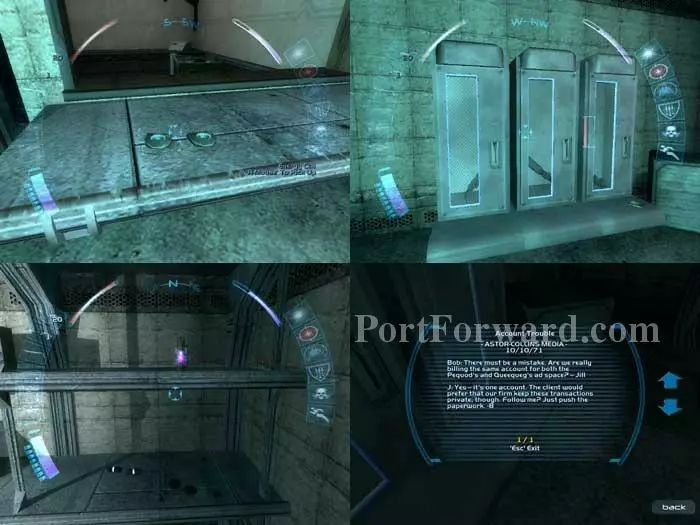
Talk with David Kurczec, former partner of Mr. O'Rourke in Seattle. He gives you the keycode to meet the Omar at the Trier Curio Shop. Slip through the door visible on the left.
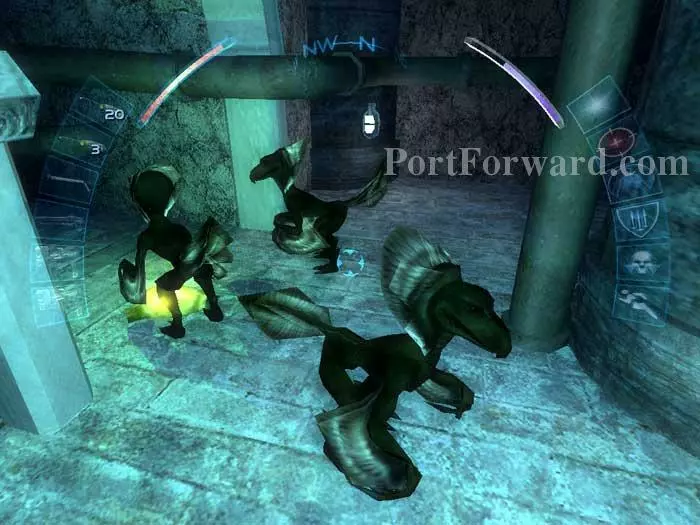
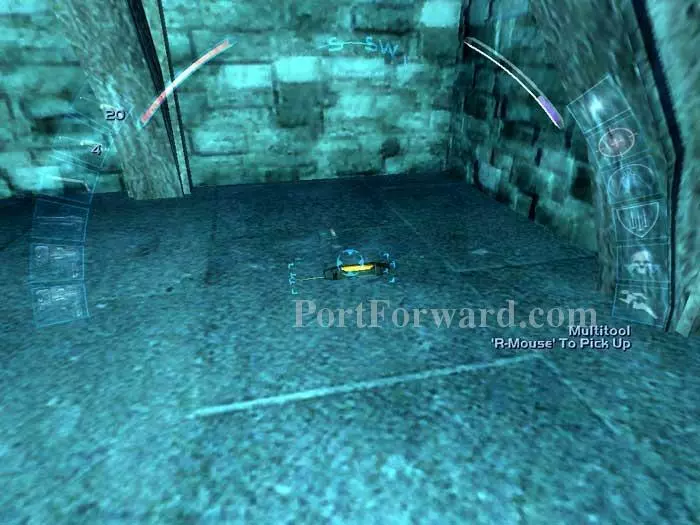
Use the softkey on a second door and bring down the greasel inside with your weapon of choice. Here I use the spy drone.
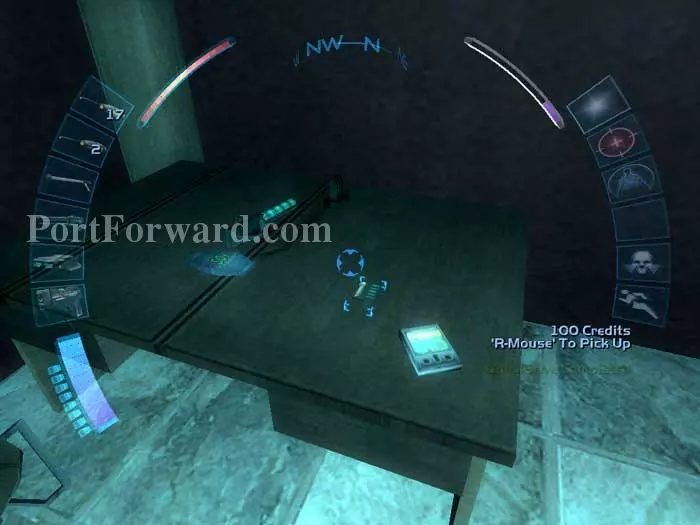
On this table you'll find a credit chit worth 100 credits, an ammo clip, a stun prod, and a receipt for the greasel from Galleria Pets.
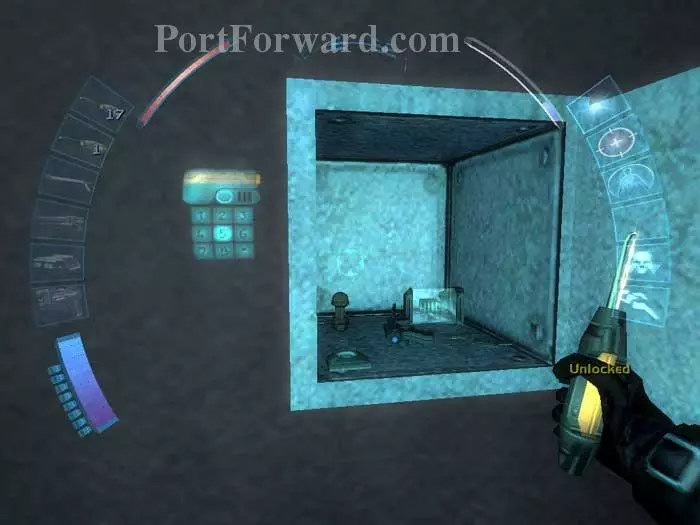
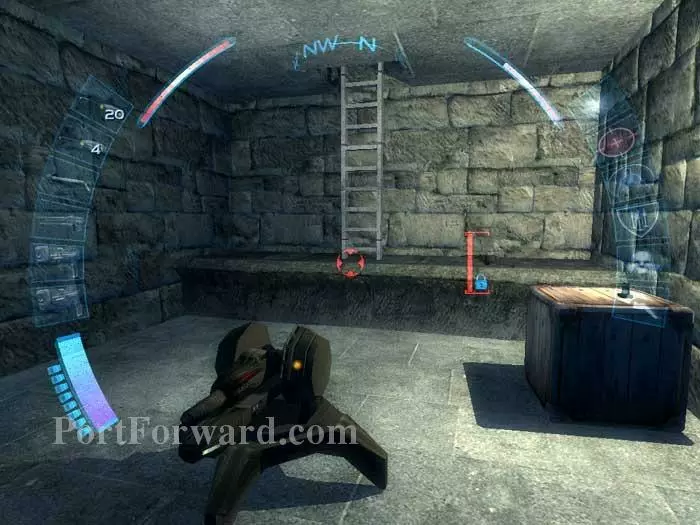
Crack this safe for a spider bomb, a glass destabilizer, an energy cell, a boltcaster, and 200 credits.

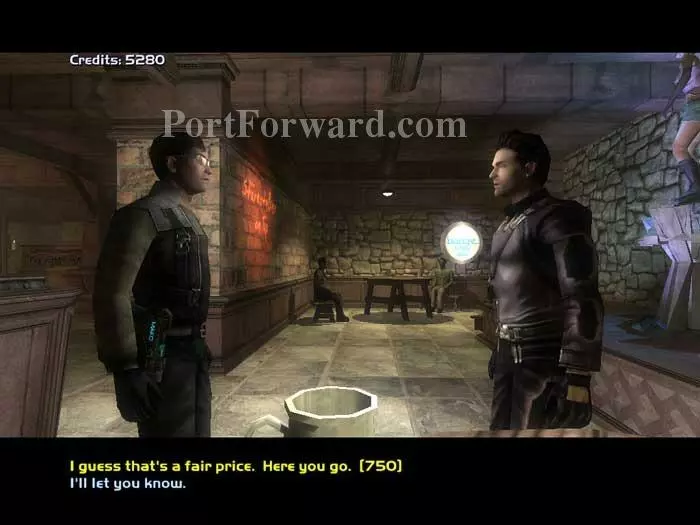
Return to the bar area and talk with NG. The three responses here have no real difference. Choose the response best suited to your character.
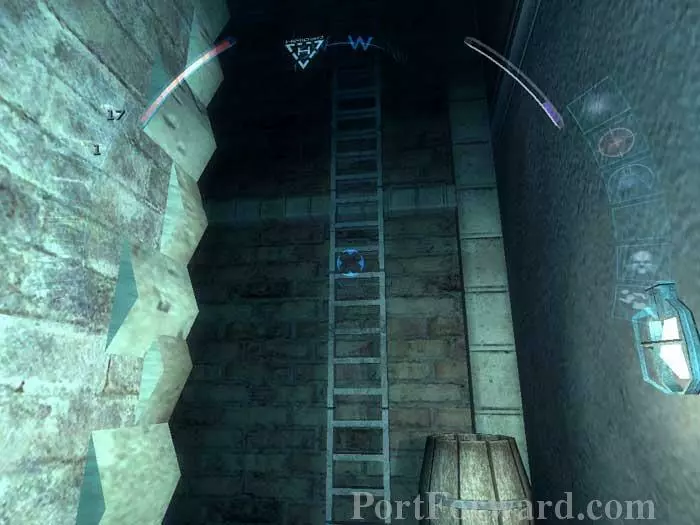
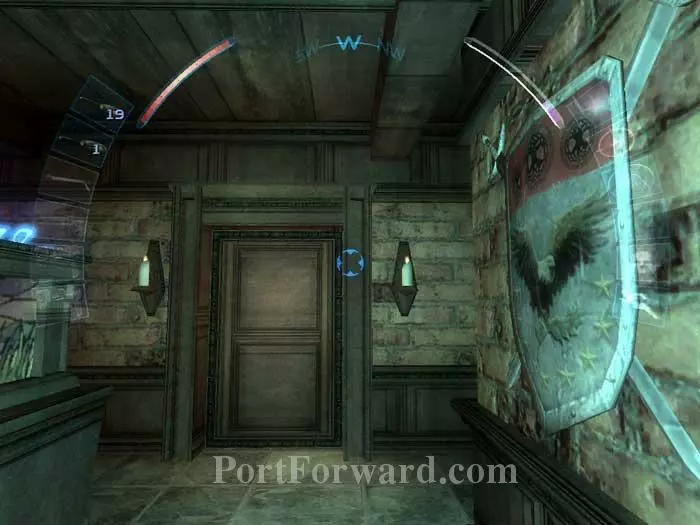
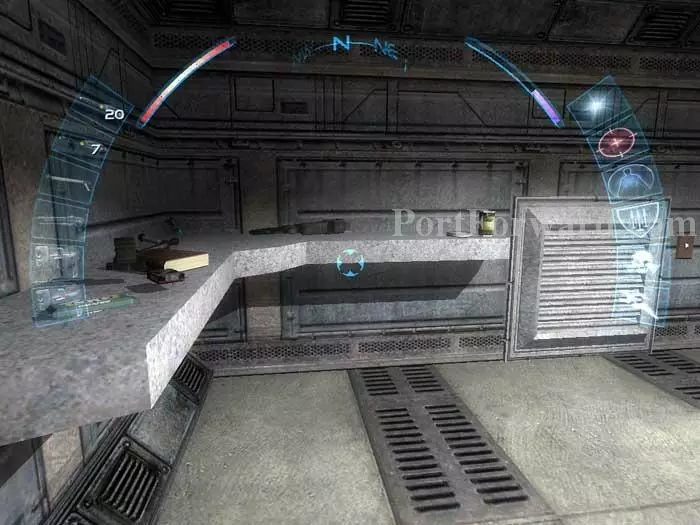
Return to the Trier streets. Keep right, then climb this ladder to the helipad above.
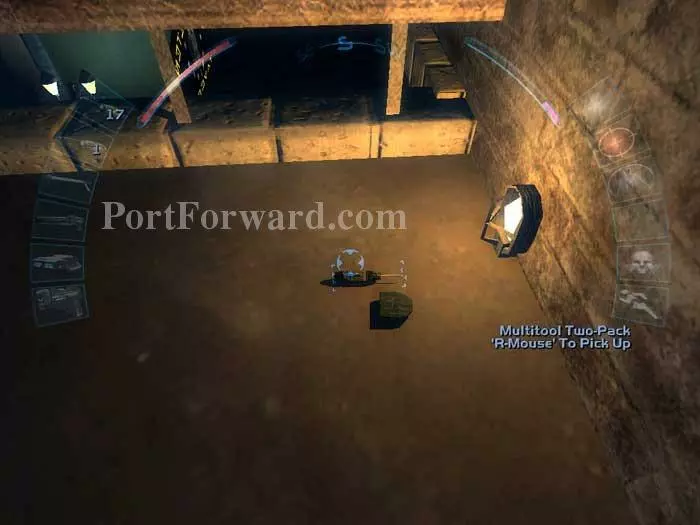
Grab this multitool two-pack and energy cell from the southwest corner. Hop over the railing to the roof below for an ammo clip.
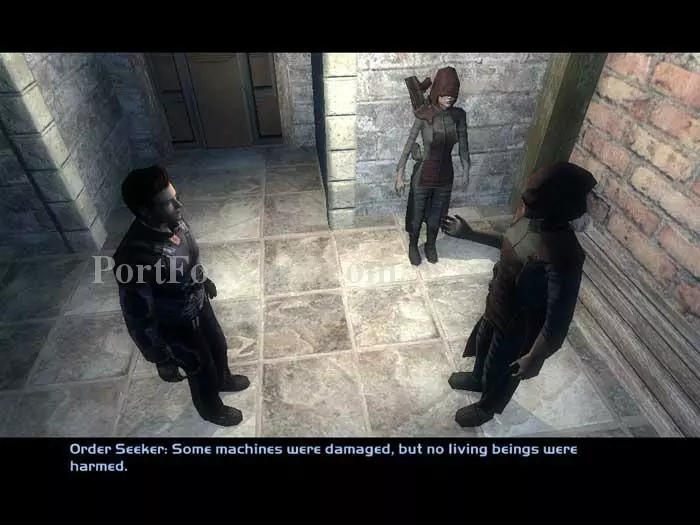
Drop to the street below and speak with these seekers to learn more about the friction between Panzerworks and The Order.
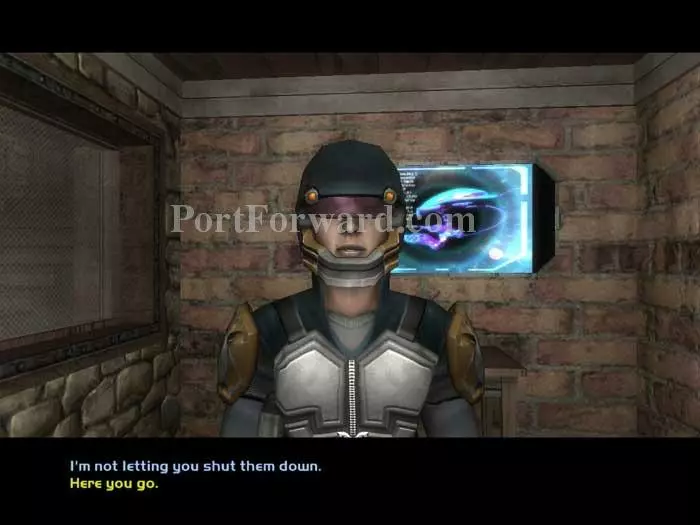
Enter the Nine Worlds Tavern and consent to the weapons deactivation scan.
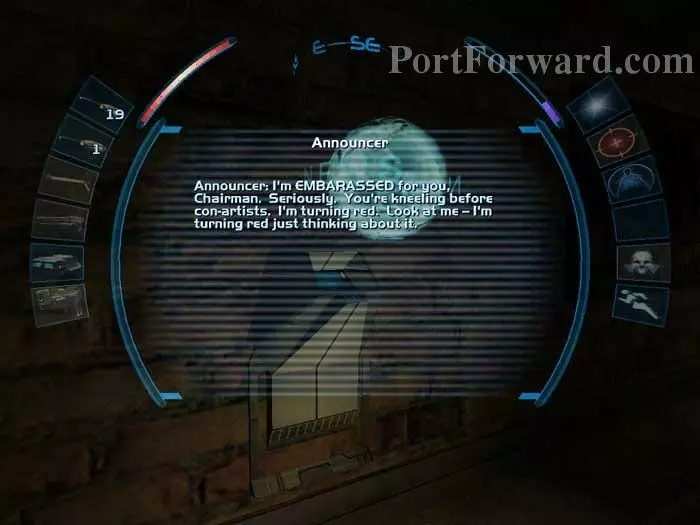
Listen to the humiliating Talk Bullet interview with WTO Chairman Dumier.
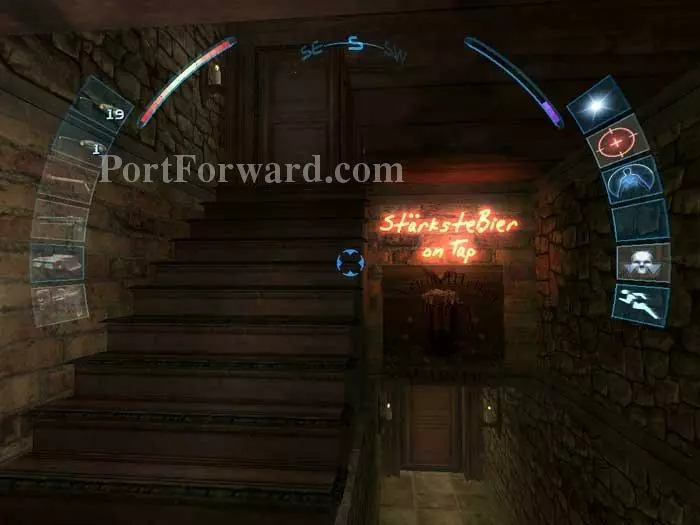
Ascend the stairs and use your Trier Curio Shop keycode to unlock the door.
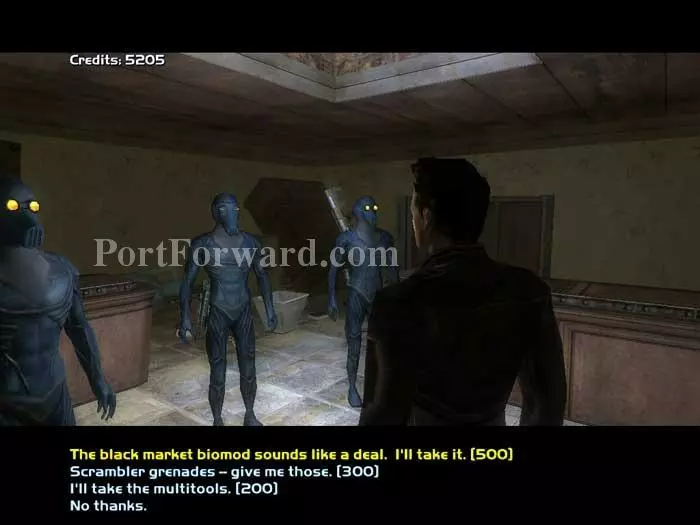
Inside, the Omar are selling a black market canister, three scrambler grenades and five multitools. If you helped the Omar avoid the Templar raid in Cairo, they will offer you a half-price discount.
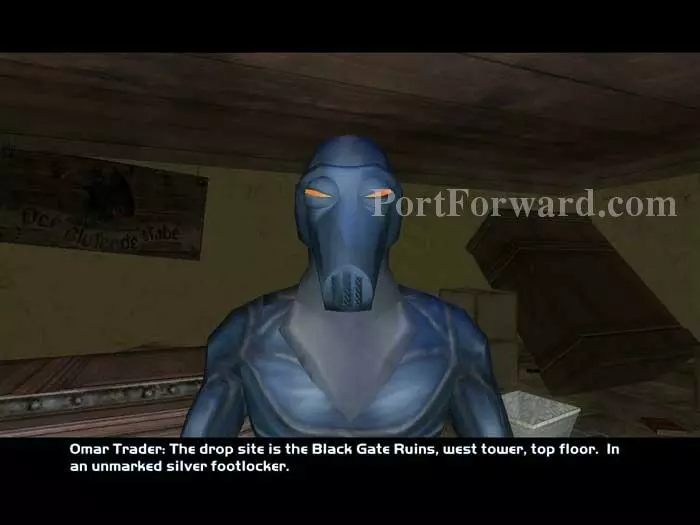
Purchase the black market biomod canister and the Omar will tell you where to find it in the Black Gate Ruins.
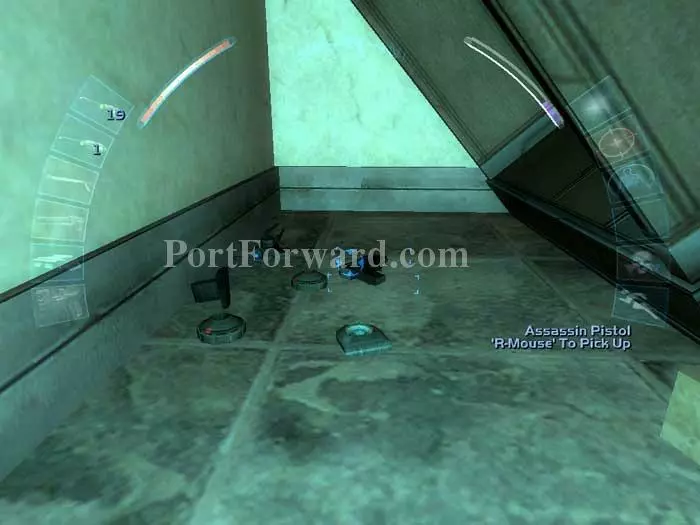
Clear away the boxes in the southwest corner to find the game's fourth secret weapon: the Assassin Pistol. Also here are a boltcaster, an ammo clip, an energy cell, and two concussion prox mines.
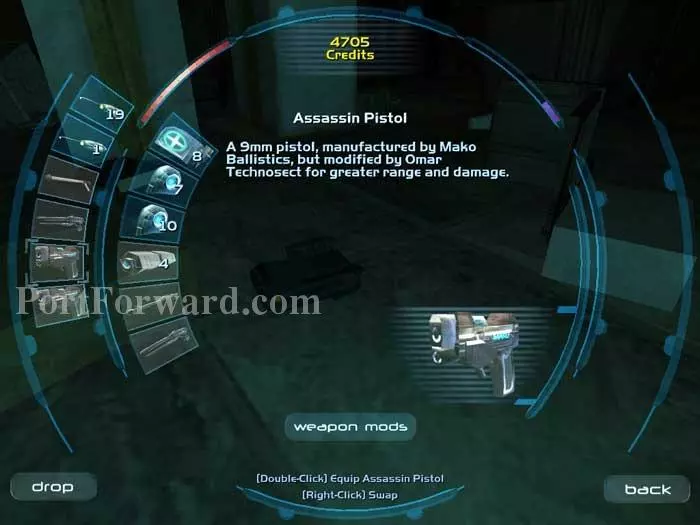
The Assassin Pistol has been modified by the Omar for greater range and damage. The light has been replaced by a scope.
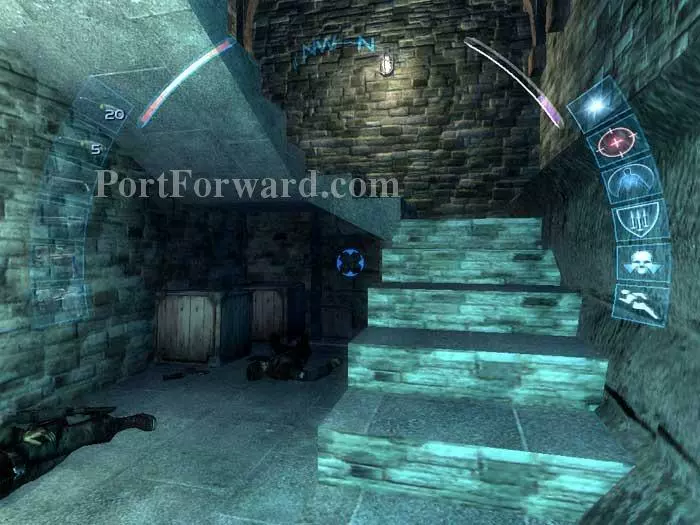
Descend the stairs to the tavern.
Keep right and pass through that door ahead, then another.
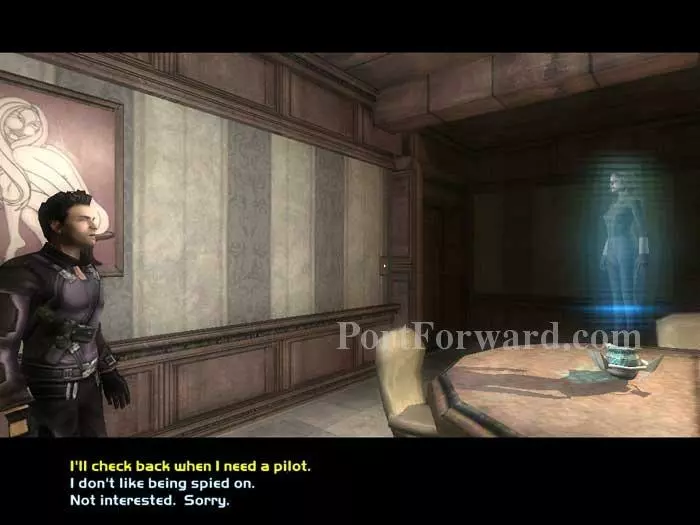
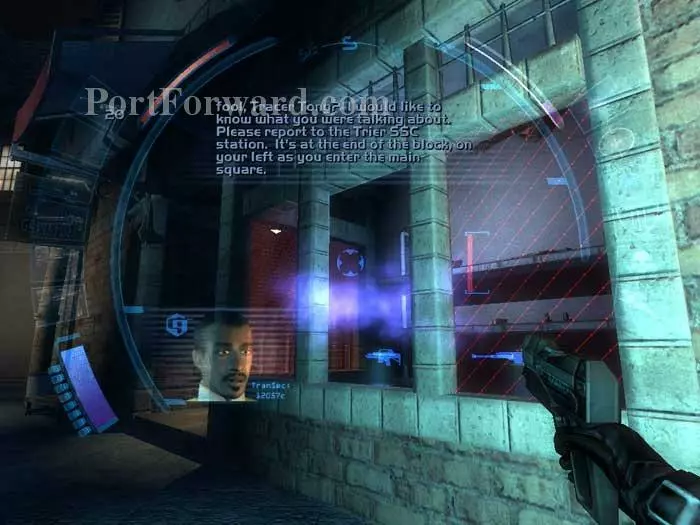
Approach the holocomm and speak with Ava Johnson. You can choose any of these dialogue options and still fly with Ava later.
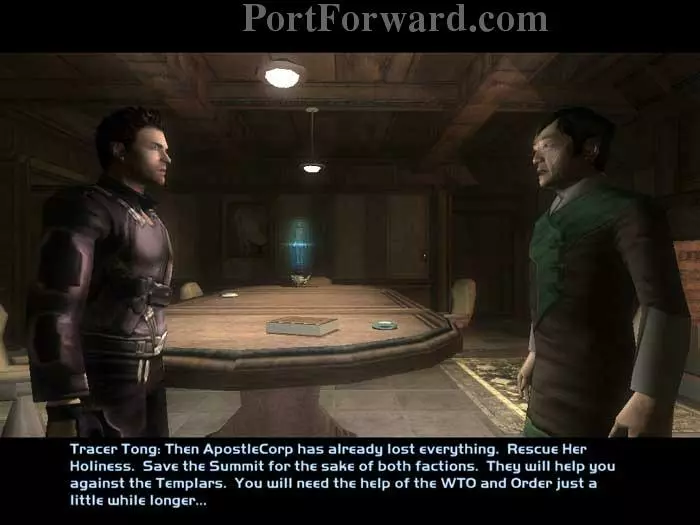
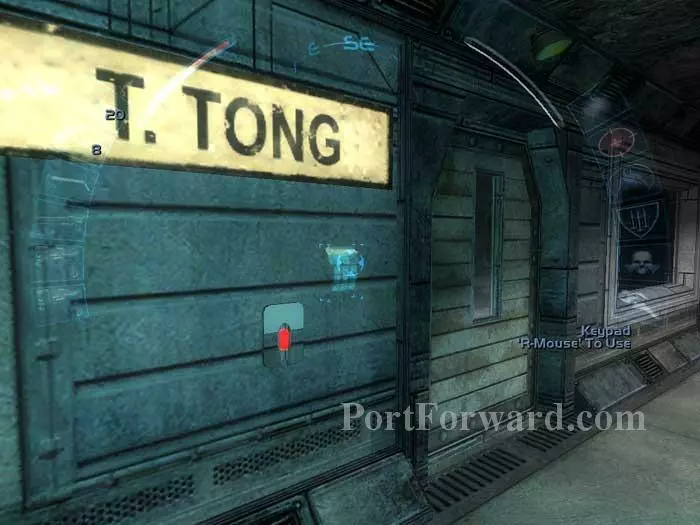
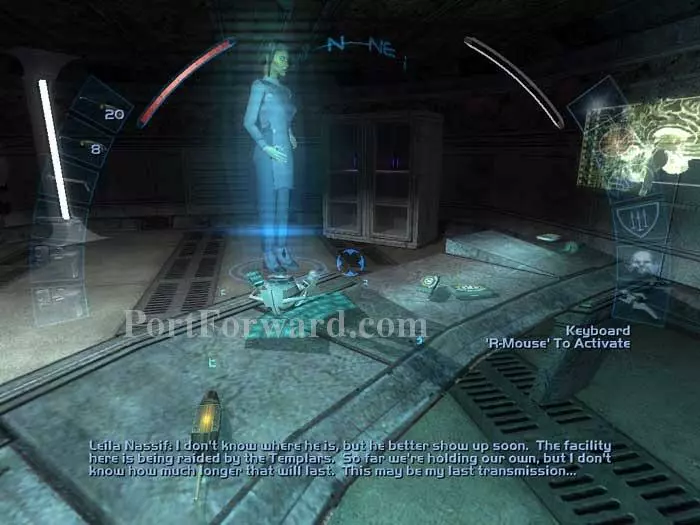
At the other end of the room you'll find Tracer Tong, a major character from the original Deus Ex. Talk with him and learn that the Templars have a highly-placed spy within ApostleCorp and that they are holding Her Holiness at the Black Gate facility. Tracer will give you a biomod infusion - the equivalent of a biomod canister, and the keycode to a secret entrance, hidden behind some crates. Grab the energy cell and Trier map from the table.
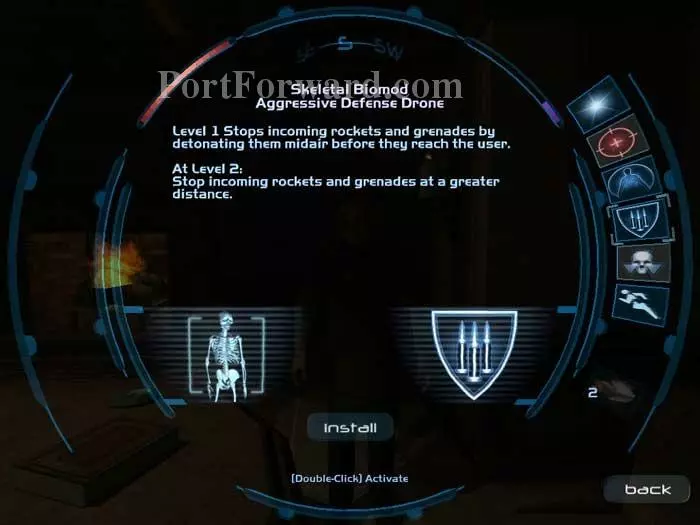
Here I use the biomod infusion to install the aggressive defense drone.
Exit the room through this door in the southeast corner.
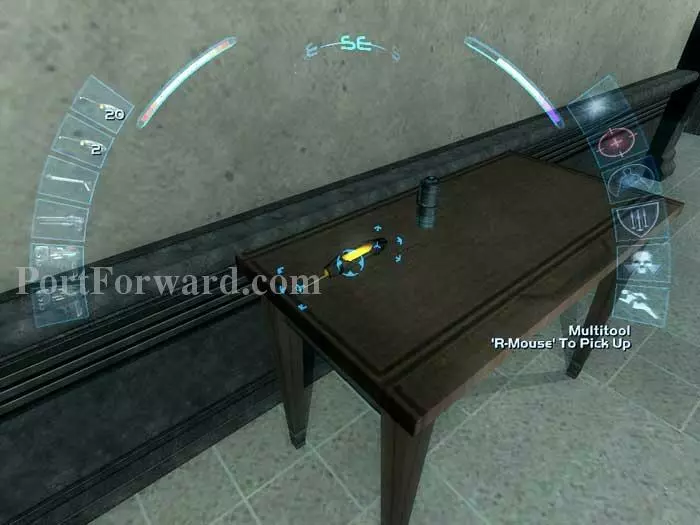
Keep right and you'll find this multitool in a bathroom.
Unlock this door across the hall.
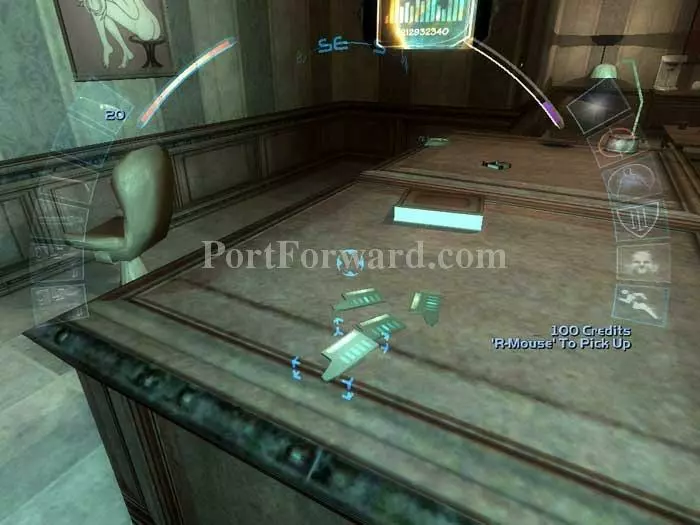
Here's the jackpot - 400 credits on this desk. Note the medkit on the desk's far corner.
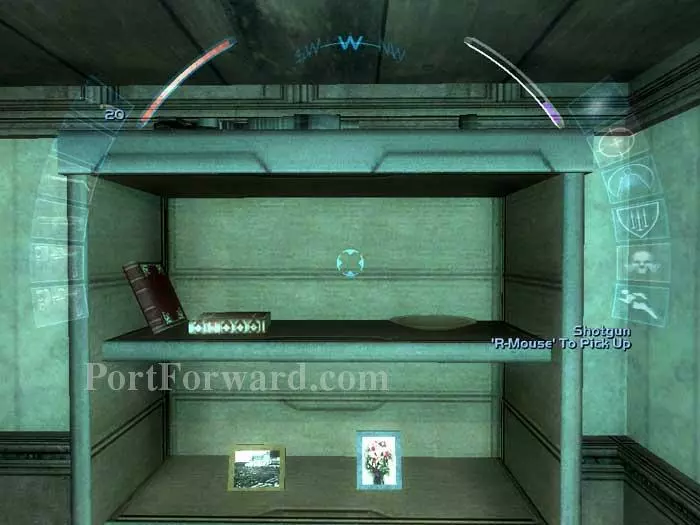
There's a shotgun and an ammo clip atop this bookshelf.
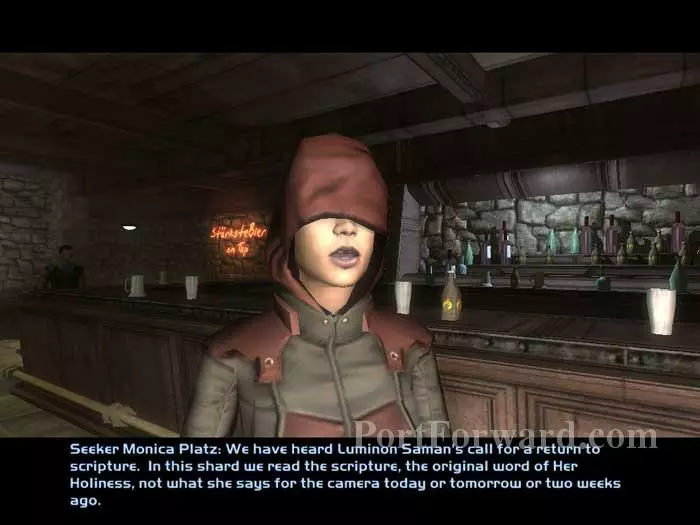
Speak with this seeker and learn than Luminon Saman's schism is taking hold.
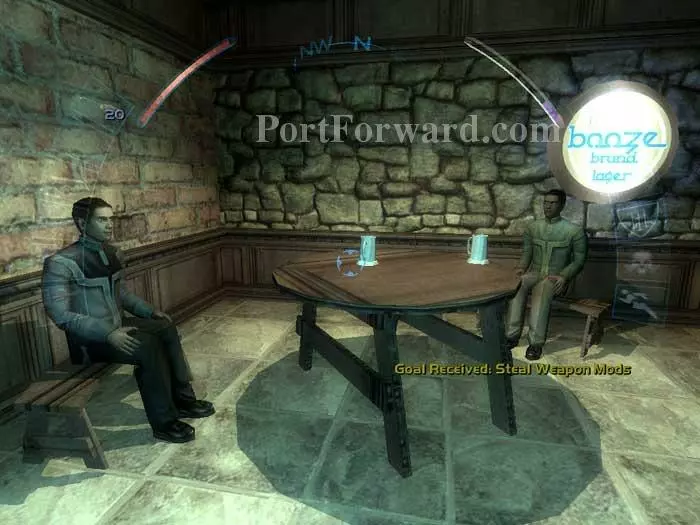
Listen to the conversation of these two patrons and learn of some weapon mods ripe for the picking.
You'll find Sid Black here. If you wish, you can hire him now. The NG Resonance hologram is only good for changing songs.
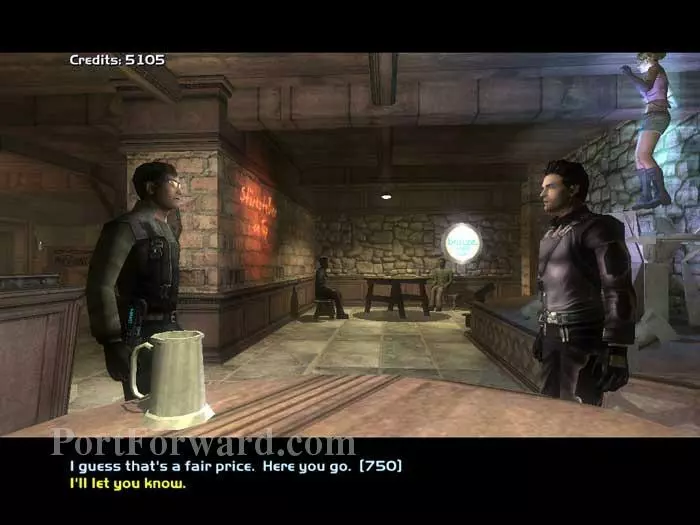
Return to the Trier streets and turn right. Chairman Dumier asks you to report to him at the SSC station. Use a glass destabilizer (when the guards aren't looking) to shatter this window. Climb inside to complete the weapons mods goal. You'll find a shotgun, a sniper rifle, increased range and increased damage mods and two ammo clips.
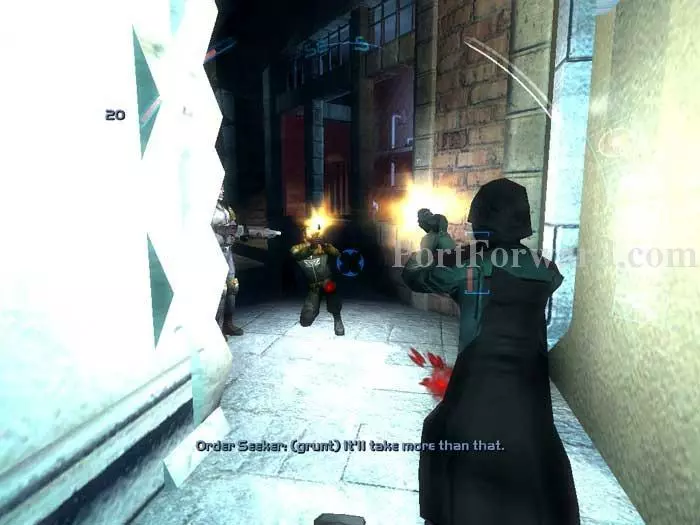
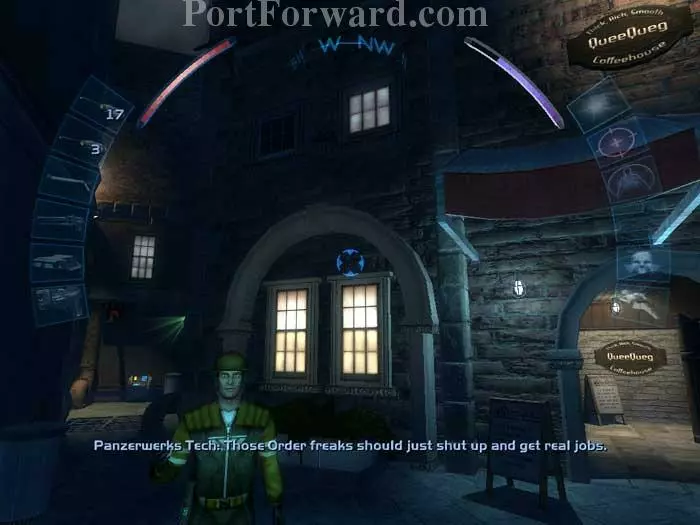
Further up the street you'll witness a confrontation that results in a gun battle between Panzerworks techs and Order seekers.
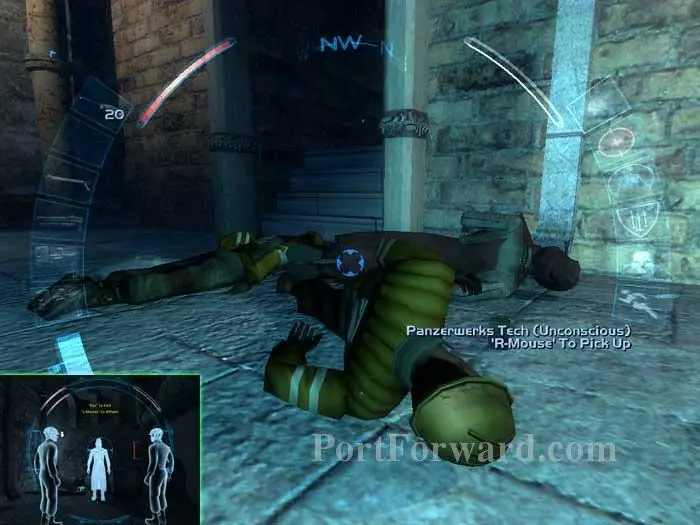
If you're playing as a pacifist you'll want to send in your spy drone in advance to knock them all unconscious. Proceed up the stairs beyond.
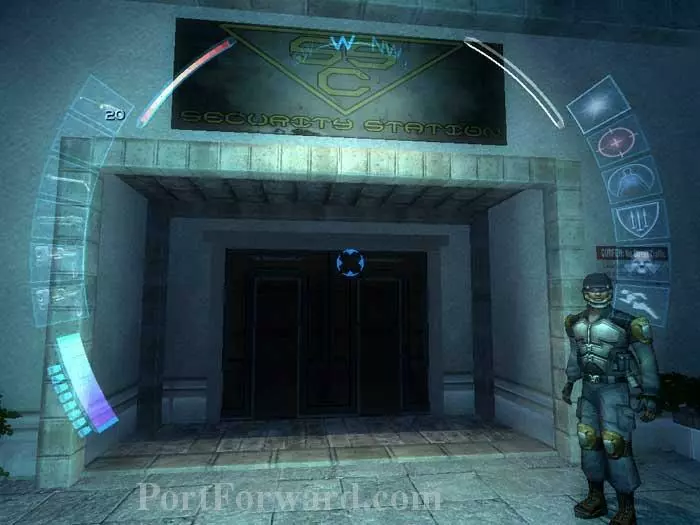
You'll find the SSC entrance on the left.
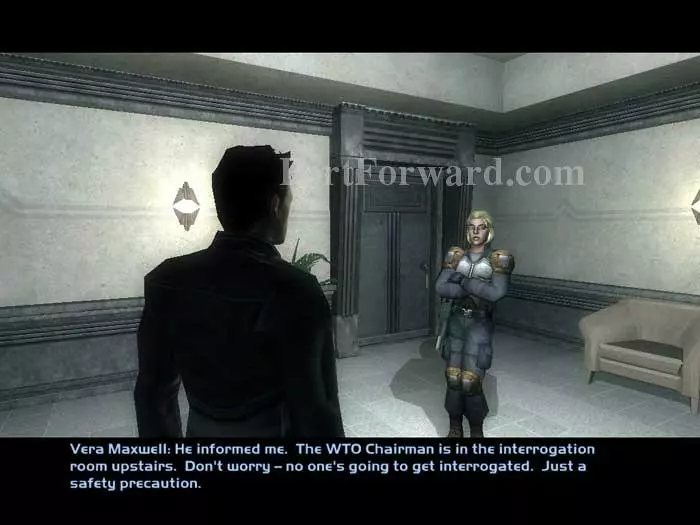
Inside the SSC, you'll find a Trier map on the reception counter. Speak with Vera Maxwell then follow her through the doorway beyond.
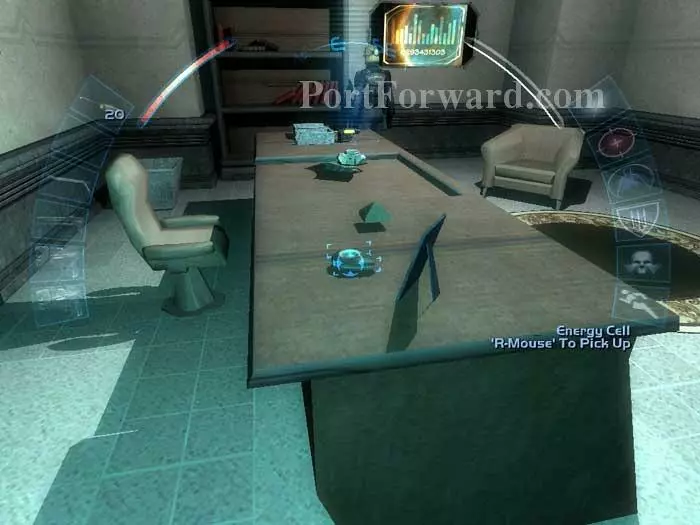
Continue following Vera into her office. On her desk is this energy cell, a multitool and an ammo clip.
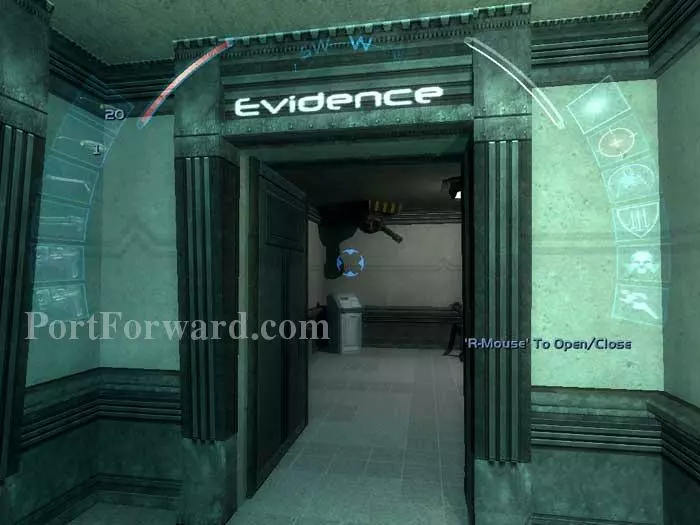
Proceed to the evidence room.
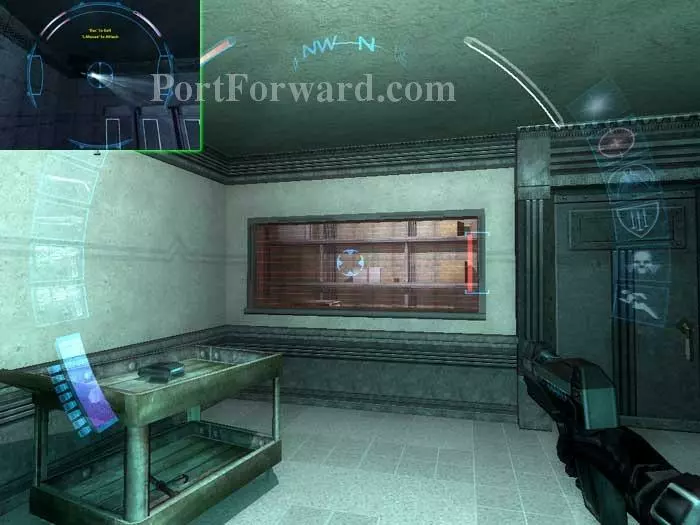
Shatter the window with a glass destabilizer. Disable the camera inside with your spy drone or an EMP grenade.
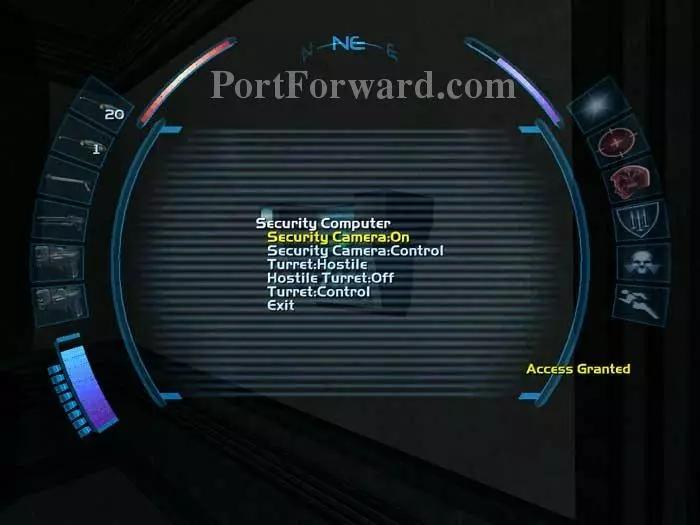
Alternately, hack this security computer.
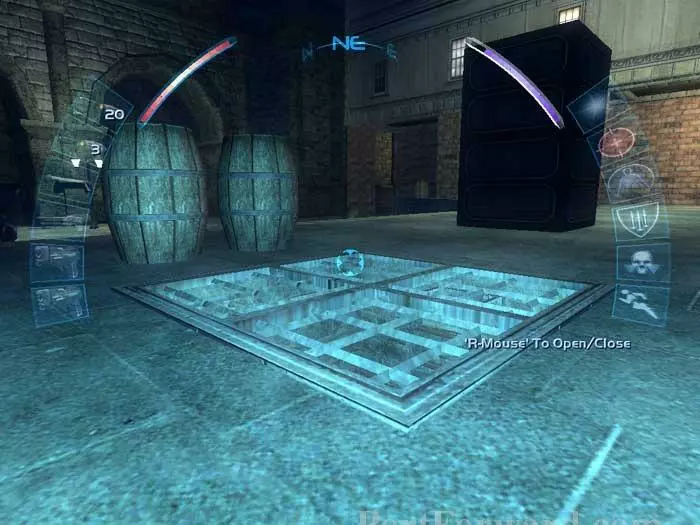
Clockwise from top left: Inside you'll find two energy cells on the counter; three unlocked lockers hold an SMG, a shotgun, and three ammo clips; read the datacube by the rightmost locker to complete the Queequeg's coffee wars goal; these shelves hold a black market biomod canister, two flashbombs and two scrambler prox mines.
Before ascending the stairs, follow the alcove on the right to a multitool and 100 credits.
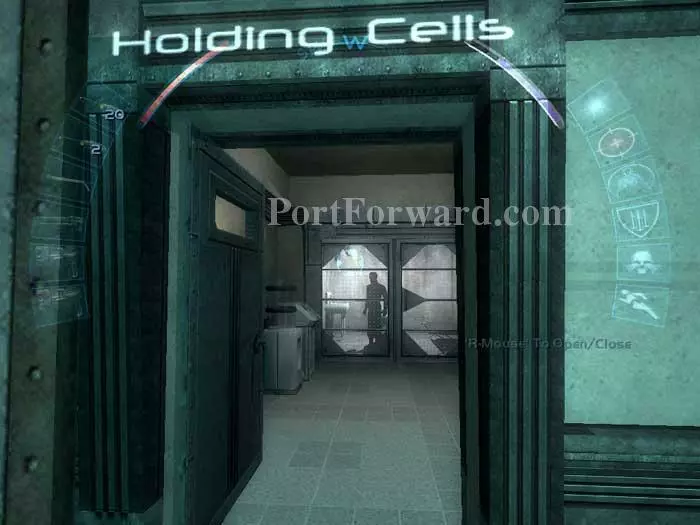
Enter the holdings cells on the left.
Grab this multitool and EMP grenade.

Sadistic hackers can use the nearby security computer to activate a stun field and shock this inmate.
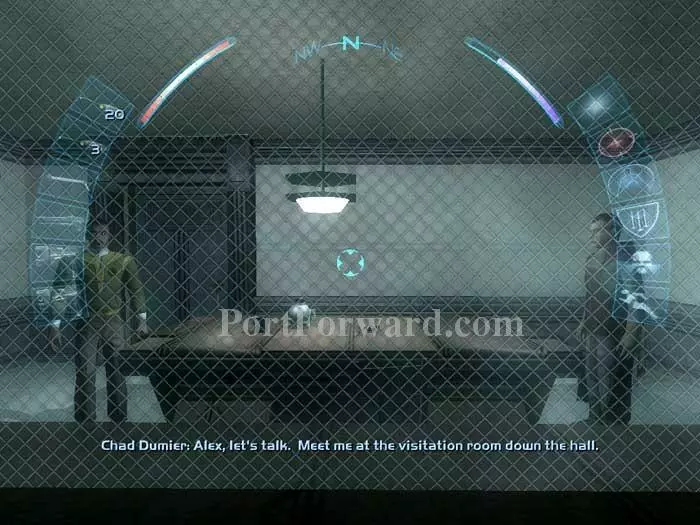
Proceed to the observation room and watch the conversation between Dumier and Saman. Dumier instructs you to meet him at the visitation room down the hall.
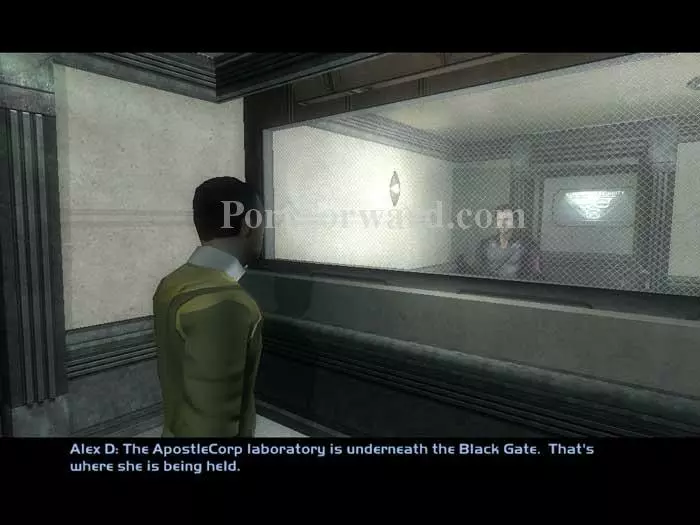
Head to the visitation room and talk with Dumier. You'll share what you learned from Tracer Tong, and Dumier will give you the Black Gate Ruins keycode. If you interrogated Dr. Nassif, he'll also give you a standard biomod canister.
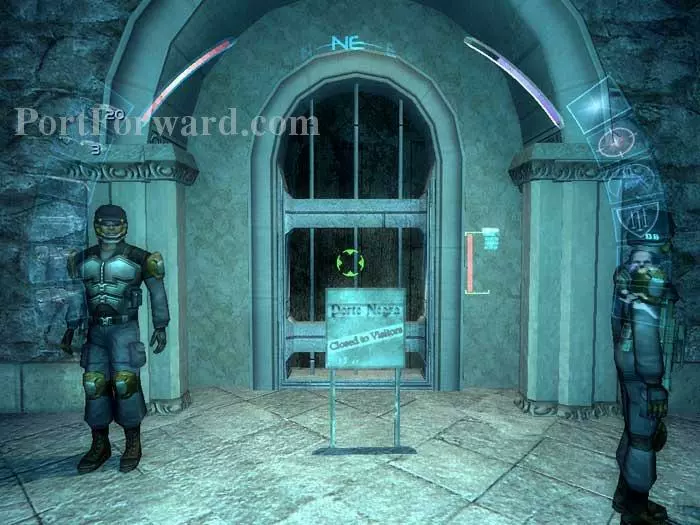
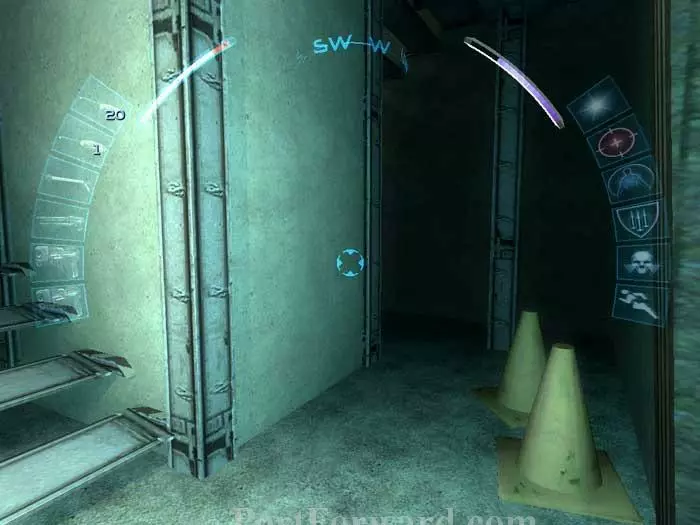
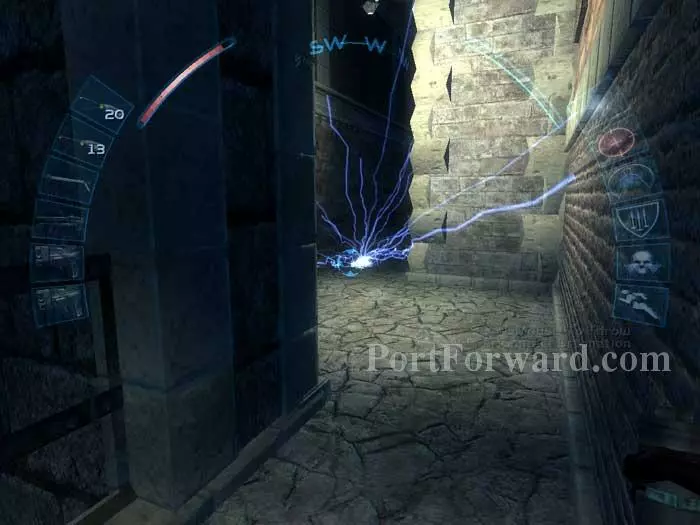
Exit the SSC HQ and use your keycode on this door to enter the Black Gate Ruins. Alternately, access the ruins via the grate we bypassed earlier.
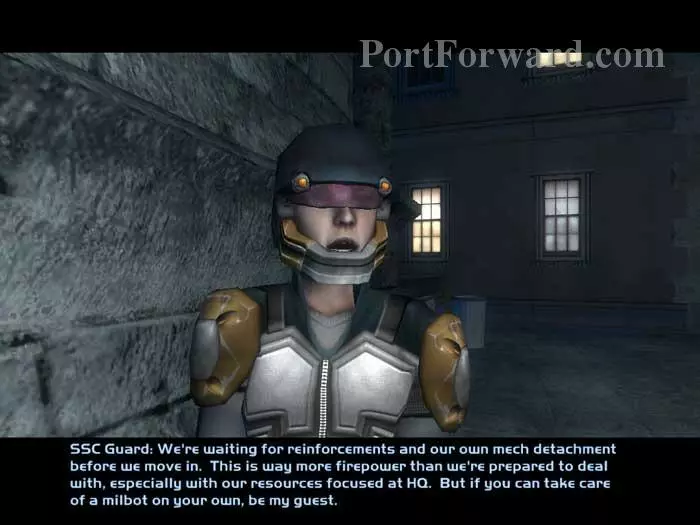
The SSC guard warns you of a Templar military bot up ahead.
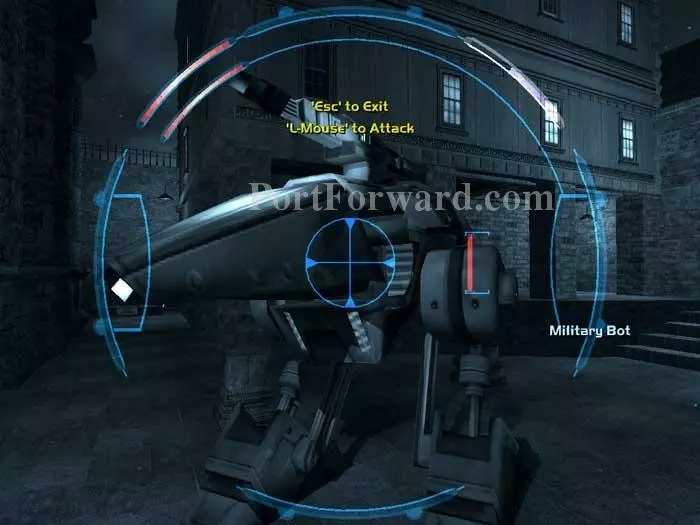
Stay behind the corner and send in your spy drone. Two or three EMP blasts will bring it down.
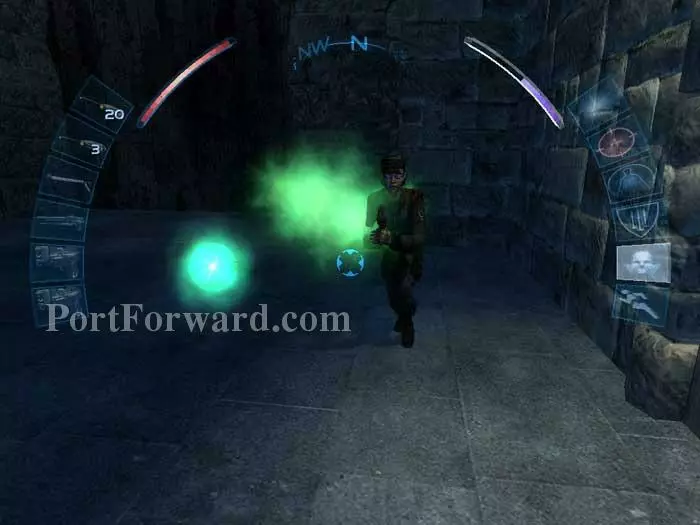
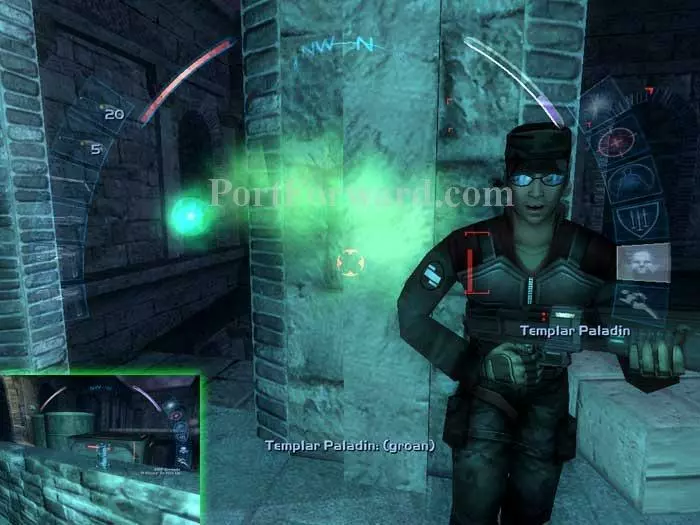
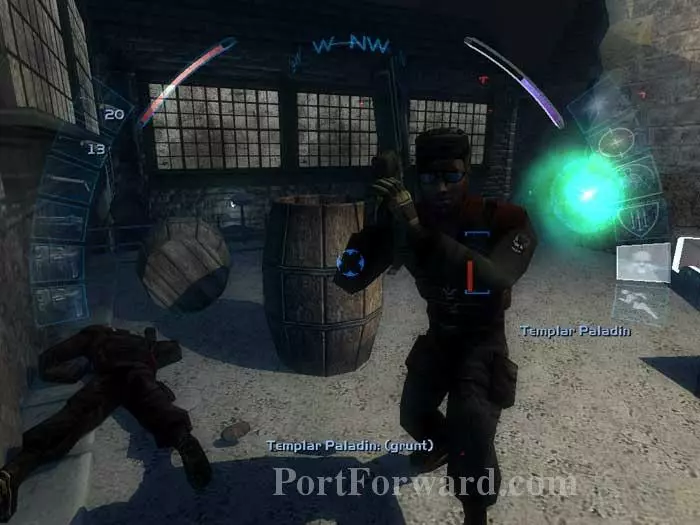
Three Templar Paladins patrol the area. My preferred method for dealing with them is the cloak/biotox drone combo. Search the area for a flamethrower, an SMG and a spiderbomb.
This is where you'll emerge if you prefer the sewer access.
The risk is high down here. Three greasels roam the sewers. The payoff is also high -- two multitools, a flamethrower, an ammo clip, a scrambler prox mine, an EMP prox mine, 100 credits and a spiderbomb.
Search this dumpster for a multitool then proceed through the door ahead.
Carefully open another door and disable this camera.
An ammo clip sets atop the crate and a shotgun is on the the ledge ahead. Climb the ladder.
Your cloak/biotox drone combo will take out these two Paladins non-lethally.
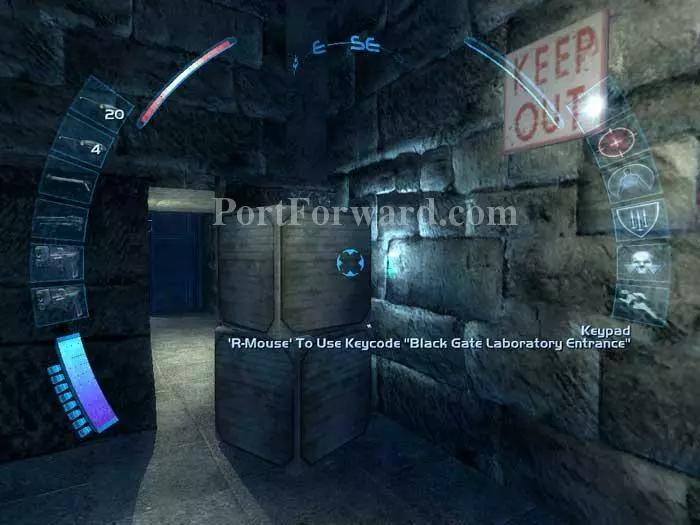
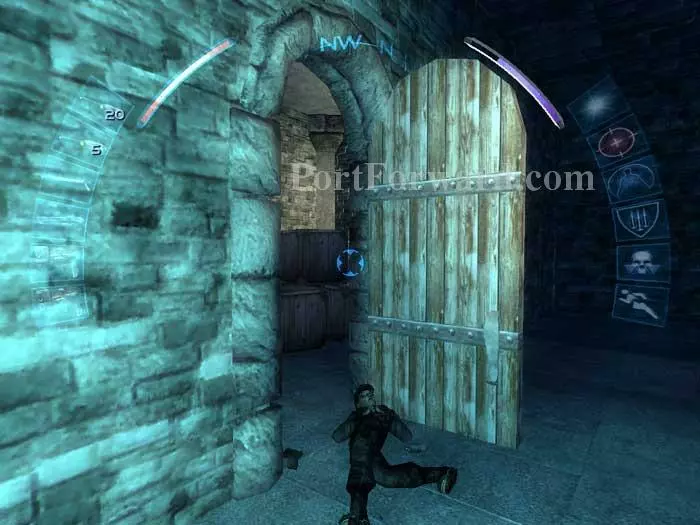
Here is the secret entrance that Tracer Tong told you about. Don't go through just yet. We'll be back in a moment.
Don't head up the stairs yet, either. Instead, cloak and walk across this mezzanine.
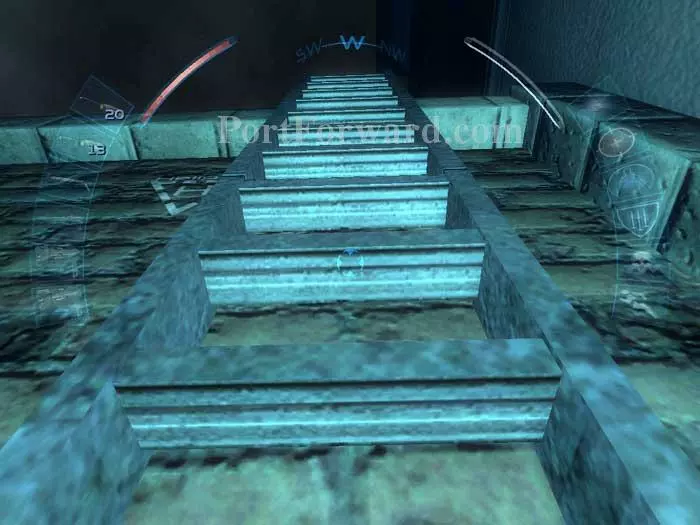
Descend this stairwell on the western edge.
Past the patrol and under the stairs is a multitool and 50 credits.
Return to this position (where you emerged from the ladder) and climb these stairs.
Two Paladins patrol up here. You can bring them down with your method of choice, or remain cloaked and leave them alone. Don't miss the EMP grenade on the ledge (inset).
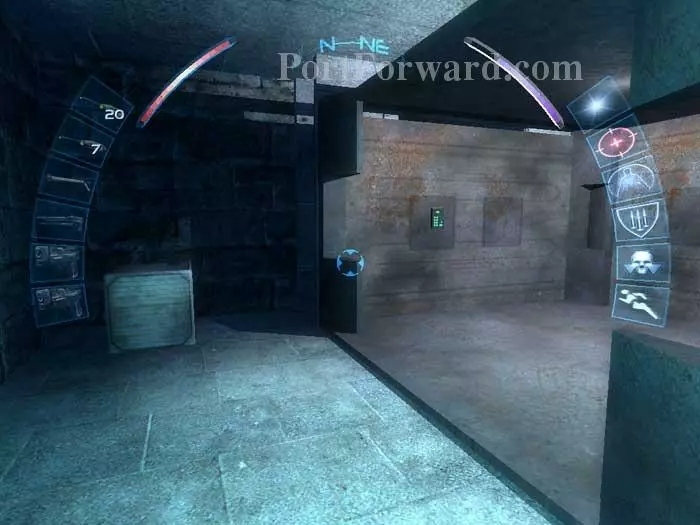
This doorway is your destination. The guard has dropped another EMP grenade.
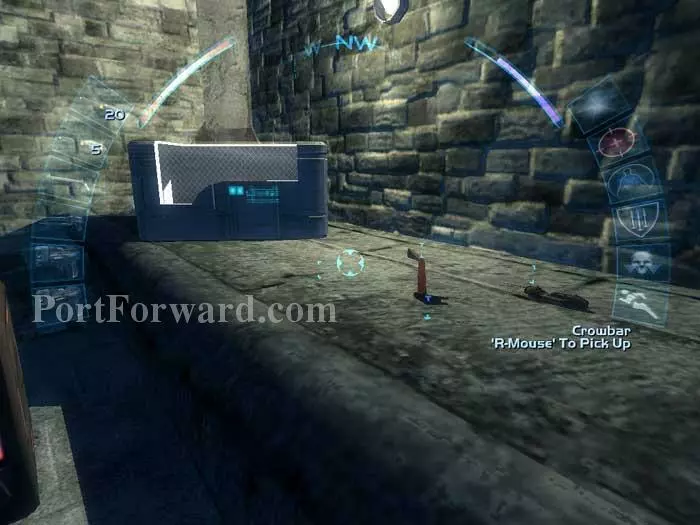
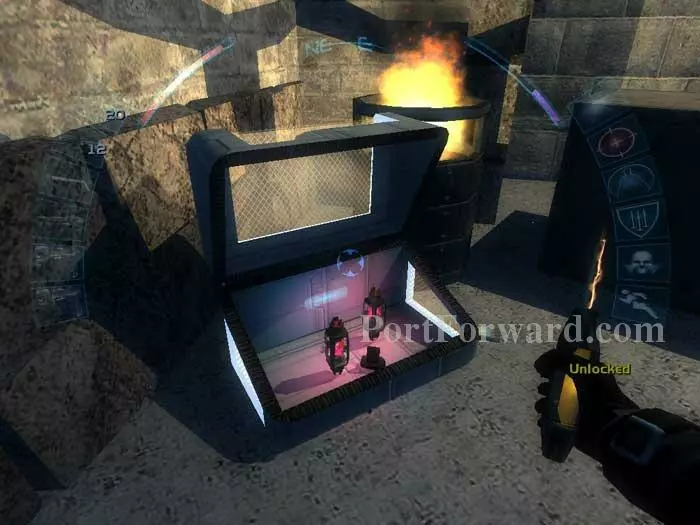
On the ledge is a crowbar and a multitool two-pack. The unlocked steel chest holds an energy cell and, if you bought it from the Omar, a black market biomod canister.
Return to the secret entrance. Grab the two energy cells from atop the crate then use the elevator to enter the Black Gate Laboratory.
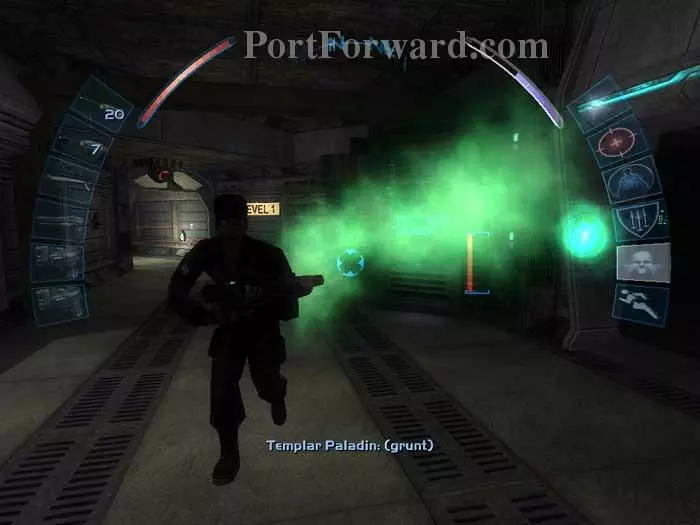
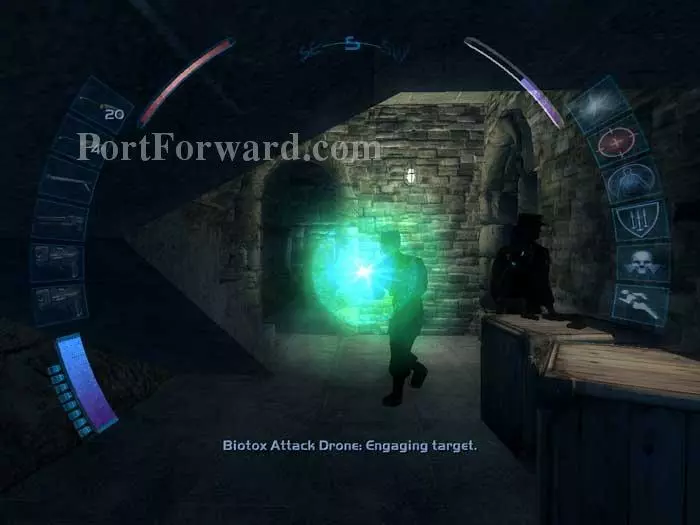
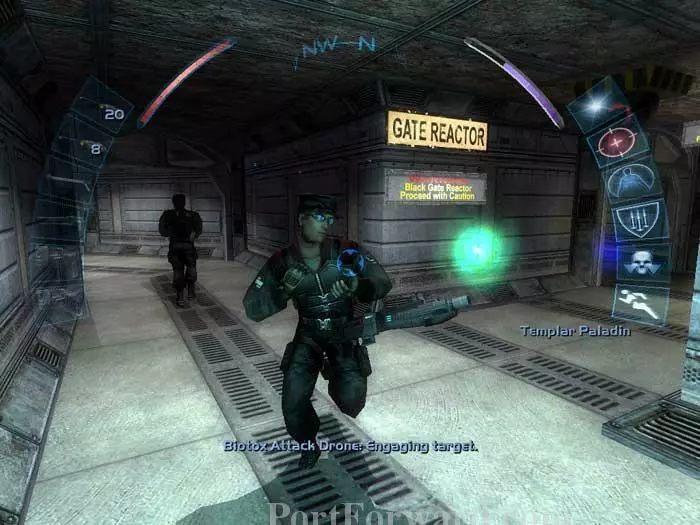
Emerge carefully. A single Paladin patrols the elevator area. Here I bring him down with the biotox attack drone.
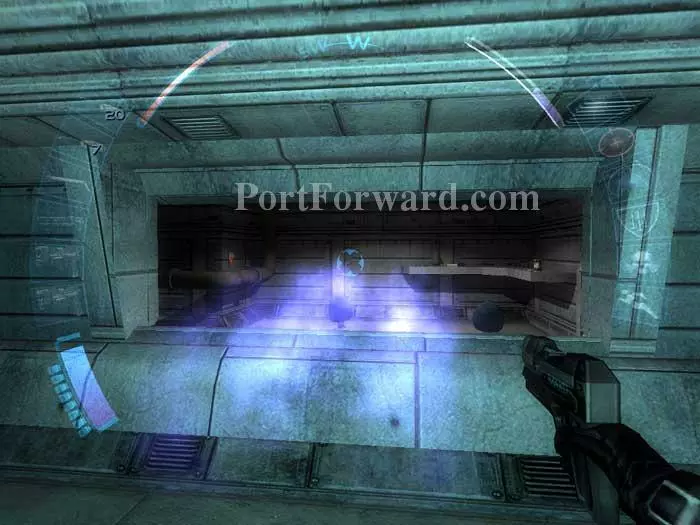
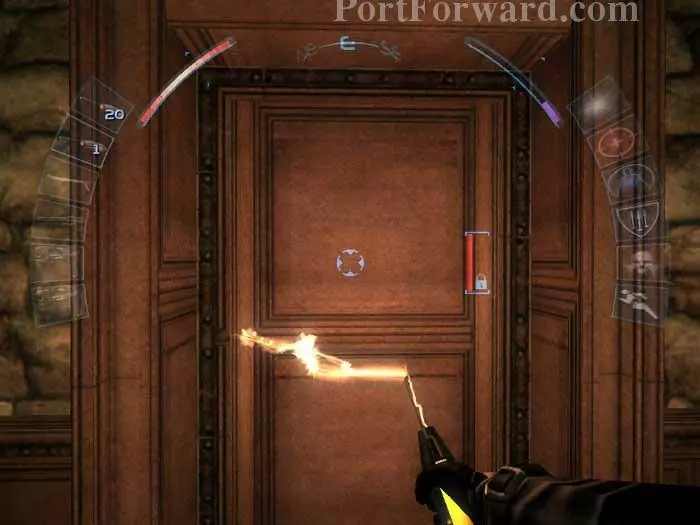
Shoot out this window with a glass destabilizer then hop on through.
On this shelf is a baton, an ammo clip, a shotgun and an image of the Black Gate Teleporter. Pass through the grate visible on the right.
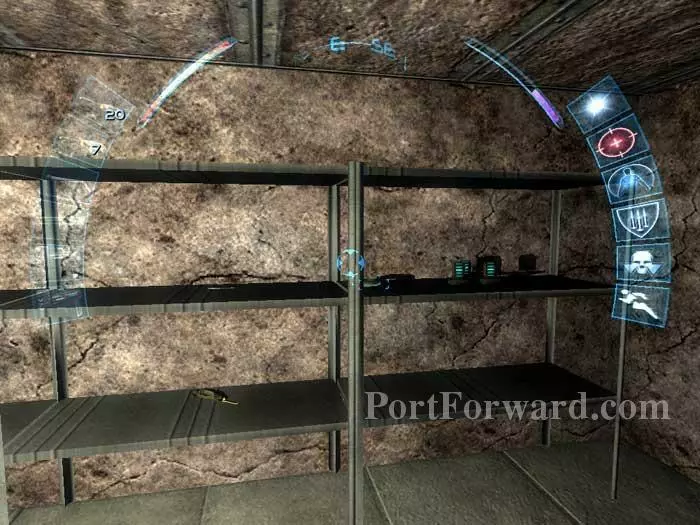
You'll emerge in this room where you can grab a multitool, three ammo clips, 25 credits, and an energy cell from these shelves.
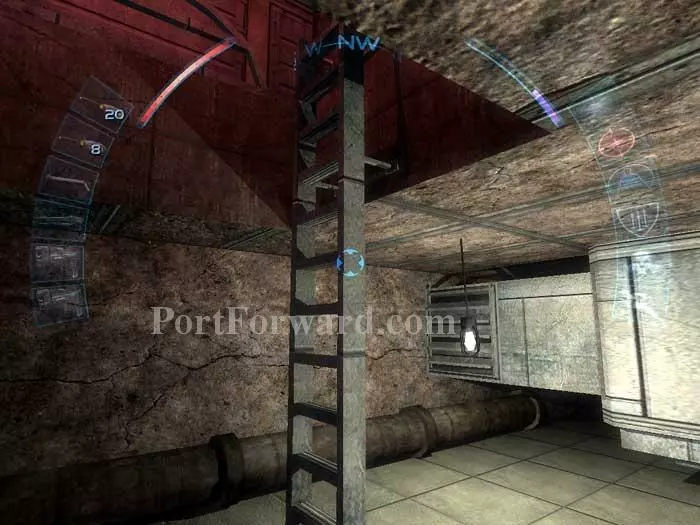
You can continue using the vents to move around or just climb this ladder and confront the Paladins directly.
Three Paladins patrol the area. Again, my preference is the cloak/biotox drone combo. A multitool is at the bottom of the inactive reactor.
Enter Tracer Tong's office.
View this transmission from Dr. Nassif. Also on the desk are a multitool, an energy blade, and a datacube with the login for the Black Gate control terminal and the keycode for the Black Gate lab doors.
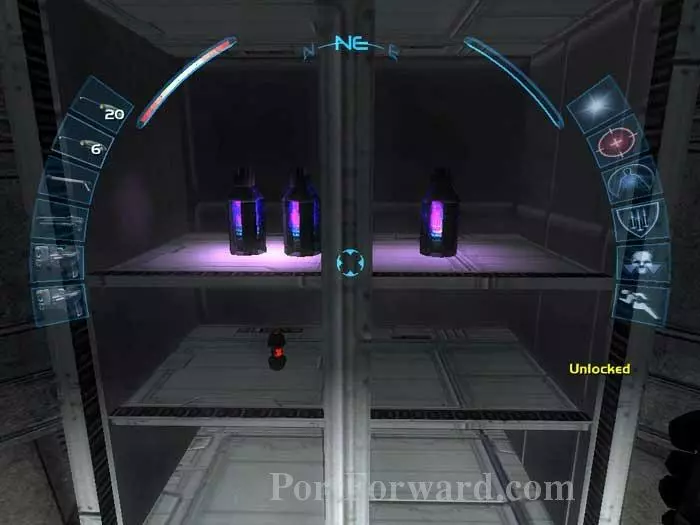
The nearby shelves hold 100 credits, and you'll find a whopping three standard biomod canisters (plus a spiderbomb) in this locked cabinet.
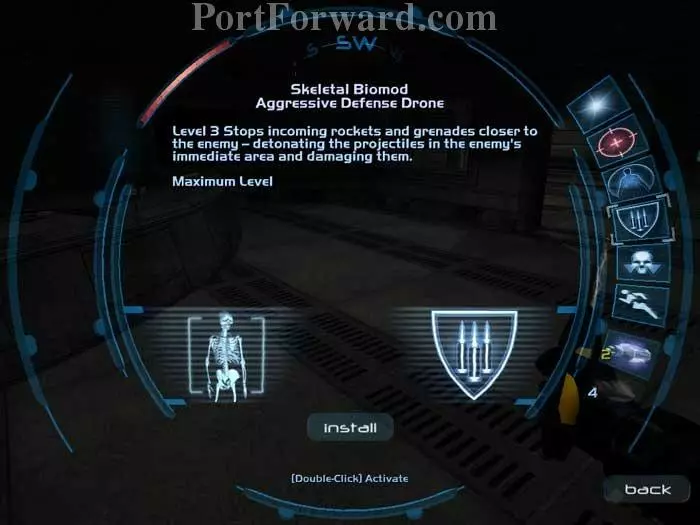
Here I use the canisters to upgrade Aggressive Defense Drone to level 3.
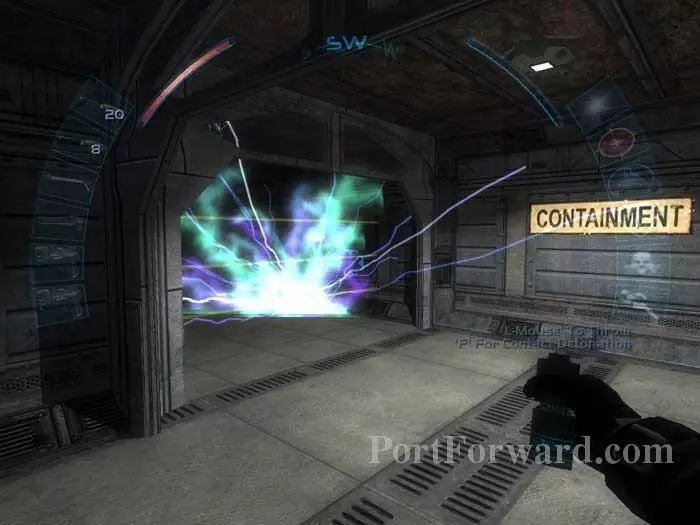
Follow the "Containment" sign. Bypass these gold lasers with an EMP blast, or use multitools. Pass through the unlocked door beyond.
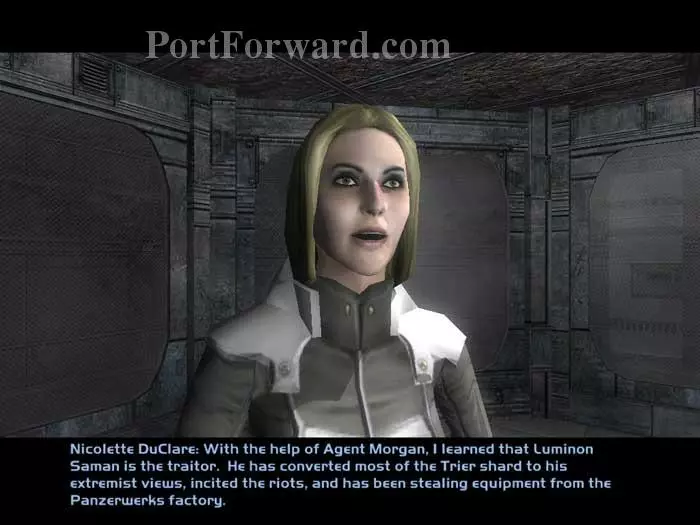
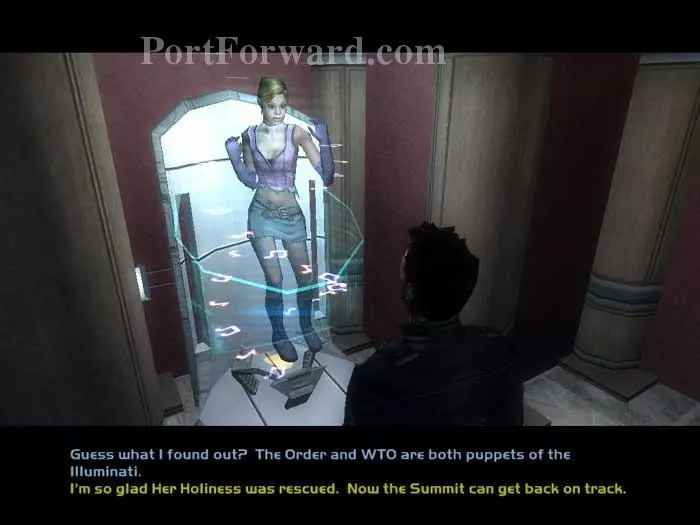
This is where the game really picked up for me. Inside are Her Holiness and Donna Morgan. Speak with them and learn that Her Holiness is actually Nicolette DuClare, a major figure from the original Deus Ex! She reveals that the WTO and The Order are actually part of the Illuminati!
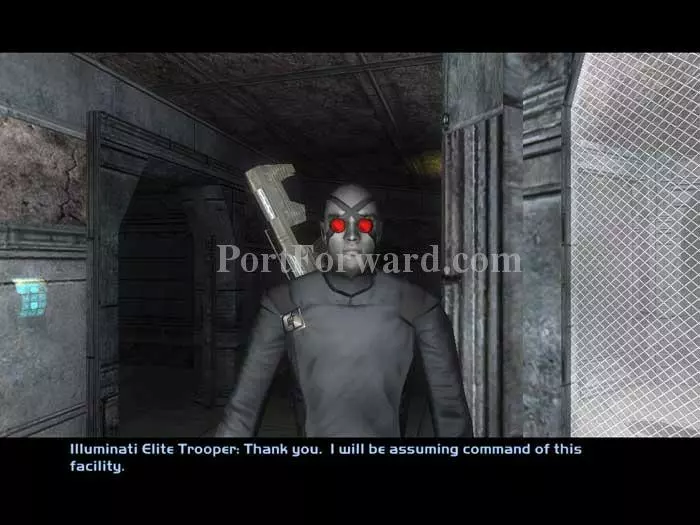
Chad Dumier tells you to hire a pilot. This Illuminate Elite Trooper assumes command of the facility. You can repeatedly talk to Nicolette and Donna to learn more, but the trooper will protest.

Before leaving you can chat with this Gray and heal at a nearby medbot. The terminal seen through the window will allow you to open the door to the Gray's holding cell.
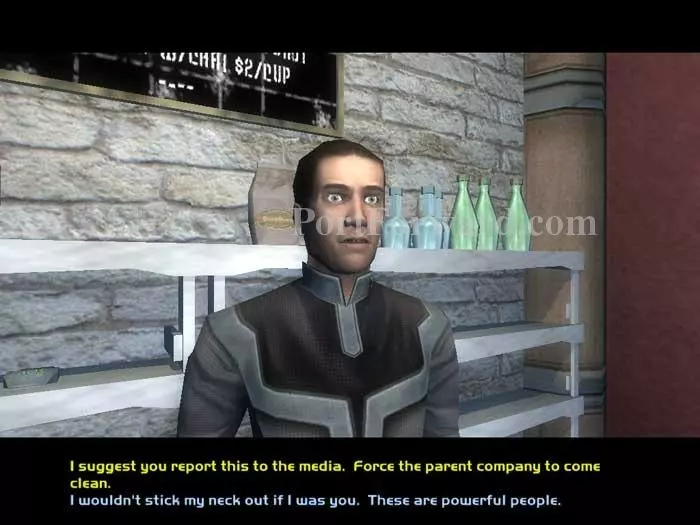
There's more to do in the lab, but first we need to return to the streets of Trier. If you haven't done so already, go back to Queequeg's and tell the owner what you've learned -- that Queequeg's and Pequod's are the same company. Collect your reward of 200 credits.
Talk to NG and you have this dialogue option. Use option (1) and NG loses her charming demeanor.
Head back to SSC HQ and speak with Dumier and DuClare. Dumier gives you a map of the Templar compound.
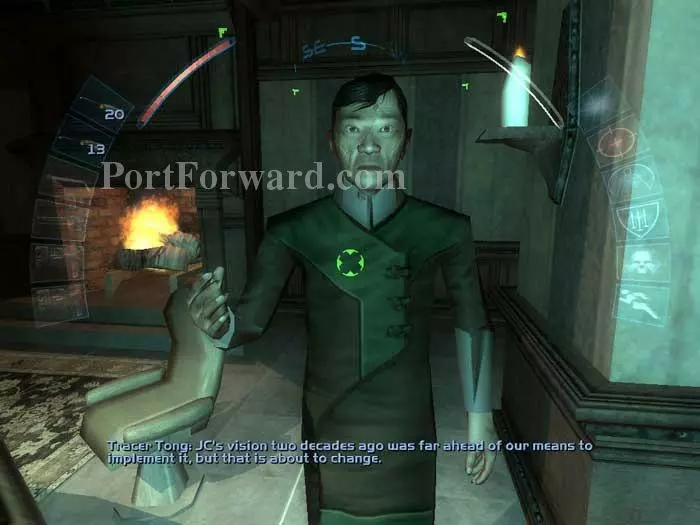
Return to the Nine Worlds Tavern and chat with Tracer Tong.
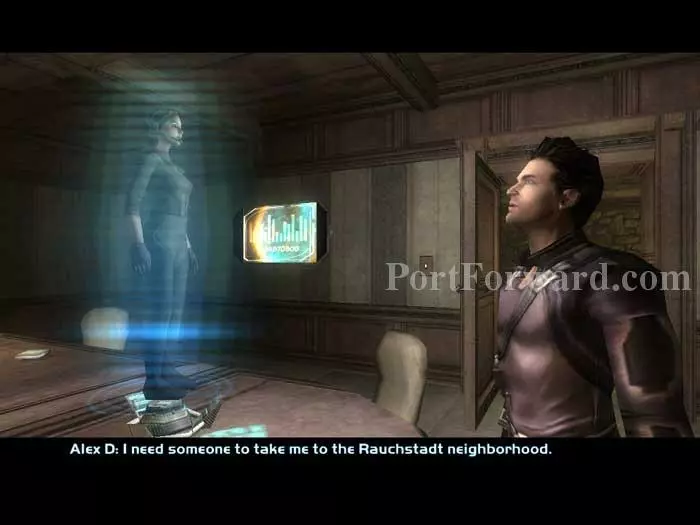
Time to choose a pilot. Talk to Ava Johnson at this holocomm if she is your choice.
Alternately, you'll find Sid Black here. Again, Ava is free, but Sid is not.
Either pilot will meet you at the helipad atop this ladder.
This time, the drop off point for both pilots is the same.
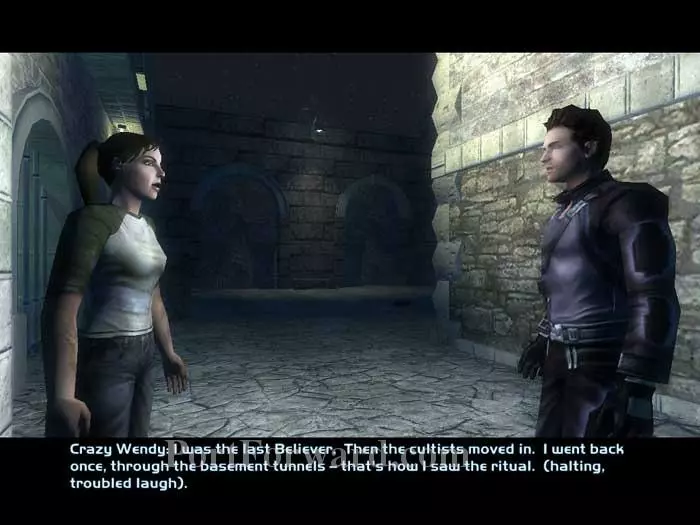
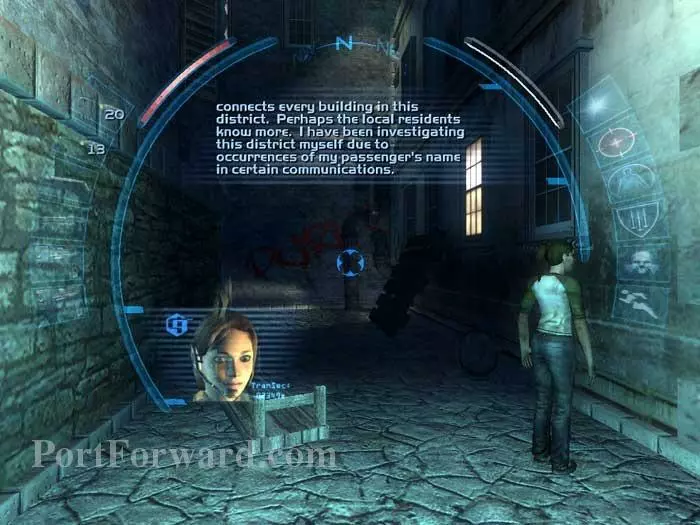
Talk with Crazy Wendy and learn of a secret entrance to the cathedral through basement tunnels.
A Paladin patrols the area -- bypass or defeat him. Follow this tunnel on the right.
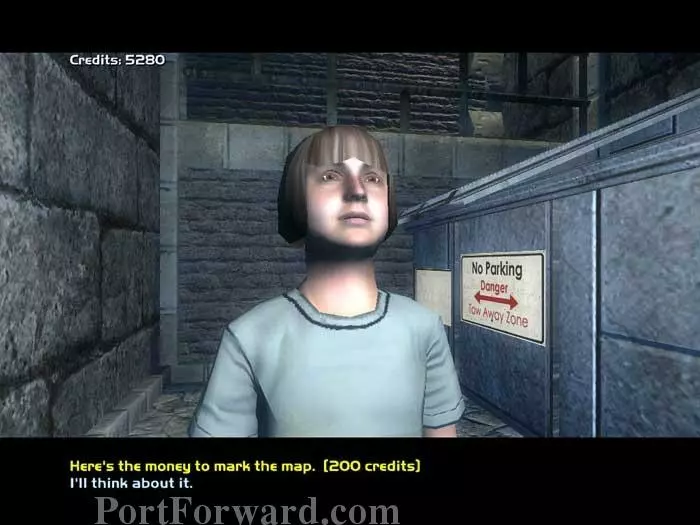
Talk with Billy. If you picked up the map from Chad Dumier, Billy will update it for 200 credits.
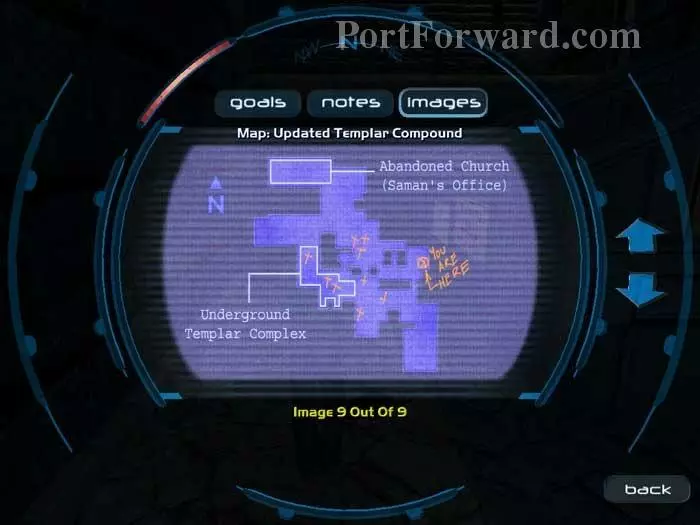
Here's the map with Billy's writing. He's marked where the Templar Paladins can be found.
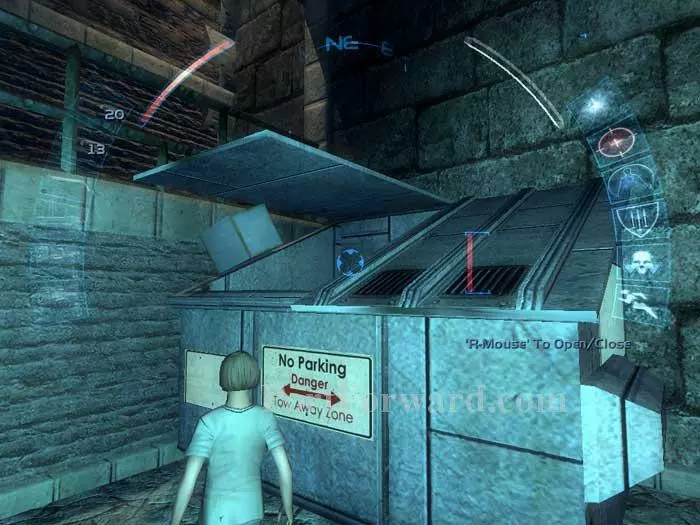
Inside this dumpster is an energy cell. Climb atop the dumpster to jump over the railing above.
A flame turret is around this corner. Here I disable it with an EMP grenade.
Cloak before climbing onto these boxes.
Two Paladins patrol above. Here, my biotox drone brings them down non-lethally while I remain cloaked. Among the items the Paladins drop is a sniper rifle and two concussion grenades.
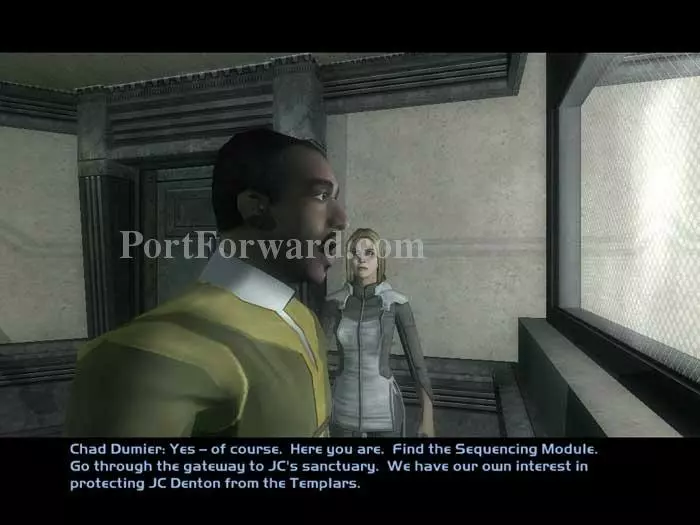
Two black market biomod canisters and an ammo clip are found in this chest. The datacube holds Templar orders to destroy the canisters. img(220449); Here I bring down a third Paladin with a boltcaster before dropping below. img(220450); An entrance to the Templar church can be found up those stairs to the left. But an alternate entrance (and more goodies) can be found through the grate on the right. img(220451); An EMP grenade disables this security bot. Descend the ladder. img(220452); Cloak, then disable these lasers with a multitool. You'll find a multitool on the machine up ahead to the left, and another in the alcove beyond, and a third on the machine beyond that. img(220453); Send in your spy drone to bring down the three Paladins patrolling the tunnels. img(220454); Search the area for supplies, including a flamethrower on this bunk. You'll find three ammo clips in the locked left locker, an ammo clip and a refire rate mod in the unlocked middle locker, and soy in the unlocked right locker. The three lockers inset lower-left are all unlocked, and hold, left-to-right, an energy cell and a medkit, soy, a spiderbomb and a noisemaker grenade. The locked chest inset lower-right holds a concussion grenade and an EMP grenade. img(220455); At the north end of the tunnels is this lift - your alternate entrance to the Templar church. img(220456); The lift will leave you behind these boxes. Stay crouched behind them and send in your spy drone to disable that camera ahead. There's a multitool on the crates closer to the camera. The music in here is beautifully eerie. img(220457); Stay crouched behind the crates and send your spy drone into the cathedral to bring down the three Paladins patrolling the area. There's also a rocket turret in the center of the room. img(220458); Dumier instructs you to find Saman's computer. Approach this holocomm for a message from Saman to learn that, like you, Billie is also a clone of JC. Saman has sent her through the teleporter to kill the Dentons. The datacube next to the holocomm has Saman's login. The pulpit behind you holds a stun prod, and the Paladins have dropped ammo clips, a shotgun, a concussion grenade, and a spiderbomb. img(220459); Pass through this door on the north side of the cathedral. img(220460); That's Saman's computer on the wall. Use his login to download the Black Gate sequencing module. The security camera and rocket turret can also be controlled from this position. The trunk on the right holds a medkit. Behind you is a desk with a holocomm message from the Templars, ammo clips (one clip is under the desk) and a pistol. img(220461); Dumier orders you to meet your pilot and return to Trier. You can head back through the lift at this point, or continue for a bit of exploration. At the east end of the cathedral is this laser field. A locked door on the right leads to an energy cell under some stairs and up to a chest with range and scavenger mods, plus an ammo clip. img(220462); Disable the lasers, then carefully open the cathedral door and toss out an EMP grenade to disable the security bot. img(220463); Take down the lone Paladin patrolling the area. She'll drop a spiderbomb and a pistol. Use a multitool to stop the sparking ahead. img(220464); This repairbot is your reward. img(220465); This door in the southeast corner is your alternate route back to the Templar compound. img(220466); Return to the drop off point, and Klara Sparks is waiting for you. You'll inform her that Billie is the Tarsus mole responsible for the destruction of Chicago. Board your flight back to Trier. img(220467); Upon your return to Trier you are quite popular. Dumier instructs you to repair the Black Gate, Tracer Tong asks you to meet him at the tavern, and Lin May Chen confronts you about the rumors of an alliance between The Order and the WTO. You have two dialogue options. Option (1) reveals the truth; option (2) is a lie. Either way, you learn that Lin May is the daughter of Maggie Chow and Max Chen! Maggie Chen is found in the town square -- backtrack if Sid Black was your pilot. If Ava Johnson was your pilot, she'll drop you off in the square and warn you about Luminon Saman. img(220468); If Sid Black was your pilot, he'll inform you that he's booked up. Your next pilot must be Ava Johnson. img(220469); Return to the Nine Worlds Tavern and talk with Tracer Tong. You learn that Paul Denton was the leader of ApostleCorp-Cairo abducted by the Templars, and how you must transfer your biomod architecture to the Dentons and revive them. img(220470); Return to the Black Gate ruins and help the SSC mop up any Templar resistance. img(220471); Return to the Black Gate laboratory through the secret entrance. Chad Dumier instructs you on how to activate the gate. img(220472); Ignore the stairs for now. Climb the ladder instead. img(220473); Chad Dumier shares his doubts about Klara Sparks. Stop the sparking on that generator with a multitool (the box is on the right). Or go around it by entering that vent on the left. You'll have to fight a spider bot. Don't open the floor vent as it's a long way down. img(220474); Use the Black Gate lab doors keycode on this door. Allow the repairbot inside to recharge your systems. img(220475); Use this power box to activate the generator. Beware the radioactive barrels on the right. Between the gas barrels behind you (inset) is the Black Gate lab security beams keycode. img(220476); Ascend the stairs you bypassed earlier, using your Black Gate lab doors keycode to enter. Take down the single Paladin in the room, and access the computer under the "Gate Control" sign visible on the left wall. Choose "Begin Gate Sequencing." img(220477); Chad Dumier congratulates you. Look out the window to see the portal. img(220478); Return downstairs. Follow these signs and jump through the portal to Antarctica and end the level.
More Deus Ex: Invisible War Walkthroughs
This Deus Ex: Invisible War walkthrough is divided into 11 total pages.


