
This Deus Ex: Invisible War walkthrough is divided into 11 total pages.
You can jump to nearby pages of the game using the links above.
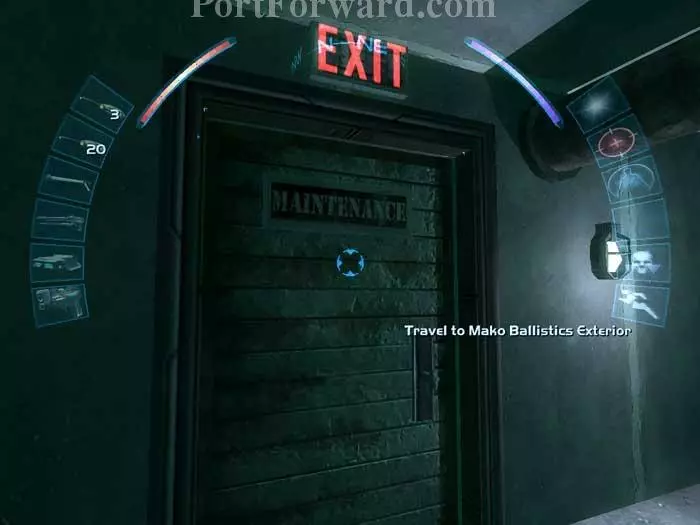
Mako Ballistics
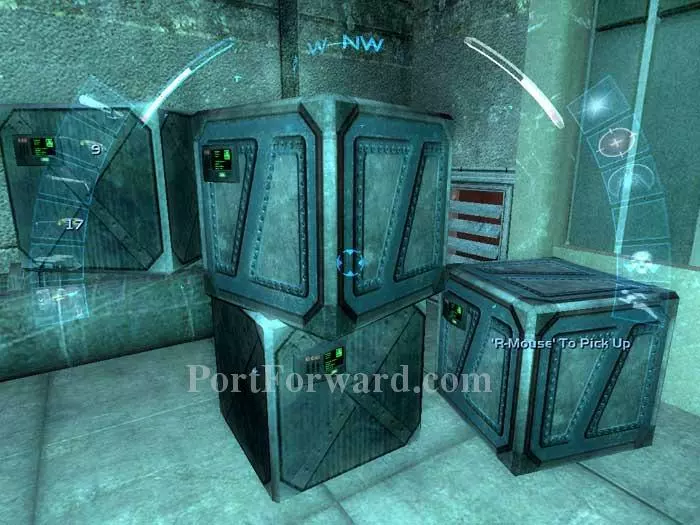
If you had Sid Black fly you to Mako, you'll be dropped off on the roof. Everyone else - you'll start here. Grab this multitool. Search the dumpsters for a medkit and a concussion grenade. Move these crates, ready your weapon of choice for destroying spider bots, and open the grate.
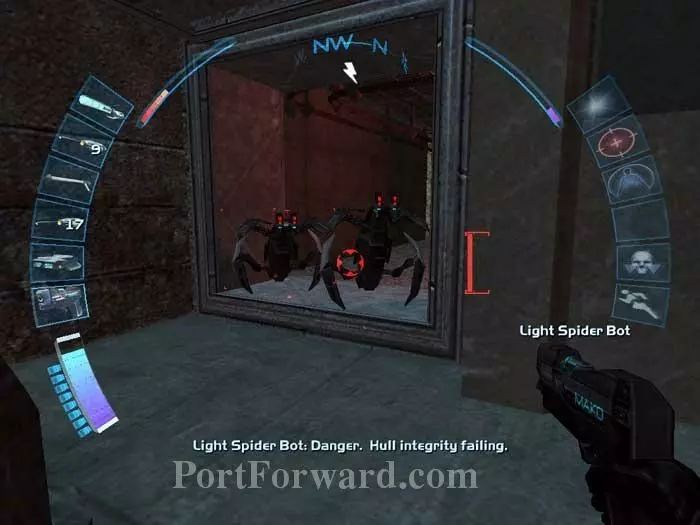
Destroy the two spider bots.
You'll find a multitool on the right. Avoid the radioactive barrel beyond by taking the path on the left. The multitool seen here is a bit more difficult to spot -- you'll have to mantle up to see it.
Grab the power cell seen lower-right and enter this vent.

This maintenance worker will offer to sell you the front door code for 250 credits -- your other options will be to blast open the door, use multitools on an upcoming maintenance door, or enter through a roof vent. Read the message at the holocomm unit seen in the background -- it warns of patrolling security bots.
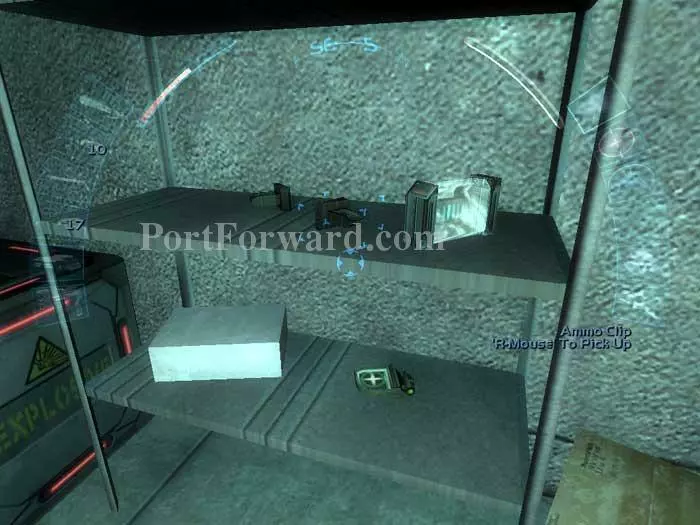
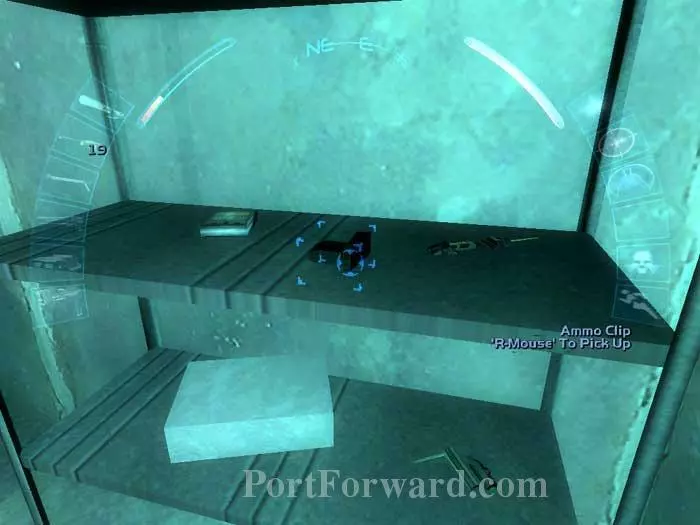
On these shelves is an increased range mod, two ammo clips and a medkit.
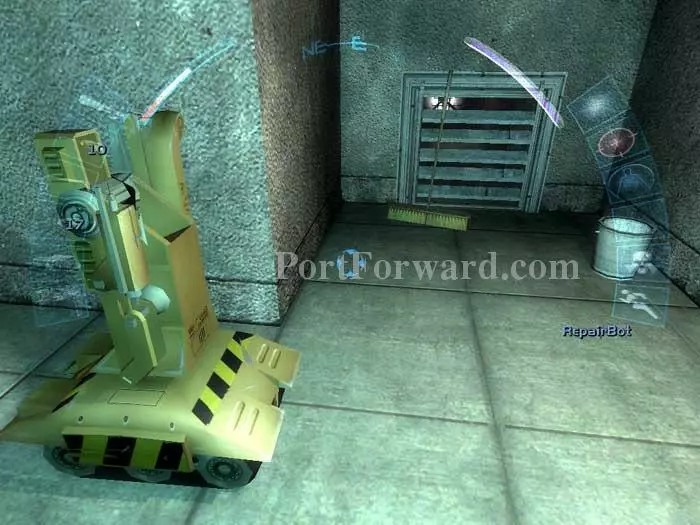
A repair bot patrols the adjoining hall. Slip into this vent and grab the multitool inside. You cannot exit the vent because it is blocked with a box.
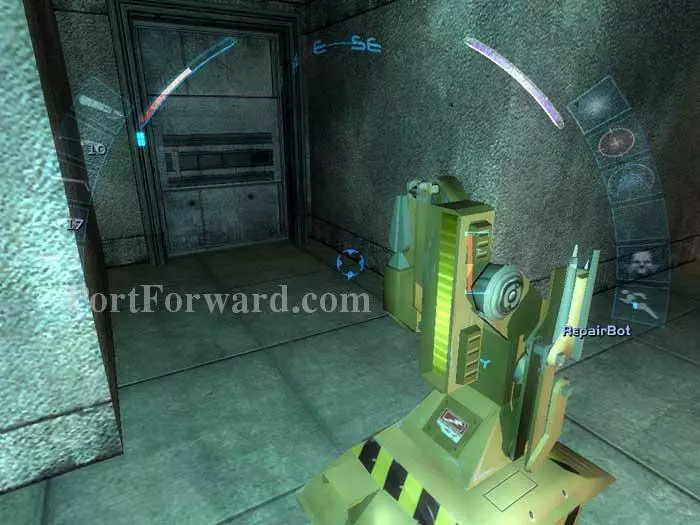
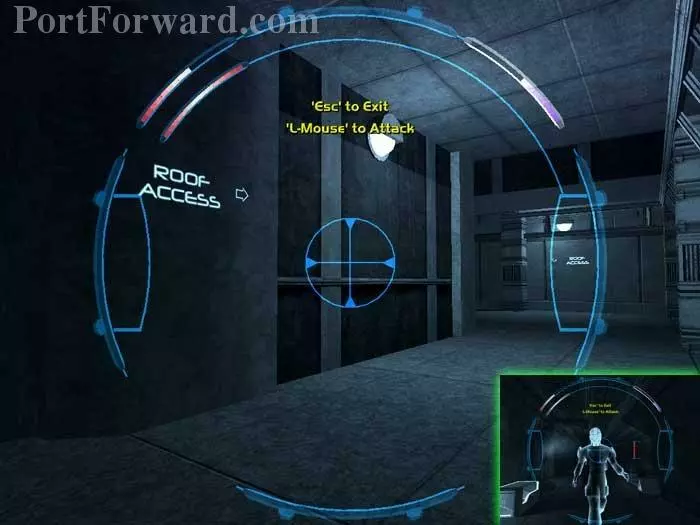
Backtrack to the hallway, cloak, and open this door.
Send your spy drone to disable the three guards, the single security bot and the camera on the lower level (inset). The repair bot will recharge you as needed.
Send your spy drone to follow the cargo bay/roof access signs and disable a fourth guard.
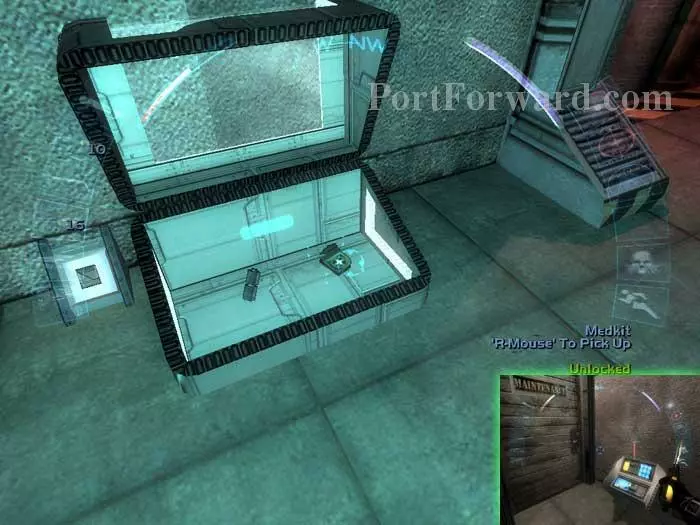
The area is now secure. De-cloak and follow the cargo bay/roof access signs to this locked chest, where you'll find a medkit and an EMP grenade. Down the stairs to the right is an ATM you can hack for 150 credits, and a maintenance door that you can pick to access the Mako interior (inset). Bypass that for now.
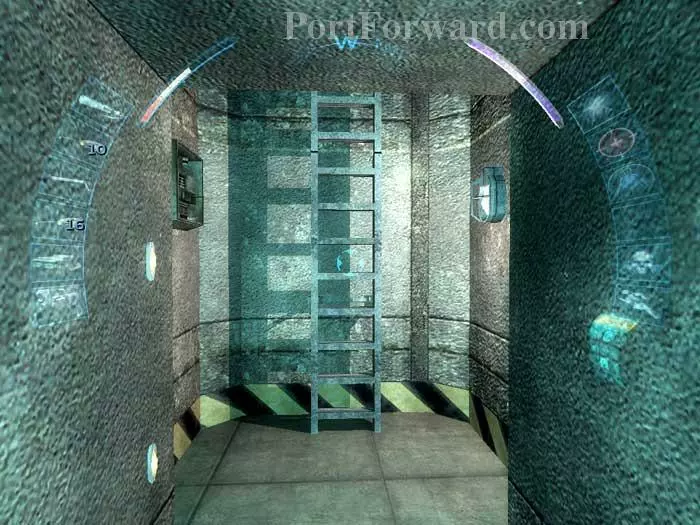
If your spy drone's EMP blast hasn't already disabled these lasers, knock them down now. Ascend the ladder.
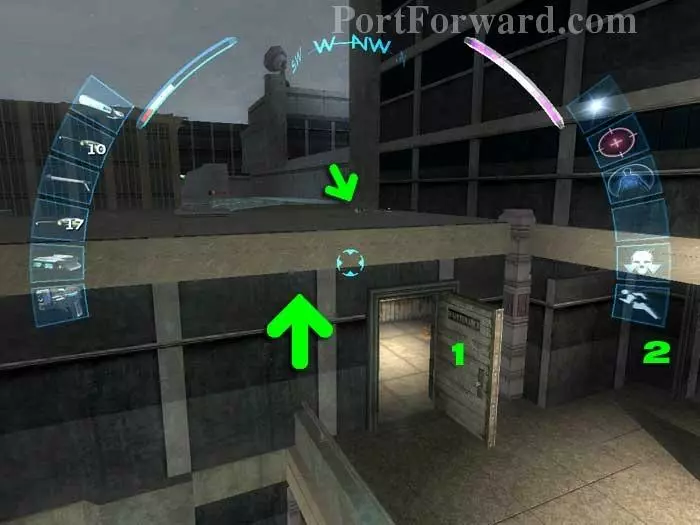
You'll pass through a room with a multitool, an ammo clip and a concussion grenade. Continue through door (1). Use your speed enhancement (or the railing) to hoist yourself onto the roof, where you'll find a sniper rifle and two ammo clips (smaller arrow). Continue through door (2).
Proceed all the way up to the rooftop. If you chose Sid Black as your pilot, you'll be dropped off here.
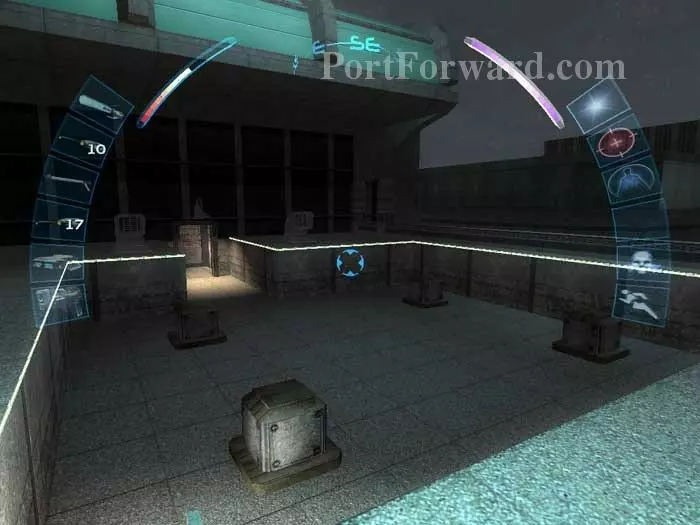
Climb the short ladder and drop off the roof to the south awning. Follow the ledge westward to a crate with an energy cell, but beware the security camera and flame turret (inset). Enter the facility through this grate.
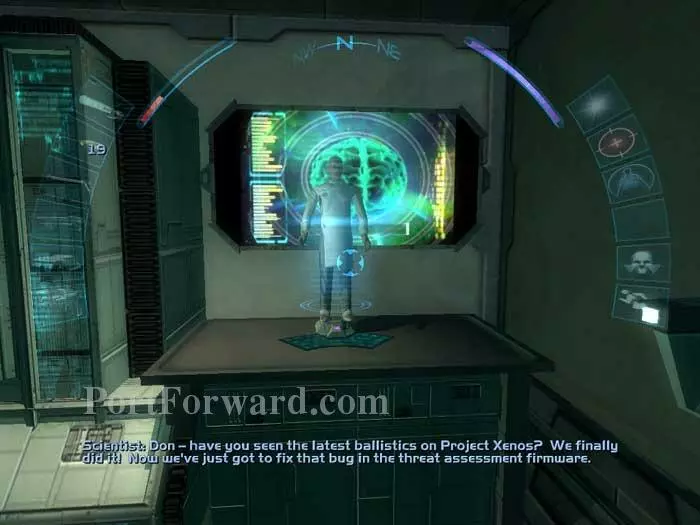
This holocomm has the security alert seen earlier. Read the datacube on the left for the biolab code. An SMG and a medkit are to the right.

Here's where you'll begin if you entered through the front door. (This area is to the right and down some stairs if you entered through the roof grate.) Your boltcaster will bring down the hostile receptionist and patrolling guards non-lethally with ease. Donna Morgan informs you that, unlike The Order, the WTO wants the Mako scientist alive.
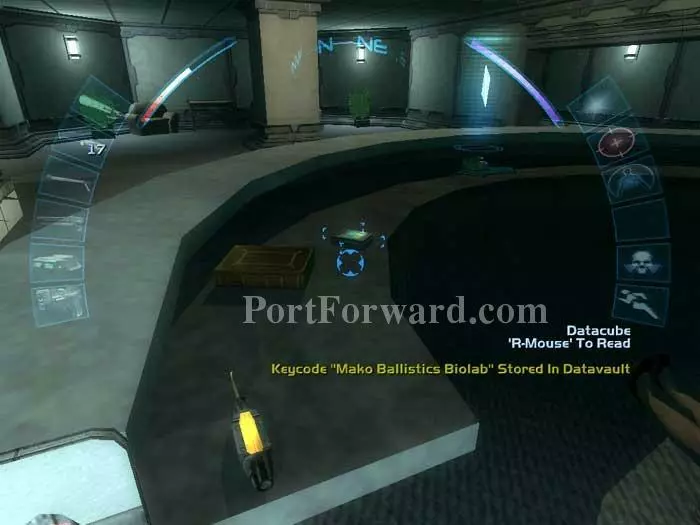
Snatch this multitool from the reception desk. This datacube also holds the keycode for the biolab. The holocomm has a clerical message of no use.
Toss an EMP grenade to disable the security bot on patrol.
Swipe the multitool from this cart.
Head left up these stairs. Ignore the vent as it doesn't save you much and will cost you some ammo on a spider bot. (You would emerge here.) Ready your boltcaster.
At this point I have plenty of ammunition and medkits, but I am low on energy cells. I've decided to take out the guards with the boltcaster, and take out these two cameras with a pistol. There's an ammo clip on the left table.
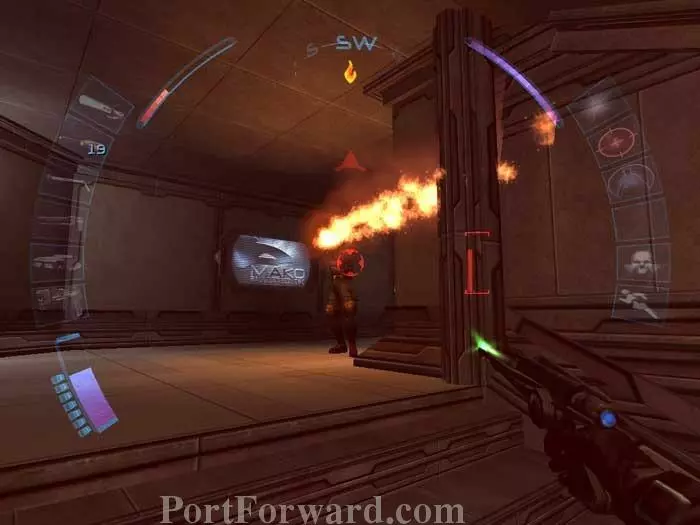
This flame-throwing guard will charge in once the action starts, so be ready for him.
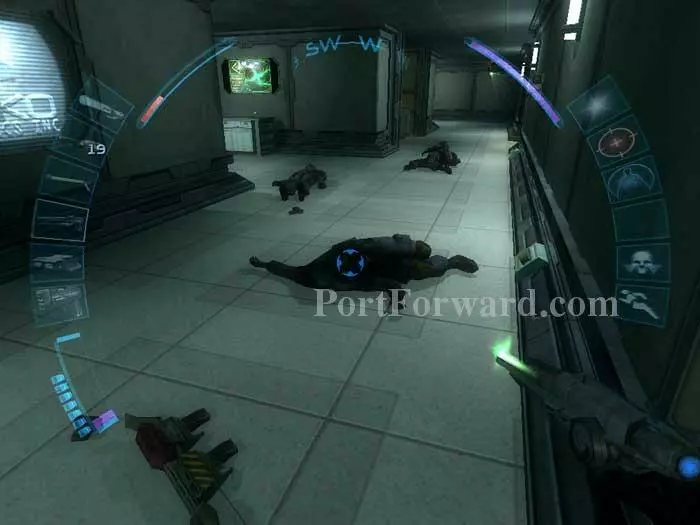
They're all still alive -- I promise. They've dropped a concussion grenade, an SMG, ammo clips, the flamethrower, and a pistol.
An EMP grenade disables this ceiling turret.
This isn't the scientist we're looking for. You can leave him alone.
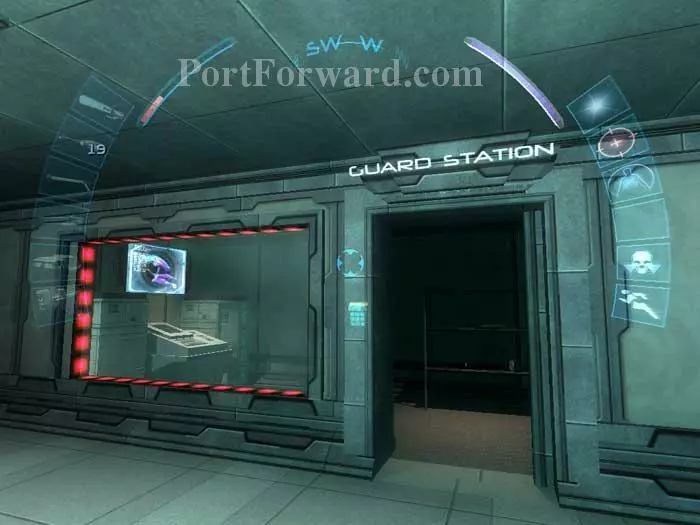
Inside this guard station you'll find an SMG, a medkit, an ammo clip, a flashbomb, an energy cell (yea!) and a refire rate weapon mod.
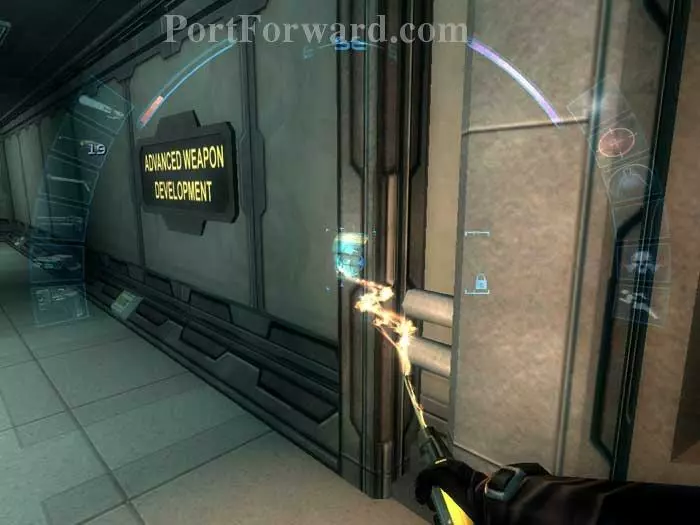
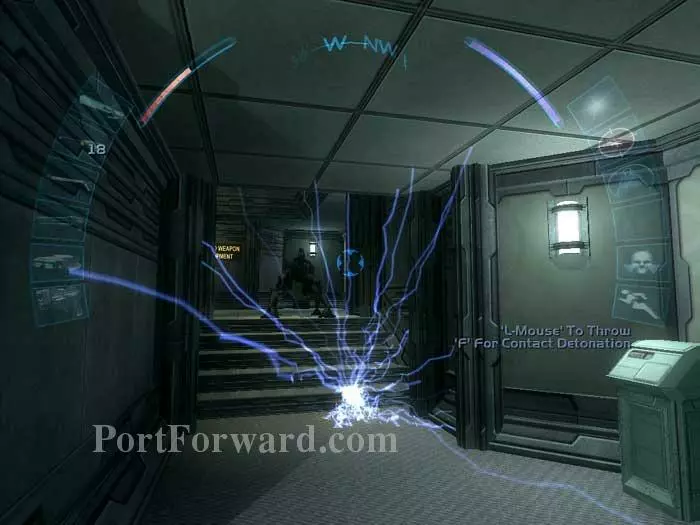
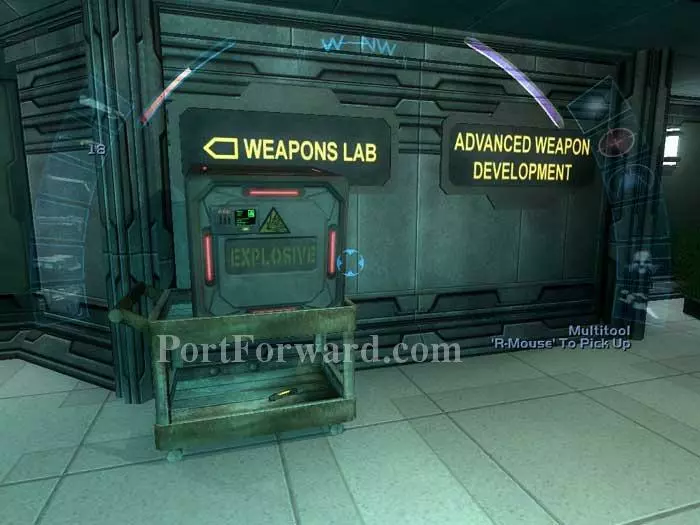
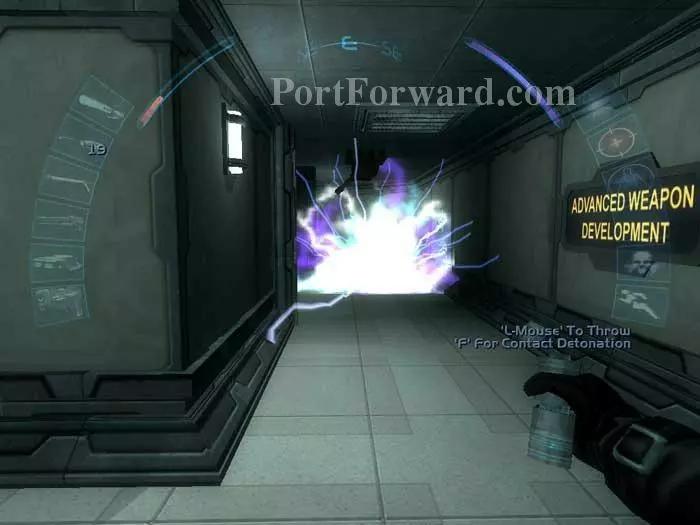
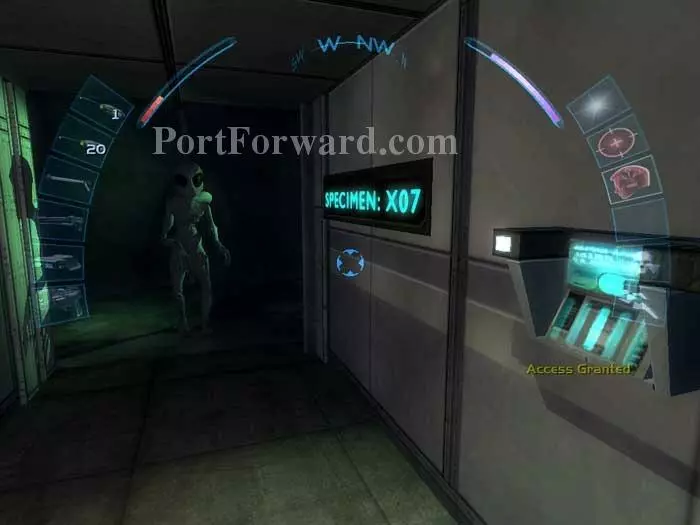
Use multitools or skip ahead and grab the keycode to enter the weapons lab.
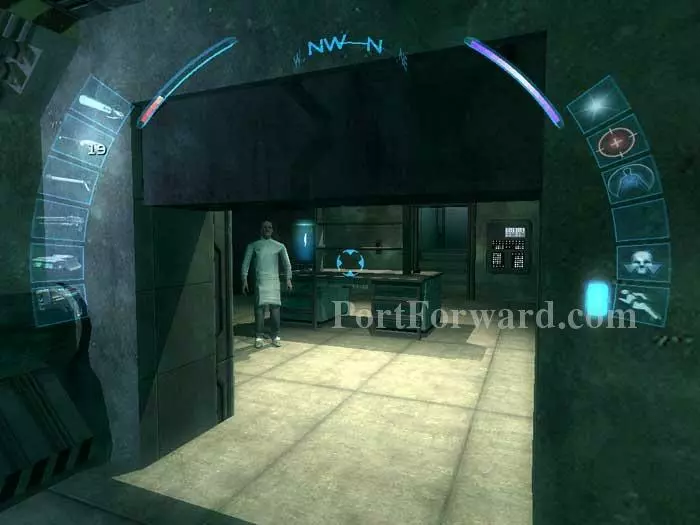
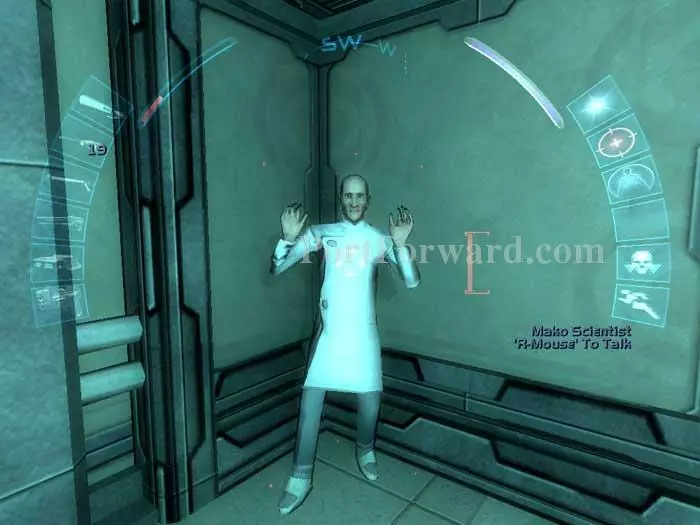
Ascend a ladder, continue down the corridor and open this door. There's the scientist we're looking for.
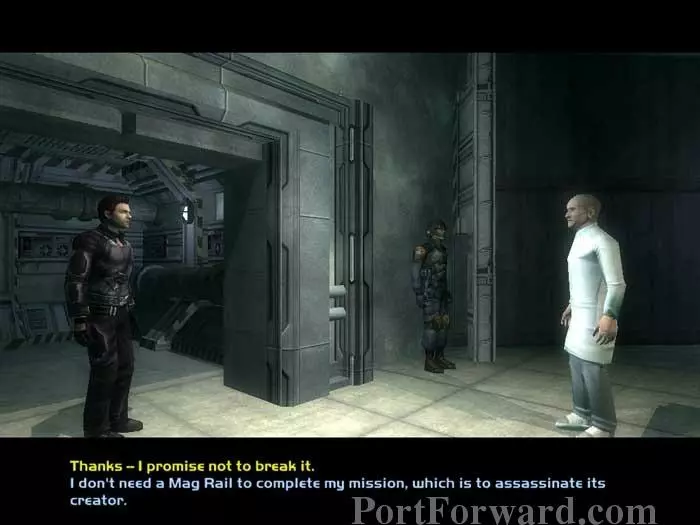
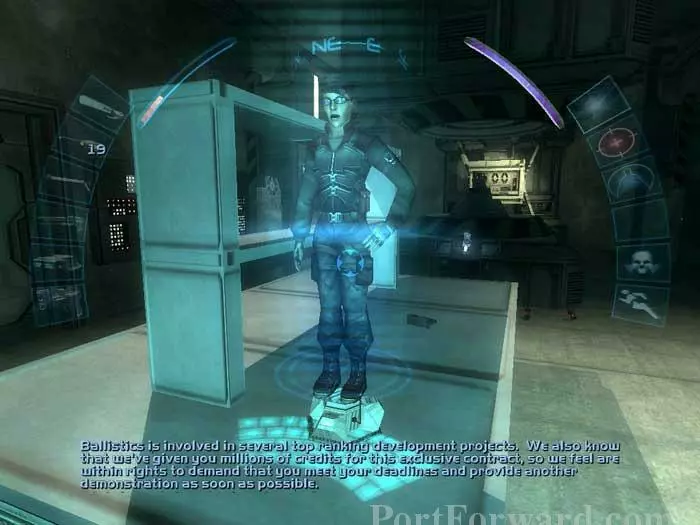
Approach the scientist and a cutscene plays. You now have a choice to make. The first dialogue option is best used if you wish to complete the WTO's goal of uploading the schematic. The second dialogue option results in a fight, and is best suited to The Order's desire to have the scientist killed. Here I choose option (1).
If you like, you can follow the scientist up to his office, where you can view a holocomm message from someone who sounds a lot like Dr. Nassif.
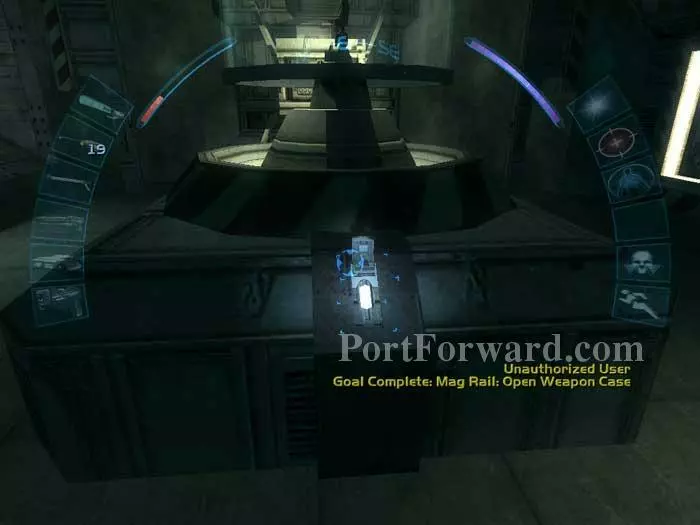
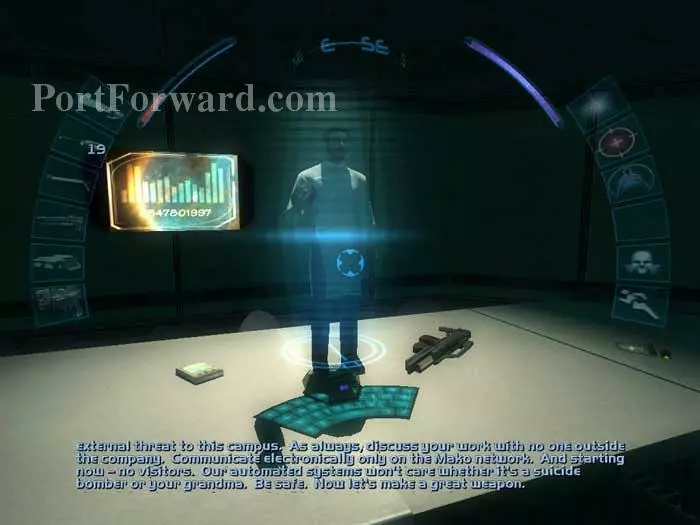
Once the scientist is in his office, you can use this switch to open the weapon case. (Doing so will seal off his office so if you want to check it out, do so before you press the switch.) You'll want to make room in your inventory for the mag rail. Select it and Donna Morgan of the WTO thanks you for uploading the schematic and directs you to the biolab on the second floor.
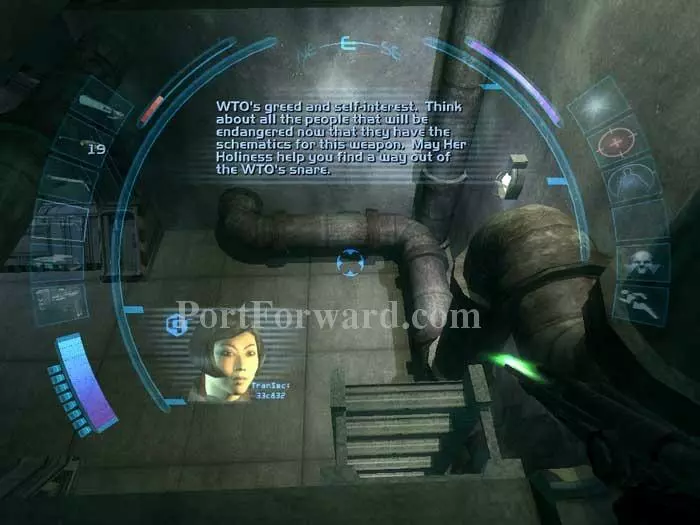
Grab the two ammo clips from this table and view the holocomm message from the Templars.
Backtrack the way you came. Ready your boltcaster -- more guards have spawned.
Here's another holocomm with some background.
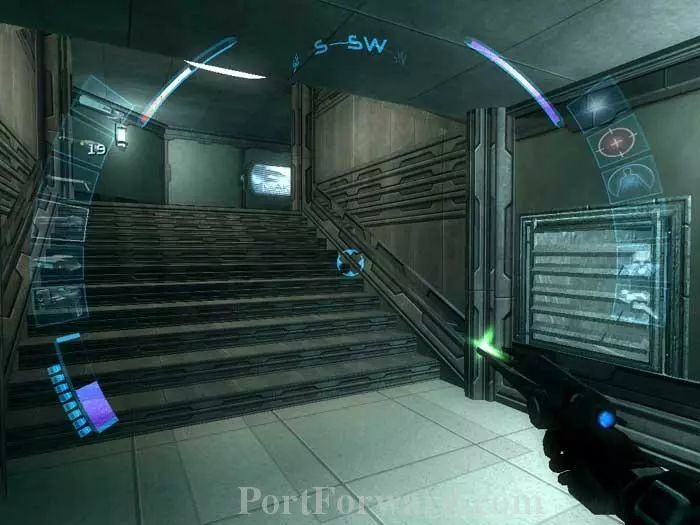
Head down these stairs.
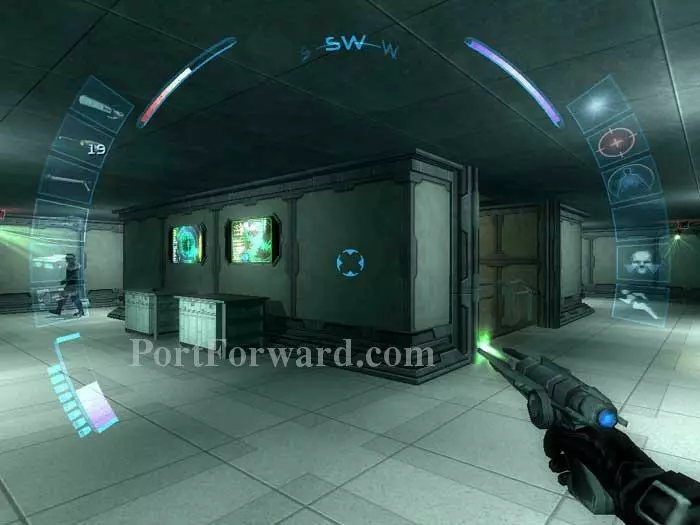
To the left is this room with a power box. Multitools will cut the power and make the area dark -- theoretically a boost to your stealthiness but I think it just makes it hard to see. Also in this room are a gas grenade, a stun prod and a flare.

Head through the service tunnel entrance on the left. The vent on the right is where you'd emerge if you had taken the vent we bypassed earlier.
Descend the stairs. On the right are these shelves holding an ammo clip, a multitool, a medkit and the weapons lab keycode.
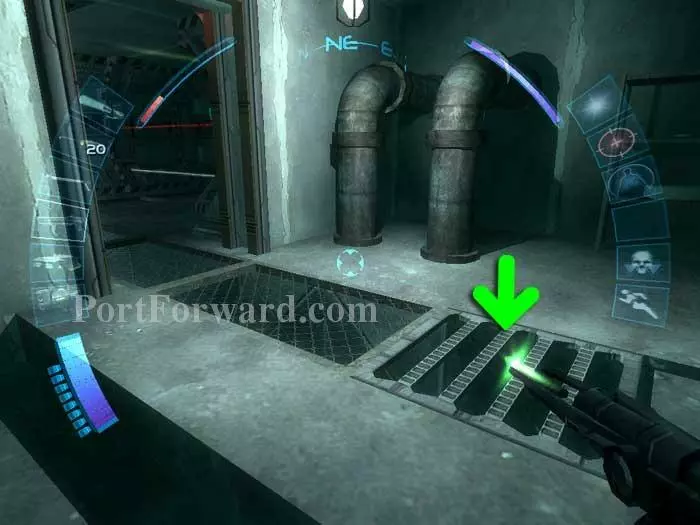
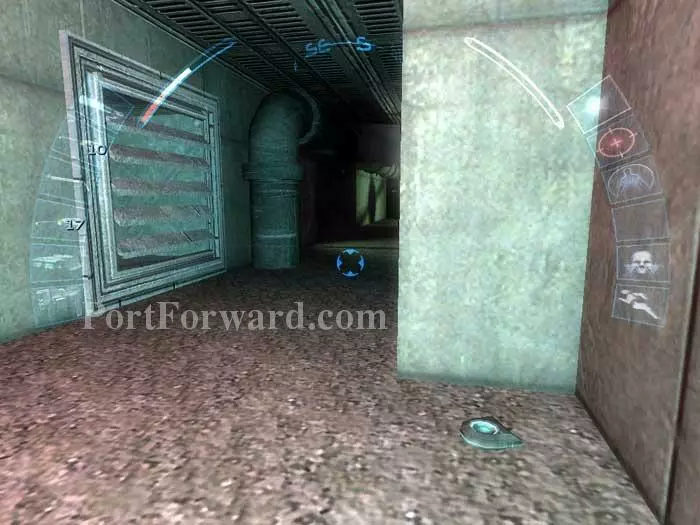
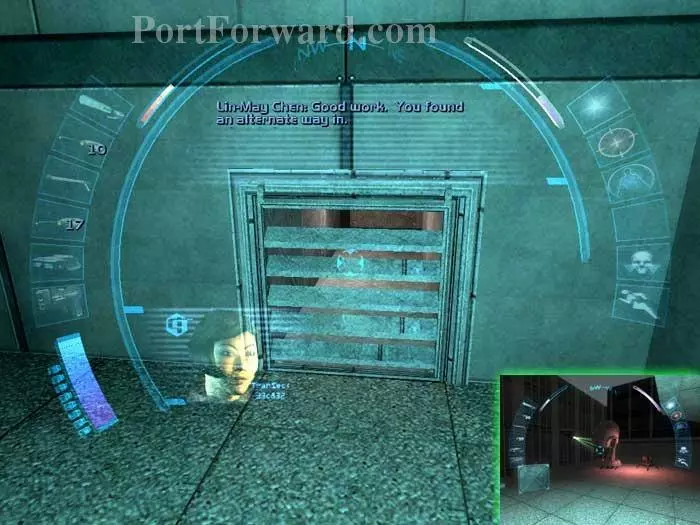
The lasers ahead will release a spider when triggered. Bypass them by slipping through the indicated grate.

Grab the multitool then exit out the other end. Drop the SSC guard before he gets this close.
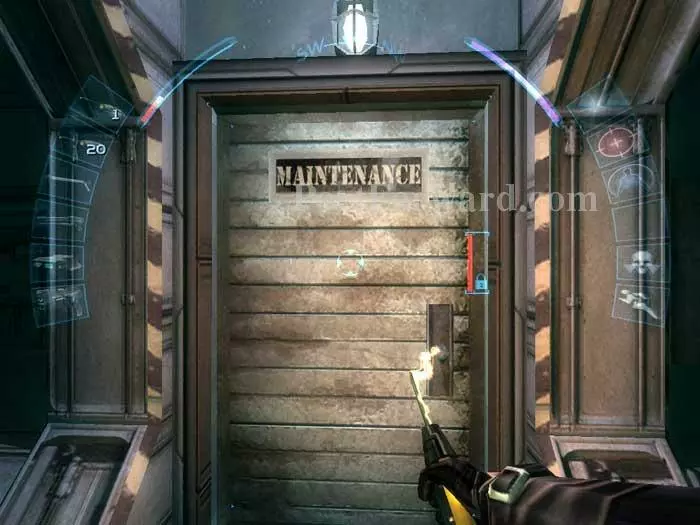
Don't waste a multitool on this door. The only thing inside is a single ammo clip.
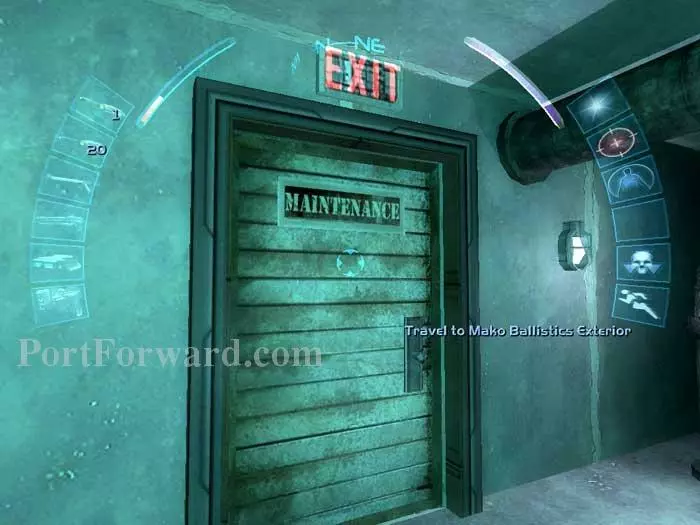
This door isn't of interest either -- it leads to the exterior we saw earlier. We'll be back later.
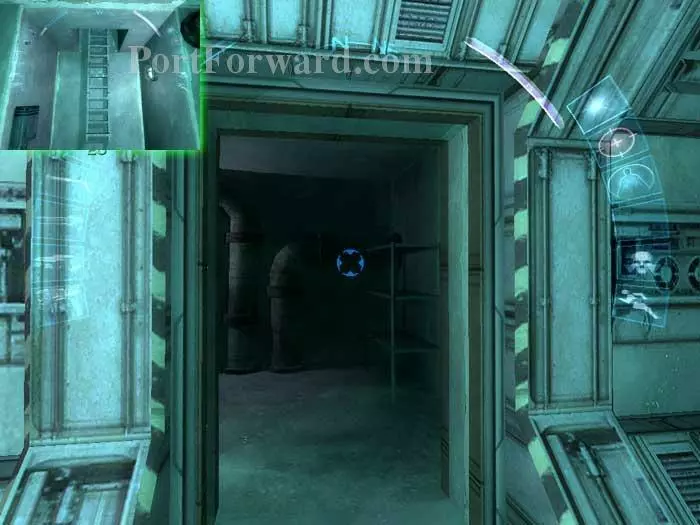
This is the door we want. Pass through and ascend the ladder.
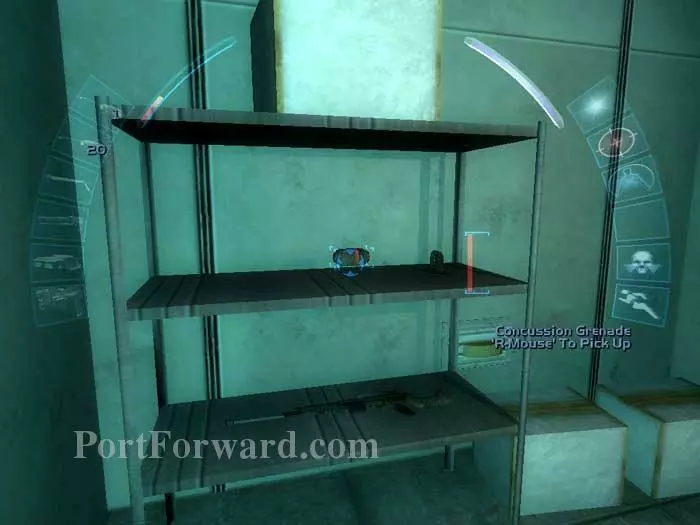
On these shelves you'll find a concussion grenade, a sniper rifle and an ammo clip.
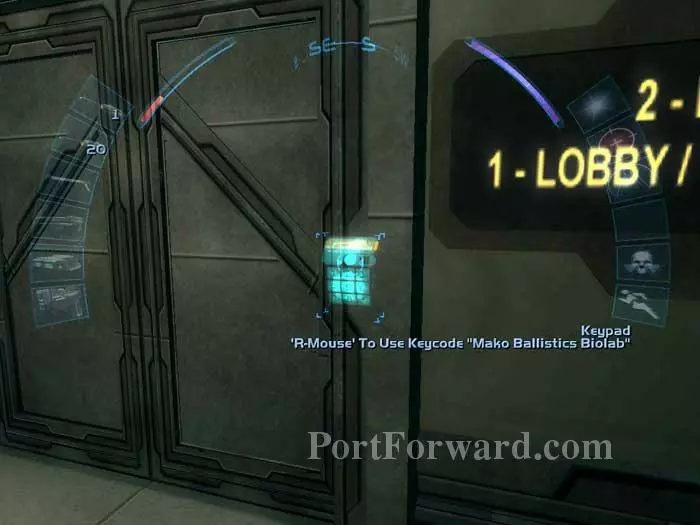
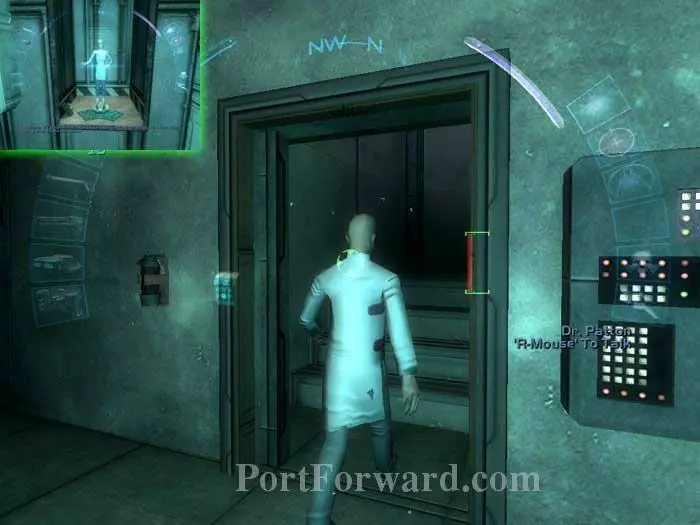
Exit the room and head across the hall to this elevator. Use your biolab keycode (1) (2) to open the door then ride the elevator to the second floor.
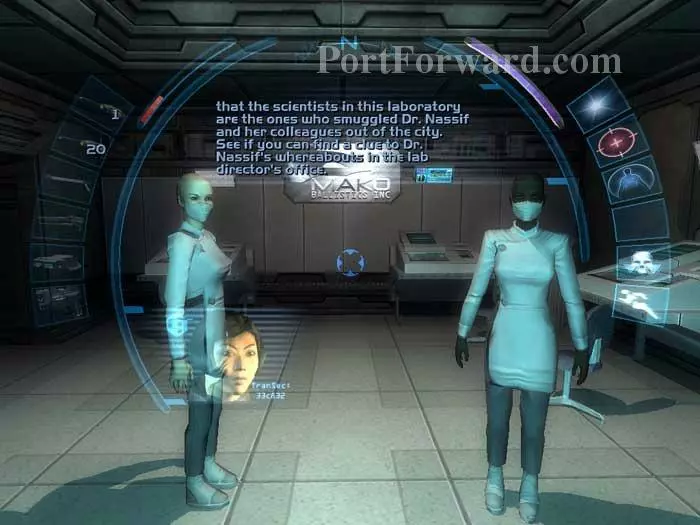
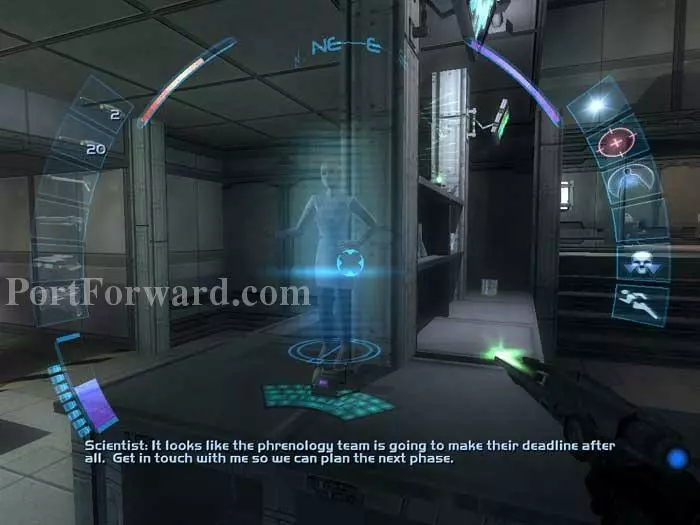
Approach these scientists to trigger a cutscene. Lin May Chen directs you to find a clue to Dr. Nassif's whereabouts.
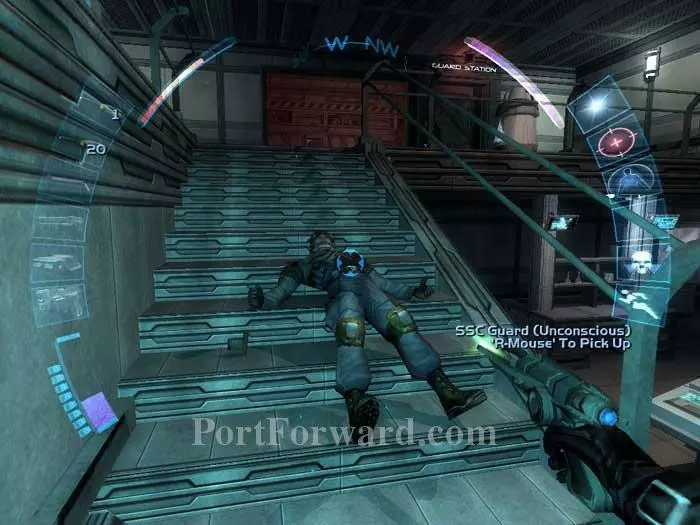
One guard is on patrol and another is in the guard station. Lure him out if you need to.
For the lethal crowd you can hack this terminal and free a Gray.
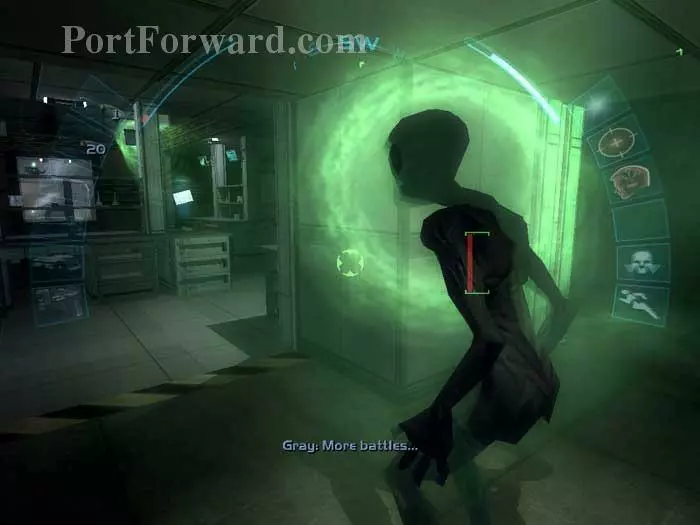
The Gray will help you attack the guards. Just keep your distance as he is highly radioactive while in combat mode.
Watch this holocomm for some background and grab the multitool on the shelf behind it.
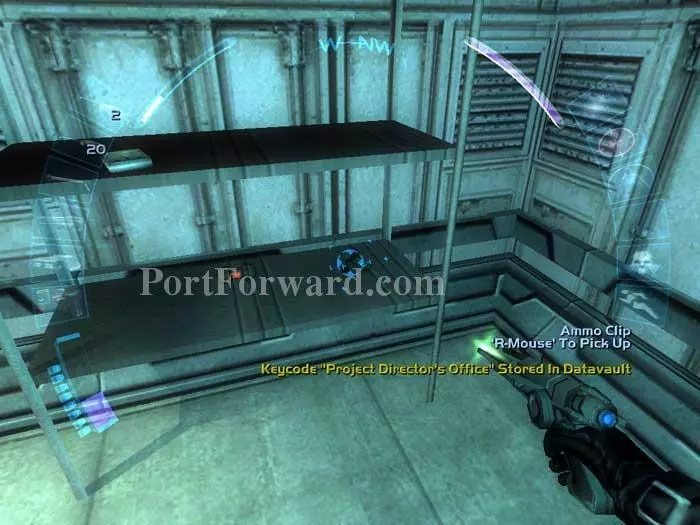
Head upstairs and enter the guard station. Inside is an ammo clip, a spiderbomb, and a datacube with the project director's office keycode.

Ready your boltcaster, pass through this door (inset) and bring down another guard. A medbot is here to heal you.
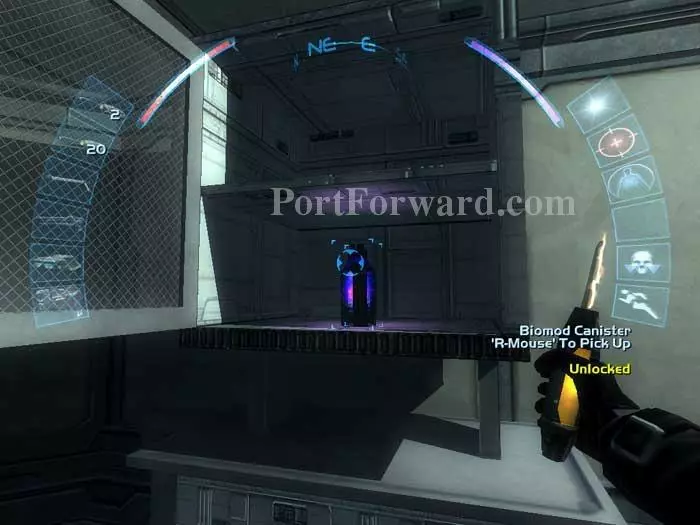
Unlock this cabinet and retrieve a standard biomod canister. A vent to the right leads to the project director's office but is gas-tripped. I recommend ignoring it.

Here I use the canister to upgrade Cloak to level 3.
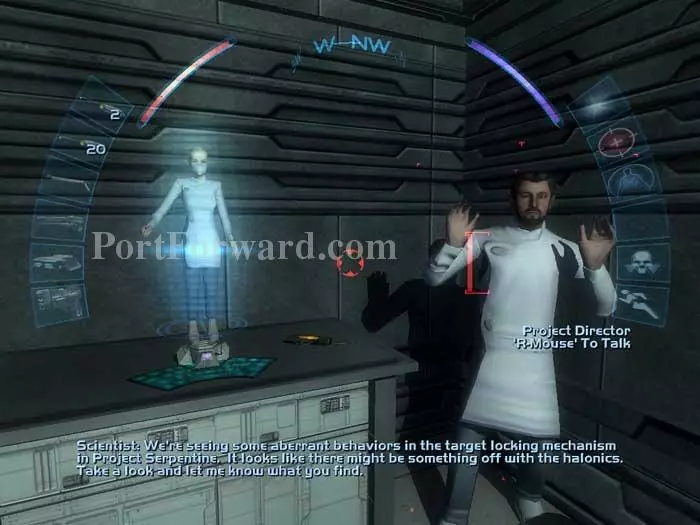
Here's another holocomm with some background. Grab the multitool to the right. If the project director is too scared he won't talk - no biggie.
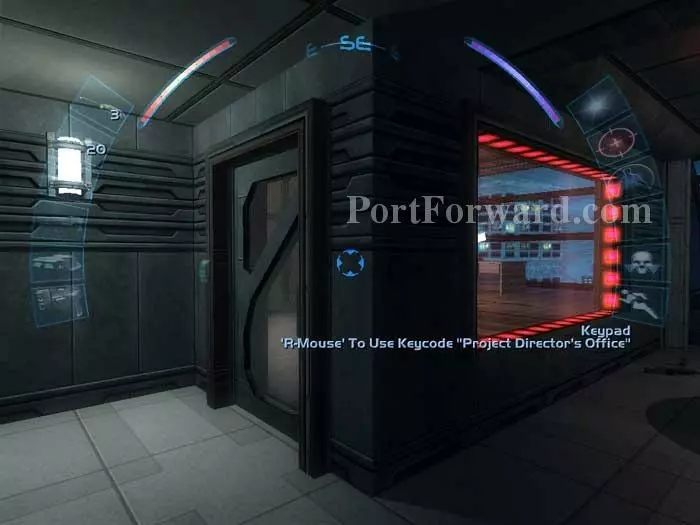
Use your keycode to enter the project director's office.

View this holocomm and learn that Dr. Nassif has left for Cairo. Donna Morgan of the WTO informs you that your pilot is waiting on the roof to take you there. Grab the medkit from the desk and the energy cell from the floor to the left.
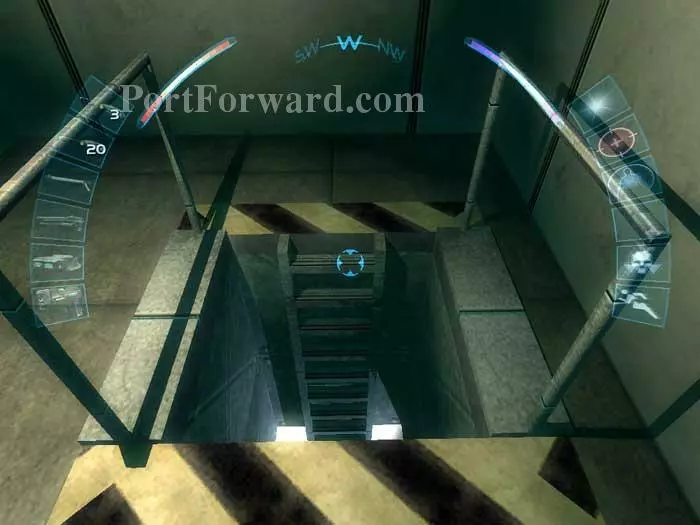
Return down the elevator and descend back down this ladder across the hall. Be careful -- more guards are on patrol.
Exit through this door we ignored earlier.
Continue through this door.

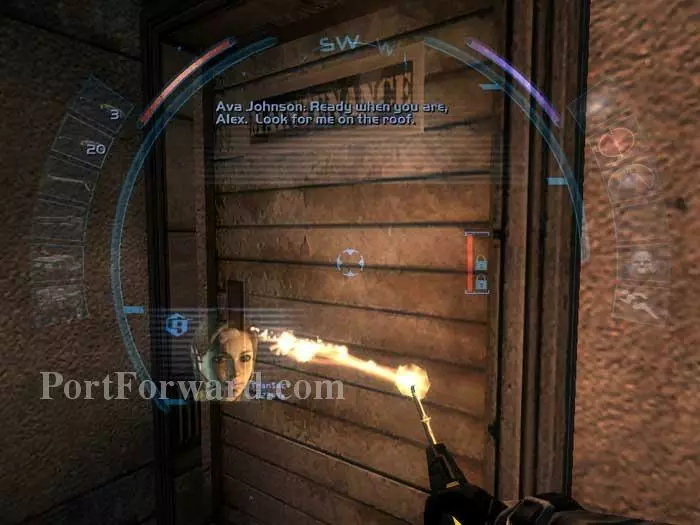
Activate your cloak and slip past the patrols. Follow the roof access sign beyond and climb the ladder.
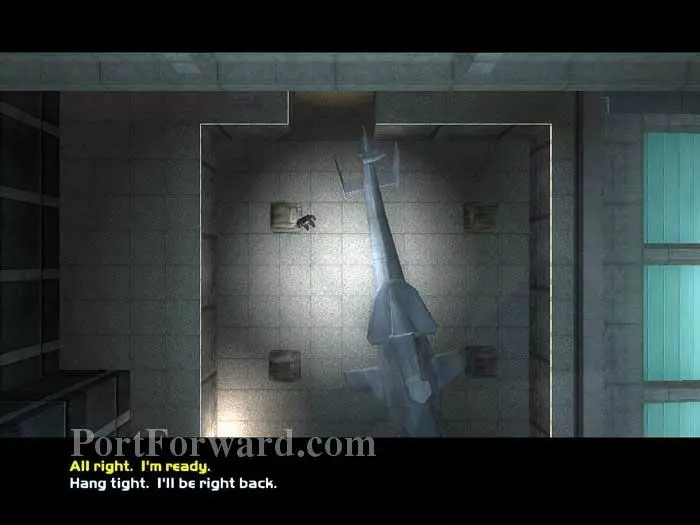
Head all the way to the roof. Signal your pilot that you're ready to go and end the level.
More Deus Ex: Invisible War Walkthroughs
This Deus Ex: Invisible War walkthrough is divided into 11 total pages.


