This Deus Ex walkthrough is divided into 20 total pages.
You can jump to nearby pages of the game using the links above.
Hell's Kitchen
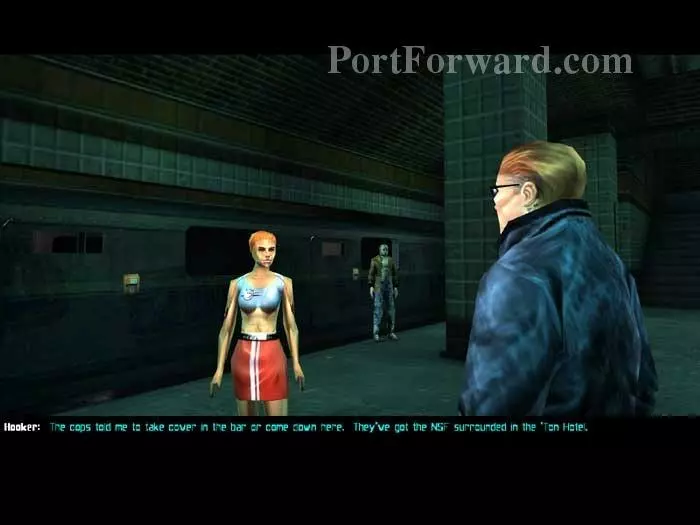
Talk to the locals and learn of a hostage situation in the 'Ton Hotel.
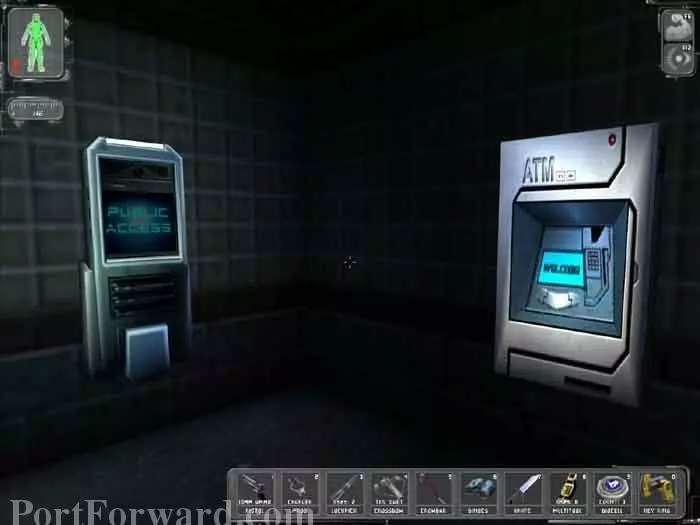
Public Access Terminals, like this one on the left, are a great way to delve into the story. You can hack this ATM on the right for 262 credits.
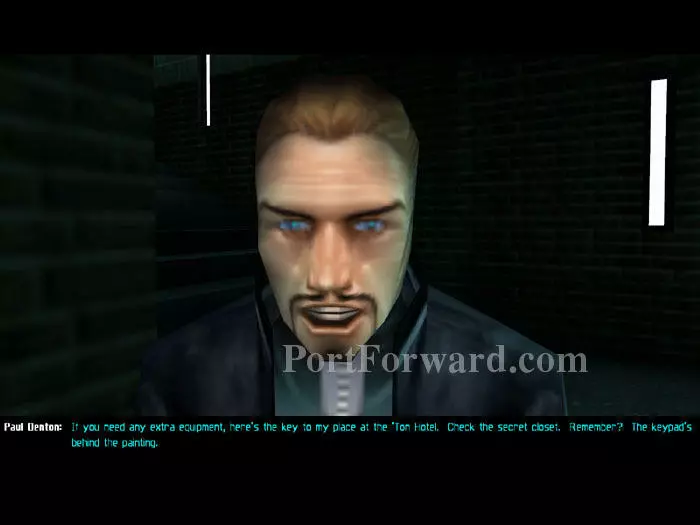
Ascend the stairs and Paul intercepts you. He gives you the key to his apartment and a Prod Charger.
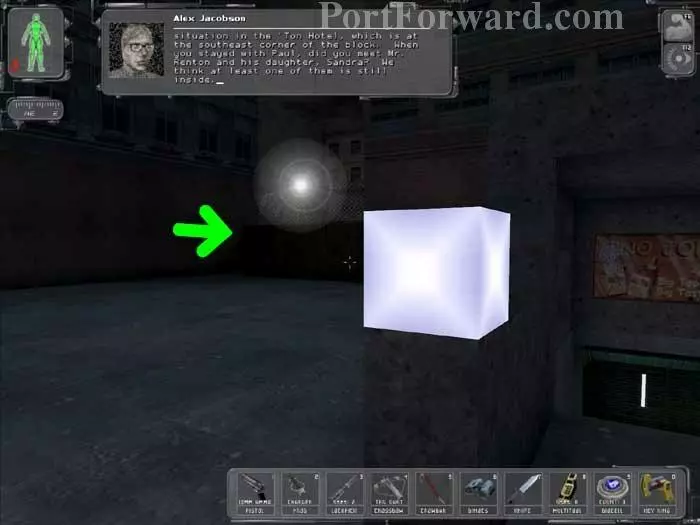
Alex updates your information on the hostage situation, but first head behind this wall to the basketball court.
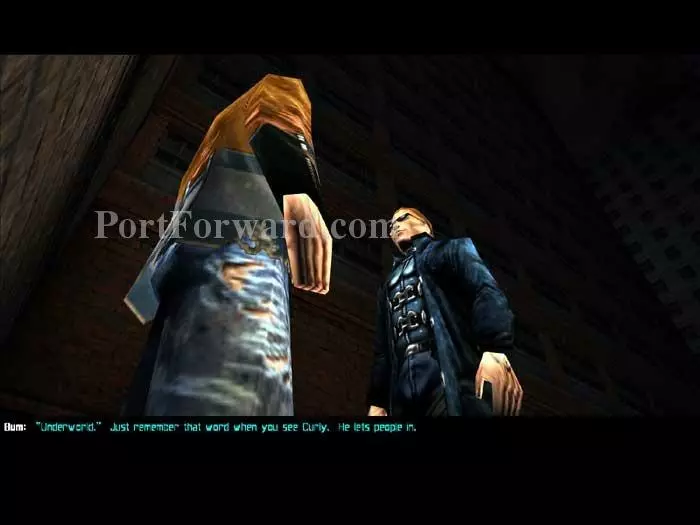
This bum is about to be killed by NSF thugs. Knock them out with tranquilizer darts and he gives you the password, "Underworld" for when you see Curly.
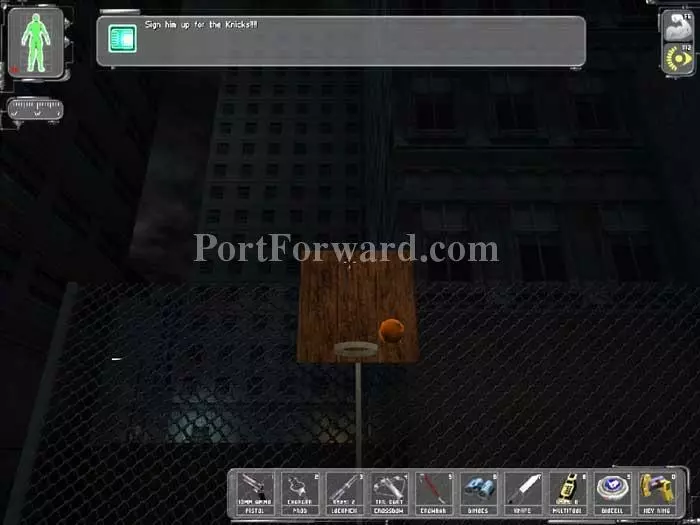
For a brief diversion you can shoot some hoops. Make a decent shot and get the message, "Sign him up for the Knicks!!"
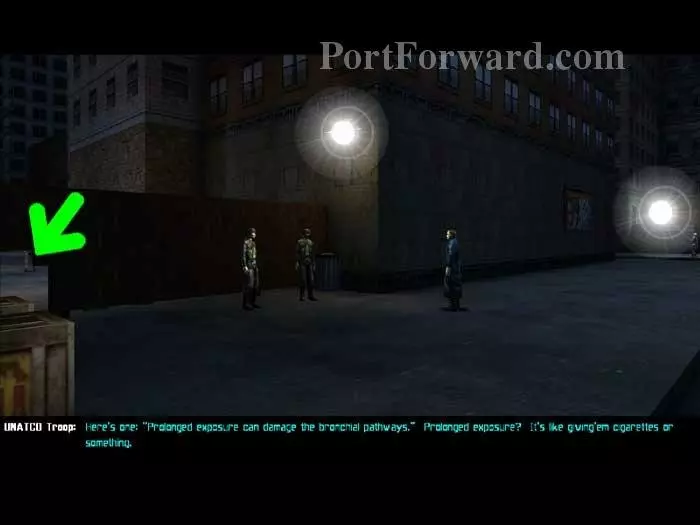
Return past the subway entrance and talk to these UNATCO troops. They are displeased with the non lethal weapons they received from Paul (three gas grenades), and will give them to you. Proceed through the indicated hole in the fence.
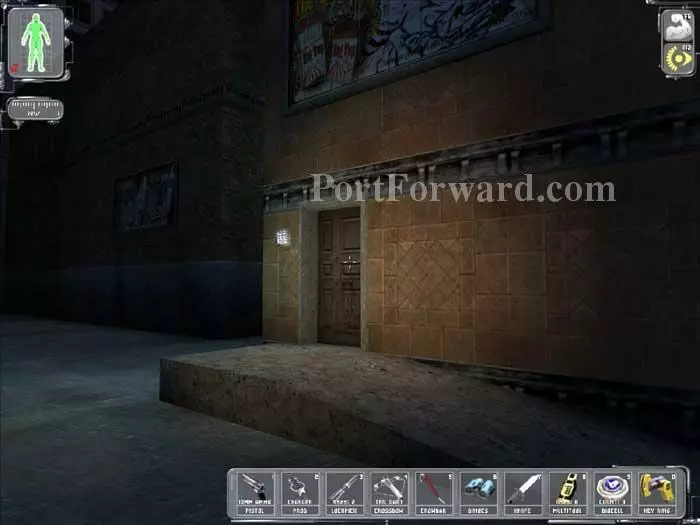
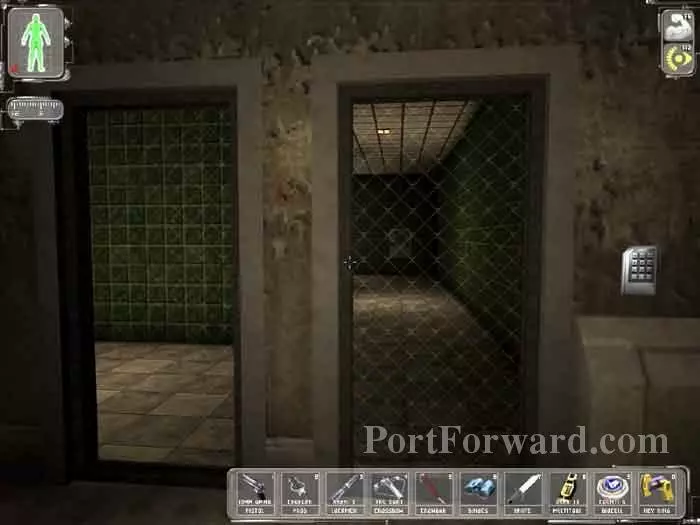
Pass through this back door to the bar.
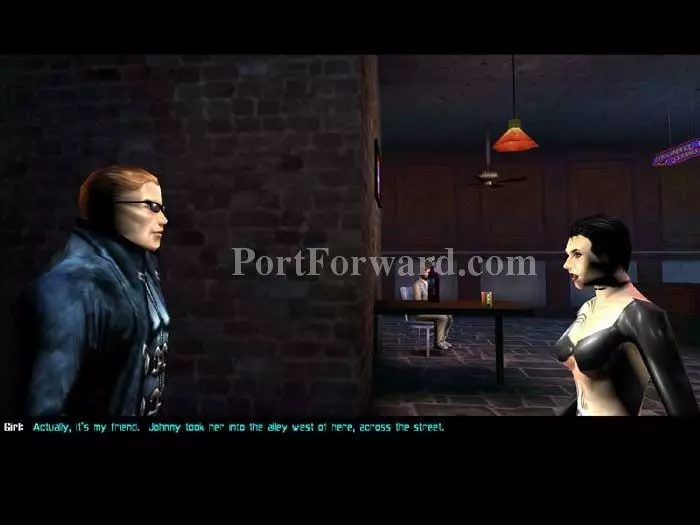
Approach Janey. She tells you that her friend, Sandra, is in trouble.
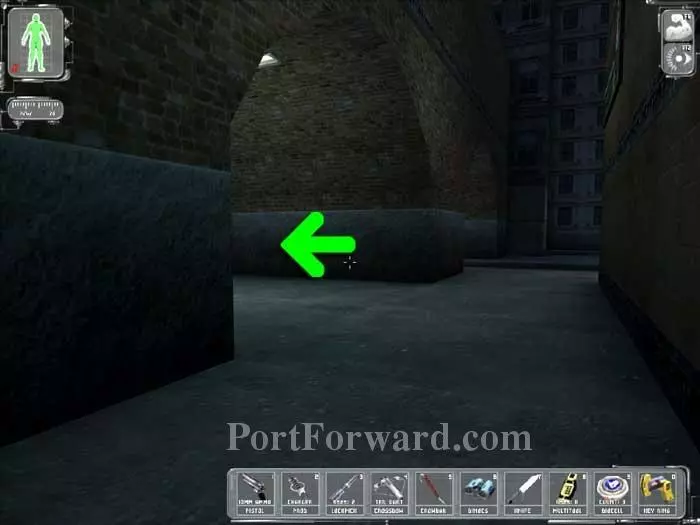
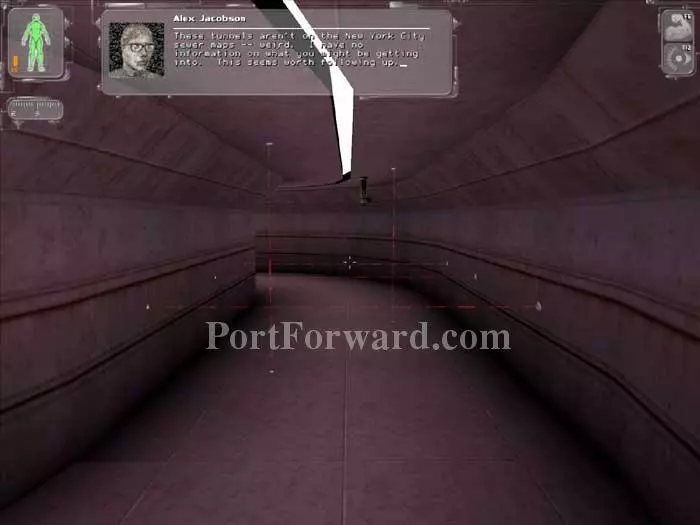
Head back out the way you came then turn down this tunnel.
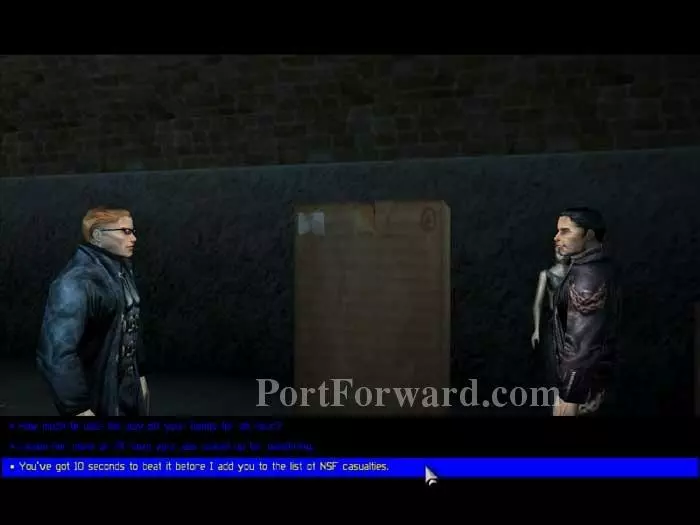
You'll find Johnny the pimp threatening Sandra. You have three dialogue options. The first gets you nowhere, the second gets you a fight, and the third, selected here, scares Johnny away.
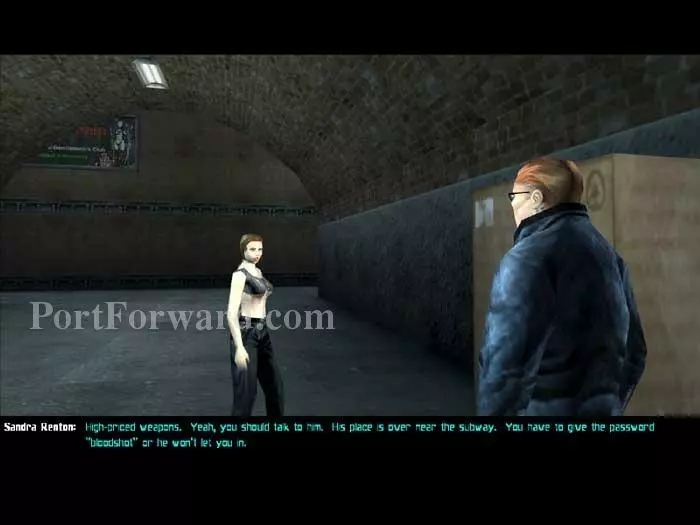
Talk to Sandra twice. The first time she gives you two routes to Johnny's boss' place, JoJo's, both through Osgood's. The second time you talk to her she gives you the password, "bloodshot" to get into the smuggler's.
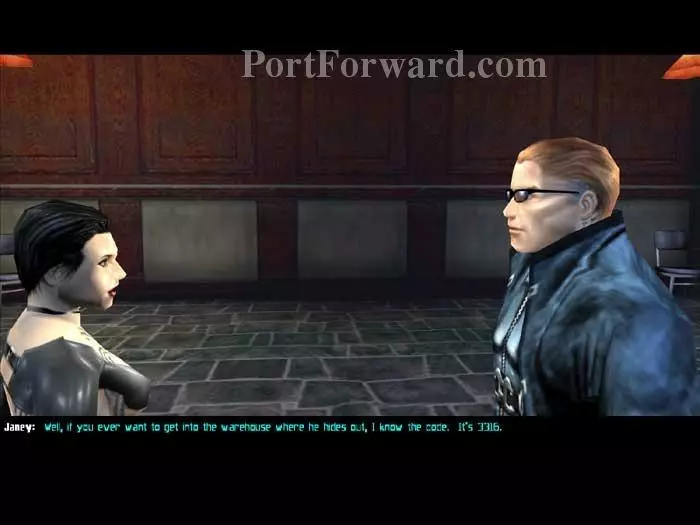
Return to the bar and talk to a grateful Janey. She tells you that JoJo is no tough guy, and gives you the warehouse code 3316.
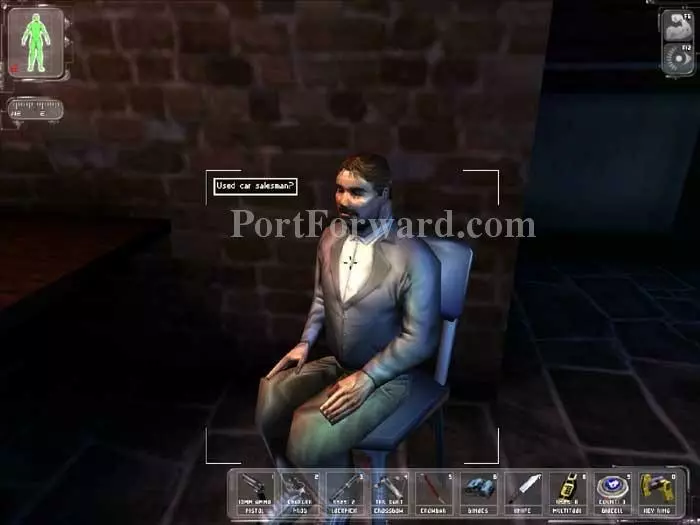
This guy turns out to be Joe Green, a UNATCO-hating reporter for the Midnight Sun. (Or is he?) Tell him anything and he'll print it -- Manderley will not be pleased.
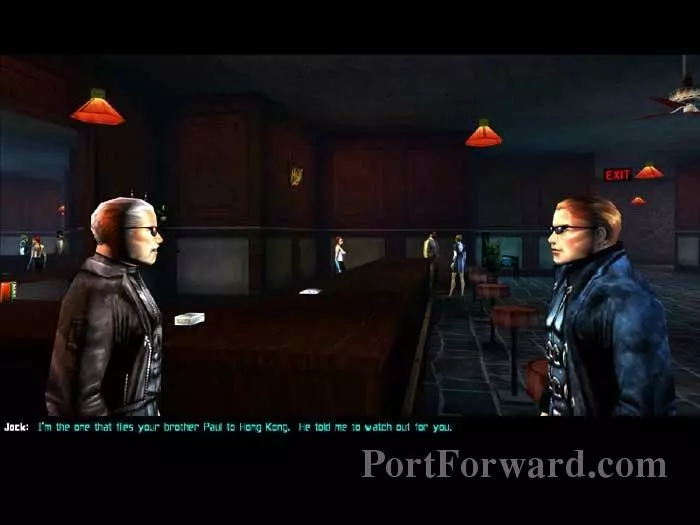
Buy two beers from the bartender and give them to the pilot, Jock. He'll tell you his loopy conspiracy theories and, more importantly, that he knows and trusts your brother, Paul.
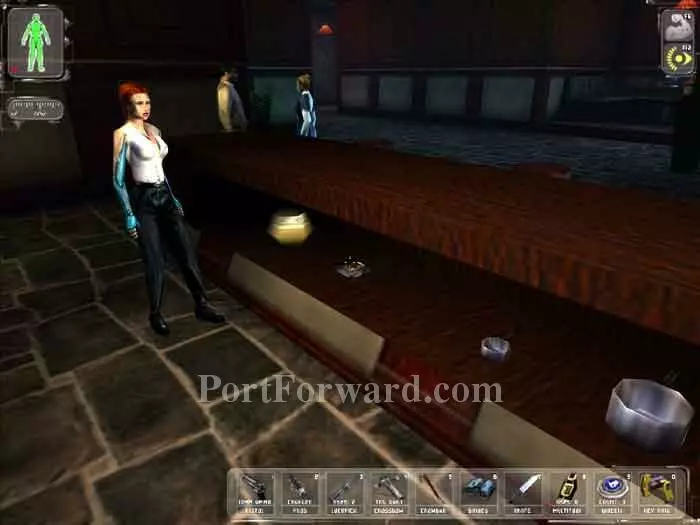
Grab this Medkit behind the bar. You can talk to Dan, visible in the background. He will also give you the Warehouse code 3316.
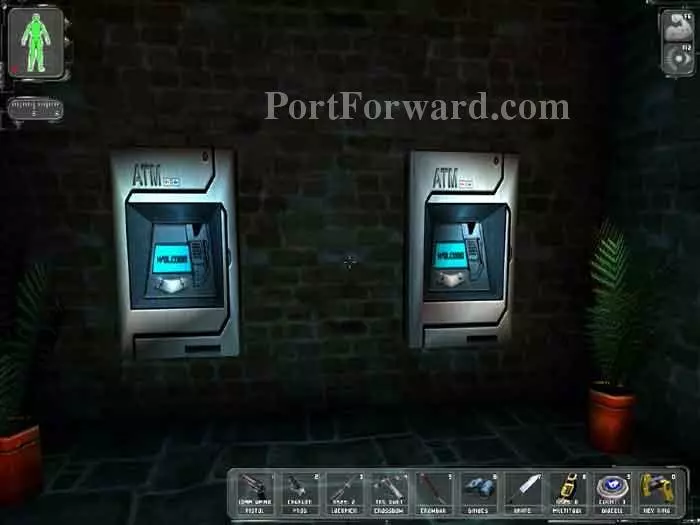
Hack these two ATMs for c205 and c103.
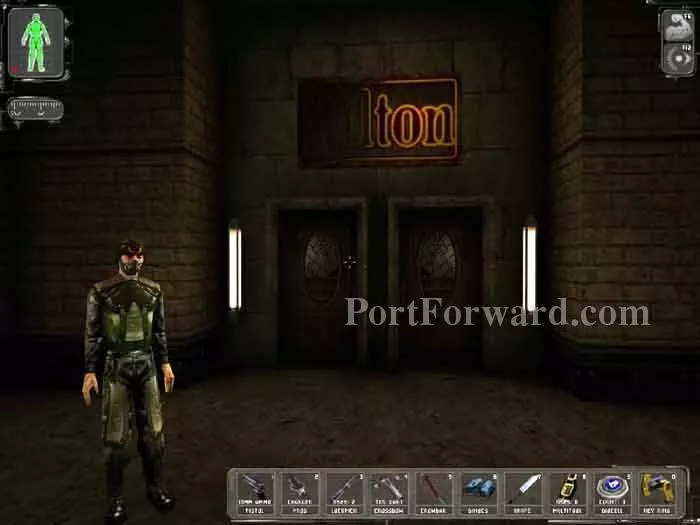
Exit the bar through the front entrance, or through the back entrance we used. Nearby is the 'Ton hotel, its name derived from this malfunctioning "Hilton" sign.
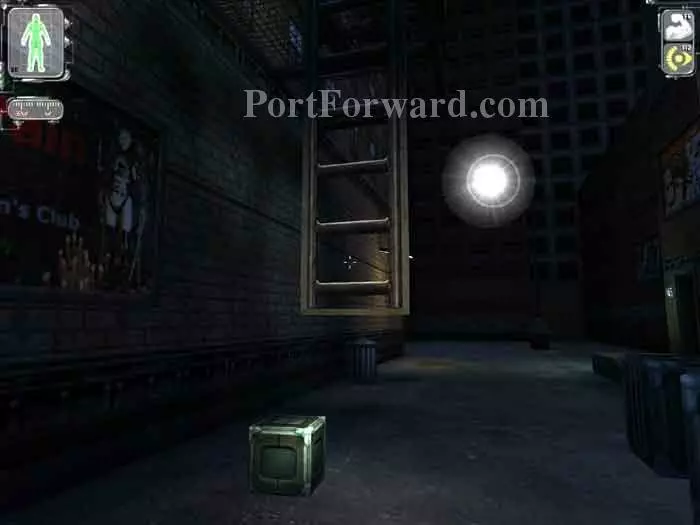
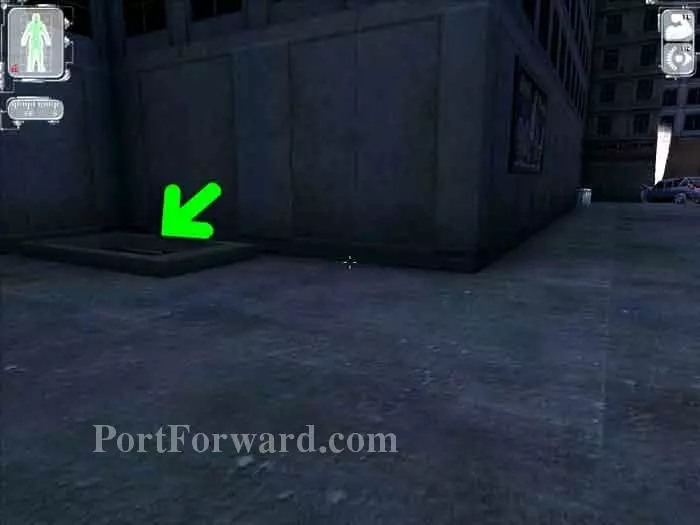
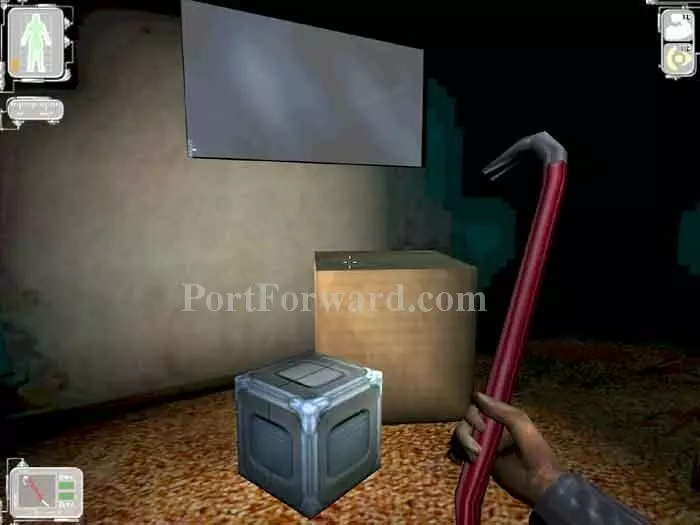
Rather than enter through the front entrance, we're going to use this ladder in the nearby alley. Place a small crate to hoist yourself up.
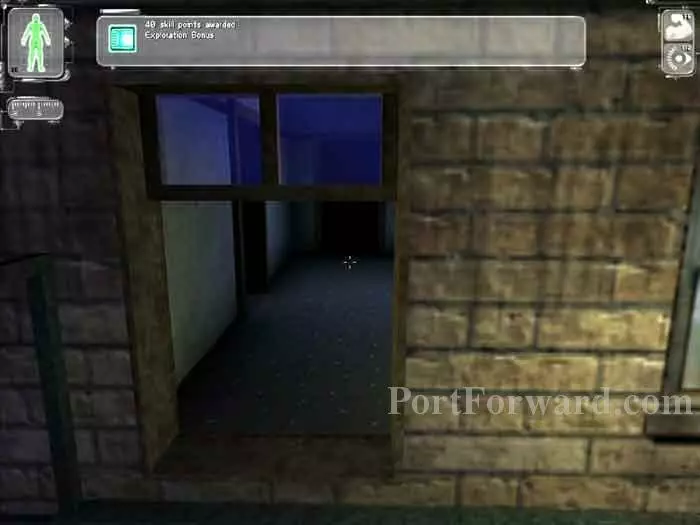
Climb the fire escape and receive an Exploration Bonus of 40 skill points when you get to this window -- the window to Paul's apartment.
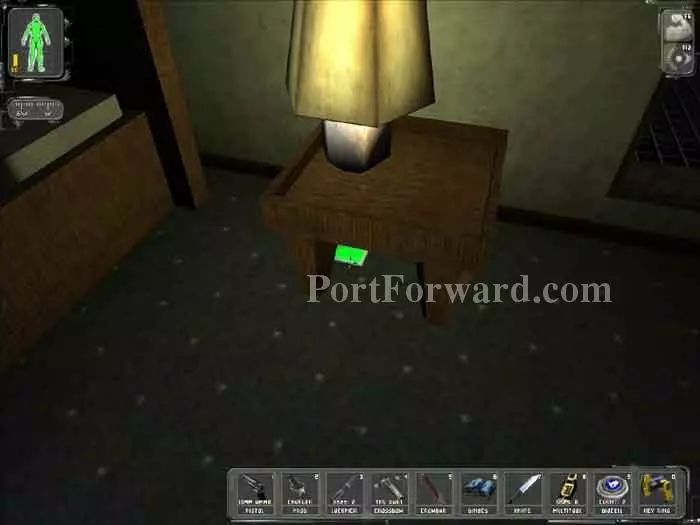
I'm sure Paul wouldn't mind if you helped yourself to this credit chit worth c350.
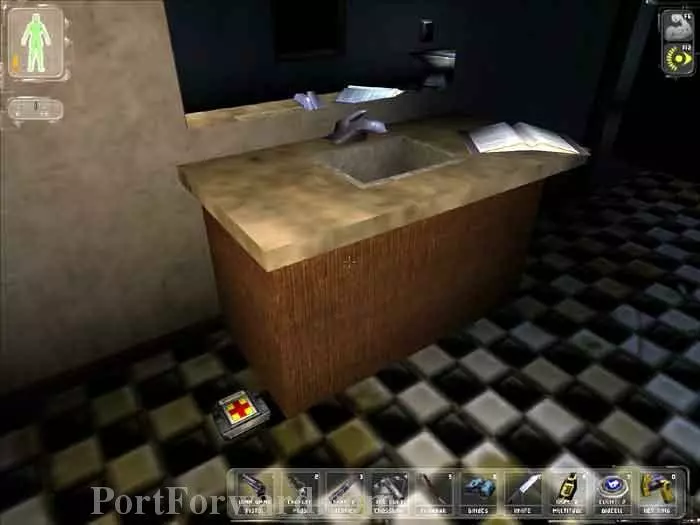
In the bathroom you'll find this Medkit. You can use the shower, too -- your getting a little ripe by now.
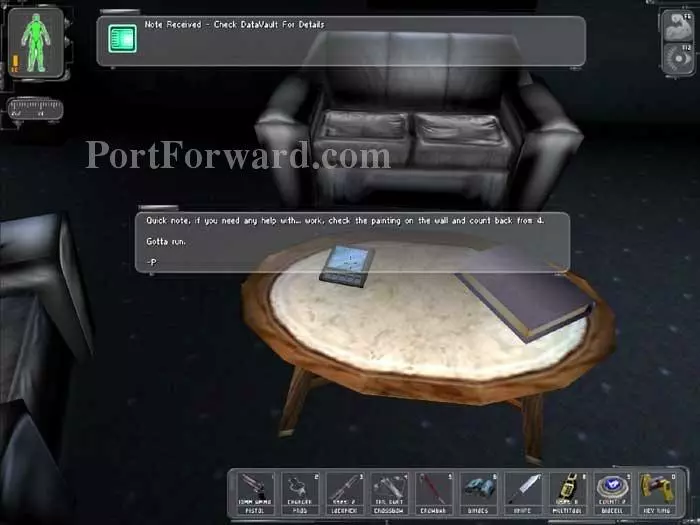
The message on this Data Cube reminds you to check the painting on the wall and count back from 4.
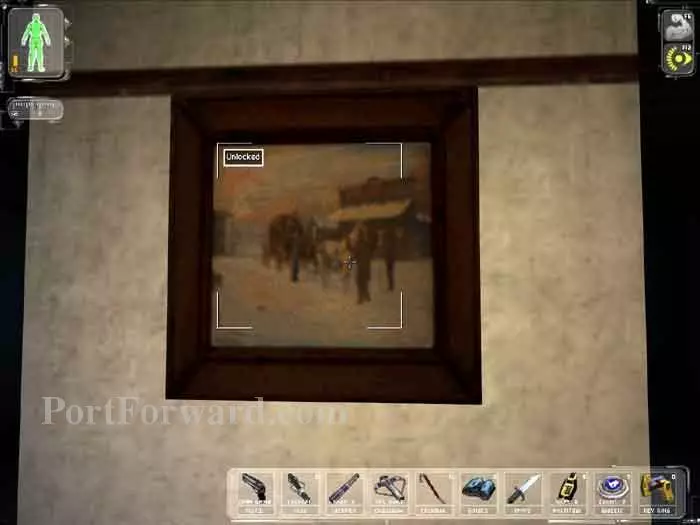
Here's the painting. Once open it reveals a number pad. The clue is "Count back from 4." The code is 4321.
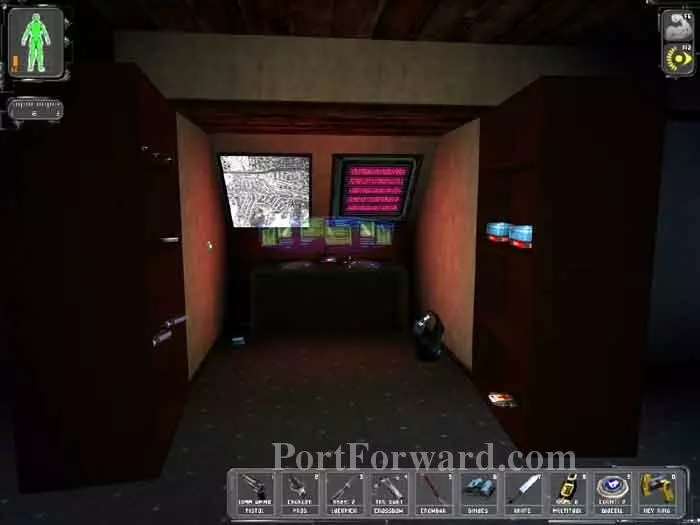
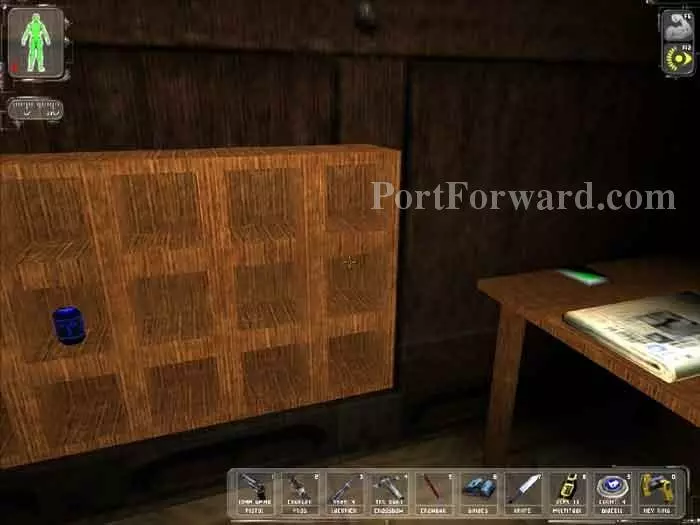
Voila! This secret closet opens, full of goodies. Two lockpicks, three Multitools, a Medkit, ballistic armor, and a Data Cube with Paul's login, "pdenton" and password, "chameleon." Log in to the computer and review Paul's email.
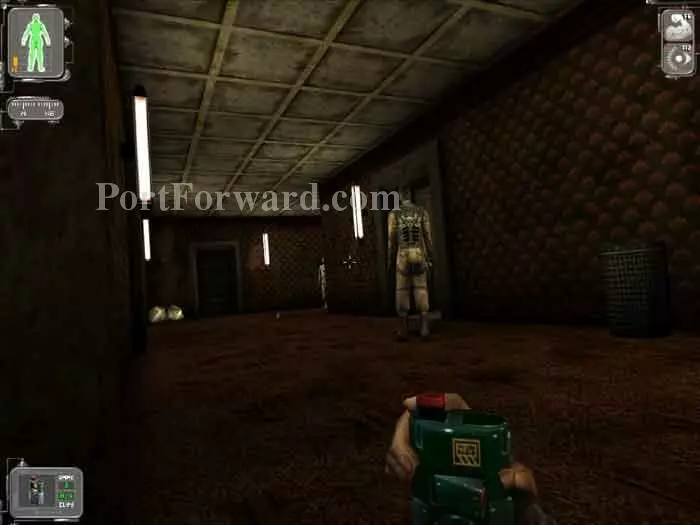
Unlock the apartment door, lean out then toss a gas grenade into the hall.
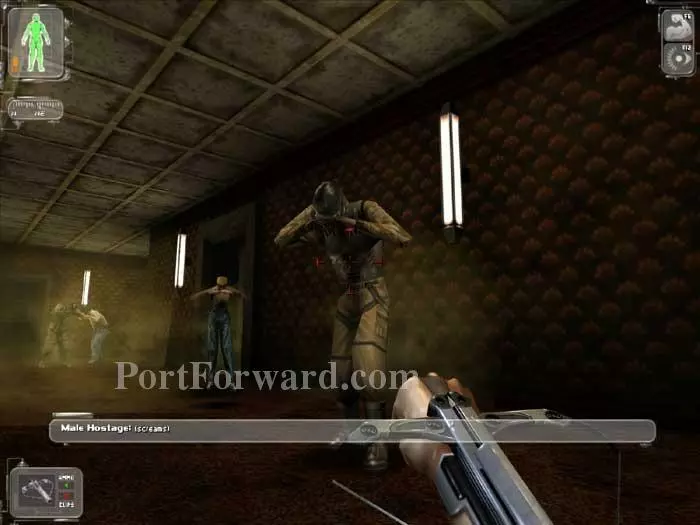
The gas makes the NSF more susceptible to your tranquilizer darts. Bring them down.
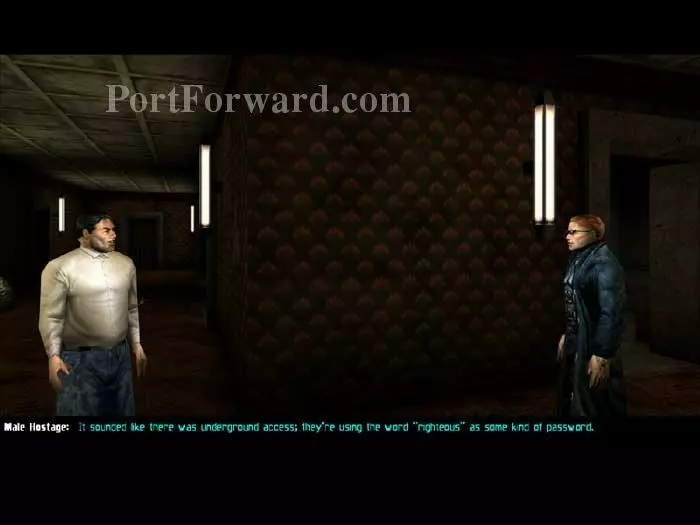
You receive a 65 point Accomplishment Bonus for freeing the hostages. Talk to them and learn of underground access to the warehouse, password, "righteous."

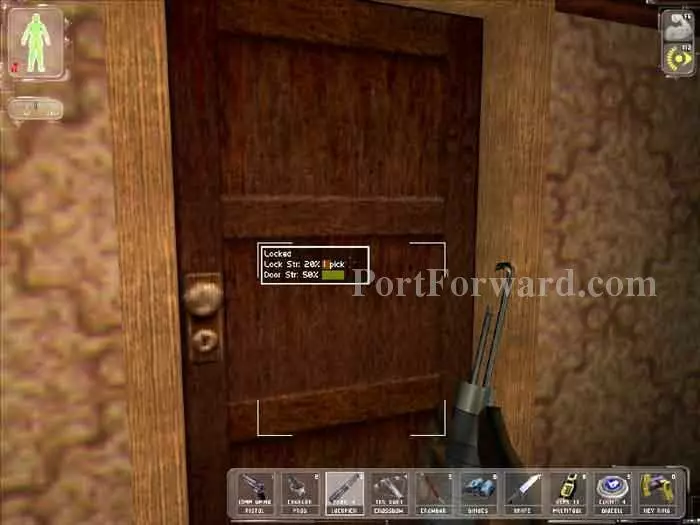
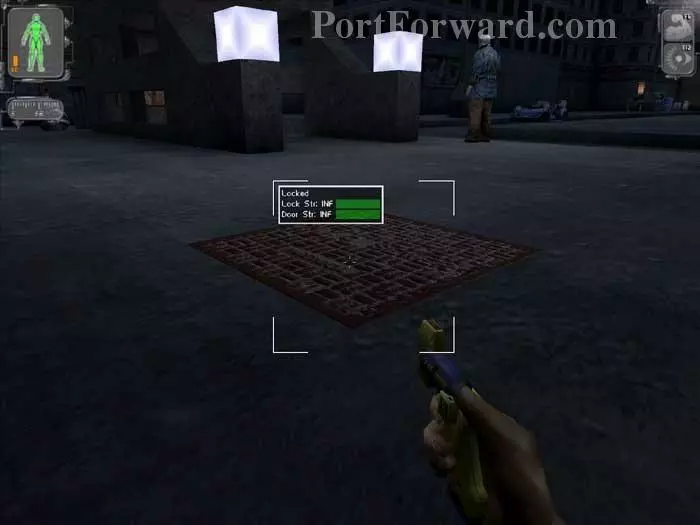
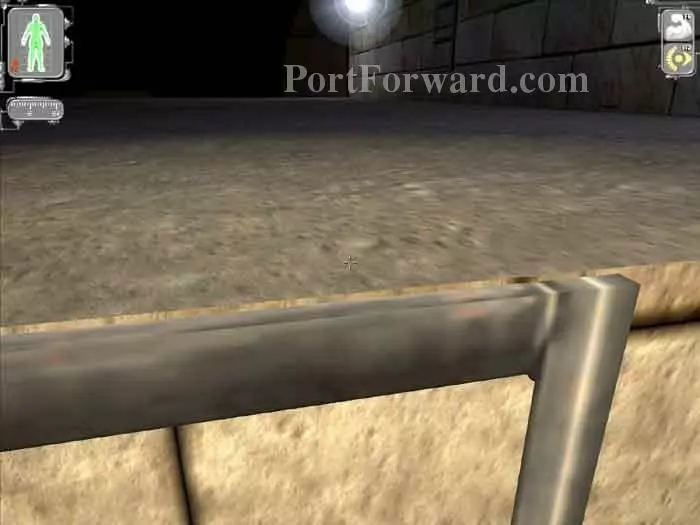
Don't waste your lockpicks on this door. We'll be getting the key in a moment.
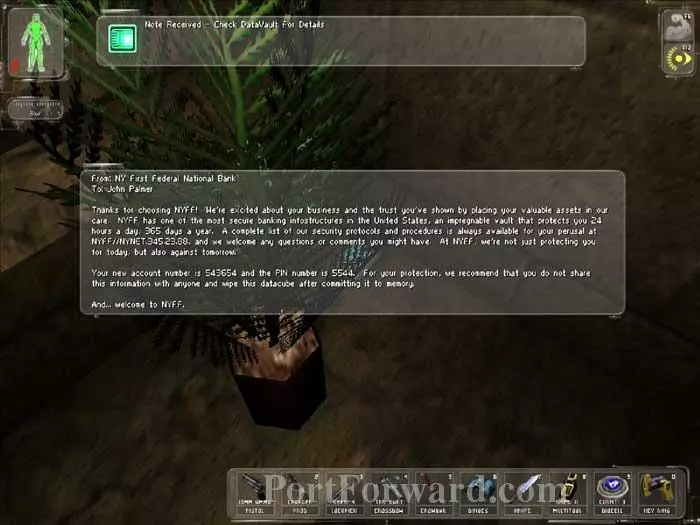
This Data Cube has an account number 543654 and PIN 5544.
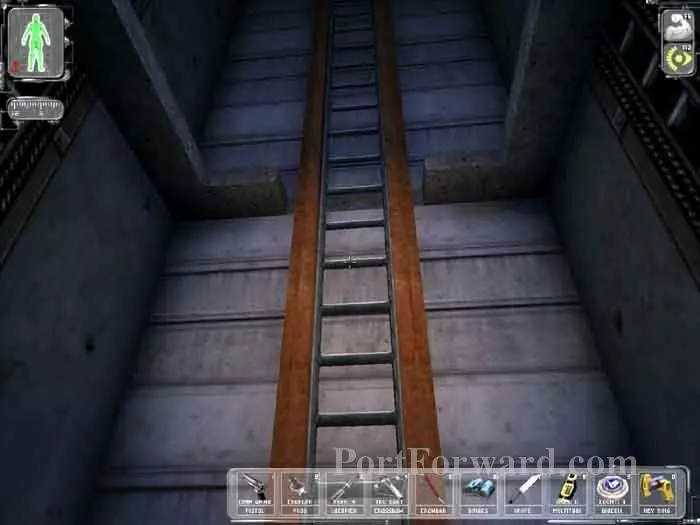
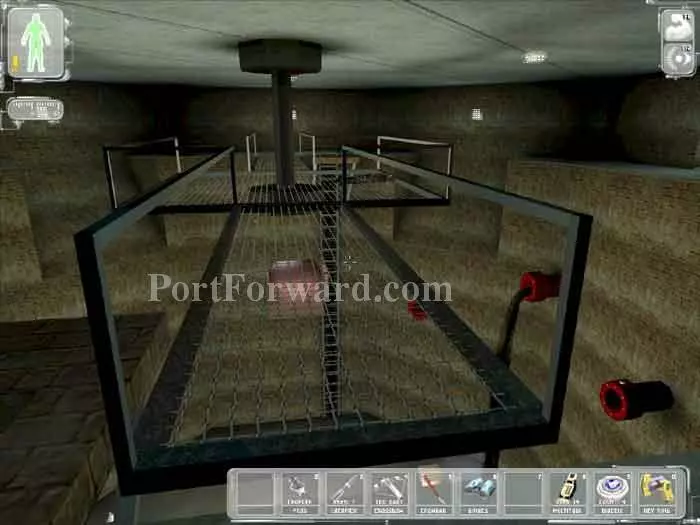
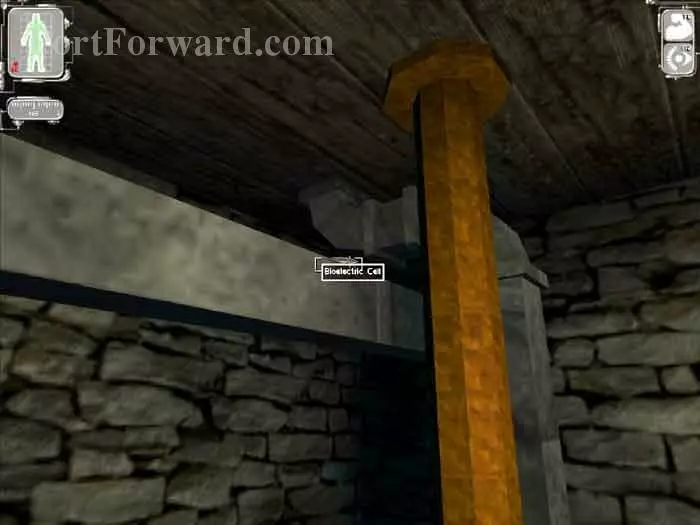
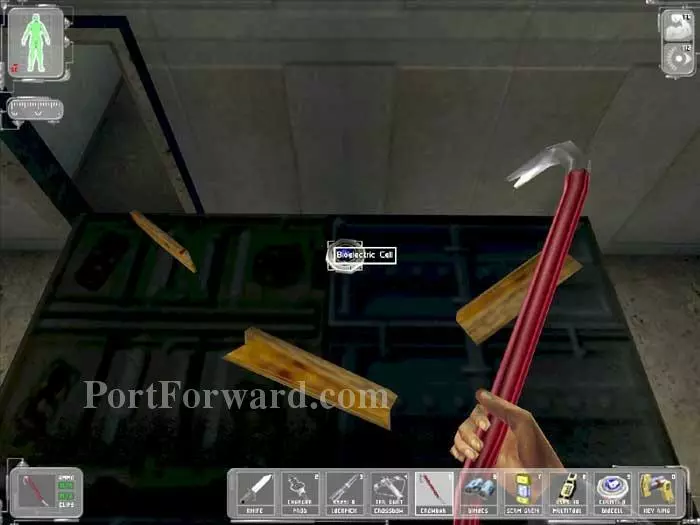
Climb the ladder in the elevator shaft to the ledge above for a Multitool. Climb to the bottom of the shaft for crates holding another Multitool and a Bioelectric Cell.
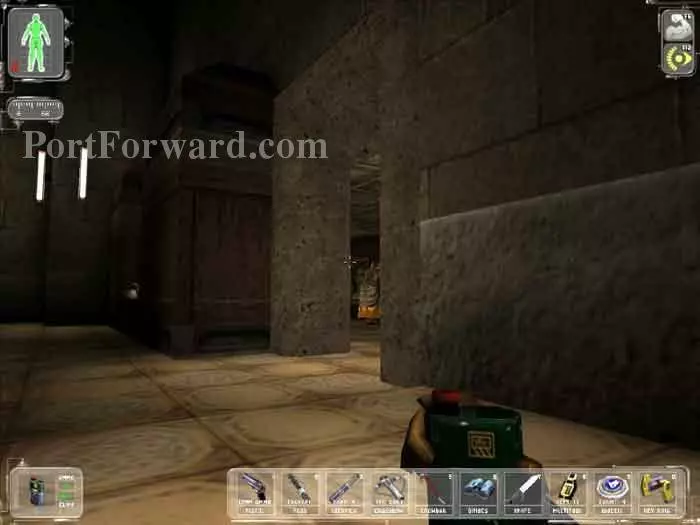
Exit the elevator shaft on the lower level. Quietly toss a gas grenade through the doorway on the right.
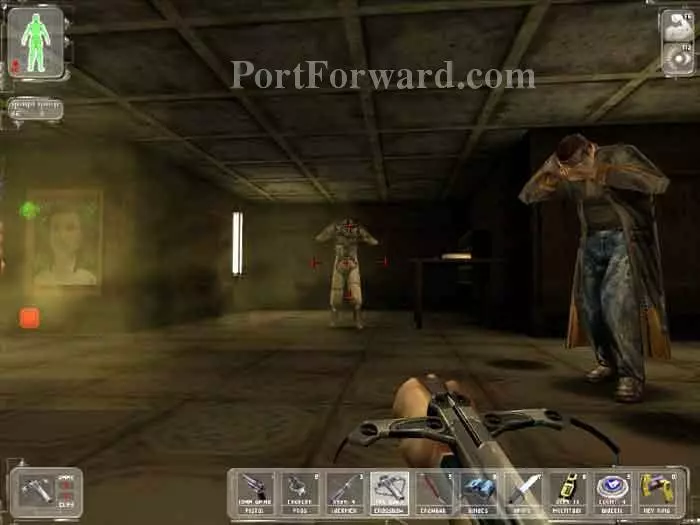
Tranquilize the single NSF terrorist. Wait for the gas to fade then talk to Gilbert Renton, Sandra's father. He wants her to come home.
Pick up the credit chit on the right for c50 and the Nano Key on the left.
Return to the door we bypassed earlier. You'll still need a single lockpick to get past this closet door. Inside you'll find a Medkit and a Bioelectric cell.

Head back to the lobby and use the account number and access code we found earlier (account number 543654 and PIN 5544) to withdraw c100.
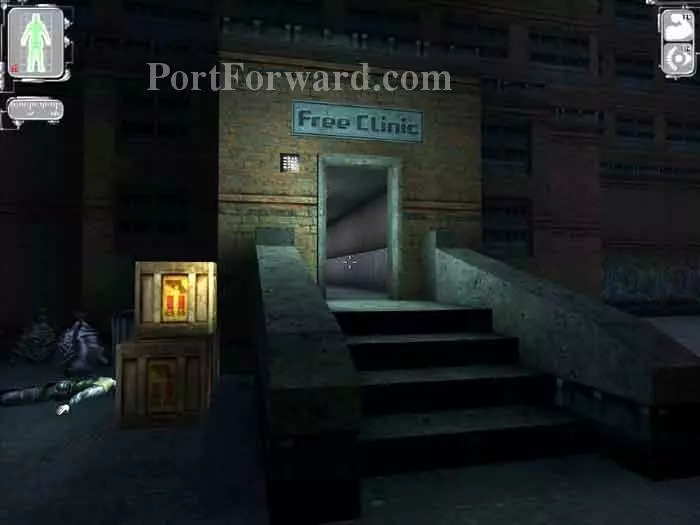
Outside, the battle between UNATCO and the NSF should be over by now. Search any bodies for supplies. Around the corner is this Free Clinic.
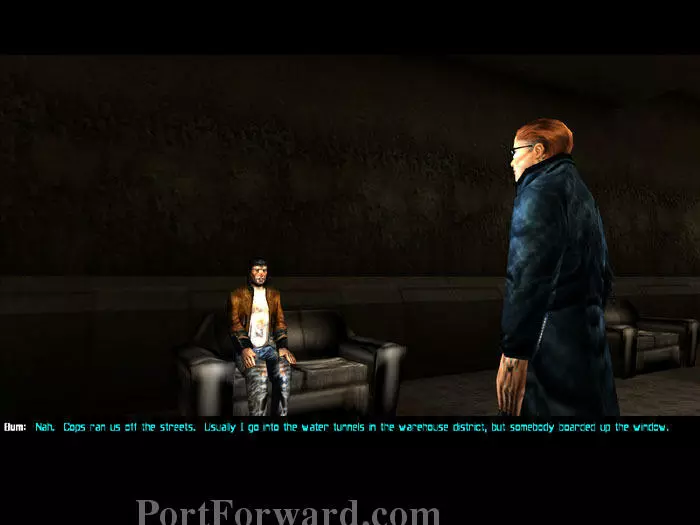
Talk to everyone you see, like this guy who tells you that water tunnels lead to the warehouse district, and a freight elevator goes to the roof of a large building.
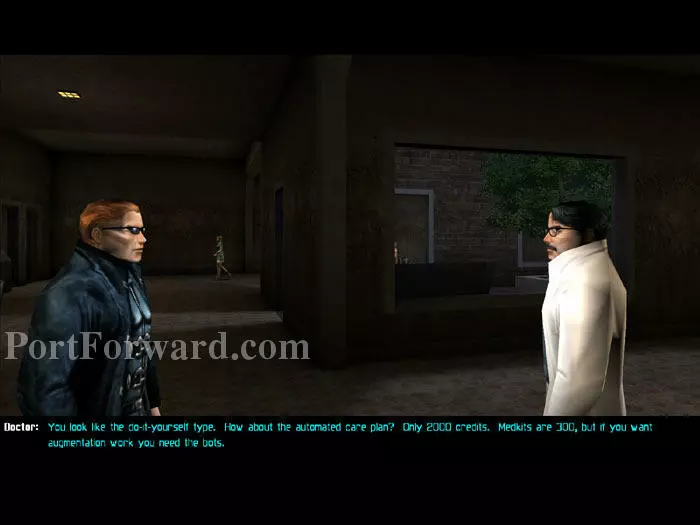
Capitalism is alive and well in the future, so if you want treatment - you have to pay. But you can get a discount...
Here's how. Pass through these automatic doors and approach those two seen through the glass.
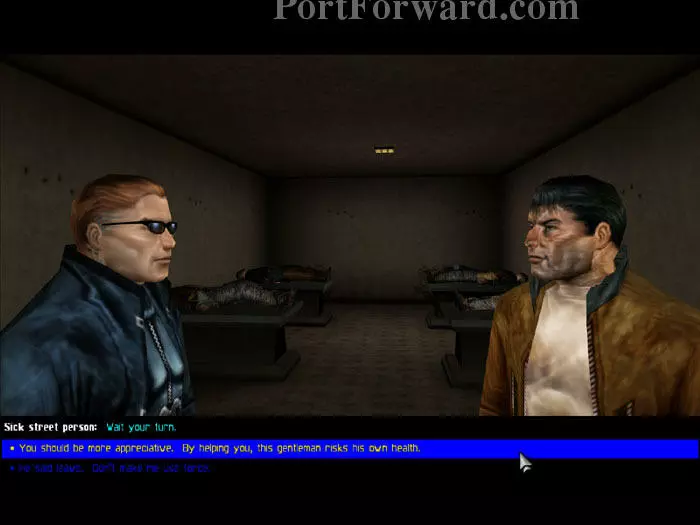
This sick street person is giving the doc a hard time. Tell him he should be more appreciative.
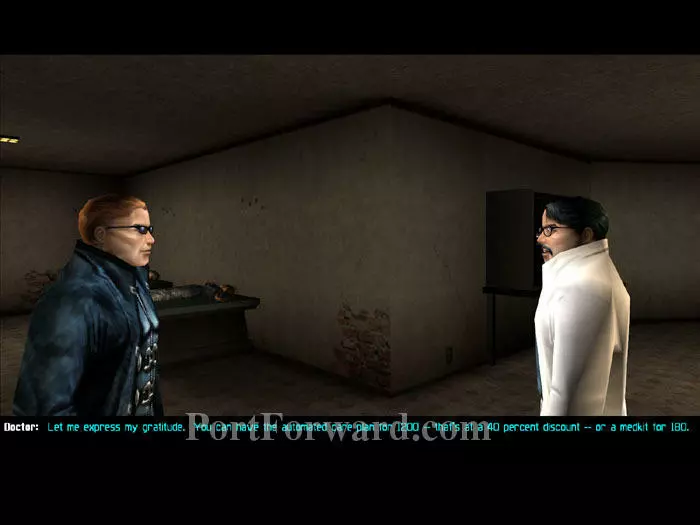
The street person leaves in a huff, and the grateful doc offers you a 40% discount. Take the "Full program" and he gives you the surgery bay code - 2153.
Here's the surgery bay. Enter the code 2153 to enter. Medical bots will fix you up whenever you need healing.
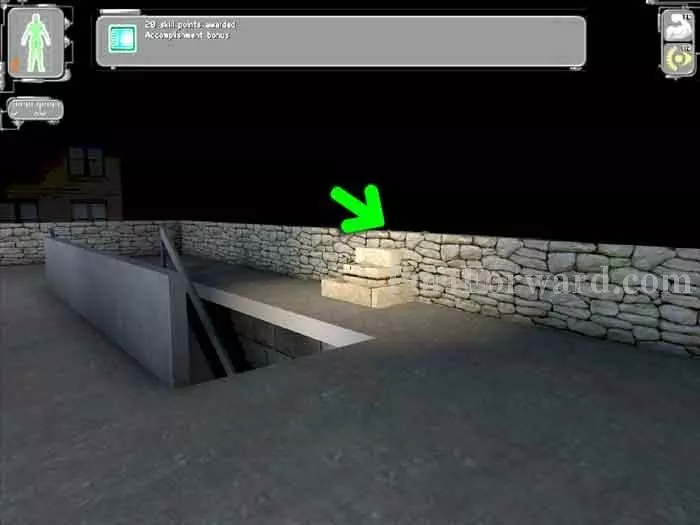
On your way out of the clinic you'll receive a Goal Accomplishment Bonus of 150 skill points. Near the subway you'll find this stairway.
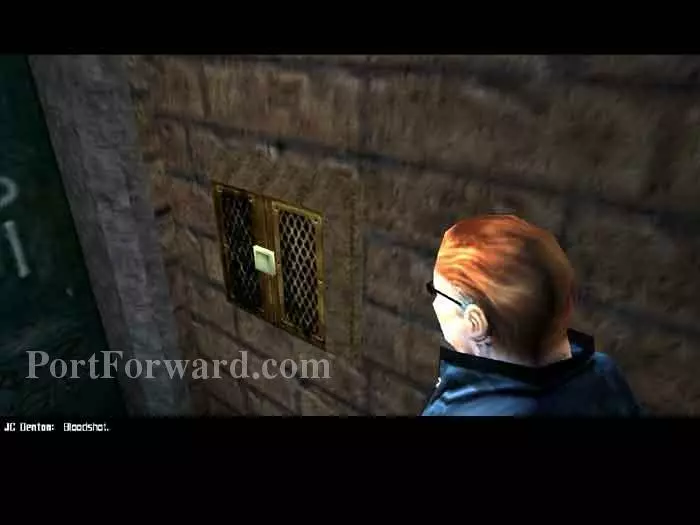
Activate the intercom to initiate a brief cutscene of JC using the password given by Sandra Renton, "Bloodshot." This is the smuggler's hideout!
Before taking this lift down, pick up the Prod Charger in the corner to your left.
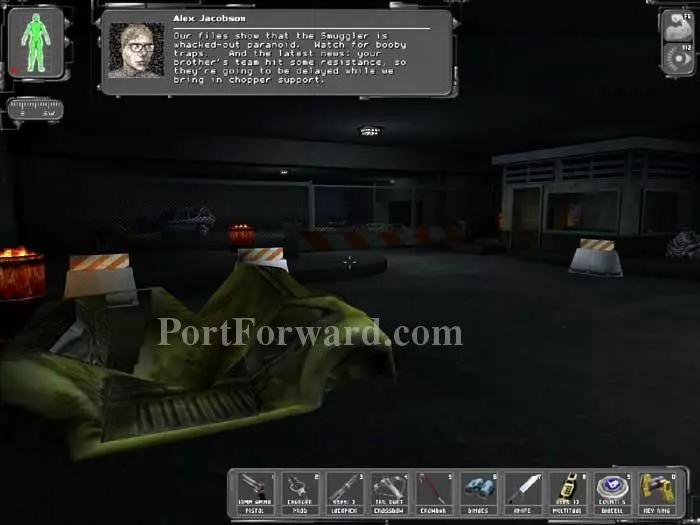
Alex buzzes in -- the Smuggler is paranoid, check for booby traps. Bust a supply crate to your right for a lockpick, then head into that office ahead.
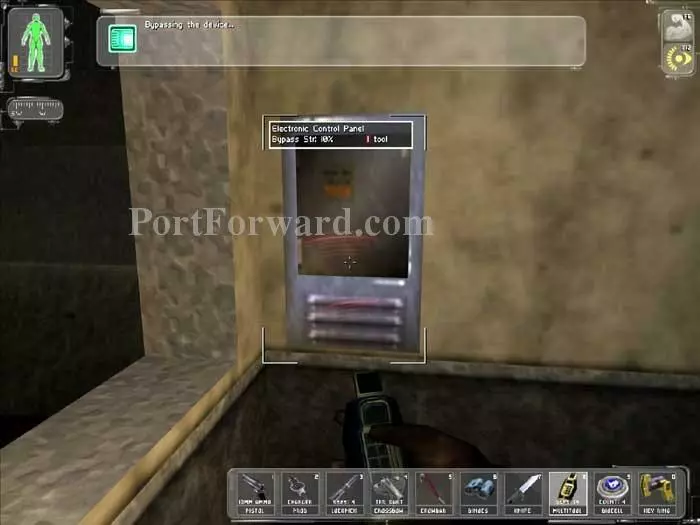
Pick up the Multitool on the table and use it to bypass the Control Panel.
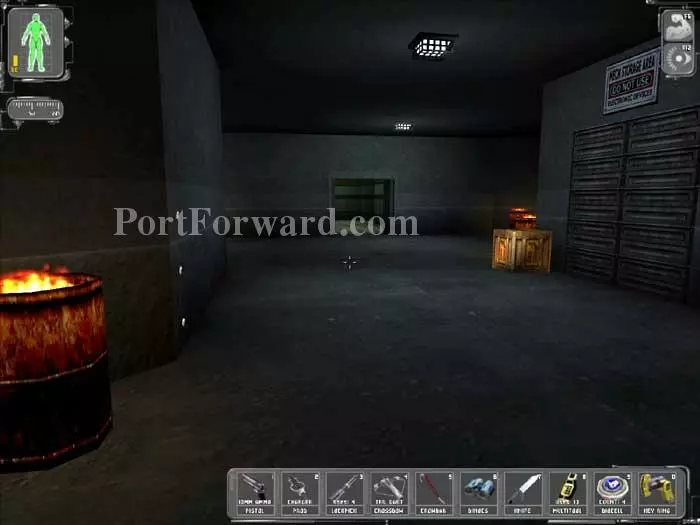
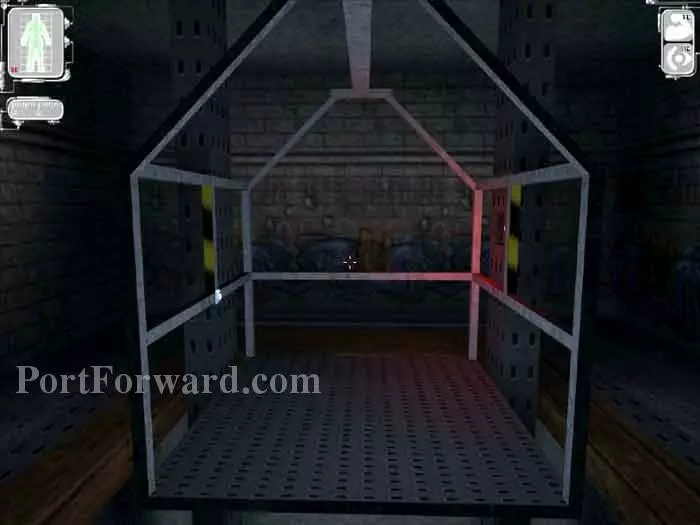
The beams are now deactivated and you can proceed. Otherwise, a security bot would fire at you from behind those doors on the right.

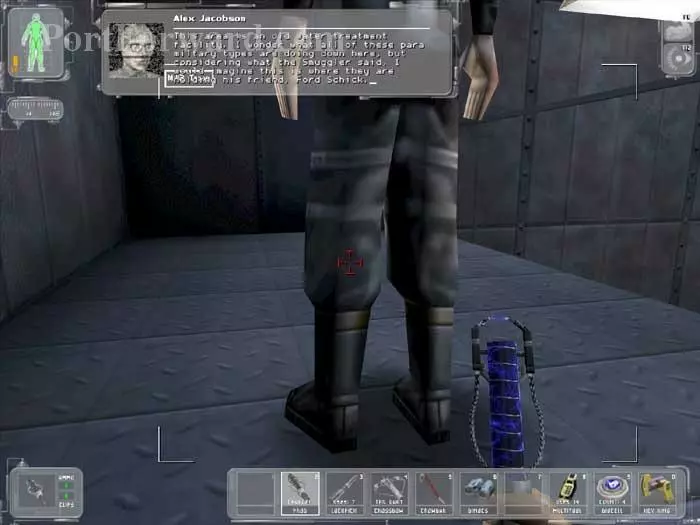
Pass through an unlocked door and talk to Smuggler. He claims that his friend Ford Schick is being held in a secret lab next to the sewers. He gives you a Nano Key to the sewer manholes. Ascend the stairs visible behind Smuggler.
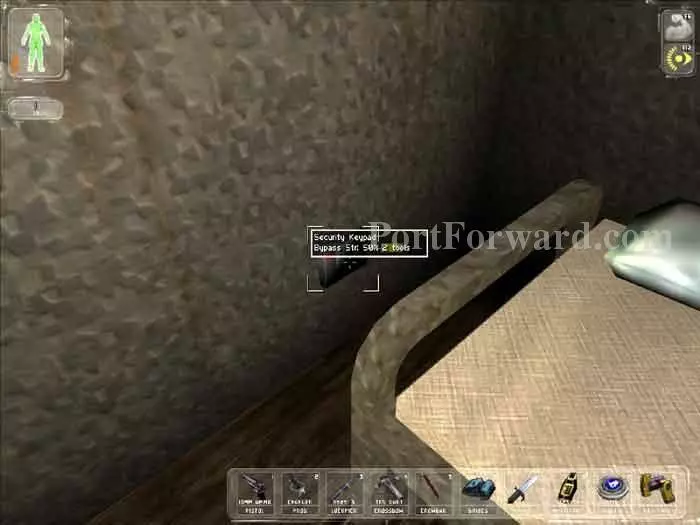
Enter the code 432 (a variation on Paul's 4321 code) into the keypad behind the bed.
This mirror slides open, revealing a Medkit, Thermoptic Cammo, and a Clip Weapon Mod.
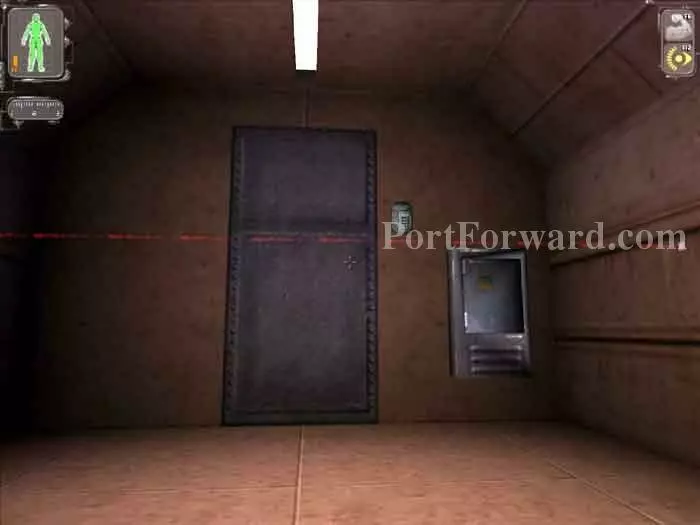
Retrace your steps back outside. Here is the sewer entrance Smuggler was talking about. Use your Nano Keyring to open it and pass through.
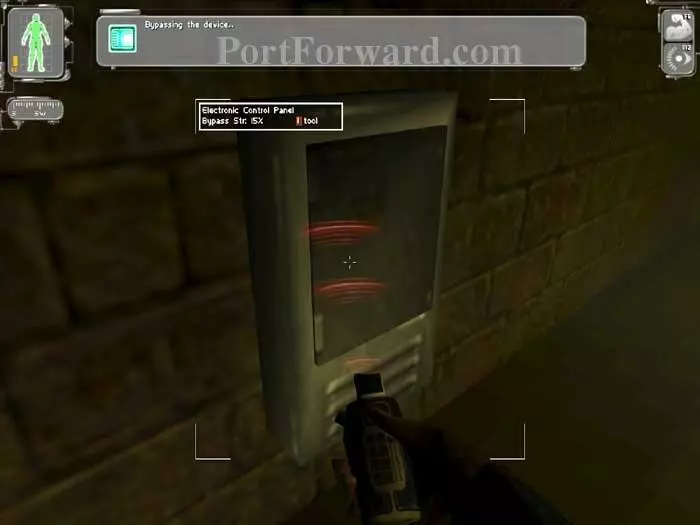
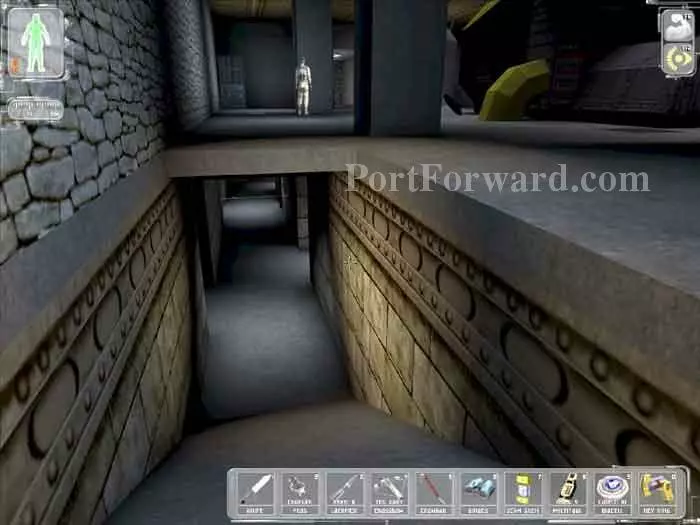
Descend into the sewers then use a Multitool on this Control Panel to bypass the laser grid beyond.
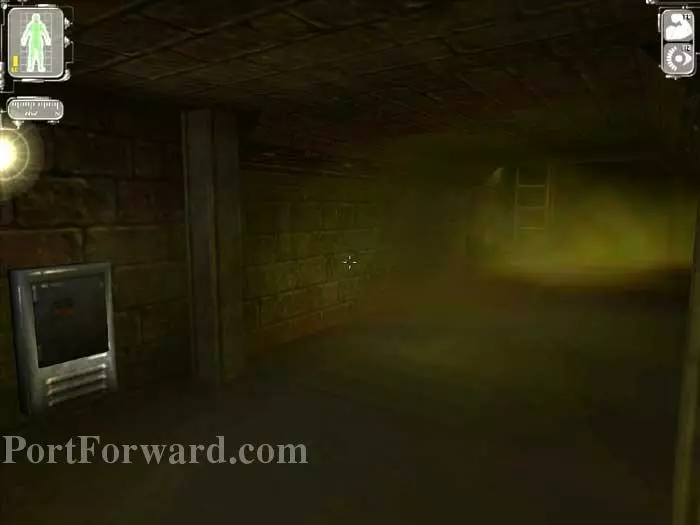
Keep right then ascend the ladder just visible through the haze.
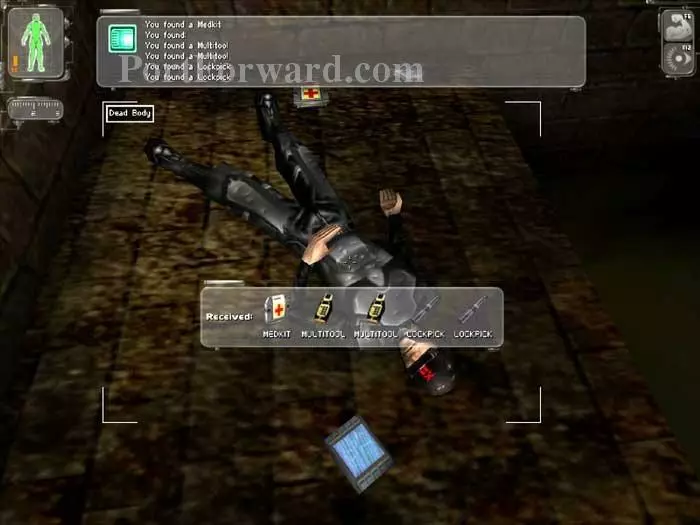
Search this body for all the goodies you see here. The Data Cube has an access code - 2167. Note the Medical Kit near the top of the frame.

Backtrack to this position. Pick the lock on this lock box, then enter the access code 2167.
Enter the corridor beyond. These lasers are easily bypassed by crouching.
Once again, the code is 2167.
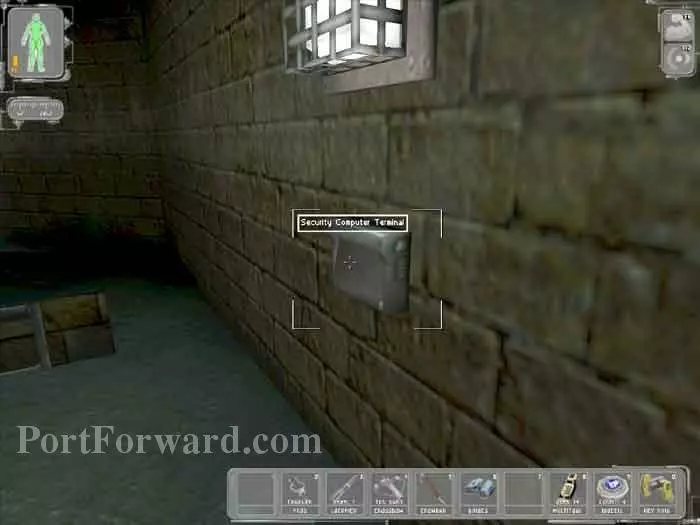
Beware this security camera beyond. Note the Security Terminal behind the crate. Sneak around while the camera is turning away then disable this camera plus two others.
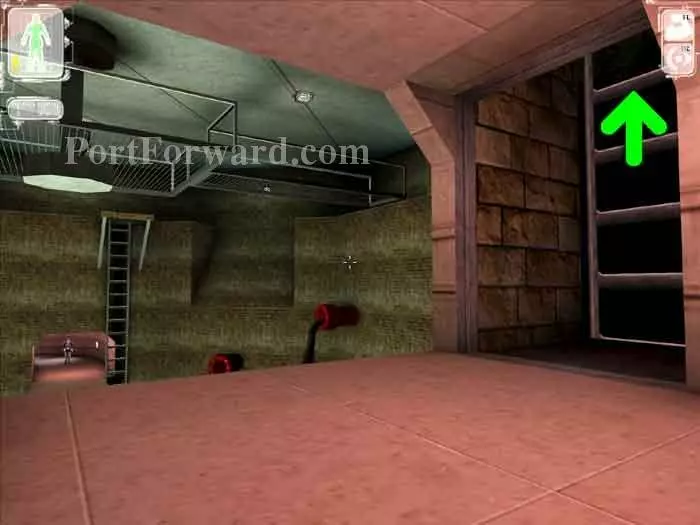
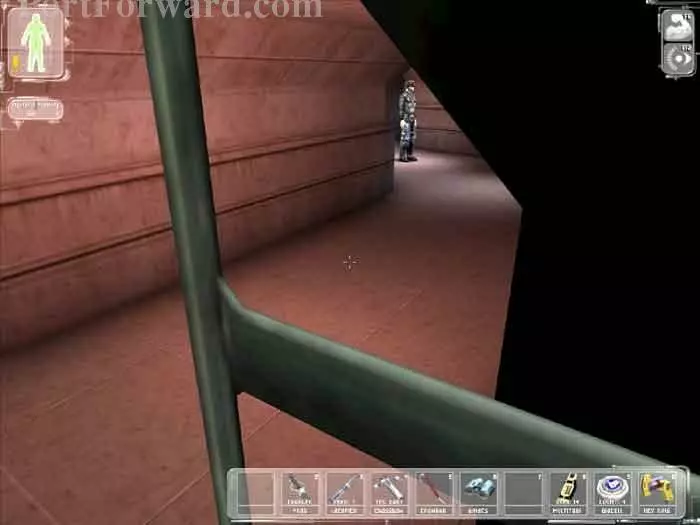
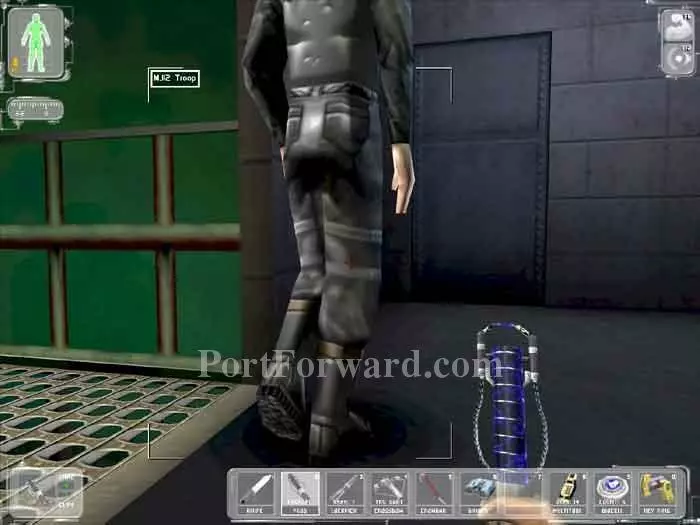
Carefully sneak up this ladder. An MJ12 Troop is patrolling above.
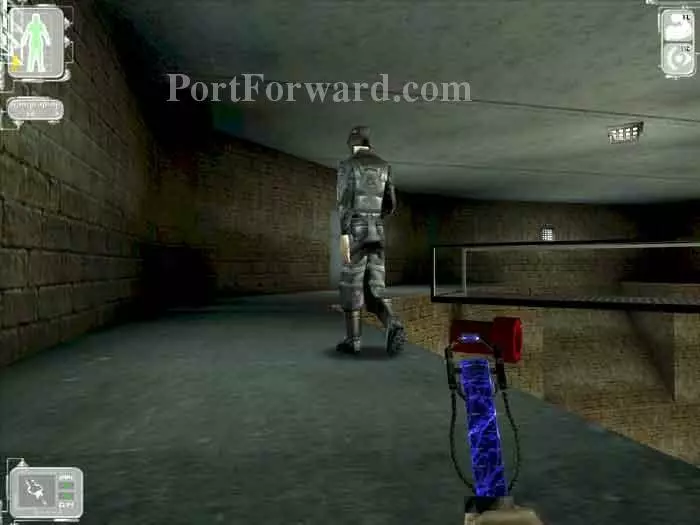
Time for the Riot Prod. Crouch, sneak right up behind the Troop, then hit him in the calf with the prod. He'll topple right over. Repeat on the Troop in the center of the catwalk. Carefully open the door directly ahead.
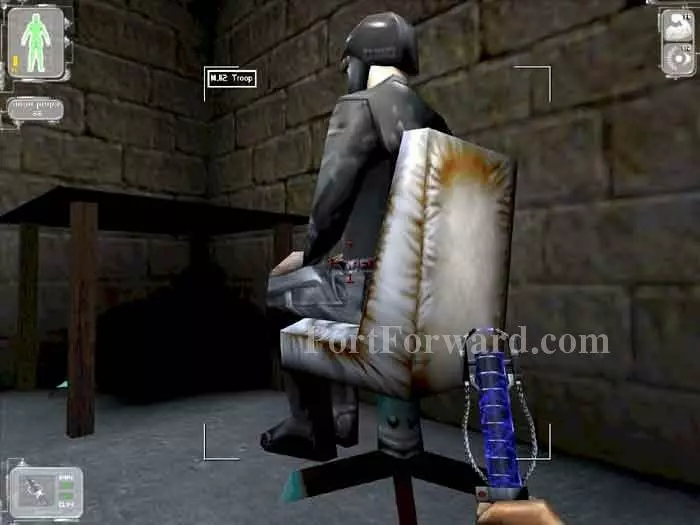
This seated Troop will only be stunned by a single shot. Use three to make him unconscious. Your reward is a lockpick and a Medkit in the crates to the left, plus the logon, "MJ12" and password, "coupdetat" on the Data Cube under the desk.
Exit the room, then login (MJ12/coupdetat) to this Security Terminal to rotate the bridge.
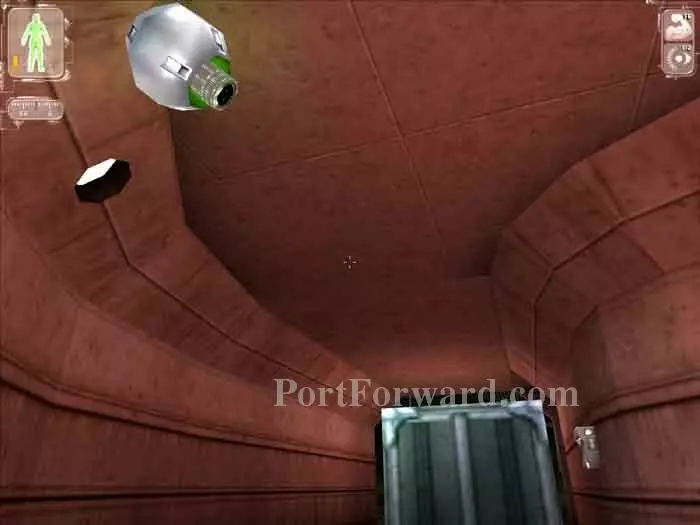
Cross the newly-oriented bridge and descend the ladder to the corridor below. Note the tortuously-placed Bioelectric Cell on the pipe to the right.
Beware this guard before stepping off the ladder. Knock him out with the Riot Prod, then pass through the next two unlocked doors, during which you receive an Accomplishment Bonus of 50 skill points.
Once again enter the code 2167 to get through the next door, then use the Riot Prod on this guard as well. Use the Security Terminal (MJ12/coupdetat) on the nearby wall to deactivate all three cameras.
Descend the stairs quietly, guards patrol the area. Swipe this Bioelectric Cell.
Knock out the two guards patrolling the area. Two more guards are in the office to the right. Leave them be -- there's nothing in there worth your time and the guards will stay put if you are quiet. Through this left door you'll find a crate in the water below holding a lockpick.
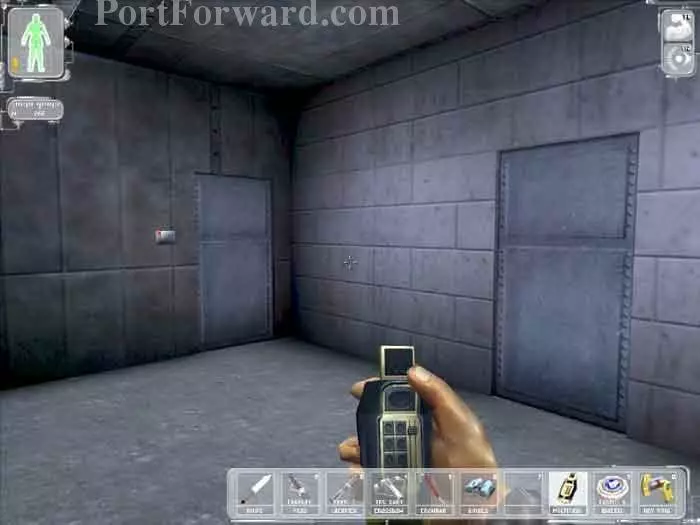
The door to the left can be opened with code 007 -- thanks, John Camali. Inside you'll want to grab the Gas, Scramble, and EMP Grenades, the Prod Charger and the Medkit. Through this door on the right is your objective - Ford Schick.
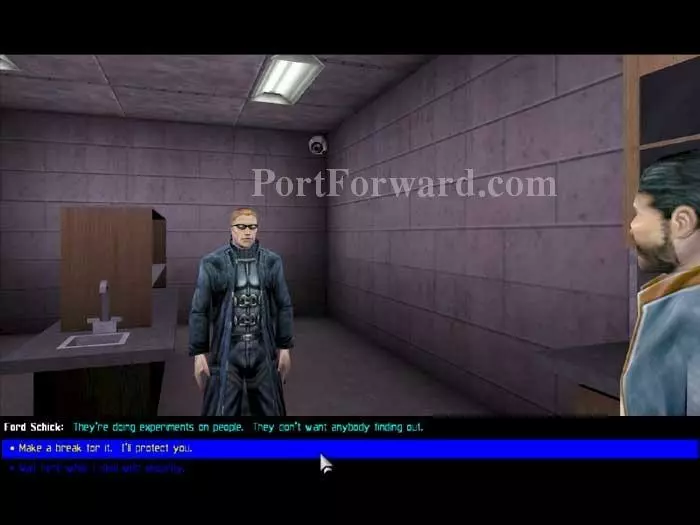
Ford is alone and you've already dealt with the guards. Tell him to make a break for it.
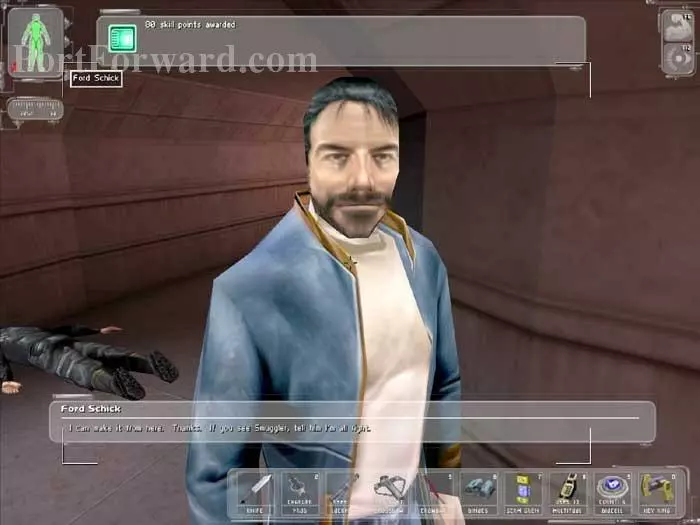
Follow Ford until he tells you that he can make it from here. You are awarded 60 skill points for completing the objective.
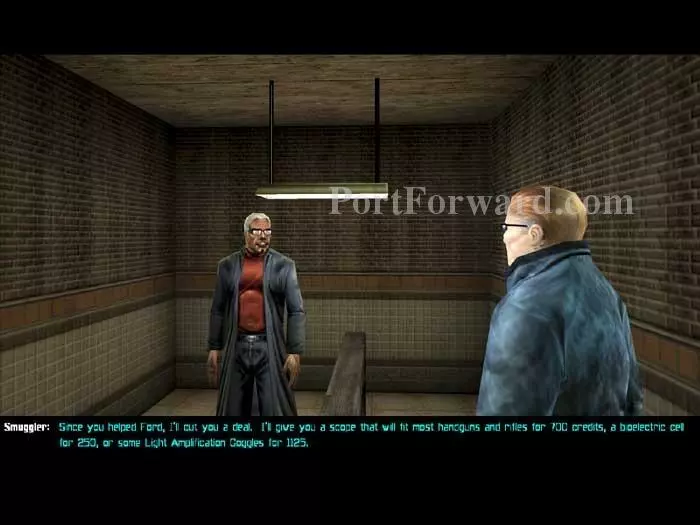
Retrace your steps to the Smuggler and tell him you rescued Ford. Smuggler offers better prices for his wares, but they're still too high IMHO.
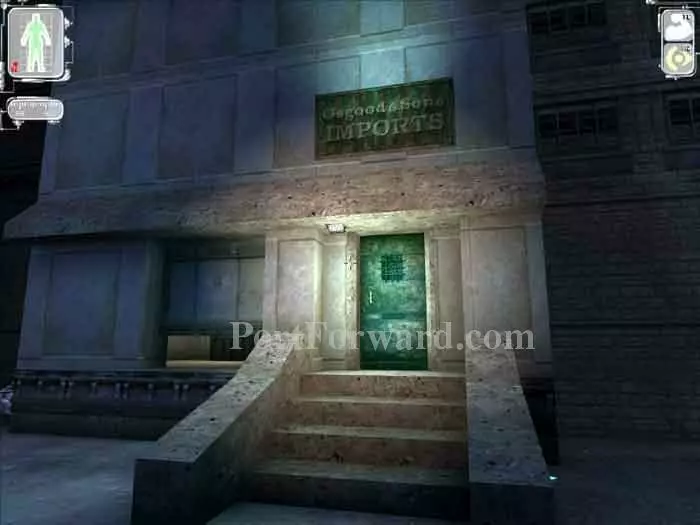
Return to the street and head south to Osgood & Sons Imports. Around the left is a Bioelectric Cell. We're skipping the front door, instead heading around to the right.
Break and enter through that window.
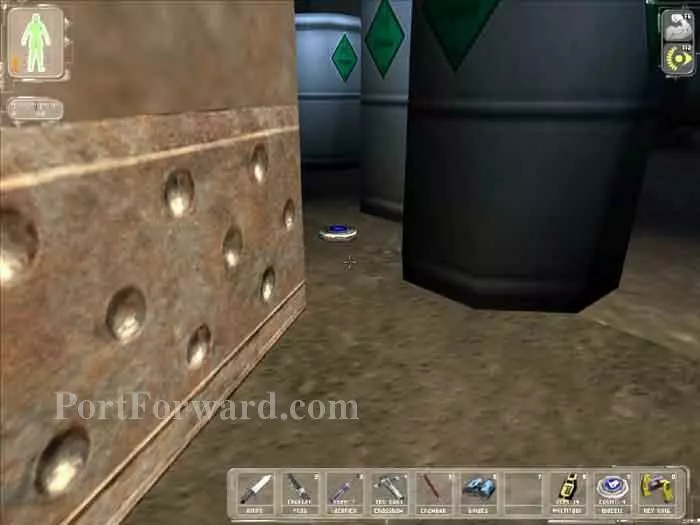
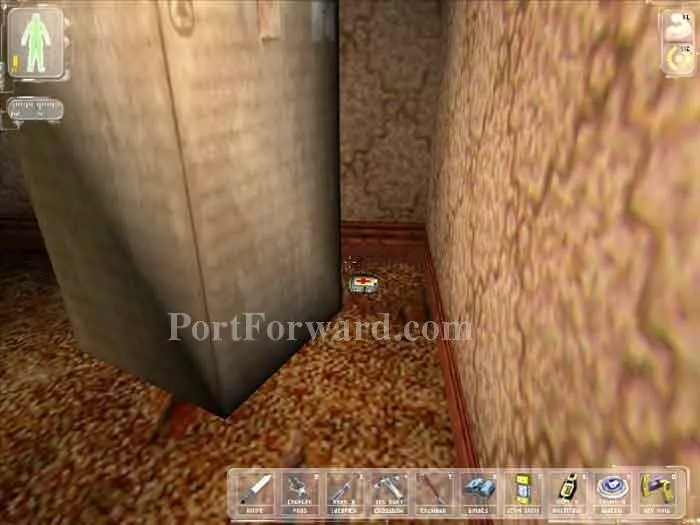
Swipe this Bioelectric Cell.
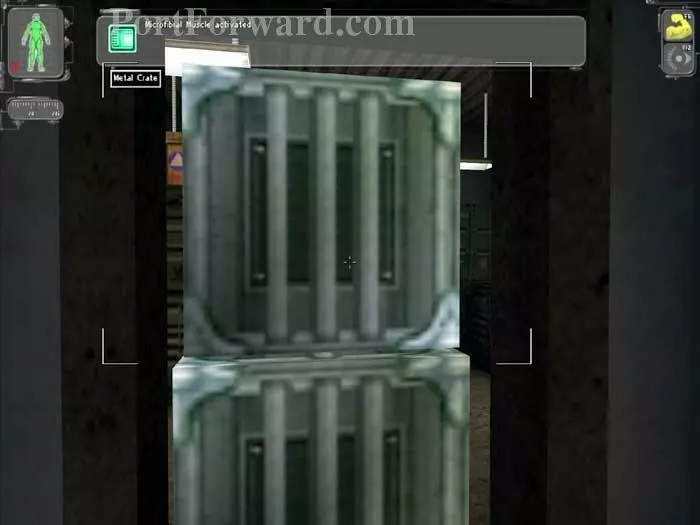
Ascend the stairs, then activate your Microfibral Muscle to move these large crates.
Through the unlocked door on the left you'll find this Bioelectric Cell, and you are awarded an Exploration Bonus of 50 skill points. Continuing down this hall is one path to the generator. We're taking a different approach. Turn around.
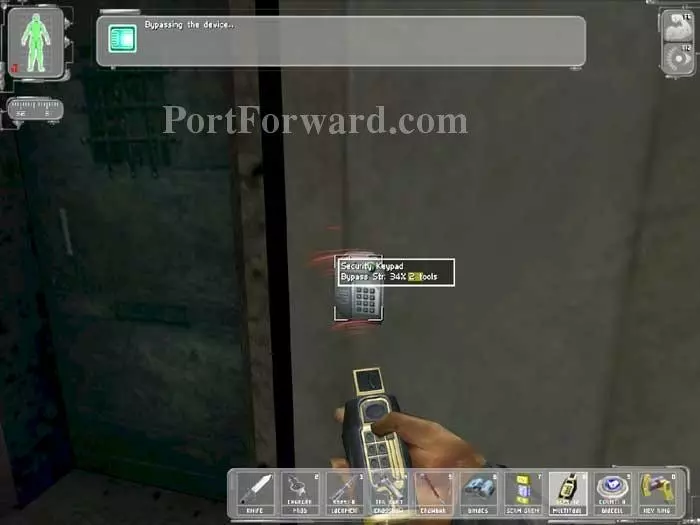
Use your Multitools to bypass this keypad.
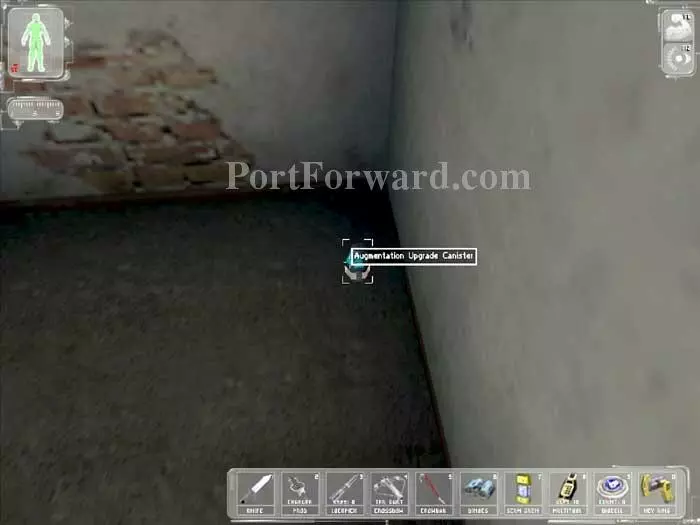
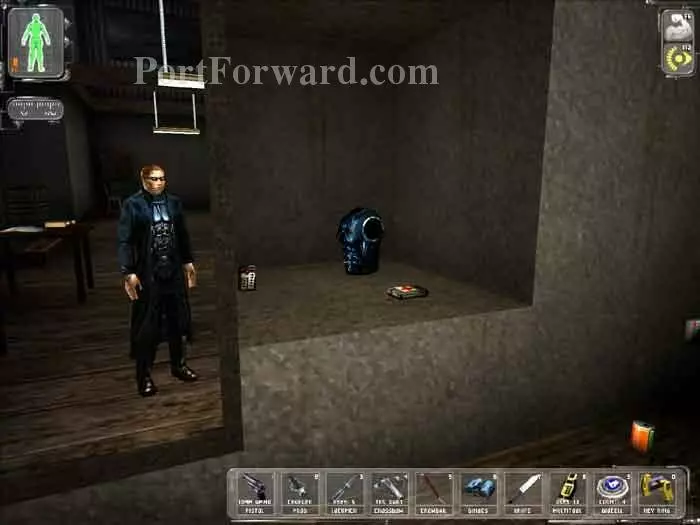
Inside you'll find this Augmentation Upgrade Canister.
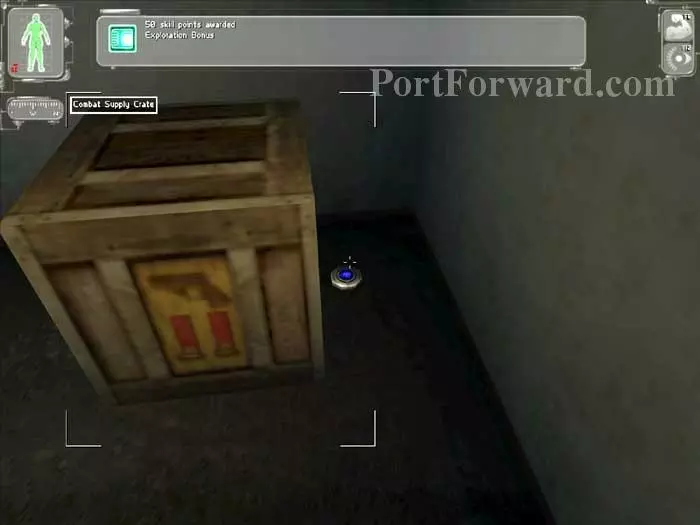
Use the smaller crates to step up to these larger crates. Bust open this wooden crate to find the Bioelectric Cell inside.
Descend the stairs, pass the broken window and descend more stairs. Bust open this crate for a lockpick, then use a Multitool to bypass this Control Panel and deactivate the lasers.

Climb under these pipes and ascend the stairs ahead. Enter the code to the rooftop elevator given to you by Janey and Dan - 3316.

Take the elevator up to the roof. Alex cautions that NSF are on the rooftops and he transmits a satellite image of the area.

An NSF guard is patrolling the rooftop to the right. Quietly ascend those stairs ahead and pick the lock on the door above.
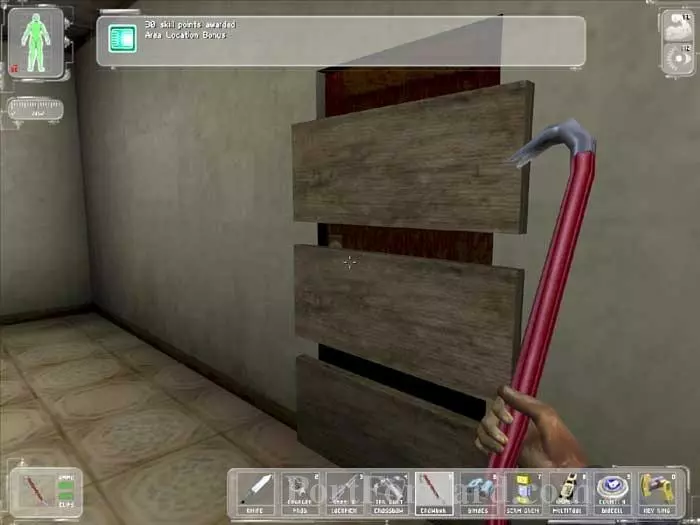
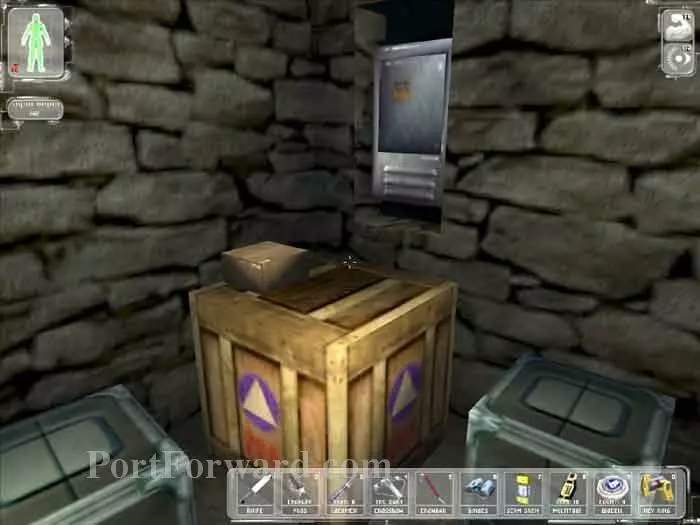
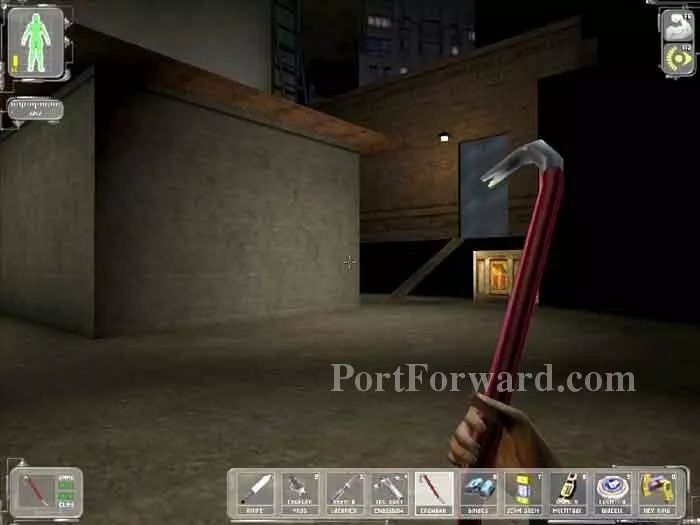
You are awarded an Area Location Bonus of 30 skill points. Take your crowbar to that boarded-up door -- behind it you'll find a Prod Charger and a Medkit. (At this point I had already accumulated the maximum number of Medkits, 15.)
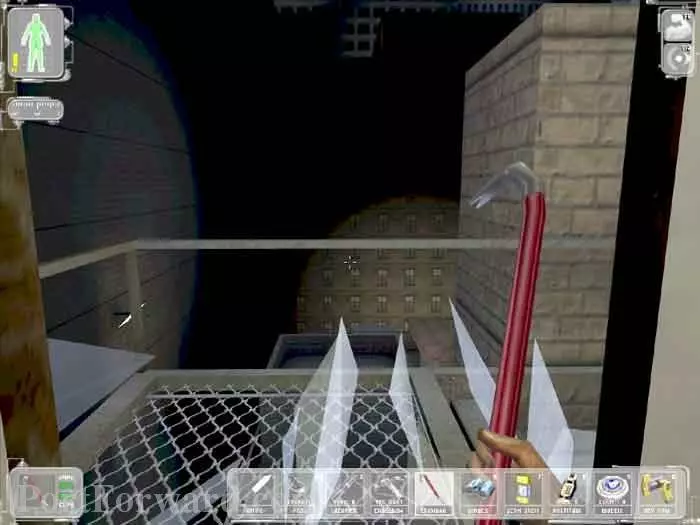
Bust through the glass window to the fire escape outside.
Descend the fire escape. Once here, the stairs do not continue to the next segment of the escape -- silently crouch-jump.
Hop down to the wall then to the rooftop below.
Beware the circling guard. Ascend the plank ahead and smash through the window to enter the neighboring building. You are awarded an Accomplishment Bonus of 20 skill points.
You'll find this Medkit in the corner.
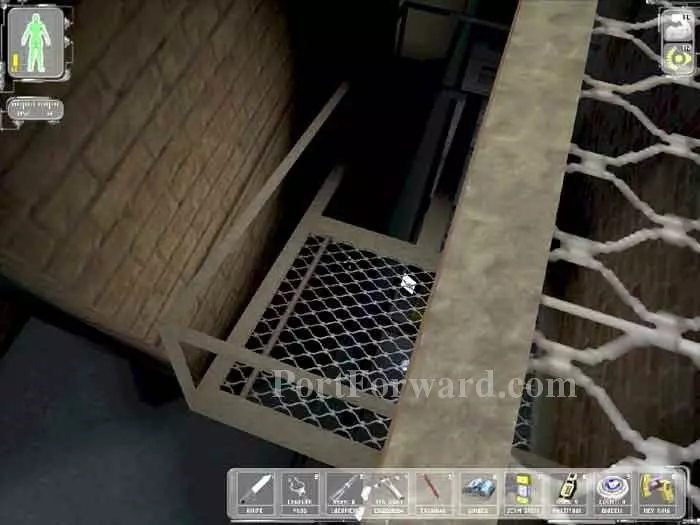
Descend the stairs to this room. You'll find a Bioelectric Cell and a Medkit next to the stairs. Arrange the small crate and box as seen here. Bust the window then crouch-crawl to the fire escape outside.
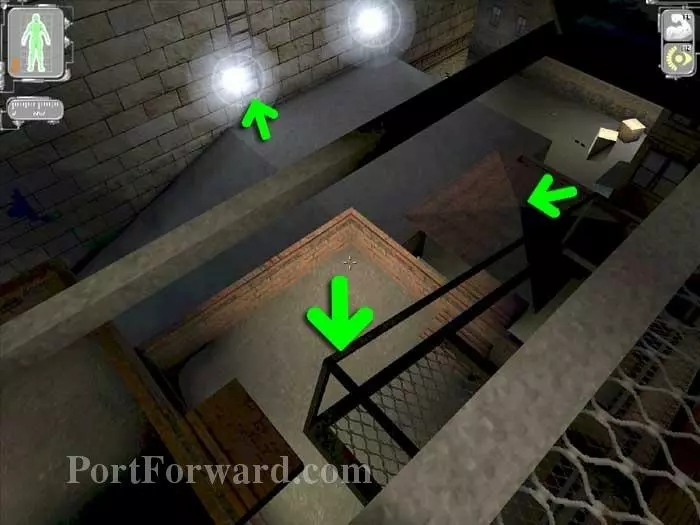
Hop to the railing below, drop to the indicated rooftop, then climb the indicated ladder. Check your six as there are plenty of NSF behind you.
Beware the guard patrolling here. Don't descend these stairs. Instead, climb down the ladder where indicated.
Descend this ladder as well. The ladder you just came from is visible in the background for reference.
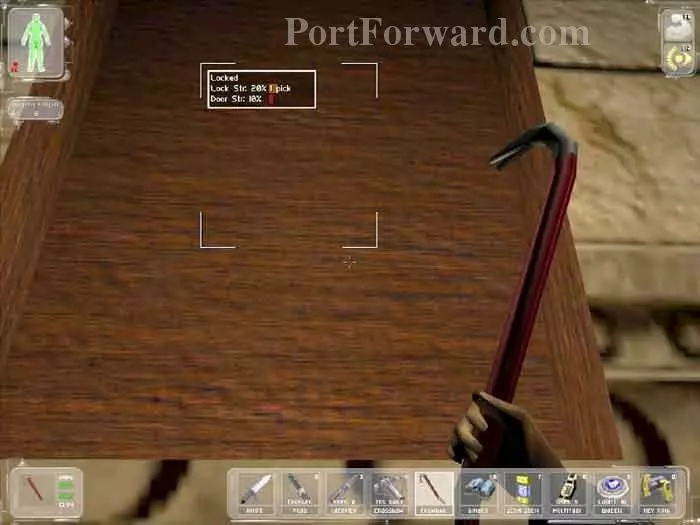
This locked door is weak enough that you can smash it with your crowbar.
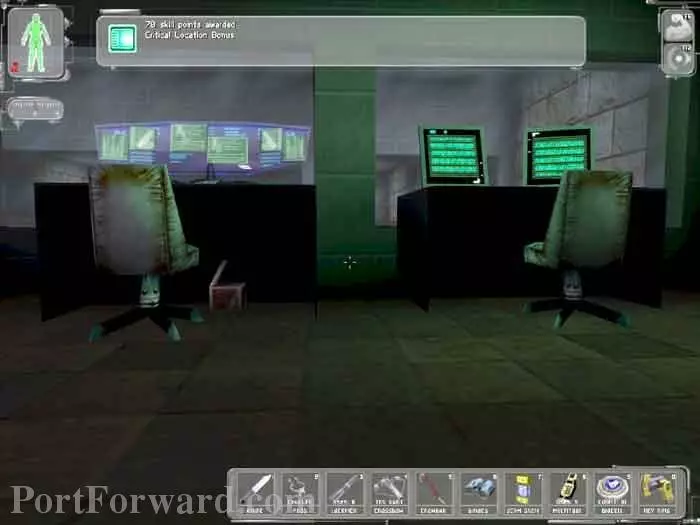
Hack this computer on the left and shut down the generator's cooling system.
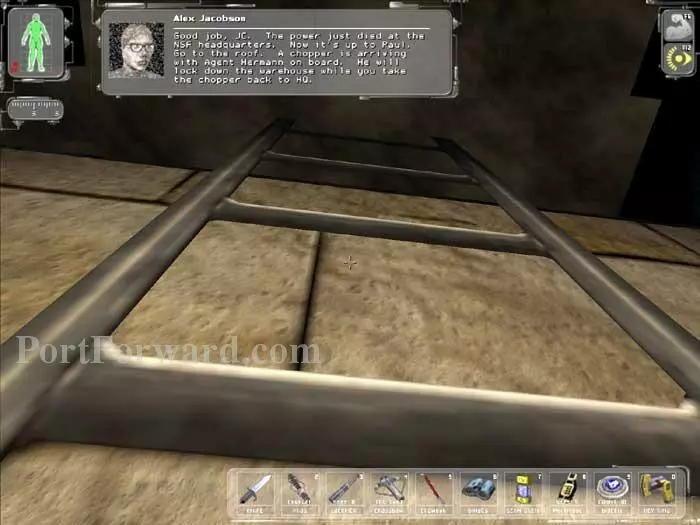
Double back to the rooftop because it's about to hit the fan. Once the generator blows, Alex will congratulate you and advise that a chopper is waiting for you above. You are awarded an Accomplishment Bonus of 500 skill points.
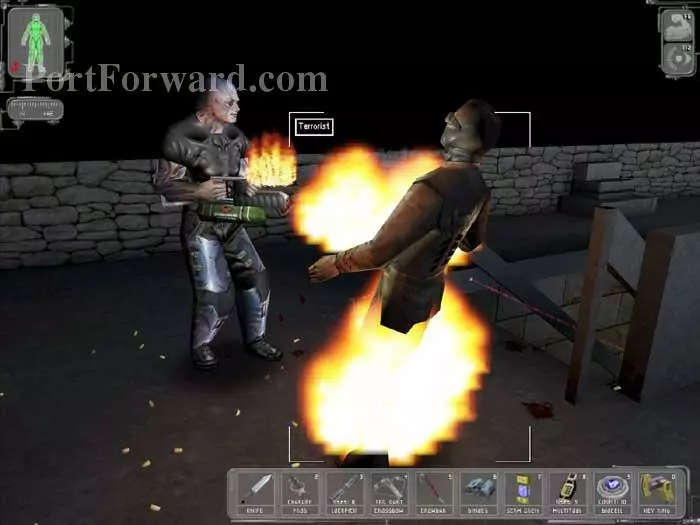
Gunther arrives and starts torching the place.
Lay low until the fighting dies down. Bypass any remaining NSF and sneak all the way down to this bottom level. img(216021); Duck under the laser straight ahead and avoid the security camera. You'll come to this door with a keypad. Ignore this door, instead head around the corner as indicated to an unlocked door to the same room. img(216022); Use the security terminal on the wall to deactivate all three cameras. This safe costs three lockpicks, so best to blast it open with a LAM. Grab the Augmentation Canister. img(216023); Sneak back up to the chopper and complete the level.
More Deus Ex Walkthroughs
This Deus Ex walkthrough is divided into 20 total pages.