
This Deus Ex walkthrough is divided into 20 total pages.
You can jump to nearby pages of the game using the links above.
Battery Park
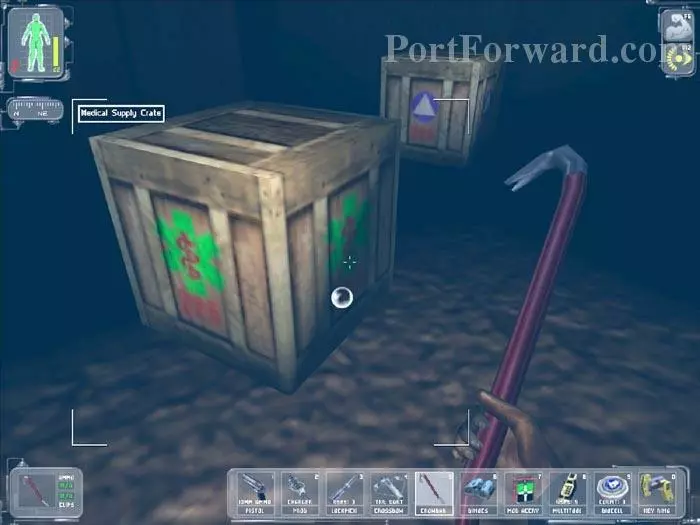
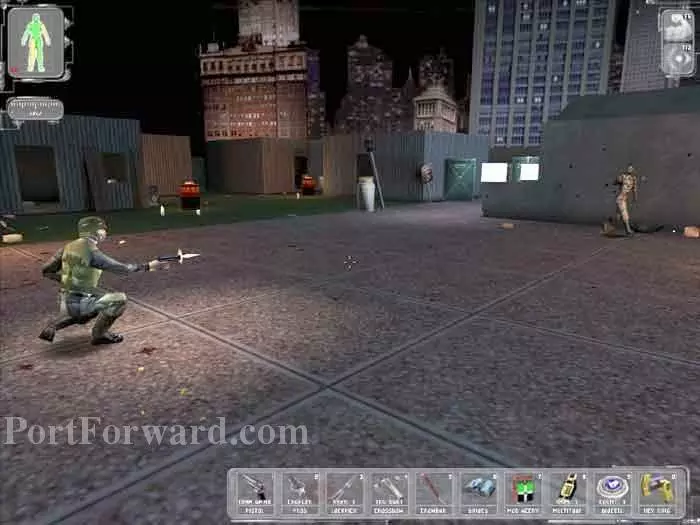
Anna gives you an image of an Ambrosia canister and tells you that the NSF is inside Castle Clinton. She's bent on exterminating everyone so steer clear of her and instead look for a secondary entrance. Jump into the water in front of the boat. These crates are on the bottom. They hold a Medkit and a Lockpick.
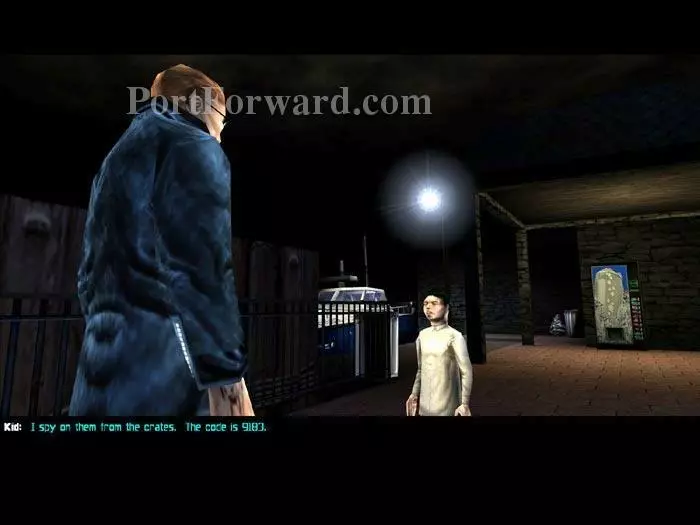
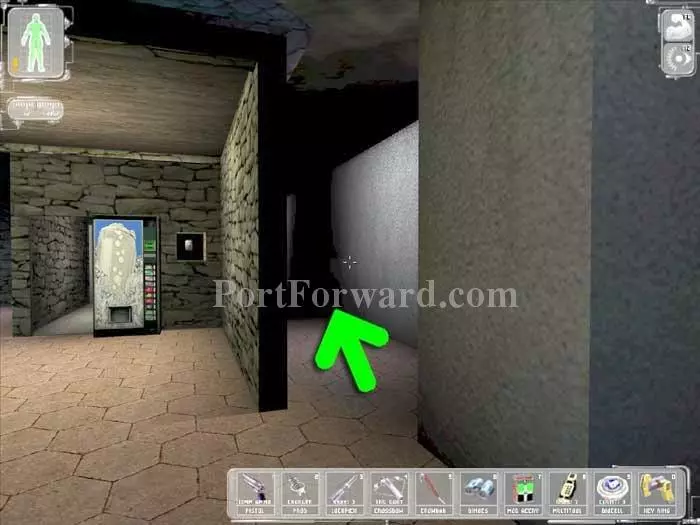
This kid is walking the docks. Offer him a candy bar and he'll tell you he's seen the NSF using a tunnel behind the soda machine. The code is 9183.
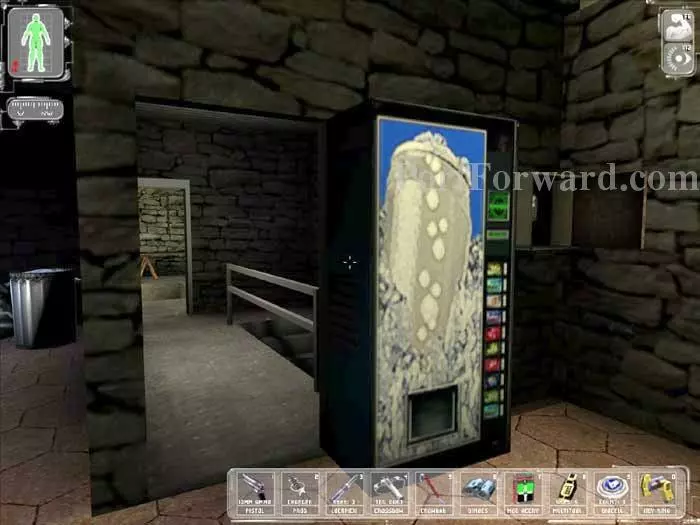
Pick the lockbox to the right of the soda machine then enter the code 9183. The soda machine slides to the right, revealing the tunnel entrance.
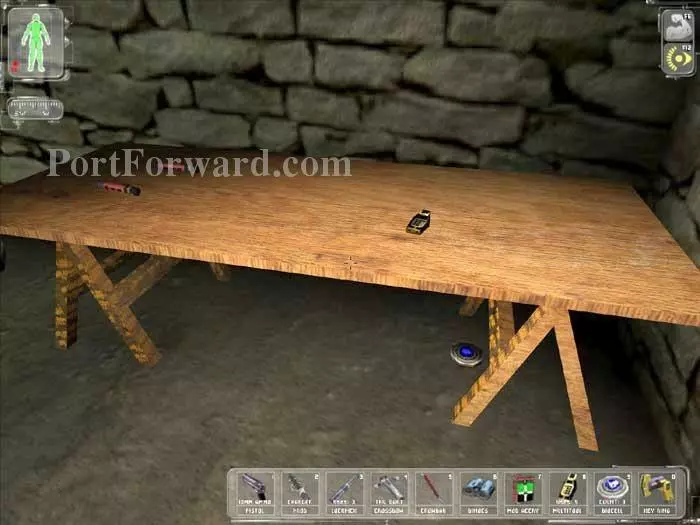
Enter behind the soda machine and Alex relays that the tunnels lead to Castle Clinton. You are awarded an Exploration Bonus of 20 skill points. Grab the Bioelectric Cell, Multitool and flares shown here.
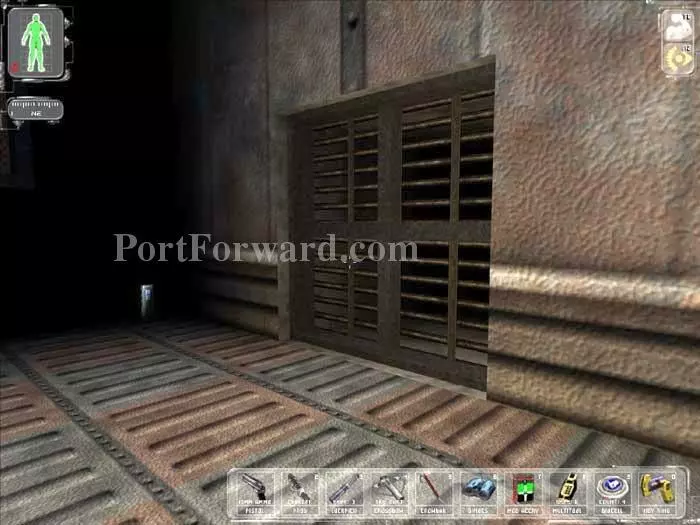
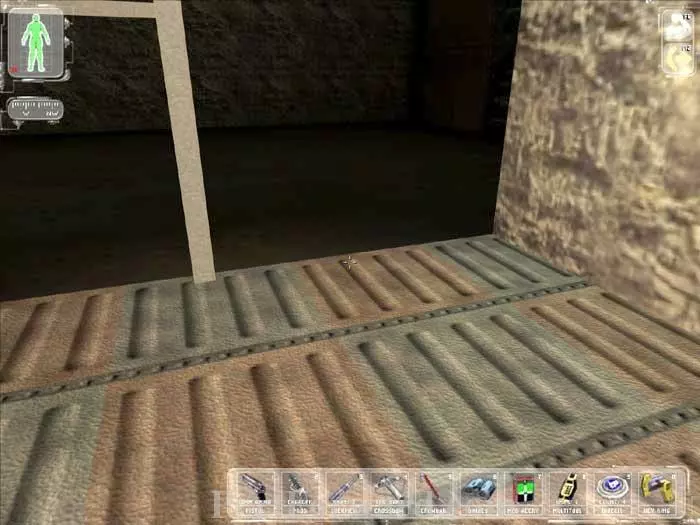
Descend the stairs quietly. NSF are patrolling the area. Sneak through this ventilation grate. Note the Prod Charger to the left.
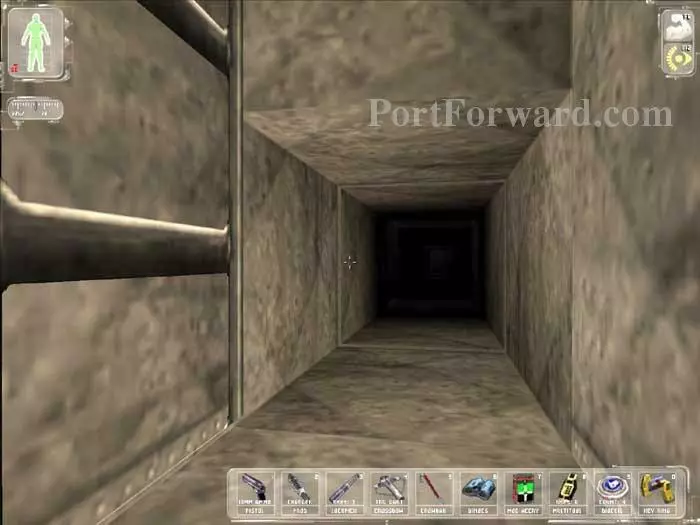
Descend the ladder then proceed through the vents as shown.
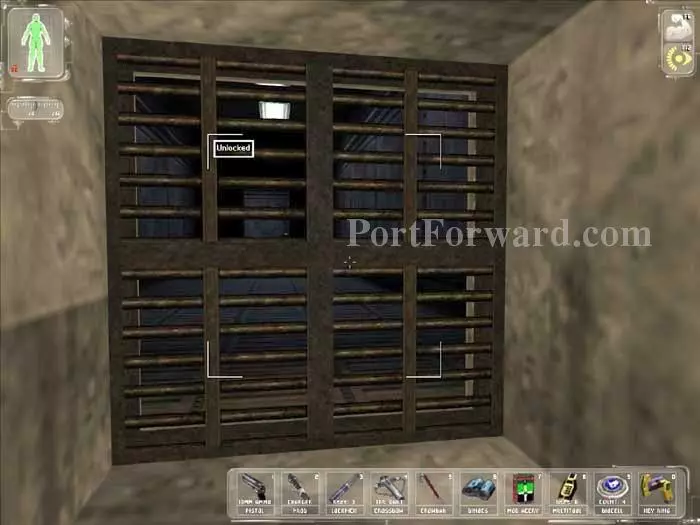
Continue to the end of the vent and exit through this grate.
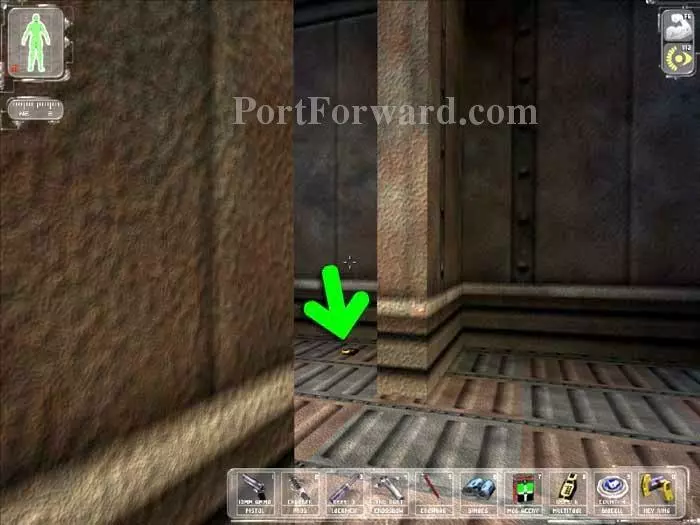
Listen for the patrols. When the coast is clear, head straight down the corridor and grab the indicated multitool.

Turn back around then head through the indicated doorway. The vent on the left is where you just were.
Listen again for the guards, and when it's clear, slide into the water here where the railing ends.

Dive deep and head right until you come to this ladder.
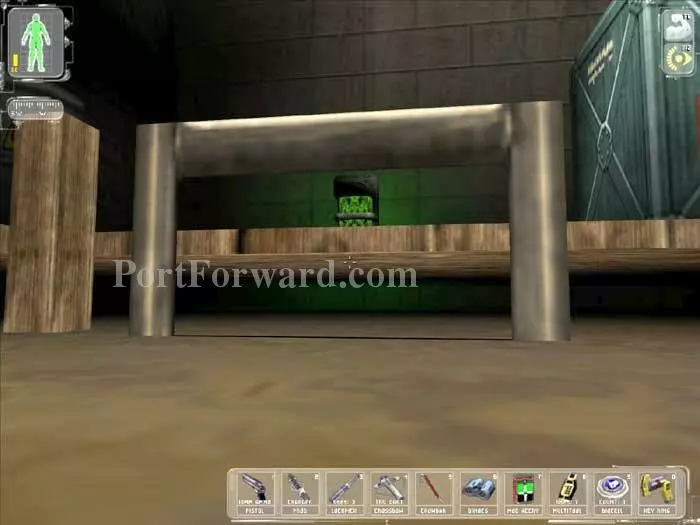
Ascend the ladder and you are met with the Ambrosia canister directly ahead.
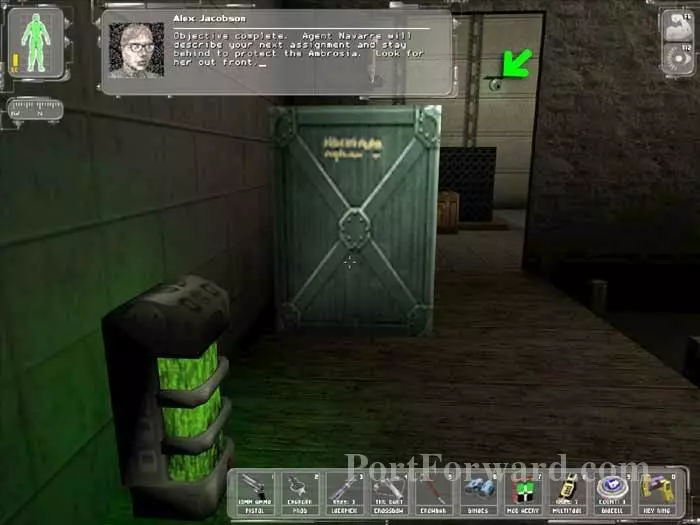
Approach the Ambrosia then Alex informs you that the objective is complete. Beware the patrols and the indicated camera.
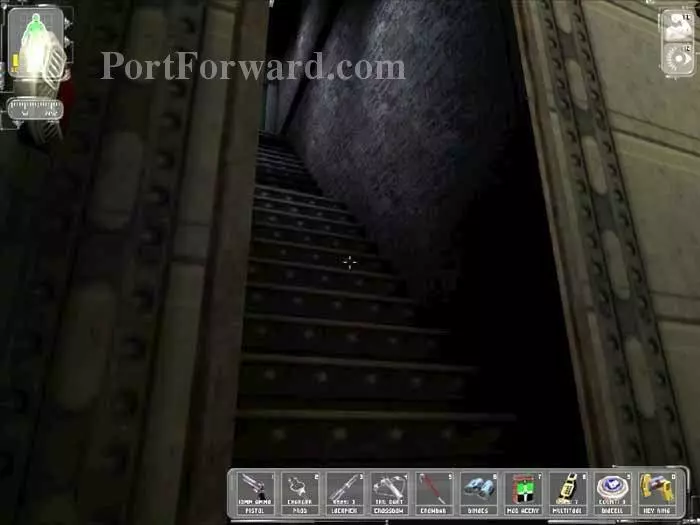
Ascend these stairs and go through the unlocked door above.
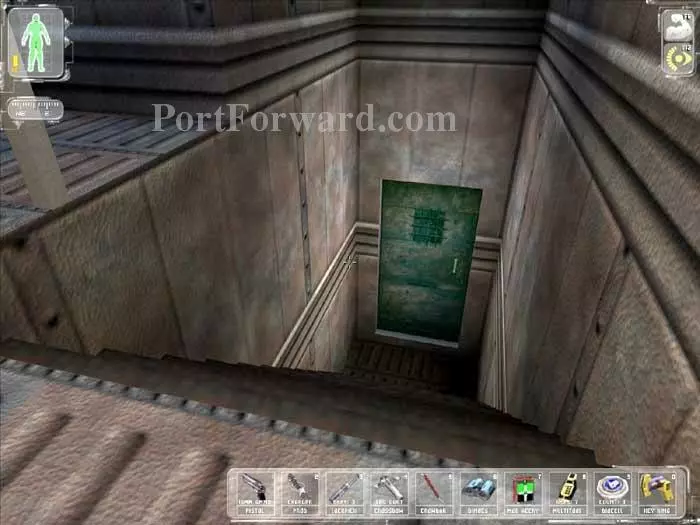
Descend these stairs and pick the lock on this door.
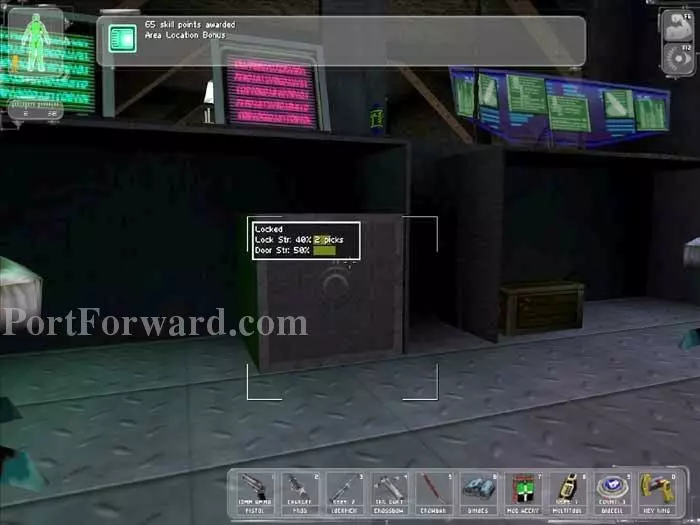
You receive an Area Location Bonus of 65 skill points. Pick the lock on this safe to find an augmentation canister. Grab the Nano Key seen here, and the Medkit on the nearby shelf. Use the Security Computer Terminal on the wall to disable all three surveillance cameras.
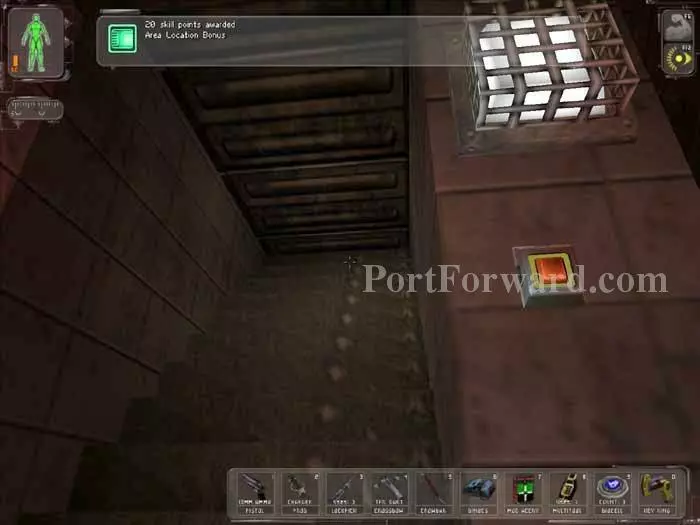
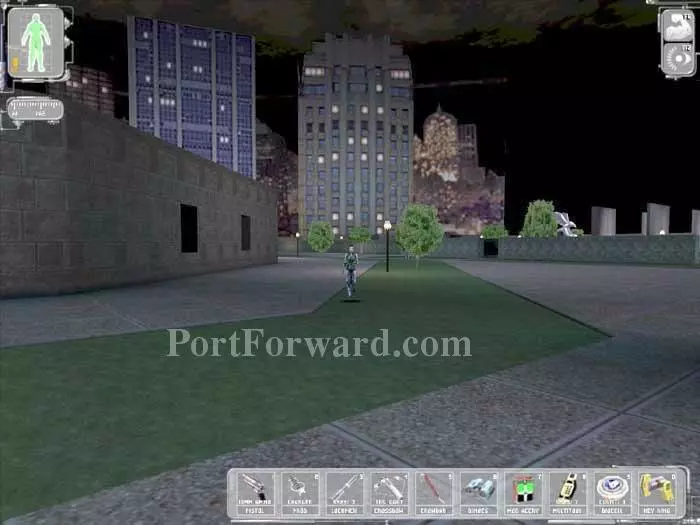
You can head up the stairs and receive an Area Location Bonus of 20 skill points (the orange button opens the exit). The area beyond is the Castle Clinton Courtyard, and is crawling with NSF so is best avoided.
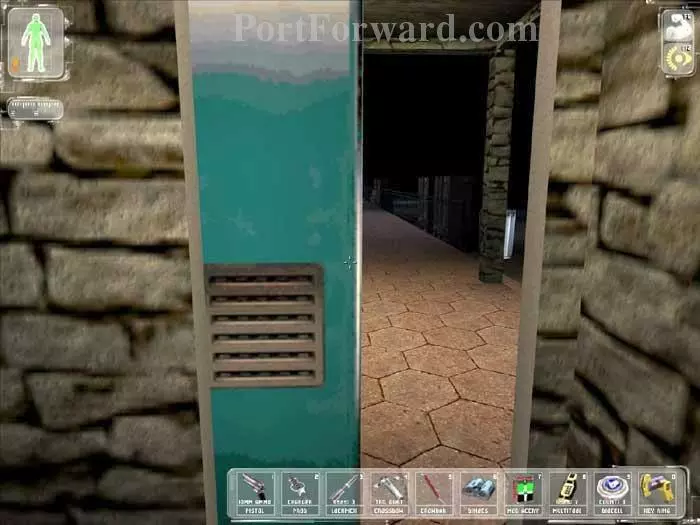
Instead, retrace your steps back to the secret tunnel entrance. Approach the soda machine and it automatically slides out of the way.
Your objectives are updated -- find Anna. Advance behind this wall as indicated.
Anna should approach from Castle Clinton once she sees you. Sometimes she'll just stand still, in which case it's best to give her some space and she should try again.
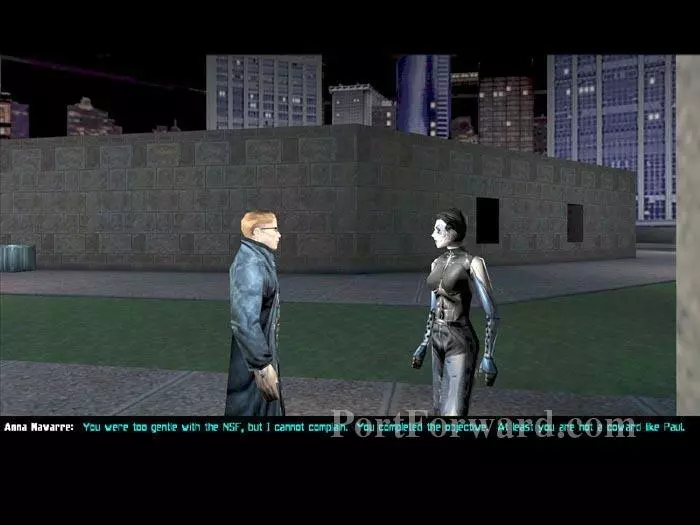
Anna criticizes you for being too gentle with the NSF.
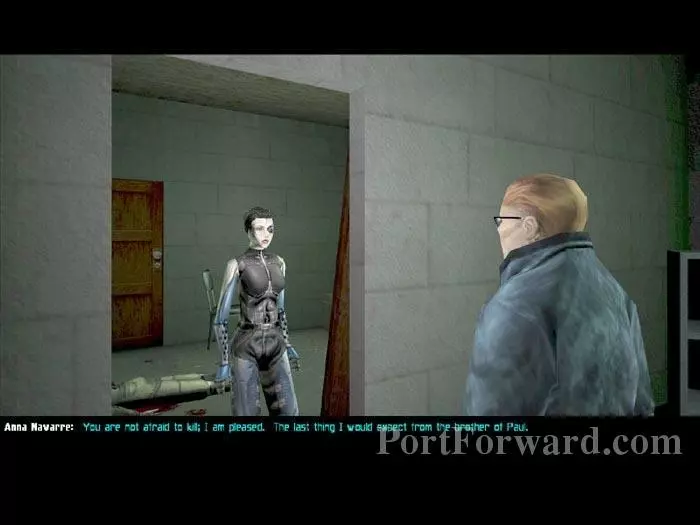
Sometimes Anna will instead tell you, "You are not afraid to kill; I am pleased," even if you have killed no one. Other NPCs such as Sam Carter will treat you as a bloodthirsty killer.
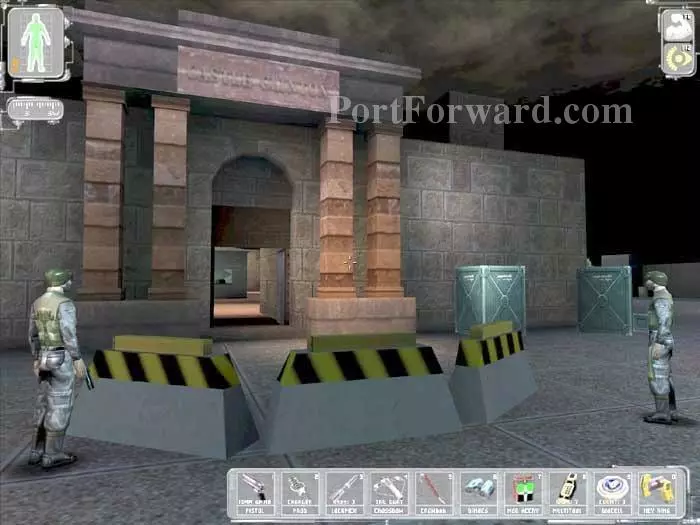
Here's why. Inside Castle Clinton is a courtyard. Whether you enter this courtyard through the main entrance seen here, or through the secret tunnels we used is irrelevant.
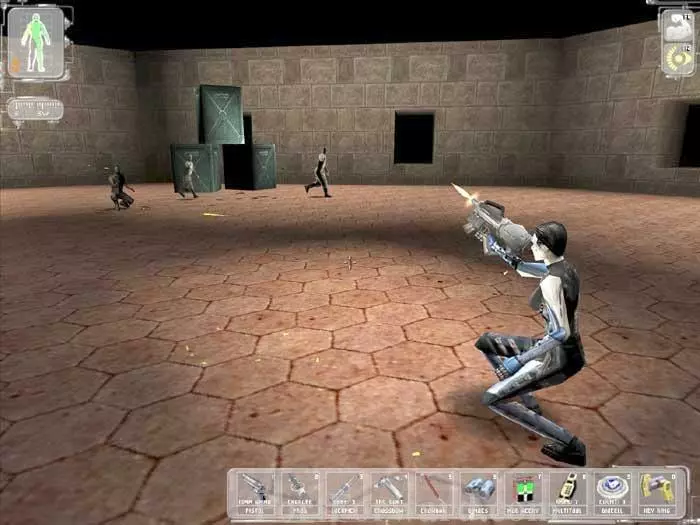
What matters is whether the NSF spot you while in the courtyard, prompting a gun battle with Anna and her men. If this gun battle takes place, you will earn the bloodthirsty reputation. Even if you haven't fired a shot. You can be in the courtyard and avoid the bad rap -- so long as you remain unseen.
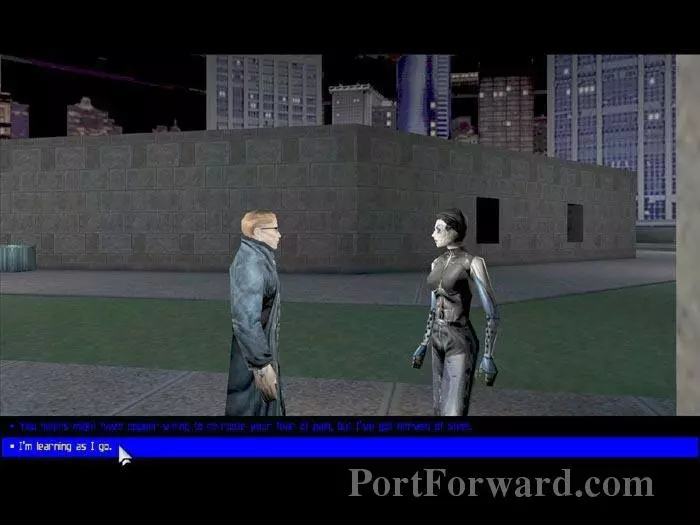
Either way, Anna's conversation options continue the same. Respond, "I'm learning as I go," and receive two EMP grenades from Anna instead of one.
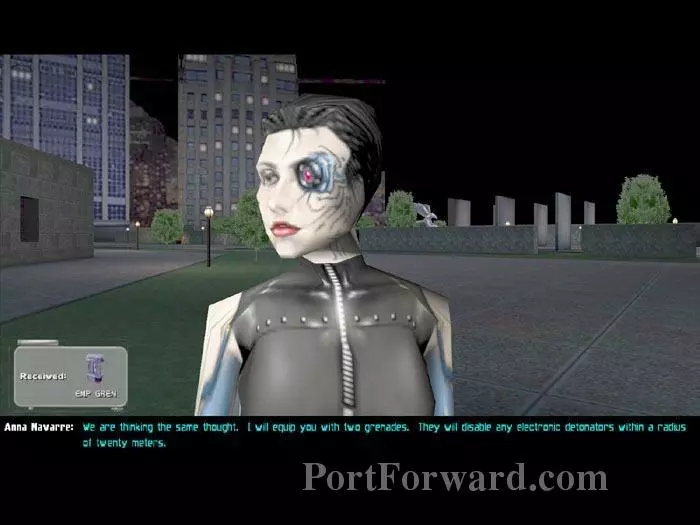
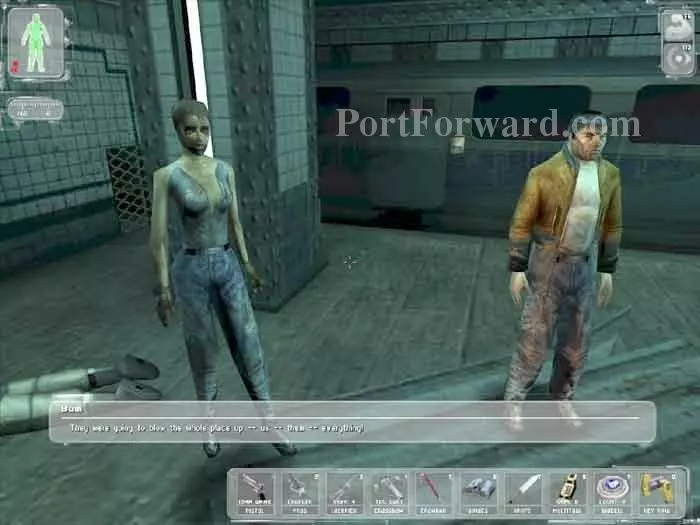
Anna explains your next objective - resolve a hostage situation in the subway. You are awarded 10 skill points for completing the secondary objective of meeting Anna.
Your approach to the subway entrance triggers a battle. Hold back and allow UNATCO to win.
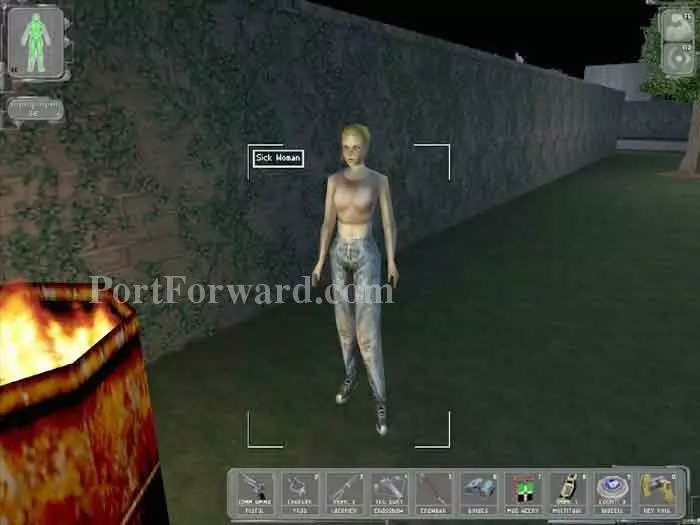
Talk to the sorry souls wandering the area. This sick woman will ask for 5 credits. You'll receive nothing in return, so unless you want to role play altruism...
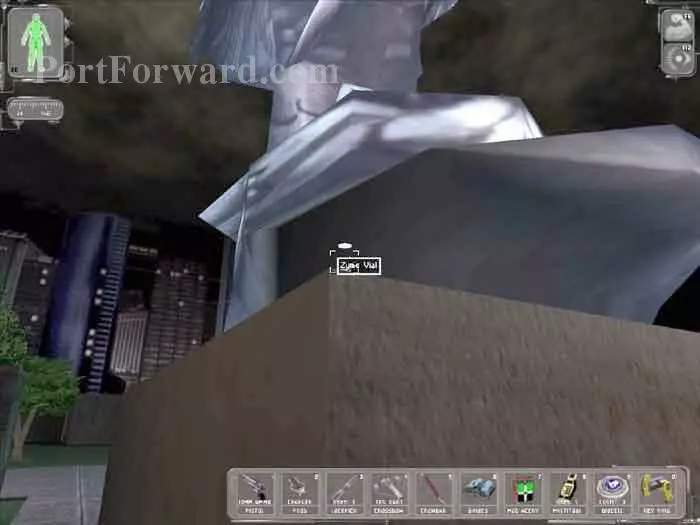
Pick up this Zyme Vial next to the eagle. You can trade it for information later.

Avoid descending the subway entrance. The NSF will guard the area even after UNATCO win the gun battle.
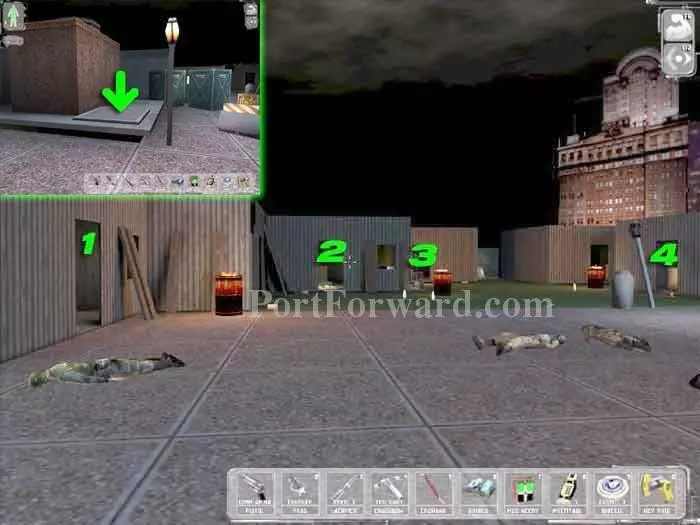
Explore the shanty town. Inside (1) is a chest with a Lockpick, a Multitool and a Candy Bar. Inside (2) is a chest with a Medkit, a Prod Charger, and a flare. Inside (3) you'll find a Lockpick in a corner. Inside (4) is a steam vent that we will use to enter the subway. The steam vents can also be accessed by opening the indicated panel (inset).
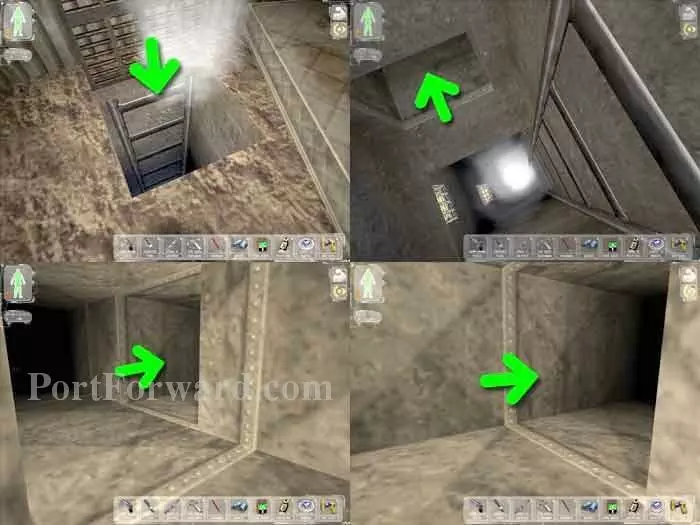
Clockwise from top-left: Enter the vent, take the first branch, turn right, make a quick left and a right.
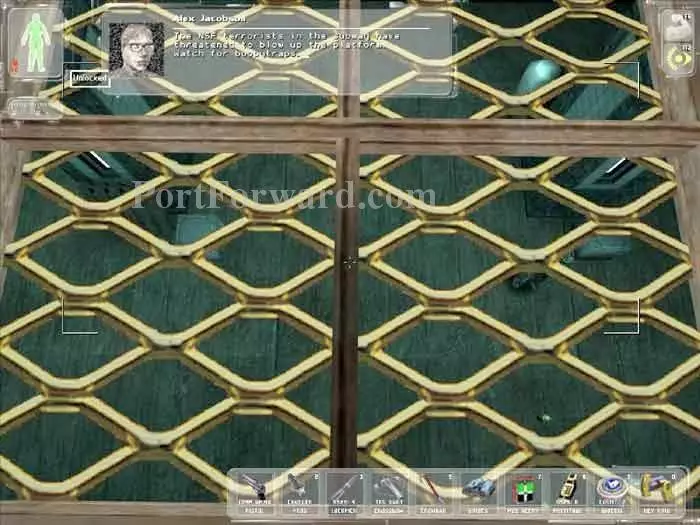
Continue all the way to the end of the shaft. You'll come to this grate above the terrorists below. Be careful, as they will notice you if you are not quiet. Alex cautions that the platform may be boobytrapped.
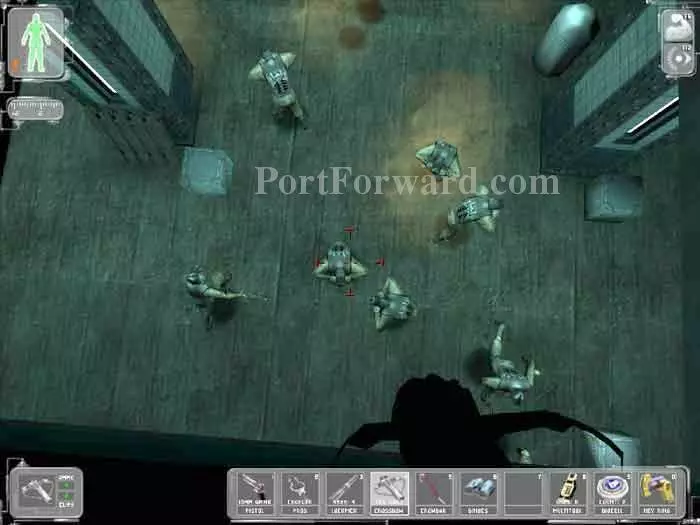
Time to fire our first shots - non lethal, of course. Toss a gas grenade to where the NSF are congregating below. Equip your crossbow with tranquilizer darts and put them all to sleep. You'll want to periodically pull back to avoid their fire.
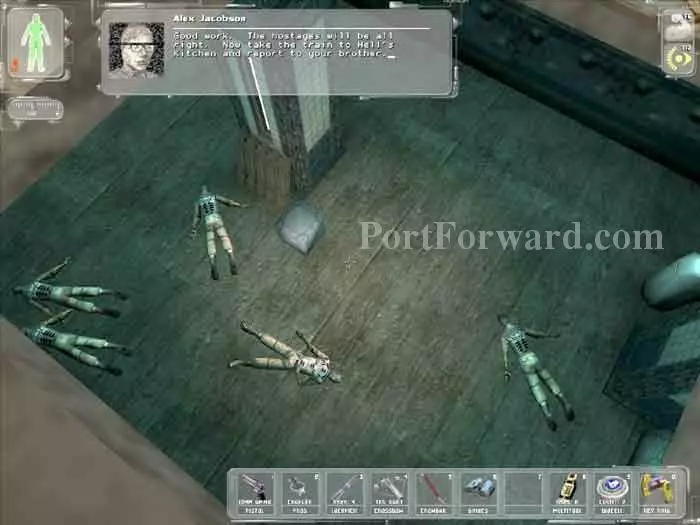
Once they're all unconscious, Alex will radio news of your success and you receive 300 skill points for completing the objective. Your new task -- take the train to Hell's Kitchen and report to your brother, Paul.
Descend a nearby ladder and follow the vents to the platform. Talk to the hostages -- if there are any remaining NSF you'll have to open the subway doors so they can escape.
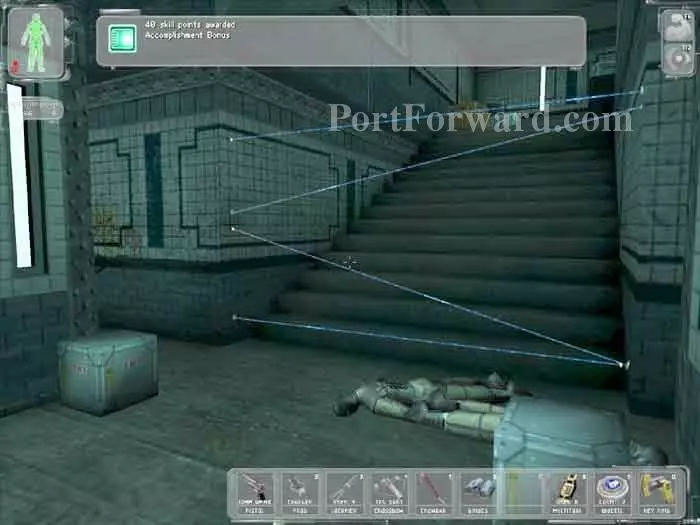
Approach the laser grid to receive an Accomplishment Bonus of 40 skill points. The lasers can be temporarily disabled with an EMP grenade, allowing access to the supply crates above and a Prod Charger at the entrance.
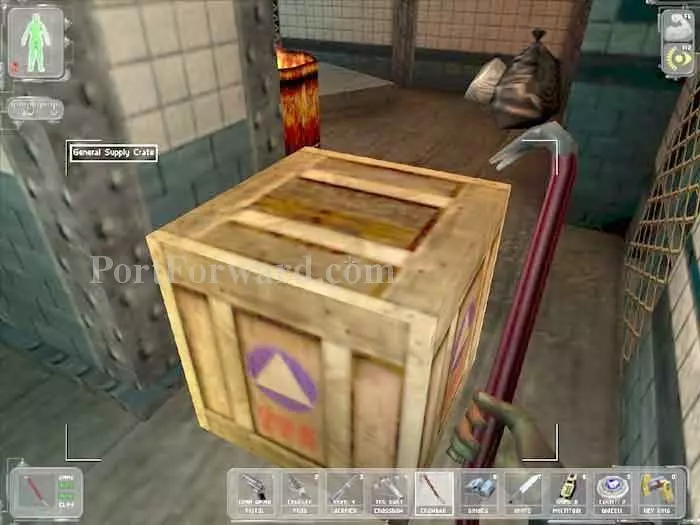
Bust open this crate for a Lockpick.

Activate the Subway Control Panel then step on board the train to continue to Hell's Kitchen.
More Deus Ex Walkthroughs
This Deus Ex walkthrough is divided into 20 total pages.


