This Deus Ex walkthrough is divided into 20 total pages.
You can jump to nearby pages of the game using the links above.
Liberty Island
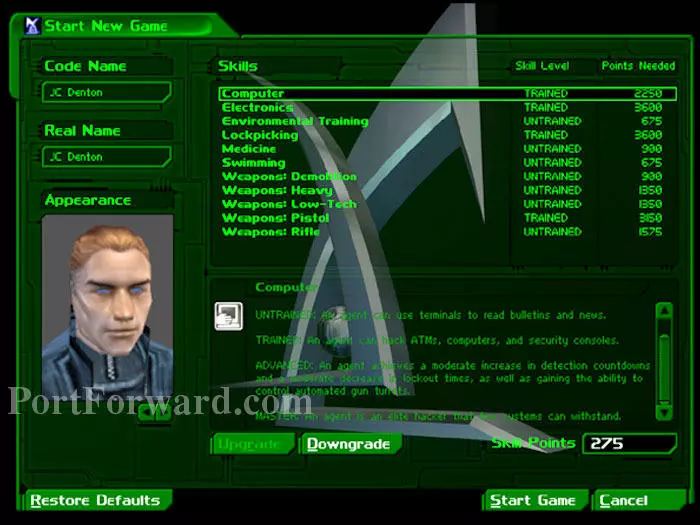
This is the character creation screen. You are allotted 5000 points for your character. Here I've upgraded Computer, Electronics and Lockpicking to "Trained." Weapons: Pistol is set to "Trained" by default, but can be downgraded to free up points. (Thanks, Kruszakus.)
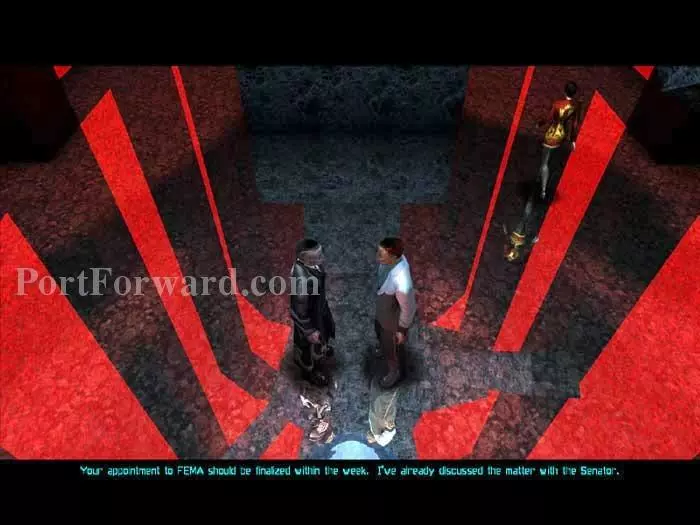
An opening cutscene plays of a conversation between two mysterious figures. We'll be seeing more of the woman in the upper-right later in the game.
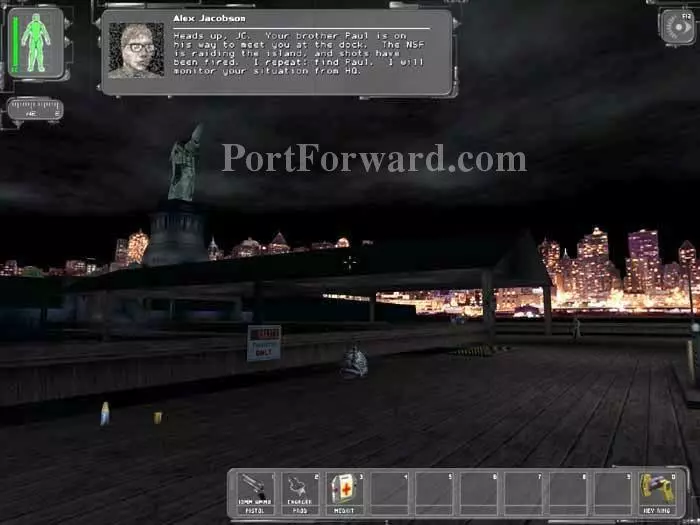
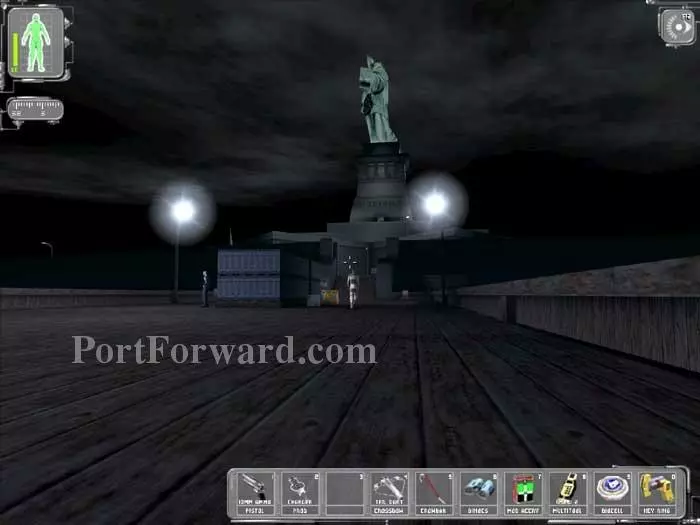
You have been dropped off at Liberty Island, New York. Your handler, Alex Jacobson, relays your instructions -- meet your brother, Paul.
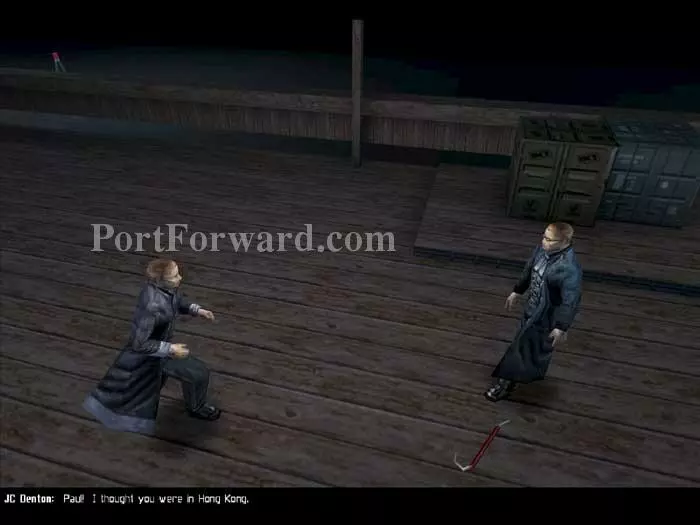
After a brief moment Paul approaches you on the docks. Note the crowbar on the ground.
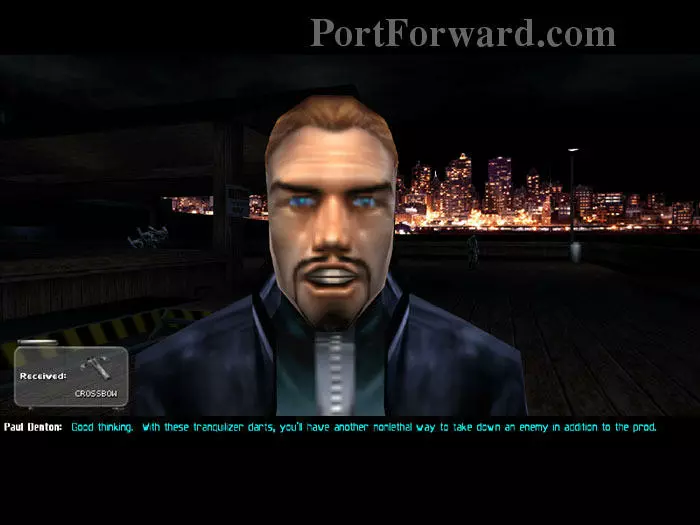
Paul gives you a choice of weapons: a rifle, a GEP gun, and a crossbow. The crossbow comes with nonlethal tranquilizer darks -- my preference.
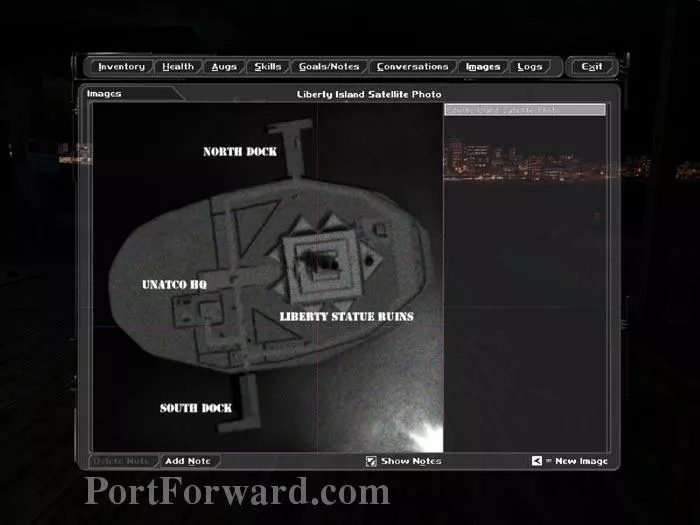
Paul also gives you this map of the island.
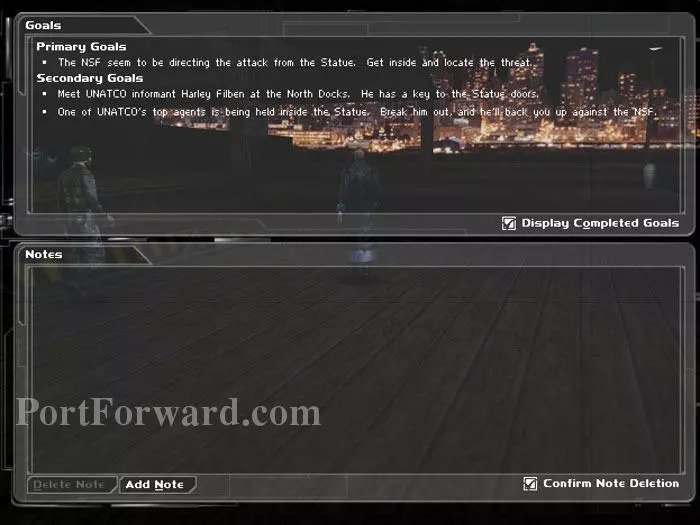
Here are your primary and secondary goals.
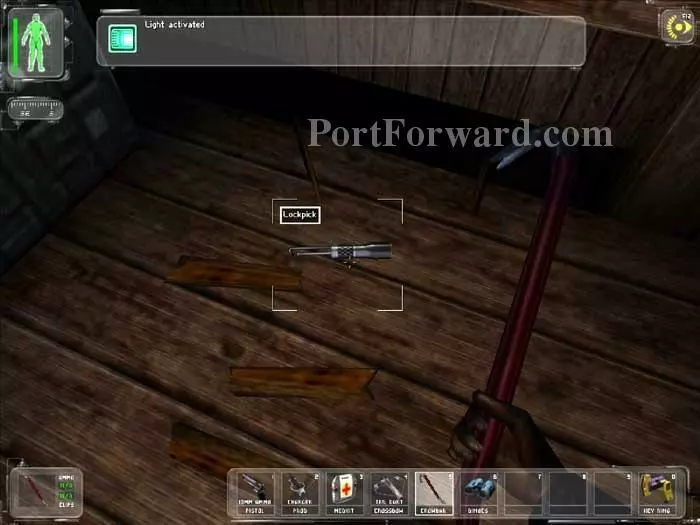
Pick up the crowbar and bust open the crates to find binoculars and this lockpick.

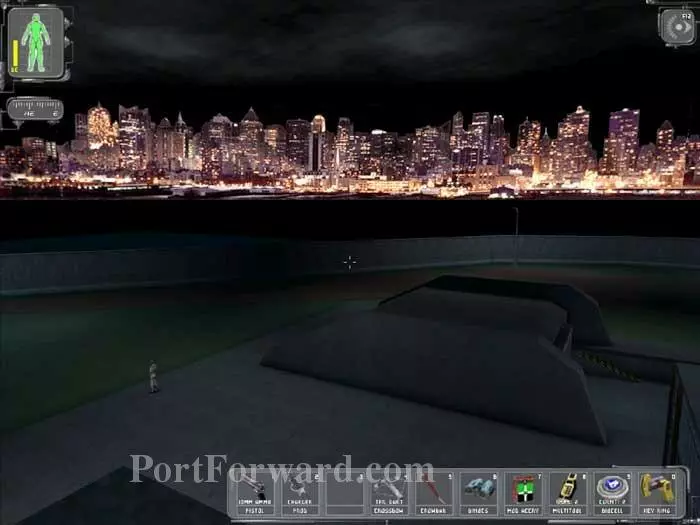
Take a look around the docks. Here is the UNATCO boat that brought you here.
Descend these stairs to the water below.
You'll find these crates floating in a shark cage. Bust the crates open for a Multitool and a Bioelectric Cell.
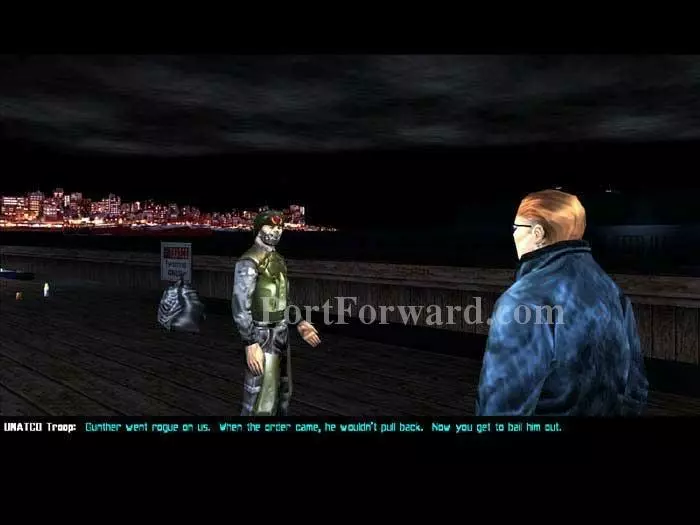
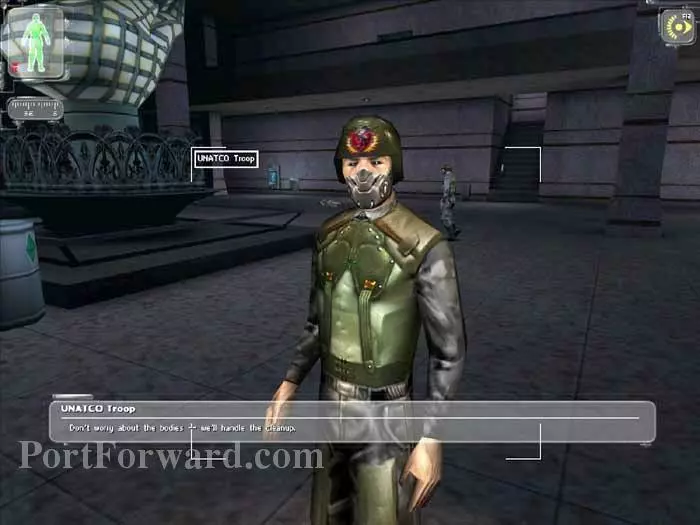
You should talk to every NPC you encounter in Deus Ex - repeatedly. This guard tells you that Gunther has gotten himself into trouble and it's up to you to bail him out.
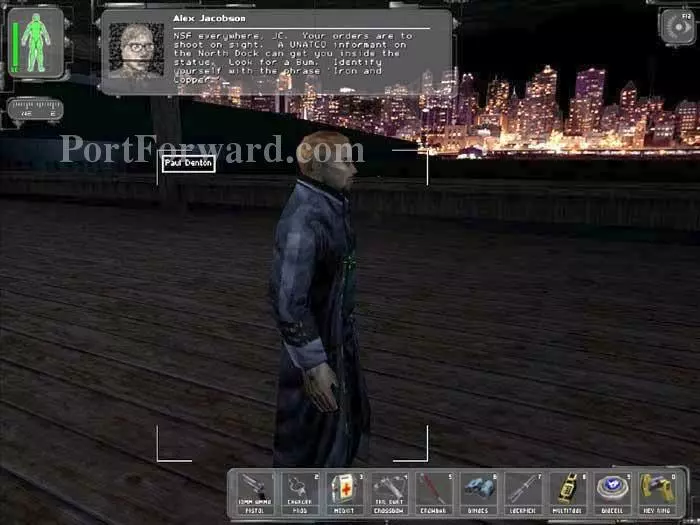
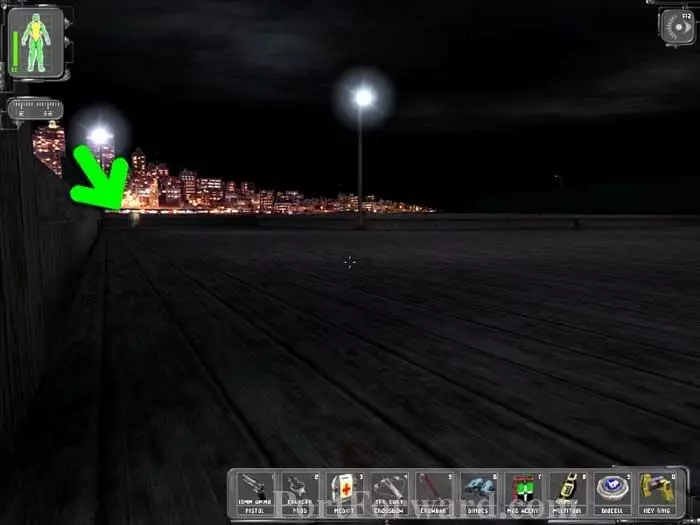
Alex relays information of an informant on the North Dock who can help you get inside the statue.
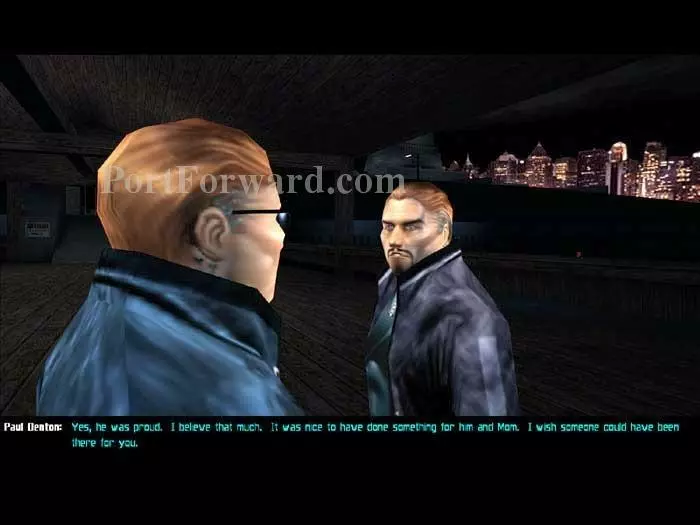
You can speak to Paul repeatedly and get more information about your family and UNATCO.
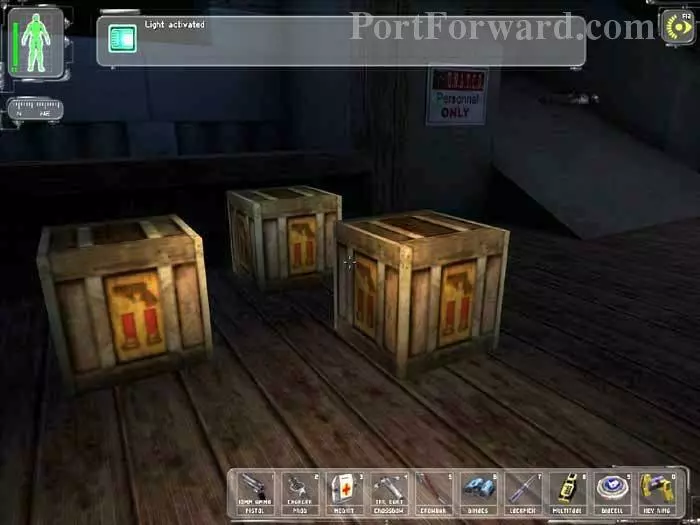
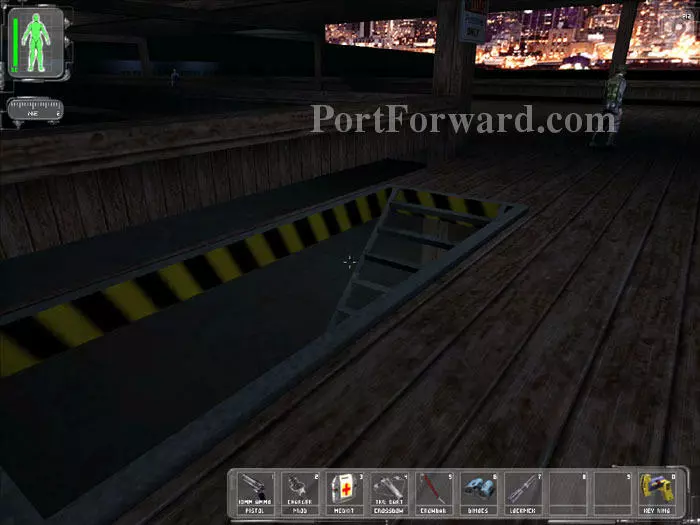
Use your crowbar to bust open these crates for darts, a prod charger and 10mm ammo.
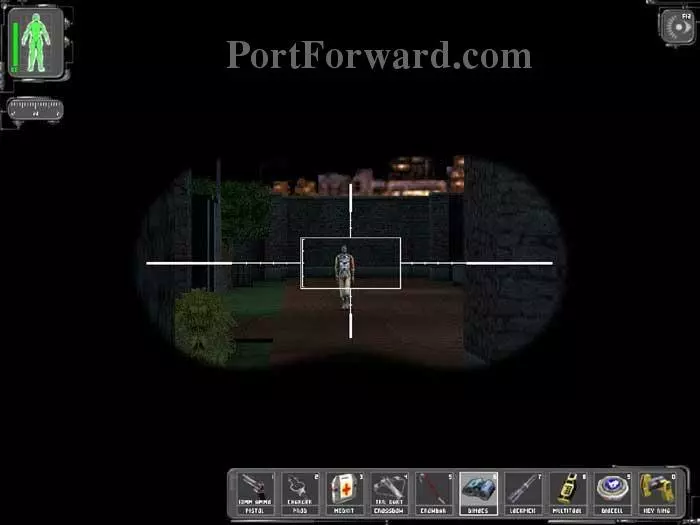
NSF terrorists patrol beyond. Use your binoculars to study their movements from a distance.
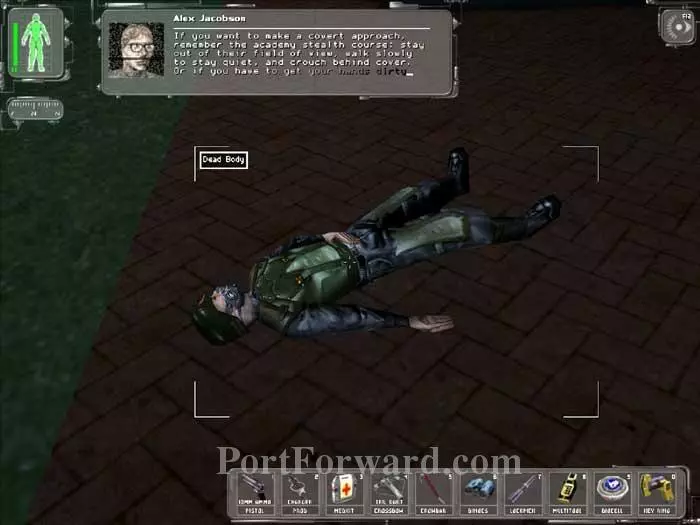
Search any bodies for supplies.

Avoid the NSF and head left to UNATCO HQ.
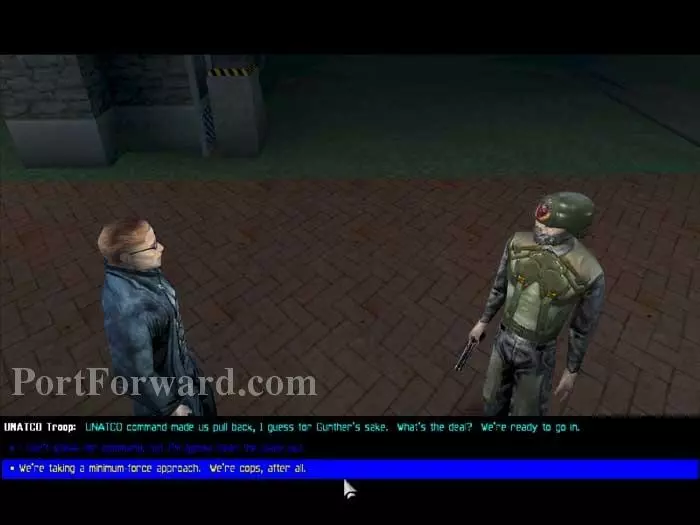
Approach this guard and he'll ask you about your tactics. If you take a hard line he'll approve and give you a security code for a bunker up ahead. We're taking a different approach -- tell him we're using a minimum of force.
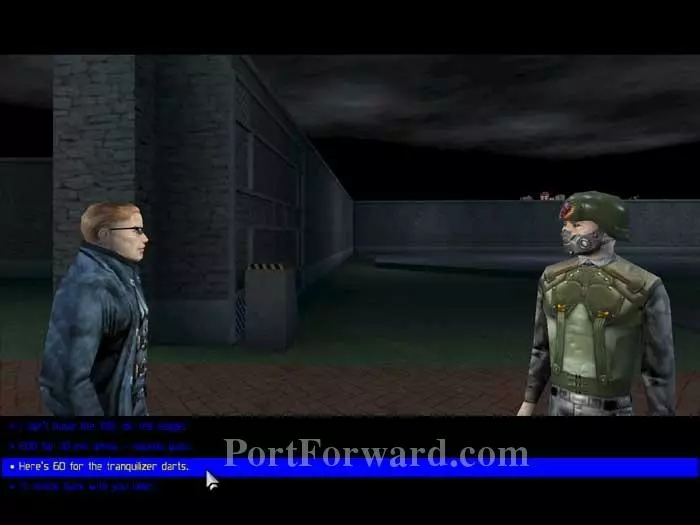
He offers to sell you some equipment. The tranquilizer darts are what we're here for.
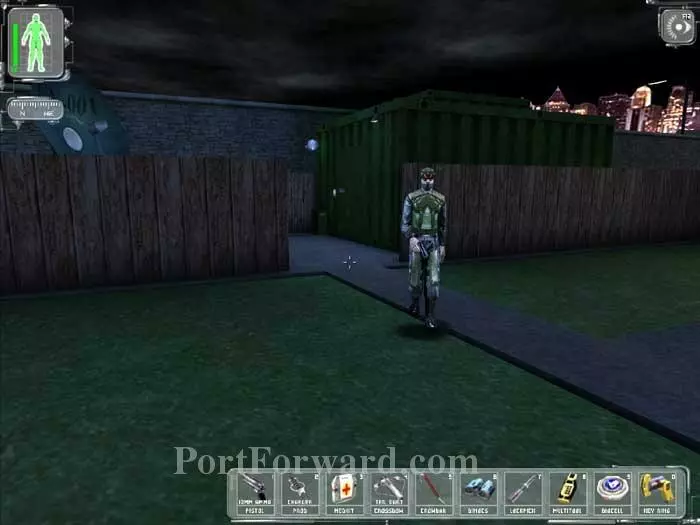
There's the bunker dead ahead. O-d-m writes that a lockpick can be found behind the bunker in a crate.
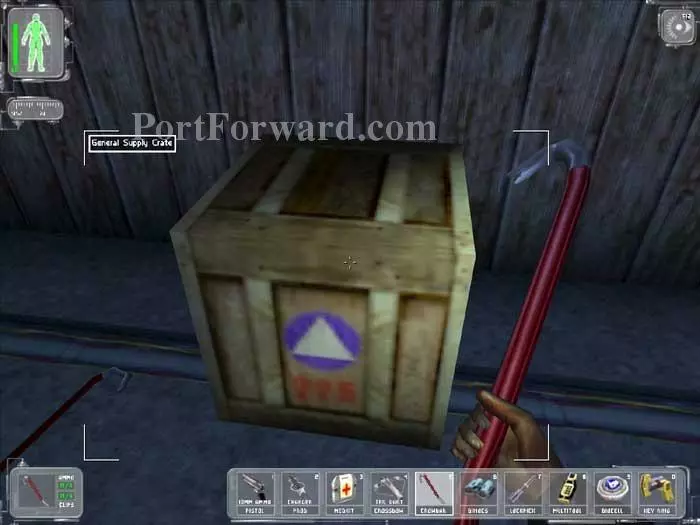
Smash this crate for a multitool. There's also another crowbar here.
Don't fret about this locked bunker -- we'll be back with the security code later.

Follow your map and compass toward the North Docks. Your immediate destination is the indicated shipping container.

On top you'll find this Data Cube with the security computer login: NSF001, password smashthestate. Also here is a Prod Charger and a Pepper Gun.
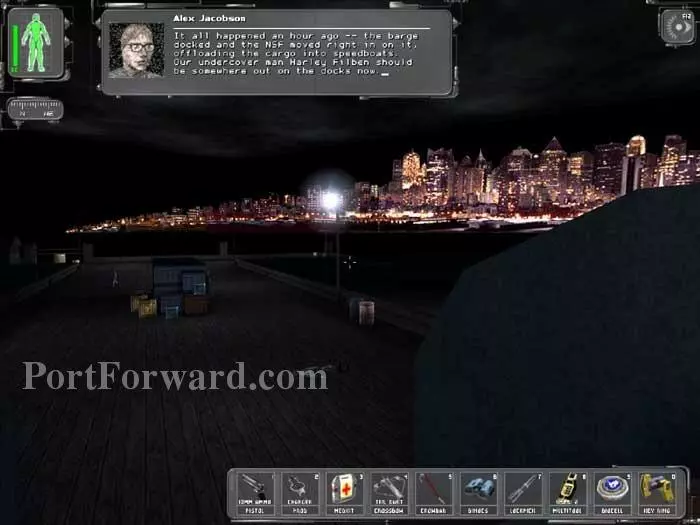
Once you get to the North Dock, Alex reminds you that the undercover agent Harley Filben is nearby.

A mercenary thug is on the right, so stay to the left. An NSF terrorist is circling counterclockwise. Wait until he is in this position before advancing. The crates contain nothing we'll be using -- rockets and 30.06 ammo.
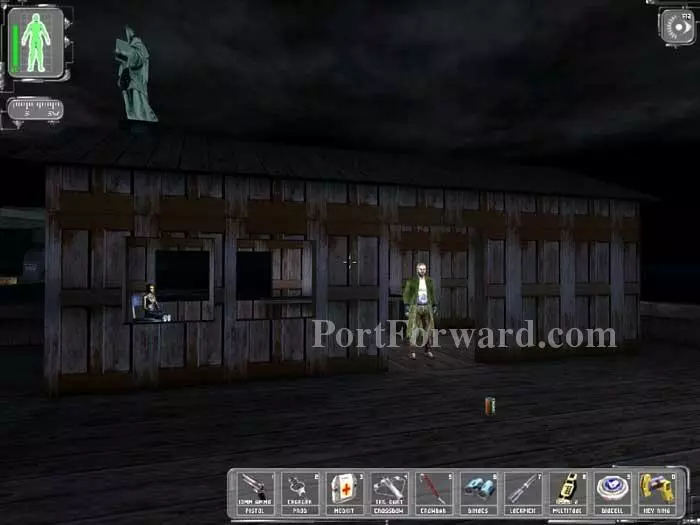
To the left you'll find this shack with Harley Filben waiting in the doorway. Approach Harley and you'll automatically use the code words "Iron and copper."
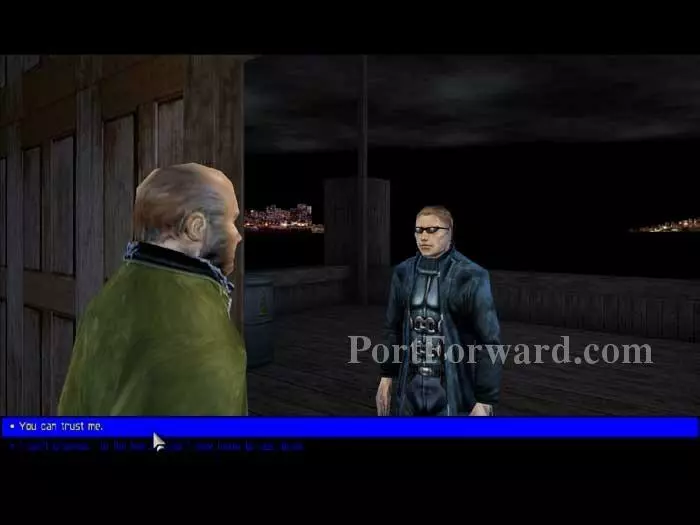
Harley is concerned for the safety of the NSF commander. Choose the response, "You can trust me," and Harley will give you the key to the Statue's front entrance. This completes your secondary objective.
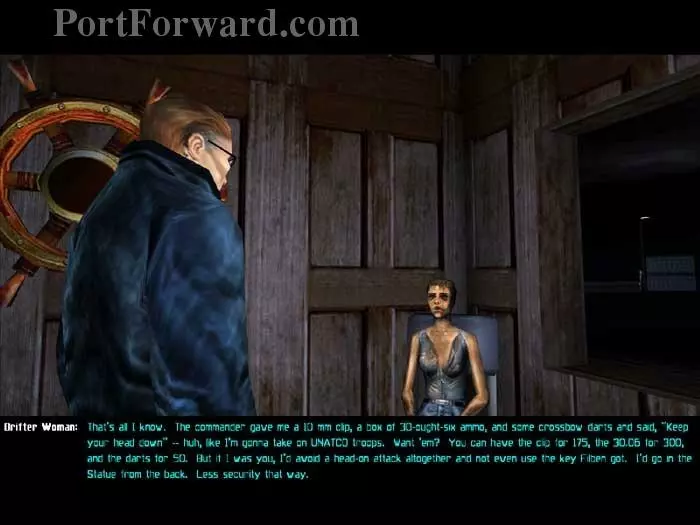
Talk to the drifter woman and she offers to sell you ammunition, but what she has to say is more valuable. "I'd go in the Statue from the back. Less security that way."
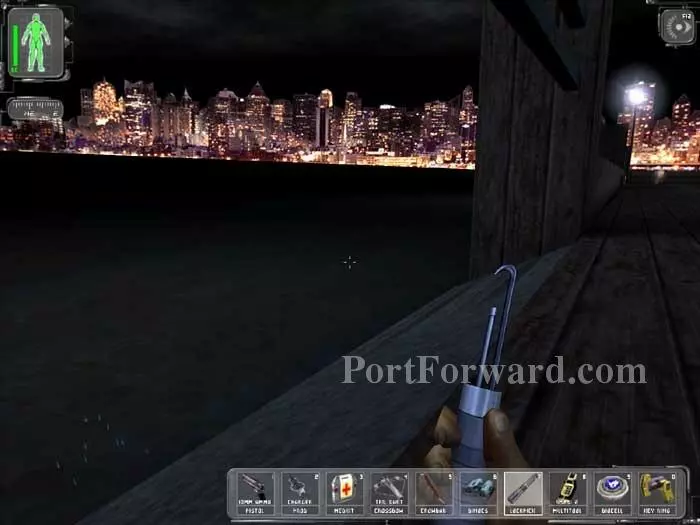
Ready a lockpick and drop into the water by this boat ramp.
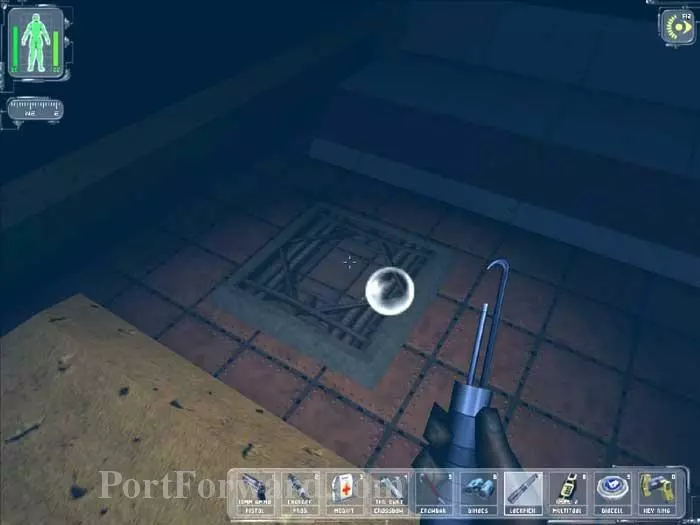
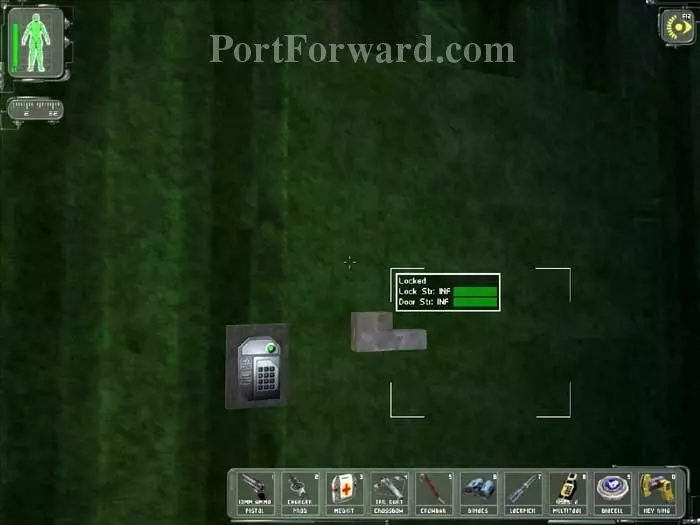
Beneath the surface you'll find this ship. Pick the lock on the door directly ahead then come up for air.
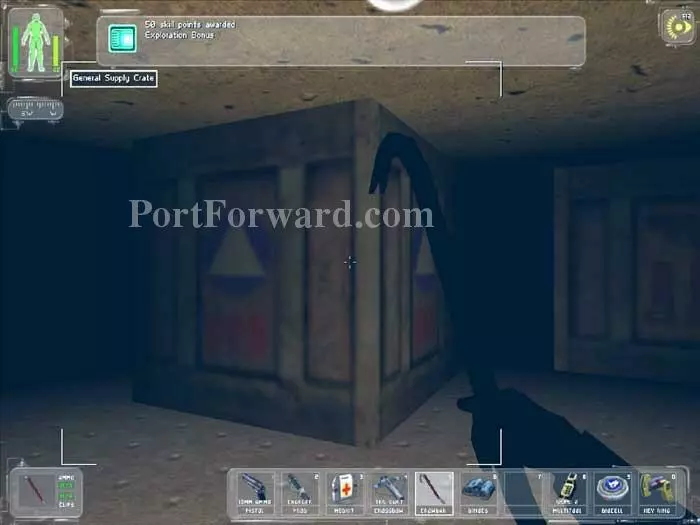
Return to the ship and receive an Exploration Bonus of 50 skill points. Inside these crates you'll find Accuracy and Reload Weapons Modifications and a Sawed-off Shotgun.
Return to the docks. You'll find a crate with a Medkit where indicated.
Exit the docks the way you came, keeping the guards' backs to you.
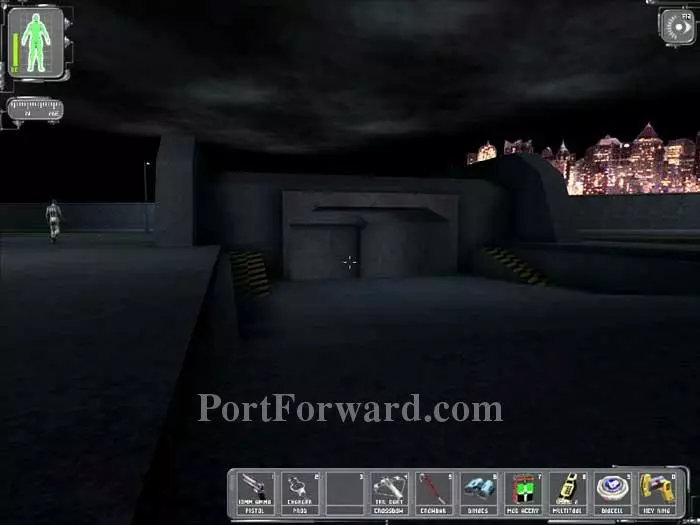
Continue around to this underground bunker, careful to remain in the shadows.

Grab the Hazmat suit when the guard isn't looking.
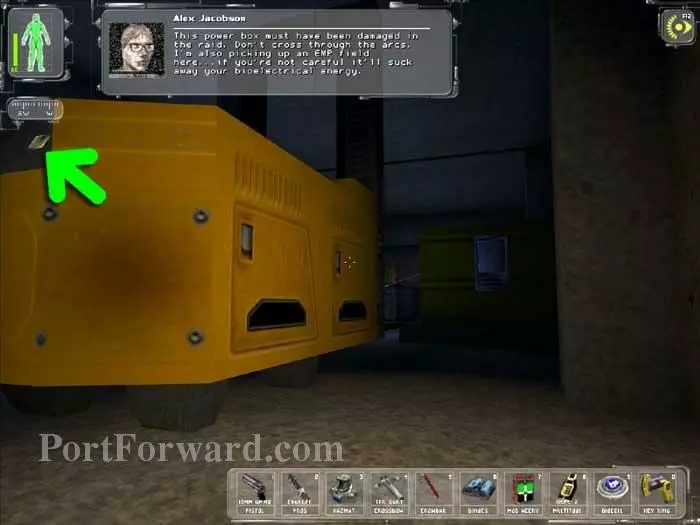
Alex reports that the power box ahead is dangerous. There are several solutions to bypass the electric arcs. You can use a multitool on the control panel ahead, put on that Hazmat suit we just swiped, or, best yet, push the button (indicated) on the forklift.
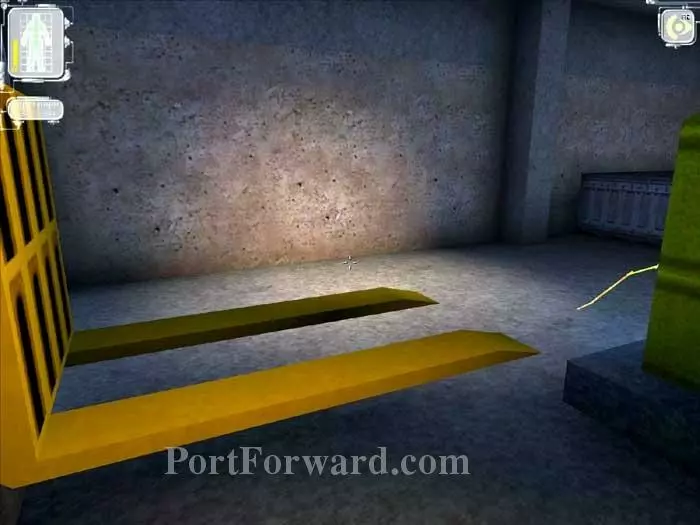
Jump onto the rising lift then hop onto and over the power box.
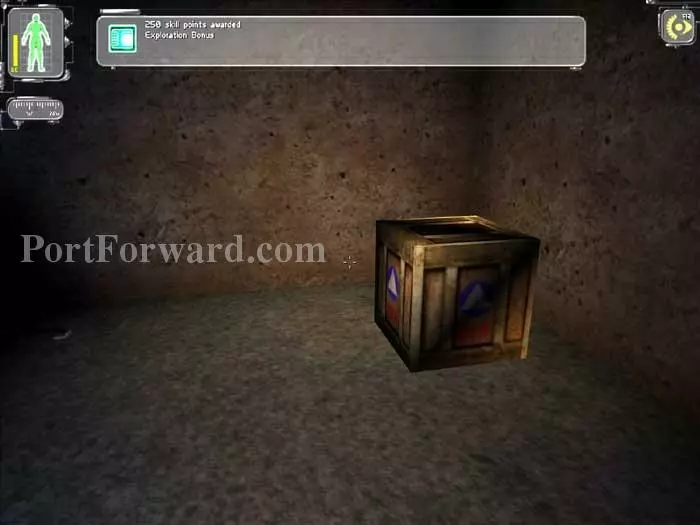
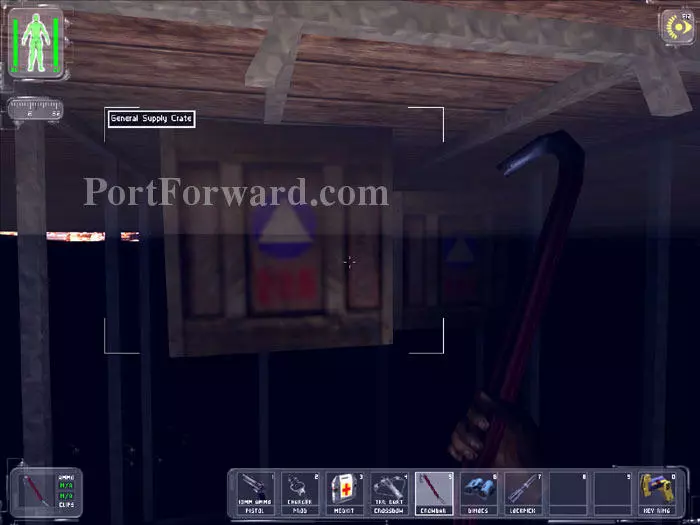
You are awarded an Exploration Bonus of 250 skill points. The Weapons Crates contain Laser and Clip weapons mods, and this General Supply Crate holds a Bioelectric Cell.
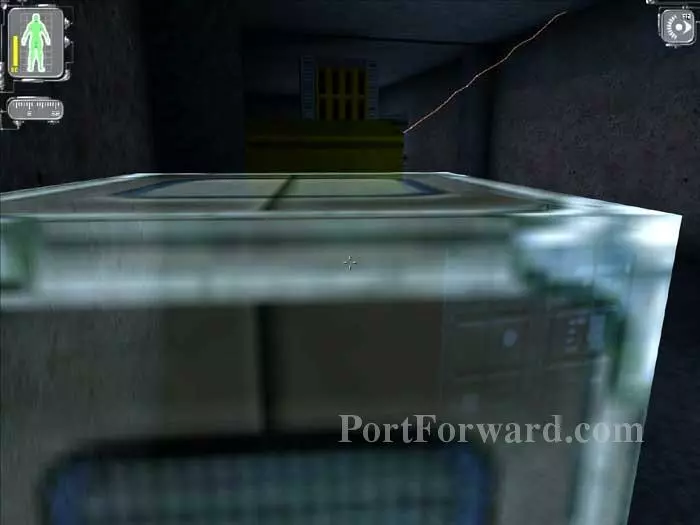
Move the small metal crate and use it to step up to the shipping container directly ahead, then step onto and over the power box, once again avoiding the arcs as you return.
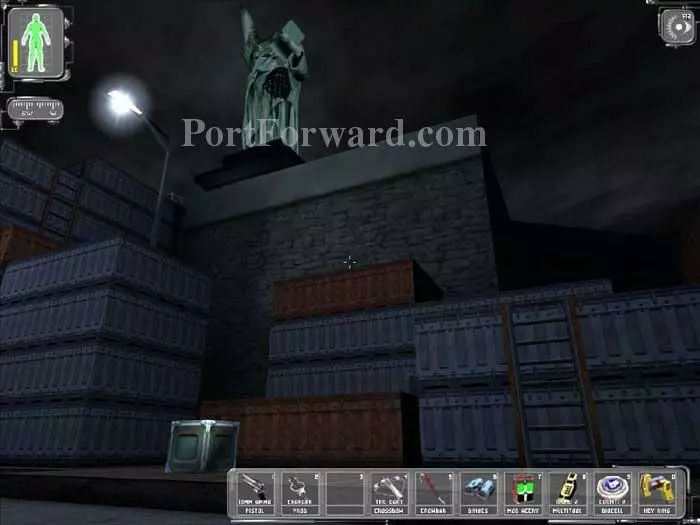
Return above and climb these shipping containers, moving the small metal crates as before to use as steps.
Don't miss the view from up here. Below is the bunker we just visited.

More NSF patrol here. Cautiously make your way to this ramp. Ascend the ramp to the upper level.

Ascend the next ramp up as well.
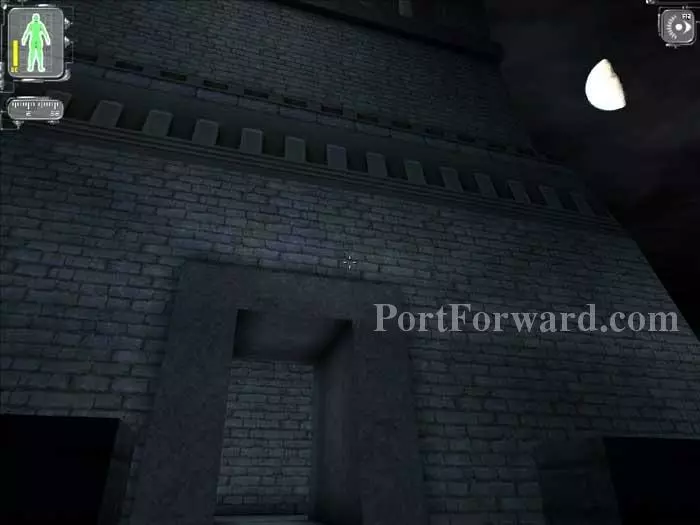
Here's your way in. Problem is, there is a gas grenade on the left wall. Disable the grenade then enter the Statue, keeping to the right.
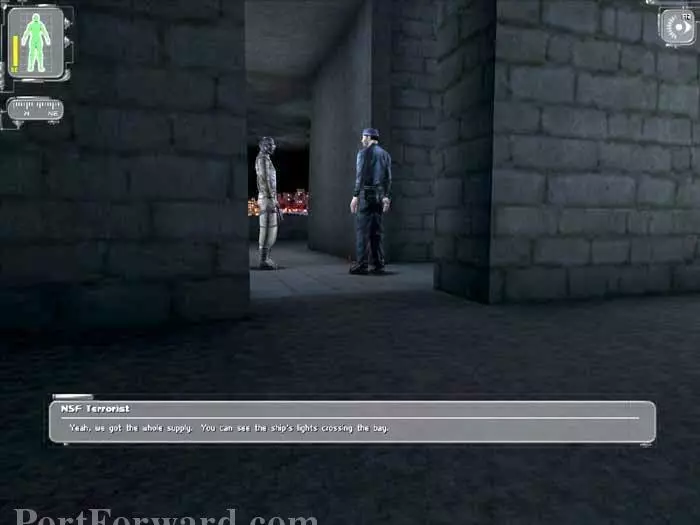
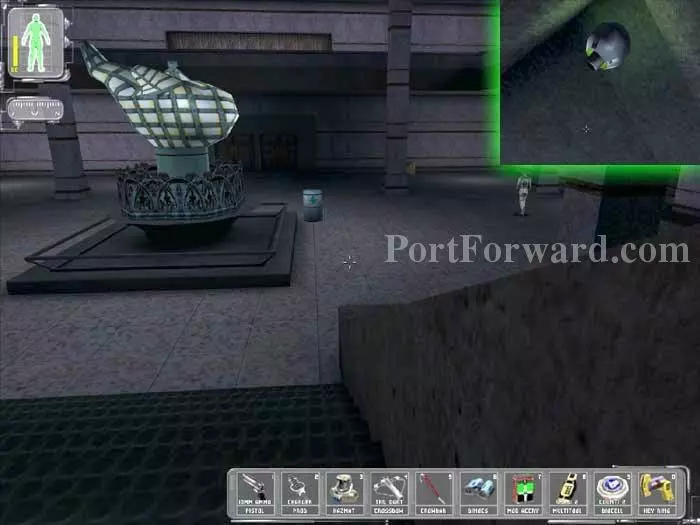
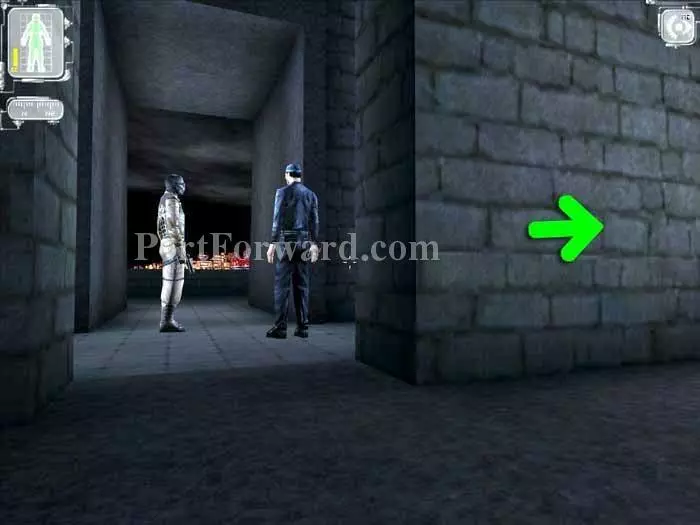
Head right, then quietly listen to these two. To the right are stairs leading to your primary objective, the NSF commander. To your left are stairs leading to your secondary objective, Gunther. We're heading left.
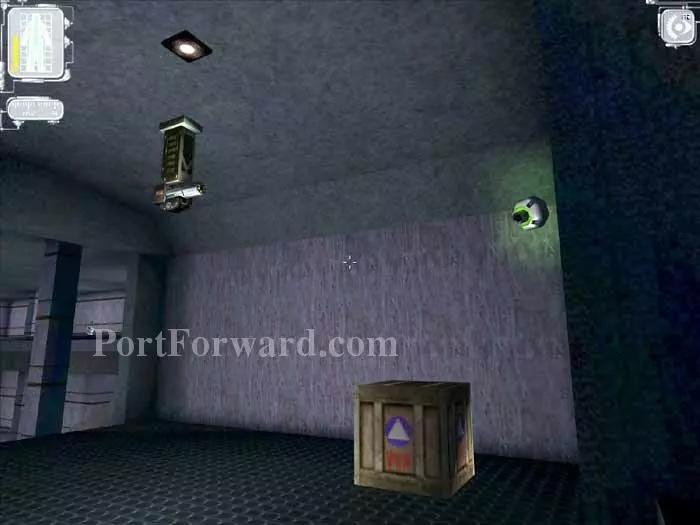
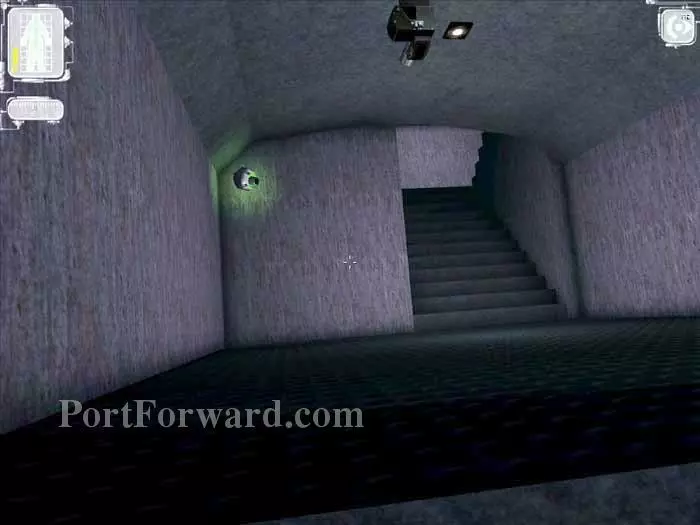
Continue down the stairs to this landing. The camera (upper-right) will trigger the ceiling-mounted gun. Duck under the camera when it is pointed away. Bust open the crate for a lockpick.
Wait until the camera points left (inset), then run past the landing to these stairs. Crouch and descend the stairs, keeping the guard's back to you.
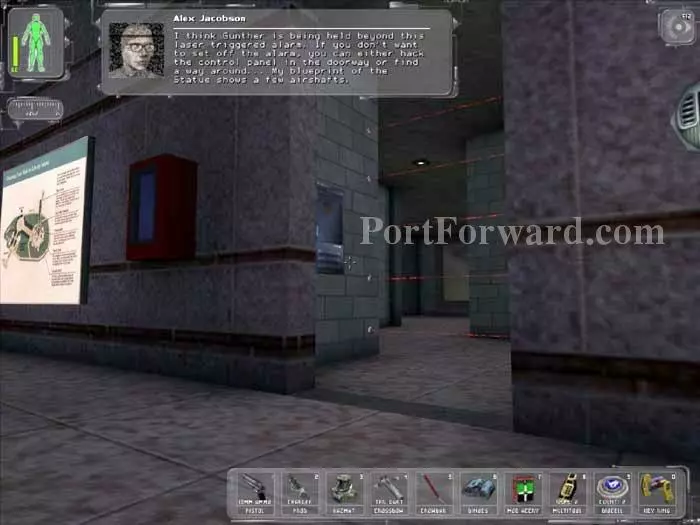
Approach this doorway and Alex radios that Gunther is being held behind the laser alarm.
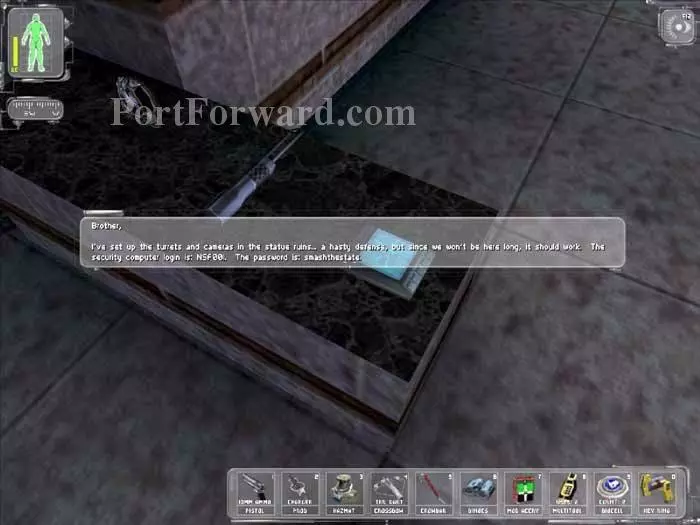
Nearby is this Data Cube with info we had seen before, plus a Lockpick and a LAM.
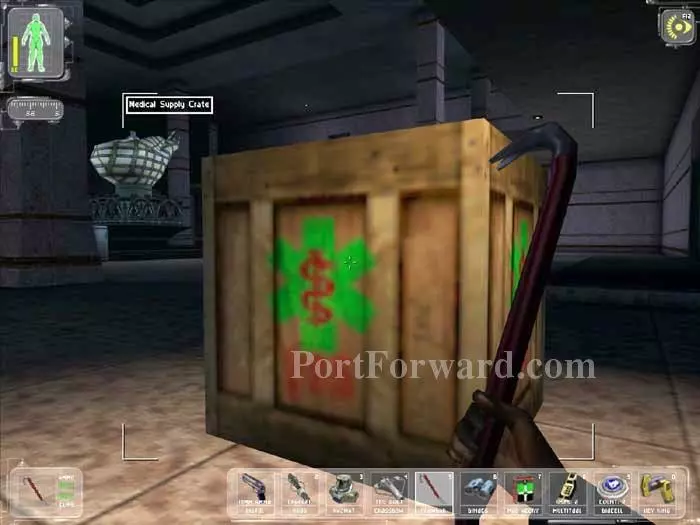
Across the lobby is this medical crate. Bust it open to find a Medkit.
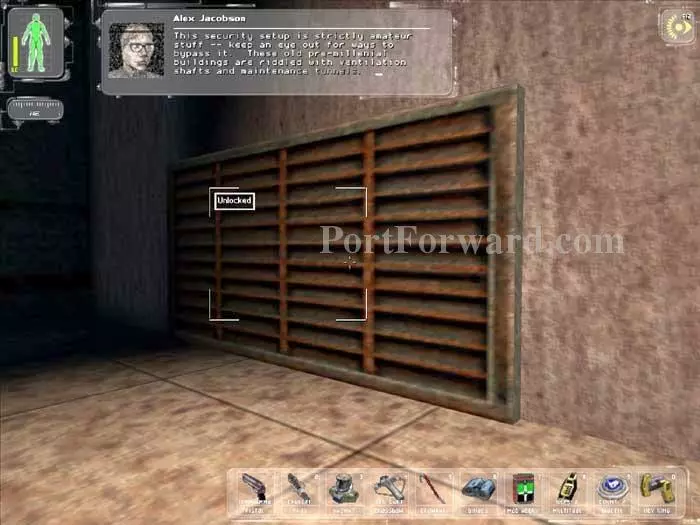
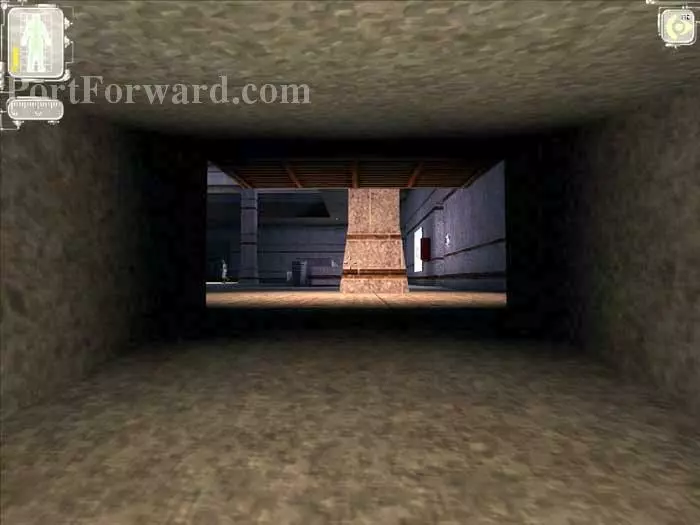
We could use a Multitool or hack the security system using the login and password we obtained before. Instead, we'll enter this ventilation shaft.

Activate your light and crawl through the ventilation shaft. You'll find this Multitool along the way, and a room to the left, which we will ignore for now.
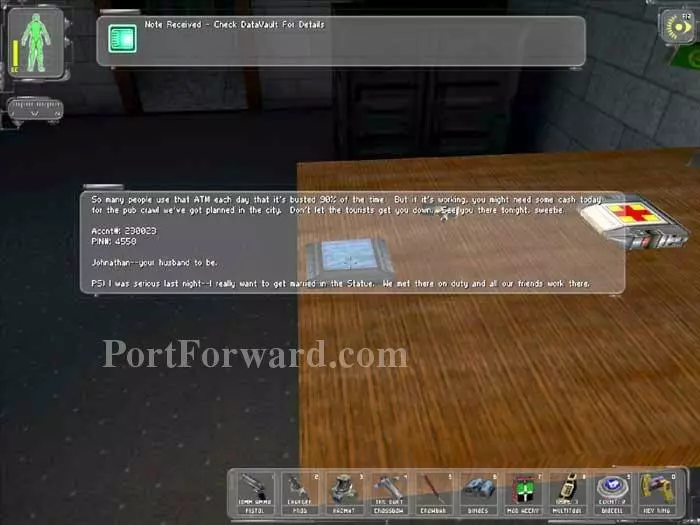
Instead, continue to this room. You'll find a Data Cube with an ATM account number and PIN, a P250 and a Medkit.
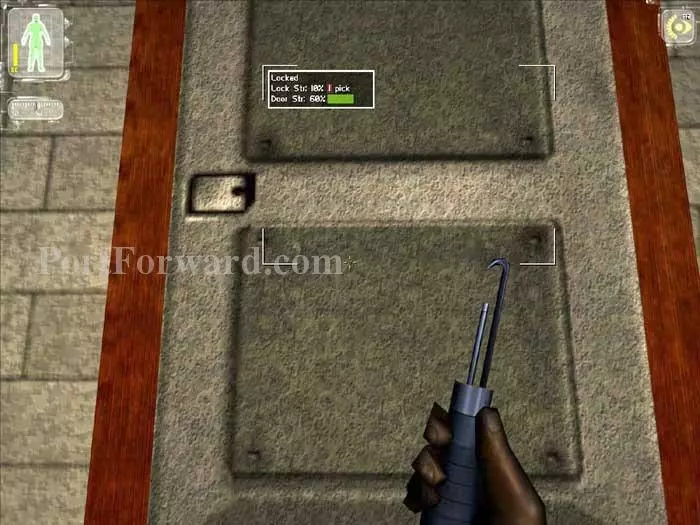
Return to the ventilation shaft. This time enter the room we ignored before, then pick the lock on this door.
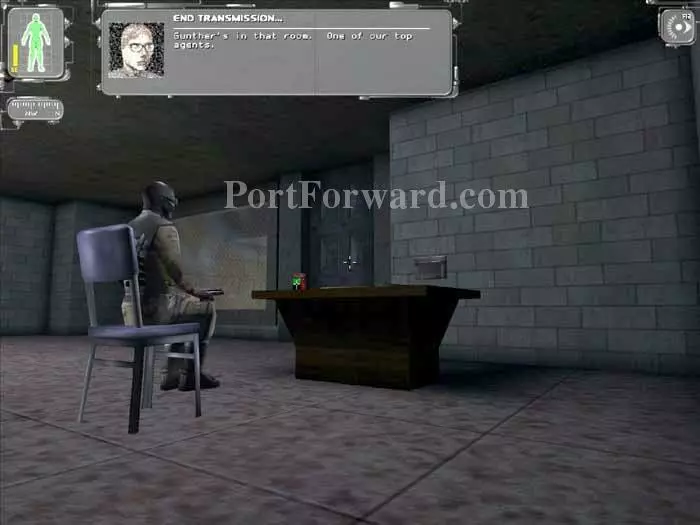
Two guards patrol beyond, and one guard remains seated. Alex tells you that Gunther is being held in the room behind the glass. Wait for the camera to turn away then hug the wall on the right and sneak behind the desk. If you are careful, the seated guard will not see you.
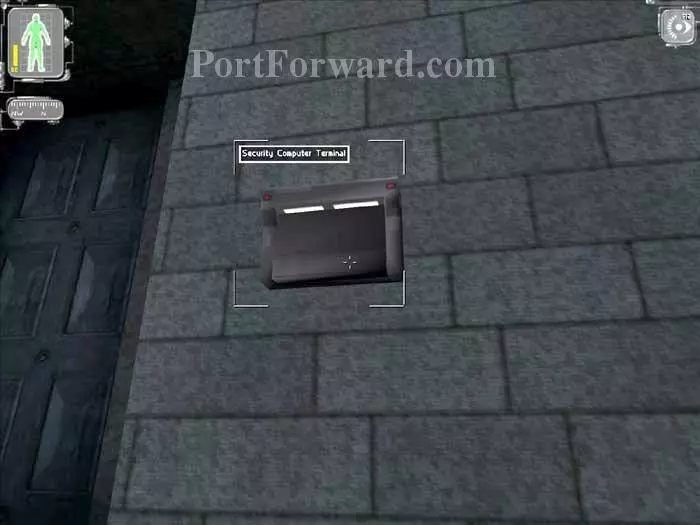
Break into the Security Computer Terminal with the login and password we obtained earlier (NSF001/smashthestate).
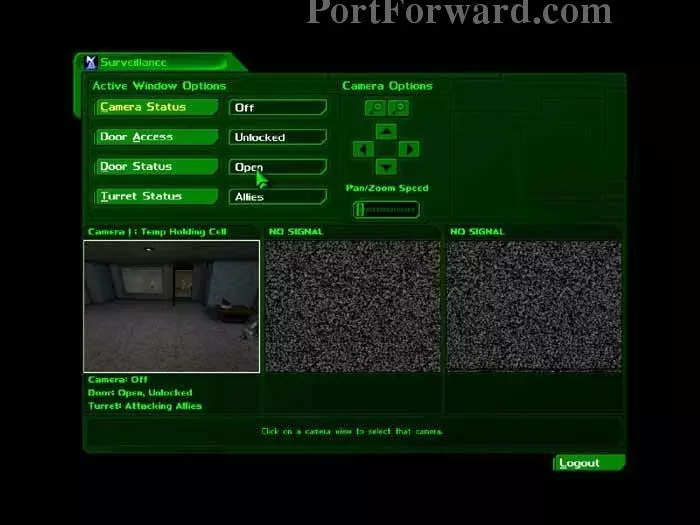
Turn the camera off. Unlock and open the door. Leave the turret alone because once it fires the guards take notice.

You must talk to Gunther outside his cell to receive your reward of 150 skill points. He asks you for a gun.
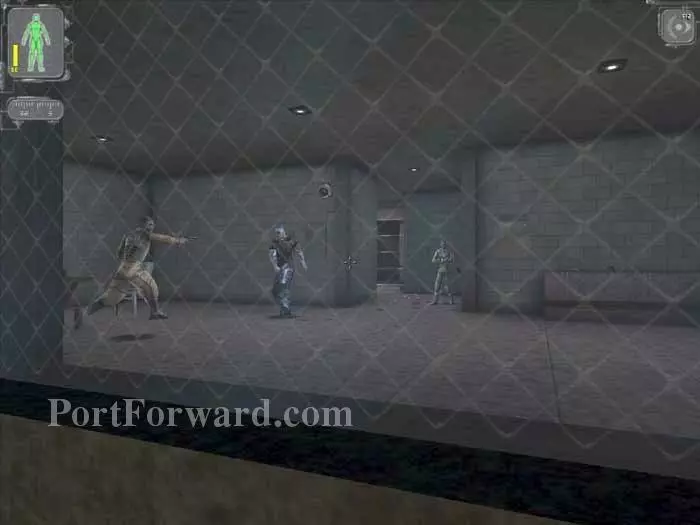
Deny Gunther the weapon, then hide behind the safety glass while he defeats the NSF with only a knife.
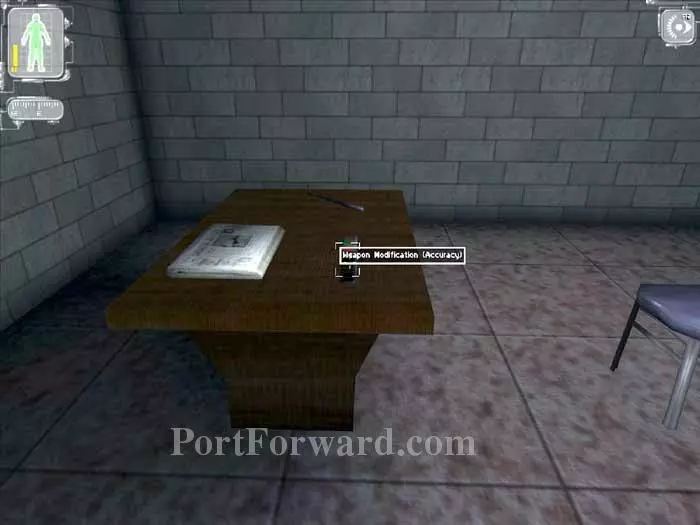
Here's the desk you were hiding behind earlier. On top is this Accuracy Mod and a baton.
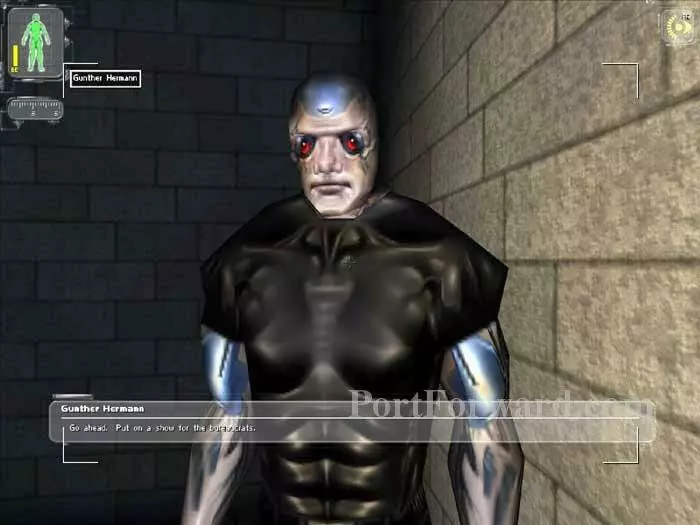
Talk to Gunther again and he'll insult your more advanced nano-augmentation.
Now, to complete the primary goal. Return to the lobby through the ventilation shafts.
Return up these stairs, keeping the camera's back to you as you go.
You'll eventually arrive at these two again. This time, head right.
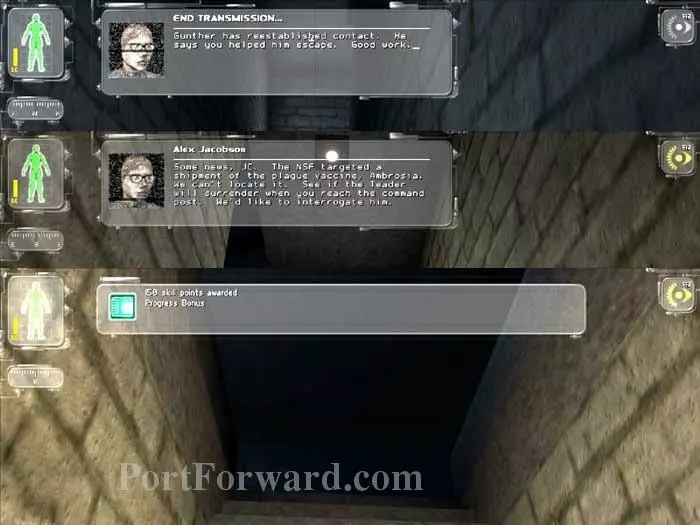
On your way up the stairs you'll receive two transmissions from Alex plus a Progress Bonus of 150 skill points.
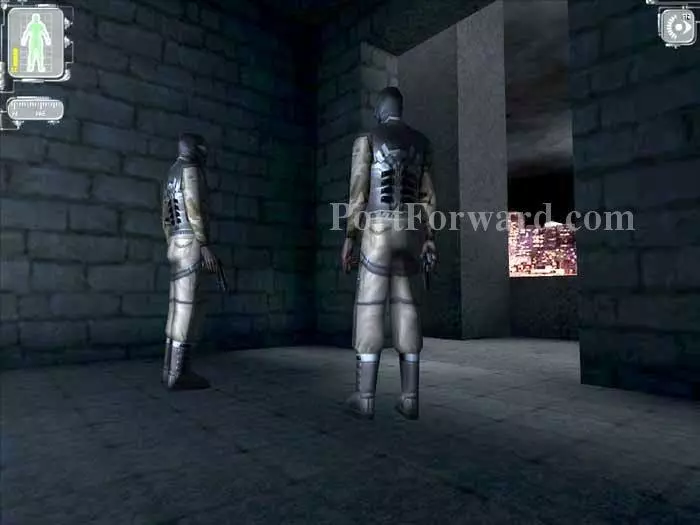
Two NSF guards are at the top of the stairs. Carefully walk behind them and to the left.
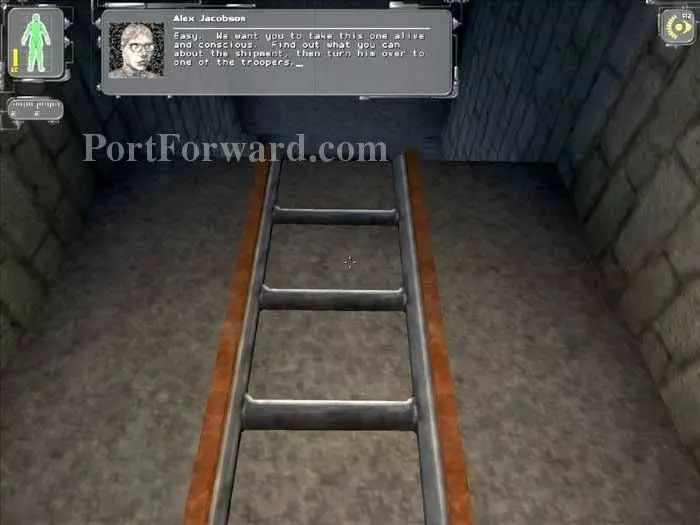
A recurrent flaw in Deus Ex is that your behavior is sometimes judged by where you are rather than by what you do. Alex's caution for you to be "Easy" here is one example. Ascend the ladder.
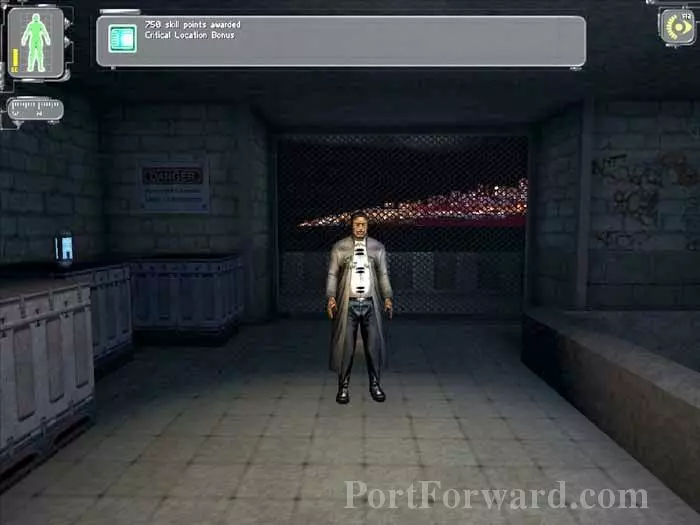
The NSF commander awaits at the top. You are awarded a Critical Location Bonus of 750 skill points.
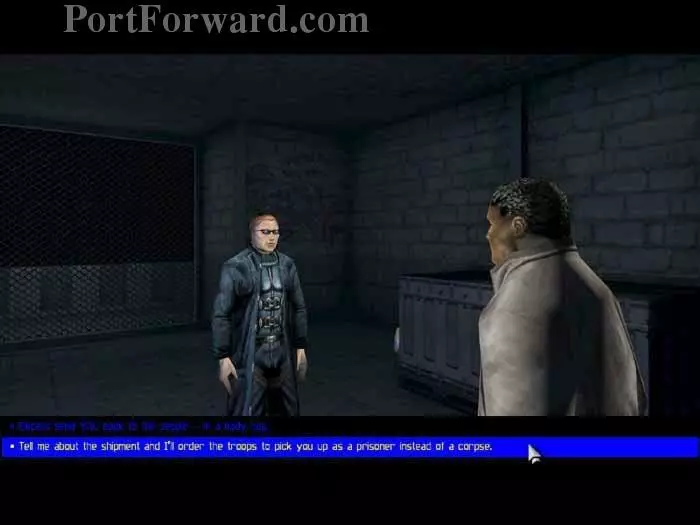
The commander surrenders. Ask him to tell you about the Ambrosia shipment.
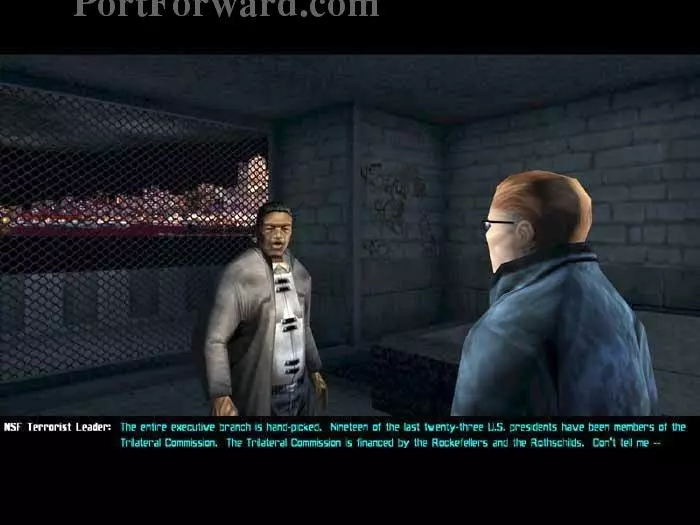
Your objectives are updated -- return to UNATCO HQ. Keep talking to the commander and he'll let loose with his loopy conspiracy theories.
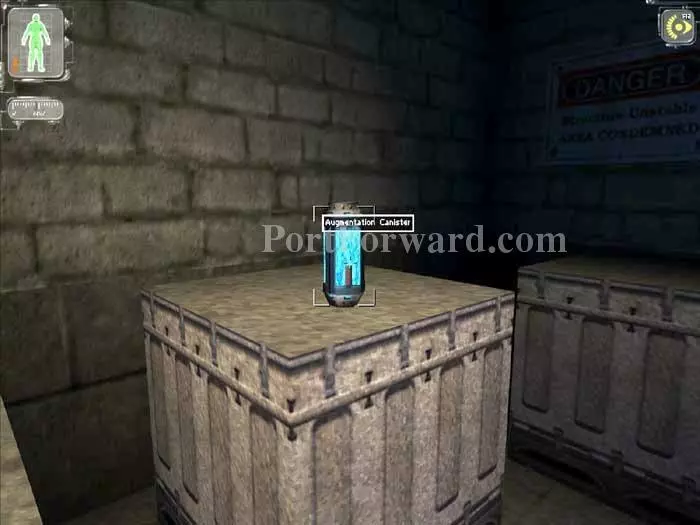
Your primary objective is now complete, but your biggest prize is this Augmentation Canister. Grab it now and we'll have it installed later. Your new goal: return to UNATCO HQ.
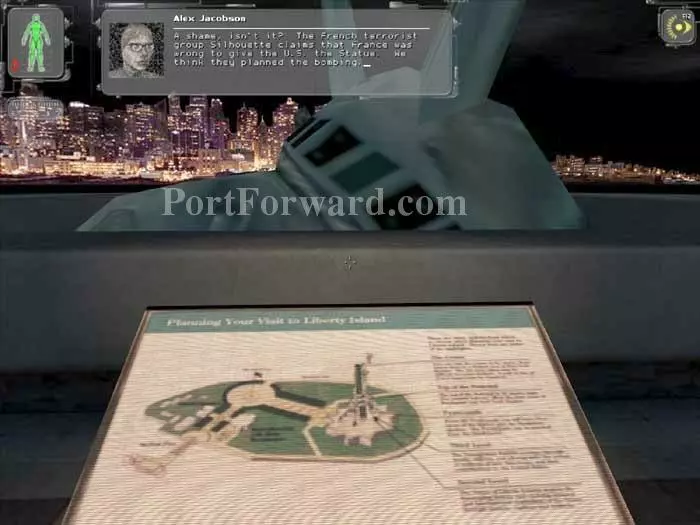
Descend to the base of the statue. Approach this map and Alex radios that Silhouette is suspected of destroying the Statue.
Return to the lobby. All of the NSF have been killed by UNATCO troops. At least none of the blood is on your hands. Note the ATM in the back.
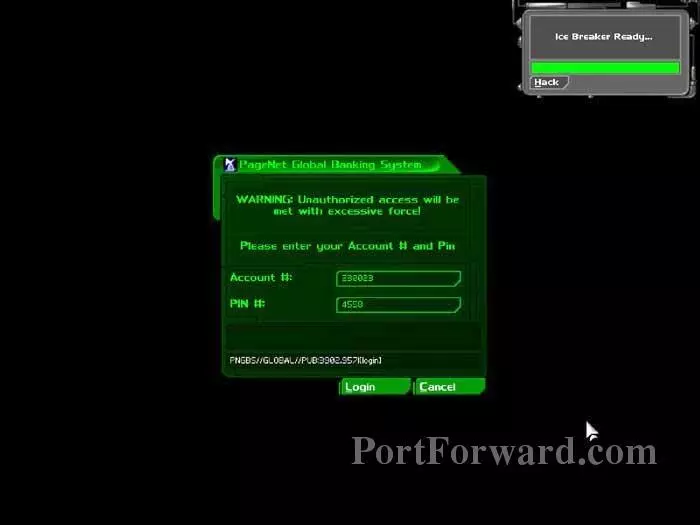
Use the account number and PIN that we obtained earlier to withdraw 200 credits.
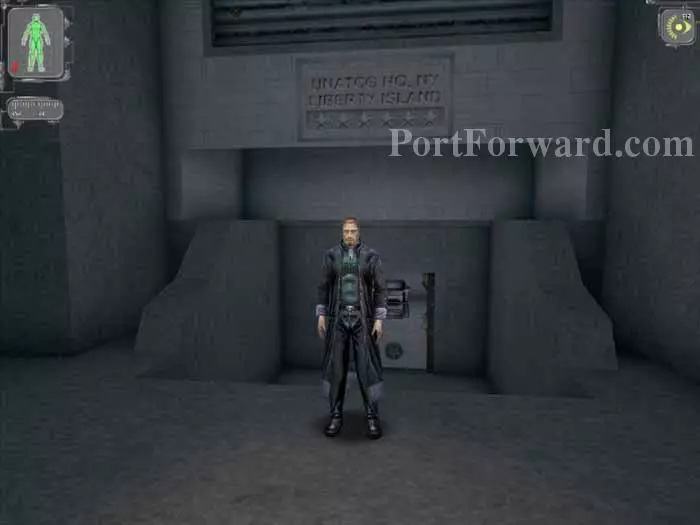
You'll find your brother, Paul, waiting for you at UNATCO HQ. Approach him for a brief conversation. Your objectives are updated: report to Manderley's office on level 2.
Enter UNATCO HQ and receive a Progress Bonus of 115 skill points.
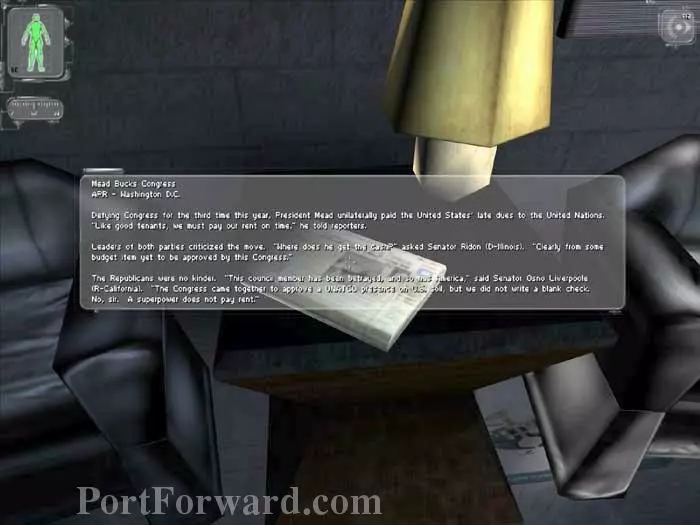
You can chat with your fellow employees and even read the newspaper.
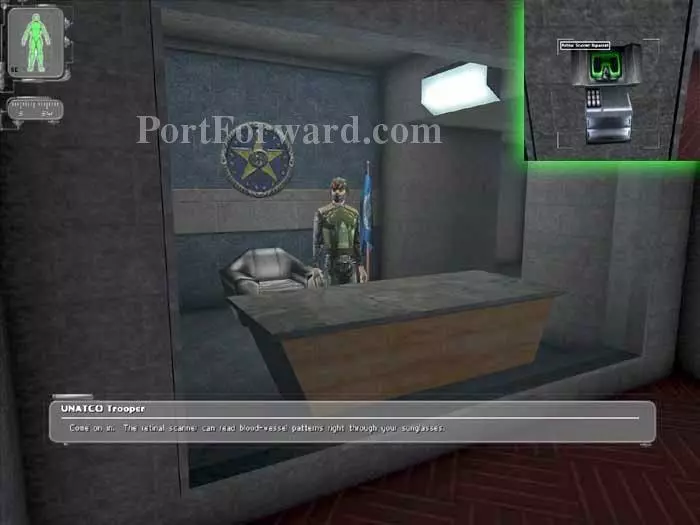
Use the retinal scanner (inset) to continue into the offices.
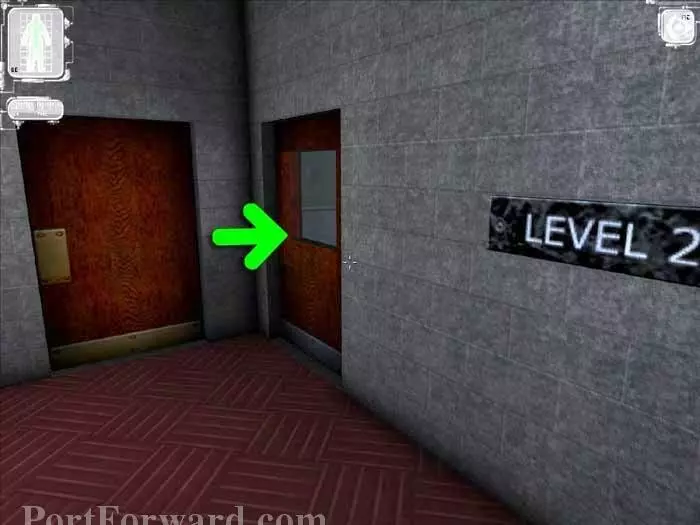
Your office is here on level 2.
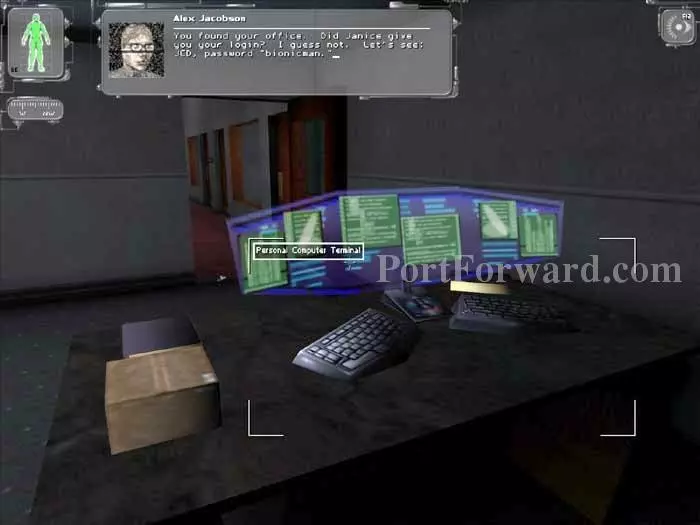
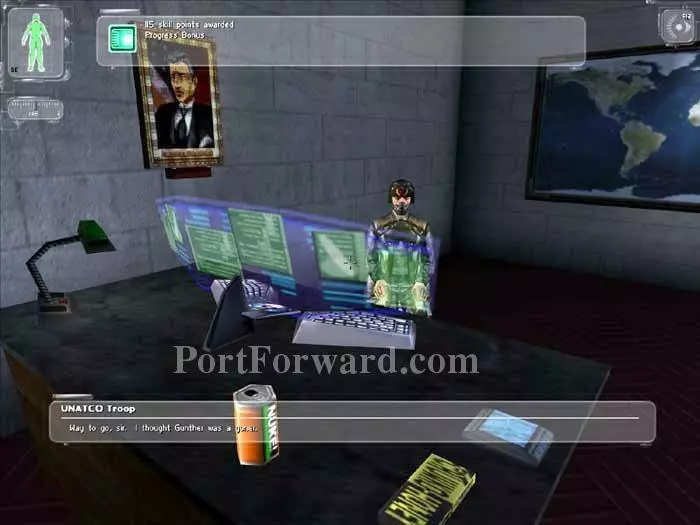
Alex radios your login and password, and you are awarded an Area Location Bonus of 50 skill points.

Log in to your account and check your email. You'll want to do this periodically throughout the game.
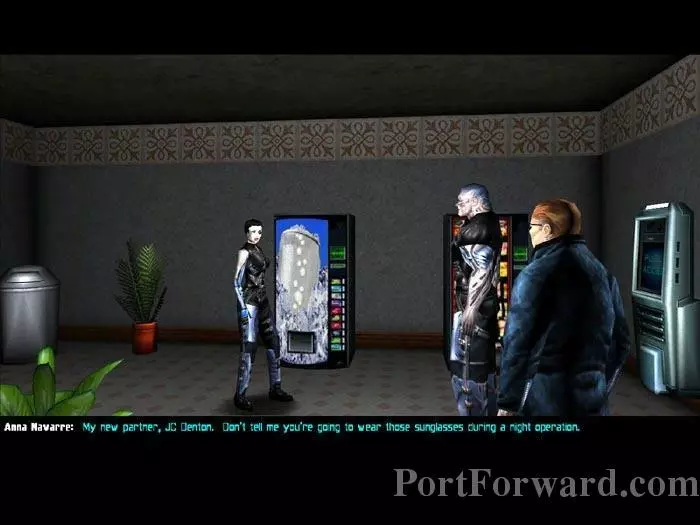
You'll find Anna and Gunther in this break room. Approach them and endure their insults to complete a secondary objective.
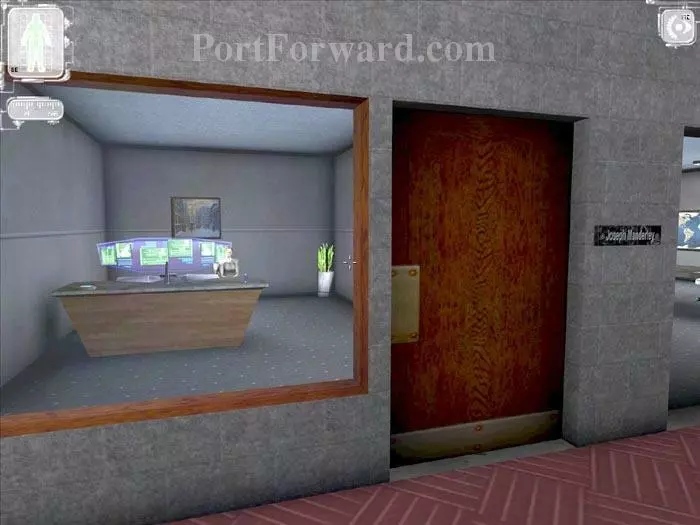
Here is the location of your primary objective - Joseph Manderley's office.
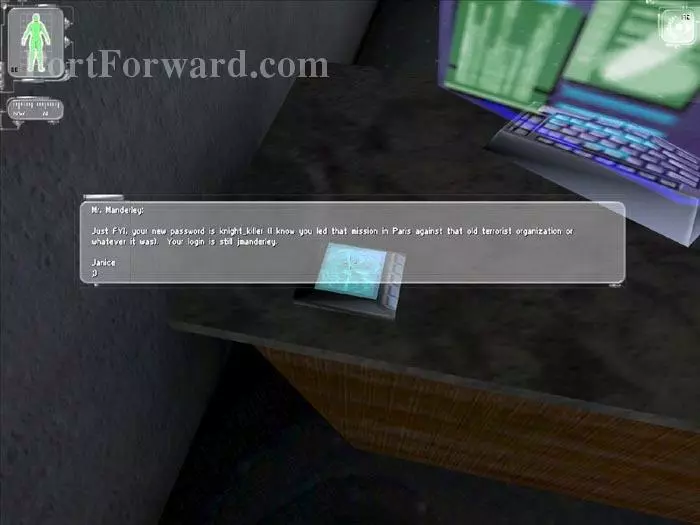
On the secretary's desk is the Nano Key for the closet doors as well as this Data Cube with Manderley's login and password.
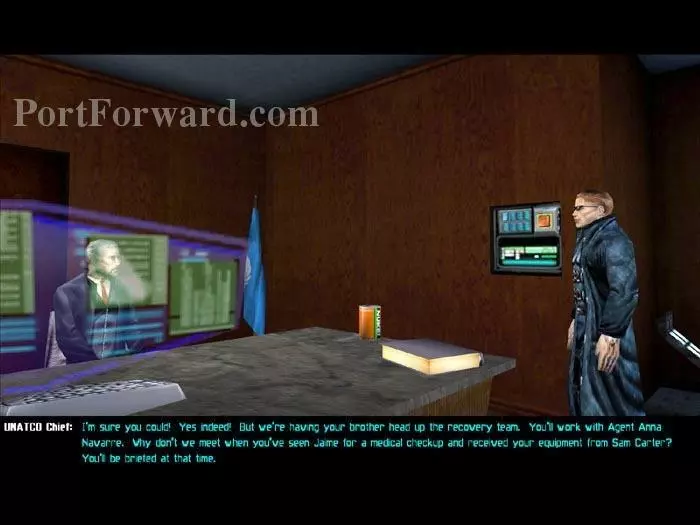
You are awarded a Critical Location Bonus of 250 skill points. Talk to Manderley and he updates your objectives -- meet with Jaime Reyes and Sam Carter.

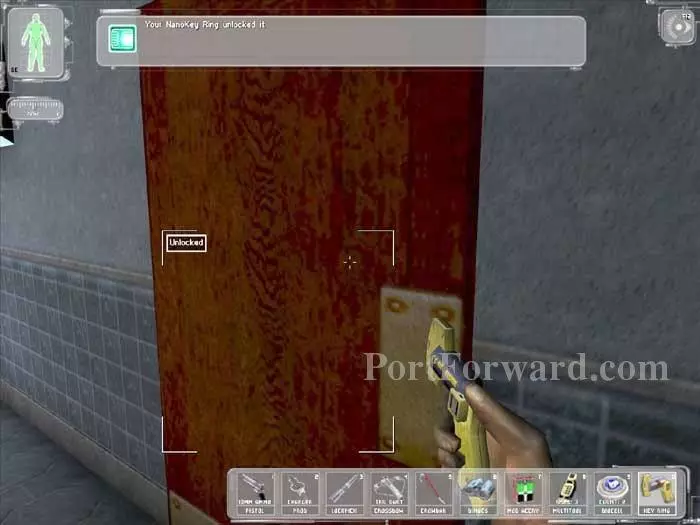
Use the Nano Key from the secretary's desk to access the two hallway closets for supplies.
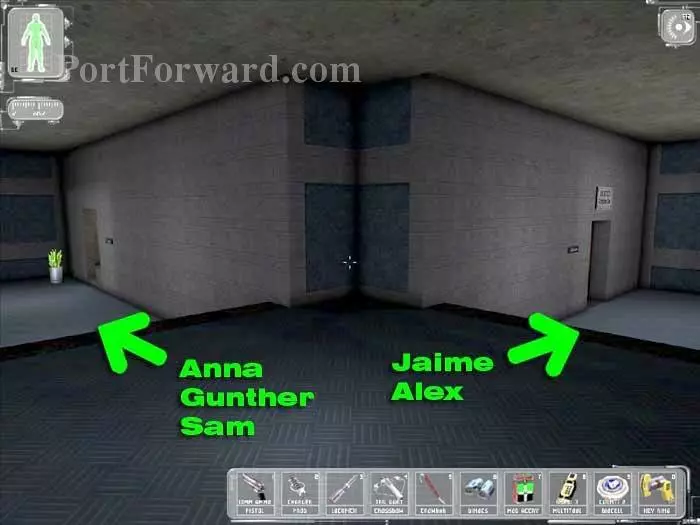
Descend to Level 3. In the corridor on the left are the offices for Anna, Gunther and Sam. The corridor on the right is where you'll find Jaime and Alex.
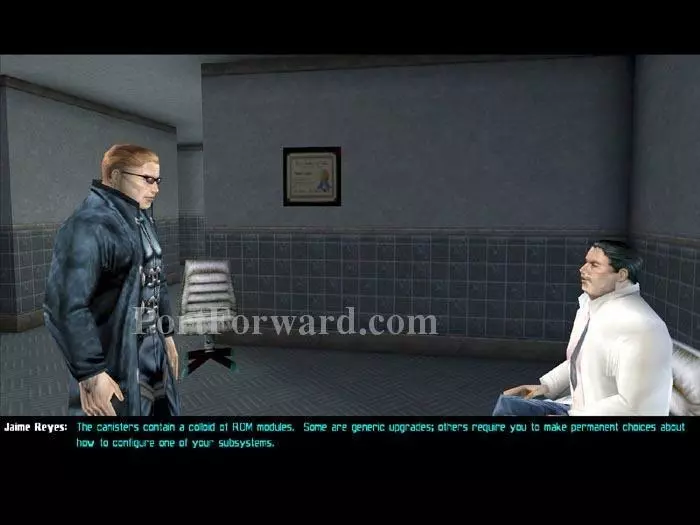
Let's start by visiting Medical. Jaime explains how to use the augmentation canister you picked up in the Statue.
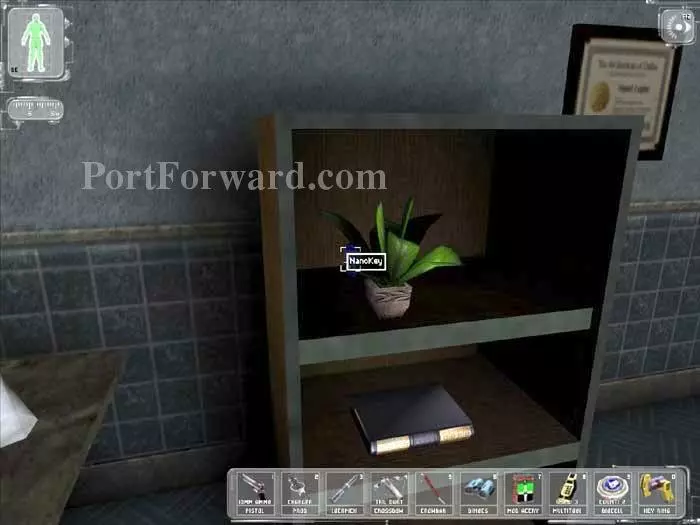
Swipe this NanoKey to the MedLab closet.
Inside the closet you'll find a Medical Supply Crate with a Medkit.
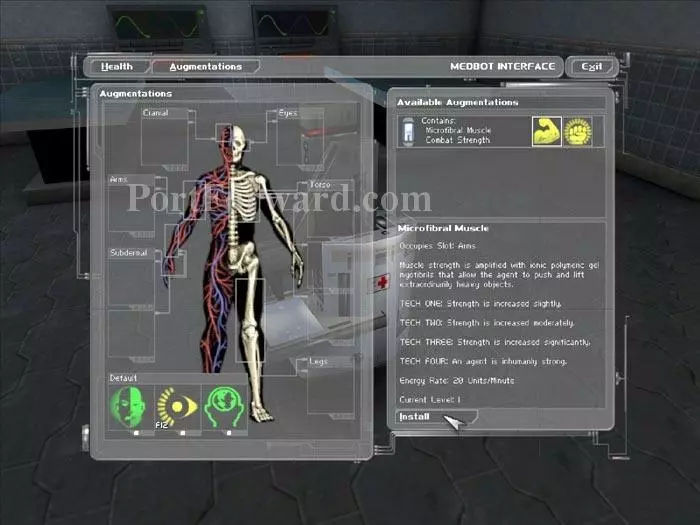
Use the Medical Bot to install your augmentation canister we picked up earlier. Microfibral Muscle will allow us to move obstacles and is more desirable for a stealthy gamestyle than its counterpart, Combat Strength.
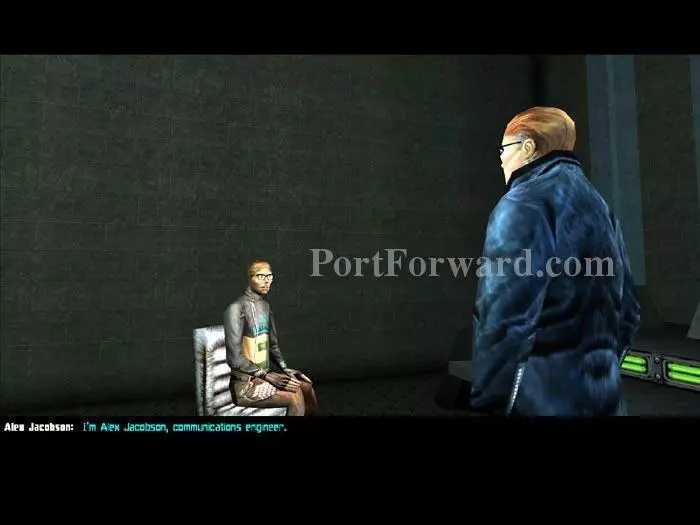
Next, step across the hall to see Alex.
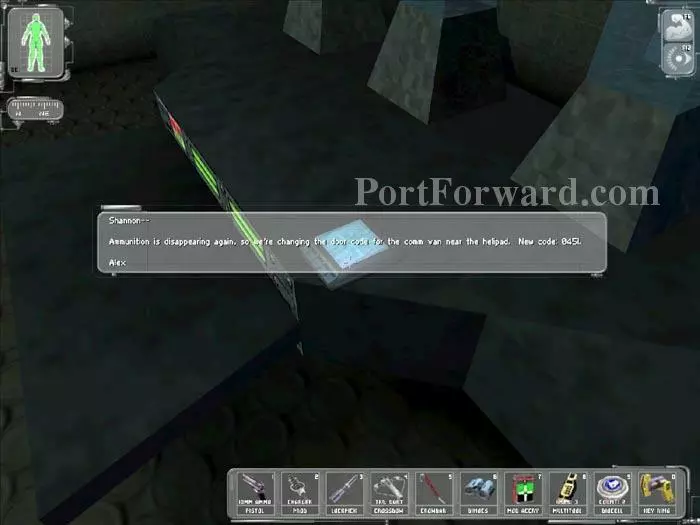
This Data Cube on Alex's desk has the door code for the bunker near the helipad - 0451.
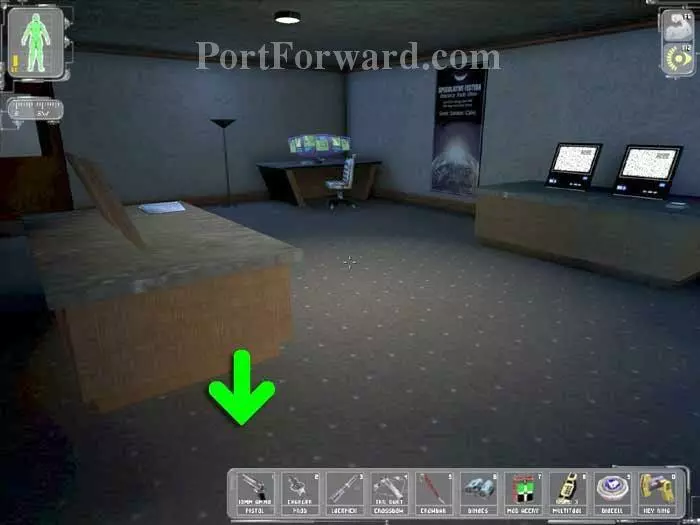
Hover your cursor over the indicated area on the floor to spot a secret panel. Inside you'll find an office door key, a Scope Weapon Modification, and 30.06 ammo.
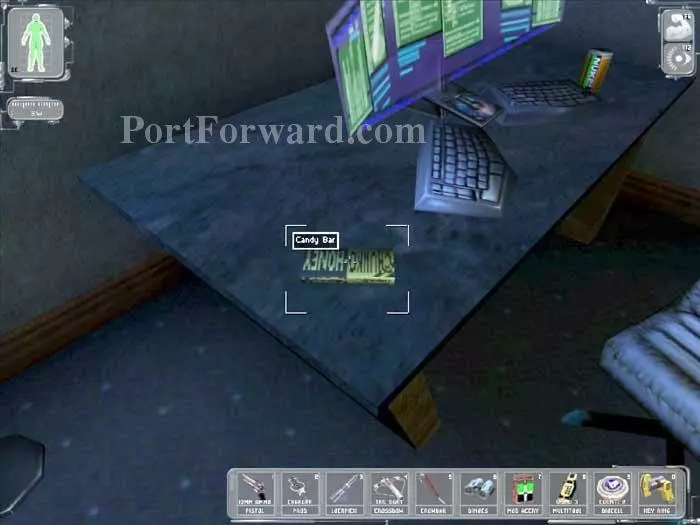
Grab this candy bar -- we'll be using it later in the next level.
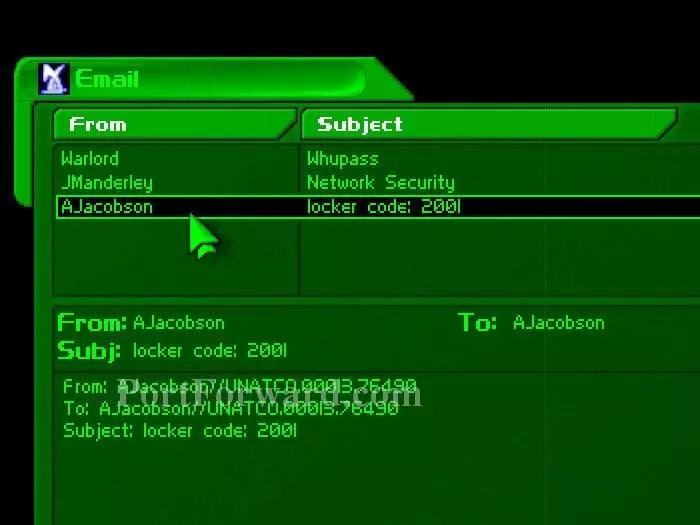
The Sci-Fi convention poster on the wall gives up AJacobson's password, "Calvo". Read this email to get the locker code: 2001. Inside the locker are a Lockpick, a Bioelectric Cell and some flares. (Thanks to Eagle Eyes Steve K.)
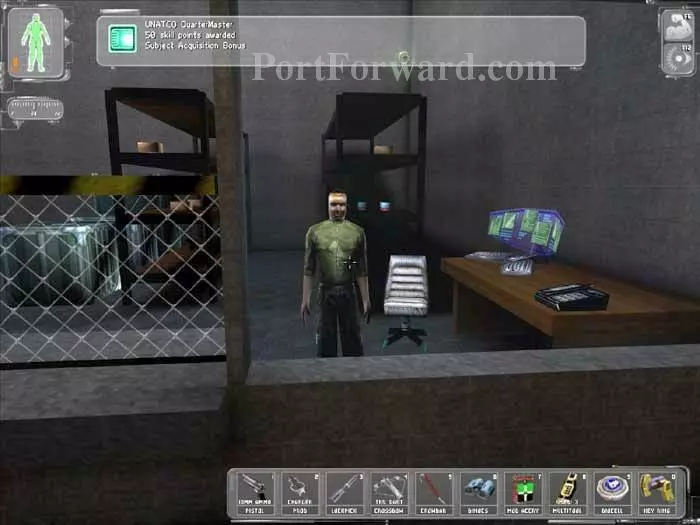
Next, head over to Sam Carter and receive a Subject Acquisition Bonus of 50 skill points.
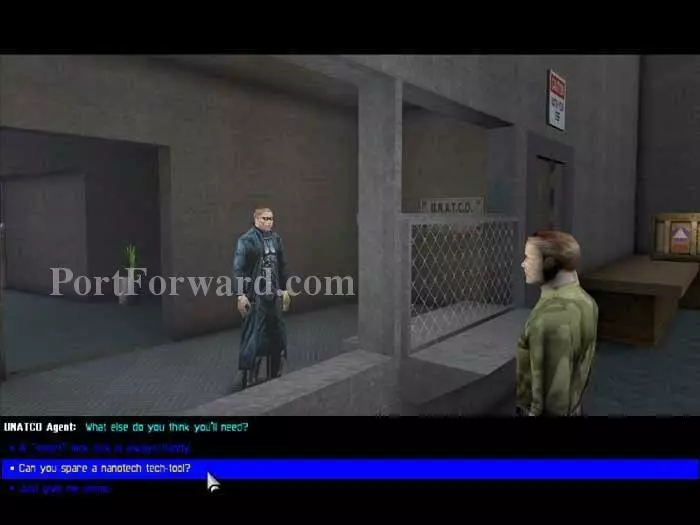
Sam gives you a stealth pistol plus a selection of more equipment. The lockpick or multitool are good choices. Here, I choose the Multitool. img(215870); Lastly, you can check out Anna and Gunther's offices across the hall. Not much here other than a Bioelectric cell visible on the table behind Anna. A table on the left has a Data Cube with Gunther's login and password. img(215871); Beyond are these holding cells, and a baton on this desk to the right. img(215872); You can also wander into the ladies room and startle poor Shannon -- but we wouldn't be so crass. img(215873); Don't return to Manderley's office just yet. Instead, head back outside to this bunker. img(215874); Enter the door code we got from the Data Cube in Alex's office - 0451. img(215875); Inside, you'll find Tranquilizer Darts and a control panel. img(215876); Hack the panel (better yet, use the login and password courtesy onfactorial) to open this bunker. Descend to earn an Exploration Bonus of 50 skill points and an EMP Grenade. img(215877); The office door key we found in Alex's office opens the two locked offices on Level 1. Inside this office you'll find a Lockpick and a Multitool. img(215878); This office holds an Accuracy Weapon Modification and an office door key code under the desk. img(215879); When you arrive at Manderley's office you'll find Paul there as well. Your objectives are updated -- get down to the South Dock. img(215880); Manderley gives you 1000 credits for completing your primary objective and another 250 for rescuing Gunther. He also berates you for being in the ladies room. Tsk, tsk! img(215881); Finally, return to the South Dock and board the boat to end the level - without having fired a single shot!
More Deus Ex Walkthroughs
This Deus Ex walkthrough is divided into 20 total pages.