This Deus Ex walkthrough is divided into 20 total pages.
You can jump to nearby pages of the game using the links above.
Hong Kong
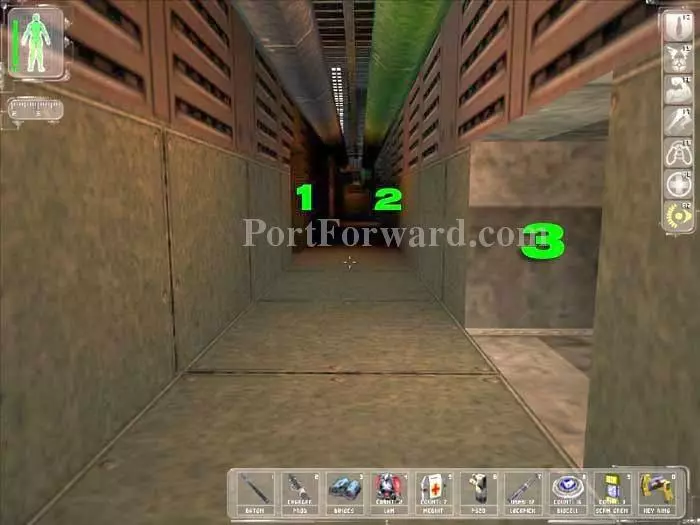
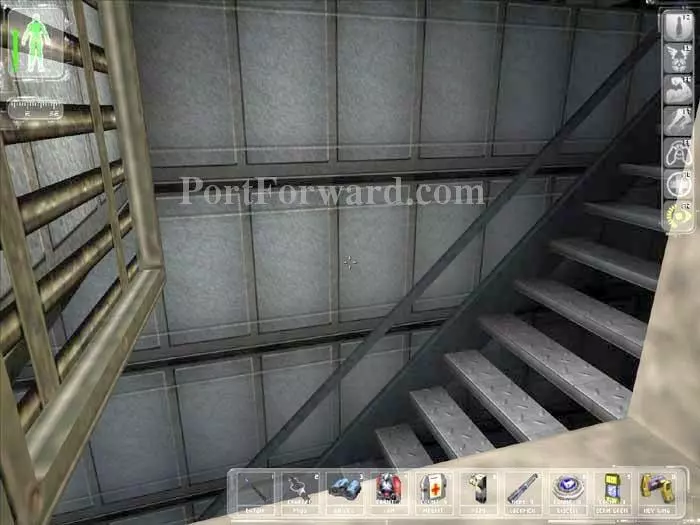
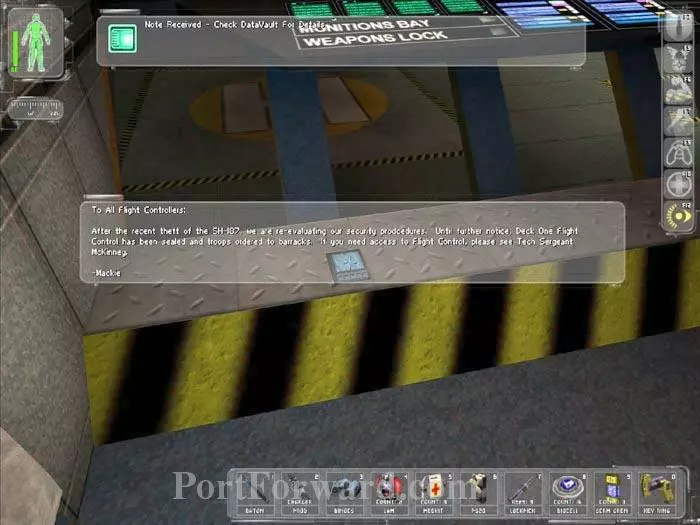
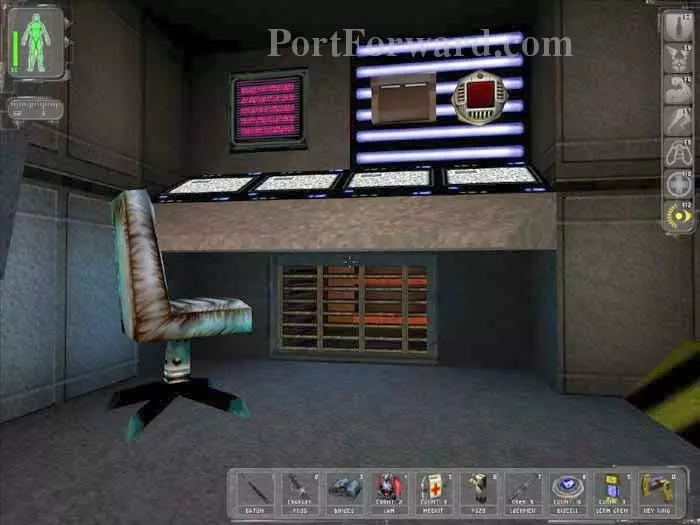
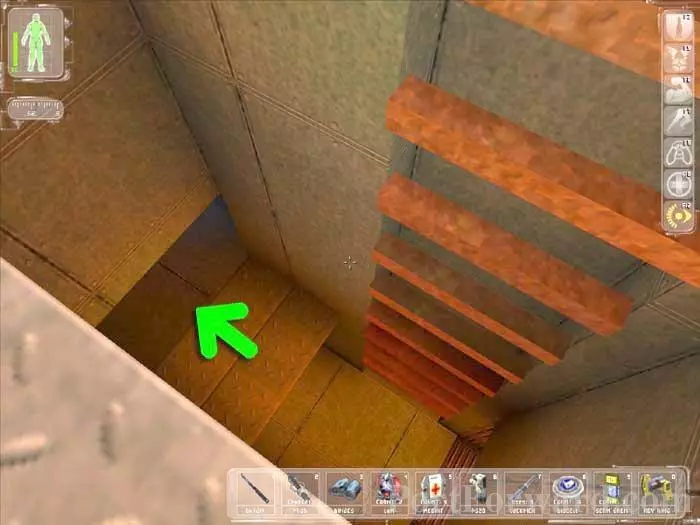
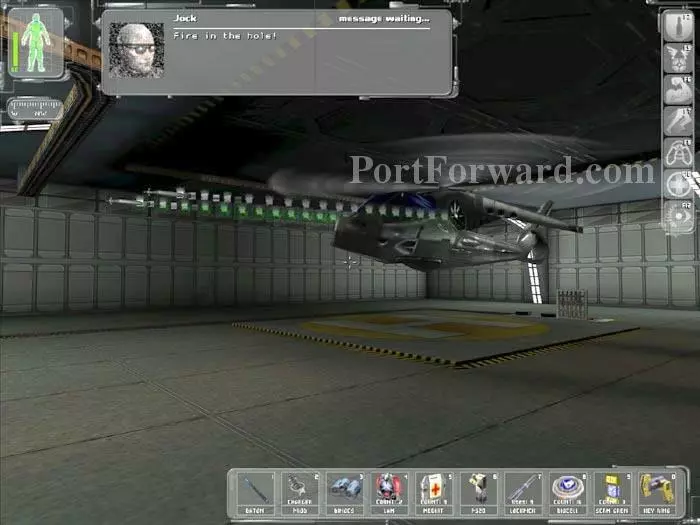
You're in Hong Kong, but the MJ12 locked onto Jock's Chopper and had the nav computer fly you right into their base atop the Versalife building. Jock wants to punch a hole in the blast doors, and you need to release the weapon lock holding him back. Jock tells you the weapon lock can be released on Flight Deck 1. Slip through the vent by the chopper and head down this shaft. At (1) you'll find the Munitions Bay. Grab any equipment you want and a DataCube with the purge valve code 99871. At (2) you'll find a keypad which will release toxic gas when you use the code 99871. You can don a Hazmat suit or wait out the gas in the center of the shaft. At (3) is a vent which leads to the MJ12 barracks.
The gas will kill most of the MJ12 in the barracks. Obviously do not use this tactic if you are playing as a pacifist.
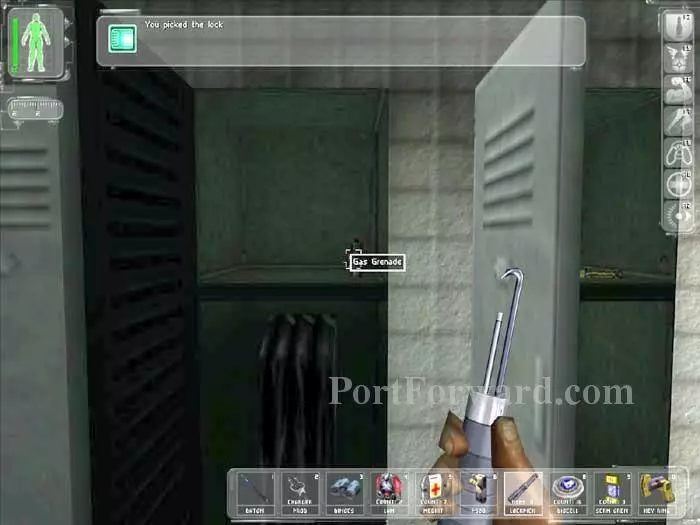
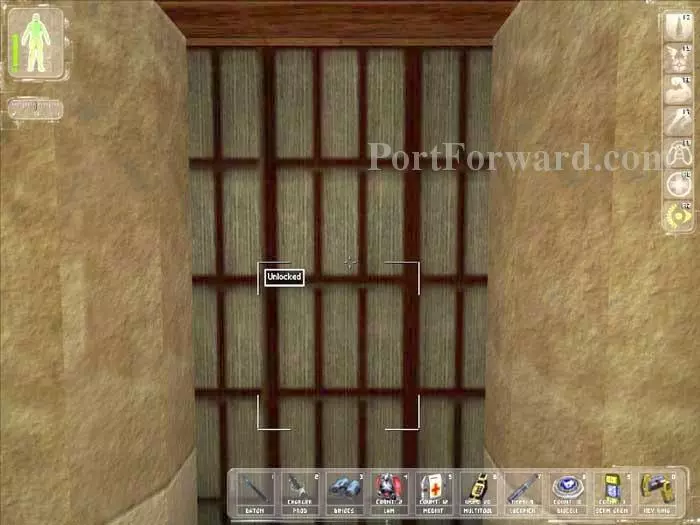
Pass through the vent at (3) and you'll drop into the locker room of the MJ12 barracks. Search the area for supplies. If you choose to pick this locked door you'll find a Gas Grenade inside.
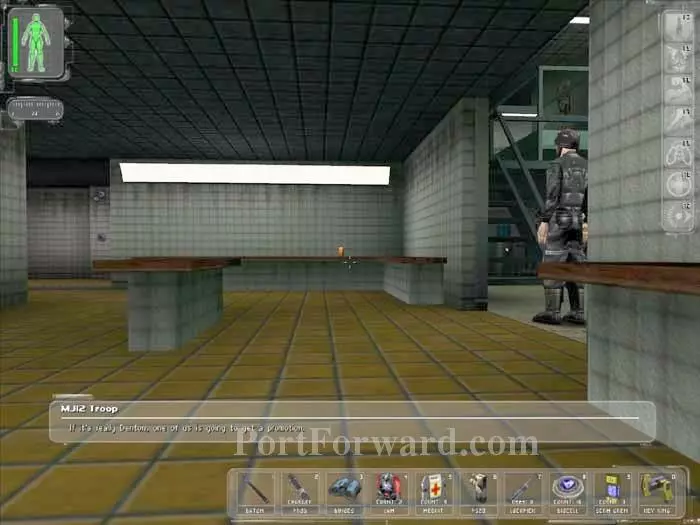
Of course, I chose not to release the gas and the MJ12 are still alive and kicking. Carefully avoid them and the security camera around the corner. Sneak up those stairs on the right.
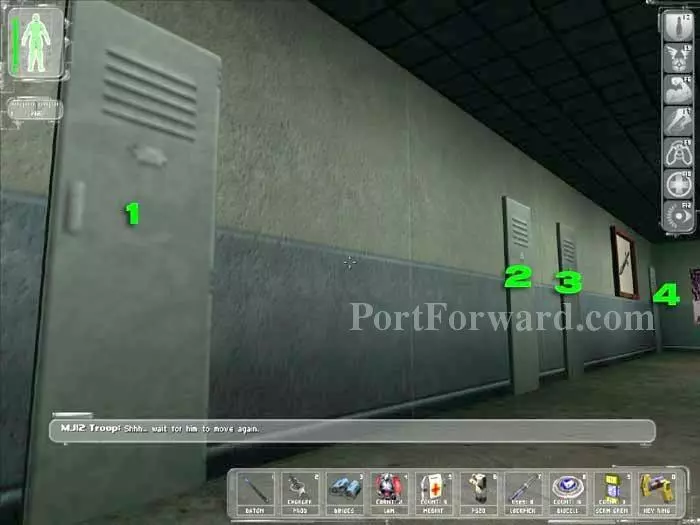
(1) Is the sole unlocked locker and holds a Munitions Bay key, a Pepper Gun and c100. (2) Holds a Trophy Cup and 10mm ammo (save your lockpick). (3) Holds the Flight Control Decks key and the elevator code 989. (4) Is the hardest to avoid detection and holds a Multitool plus c50.
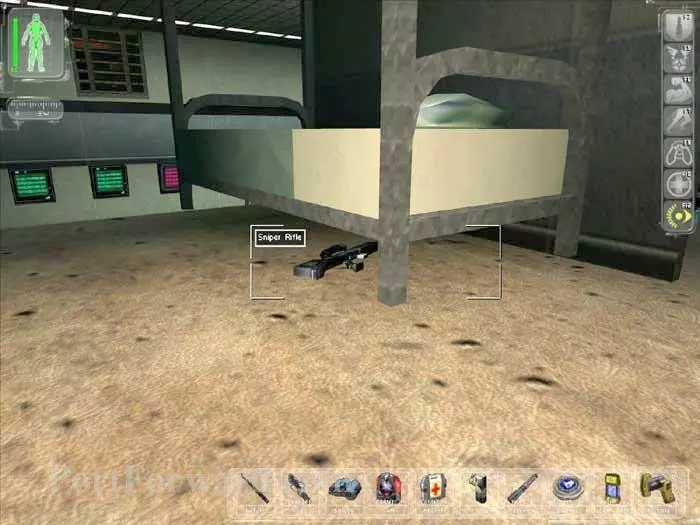
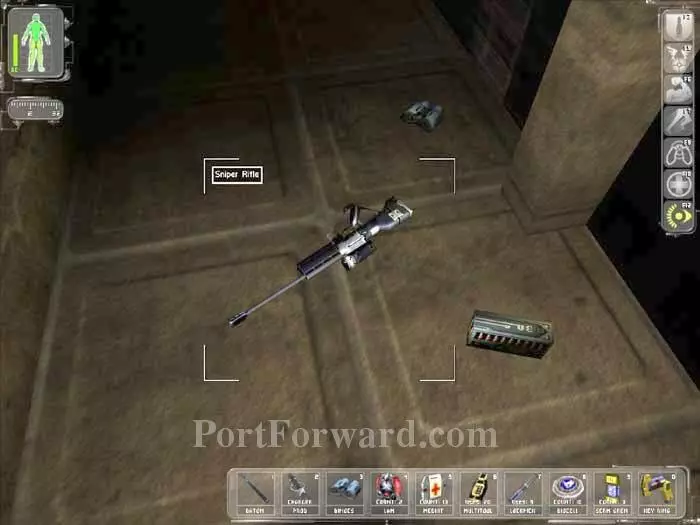
If you're a sniper you won't want to miss the Sniper Rifle.
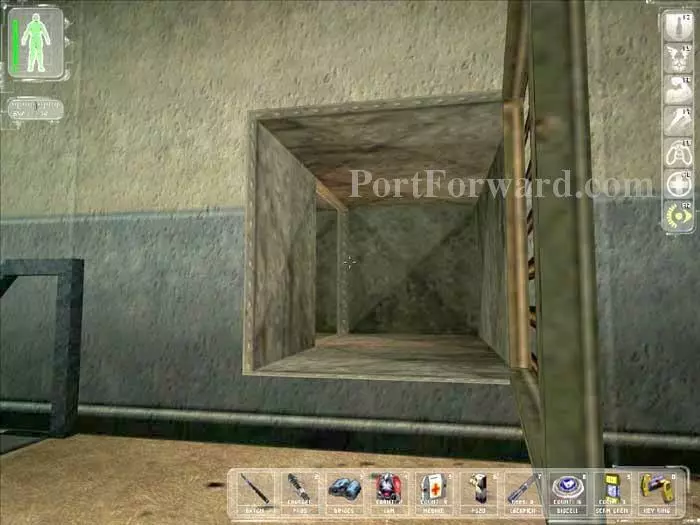
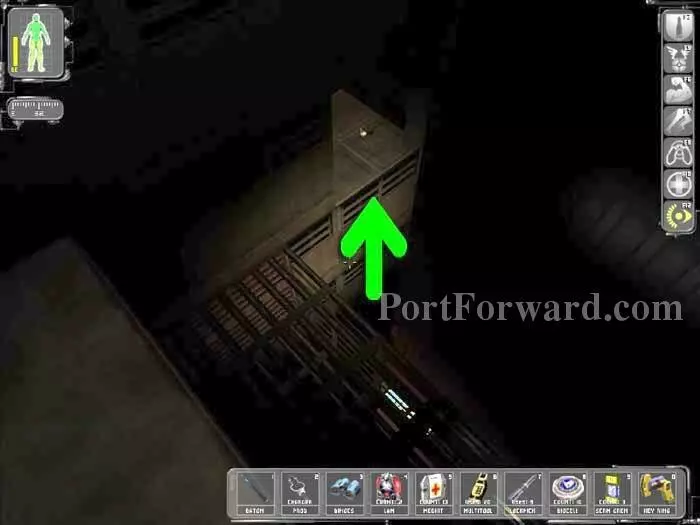
Slip through this vent, careful to avoid the security camera. Keep left.
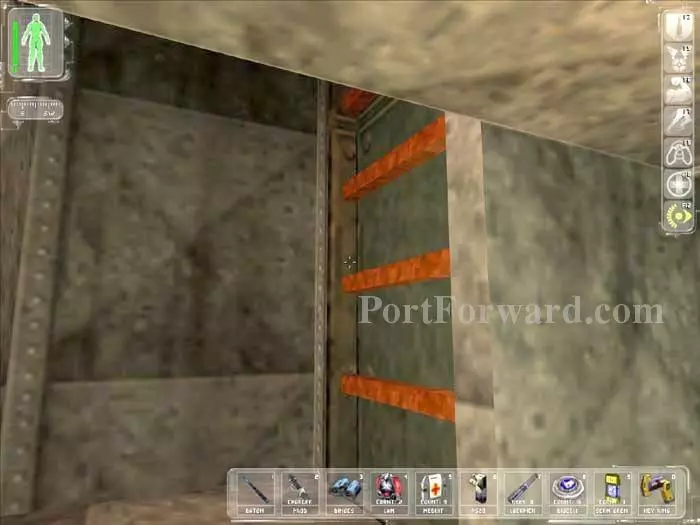
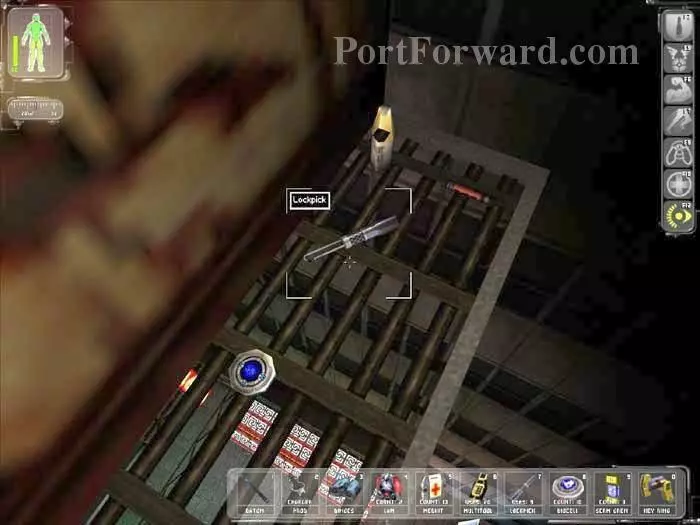
Before ascending this ladder, snatch the lockpick from the pipe behind you.

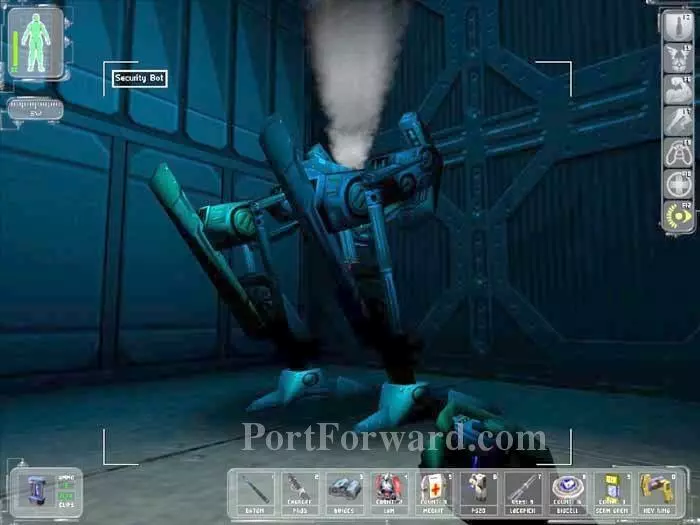
Follow the vent to this security bot. Toss an EMP to disable it. Otherwise it will attack when you are about to make your escape.
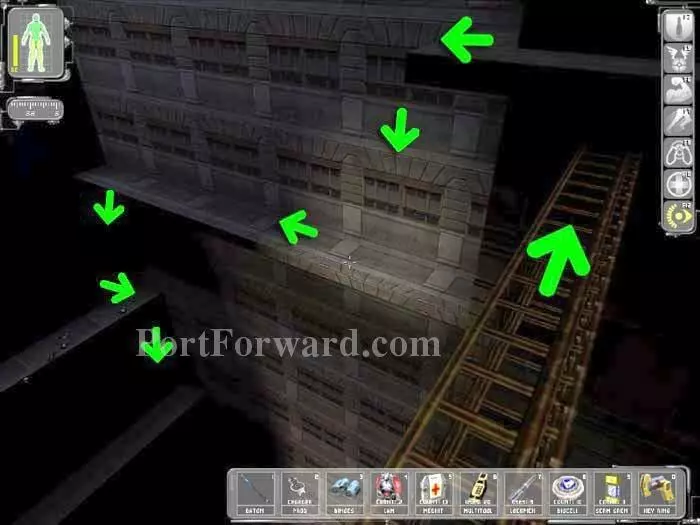
Descend the ladder then exit to this vent on the right. Ascend the stairs to the Flight Control Decks.
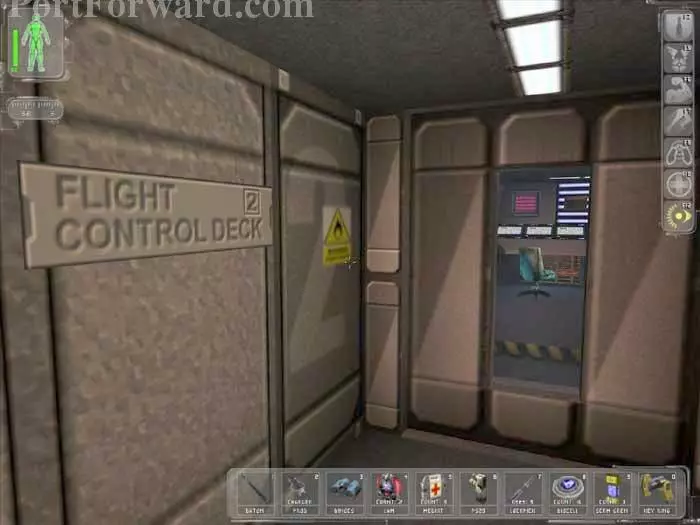
Let's start with Flight Deck 2.
This DataCube contains a note suggesting that Tech Sergeant McKinney controls access to Flight Control. We've already swiped the key from his locker.
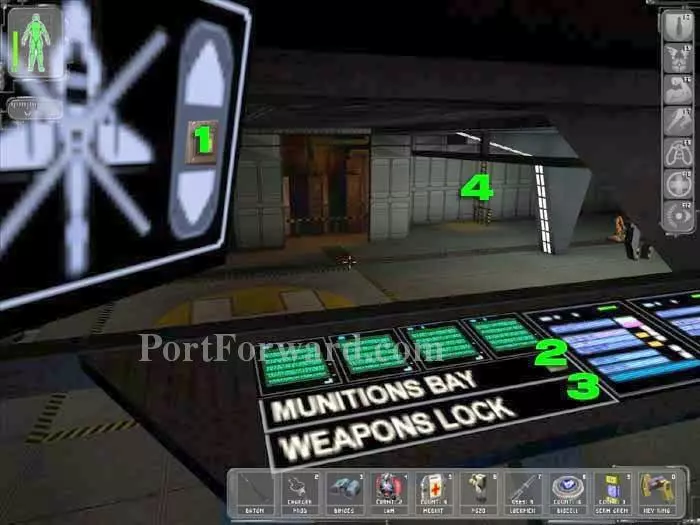
(1) raises the helipad to the upper deck, which can be reached by ascending the ladder (4) (best avoided for pacifist play). (2) opens the Munitions Bay (been there) and (3) is disabled.
The Security Terminal above the console can disable three security cameras. Slip through the vent below.
Descend the ladder halfway and proceed as indicated.
Another Security Bot. Disable it with an EMP Grenade.

Return up to the Flight Control Deck and cross the hall to Control Deck 1. Use your Nano Key to unlock the door.
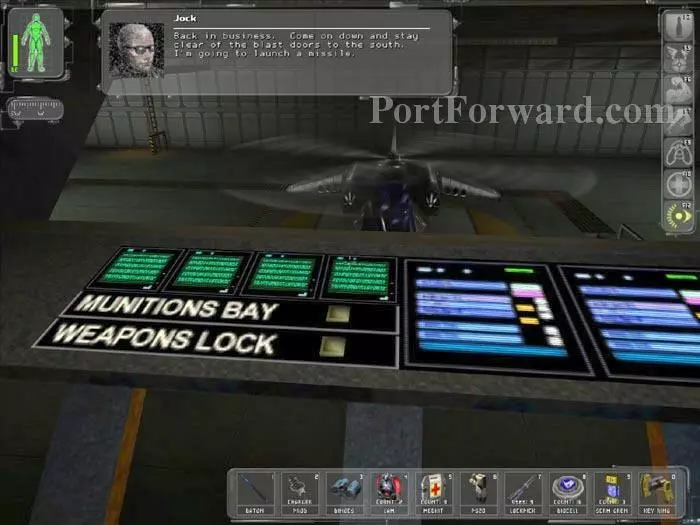
This time the Weapons Lock button works. Jock tells you to come on down and he'll launch a missile to clear the blast doors to the south, which you should avoid.
Return to the chopper and Jock fires two missiles at the blast doors.
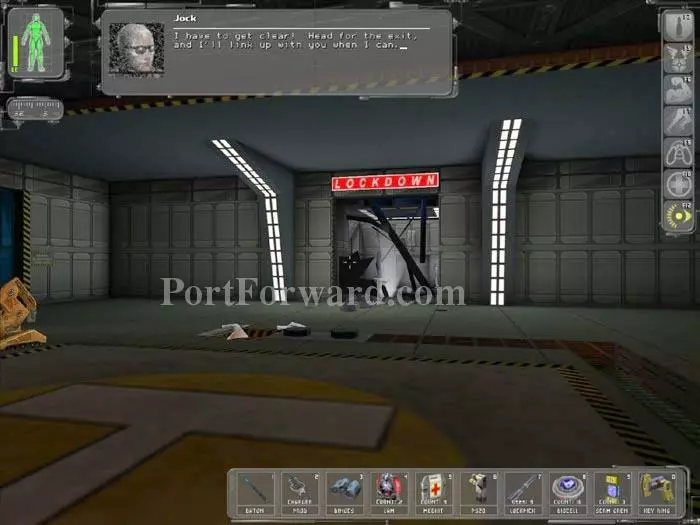
Your exit is through the debris under the "LOCKDOWN" sign. Electrical arcing can be disabled by bypassing the Control Panel to the right with Multitools, or you can just take your chances.
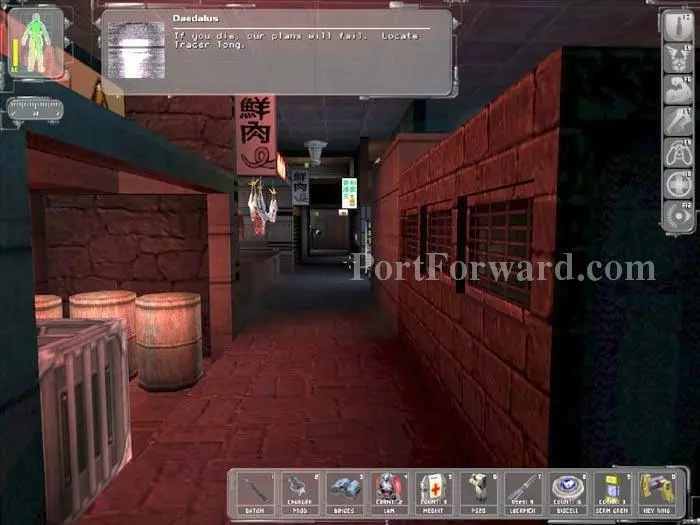
Ride the elevator down to the Wan Chai Market. Jock and Daedalus both radio that you must locate Tracer Tong.

You can hack this ATM at the northwest corner of the market for c100.
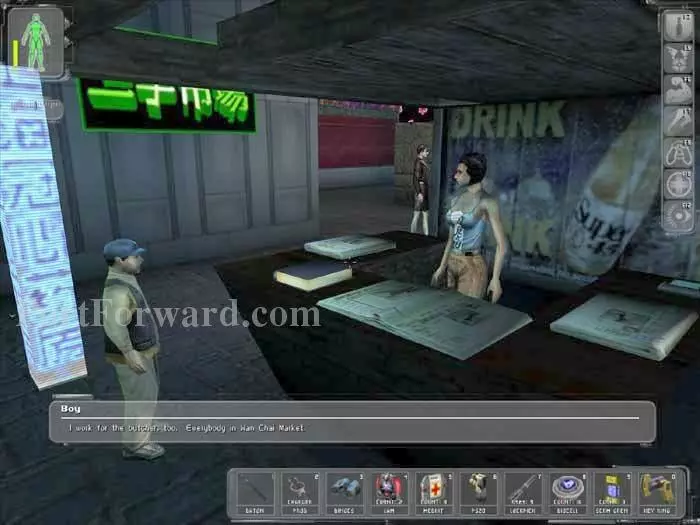
The voice acting in this level is notably bad. Listen to Louis Pan threaten the news stand vendor for protection money. He's working for the Luminous Path.
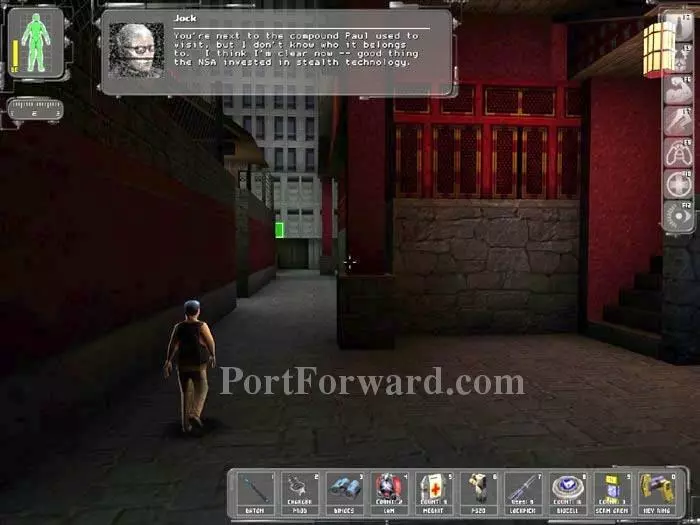
Follow the boy and he'll lead you to the compound Paul used to visit.
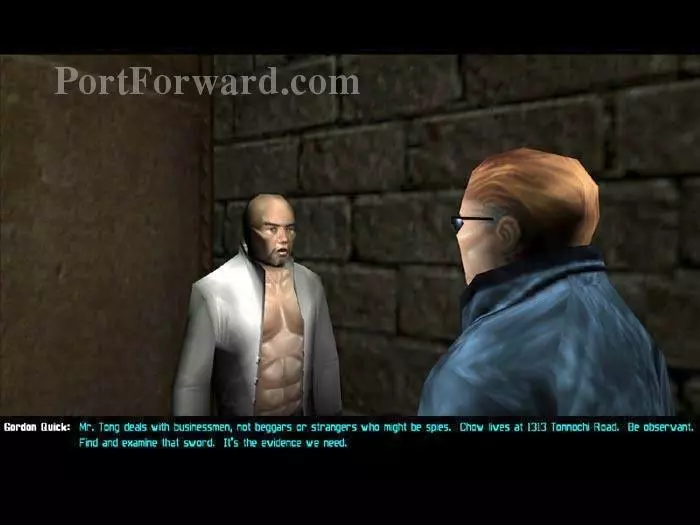
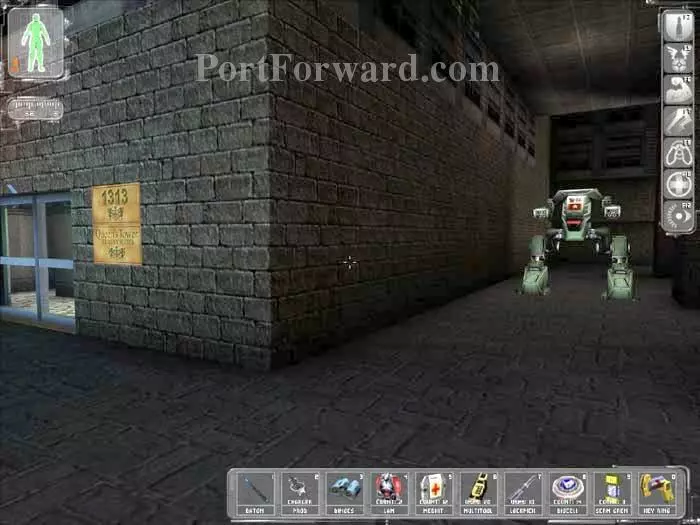
Standing guard is Gordon Quick. He knows Paul and can get you to Tracer Tong, but first you'll have to earn his trust. Find the Dragon Tooth Sword at Maggie Chow's home, 1313 Tonnochi Road.
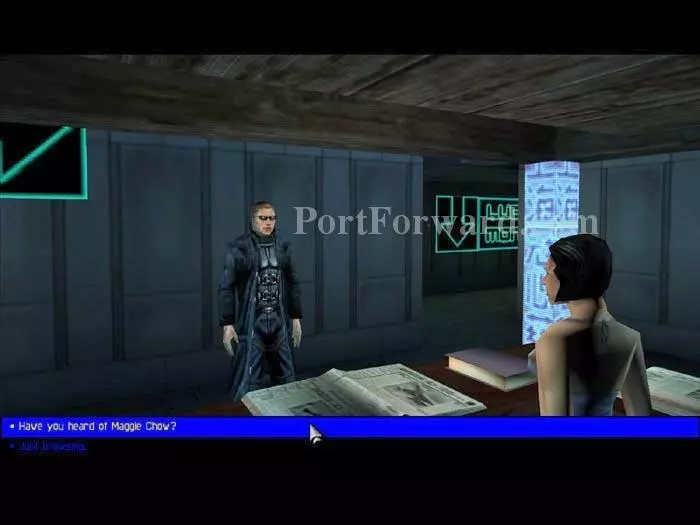
You can return to the news stand vendor and learn about the Luminous Path and Red Arrow Triads, plus hear what she has to say about Maggie Chow.
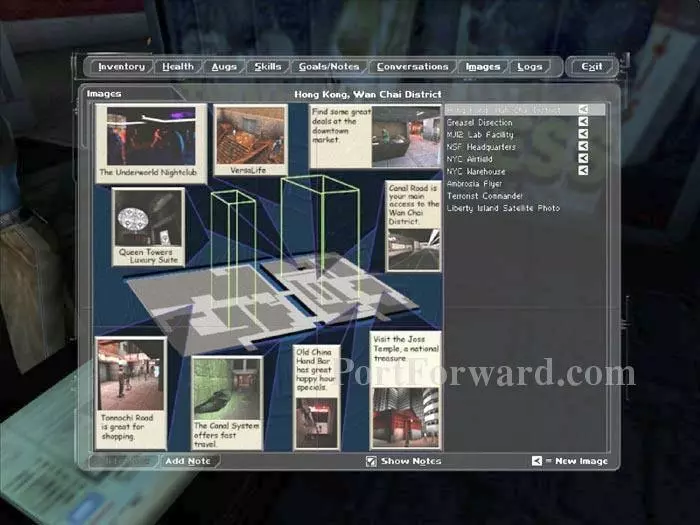
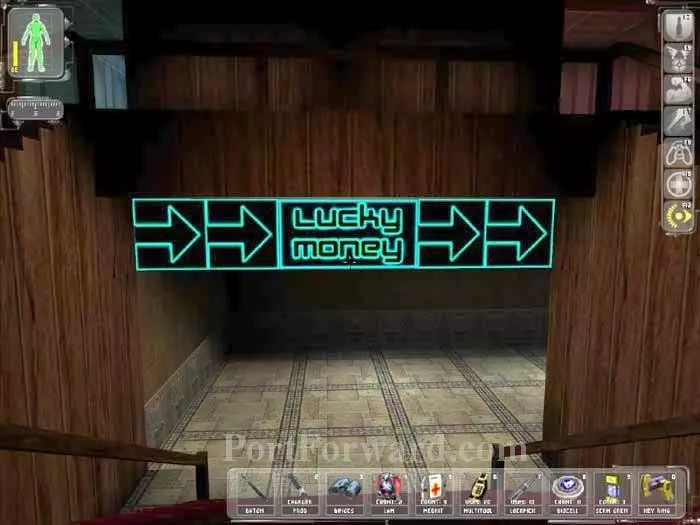
The nearby DataCube holds this very confusing map.
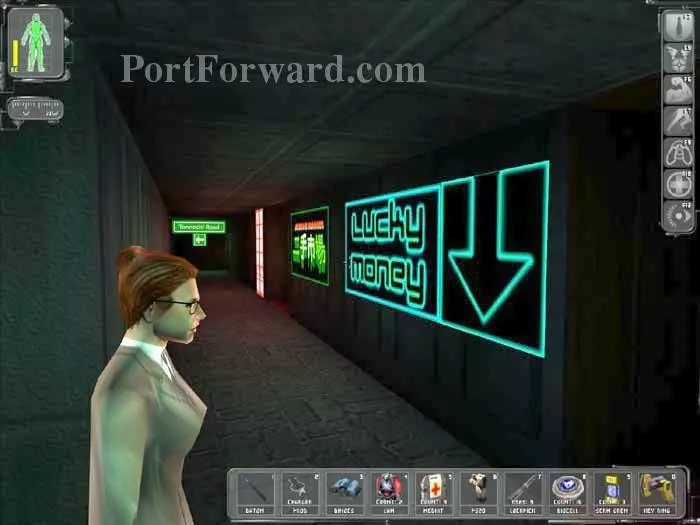
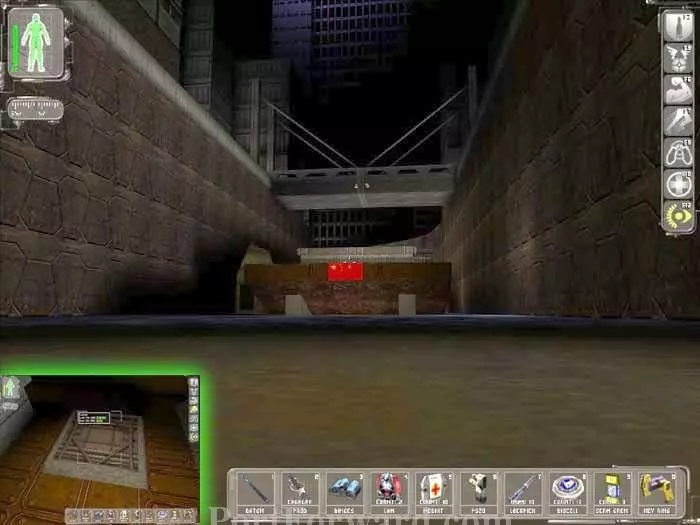
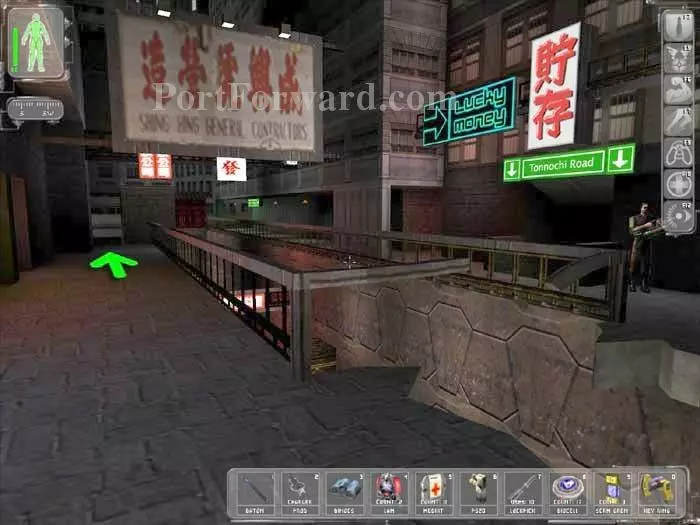
Ignore the Lucky Money for now and head toward the sign to Tonnochi Road. Instead of heading left as indicated, turn right.
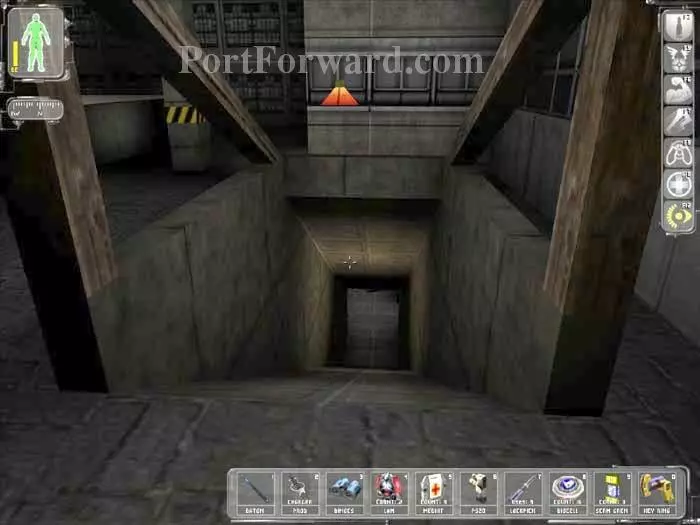
Make another right then descend down this ramp to the canal below.
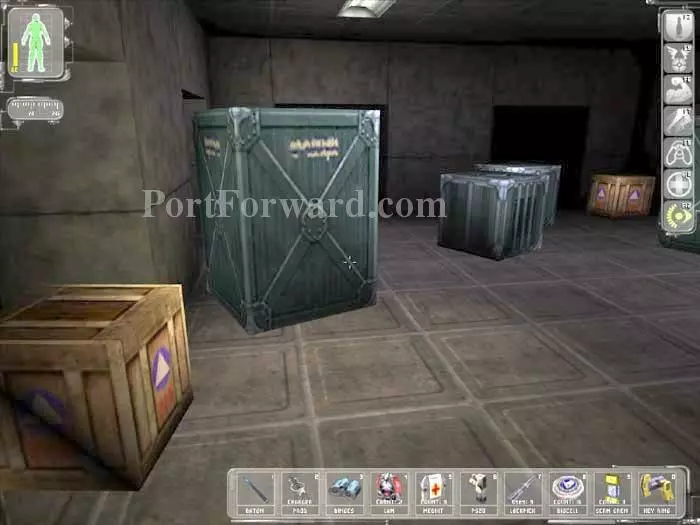
You'll find lockpicks inside each of the supply crates.
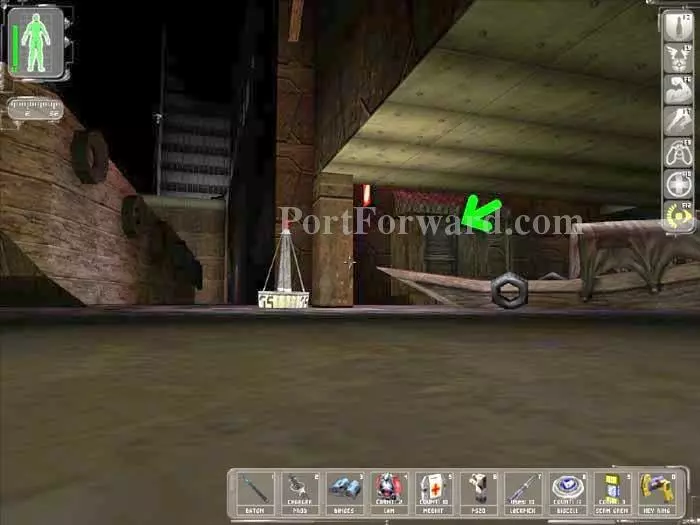
Board this barge.
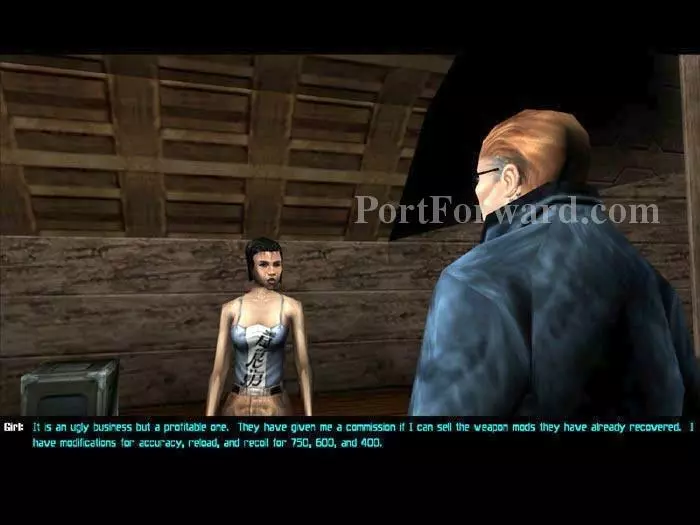
Talk to this girl and she'll offer to sell you weapon mods.
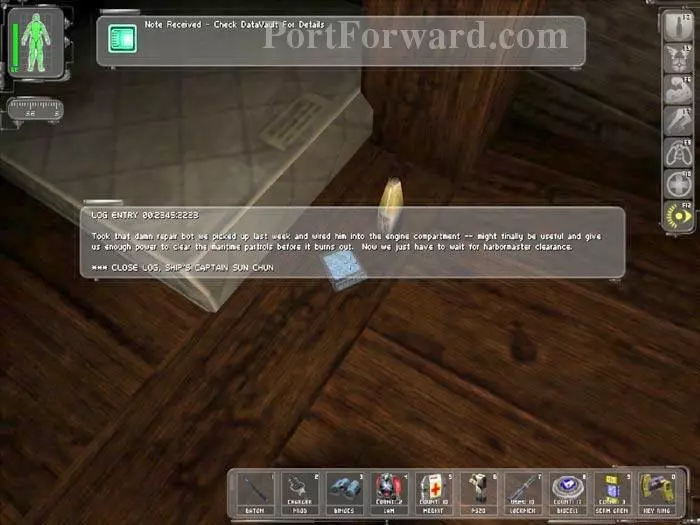
Descend the stairs into the barge's hold and find crates containing a Medkit and food. Read this DataCube indicating that a repair bot has been wired into the engine compartment.
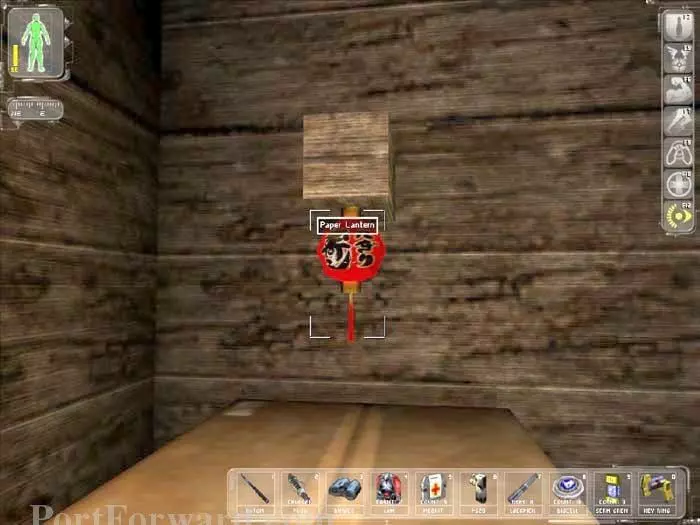
"Use" this Paper Lantern to open a secret panel. Bust apart the cardboard box to pass through.
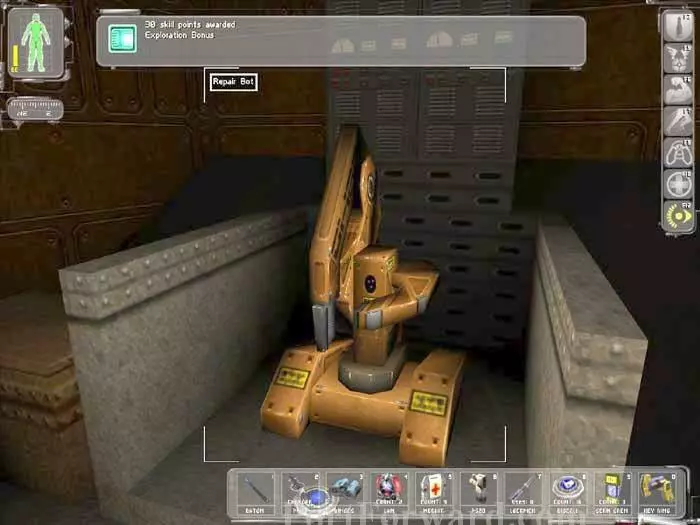
It's the engine compartment! Fill up on energy at the Repair Bot then pick the lock on the neighboring trunk to find several vials of Zyme plus c450.
At this point I dump all of my skill points into Swimming and upgrade it to 'Master'. Upgraded swimming skill makes exploring this large canal area much easier. Pacifist players can skip the neighboring barge. Others may access it by dropping from the bridge above. Pass through the trap door (inset), don a Hazmat suit, pass through the toxic fog and retrieve rockets, napalm, and plasma.
Enter through the indicated doorway. You can see the original barge on the left for reference. Inside you'll find a locked trunk holding a Multitool and a Bioelectric cell -- better to save your lockpick.
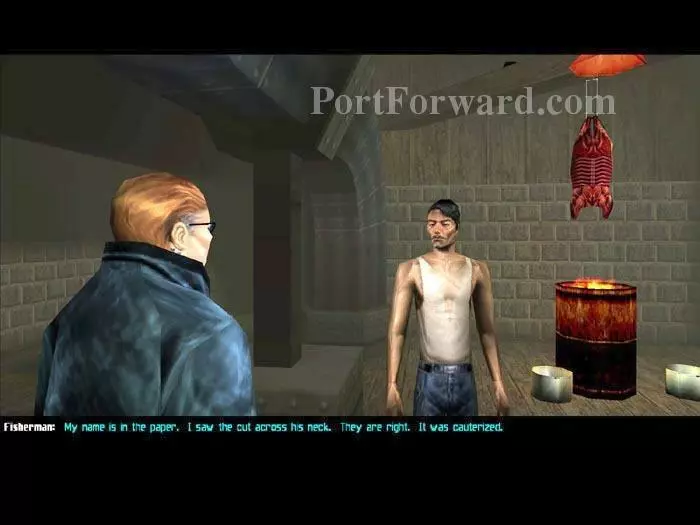
Ascend the stairs and earn an Exploration Bonus of 20 skill points. Talk to the fisherman and learn of a Triad leader who was murdered. The Dragon Tooth Sword was possibly the murder weapon. Bust open the nearby Medical Supply Crate for a Medkit.
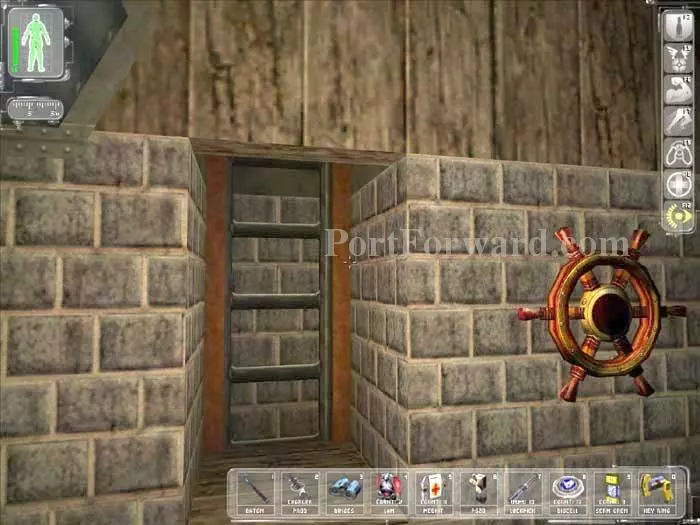
Ascend this ladder and press the switch at the top to exit through the door.
We're back where we started. Proceed as indicated.
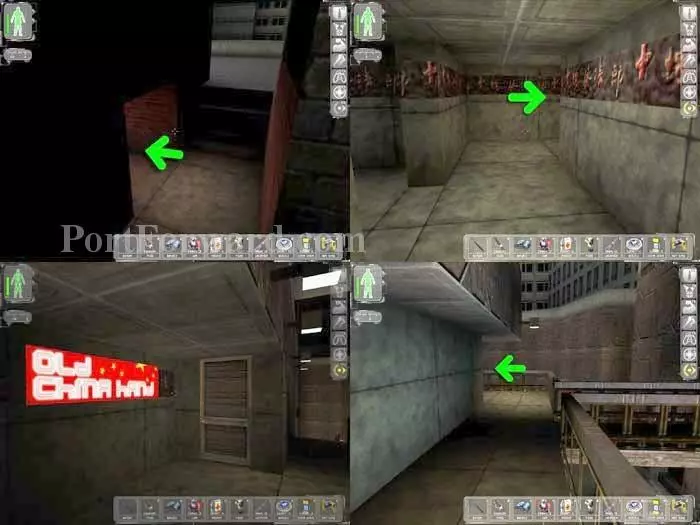
Follow the arrows clockwise from top-left to arrive at the Old China Hand.
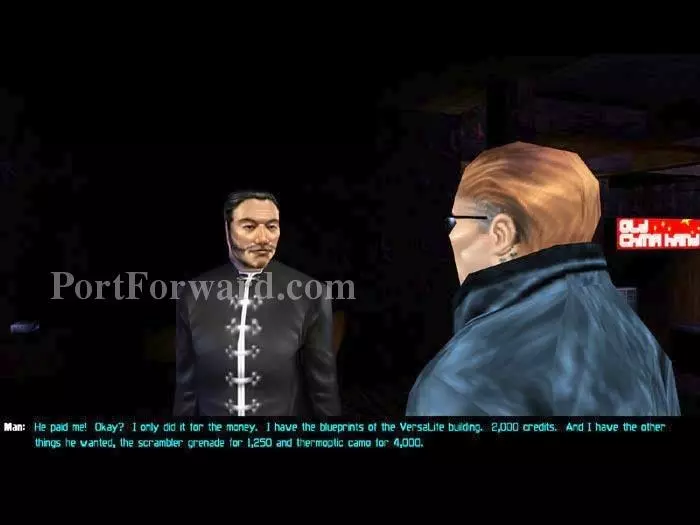
Head downstairs and this man will approach, mistakenly thinking you are Paul. Talk to him repeatedly and he'll offer to sell you equipment and information - at very inflated prices.
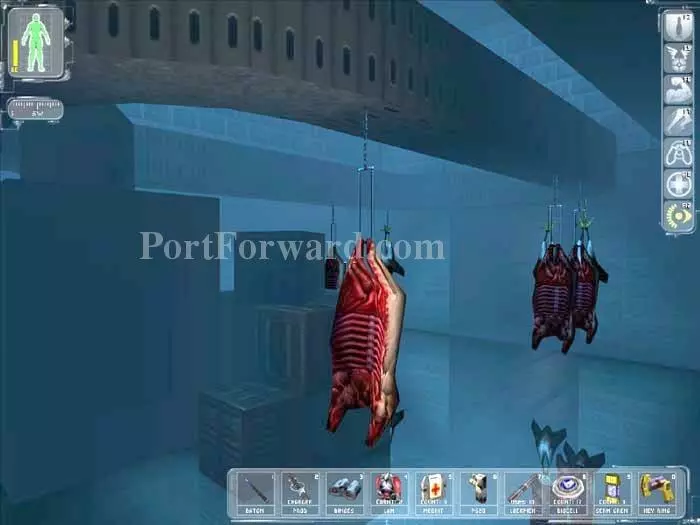
Exit through the east doorway and pass through the kitchen to this meat freezer. Climb the crates to the meat rack (your Speed Enhancement helps).
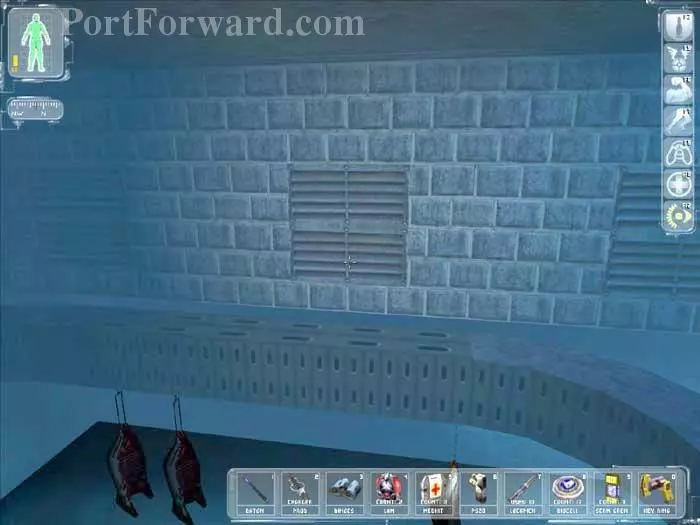
A thin layer of frost covers everything so watch your step. Pass through one of those vents ahead.
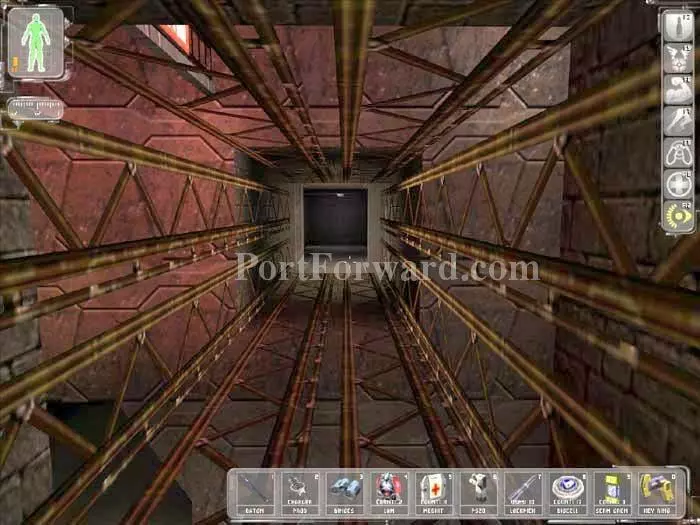
Follow the ventilation shaft and earn an Exploration Bonus of 50 skill points. Continue over the canal as seen here.

Continue all the way down to this submerged section of highway. Swim left past this wrecked car.
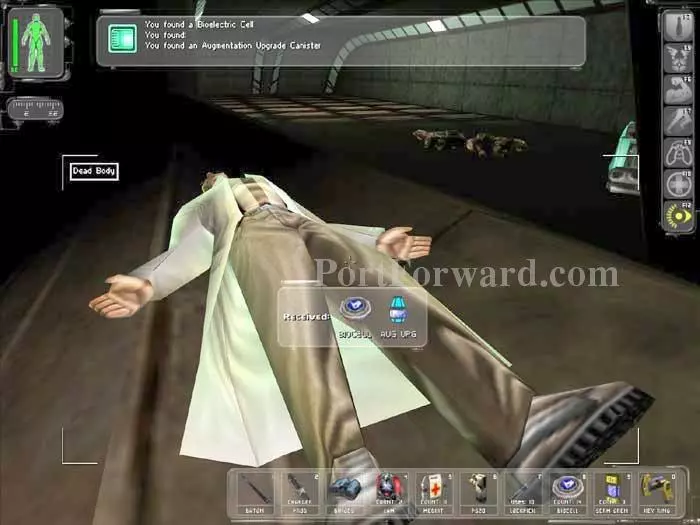
Avoid the Baby Karkians and retrieve this Bioelectric Cell and Augmentation Upgrade Canister from the dead body.

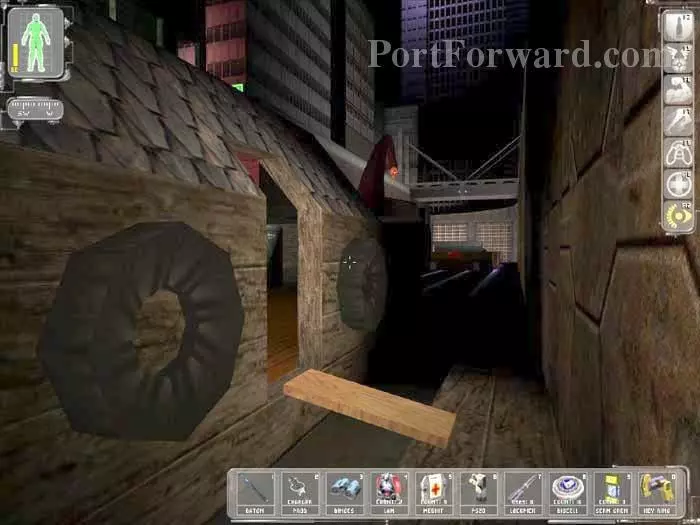
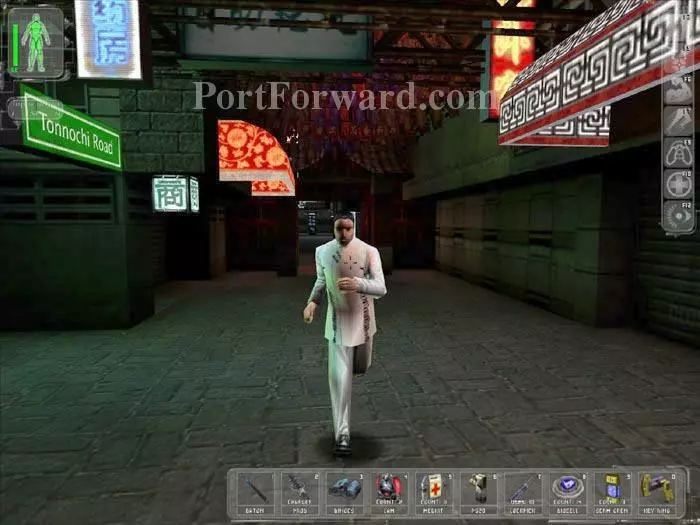
Now we can continue to Tonnochi Road. Return to this position and hop across the broken bridge. Alternately, you can take one of the intact bridges on either side. Pass under the Tonnochi Road sign.

Continue through the walkway to Tonnochi Road Wan Chai District.
This Luminous Path member approaches to tell you that Maggie Chow's residence is half a block down on the left. He urges you not to be fooled by her lies.
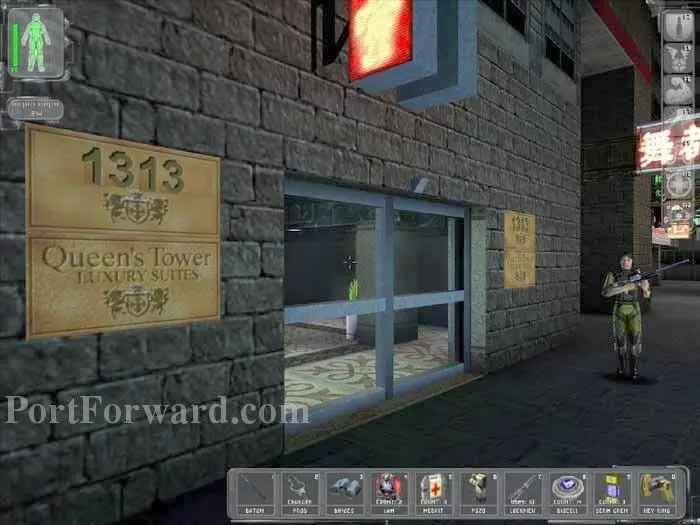
Here is Maggie's residence - the Queen's Tower at 1313 Tonnochi Road.
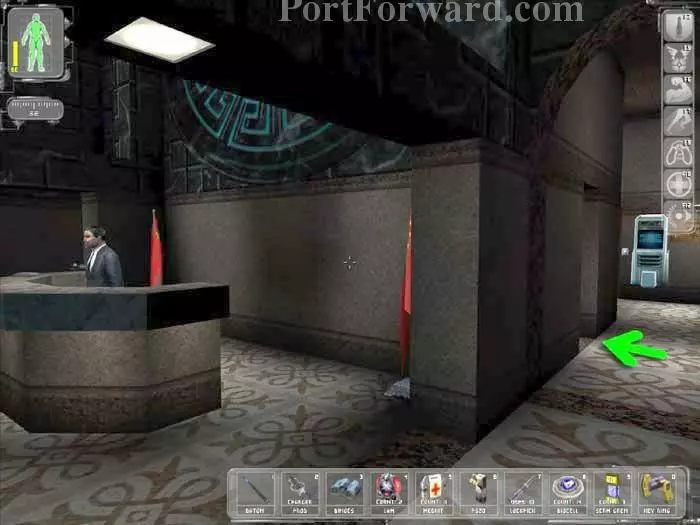
Inside the indicated room you'll find c50 and a Security Computer Terminal. Hack the terminal to disable three cameras and open two doors. The Public Access Terminal beyond instructs Maggie Chow's visitors to use the penthouse elevator.
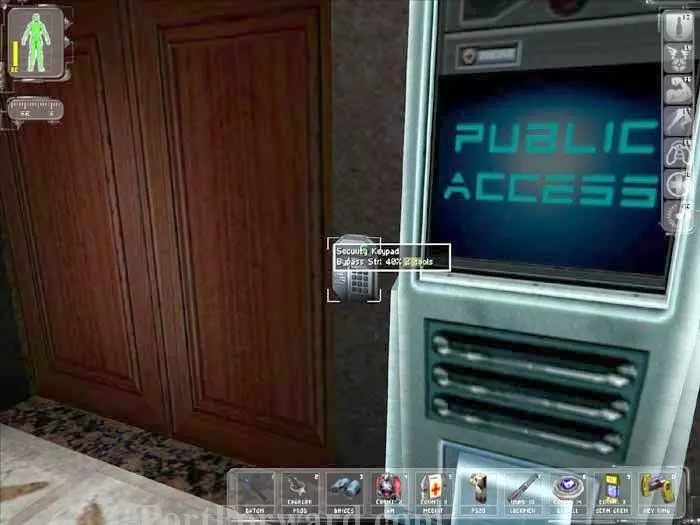
The Terminal informs potential tenants they can visit the renovations with the elevator code 3444.
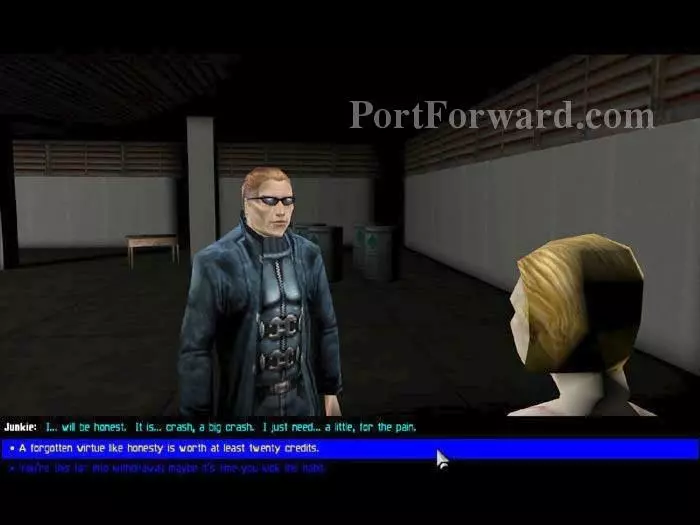
Ride the elevator up with the code 3444. Give the junkie c20 and she'll tell you to avoid the nearby back entrance to Maggie Chow's. The DataCube on the table visible beyond reveals the security terminal login QUEENSTOWER/SECURITY plus the elevator bypass code 1709.
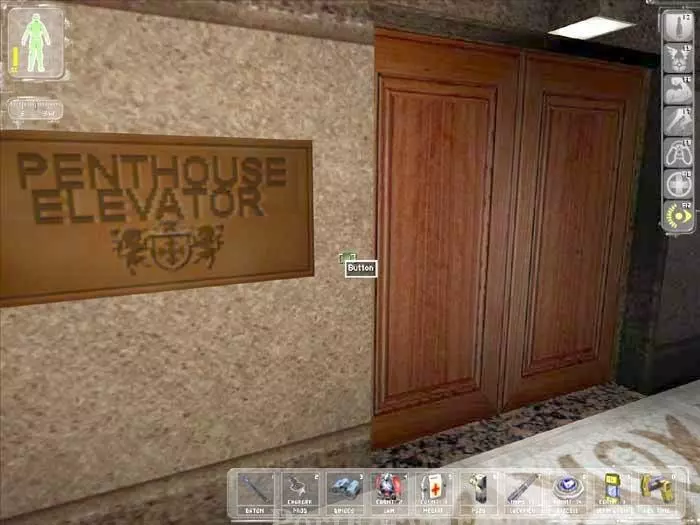
Return to the lobby then ride the penthouse elevator up to Maggie Chow's.
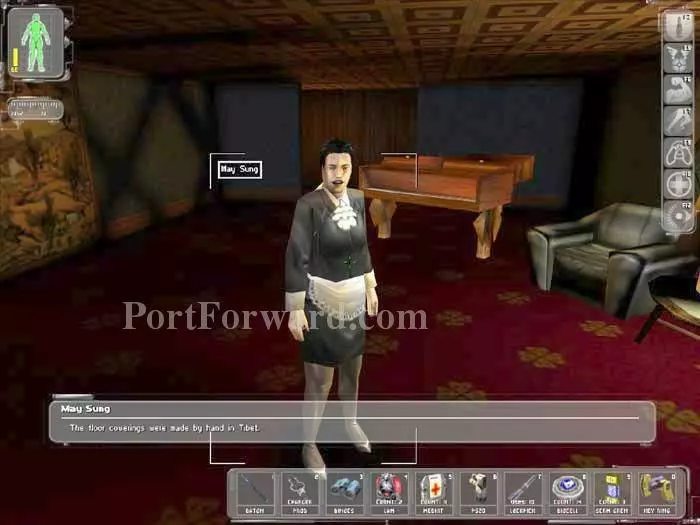
Talk to May Sung, Maggie's maid. May will lead you to Maggie.
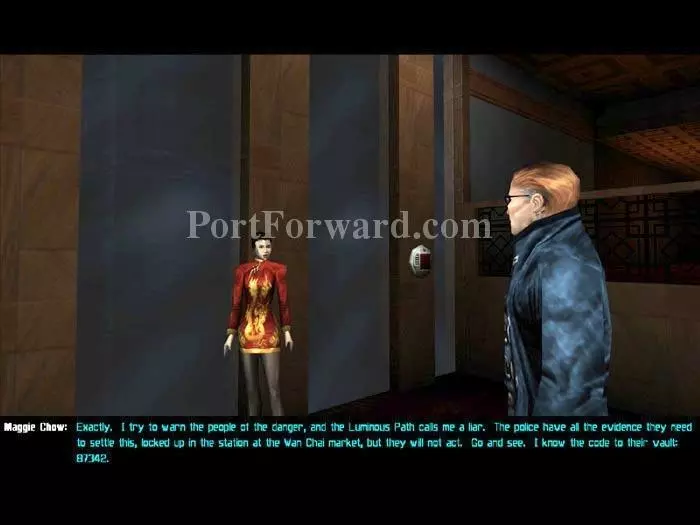
You may recognize Maggie from the opening cutscene. Talk to her repeatedly and learn that she works for the Red Arrow Triad. She gives you the code to the police vault 87342 and asks you to retrieve the evidence that will prove her claim that MJ12 and the Luminous Path are working together to steal the Dragon's Tooth sword.

The objective is a ruse. Maggie's guards (MJ12 Troops) will attack you upon your return from the police station, so it's wise to explore the place now. Head upstairs and knock out May Sung with your Prod. You'll find a credit chit with c100 on the nearby table in this room.

Across the hall is a conference room with this DataCube. Read it to learn that Maggie's password has been changed from "Tai-Fun". The two books on the table are titled, "Tai-Fun" and "Insurgent".
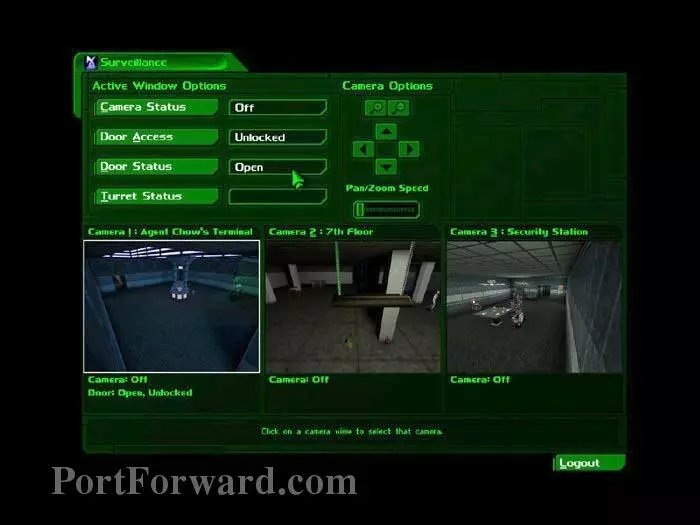
Enter the login, "mchow" and password, "insurgent" on the nearby Security Terminal. Disable the three cameras and unlock the one door.
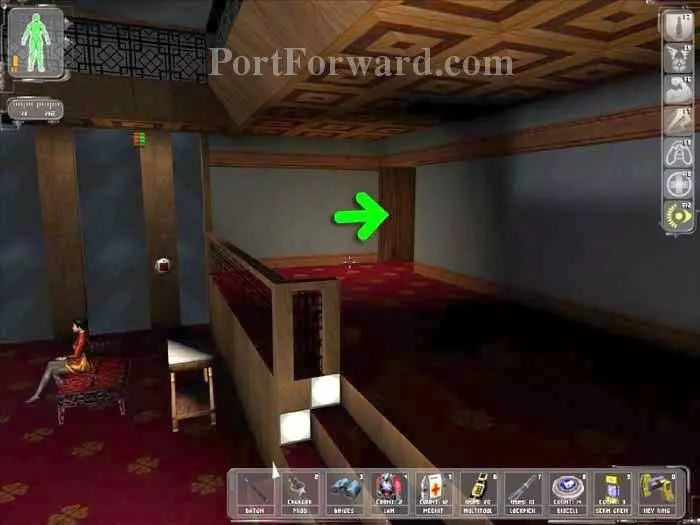
Maggie remains perched on her bench, but just for the moment. Proceed as indicated.
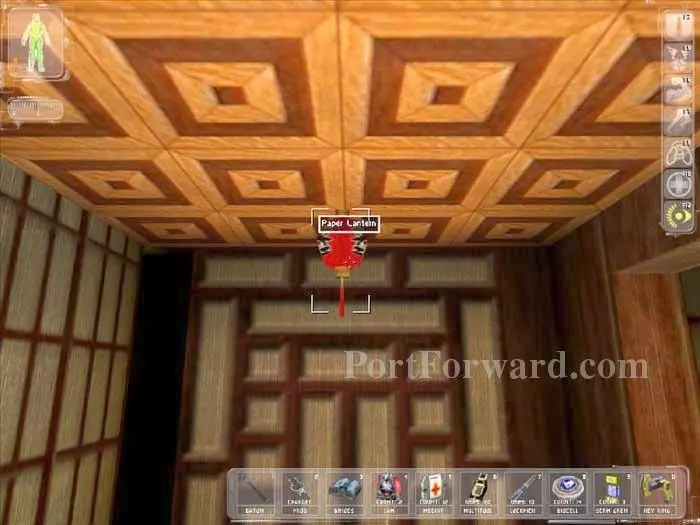
Follow the corridor around the corner, then "use" this Paper Lantern to reveal a secret passage beyond.
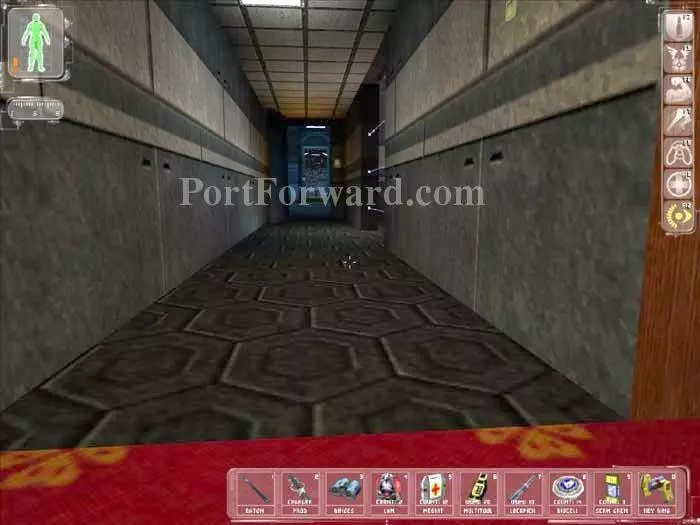
Once you cross this threshold, Maggie will vanish from her perch.
Proceed to this position. Tracer Tong radios that you have found the Dragon's Tooth sword. He offers assistance if you retrieve the sword and bring it to Max Chen to demonstrate Maggie's guilt.
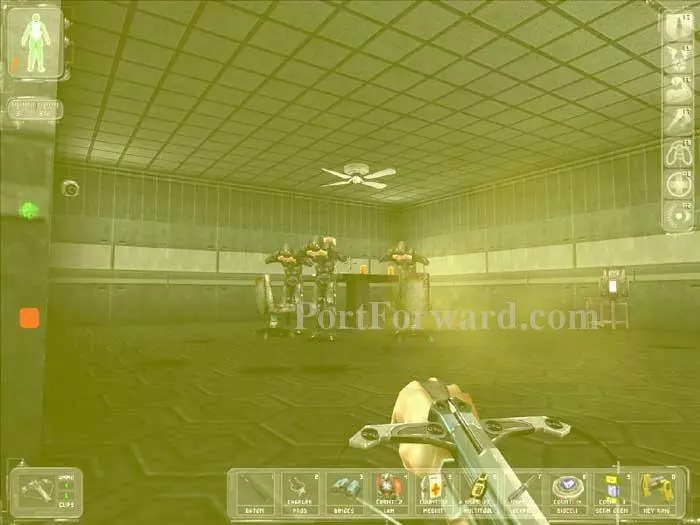
I prefer to leave the guards alone in the neighboring room, but a Gas Grenade and Tranquilizer Darts can bring them down. Non-pacifists should wait and use the powerful Dragon's Tooth sword. Inside this room you'll find a lockpick, a Clip Weapon Mod, Sabot Shells, HE Ammo, and c50.
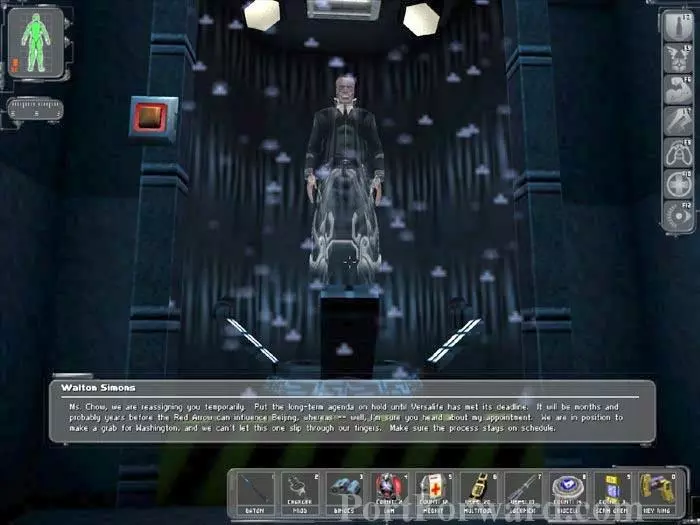
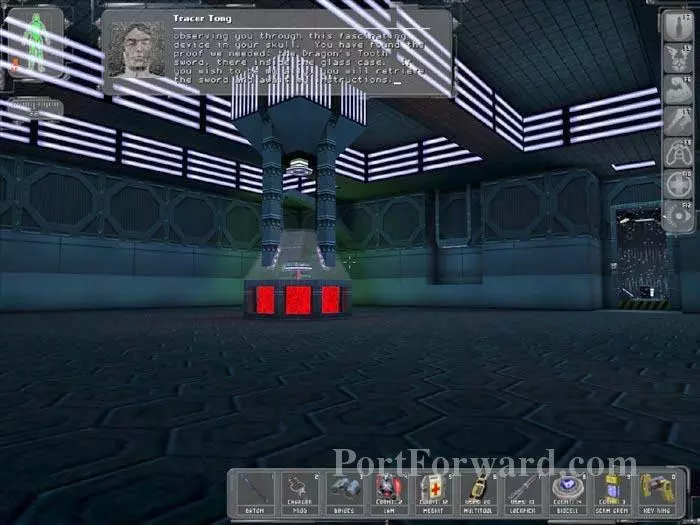
If you've left the MJ12 alive, you'll want to crouch to remain quiet on the metal floor as you approach this message from Walton Simons. Read the nearby DataCube on the shelf to the left.
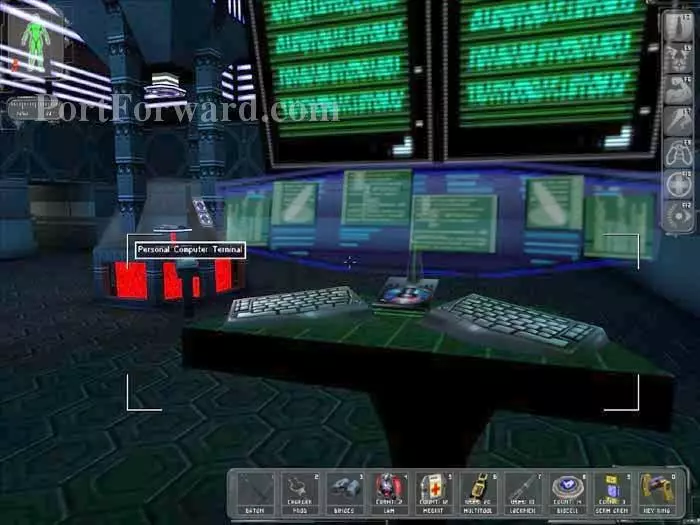
Use the login MCHOW/INSURGENT to access this computer. Read the emails and open the weapon case.
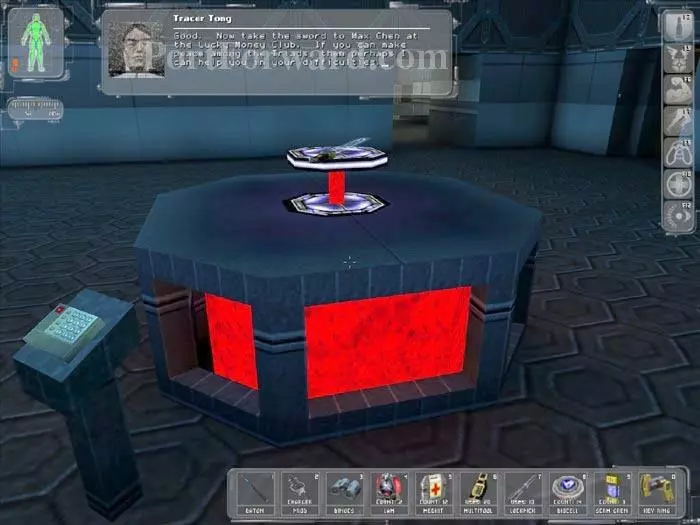
Grab the sword and Tracer Tong radios your instructions.
Time for some optional exploration (Speed Enhancement highly recommended). If you aren't interested, you may skip ahead. Quietly exit then return outside the Queen's Tower. Turn left at the end of this alley and pass through the gate.
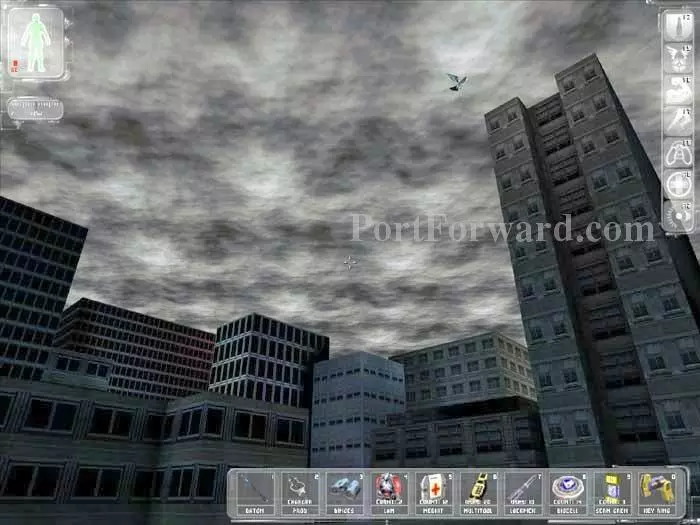
Climb the ladder then use the code 1709 on the keypad. The elevator takes you up to the roof. You'll find a multitool on the elevator railing. Take some time to enjoy the view!
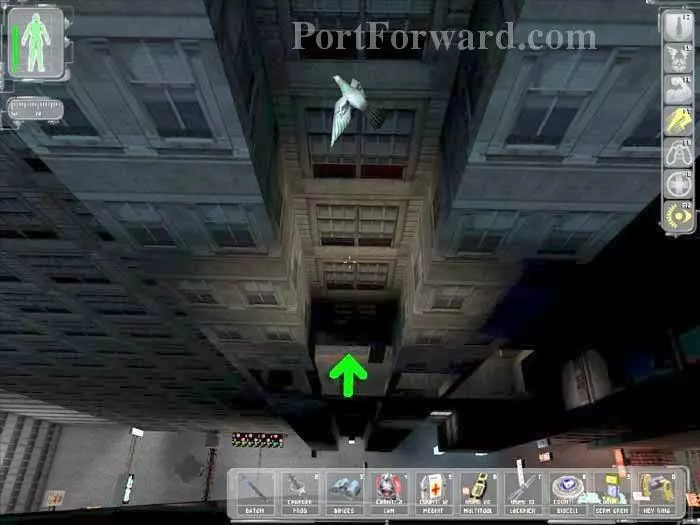
Activate your Speed Enhancement then leap down to this balcony.
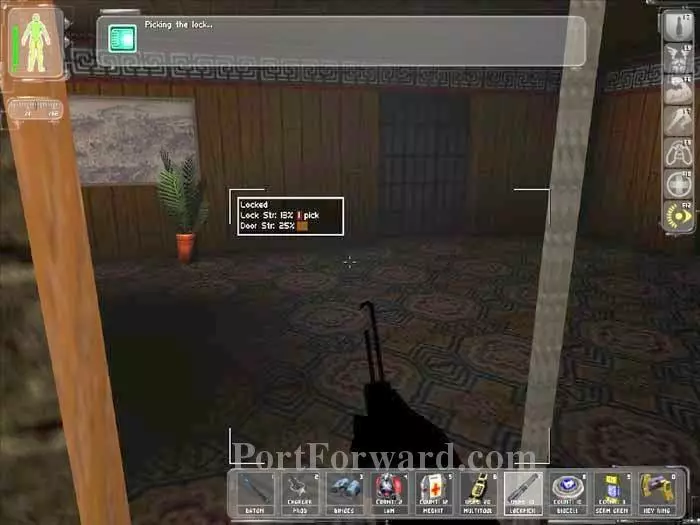
Pick the lock on this door and enter the apartment.
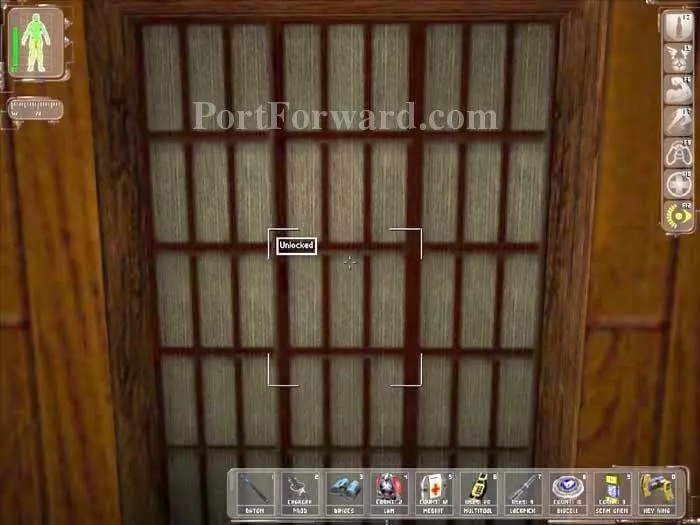
Continue through this door.
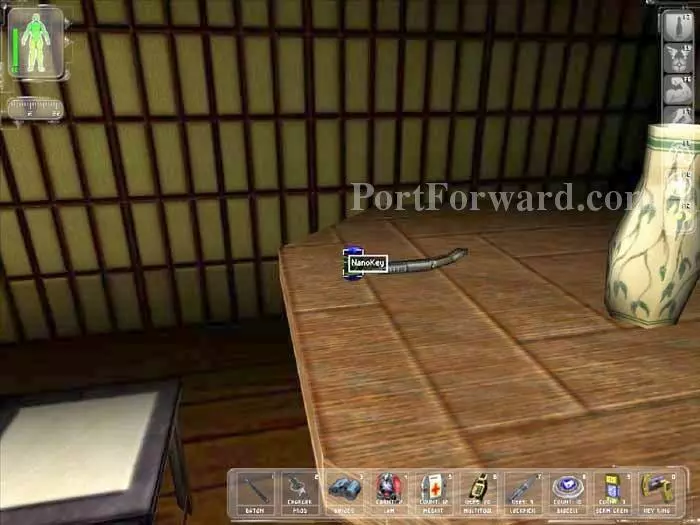
Pick up this NanoKey to learn that you're in Jock's apartment!
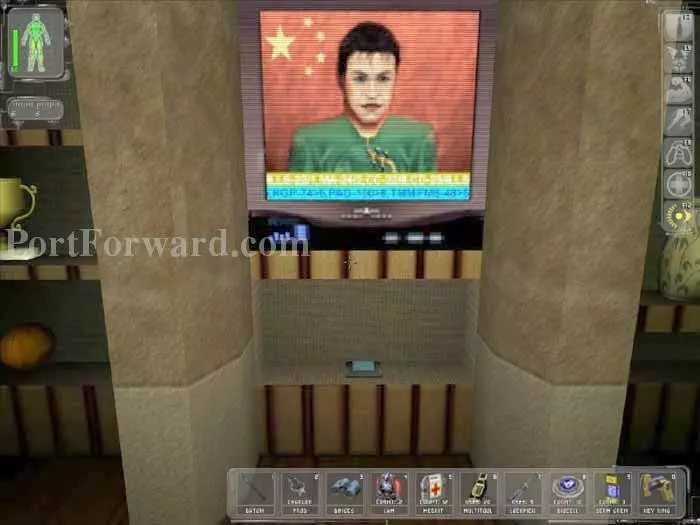
Read this DataCube to learn Jock's login and password, FLYBOY/5X5.
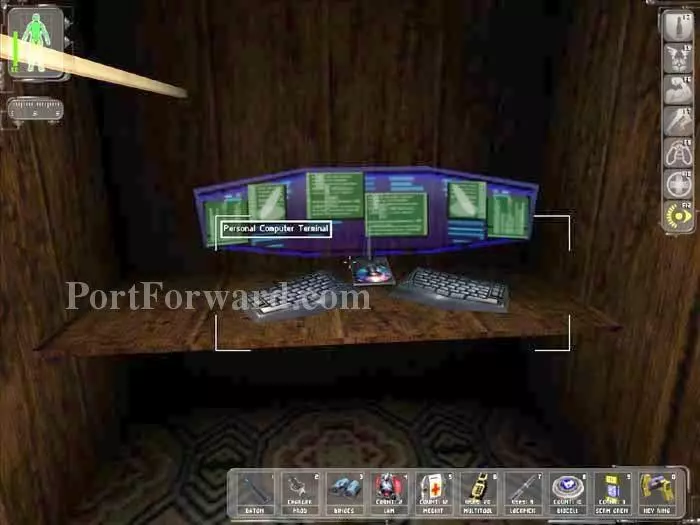
This computer is in the closet off the previous room. Use the account FLYBOY/5X5 and read emails to Jock from Paul, Tracer Tong and Daedalus.
Behind this door is a bathroom where you will find a Medkit.

Use your keyring to unlock the front door then ascend these stairs to the ladder visible beyond.
Jump to the ledge below then hop across where indicated. It's tricky but certainly do-able.
A Sniper Rifle can be found here if that's your thing.
Lots of arrows. Looks worse than it is.

Jump to the billboard below. If you can hit the top of the sign first it will break your fall nicely.
On the ledge you'll find a lockpick and a Bioelectric Cell.
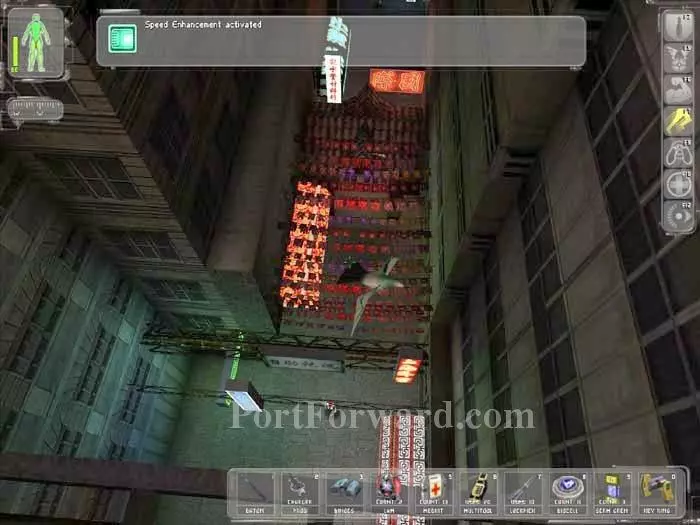
Activate your Speed Enhancement to enable your drop to the street below.
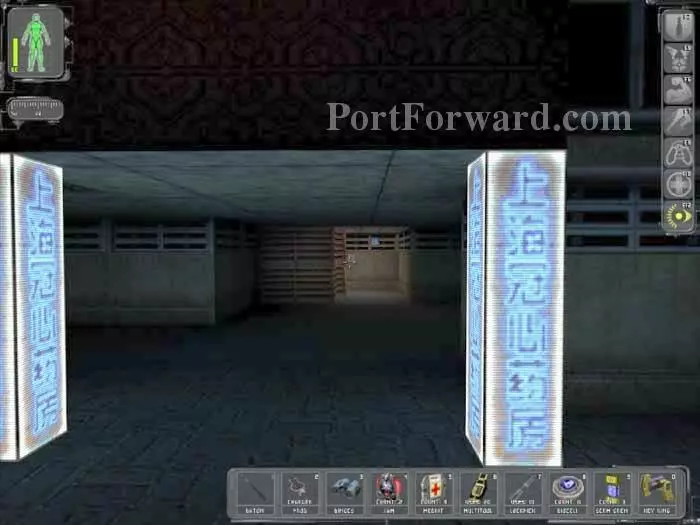
Did I mention there's an elevator :) Well, it's not very reliable on the recall, so our little trip wasn't really wasted. The elevator is straight back behind these blue posts.
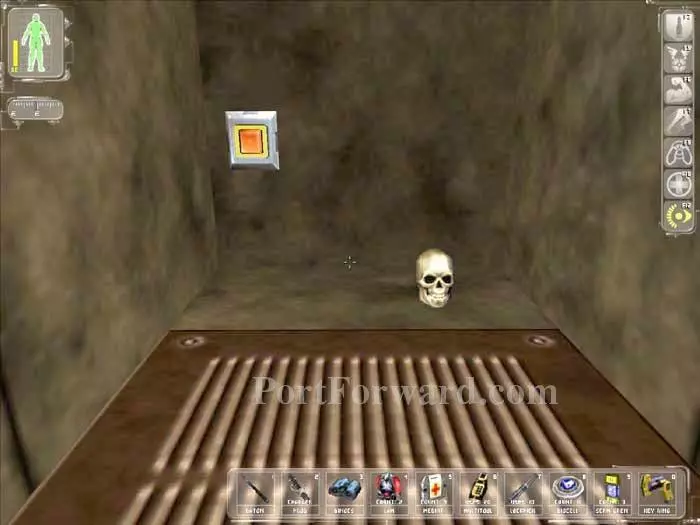
Take the elevator up and immediately crouch into this cubbyhole. It's a bit easier to ride the elevator all the way up, crouch, then keep crawling forward while the elevator rides down. When the cubbyhole arrives you'll slip right in. There's a skull here and a switch that opens the vent below. What purpose this serves I do not know.
Back to the task at hand. Return to the Wan Chai market. This time you can finally head down to the Lucky Money.

You can help these two Australian tourists with c40 if you like, but there's nothing in it for you.

The Door Girl has a leather fetish. Pay her the c25 to enter the club.
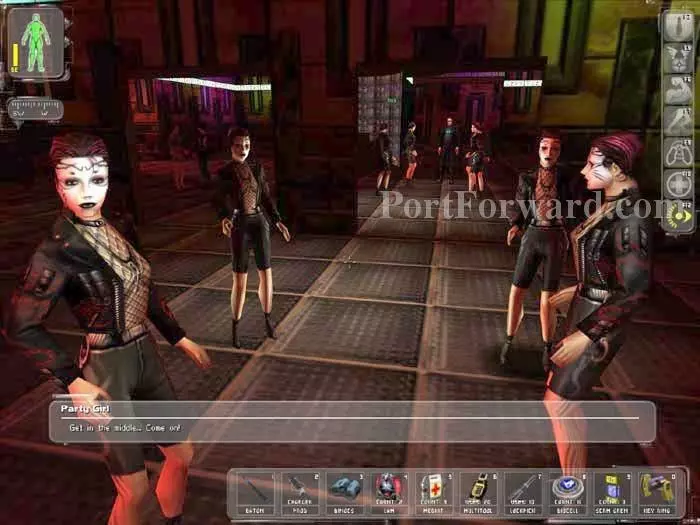
Par-Tay!
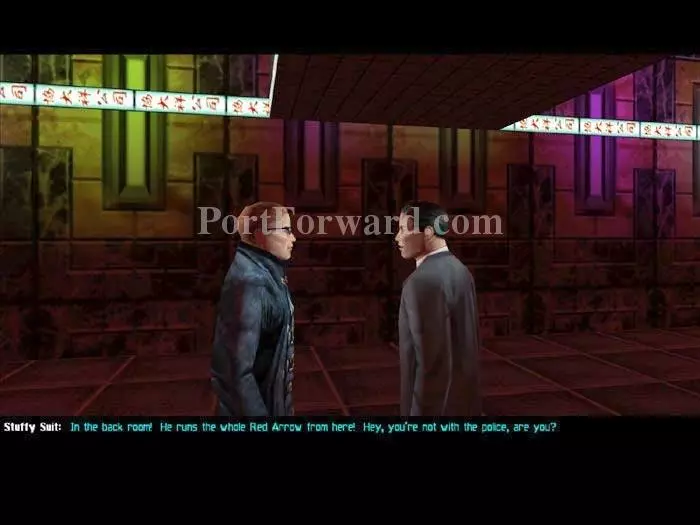
Time to mix and mingle. The Stuffy Suit informs you that Max Chen can be found in the back room.
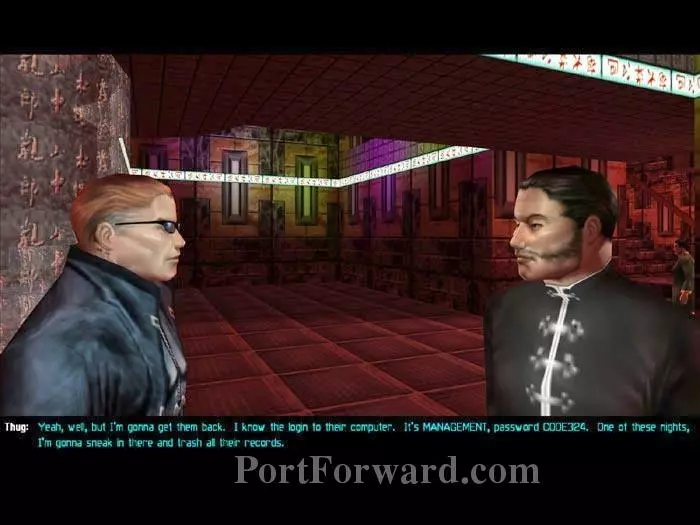
This Thug is a disgruntled employee from the Quick Stop next door. He spills the login to their computer - MANAGEMENT/CODE324.
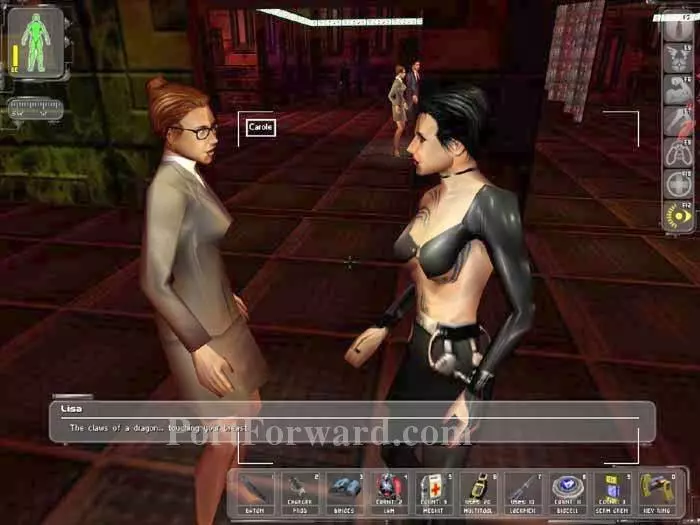
Carole and Lisa need to get a room.
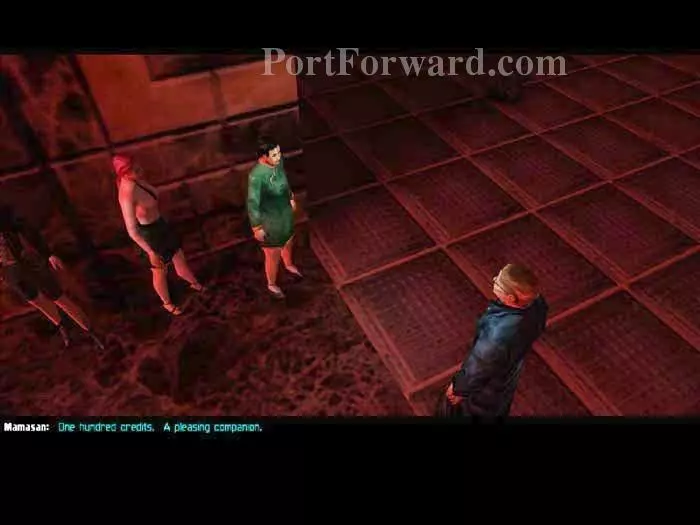
You're better of paying the Australians out front than Mamasan's c100 companions.
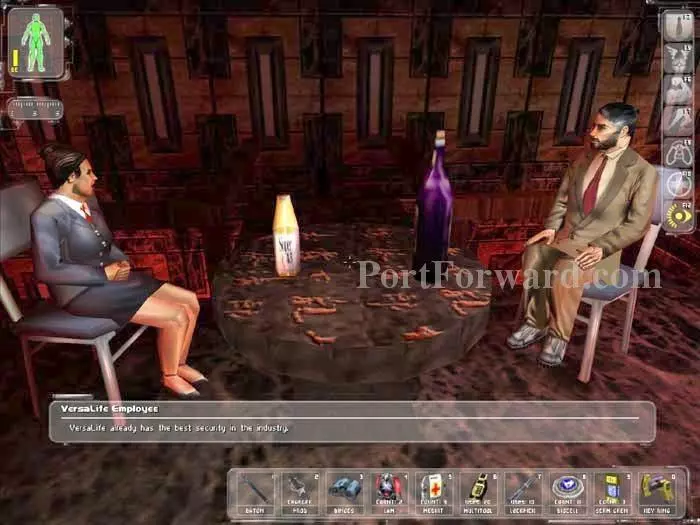
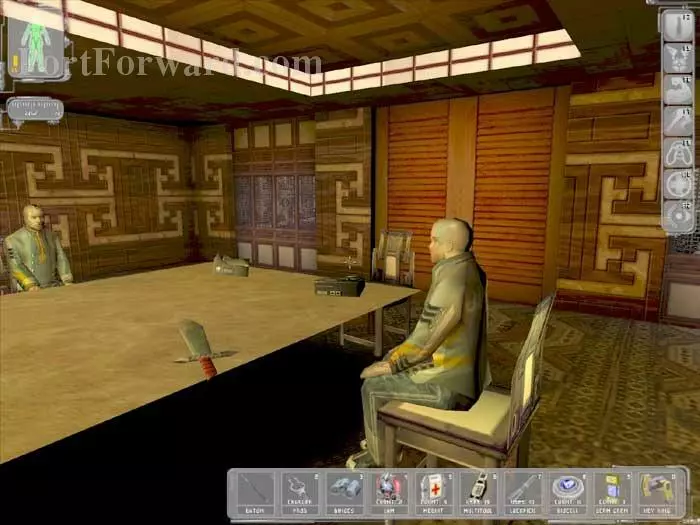
Upstairs, these VersaLife employees are having a private conversation and do not wish to be disturbed.

Ask the Aussie bartender about Max Chen. Tell him that Maggie Chow sent you, and he'll inform you that Max is through the door behind the bar.
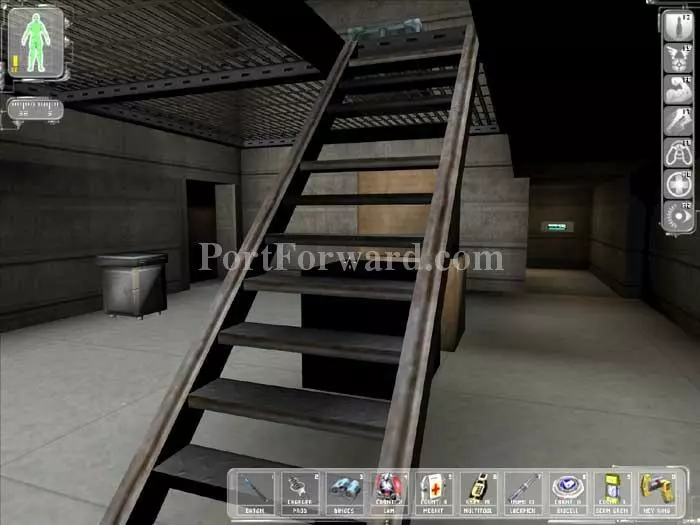
Through the door and down these stairs you'll find two doorways. The locked doorway on the right holds a Bioelectric Cell, Tech Goggles, a LAW, a Sniper Rifle, and 30.06 ammo.
The door on the left leads to the Red Arrow hideout. Hack the Security Terminal on the table's edge to open the safe behind the ticket counter, where you'll find c200. Max Chen is through the doors directly ahead.
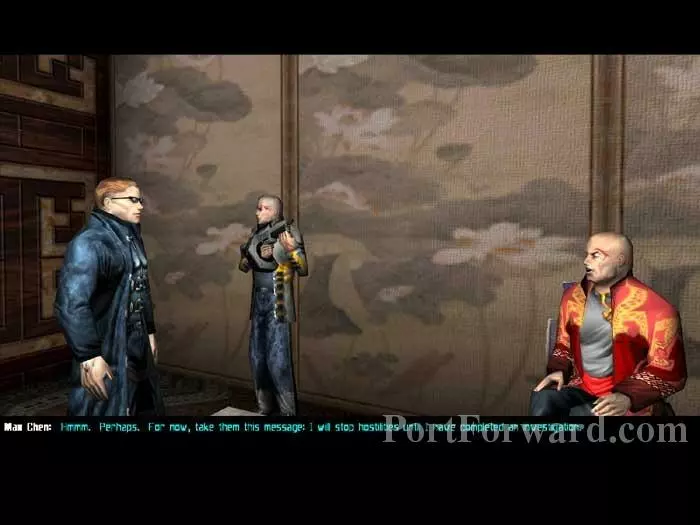
A cutscene plays. JC explains that Maggie works for MJ12 and that she stole the sword. Max agrees to a cease fire. Your objectives are updated -- inform Gordon Quick of Max's decision.
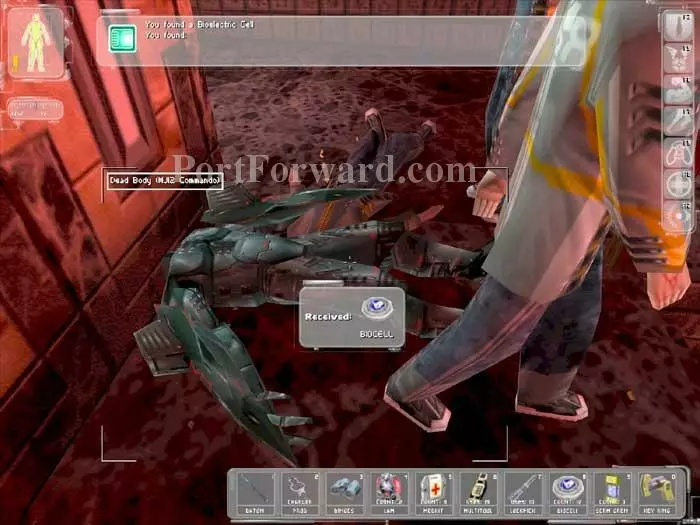
MJ12 Commandos attack, but are quickly dispatched by Max's men. Search their bodies for supplies. img(216369); Stop at the Quick Stop on your way out. Hack this Security Computer Terminal to disable the security cameras. Use the account MANAGEMENT/CODE324 to open the safe behind the desk. Hack the ATM for c100. img(216370); Before charging off to meet Gordon, we can do a couple side quests. These can be done any time, but now's as good a time as any. Pick the lock on this door to the left of the Police station. img(216371); Inside you'll find a lockpick, a baton and a sword, plus this hidden panel. Slide it open to reveal a keypad with a two-digit code. The code is "22". img(216372); Inside you'll find more supplies, and you earn an Area Location Bonus of 40 skill points. The DataCube holds the code for the Police Station - 911. img(216373); Slip into the Police Station with the code 911 then knock out this guard with your Prod. img(216374); Disable this guard in the neighboring room and enter the code 87342 into the keypad ahead. img(216375); Head below to earn an Area Location Bonus of 40 skill points. Read this DataCube which implicates Maggie Chow. img(216376); Bypass the Luminous Path Temple for now and head into the Canal Road tunnel. img(216377); Turn left after the stairs and find a lockpick here. img(216378); Keep heading left and you'll find more lockpicks on the bodies of the dead Luminous Path members. Approach the vehicles to earn an Exploration Bonus of 50 skill points. img(216379); Return to Gordon Quick. A cutscene plays and Gordon reveals the compound entrance code 1997. Enter the code into the keypad to the left of this door. img(216380); Once inside the compound you earn an Accomplishment Bonus of 200 skill points. Slip into this room on the left to find a credit chit worth c25. img(216381); Ascend these stairs and head straight back. img(216382); Descend these stairs and proceed through the door. img(216383); Continue down a long corridor to this area. A chair and your Speed Enhancement help you reach this top bunk for a lockpick. img(216384); You'll find a Medkit under this bunk. img(216385); Enter the code 1997 into this keypad and proceed to Tracer Tong's laboratory. img(216386); Press the wall switch and this corridor is revealed. img(216387); You earn a Subject Acquisition Bonus of 200 skill points. Tracer tells you that he may be able to deactivate your kill switch, and that Alex is here as well. You'll find c100 and Jock's apartment key on the table behind Tong. Pass through the doorway to the right of the table and turn left down the stairs. img(216388); Stand in the center of the room and Tong's device will deactivate the killswitch. img(216389); Don't return to Tong just yet. Instead step through here. img(216390); Grab the Bioelectric Cell form the table and repair yourself with the Medbot. Proceed through the doorway ahead to find Alex. img(216391); Alex has learned that Daedalus may be an AI known as Echelon IV. If you had Jaime meet you here you will get an Augmentation Upgrade from him. img(216392); Follow the catwalk above to this cabinet holding a Plasma Clip and a Multitool. img(216393); Return to Tracer Tong. He instructs you to find the ROM encoding for the Dragon's Tooth sword. He gives you a computer account JCDENTON/SANCTUARY and the VersaLife code 06288. img(216394); Grab any supplies you want before leaving. Behind these doors you'll find a repair bot and several supply crates. img(216395); Here's the VersaLife entrance. You'll find it near the entrance to the Lucky Money. Enter the code 06288. img(216396); Take the elevator up and talk to the receptionist. You are free to explore the first three levels of the building. img(216397); You'll find Mr. Hundley on the second level. He offers to get you into the secret laboratories for c2000. Tell him, "Never mind," because there are two free ways to get the code. img(216398); One way is to hack any computer in the area. You can create a Security Pass for yourself of 6512 - the same code that Hundley will give you. img(216399); Alternately, you can talk to this Nervous Worker on the third floor. He offers to give you the code if you kill Hundley. Actually, he'll give you the code if you just knock Hundley out. img(216400); Behind the Nervous Worker is this keypad. Enter the code 6512 and enter. img(216401); Take the elevator down. The Laboratory Supervisor greets you and warns that the alarms will sound if you cause trouble. You may recognize this area from the opening cutscene. img(216402); Behind the giant hand are two corridors. The left corridor leads to an elevator which you can take up to this room. You'll find this DataCube indicating that MChow should be given full access. The Nanokey is for a Magnetic Augmentation Chamber. Access the Security Terminal and disable all cameras, unlock and open all doors. img(216403); The view from up here is quite spectacular. img(216404); The corridor to the right of the giant hand leads to a break room and two rooms with locked cabinets. Read the DataCube in the break room to learn the UC code 525. Knock out everyone with your Prod in the other rooms and open the cabinets. Grab any supplies you want and read the DataCubes to learn the account MJ12/SECURITY. The master password for the server node is DAMOCLES, and the magnetic testing chamber code is 5878. img(216405); Proceed through this trap door you opened earlier. img(216406); You earn an Area Location Bonus of 50 skill points. Tracer Tong informs you that the ROM-encoding should be nearby. In fact, it's directly beneath you in this structure. Before jumping in, however, it's wise to explore the area first. img(216407); Descend one of the ramps then head through here. On the left you'll find the MJ12 locker room. The sole locked locker holds a pistol and the supply crates hold 10mm Ammo. On the right is a series of vents that you can explore for 50 skill points -- be careful as there is a Greasel scurrying about. img(216408); Continue down the corridor and you'll empty into this area. Approach the indicated window to eavesdrop on a conversation between Bob Page and Maggie Chow. img(216409); Note the Dragon's Tooth Swords being carried by the Special Security. Proceed down this ramp. img(216410); The Nano Key next to this carcass will allow you to open up the cells holding the Bum and the Greasels. You can free them if you want to enjoy some chaos. img(216411); All that's down here are some aliens in radiation. img(216412); Read the DataCube and grab the lockpick on these counters. img(216413); Here's the jackpot. Use the login MCHOW and password DAMOCLES on the nearby computer. Press all the options to shut down the magnetic containment and open the door. Inside you'll find Augmentation Canisters for Spy Drone/Aggressive Defense System, Targeting/Vision Enhancement, and Radar Transparency/Cloak, plus a Bioelectric Cell for good measure. The code 5878 works also. img(216414); The nearby MedBot will install your choice of Augmentations. Cloak is very useful for the upcoming escape. I also chose Vision Enchainment. Spy Drone was installed earlier. img(216415); Backtrack to this position and take the lift up. img(216416); Use the login MCHOW and password DAMOCLES on this computer. Upload the Nanotech Blade ROM. img(216417); Tracer Tong instructs you to meet the Triad leaders at the temple. Take the lift back down and activate your Cloak -- your free reign at VersaLife has come to an end. img(216418); Head back out the way you came. Your Cloak uses a lot of power so keep an eye on its consumption. img(216419); The elevator brings you back to John Smith. A cutscene plays where JC warn's him to get away. img(216420); Re-activate your Cloak before proceeding through the Versalife lobby. Even the receptionist will open fire if you are seen. Take the elevator back to the Wan Chai Market. img(216421); Head to the Temple as Tracer Tong instructed. img(216422); Inside, Max Chen and Gordon Quick agree to combine their forces. You earn an Accomplishment Bonus of 150 skill points and are instructed to return to Tracer Tong. img(216423); Tong instructs you to get into VersaLife's Level Two labs, and offers a code of 55655 to a back entrance through the Canal Road tunnel. img(216424); Upon your return to the Canal Road tunnel you find clear access to this Maintenance door. Enter the code Tong gave you, 55655. img(216425); Pick the lock on this sewer grate and hop on in. img(216426); Your goal is that unlocked grate ahead. Each pipe is a slightly higher level than the previous. Treat them as stairs and you can walk right up to the grate. img(216427); Read this DataCube with the Door seal code 768. img(216428); Follow the tunnels and Daedalus and then Tracer Tong radio instructions, including the UC code 525 (in case you missed it earlier). The ladder ahead leads to an MJ12 Commando and a Security Bot. Better to use the Door code 768 on that keypad on the right. img(216429); A series of doors opens. Grab this Scramble Grenade. img(216430); This button lowers the ramp. Proceed down the ramp then up the stairs - crouched. img(216431); Sneak behind this console and hack the Security Terminal. Turn off all cameras. Close the ramp, thus clearing the stairway below. img(216432); I also take this opportunity to upgrade my Environmental Training to "Trained." We're about to use Thermoptic Cammo and this upgrade will allow it to last longer. img(216433); As usual, we've got choices. Multitools on a Security Panel to the right can disable the lasers. The Scramble Grenade we picked up earlier will turn the bots on each other, but that may result in the death of the female scientist and the MJ12 Commando. My preference here is to don some Thermoptic Cammo, which will allow you to pass right through the lasers unnoticed, and will also make you invisible to the Commando. img(216434); The MJ12 Commando is blind to you so long as your Thermoptic Cammo is active, although he can hear you. Slip into that room on the right before your Cammo wears down. img(216435); Pick the lock on this cabinet to grab a Hazmat suit, a Bioelectric Cell and read the DataCube. Another DataCube on the nearby counter reveals the UC code 525 (in case you missed it again). img(216436); Hack this Security Computer Terminal to deactivate three cameras. Open the Nanotech Containment Pods, and Raise the Cascade Shutdown Console. img(216437); Knock out the scientist with your Prod. She has a Hazmat Suit and two Bioelectric Cells on her. Use the login MChow password DAMOCLES on this computer on the right. Upload the Virus Schematics and open the UC Chamber. Obviously keep the Commando's back to you and stay crouched. img(216438); Tracer radios success. Proceed as indicated. Quietly. img(216439); Descend this ladder. img(216440); Daedalus informs you that the Universal Constructor is in this facility. You can just see Maggie Chow far below at the bottom of this shot. img(216441); A common misconception is that Maggie Chow must die. Not so. You can easily tranquilizer her from here with your Crossbow. A single shot is all it takes. img(216442); Grab the Augmentation Upgrade Canister. You'll also find Augmentations for Speed Enhancement/Run Silent, Aqualung/Environmental Resistance, and Power Recirculation/Synthetic Heart. img(216443); There's a MedBot at the bottom of the ladder. Here I have installed Power Recirculator and upgraded it to Tech Three. img(216444); If you haven't already tranquilized Maggie Chow you have plenty of time to do it now. A brief cutscene plays of Maggie threatening you if you prefer to wait. img(216445); Enter the UC code 525 into the nearby keypad. These two spiders emerge but are easily disabled with EMP Grenades. Daedalus radios news of your success -- you've shut down production of the Gray Death virus! img(216446); Descend the ladder and proceed to the indicated opening. Use the ladder or the catwalk for reference. img(216447); Put on a Hazmat suit then drop through the indicated waterway, which is the only one that isn't green. img(216448); Keep swimming as Tong fills you in. Don't miss these Tranquilizer Darts on the floor. img(216449); Pass through the next tunnel. This Baby Karkian can cause some serious damage on the "Realistic" Combat Difficulty setting. A couple of Tranquilizer Darts and he goes belly-up. img(216450); You'll be thrust upward to this area. Grab the Nanotech Containment Lockdown Door key and the Multitool before proceeding through this opening. img(216451); You'll spill out into the canal. Ascend that ramp on the right and return to the Wan Chai Market. img(216452); Return to the Lucky Money and meet with Max Chen and Gordon Quick to complete the objective. Talk to them repeatedly to get several bottles of wine. img(216453); Upon your return to the Luminous Path headquarters, you find Paul. Talk to him for a cutscene where JC updates Paul on his progress. img(216454); Talk to Tong and learn that you must meet Stanton Dowd in New York to learn where the ship full of Gray Death virus is headed. img(216455); Jock's chopper is waiting in the courtyard. Board it to leave Hong Kong and (finally) end the level.
More Deus Ex Walkthroughs
This Deus Ex walkthrough is divided into 20 total pages.