This Deus Ex walkthrough is divided into 20 total pages.
You can jump to nearby pages of the game using the links above.
Naval Shipyards
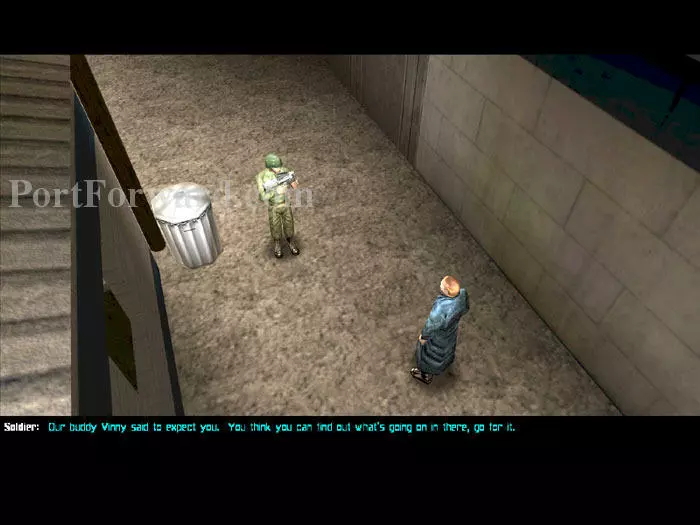
Jock drops you off at the Brooklyn Naval Shipyards. Proceed through the grate ahead. If you spoke with Vinny earlier then approach this guard. He will give you a key to the main gate.
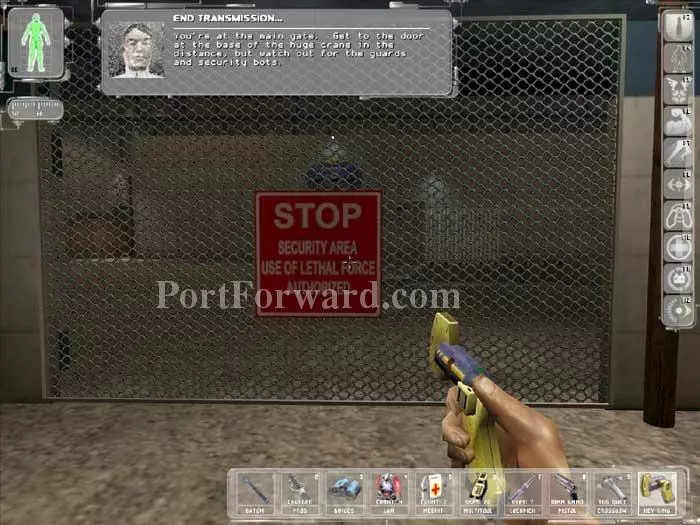
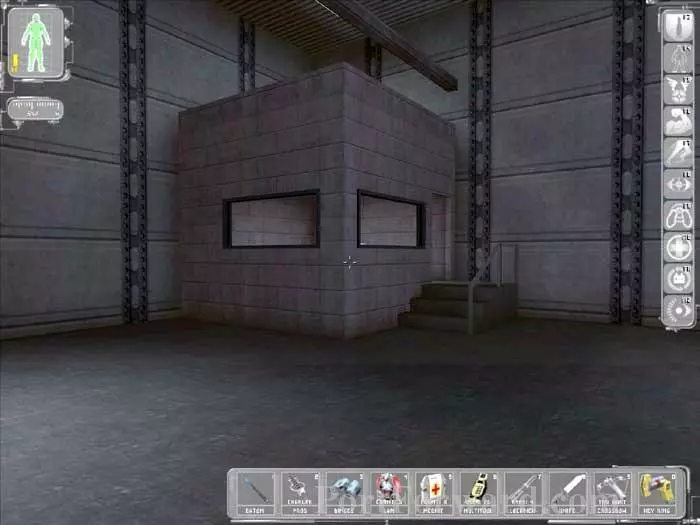
Use the key to enter the main gate.
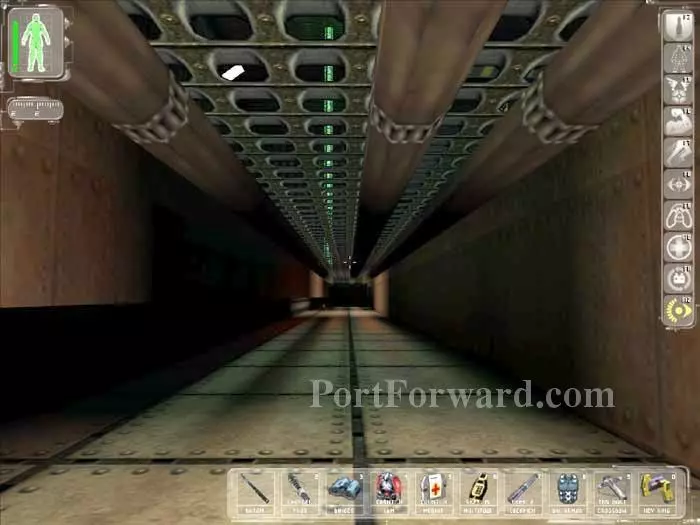
Otherwise, you'll have the difficult task of passing through this grate and defeating the obstacles beyond.
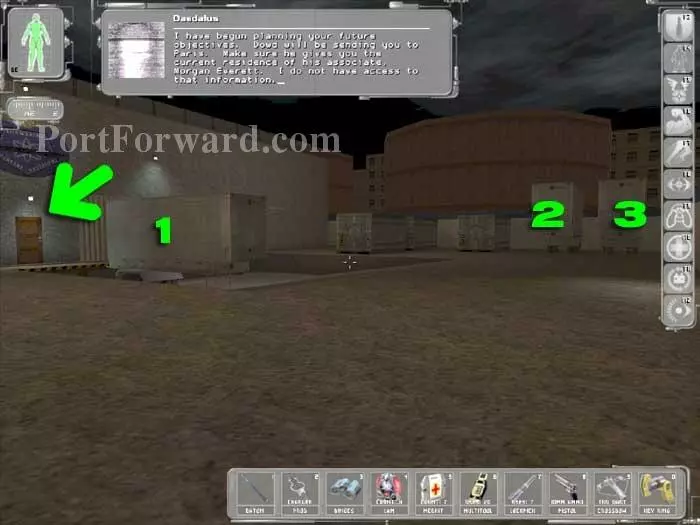
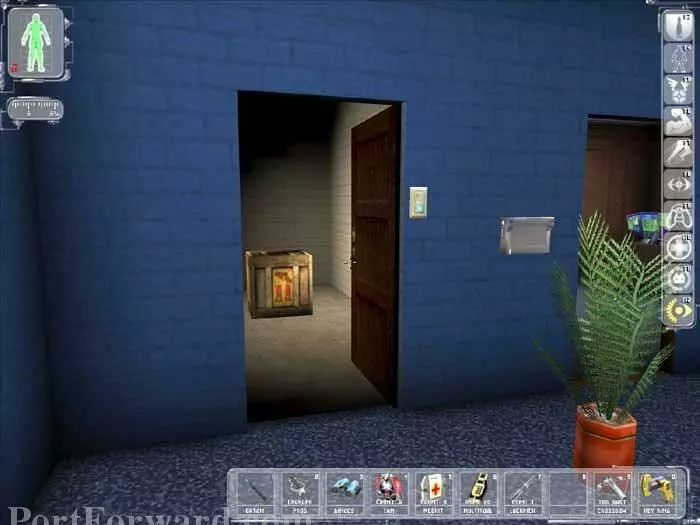
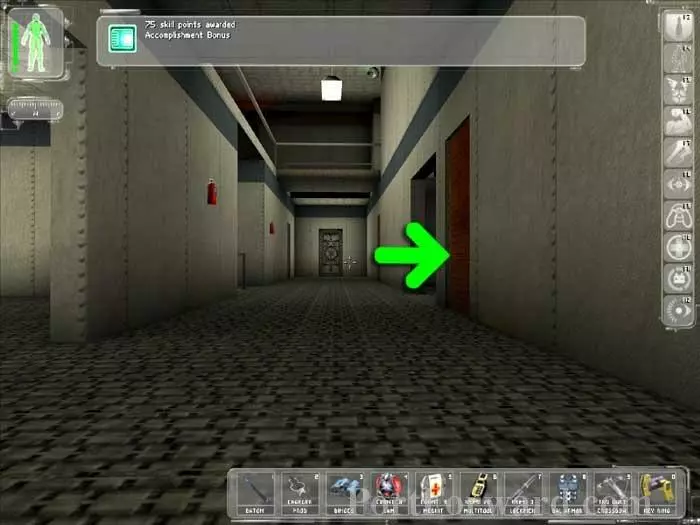
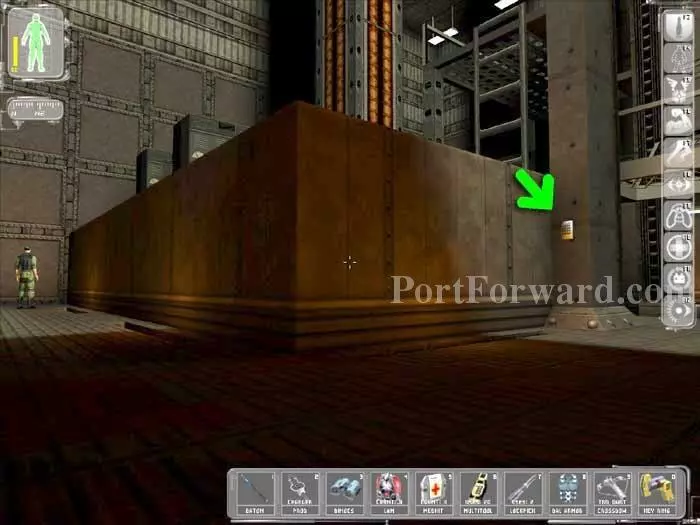
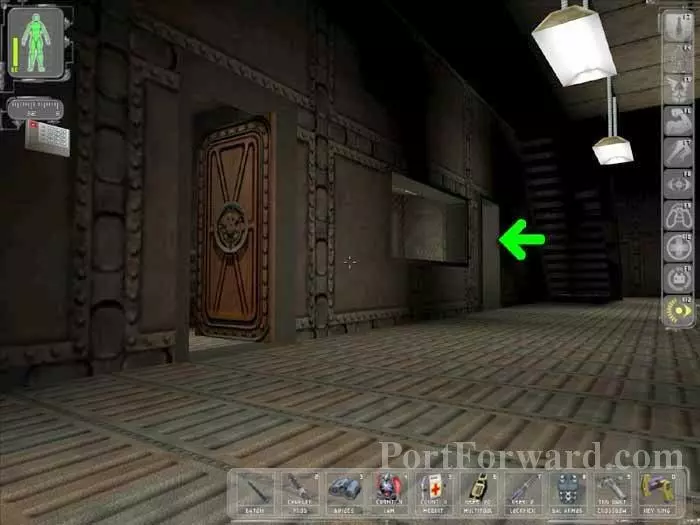
To the right are these three trailers, all locked. The key is through the door marked by the arrow. (1) is the best and holds a Bioelectric Cell, a lockpick and a Range Weapon Mod. (2) holds 7.62x51mm Ammo and a Medkit. (3) holds 12 Gauge Buckshot Shells and 30.06 Ammo.

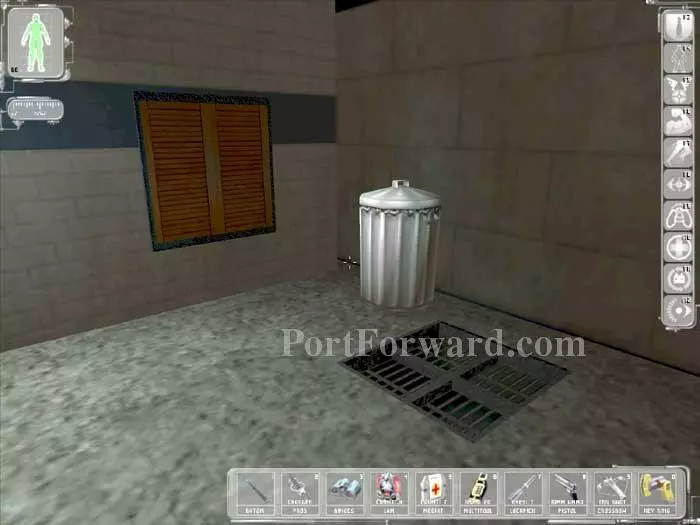
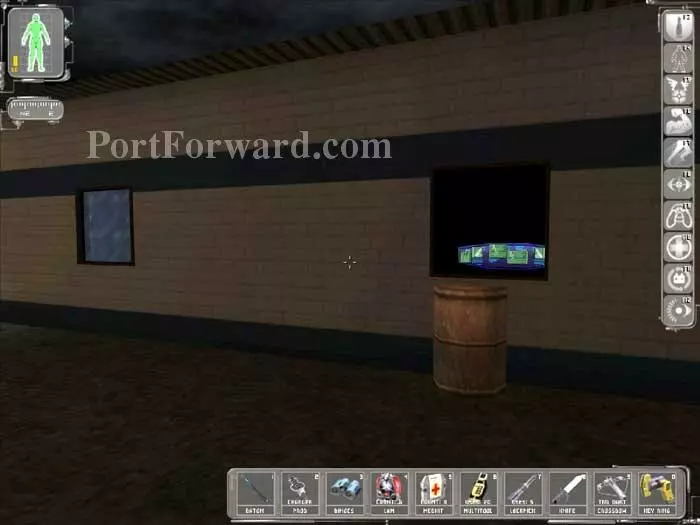
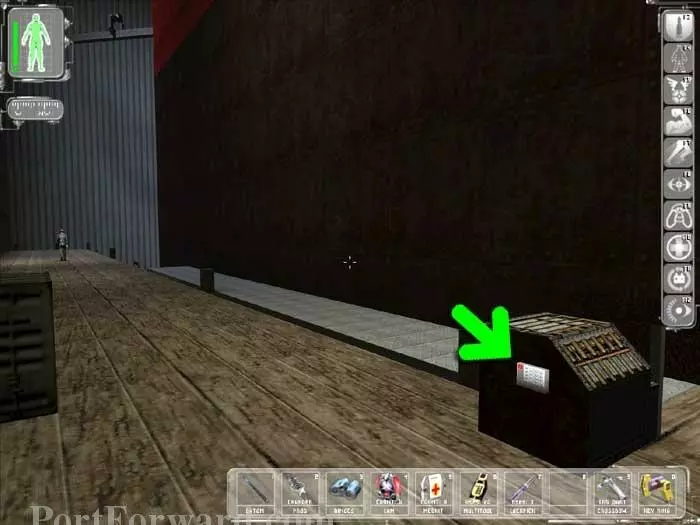
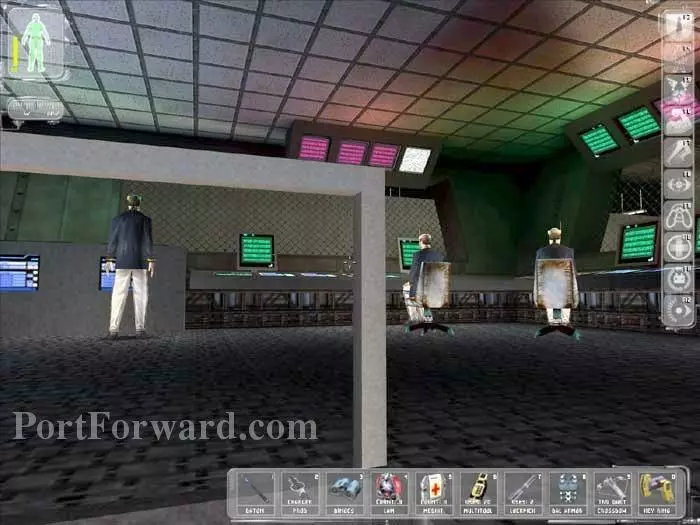
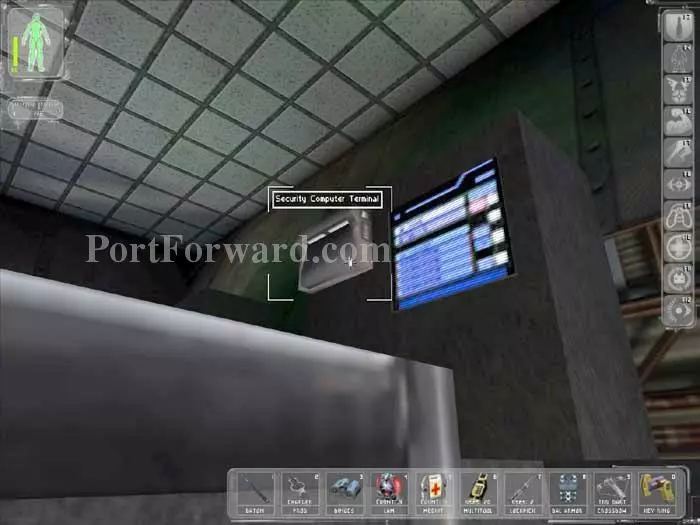
Slip inside and hack the Security Terminal behind the vending machine. Deactivate the three cameras. You'll earn 20 skill points for opening the door.
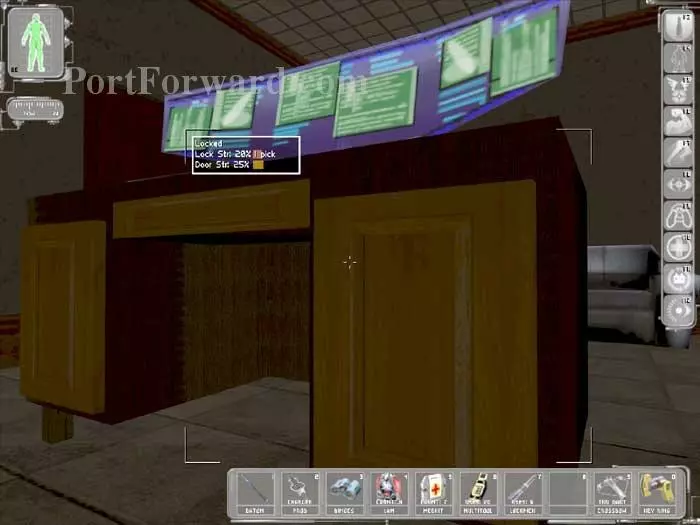
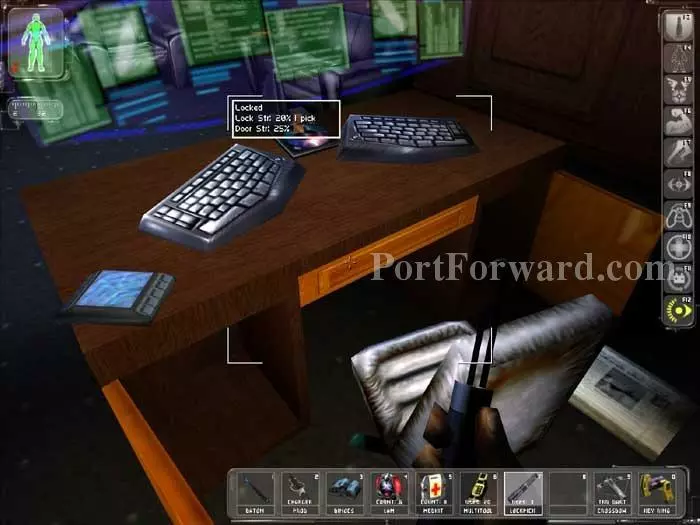
Enter the office to the left of the vending machines. Behind this locked desk door is the key to the outside trailers. The left desk door holds a DataCube with the Security Terminal account USFEMA/SECURITY.
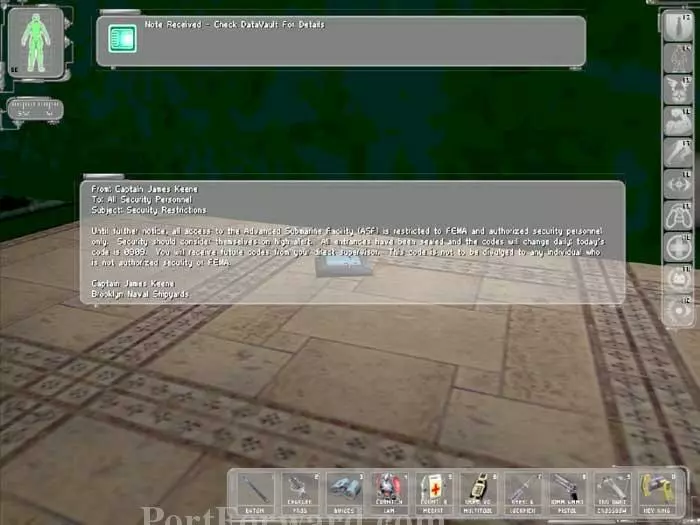
In the neighboring bathroom you'll find a Medkit under the sink and this DataCube with the sub facility entrance code 0909 in this bathroom stall.
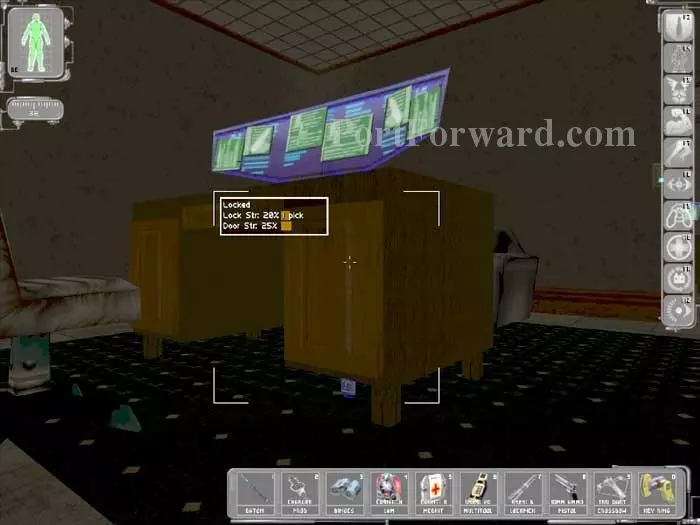
Inside the neighboring office is this desk. Under the cabinet is the key to the ammo storage warehouse. This left cabinet holds the supply closet and Commander's office keys. The right cabinet holds 10mm Ammo.

To the right is a security panel. Use the account USFEMA/SECURITY to put the robots in standby. Disable the three cameras and unlock the main sewer grate. Non-pacifists can rig the robots and turrets to fire on the enemy.
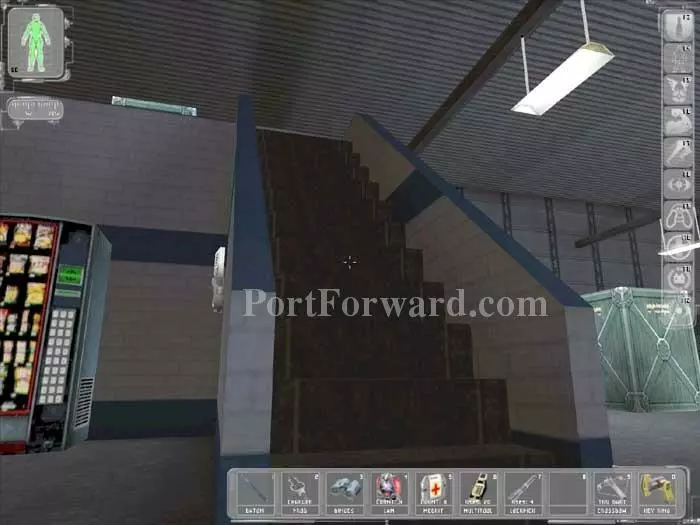
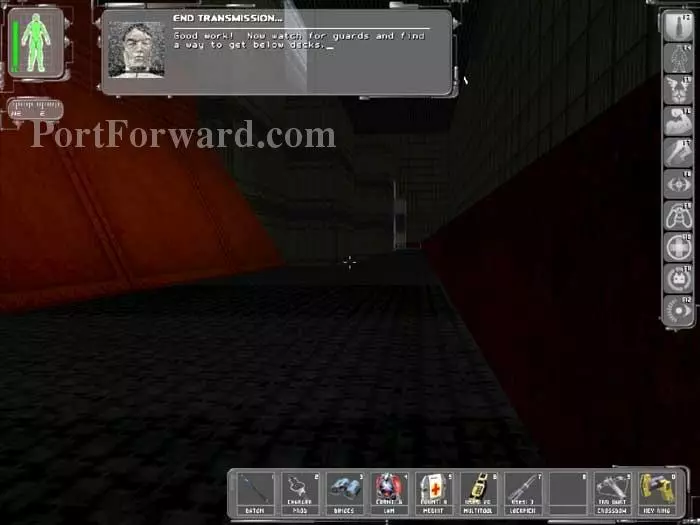
Ascend these stairs, careful not to alert the nearby patrols.
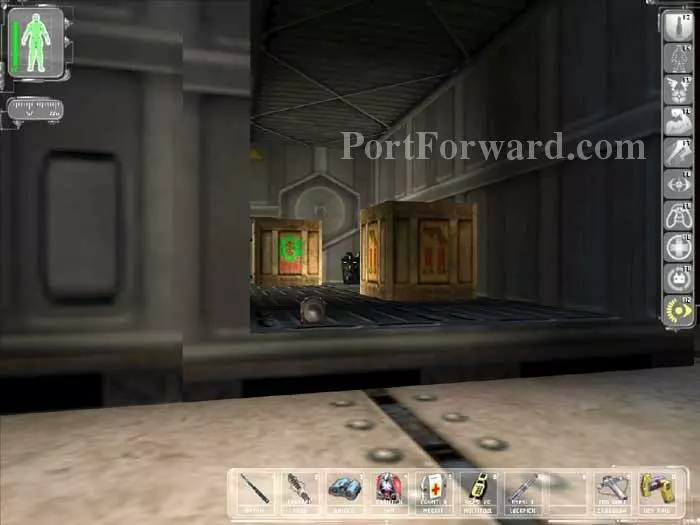
Your Speed Enhancement will allow you to reach those supplies on the left. You'll find an Assault Shotgun, Rockets, and Sabot Shells. Proceed through the door visible on the right.
Use your Prod to bring down the guard on the walkway. Use your ammo storage warehouse key to unlock the door ahead.
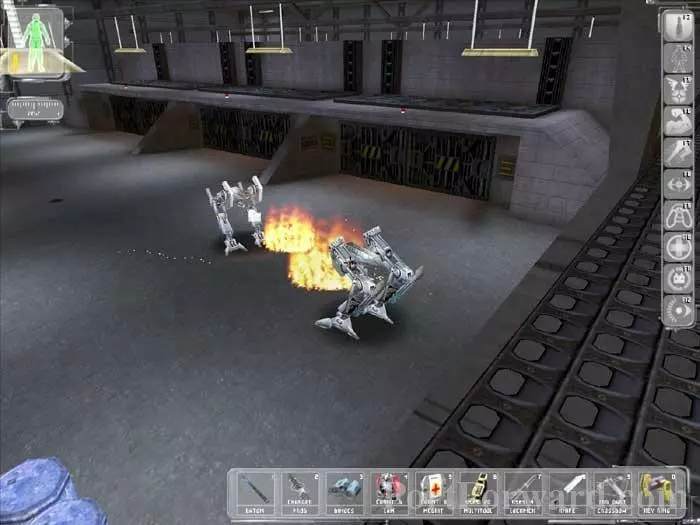
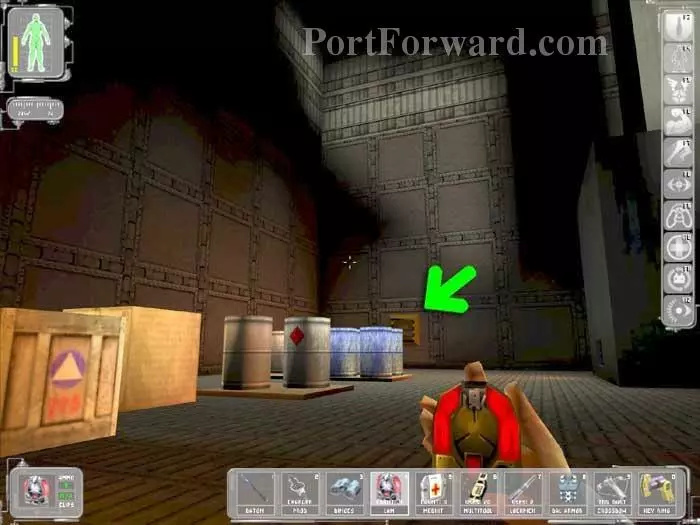
A Scramble Grenade will turn these bots on each other. Alternately, a LAM will ignite the nearby barrels and destroy both bots instantly.
Step into this nearby office.
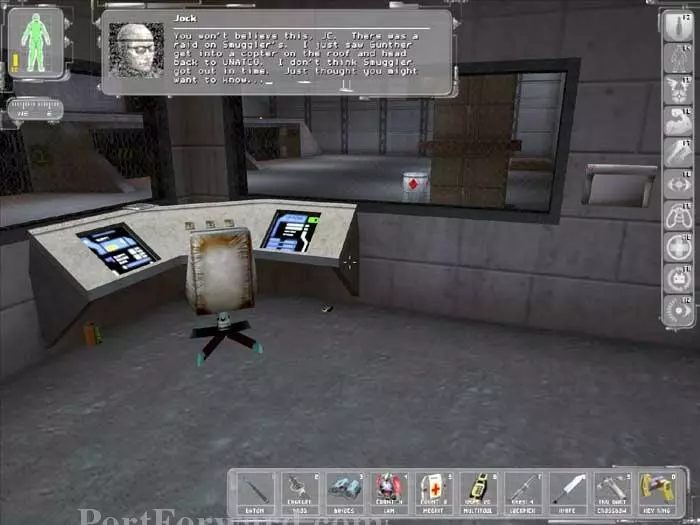
Jock radios that Smuggler's place has been raided. Use the account USFEMA/SECURITY on the security terminal on the right. Place the bots in standby mode and disable all cameras. Press the three buttons on the console to open the storage sheds beyond. Climb the ladder on the right to find a lockpick, Sabot Shells and a LAW.
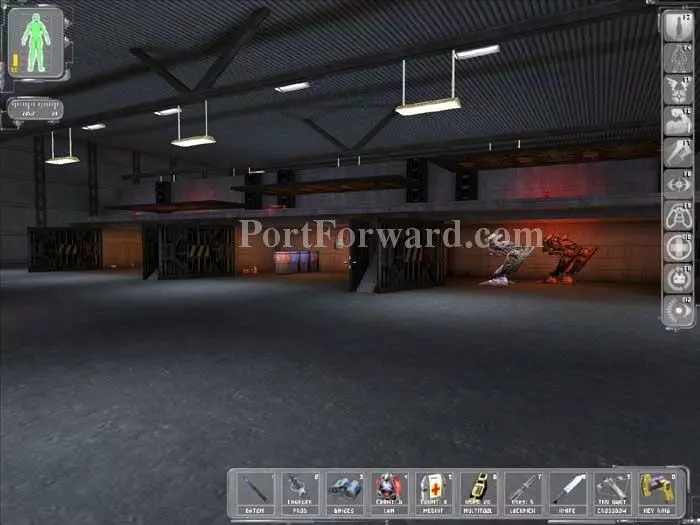
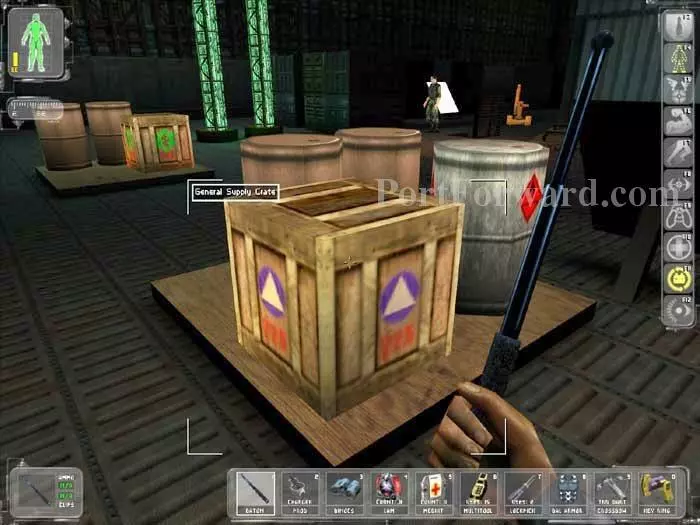
The three storage sheds are now open, and the bots are in standby. Grab any supplies you want, making sure you have at least five explosives to destroy the upcoming tri-hull welds.
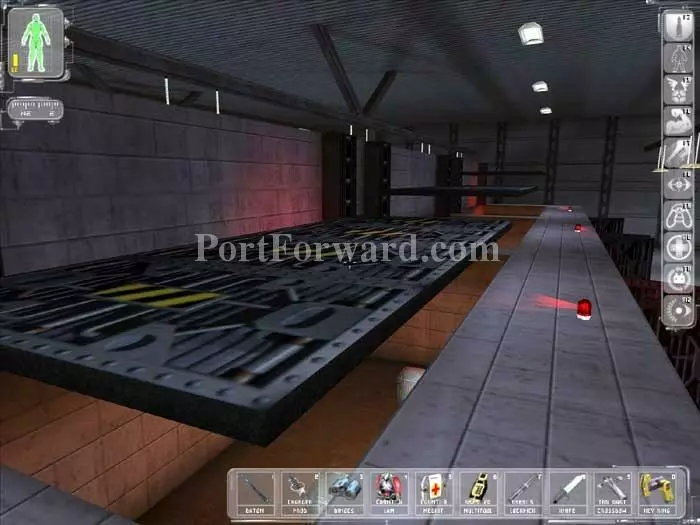
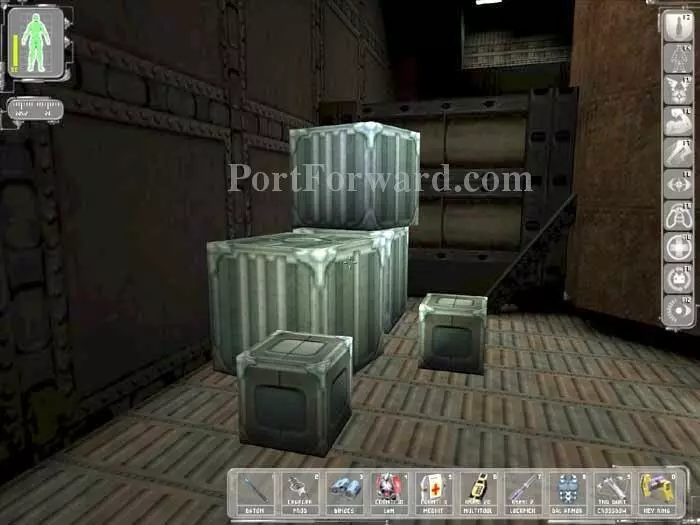
Notice how these roofs form steps. Climb to the highest one and earn 50 skill points. The sirens here sound very cool with a premium sound system.
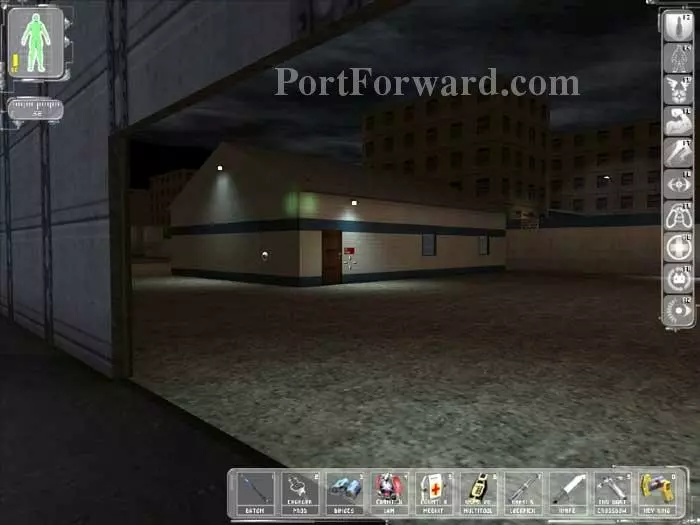
These large cargo doors were opened by the patrols when they heard the bots fighting. Head over to the Base Commander's office.
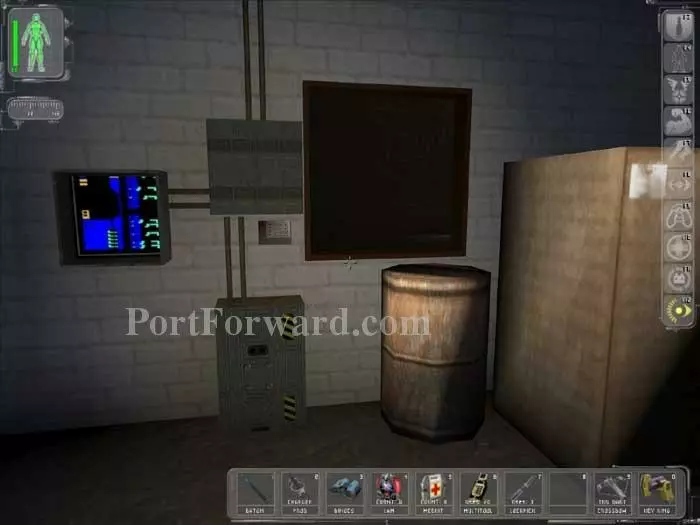
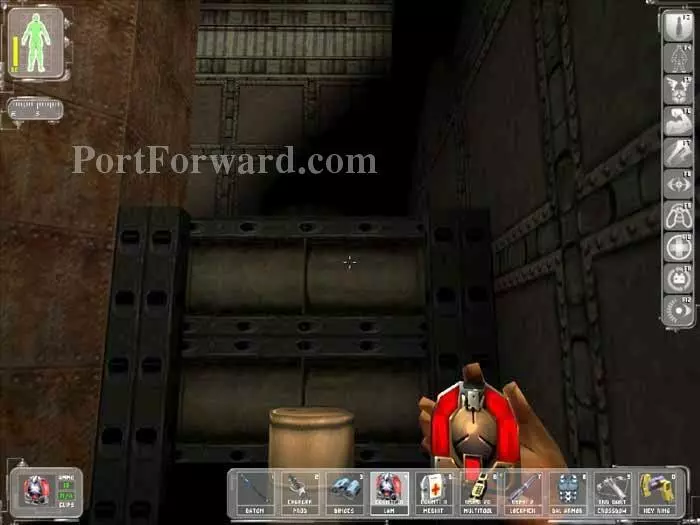
Break open this window. Use your Microfibral Muscle to move the barrel, then use your Enhanced Speed to jump onto the barrel so you can pass through the window. Otherwise, use lockpicks on the door.
You earn an Accomplishment Bonus of 20 skill points. The DataCube reveals the East Warehouse code 2249. The left cabinet holds a Reload Weapon mod. The right cabinet holds the weapon storage closet key. The center drawer holds c100.
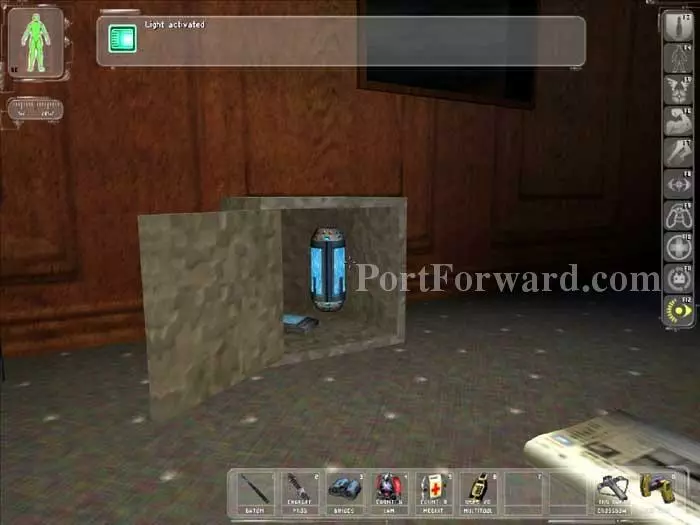
The safe under the window holds an Augmentation Canister (Aqualung/Environmental Resistance) and a DataCube with a picture of Walton Simons' augmentations.
The Commander's office key unlocks the door to this area. Immediately crouch and access the Security Terminal (USFEMA/SECURITY) to turn off all cameras, and open all doors. The closet on the left holds Ballistic Armor, 10mm Ammo, 7.62x51mm Ammo, and a Multitool.
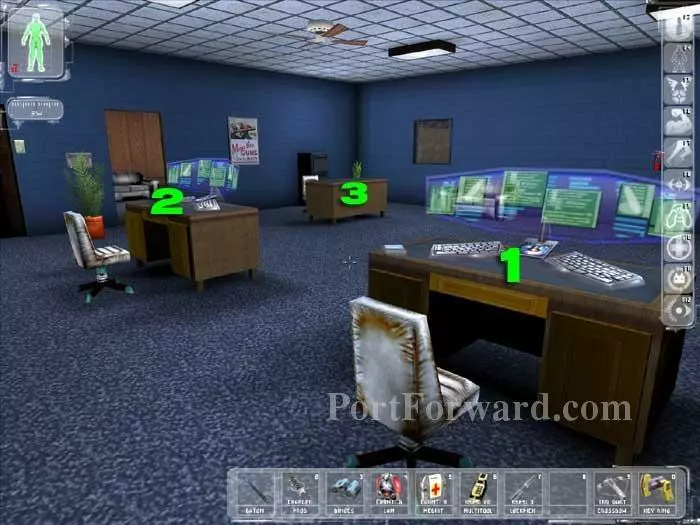
(1) holds a Medkit in the right cabinet. Read the DataCube for a Millennium Magazine cover photo of Bob Page. (2) holds two candy bars and binoculars. (3) holds a lockpick in the right cabinet and two Bioelectric Cells in the middle drawer. The locked file cabinet behind the desk holds a DataCube with the account WALTON/SIMONS.
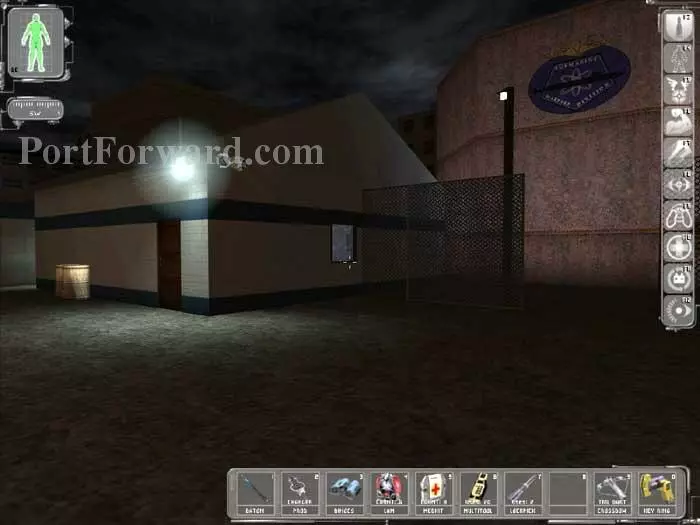
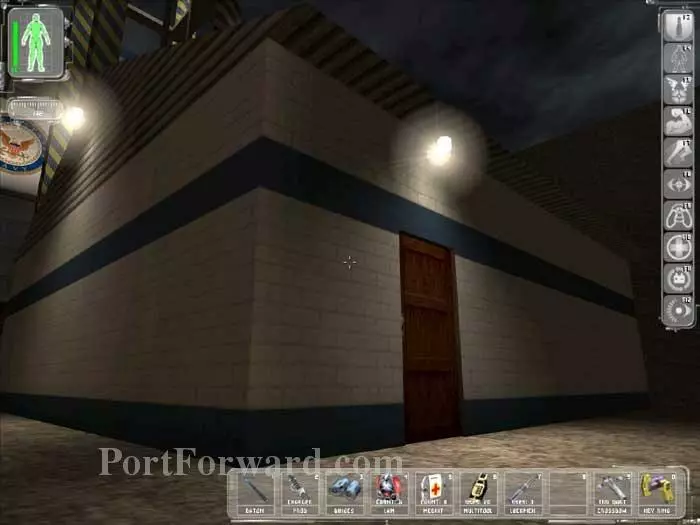
Across from the Base Commander building is this building. You can use the same technique as before to enter the building. Before entering, pass through the gate on the right to earn an Area Location Bonus of 40 skill points.
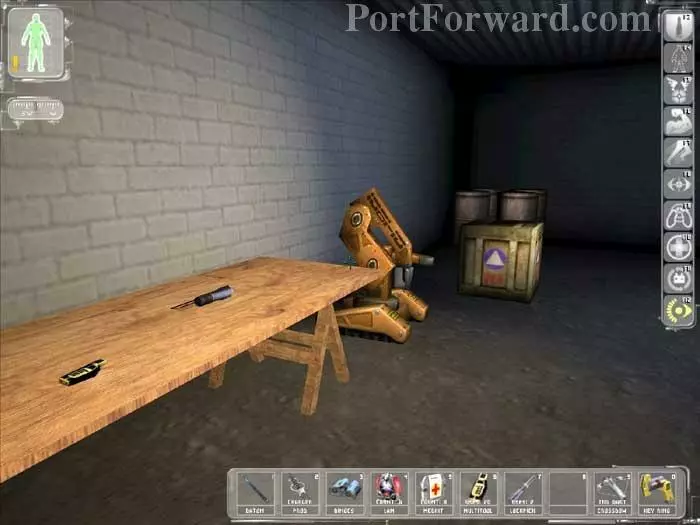
Inside you'll find a Repair Bot, two Multitools, and a lockpick.
This keypad opens the previously-opened gate (thanks, Andy). Use another barrel and your Speed Enhancement to hoist yourself out the window.
You can ignore this building if you're low on lockpicks. The only thing inside is Ballistic Armor.
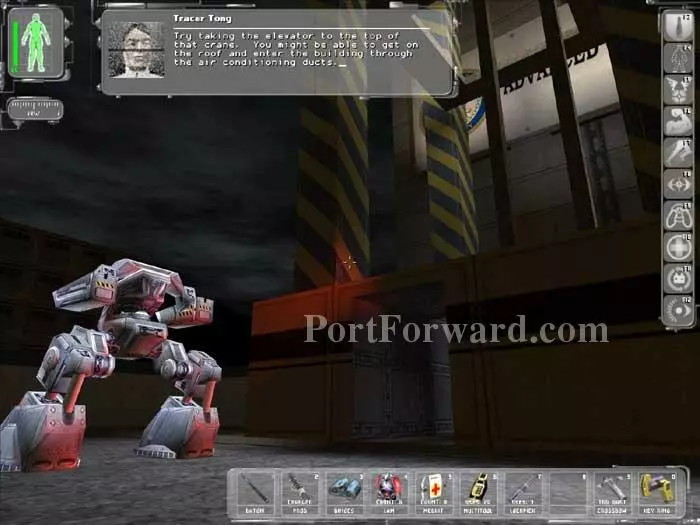
If you approach this elevator, Tong will suggest riding it to the top.

My preference is to ascend these stairs and enter the code 0909 into the keypad. Thermoptic Cammo helps conceal you from the bots as you cross this area to the stairs.
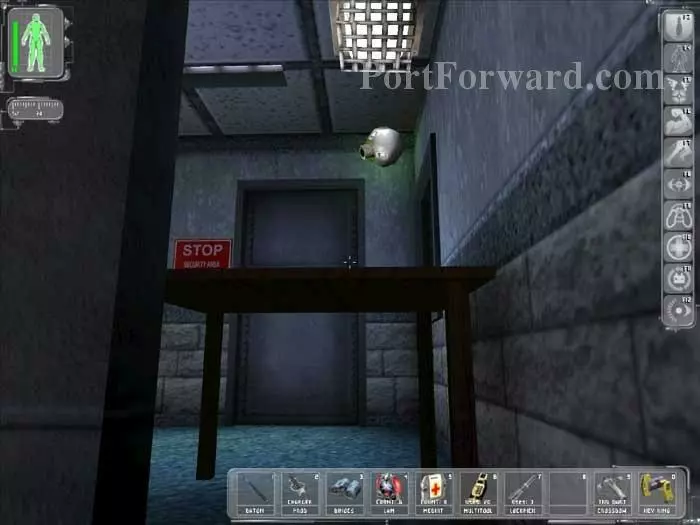
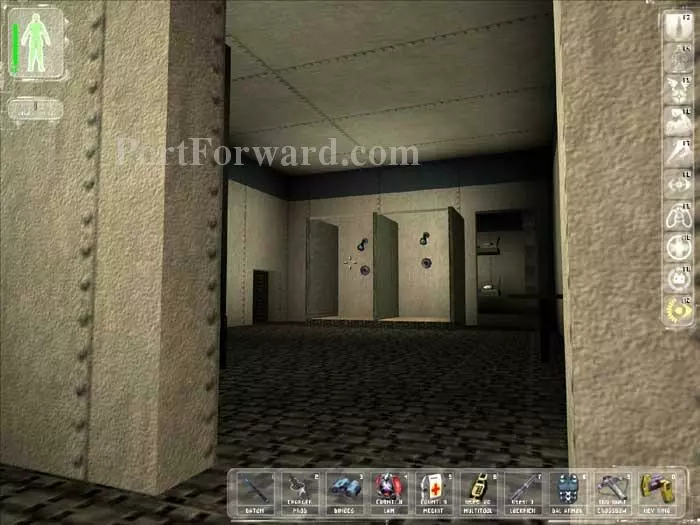
Sneak under this table to avoid the security camera. The door beyond automatically opens.
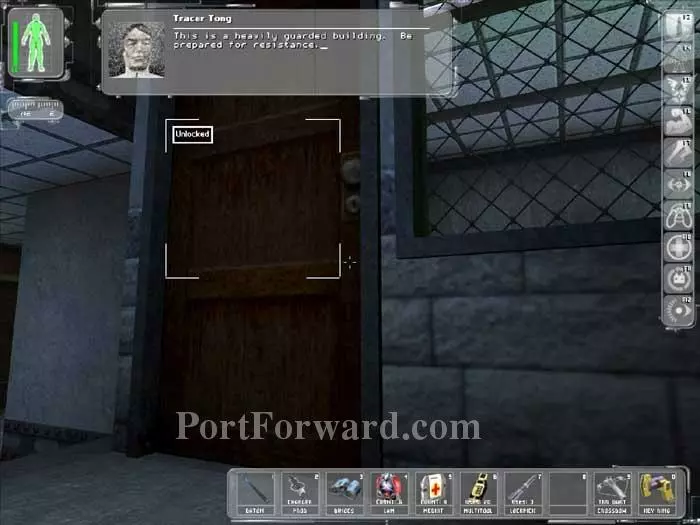
Tong prepares you for heavy resistance. Not through this door, however.
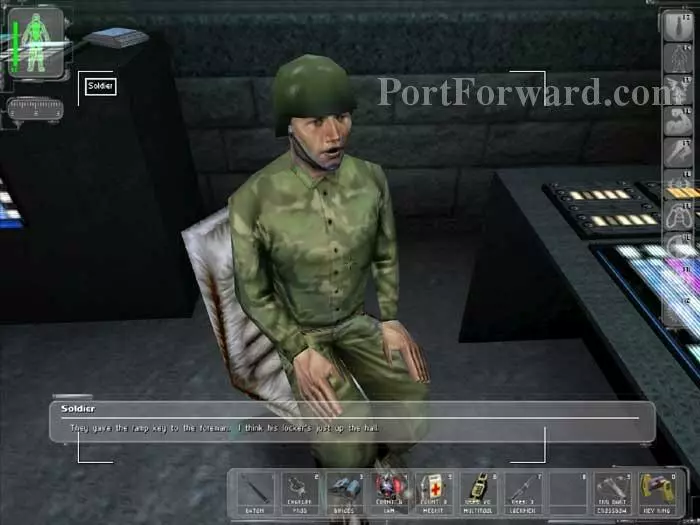
The soldier inside recognizes you and reveals that the ramp key is in a locker up the hall. Read the DataCube on his desk to learn that the ramp access code is 6655. Hack the Security Terminal to turn off three cameras.

The lockers are through this door.
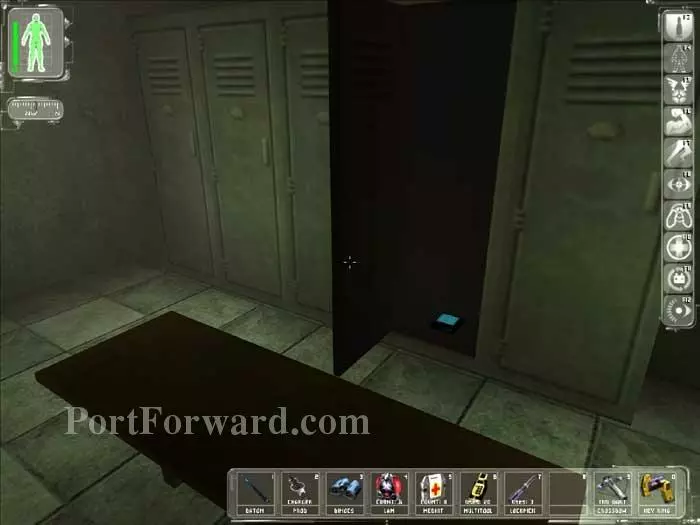
This locker holds a DataCube which confirms the ramp code 6655. The mechanic in here is an ally, as are all the mechanics in this area.
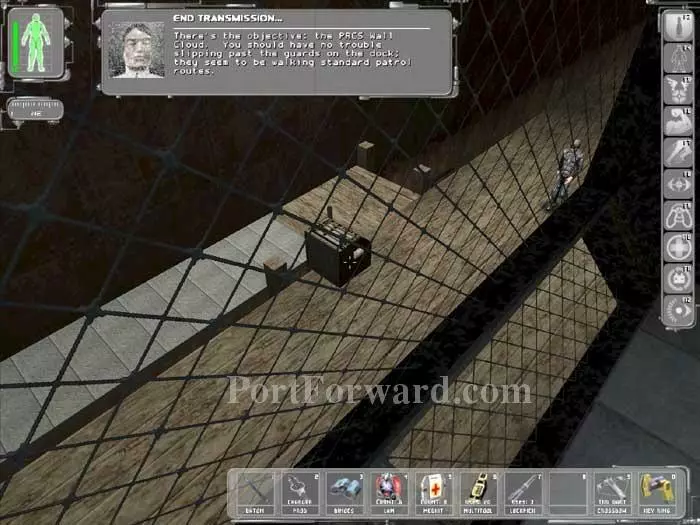
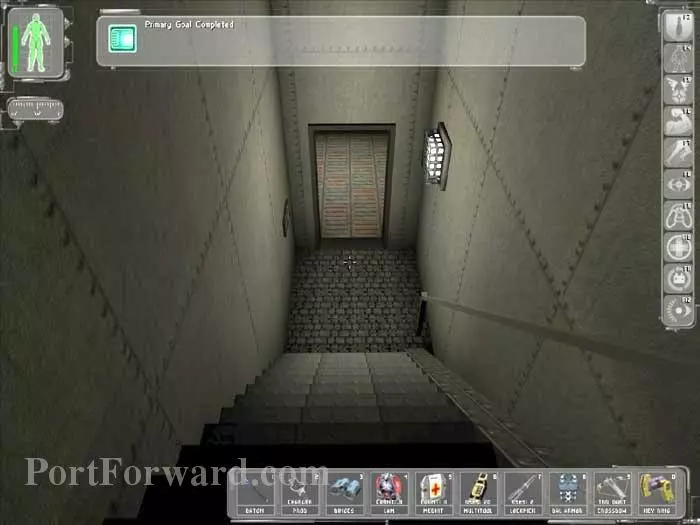
Continue down the hall and Tong radios that your objective is here - the PRCS Wall Cloud.
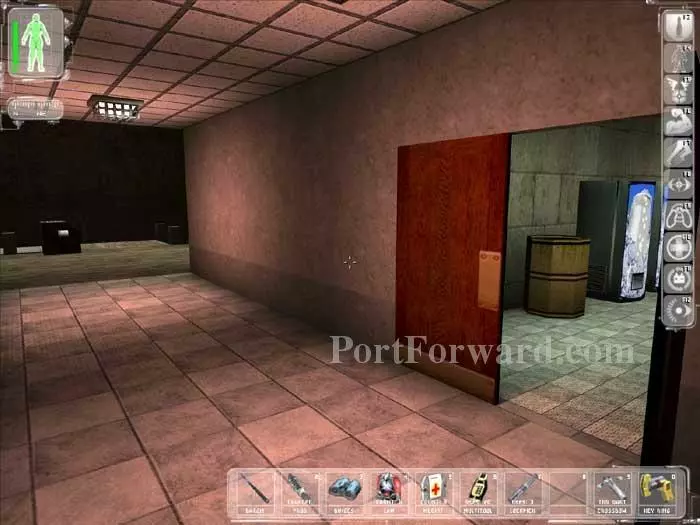
Descend the stairs then slip through this door on the right.
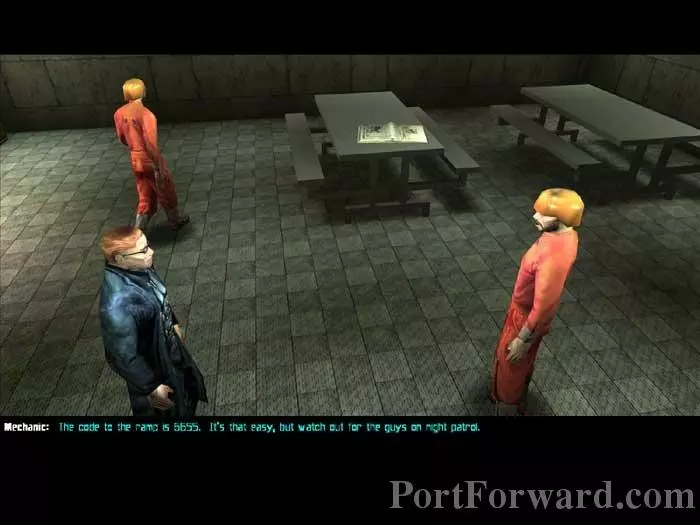
If you spoke with Vinny earlier, these mechanics will reveal the ramp code, 6655.
MJ12 patrol the dock. When they are walking away, enter the code 6655 where indicated, then ascend the ramp. You could have learned the code here, here or here.
Ascend the ramp and Tong congratulates you. Turn right and head all the way to the back. Chinese military patrol the ship so be quiet. I'm also going to be making a big role-playing decision here. The objective is to sink this boat, so anyone we knock out is as good as dead. We want to complete our mission without knocking anyone on the boat unconscious.
In this nook you'll find a LAM, 30.06 Ammo, Ballistic Armor and a MedKit.

Don't miss this LAM, either.
Avoid the patrols and sneak your way back to the front of the ship. Ascend one of these two ramps and pass through the hatch. Stay crouched to muffle your footsteps on the metal floor.
You earn 75 skill points for entering the Wall Cloud. Beware the patrols on deck. Proceed where indicated.
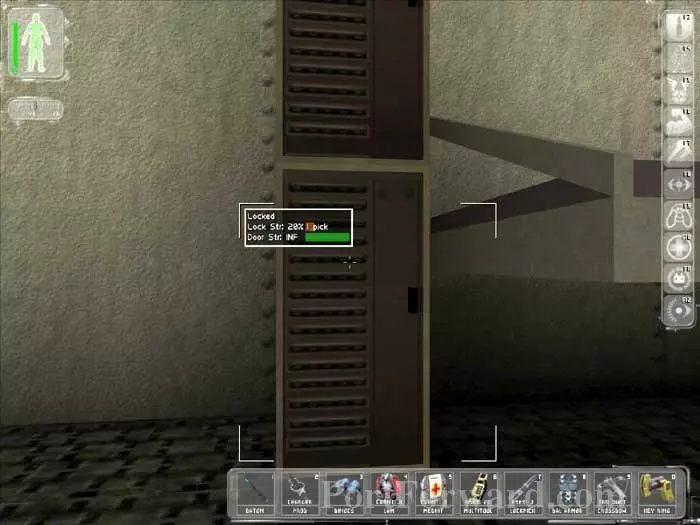
This locked locker holds a Multitool -- I'd save my lockpick.
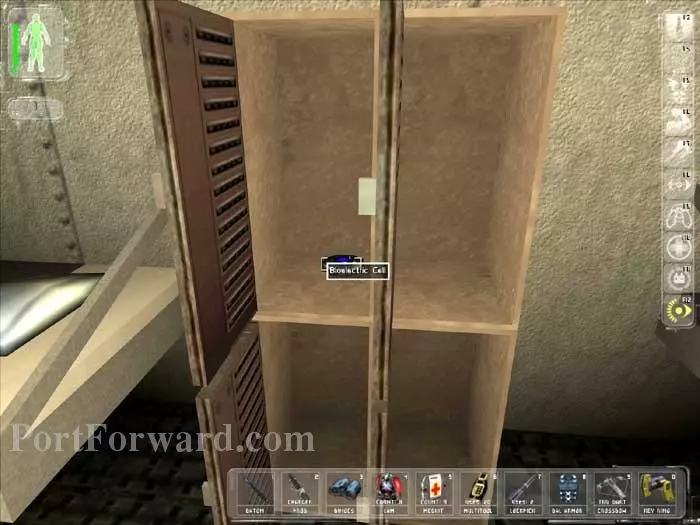
Across the room are these lockers, all unlocked. Grab the precious Bioelectric Cell.
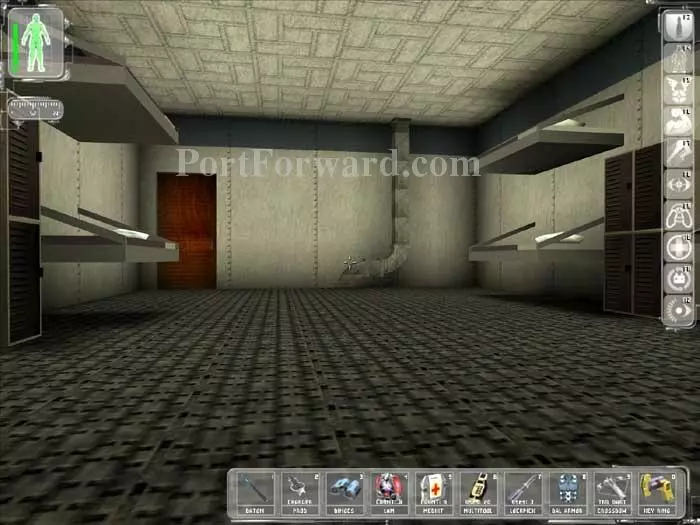
Pass through the neighboring bathroom to the adjoining bunks, noting the vent on the left.
These lockers hold nothing worth taking. The left lockers hold cigarettes and soda. The lockers on the right hold a forty, Soy Food, and the locked locker holds c100 -- not worth the lockpick IMHO.
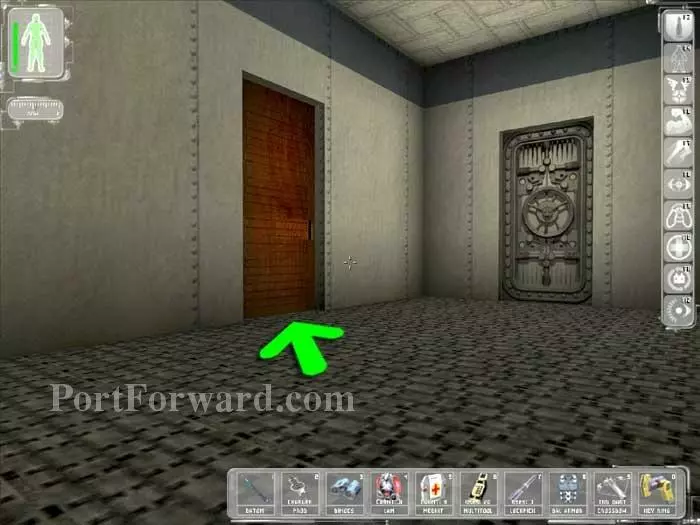
When the coast is clear, cross the hall as indicated.
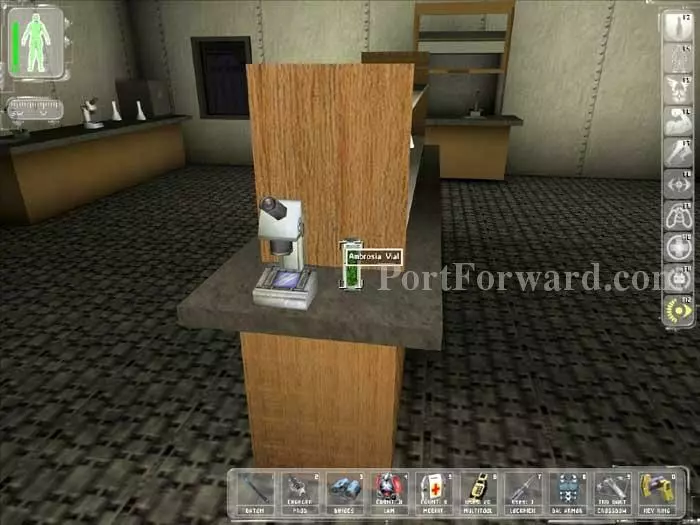
Grab this Ambrosia Vial for Stanton Dowd. The safe in the rear-left of the room holds something worthy of your lockpicks - an Augmentation Upgrade Canister.
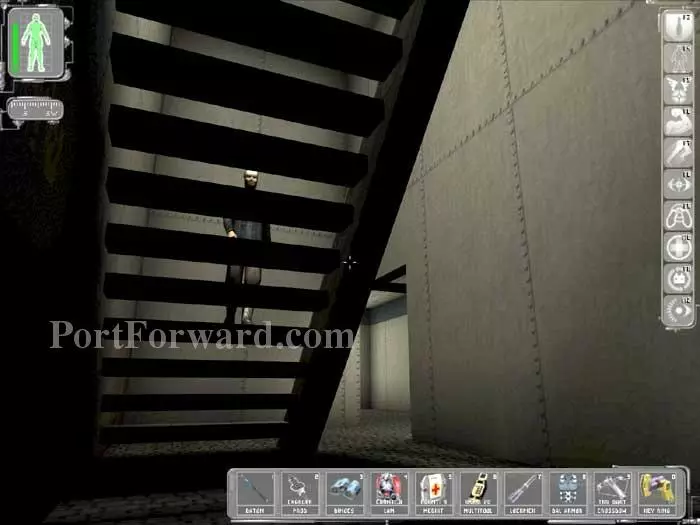
Carefully backtrack to the bathroom and pass through the vent you noted earlier. Ascend these stairs to the upper deck.
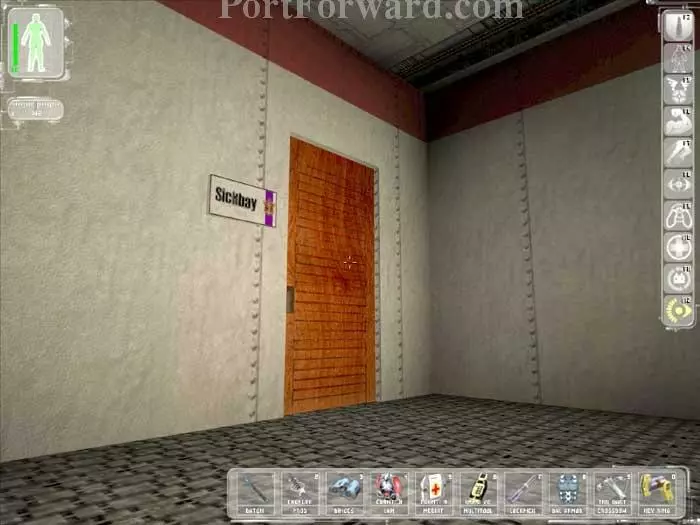
Sneak into Sickbay.
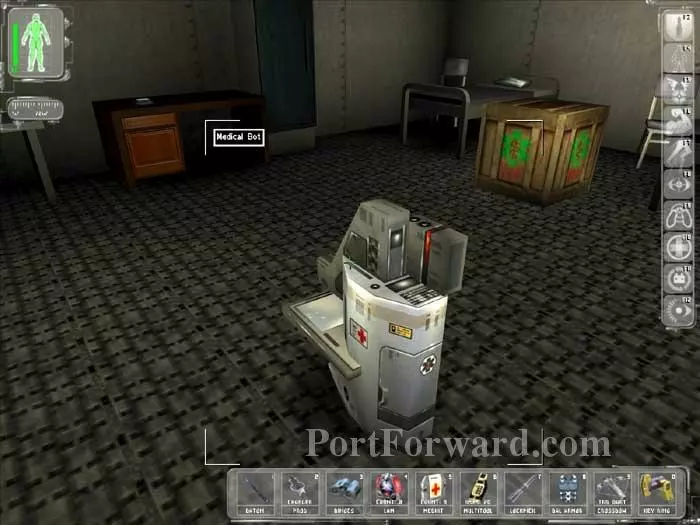
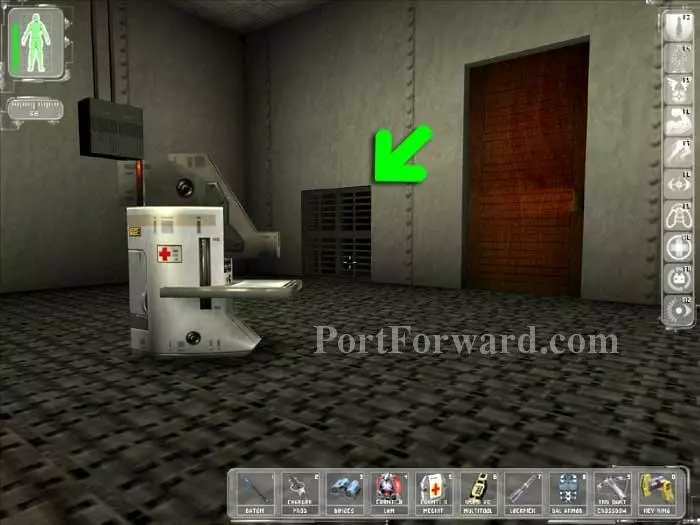
Heal yourself at this MedBot. Bust open the crate for a MedKit. You'll find another MedKit and a Pepper Gun in the closet next to the desk. Read the DataCube on the desk and learn the code 9753 to raise the bridge in engineering. The lower desk cabinet holds the below decks key.
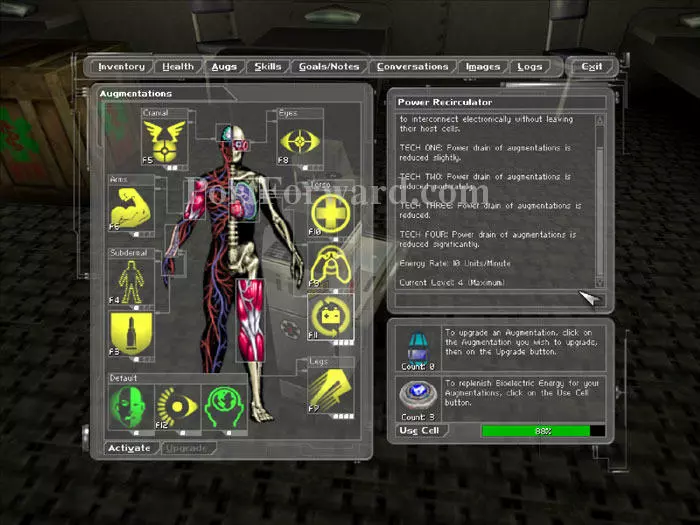
I also use this opportunity to install the Augmentation Upgrade Canister we found earlier. Here I upgrade Power Recirculator to Tech Four.
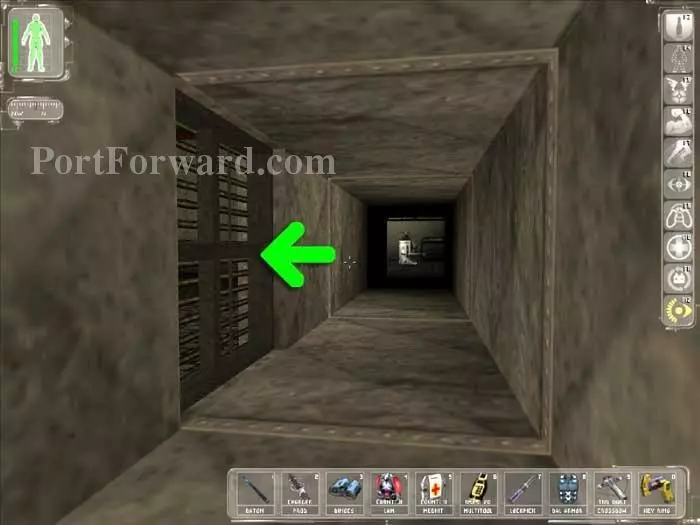
Exit through the indicated vent.
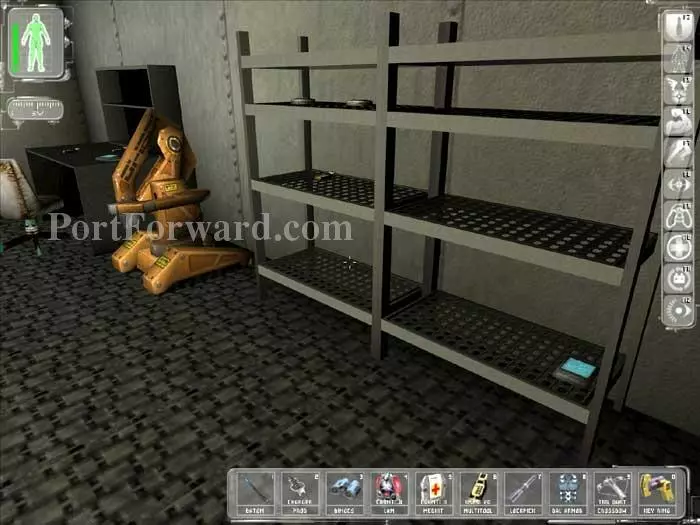
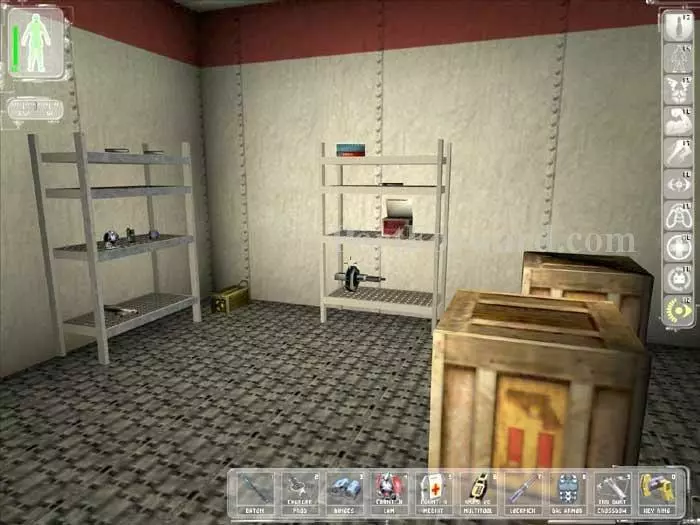
Follow the shaft all the way to the Electronics Lab. You'll find two Bioelectric Cells and a Multitool on these shelves, in addition to a DataCube with the account ROOT/REINDEERFLOTILLA. The desk in the background has two Multitools and a DataCube with the ops code 83353. Recharge at the repair bot.
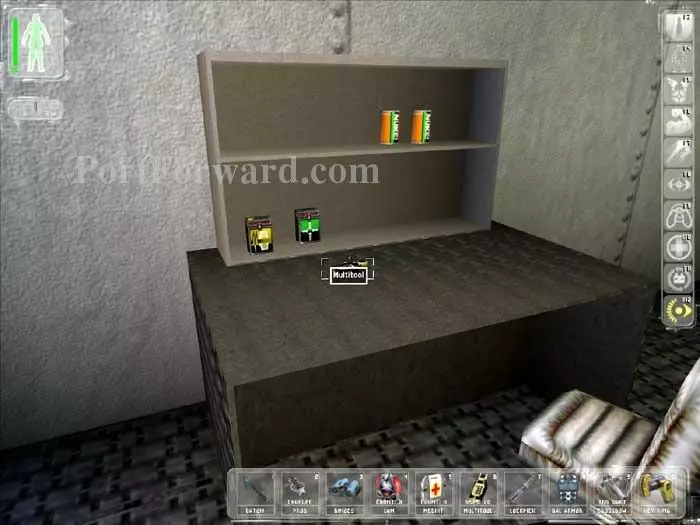
This desk holds a Multitool plus Silencer and Accuracy weapons mods.
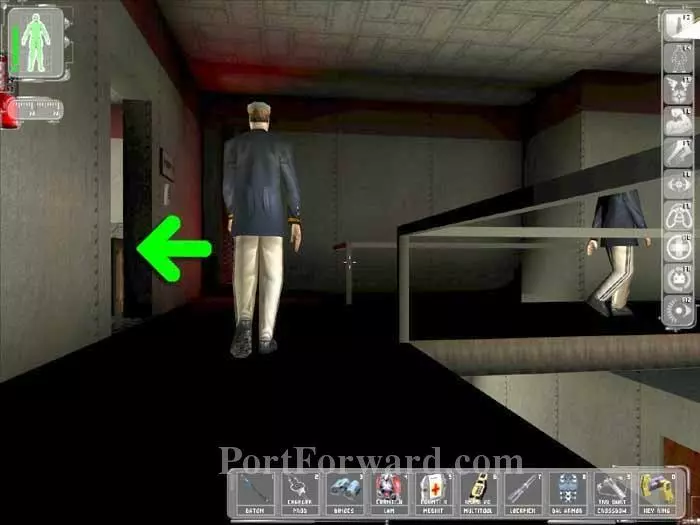
Backtrack through the vent. This time exit as indicated, being careful to avoid the patrols.

Turn left, then head through the indicated vent.
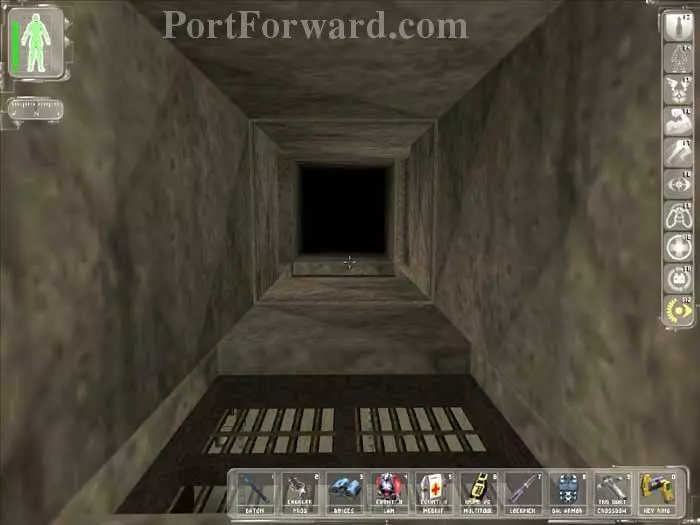
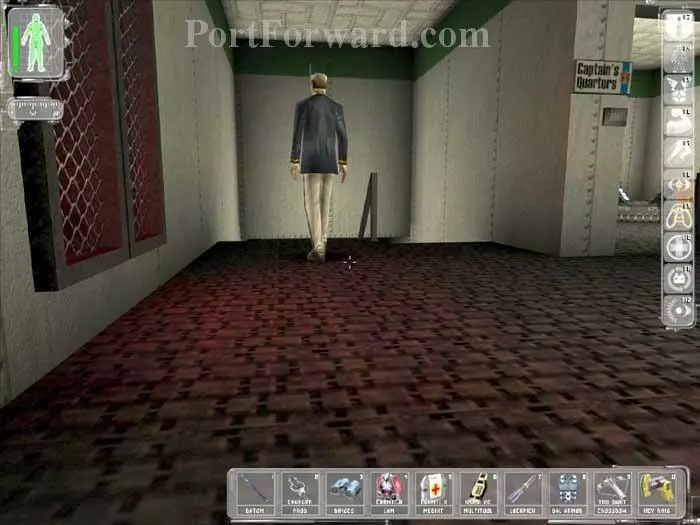
Take the ladder up to these vents. You can access many offices through these vents, but my preference is to turn left, then drop into the Captains Quarters.
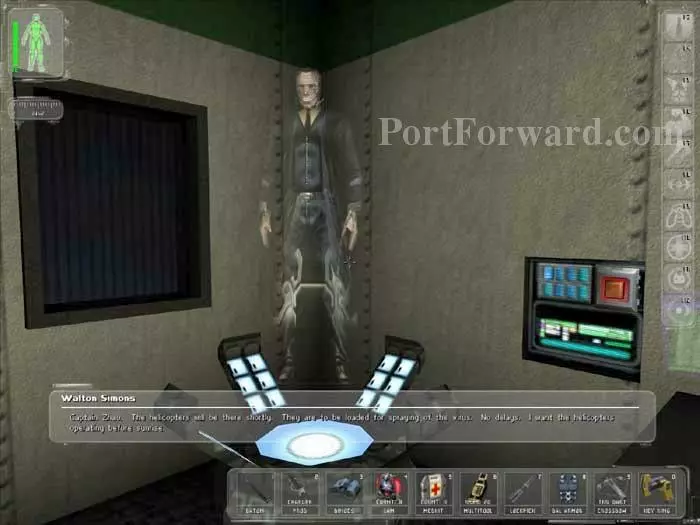
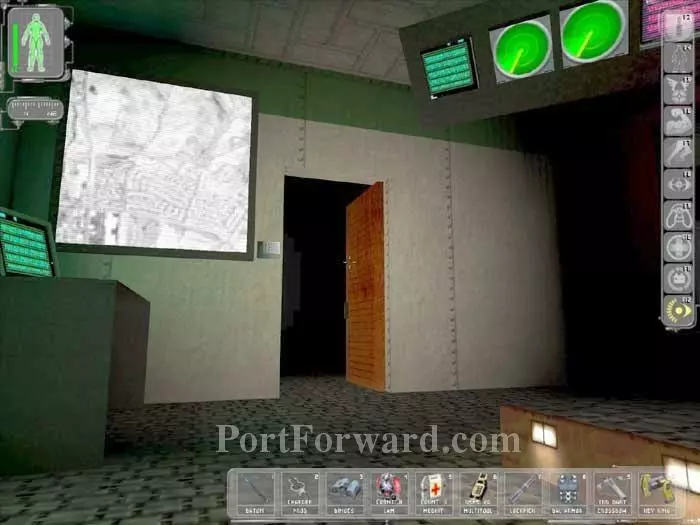
Activate the hologram for a message from Walton Simons.
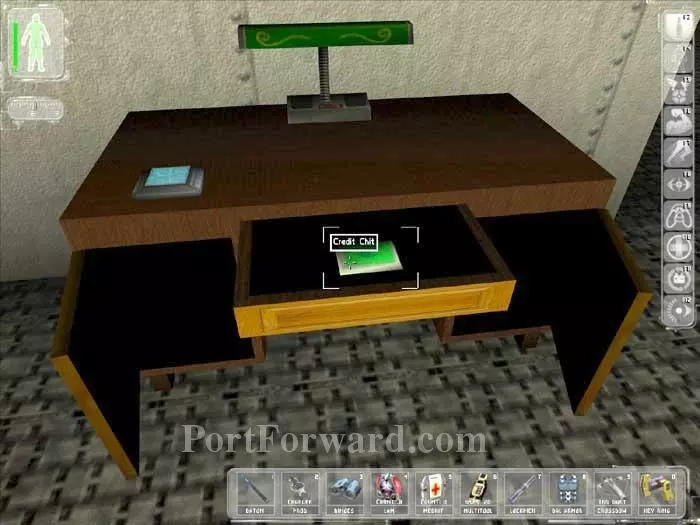
Grab this Credit Chit for c2250! The DataCube on the desk holds the armory code 71324. Another DataCube in the right cabinet gives some background.
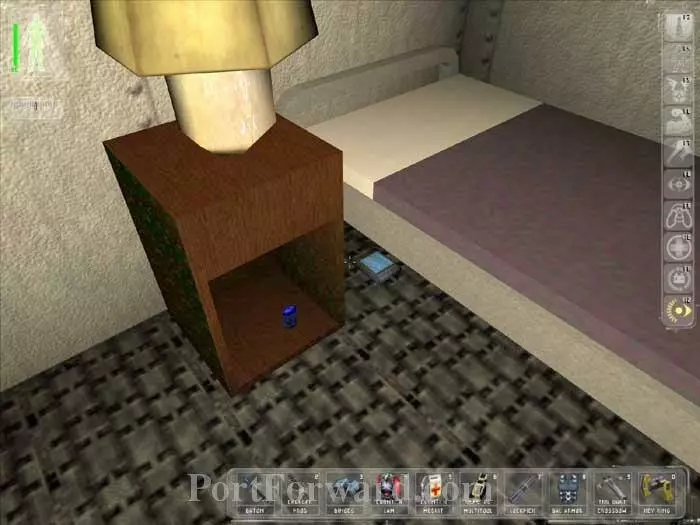
The DataCube under the bed holds the account KZHAO/CAPTAIN. The nightstand holds another below decks key.
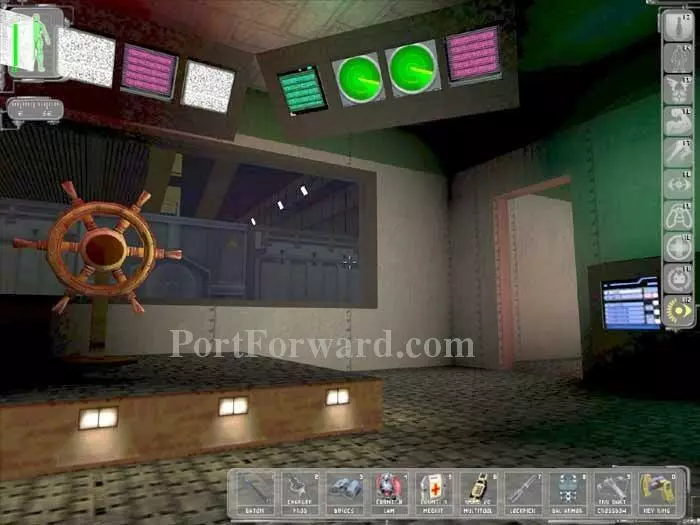
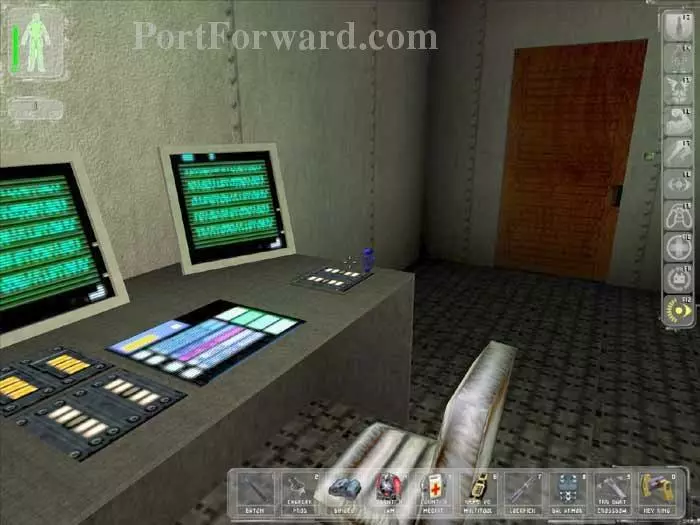
Stay crouched, wait for the guards to walk away (be patient), and head across the hall to the Security Terminal visible to the right of the bridge. Turn off all three cameras and open the Command Center and Armory doors.
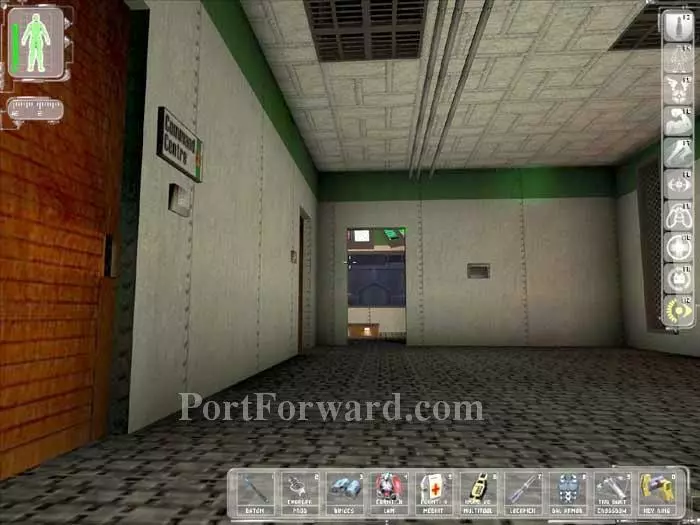
Enter the bridge, then pass through this doorway to the right.
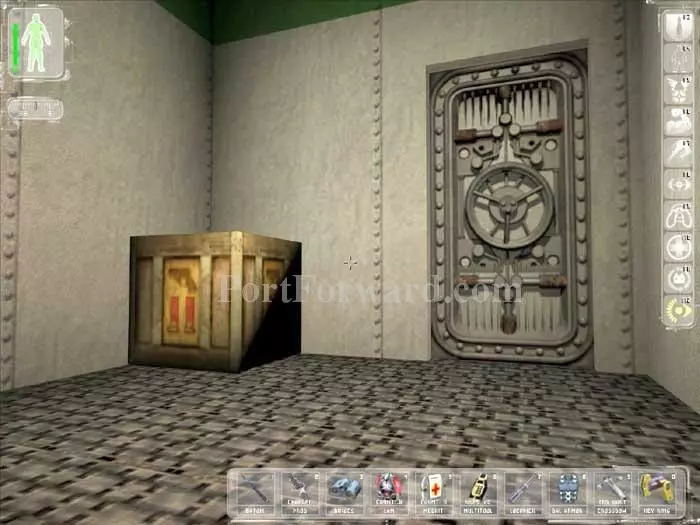
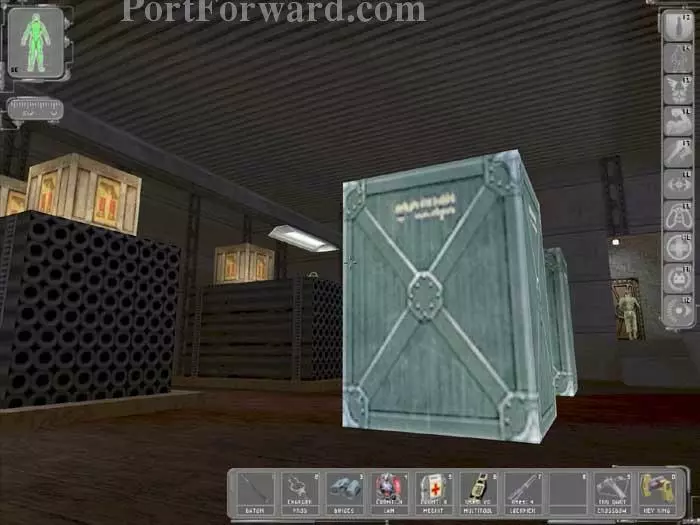
Bust open this crate for an EMP Grenade. Pass through the hatch for 50 skill points, then return.
Pass through this doorway which you opened earlier.
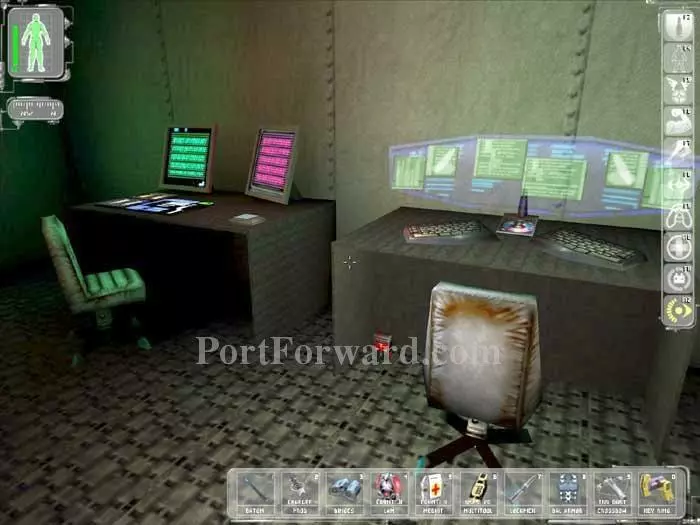
Stay quiet and turn left into the Command Center. There are two guards in here so be careful. Under the desk on the right is a Laser Weapon Mod. On the desk on the left is a DataCube with the code 65678.
On this desk is the security area access panel key.
Carefully descend the stairs, shadowing a patrol if necessary.
Proceed through the armory door, which you opened earlier.
Lots of goodies in here. Don't miss the lockpick, the Thermoptic Cammo, the LAM and the Gas and EMP Grenades.

Quietly descend to the lowest deck. Use your Below Decks Access Key to open this door. We've made it this far without knocking anyone on the ship unconscious. Remember, we want these guys to be able to escape the ship once it begins to sink. Isn't role-playing the good guy fun?
Descend these stairs then turn left into the Engine Room.
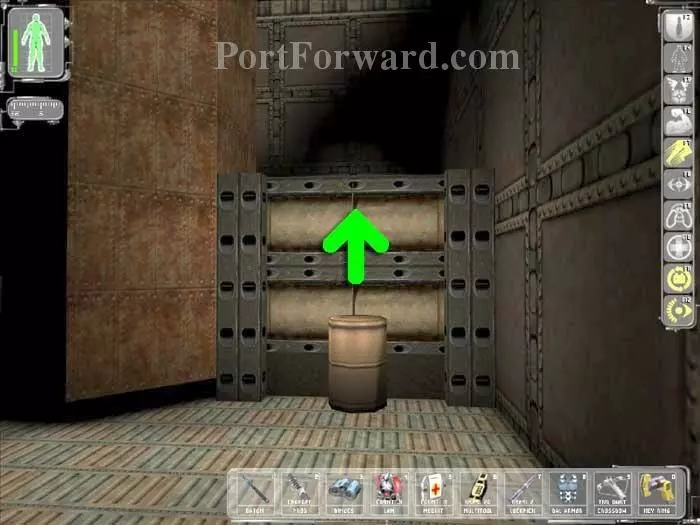
Activate your Microfibral Muscle and move a barrel into this position. Activate your Speed Enhancement and jump over the wall as indicated. If you do not have these abilities, you can skip ahead.
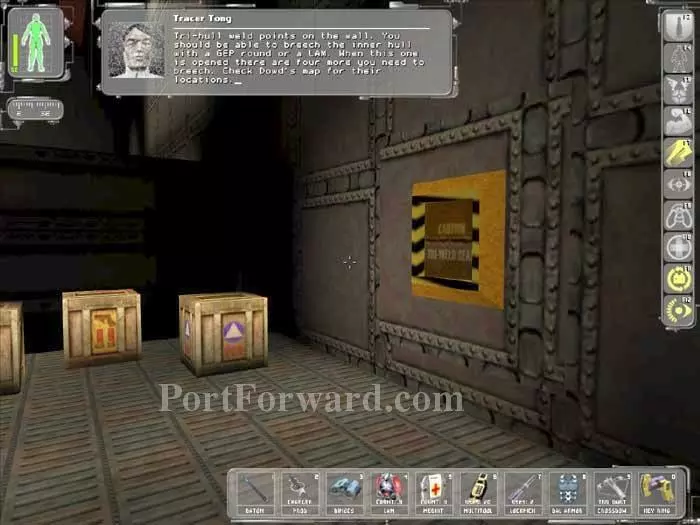
Tong radios that you've found one of the tri-hull weld points. First smash the crates to find a Bioelectric Cell, a LAM and 7.62x51mm Ammo.
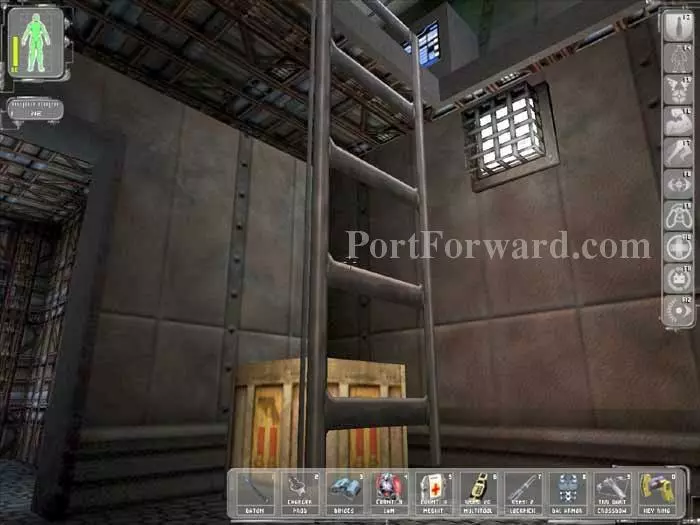
Climb these crates to safely egress the area.
From a safe distance, toss a LAM to destroy the Tri-hull weld.
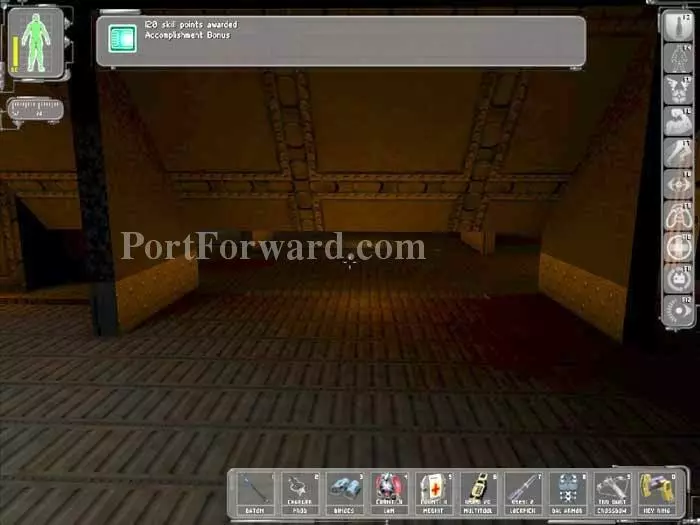
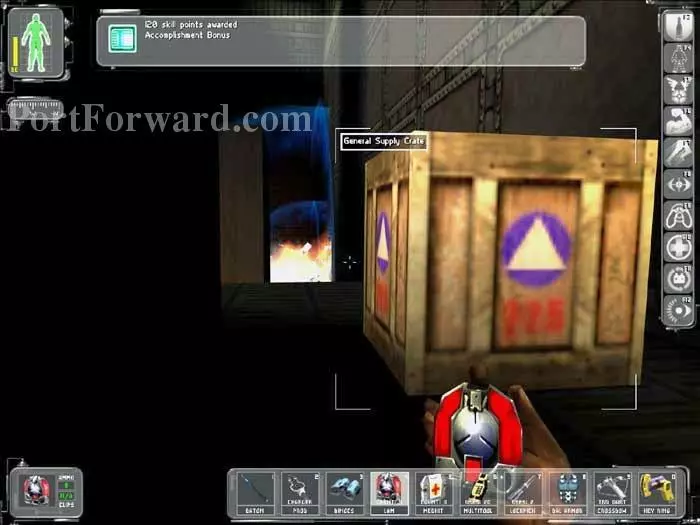
You earn 120 skill points for destroying the weld. Take cover under the machinery while the guards investigate.
There's the second tri-hull weld, but don't blow it up just yet. (The crate on the left holds a Multitool.)
Instead, evade the patrols and approach this keypad. Enter the code 9753. The bridge raises into position.
Ascend the nearby ramp and sneak into this area. Toss another LAM to destroy the second tri-hull weld. This crate holds a Bioelectric Cell.

Wait for the guard activity to die down then smash this crate for another LAM.
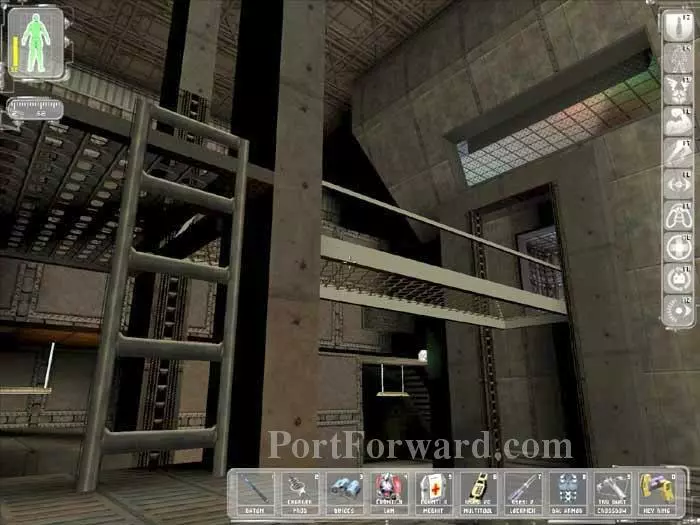
Ascend this ladder and cross the bridge you raised a moment ago.
You'll earn 40 skill points for making it across the bridge. This crate holds 12 gauge buckshot shells, and you'll find Ballistic Armor in the neighboring room. Quietly ascend this ladder to engineering.
Time for a difficult decision. Atop the ladder are these three sailors. You're going to sink the ship, so anyone who is unconscious could be safely considered to be dead. For serious role playing, let's try to keep them alive and conscious.
You're objective is this Security Terminal. If you are patient, you can access it from the ladder while the sailors all have their backs to you and they'll be none the wiser. Use the account ROOT/REINDEERFLOTILLA to disable three cameras and open one door.
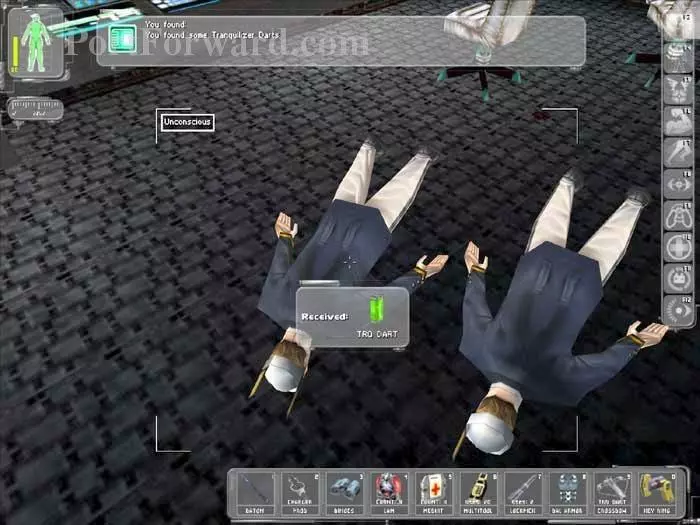
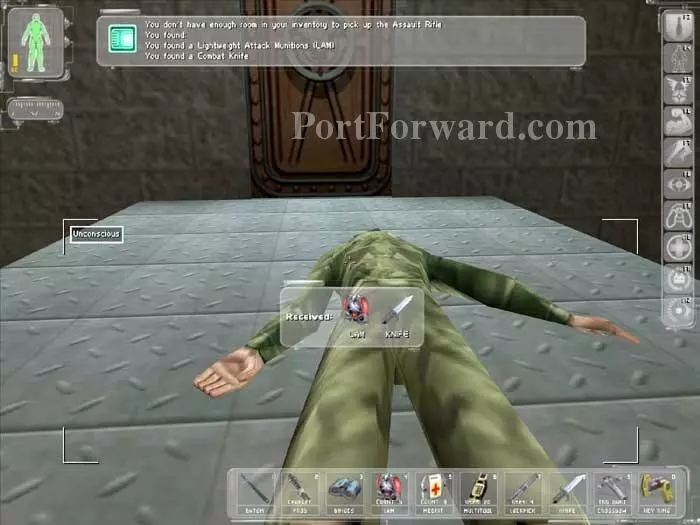
If you do choose to take the sailors down, a Gas Grenade followed by some Tranquilizer Darts works well. You'll find more Tranquilizer Darts on each body.
Carefully return below then head through this doorway as indicated. Bust the crates inside for some Tranquilizer Darts.
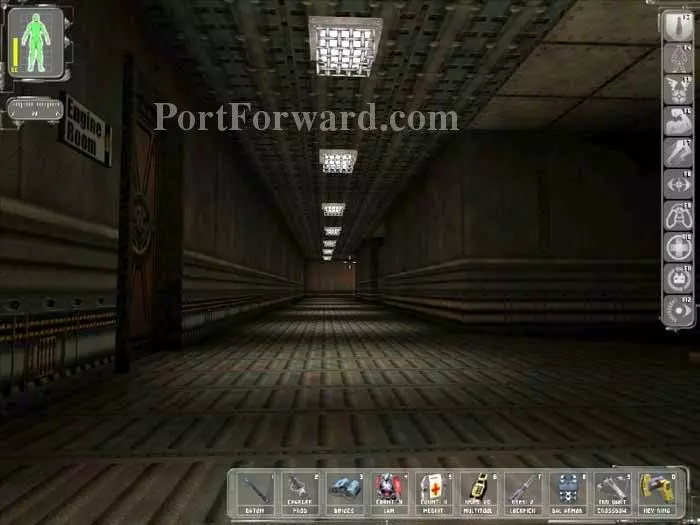
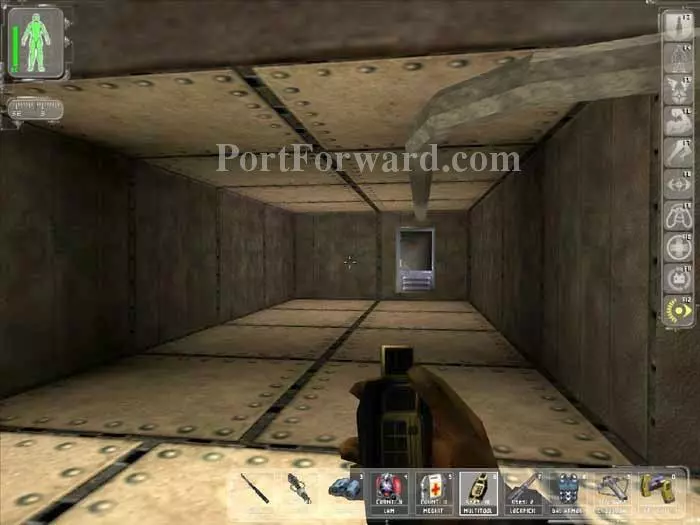
Turn left and follow this corridor.
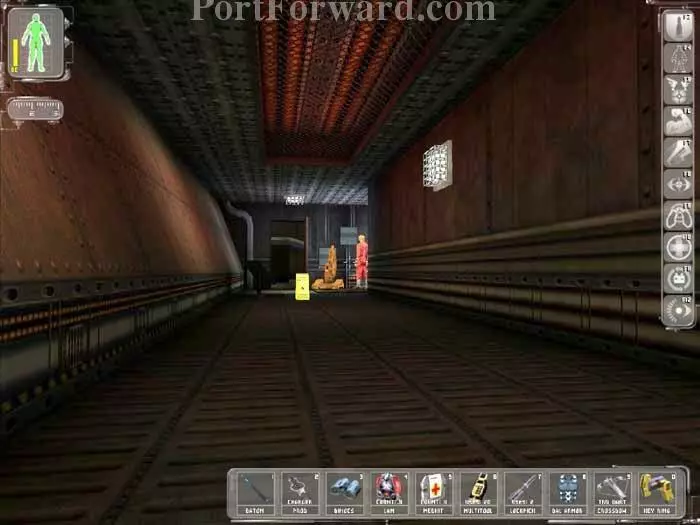
Avoid the patrols, turn the corner and approach this mechanic when nobody else is around.

A brief cutscene plays. Recharge at the Repair Bot and grab the Heli-Ops Room Nano-Key from the crate behind the mechanic.
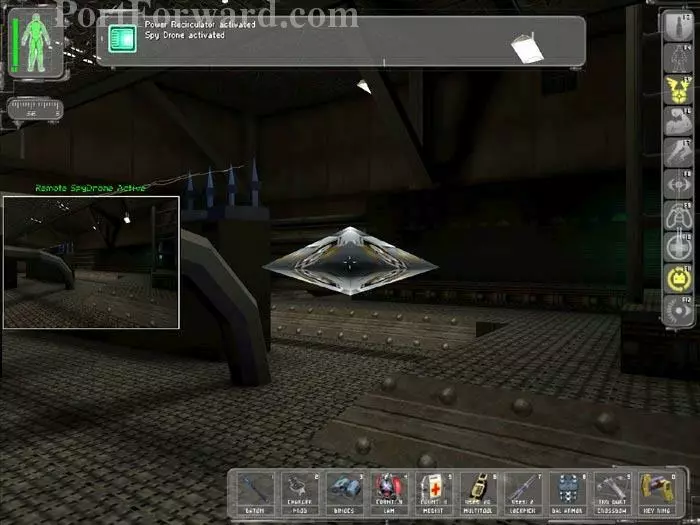
Head into the transformer room. There is a spider around the right corner. Send in your Spy Drone and take it out with an EMP blast.
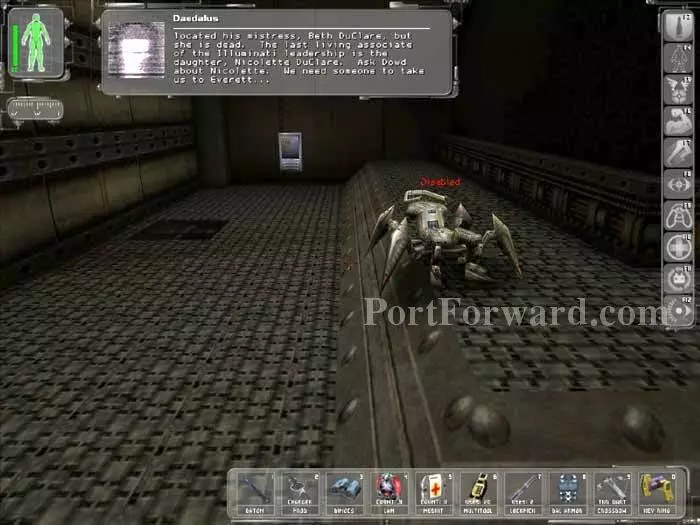
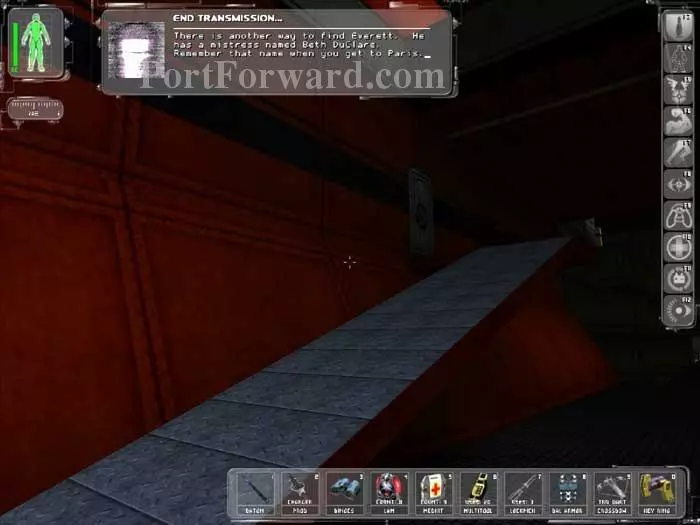
Daedalus provides you with information on the sole remaining associate of the Illuminati leadership, Beth DuClare. Proceed past the disabled spider and deactivate the transformer with Multitools. Head through the grate in the floor.
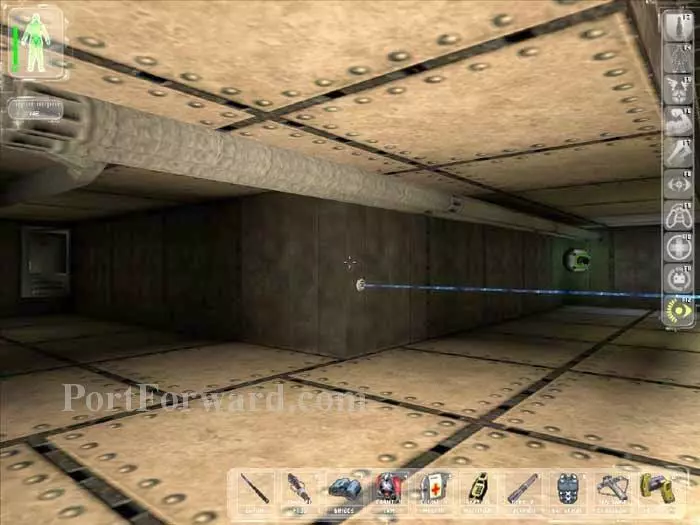
Use Multitools to deactivate the transformer on the left. Proceed where the blue laser had been and turn right.
Similarly, bypass this transformer and complete the secondary objective.
Return above and toss a LAM at this third weld point. You earn another 120 skill points.
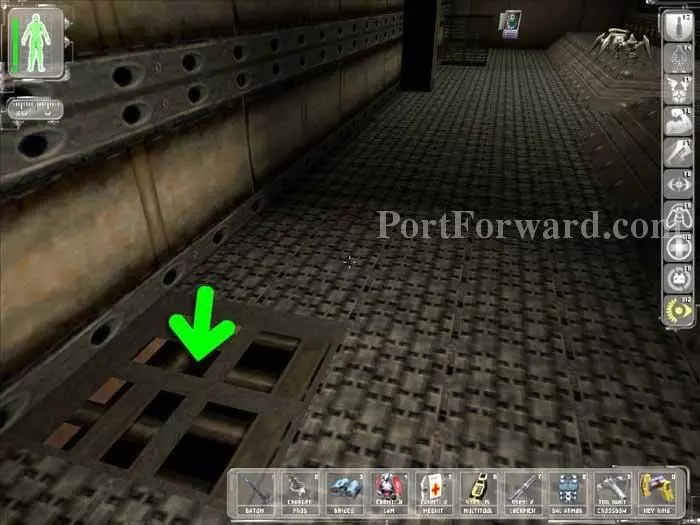
Recharge at the bot outside and receive the appreciation of the mechanic. There are several ways to proceed at this point. My preference is to return inside the transformer room and take this grate below.
Follow the shaft to the exit on the other side. You receive an Exploration Bonus of 40 skill points.
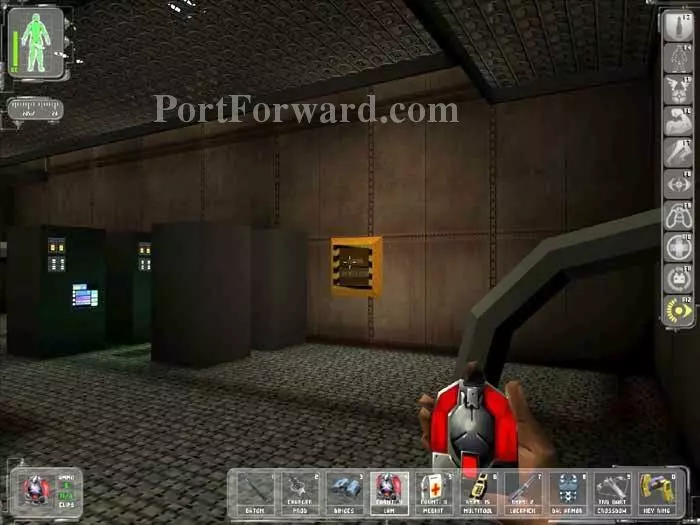
You'll emerge in this area. Activate your Power Recycler and Cloak then have at it. Among the items available are a lockpick and a Medkit, plus lots of ammo if that's your bag.

Under the chopper is this area. The DataCube at (1) has the hangar code 4453. Inside the locker (2) is 10mm Ammo. Inside the locker (3) you'll find a Prod Charger and Darts. img(216576); Recharge at the bot as needed. When you're ready to wrap it up, toss a LAM at the fourth weld. img(216577); Make one final recharge at the bot, then head out through here. img(216578); There are security cameras here so move fast. This crate holds a Bioelectric Cell, and there is a Multitool on the floor to the right. Ascend the ladder. img(216579); Jump into the upstream from this fan. img(216580); Wee! Float up to the ledge and grab the Bioelectric Cell and Multitool. Float through the indicated opening, the one farther from the security camera. You earn an Area Location Bonus of 40 skill points. img(216581); Drop down and keep left. You'll come to this grate with a Prod Charger. img(216582); Avoid the patrol and grab this Prod Charger. img(216583); This neighboring office holds an Augmentation Canister (Cloak/Radar Transparency), Scramble Grenade, GEP Gun, Plasma Clip and a lockpick. img(216584); Wait for the guard to move into this position then quietly slip out the door. img(216585); Follow the corridor to this door. Press the switch to open the hatch and a security camera will spot you instantly. To avoid detection, hold back and send in your Spy Drone to disable the camera. img(216586); This next part is very difficult to pull of without knocking out any of the soldiers, but if you move quickly and activate your Cloak it can be done cleanly. If you're feeling very confident you can take the time to bust open the crates for a MedKit and a Multitool. img(216587); Begin by dropping a LAM down to the fifth and final weld point. img(216588); Head over to this corner and press the Bilge Power switch. Login to this computer with the account ROOT/REINDEERFLOTILLA. Reverse the pump flow. img(216589); Your mission is accomplished, the ship is rocking violently and it's time to get out of here. This is your quickest way out. The crate ahead holds a lockpick. Take the stairs back up to exit the ship. img(216590); Tong advises that a maintenance door on the west end of the dock is your way out. There's the door just behind the guard. img(216591); Climb the ladder and earn 40 skill points. Taking the left approach is a bit easier. The approach on the right leads to this spinning tunnel, reminiscent of Kennywood Park's Noah's Ark. img(216592); Use your Spy Drone or EMP Grenades to knock out the spiders then climb up here. Grab the Multitool and lockpick and escape out the indicated grate. img(216593); Toss a LAM (from a safe distance) to blast open this vent. img(216594); Jock's chopper lands on the roof. Climb aboard to be whisked away and end the level.
More Deus Ex Walkthroughs
This Deus Ex walkthrough is divided into 20 total pages.