
This Deus Ex walkthrough is divided into 20 total pages.
You can jump to nearby pages of the game using the links above.
Majestic 12
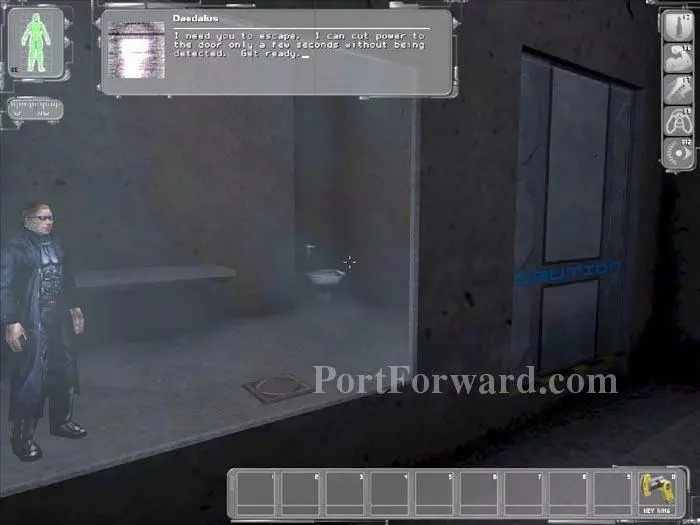
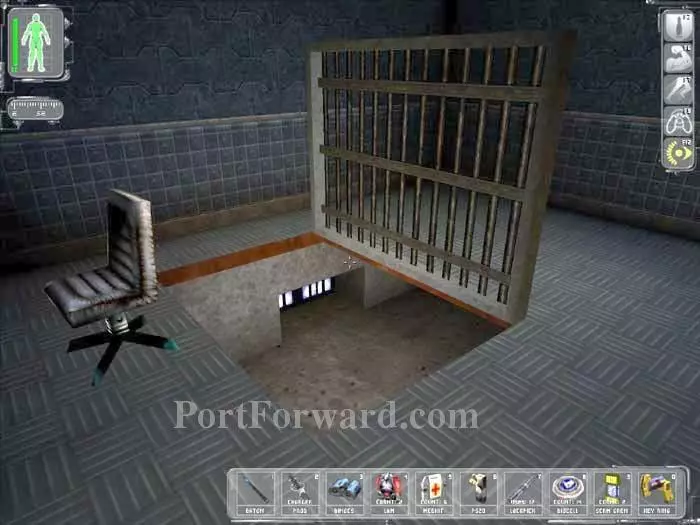
You are in MJ12 custody and your inventory is empty. Anna Navarre stops by your cell to gloat. You receive a transmission from someone - or something - identified as "Daedalus." The power to your cell is cut and the door opens.
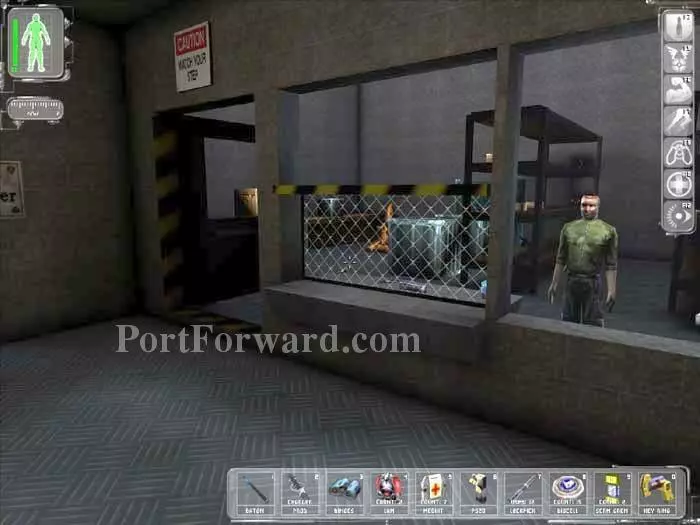
MJ12 patrol the area. Sneak up to that crate ahead. On top you'll find a baton. Inside is a Riot Prod.

Use the Prod on the patrolling MJ12 to make your escape easier.
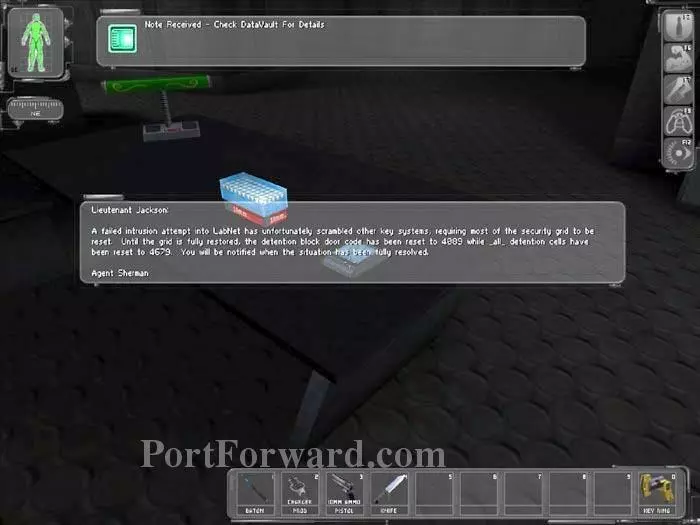
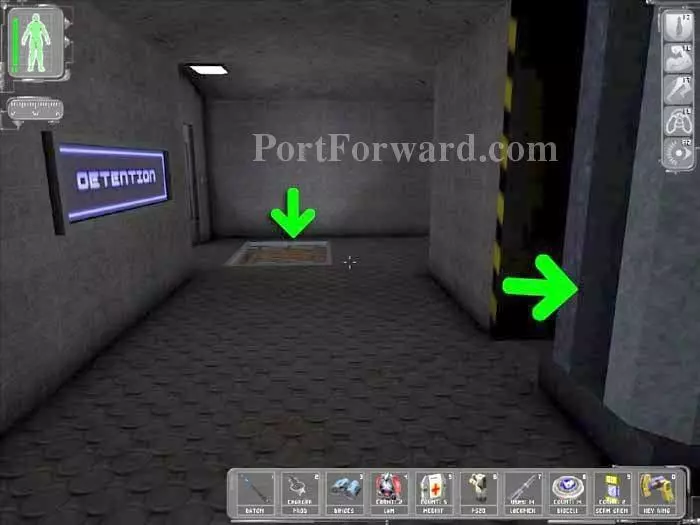
This DataCube reveals the detention block door code 4089 and the detention cells code 4689.
Use the code 4689 to enter this NSF prisoner's cell, named Miguel. He offers you a Medkit. You can have him follow you, but I prefer to have him stay put. You can rescue Miguel and earn 200 skill points.

In a neighboring cell is a Medbot and this dead NSF.

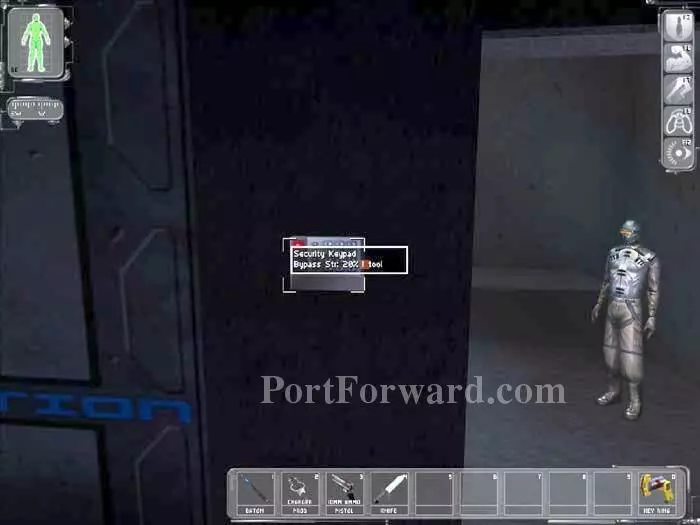
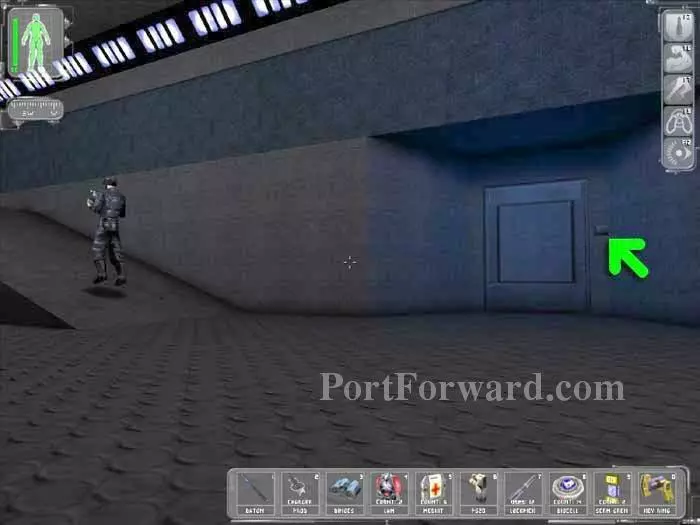
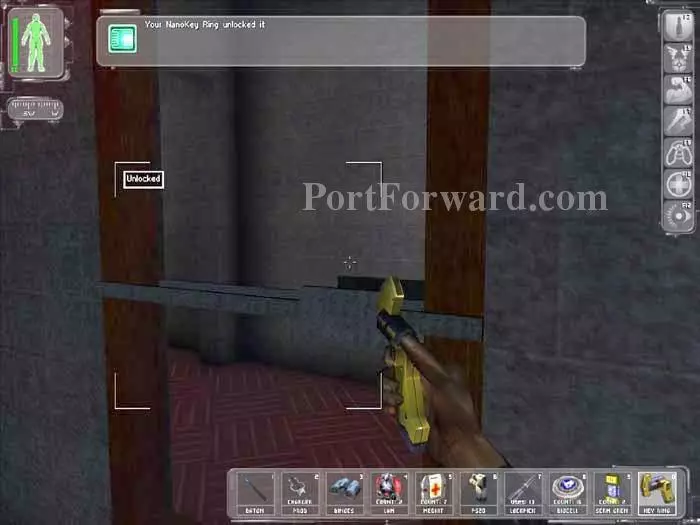
Hug the walls to avoid the security camera in the right corner, then exit as indicated. The door can be operated with the key code 4089.
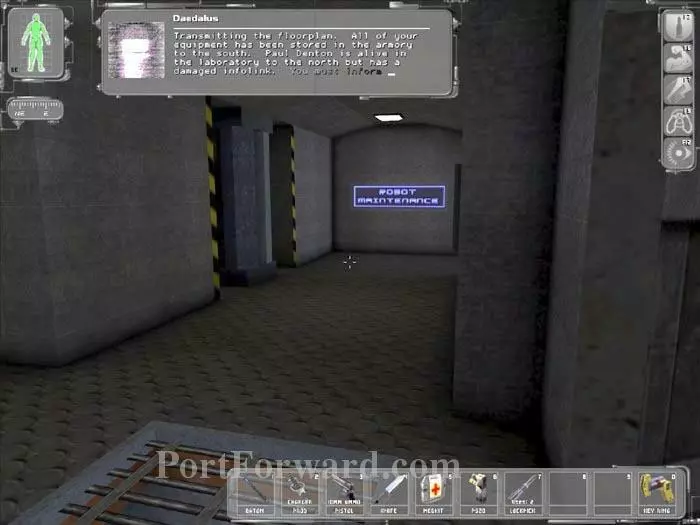
Daedalus transmits a floorplan and informs you that your equipment is in the armory to the south, and Paul is in the lab to the north. You are awarded a Goal Accomplishment bonus of 250 skill points.
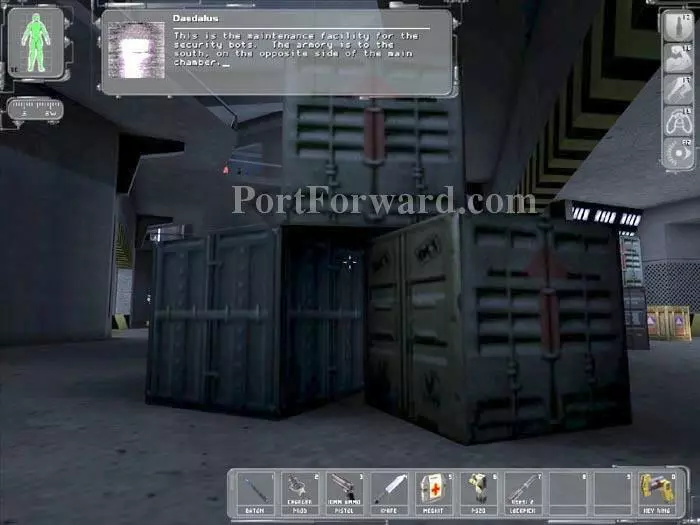
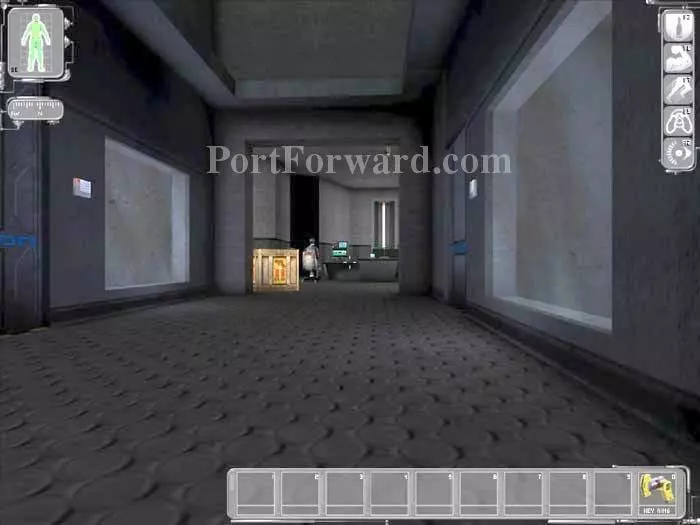
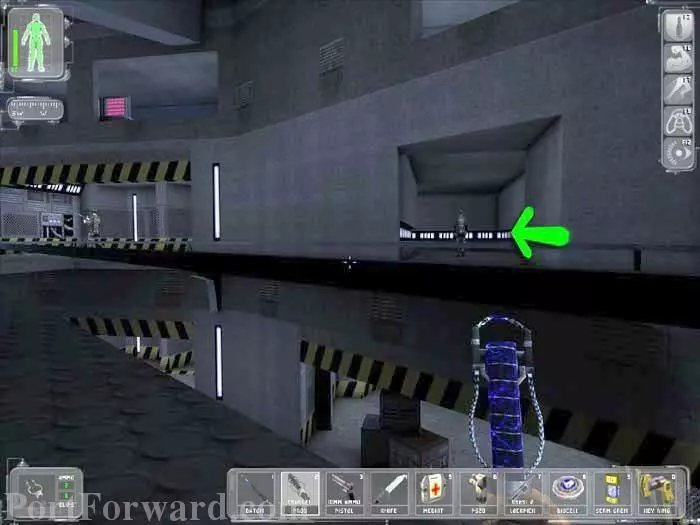
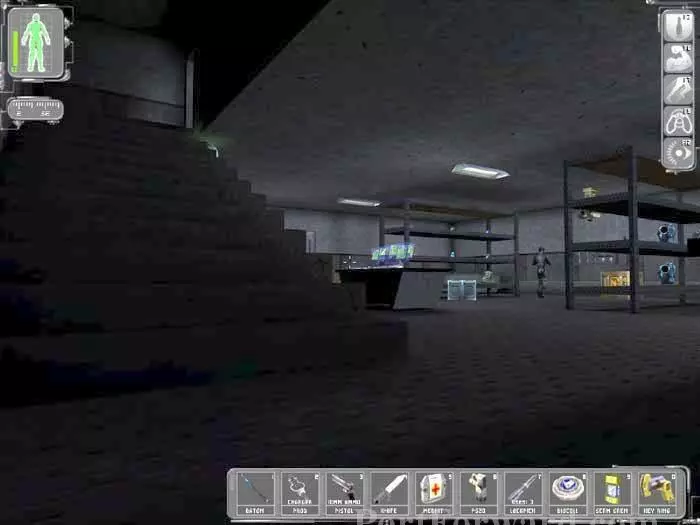
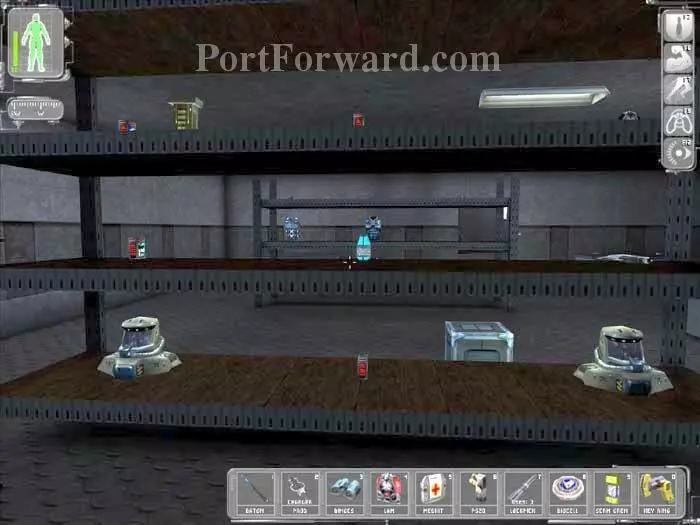
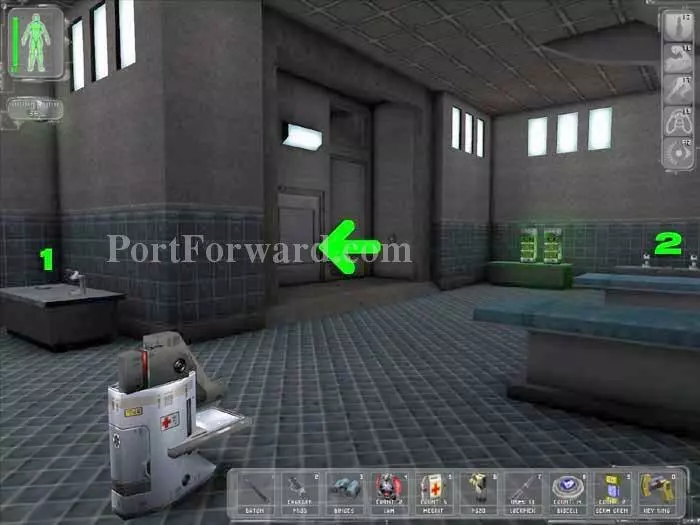
First things first. We need to get that equipment back. Head east then south through Robot Maintenance. Bust open the crate on the right for a Bioelectric Cell and a Scramble Grenade.
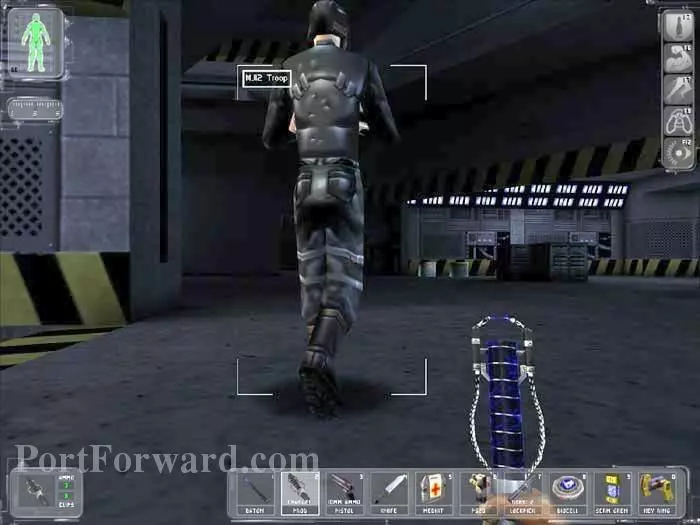
A single MJ12 patrols this lower level. Taking him out with your Prod makes movement much easier.

Recharge your energy at this Repair Bot.
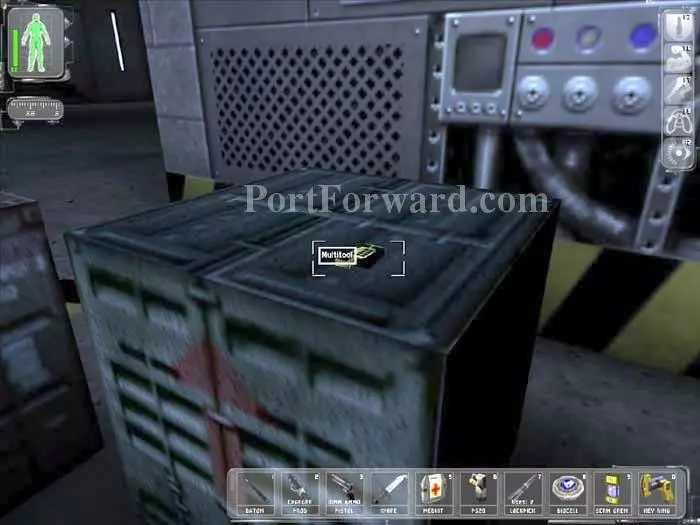
Multitools rest on these crates and on identical crates nearby.
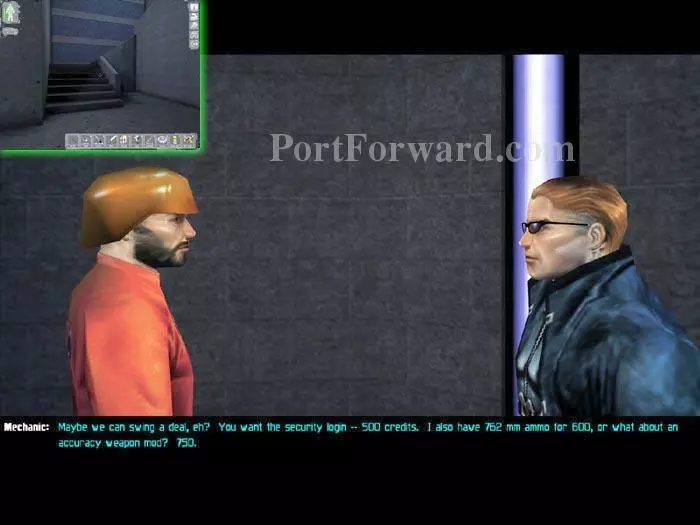
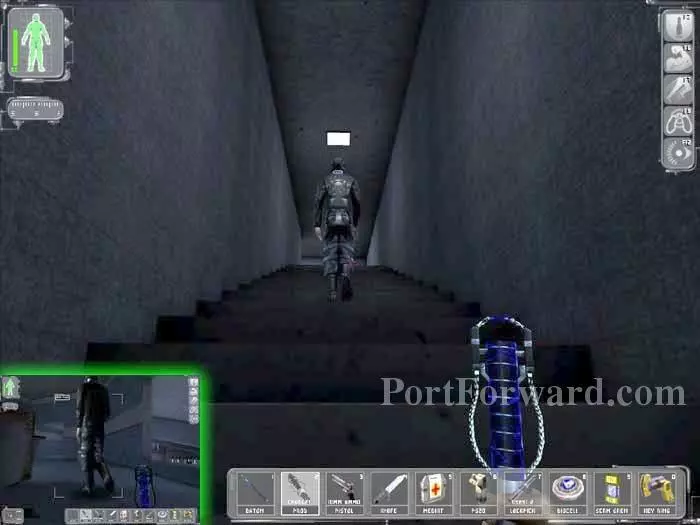
This worker can be bribed into selling the security login. If you have decent hacking skills it's best to keep your money. Ascend the stairs (inset).
More MJ12 patrol here. Keep their backs to you and proceed as indicated.
Knock out these two patrols with your Prod.
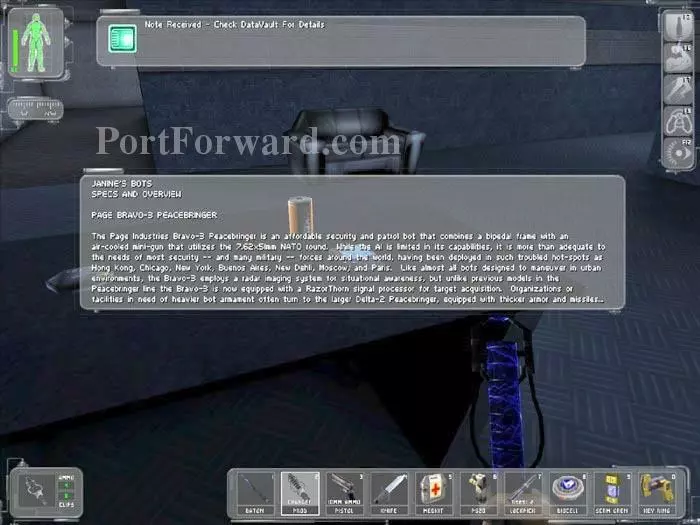
Read this DataCube to learn that the bots in this area use radar imaging.
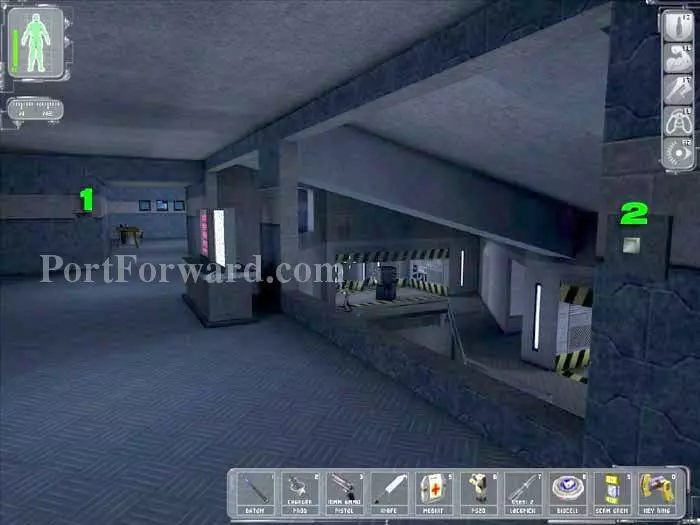
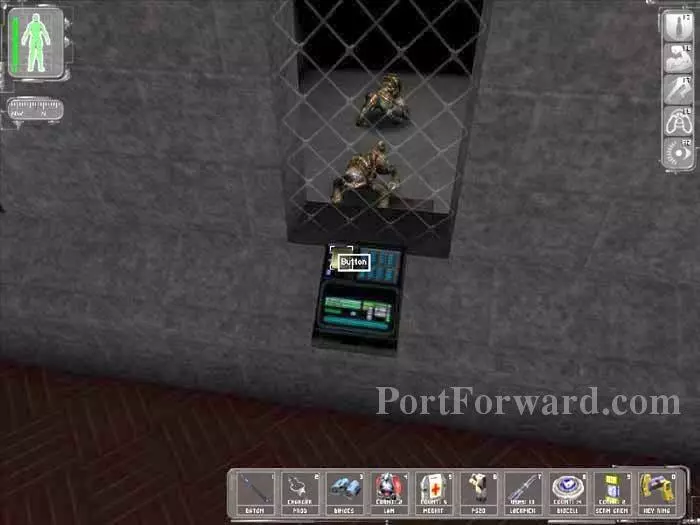
You can hack the Security Panel (1) to alter the AI of the bot just off-camera through the bay ahead. Using the switch (2) will lower the bot to the level below. These actions would result in the deaths of the MJ12 patrols and is not recommended for pacifist play.
Sneak up on this guard and use your Prod on his exposed neck for a one-stun takedown.
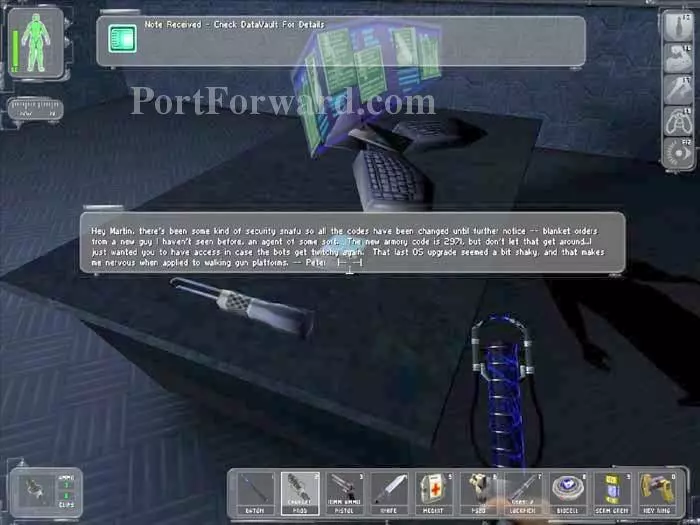
On the desk is a lockpick and this DataCube with the Armory Code 2971. There are two EMP grenades on the nearby table.

Descend both sets of stairs back to the lower level. Ascend these stairs at the south end of the facility to the Armory.
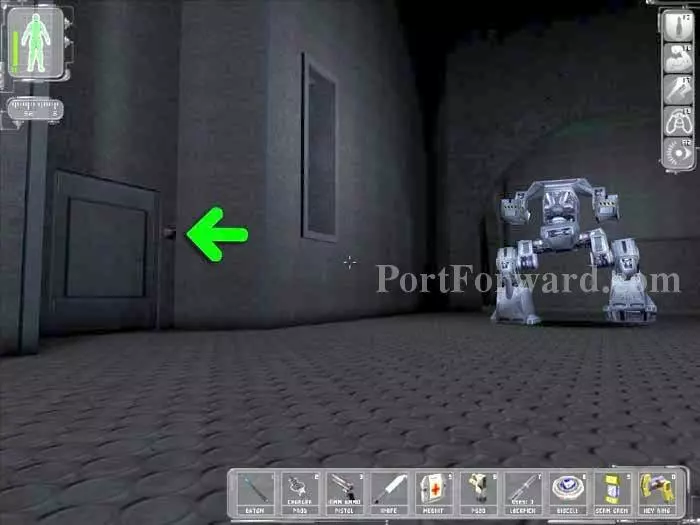
Two large security bots patrol here, but they are slow and you can easily stay hidden behind them. Enter the code 2971 where indicated.
You earn a Progress Bonus of 150 skill points. Beware the security camera and guard. Ascend these stairs on the left.
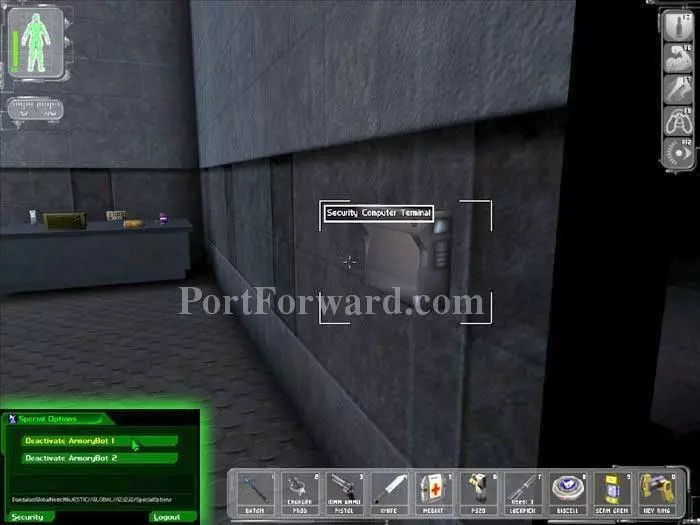
Hack this Security Computer Terminal to deactivate the two Armory Bots outside. Press the "Security" tab to deactivate the security camera downstairs.
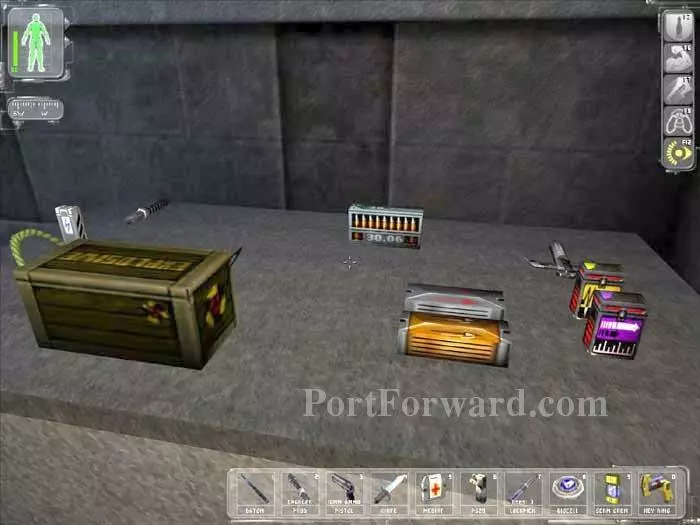
Grab whatever goodies you want from the tables.
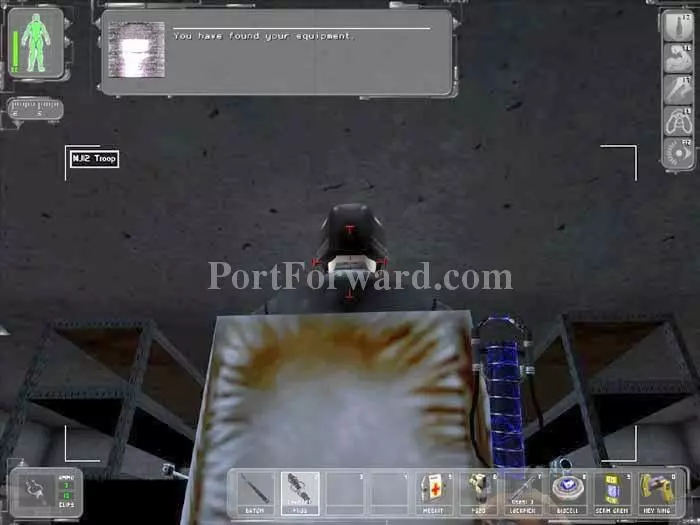
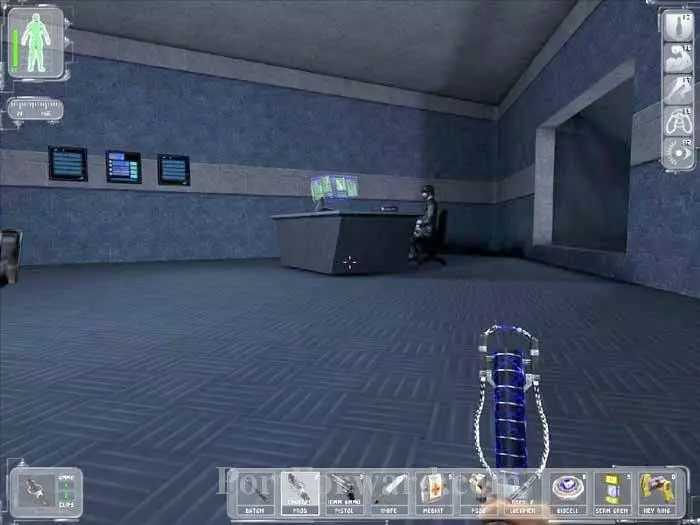
With the security camera disabled, return downstairs and take out the MJ12 Troop with your Prod. Daedalus informs you that you have found your equipment. Hack the computer on this desk to learn the code to the security container upstairs - 5239. Inside you'll find a Plasma Gun (not for the stealth minded).
Take whatever you want. Use that small crate to help you reach the upper shelves.
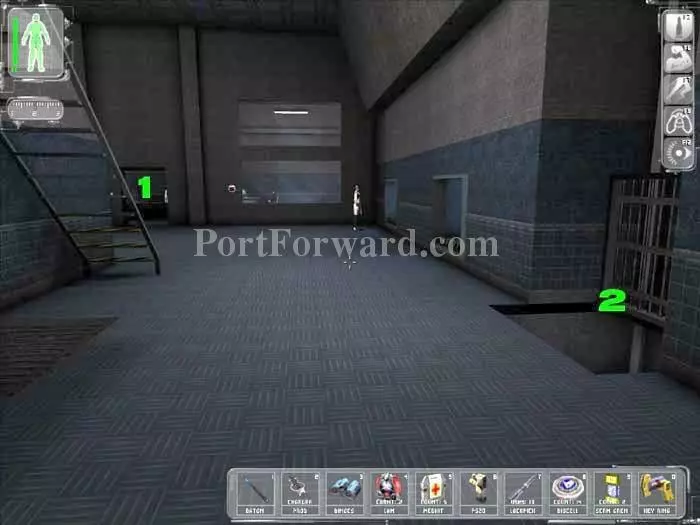
Backtrack past Robot Maintenance to the Detention area. Hidden in the alcove on the right is a lockpick. Descend through the indicated grate in the background.
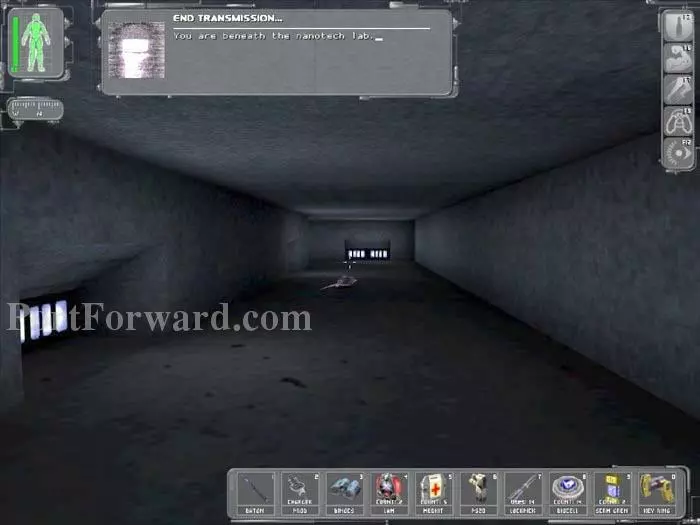
Turn right (east) then head north. Daedalus radios that you are beneath the Nanotech lab.
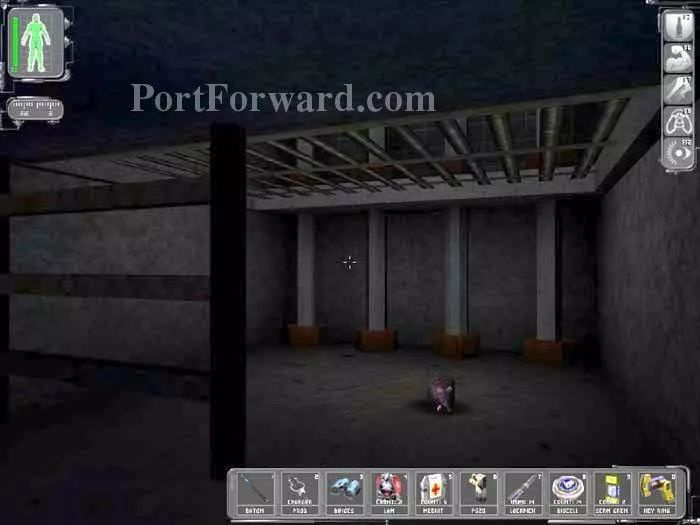
Stay left then exit up this grate.
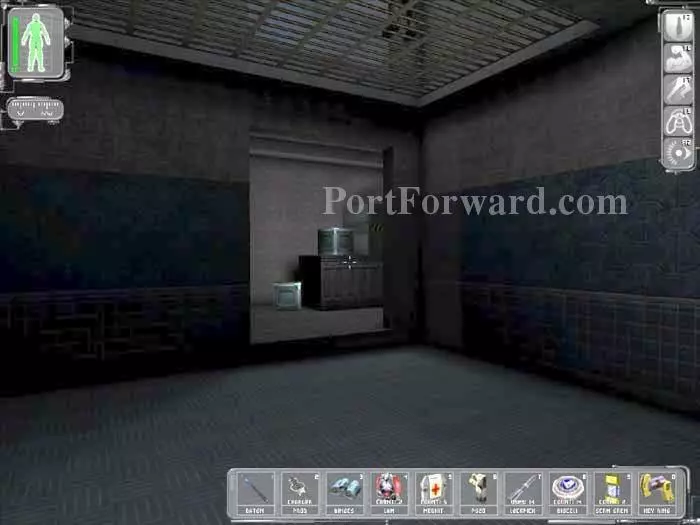
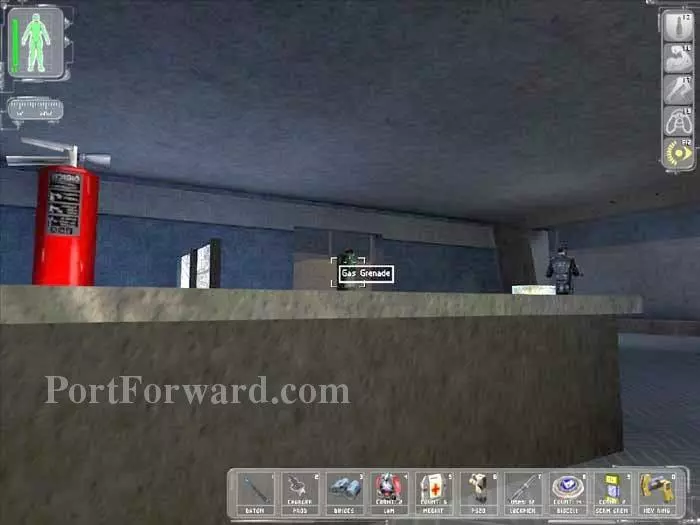
Proceed through this doorway to the hall beyond. Atop those crates is a gas grenade.
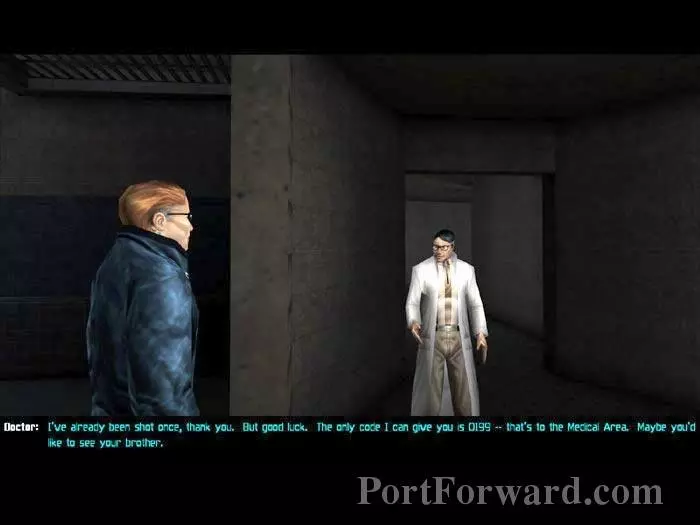
Converse with this doctor to learn the Medical Area code 0199.
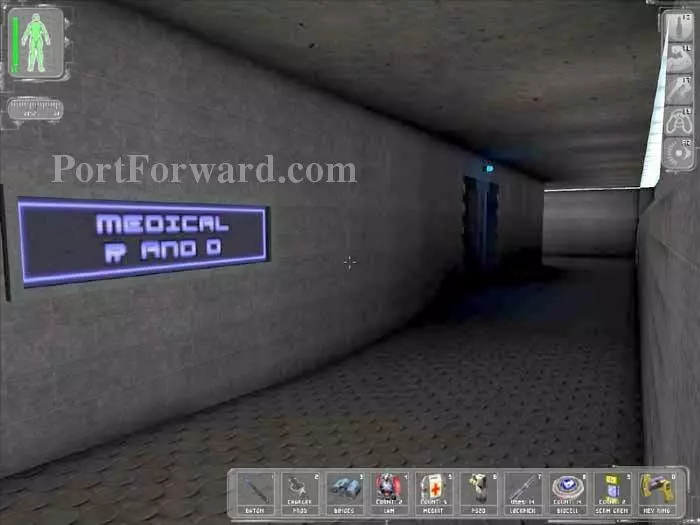
Continue down the Medical R and D hallway.
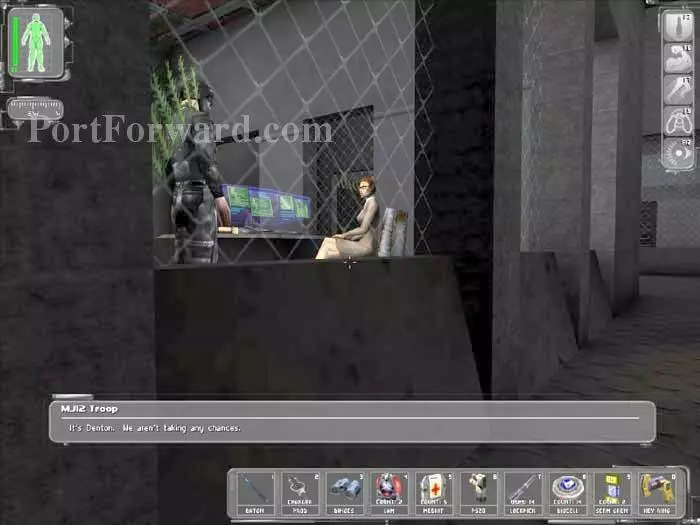
This MJ12 Troop is schmoozing the secretary. Knock them both out with your Prod. The secretary will sound the alarm if you don't knock her unconscious.
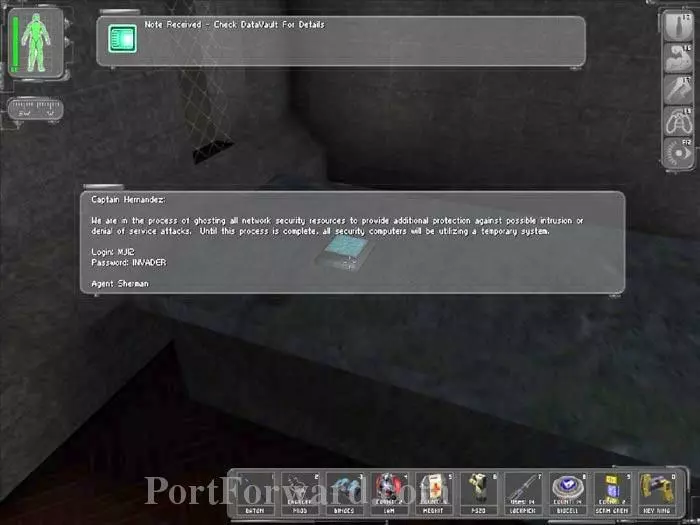
Ascend the north stairs to this office and a DataCube revealing the Login MJ12 and Password INVADER.
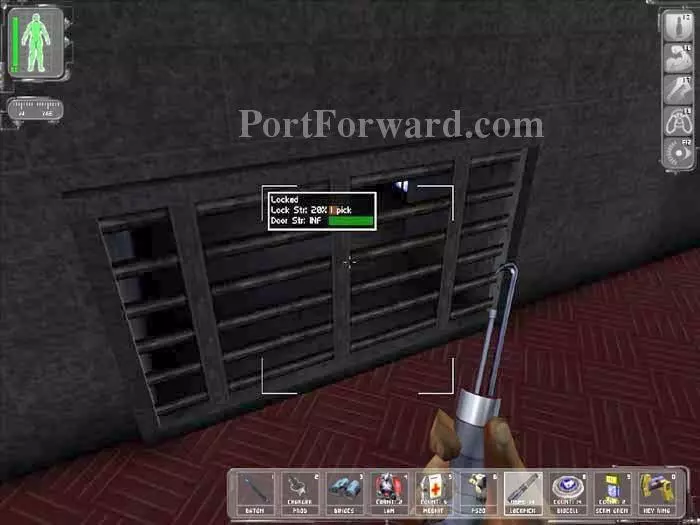
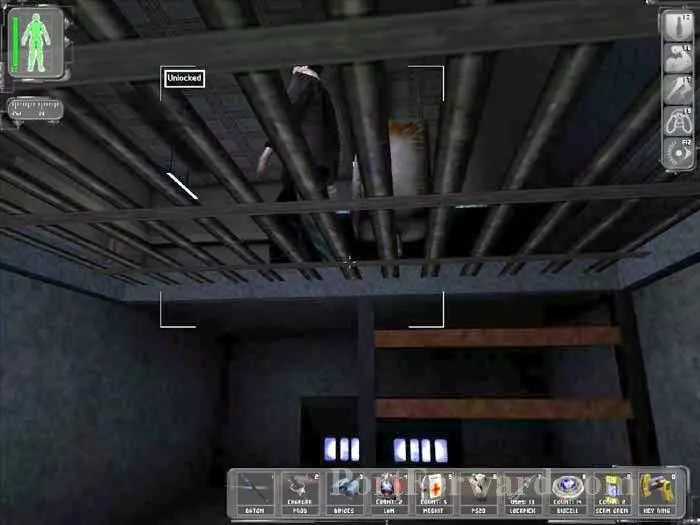
Pick the lock on this grate.
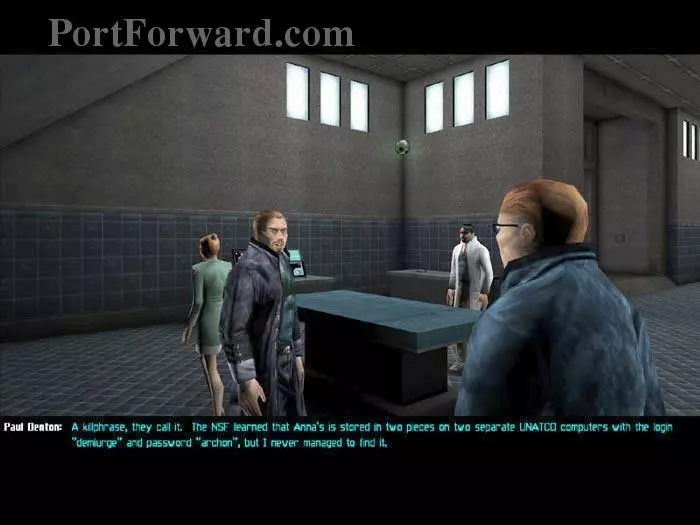
Follow the vent down a ladder. You'll emerge in the Surgery Ward - with Paul! He tells you to go ahead and he'll follow, plus Anna has her own killswitch stored on two separate UNATCO computers with the login "demiurge" and password "archon."
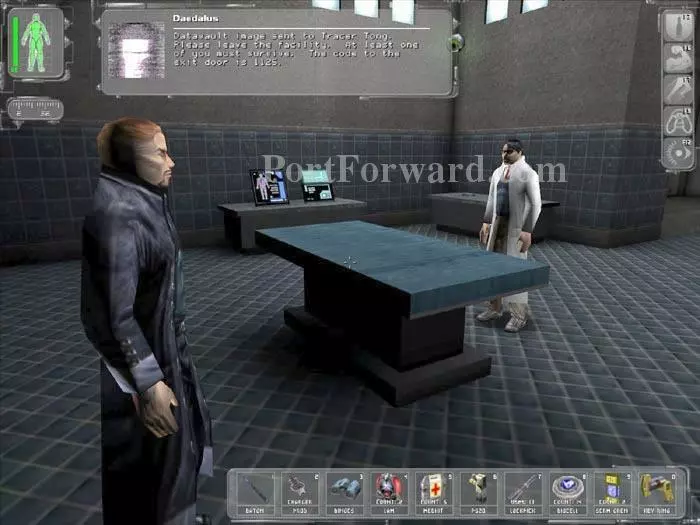
Daedalus transmits Paul's datavault image to Tracer Tong, and gives you the code to the exit door - 1125.
Approach the indicated doorway to earn 500 skill points. Read the DataCubes at (1) and (2). Before returning through the vent use the Medbot to repair any damage you may have.
For those not playing as pacifists: At the top of both the north and south stairs are these buttons you can use to unleash these Karkians on the MJ12. On the south side you can also access a Security Terminal with the login MJ12 and password INVADER to reverse the turret targeting.
Return to the Nanotech Lab. We want to get to the office (1) by returning through the grate we left earlier (2).
Descend through the grate then turn right (south). Make two lefts (east then north) to this grate. Beware the MIB and MJ12 before climbing above.
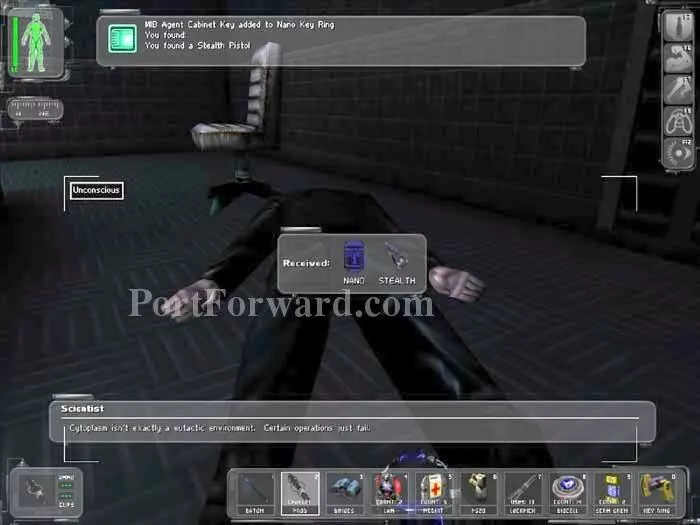
Use your Prod to knock out the MIB and take this MIB Agent Cabinet Key.
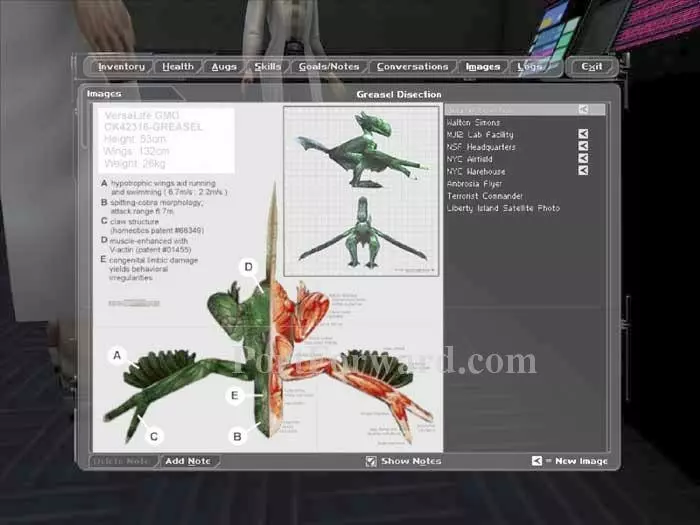
Scattered on the countertops you'll find a pack of Tranquilizer Darts, a DataCube with an image of Walton Simons' augmentations, and a DataCube with this Greasel dissection. Greasel's are located in the sewers beneath the facility and are also locked in cages. They can be very challenging for a lightly-armed player and I suggest avoiding them.
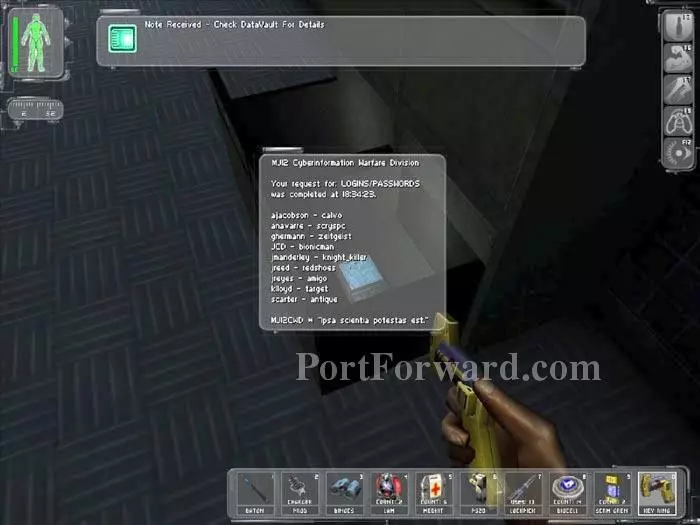
Use the MIB Agent Cabinet Key to open this file cabinet. Inside is a Multitool and this DataCube with all these Logins/Passwords. The upper-right drawer requires a lockpick and holds a DataCube with the Surgery Ward Code 0199 and the Login "psherman" and Password "raven."
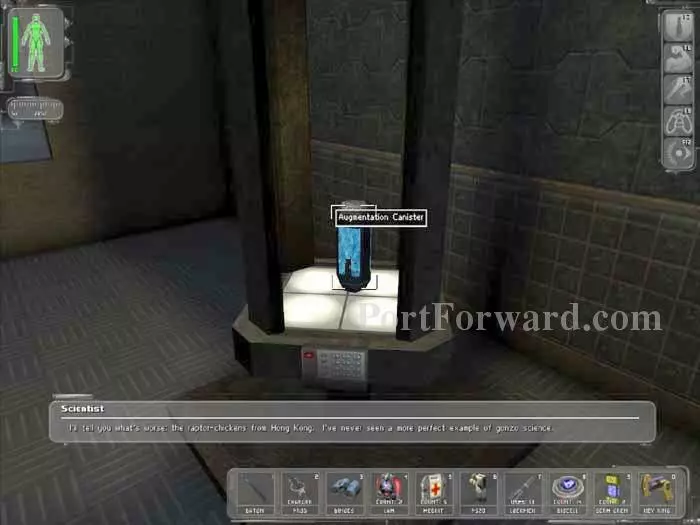
Use the psherman/raven account on the nearby computer to read several emails and lower the force field around this Aggressive Defense System/Spy Drone Augmentation Canister.
Reenter the ventilation shaft. At the "T" turn left, then keep right.

Daedalus radios that you are beneath the Command Center.
Once the coast is clear, swipe this Gas Grenade then slip through the doorway directly ahead.
Beware the MJ12 and dog patrols. Enter the code 1125 into the indicated keypad to exit the facility.
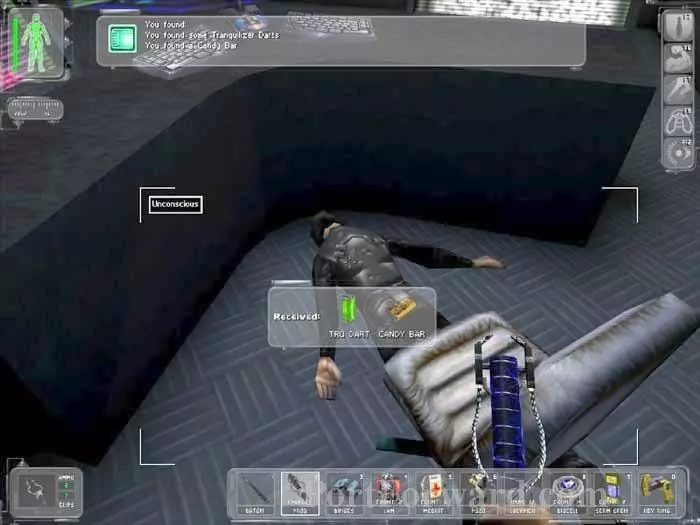
Knock out this guard to find some Tranquilizer Darts.
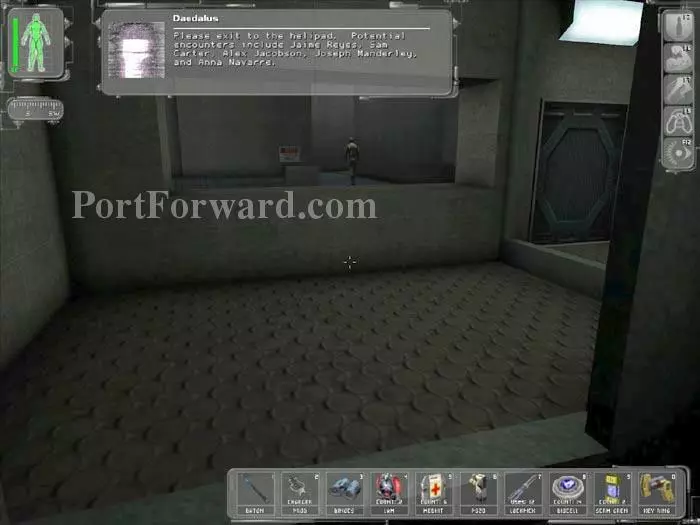
Daedalus instructs you to exit to the helipad, and suggests contacting Jaime, Sam, Alex, Manderley and Anna -- you're at UNATCO HQ!
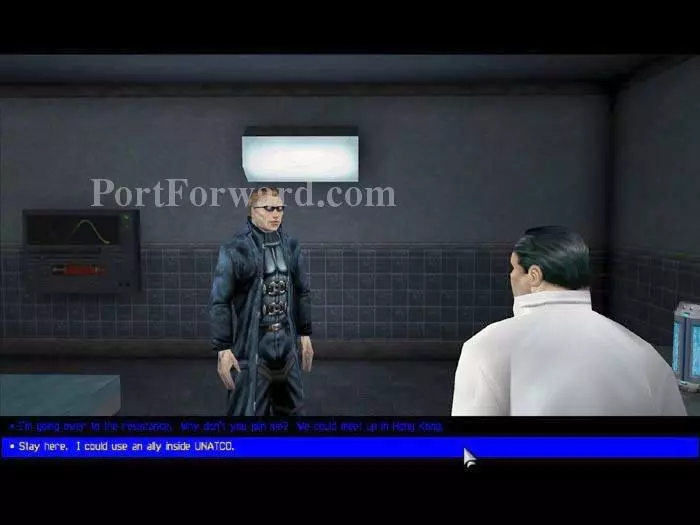
Talk to Jaime. You can choose to have him join you in Hong Kong or stay behind as your eyes and ears at UNATCO. If you have him meet you in Hong Kong you will get an Augmentation Upgrade later. If you have him stay at UNATCO he'll meet you in Paris and give you Gunther's killphrase.
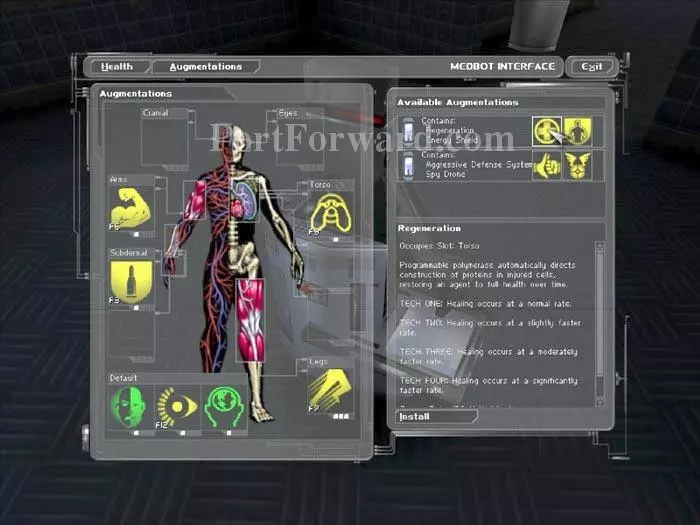
Jaime gives you a Regeneration/Energy Shield Augmentation Canister. Use the nearby Medical Bot to install it and the Aggressive Defense System/Spy Drone Augmentation Canister obtained in the Nanotech Lab. My preference is to install Regeneration/Spy Drone.
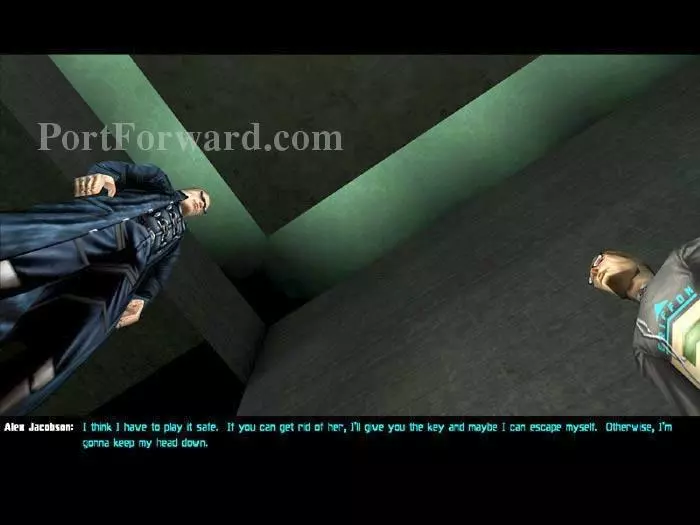
Head over to Computer Ops and pay Alex a visit. He offers to give you the key to escape the lockdown - if you eliminate Anna. Grab a Multitool from the nearby countertop, a Bioelectric Cell and a lockpick from the storage locker (code 2001) and c600 from the secret subfloor.
Next up is Sam Carter. Sam opens the armory for you. Load up -- don't miss the Augmentation Upgrade Canister, which I use to upgrade Spy Drone to Tech Two.
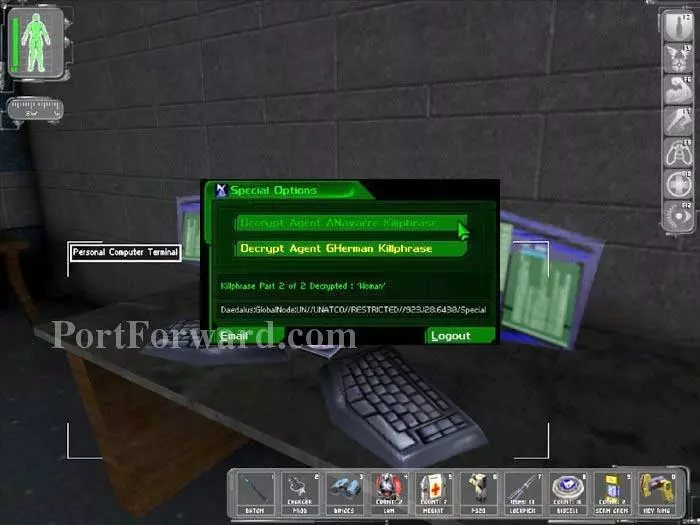
Across the hall, access Gunther's computer with either his logon (ghermann/zeitgeist) or the logon you obtained from Paul (demiurge/archon). Decrypt part 2 of her killphrase, 'Woman'.
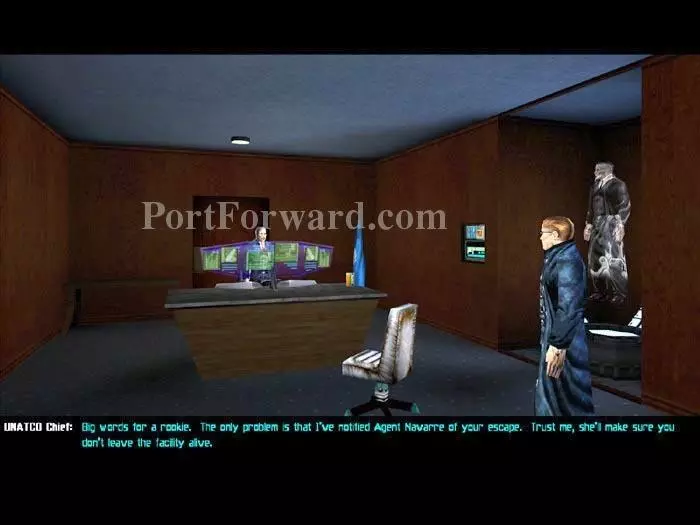
Finally, stop at Manderley's office. A cutscene plays with you, Manderley and Walton Simons.
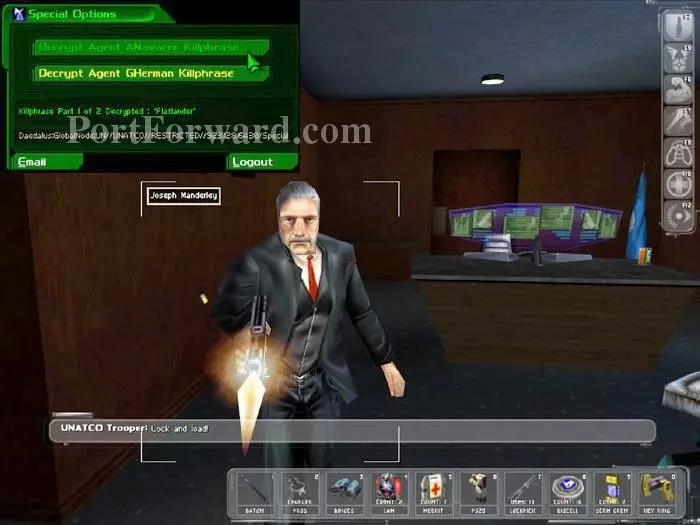
After the cutscene, login to Manderley's computer using either his account (jmanderley/knight_killer) or the account Paul gave you (demiurge/archon) to decrypt part 1 of Anna's killphrase, "Flatlander". As you leave the office Manderley opens fire, but he's easy to outrun.

Time for your first kill. You were able to avoid killing Anna on the 747 and on the subway platform, but this time it's necessary. Anna must die so you can get the escape key from Alex. When you reach the top of the stairs you'll speak Anna's killphrase, and she blows up real good. Anna Navarre is the only character in the game whom you must kill.

Return to Alex and he'll give you the key. He also denies being Daedalus, but agrees to help you find out who Daedalus is.
Head back upstairs and use the key Alex gave you to escape through this door. Rush past the guard and receive a Progress Bonus of 165 skill points.
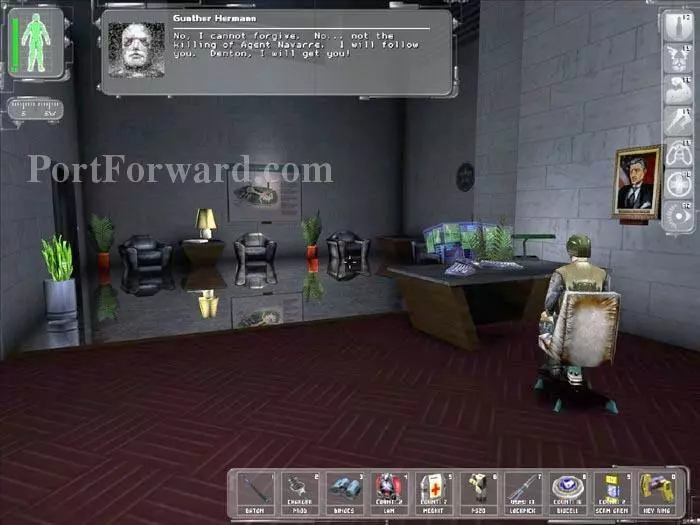
Gunther radios his intent to seek vengeance for Anna's death. Knock out this final guard to escape UNATCO HQ.

Make a final run through the bunker (code 0451) for supplies before boarding Jock's chopper for Hong Kong to end the level.
More Deus Ex Walkthroughs
This Deus Ex walkthrough is divided into 20 total pages.


