
This Doom 3 walkthrough is divided into 27 total pages.
You can jump to nearby pages of the game using the links above.
Caverns Area 2
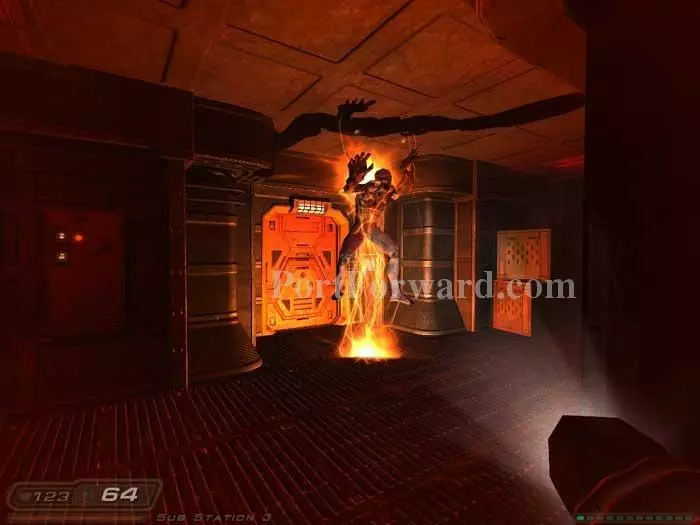
Walk around the opposite side of the room (armor shards are on the floor). The lights dim, you hear Betruger cackle, and this Archvile spawns.
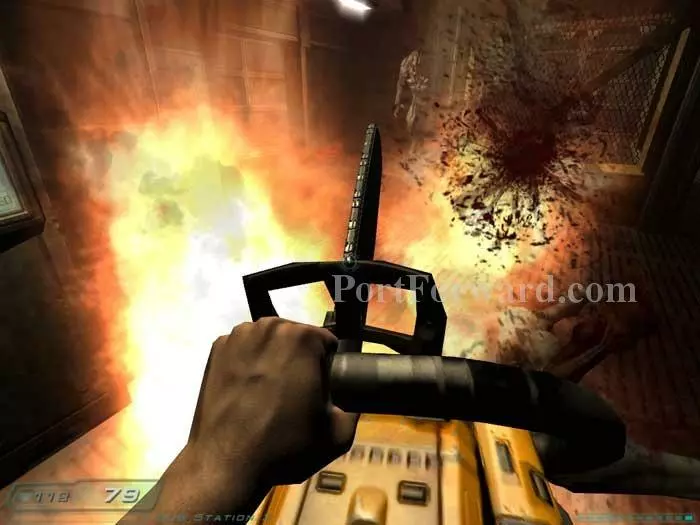
You've got to work fast, because two Hell Knights are about to spawn as well. Ready your chainsaw and decimate the Archvile as quickly as you can. You can see the first hell knight has spawned already in this shot.
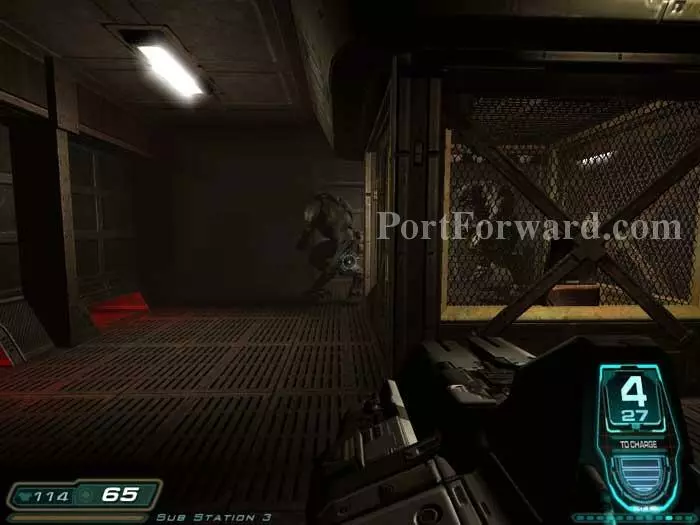
What you want to do is circle around the lift, herding the two Hell Knights so that both of them are blocked by the lift as seen here. Ready your BFG 9000.
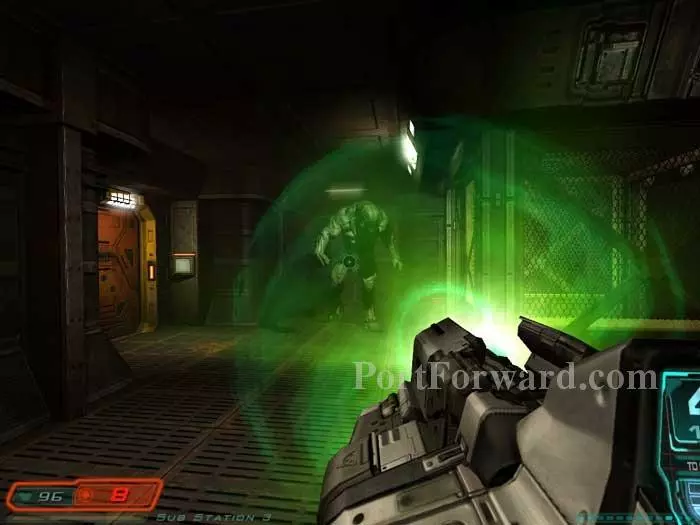
When you've got a clear shot at the front runner, hold your trigger to blast a double load of BFG goodness his way. Reposition yourself and repeat on the second Hell Knight. It is a difficult fight and may take a few reloads but it is doable. Of course this is easier if you have the Soul Cube ready, and more difficult if you are out of BFG ammo, in which case you should use rockets.
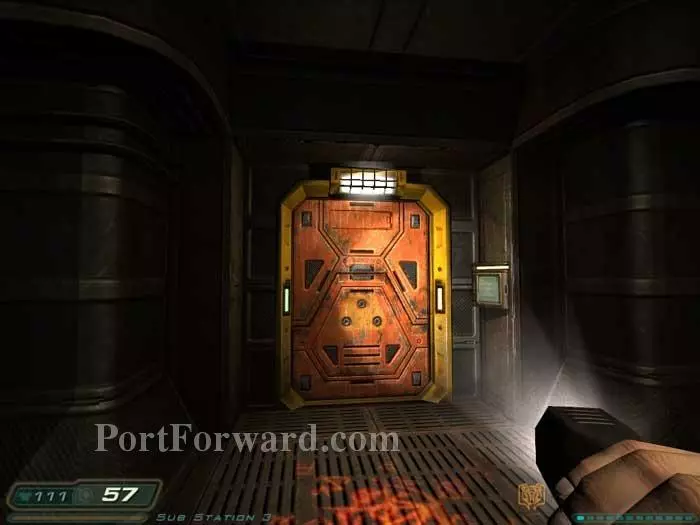
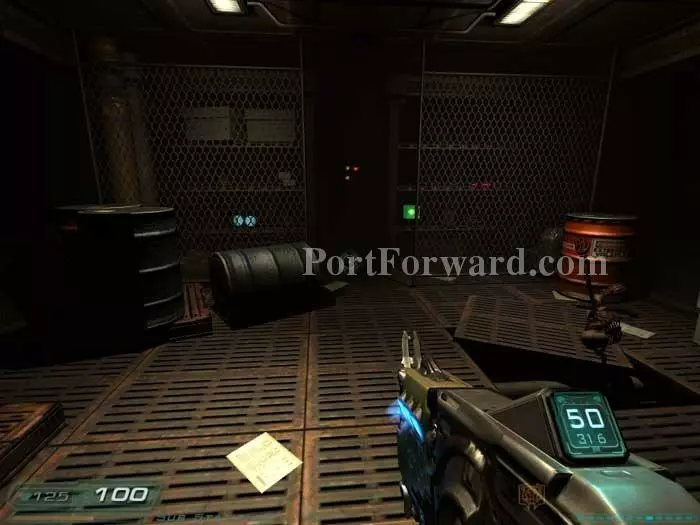
Exit through this door with the green lights. The door with red lights, storage room 11, is locked for now.
A series of Wraiths attacks. A medkit, cells, and armor are dead ahead.
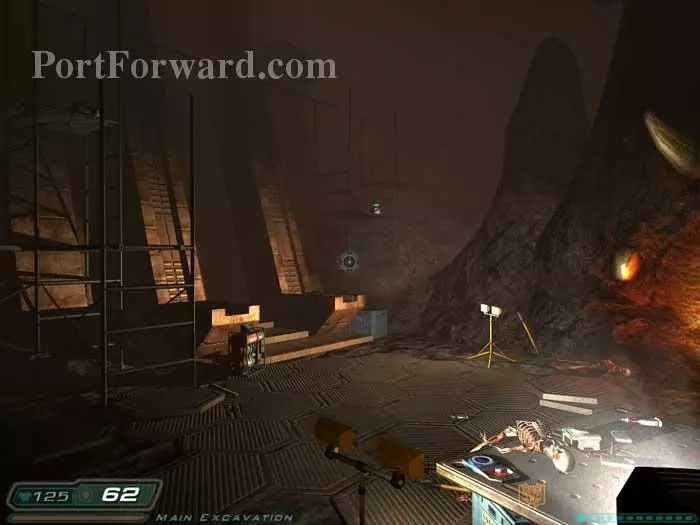
Follow the cavern to this clearing. Grab the storage room 11 access card from the edge of the table. Also on the table is an adrenaline hypo, armor and a medkit. The scaffolding can be climbed for cells, an ammo belt, rockets, shells and clips. An armor vest is hidden in the rocks to the right of the scaffolding.
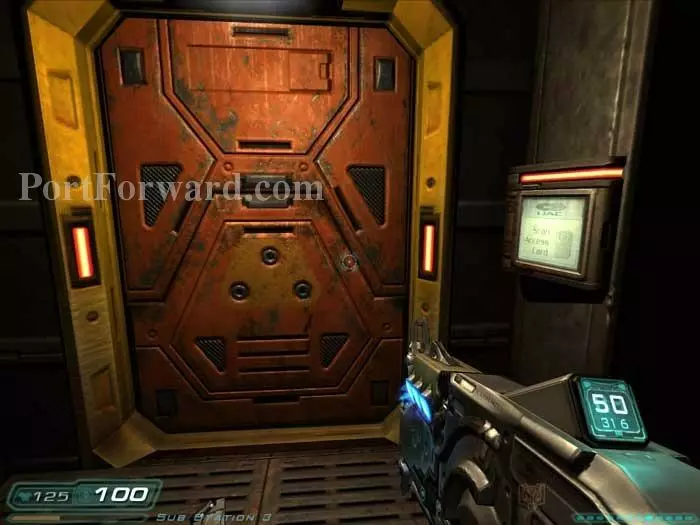
Return upstairs to storage room 11, battling Imps and Wraiths along the way. Use the panel on the right to scan your newly-found card.
Inside the storage room is a health station, BFG and plasma cells, armor, an ammo belt, cells and clips.

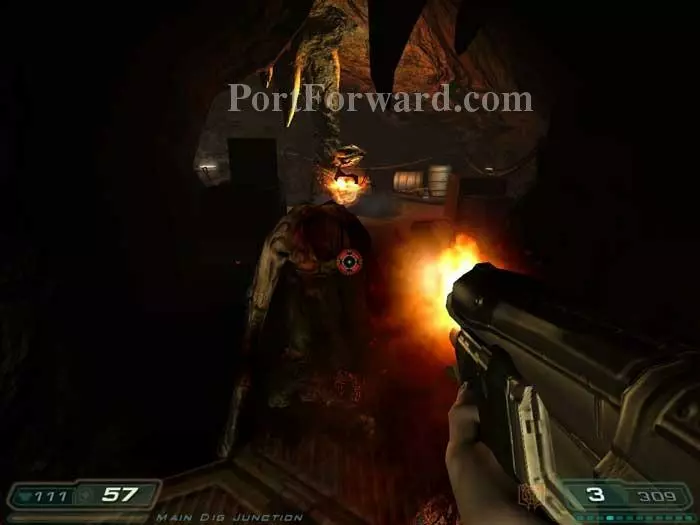
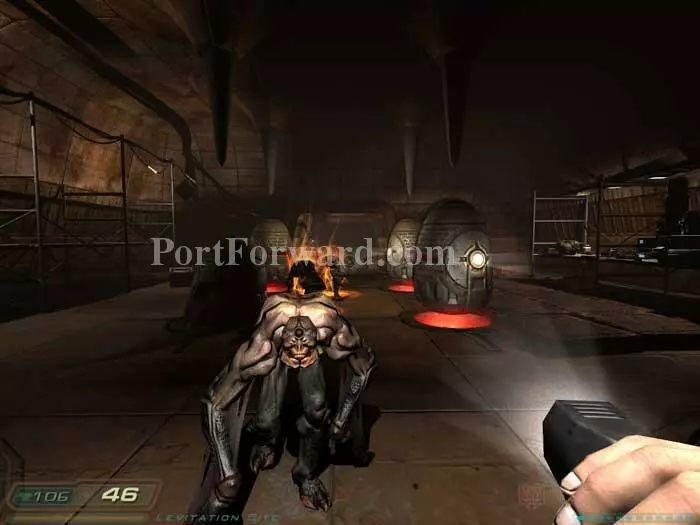
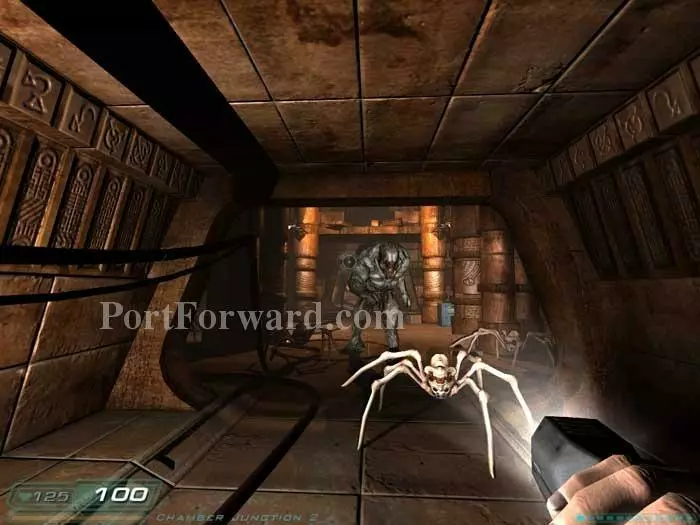
Battle past Trites and a Cacodemon to return to the clearing. Ready your weapon of choice before entering this opening. An Imp-summoning Archvile spawns within.
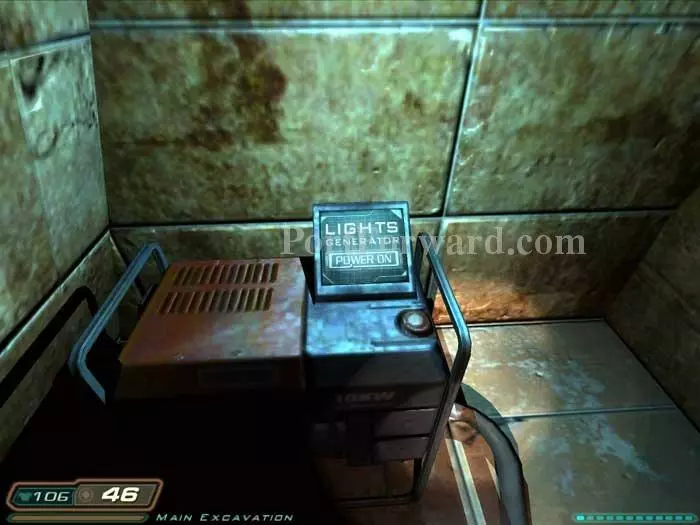
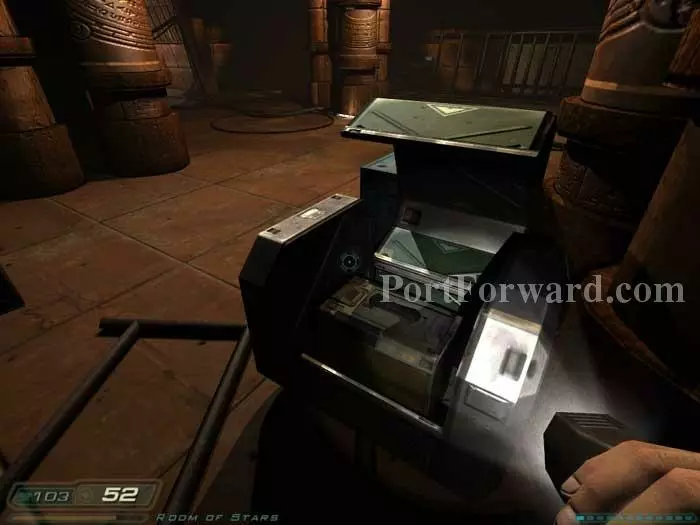
Click on the generator's display panel to turn on the lights.
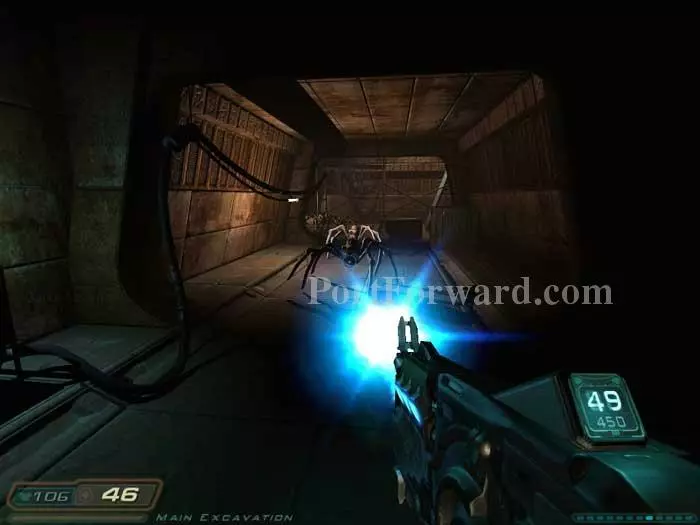
A swarm of Trites attacks. Clips are on a crate to the right.
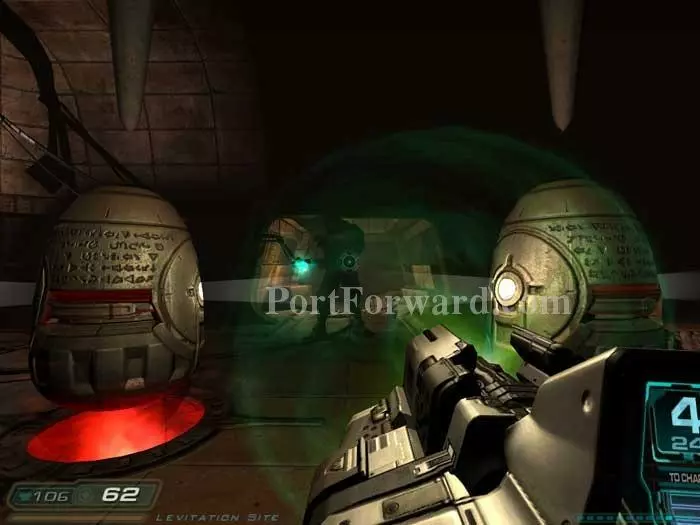
Wraiths and Imps attack once you reach these egg-like devices. On the shelves to the right are the "Ancient Civilization" and "Tablets" videos, armor, clips and shells.
Press on through the site and a Hell Knight attacks, surrounded by Trites. Retreat through the tunnel and hit the Knight with rockets. Their splash damage will pop any Trites near the explosion.
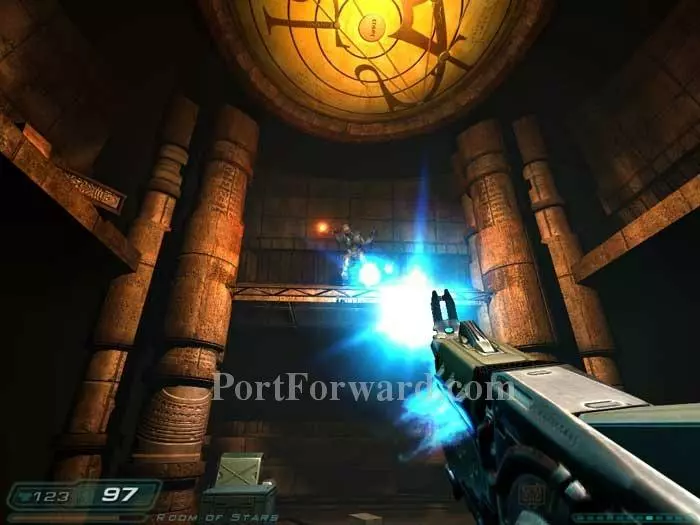
Two Imps patrol the balcony above. Destroy them and a second Hell Knight attacks.
This second Hell Knight chased me all the way back to the Levitation Site, where I finished him off with the BFG. Ideally, at this point you want to conserve your BFG ammo for the upcoming boss battles.
An ammo belt is in this chest.
Pick up this armor and an Imp spawns behind you.
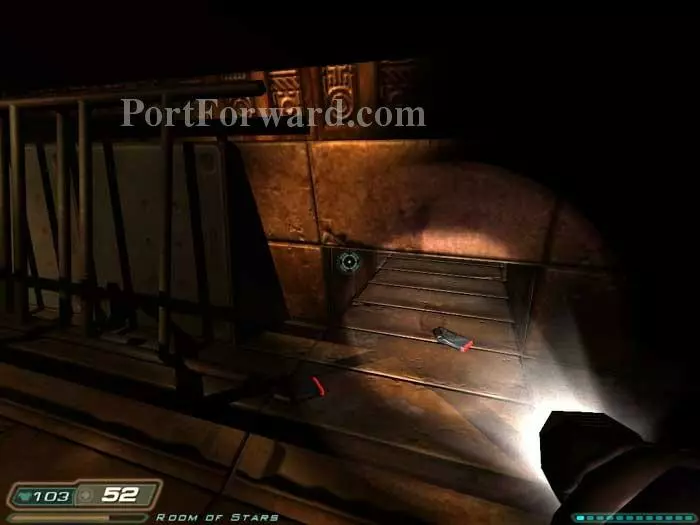
Continue down the corridor. The spiked balls are tell tale signs of what's to come.
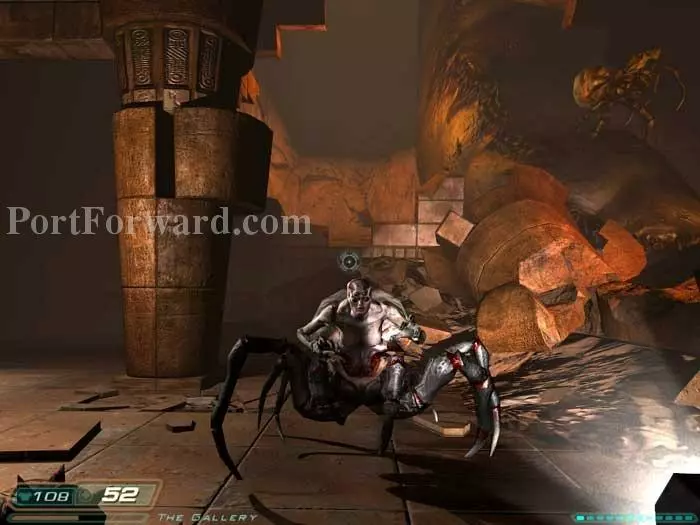
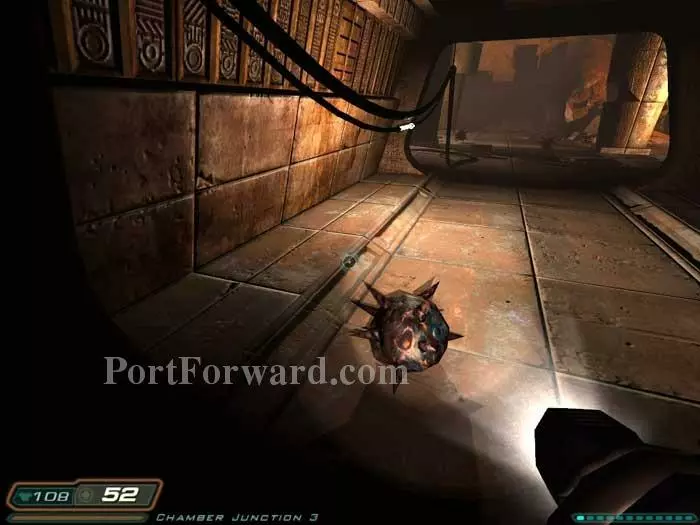
Sure enough, two Vagary's attack, their telekinetic powers able to hurl the spiked balls (and any other debris) at you.
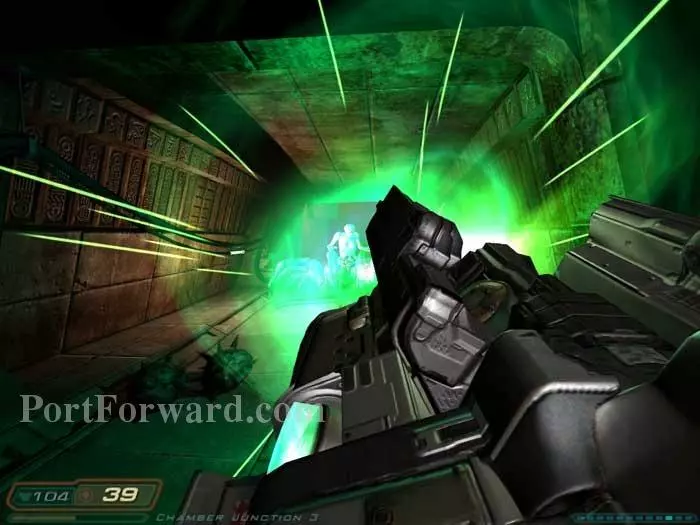
Retreat once again down the corridor, unleashing volleys of fire at the Vagaries.

Once the area is clear of the Vagaries and their Trites, proceed up these stairs. Note the medkit on the right. Rockets can be found under the scaffolding on the opposite wall.

Don't miss this BFG cell tucked away here on the right.
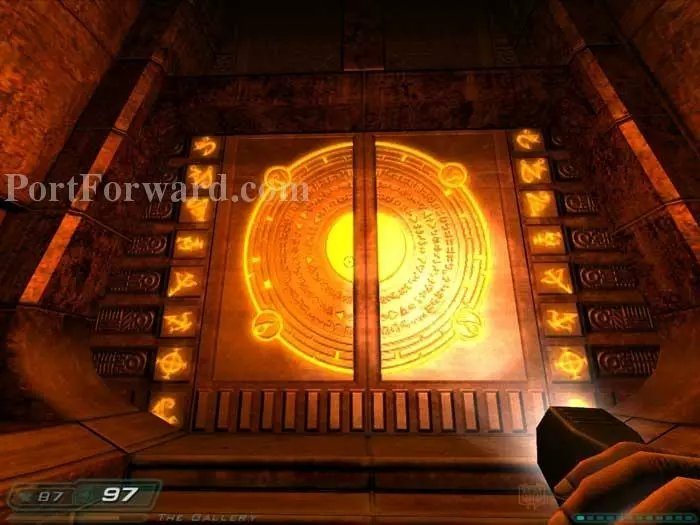
Proceed through this magnificent door.
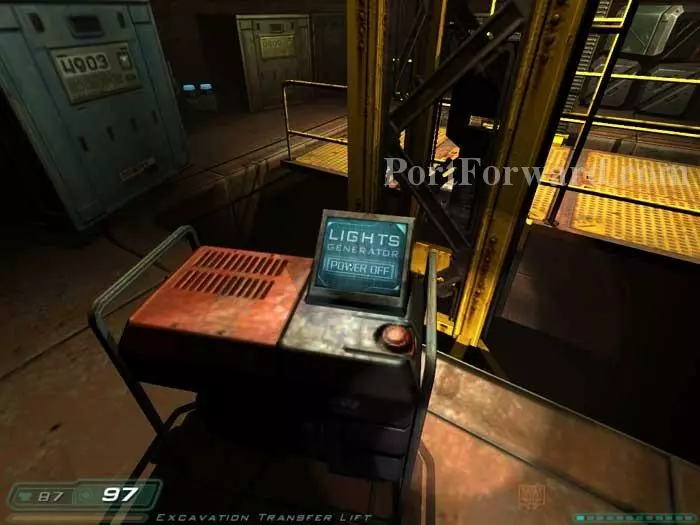
Click on the generator's display to power up the lights and lift. Cells and rockets are against the back wall. Machine guns are in a nearby trunk.
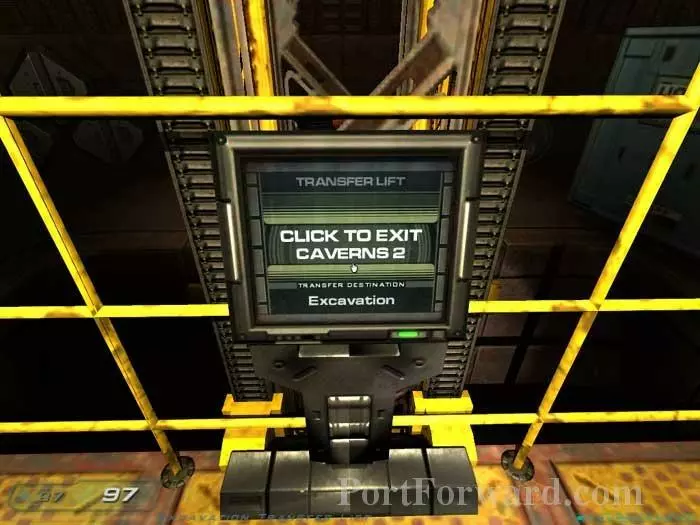
Enter the lift and activate the panel to end this short level.
More Doom 3 Walkthroughs
This Doom 3 walkthrough is divided into 27 total pages.


