
This Doom 3 walkthrough is divided into 27 total pages.
You can jump to nearby pages of the game using the links above.
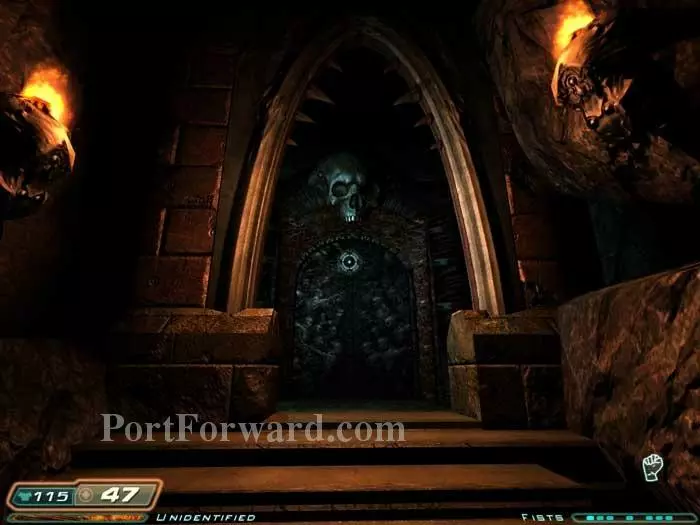
Hell
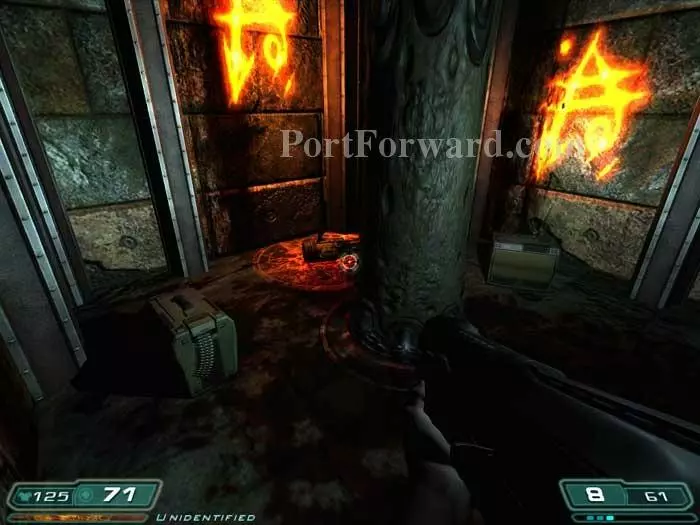
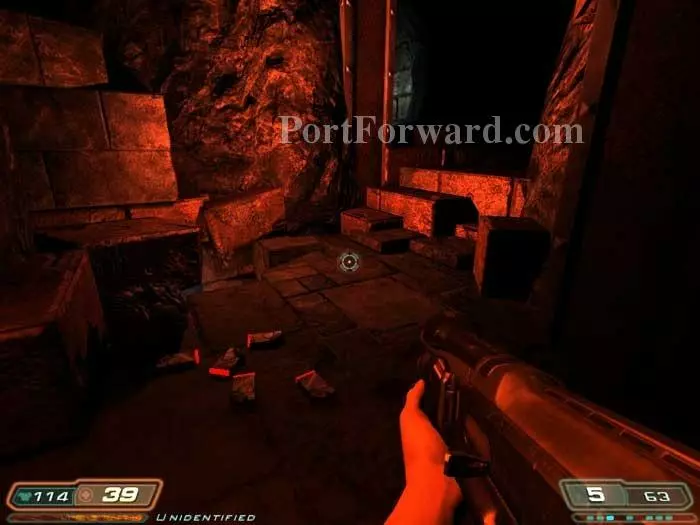
You arrive with no weapons. Look right to spot this cache including a pistol, a shotgun, bullets, shells, medkits and armor. This level is largely about finding stuff (but there is no flashlight). Also note the body of a scientist to the left of these supplies. You have unlimited stamina and the enemies in Hell have a slightly different appearance. After retrieving the supplies, witness the body float up and away...into oblivion.
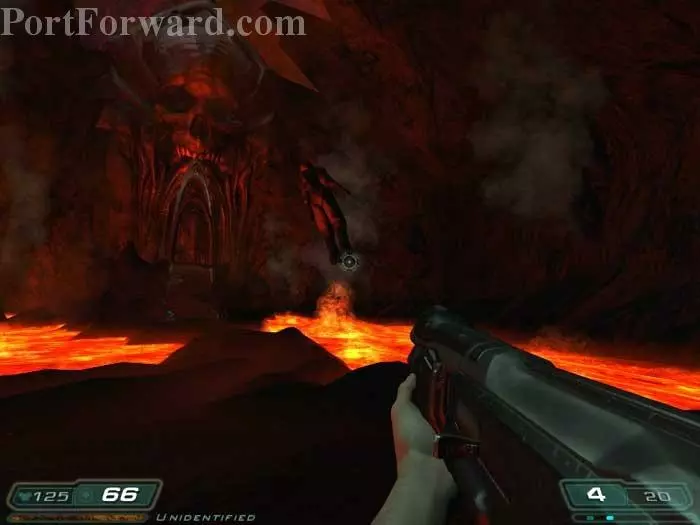
The gargoyles on either side of the stairs snap to attention and a blue shaft of light appears ahead. Step into the light.
You are lifted high above, surrounded by a cage then dropped to a new location.
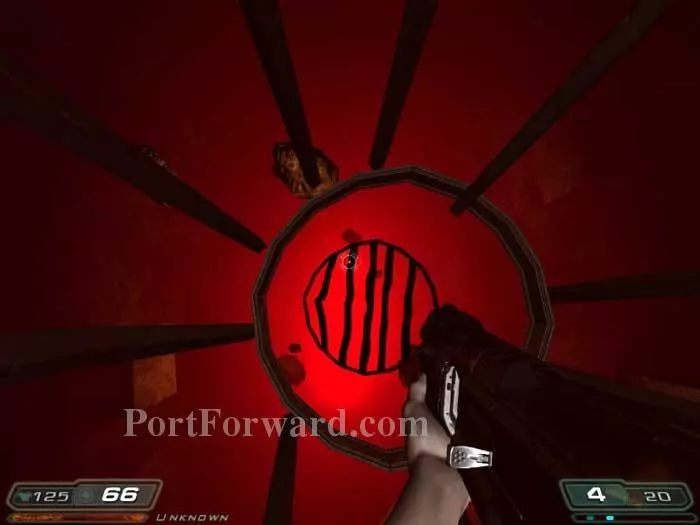
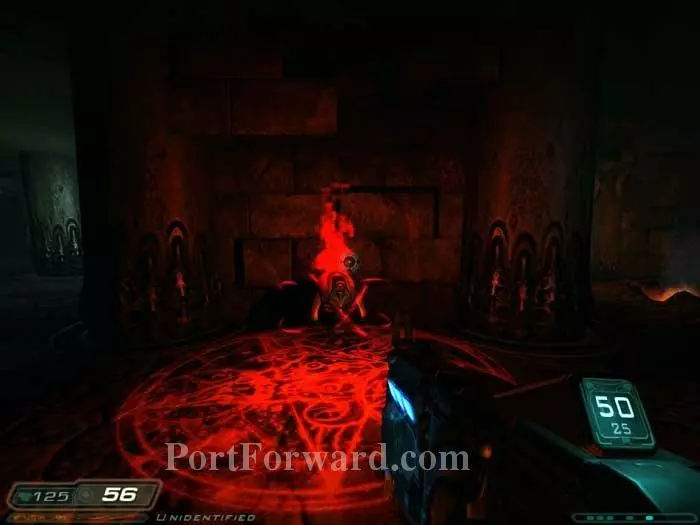
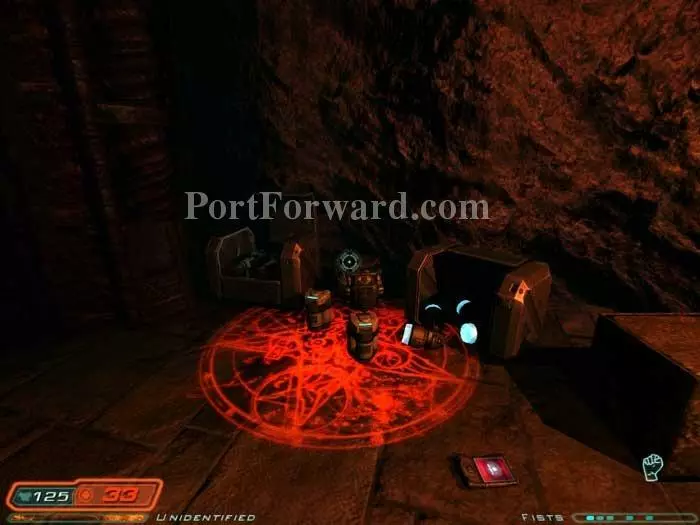
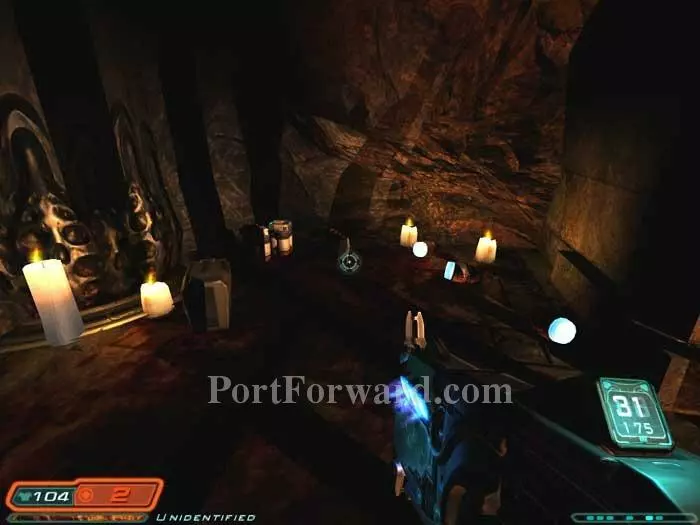
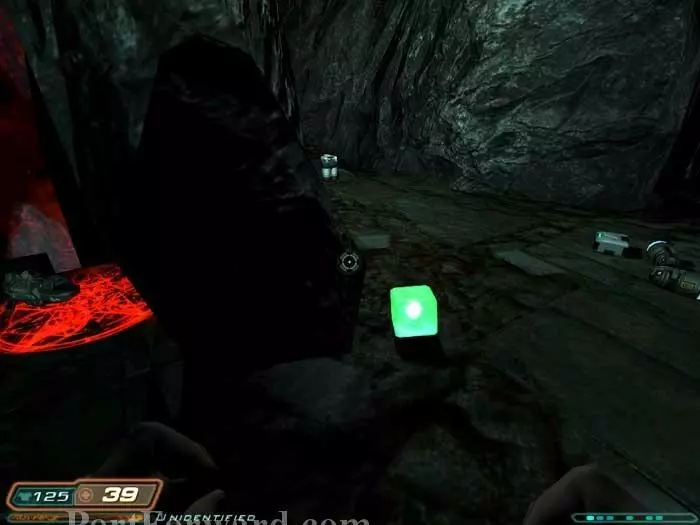
More shells can be found on this glyph.
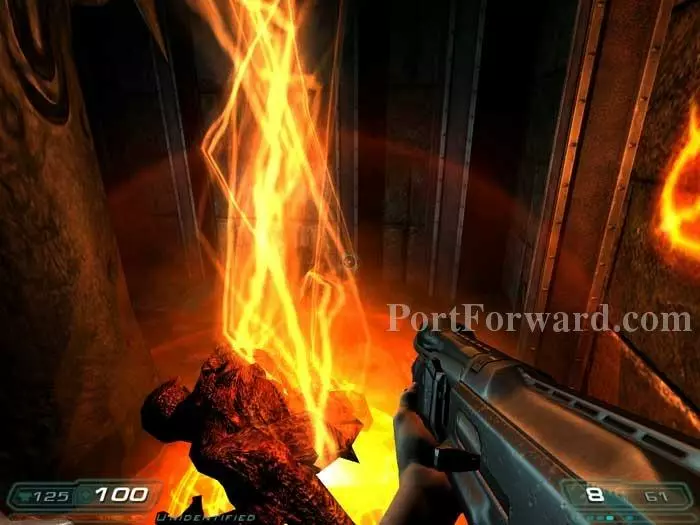
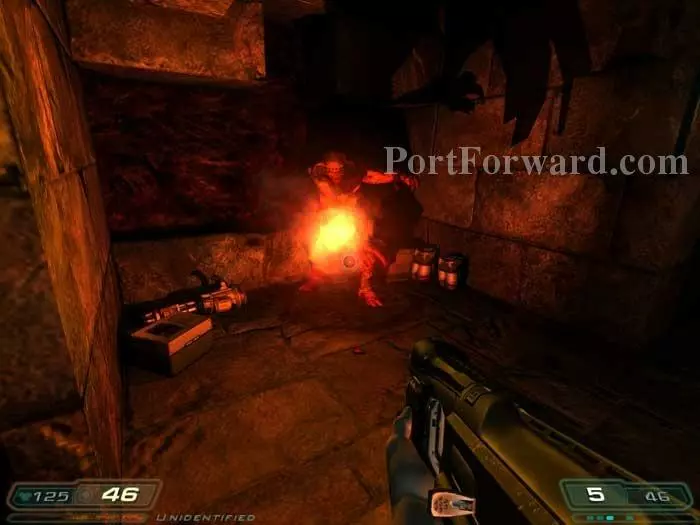
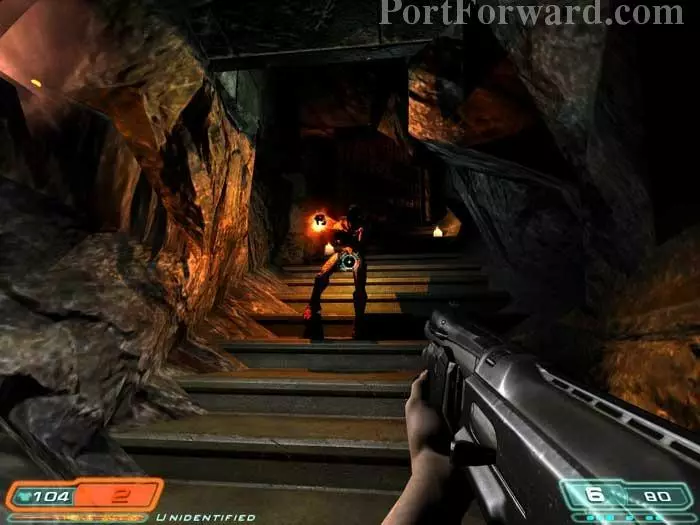
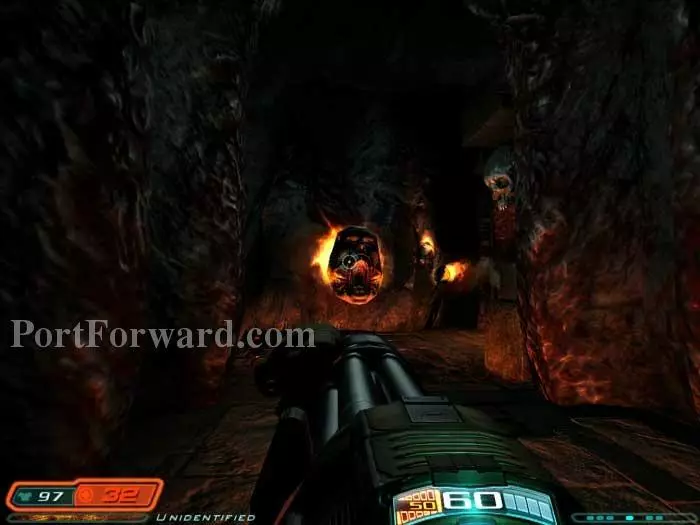
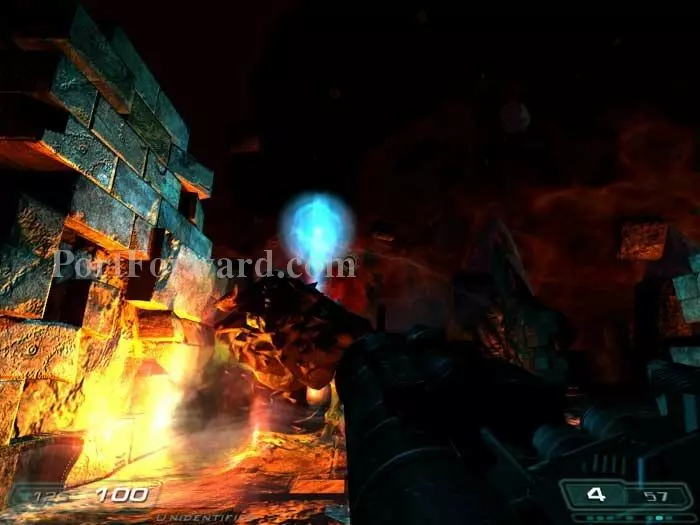
Three Imps are here. Wait for one to throw a fireball at you, shift to the side to avoid being hit then lunge at the Imp and fire with your shotgun.
Armor shards can be found on this outer ledge.
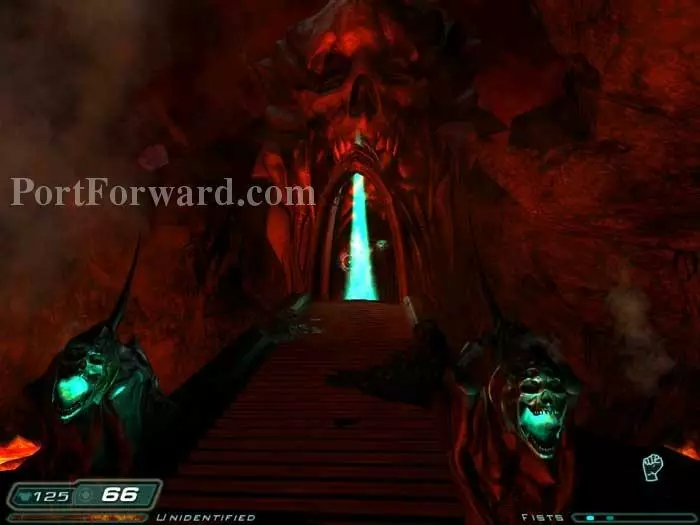
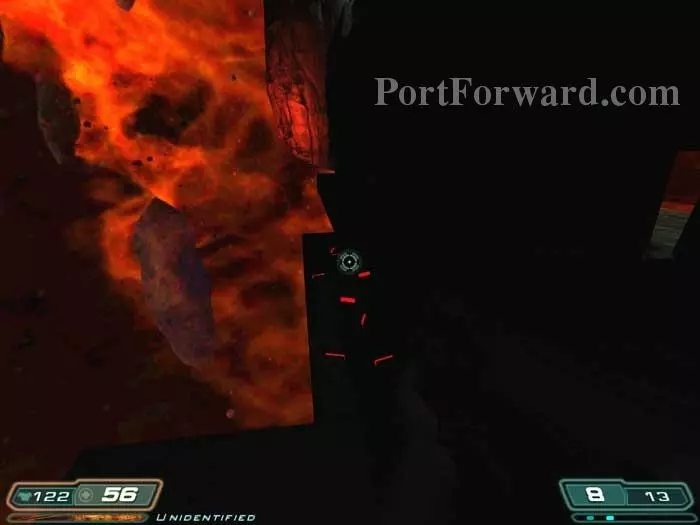
The wall stones rearrange themselves into a bridge. Carefully make your way across. There are more shells just inside the doorway ahead.
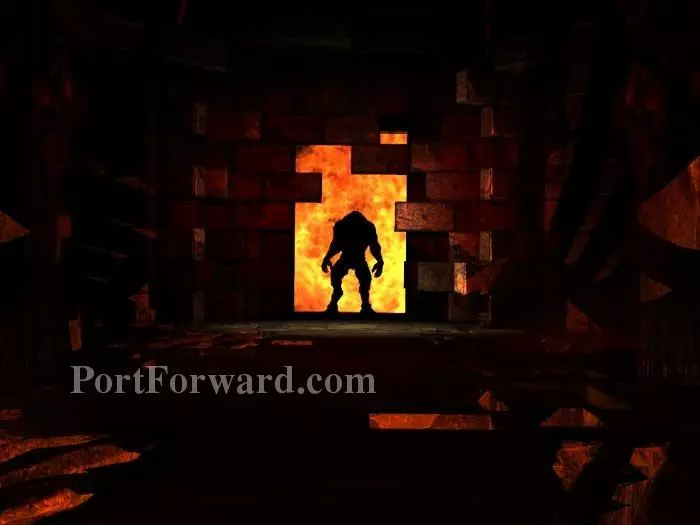
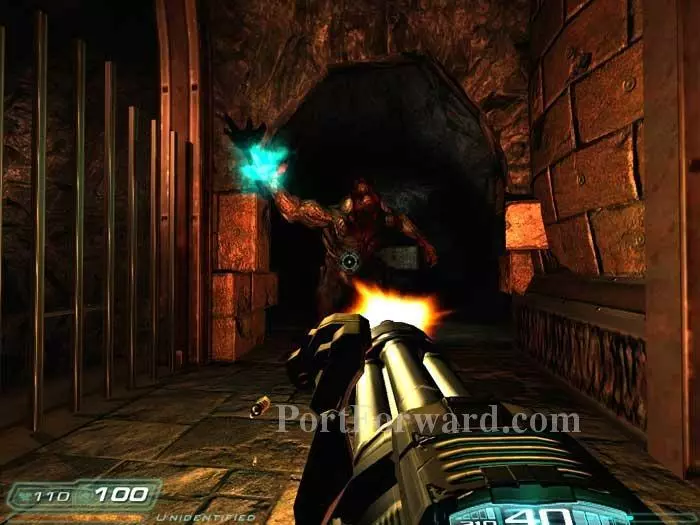
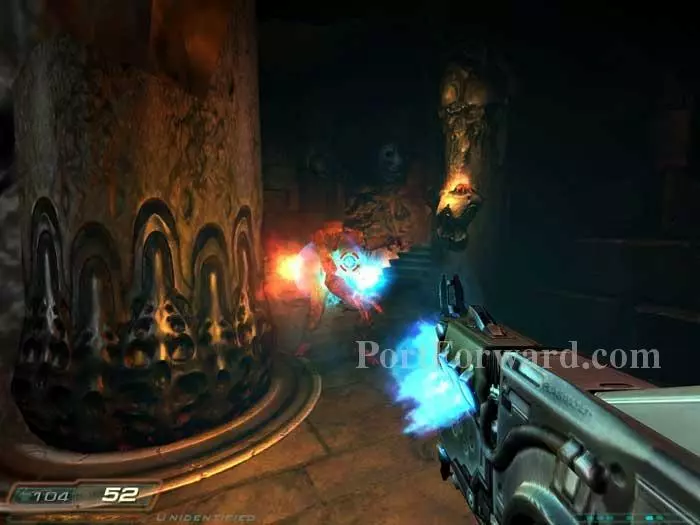
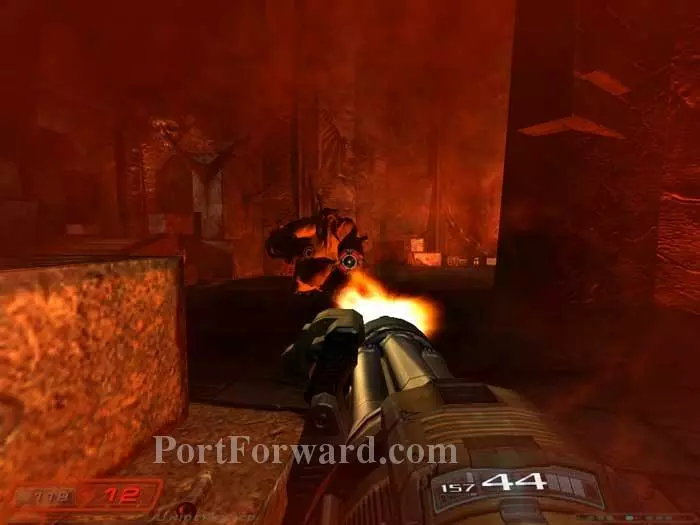
A Hell Knight appears as you enter this corridor. And you don't have the BFG this time.
You need to box around his jabs and throws, getting up close with your shotgun. A couple of headshots will bring him down.
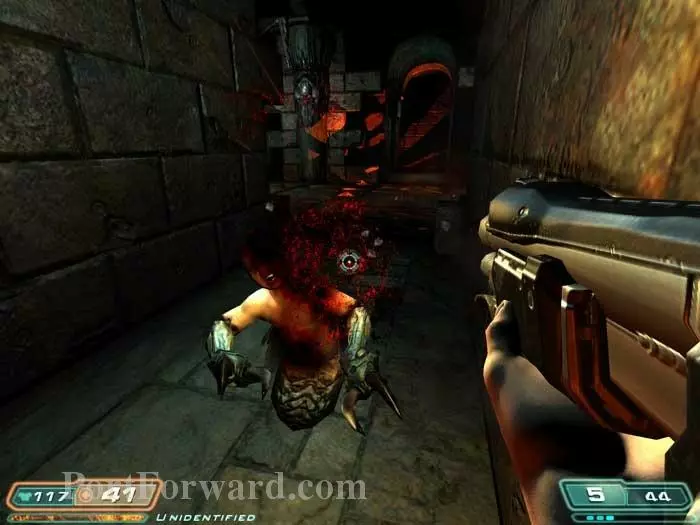
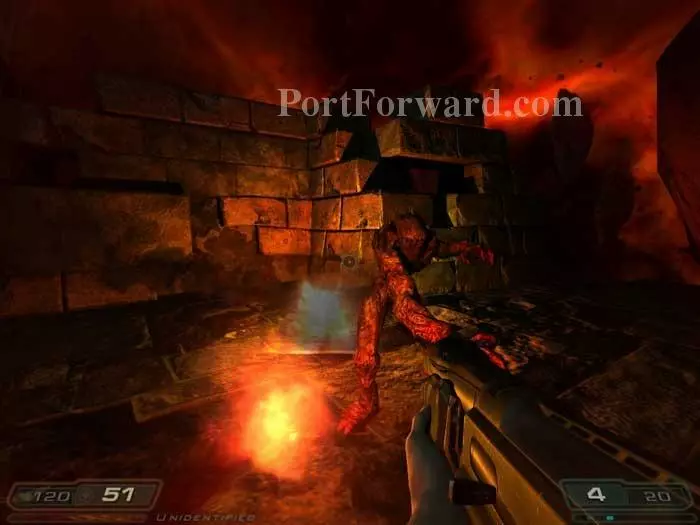
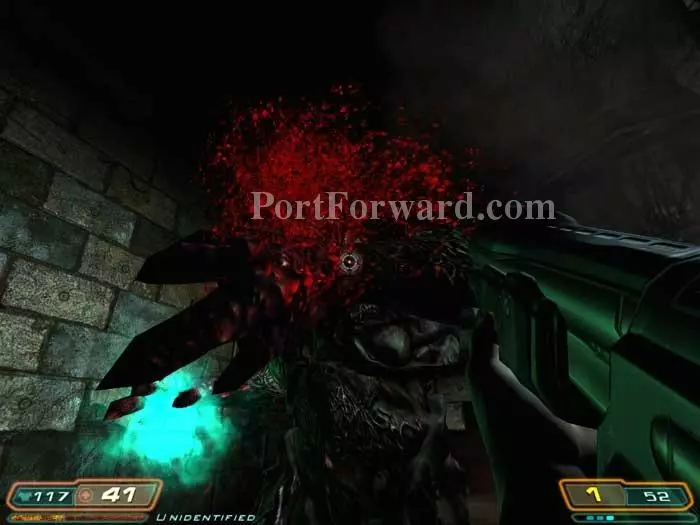
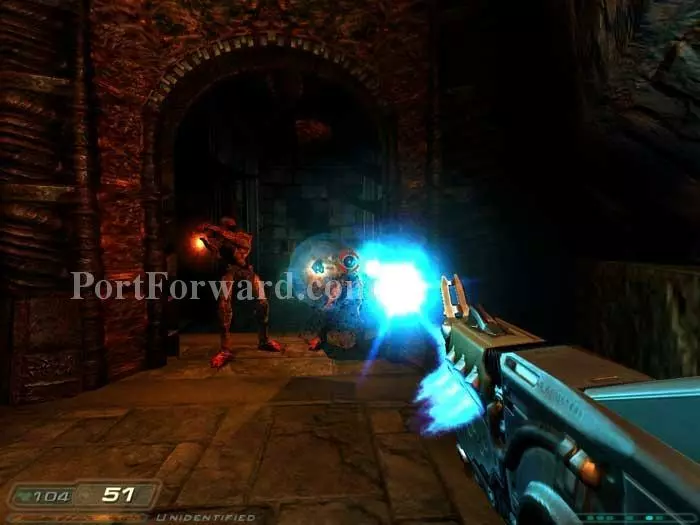
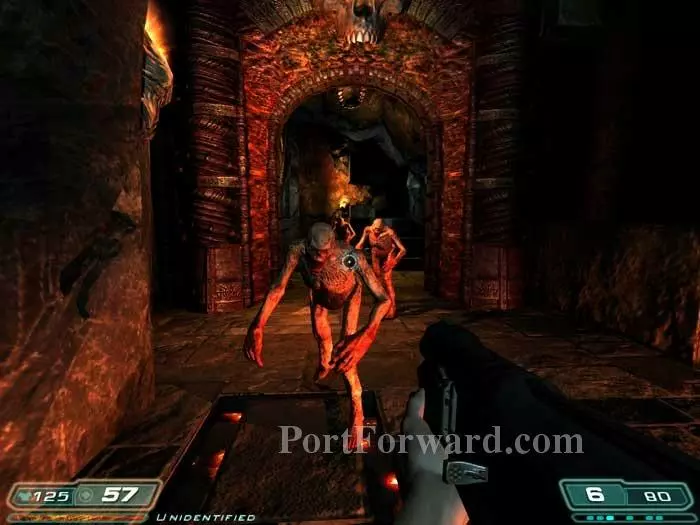
Ooh, that's gonna leave a mark. Two Cherubs are on the left, protecting shells and armor.
Another Cherub plus this Imp are to the right, guarding a medkit and shells.
Once the Hell Knight is defeated this opening appears. Grab the chainsaw and medkit to the right before continuing ahead.
The wall opening closes behind you. Head left to find 3 ammo belts, 2 medkits and a chaingun.
Head right and two Imps spawn as the wall ahead slides back.
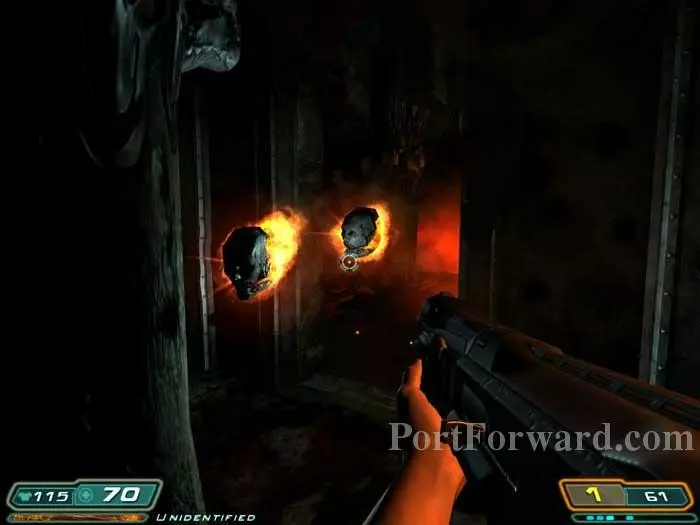
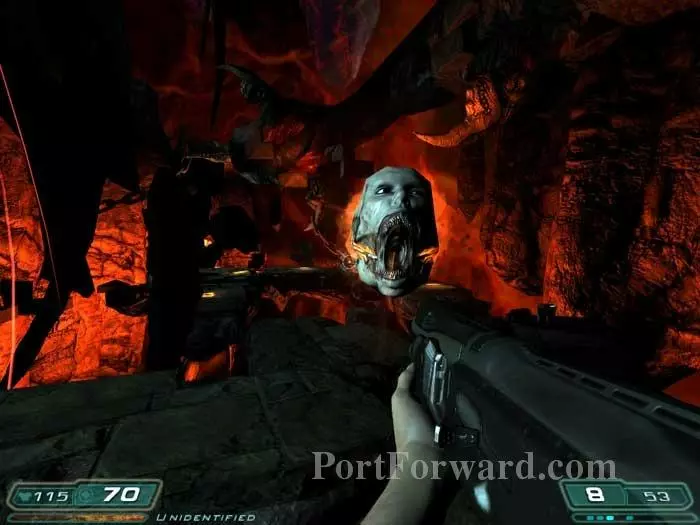
Lost souls attack. Stay by the door and pop them as they come through.
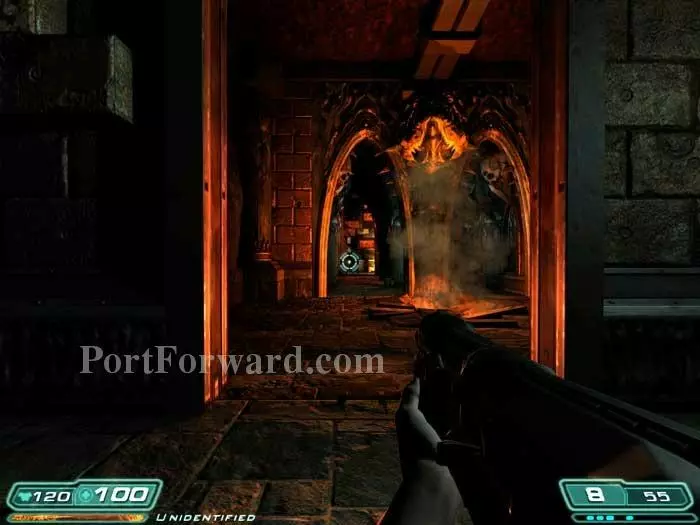
This opening has appeared in the center area. Pass through.
Dark spirits can be seen floating upward. Lost souls attack as you approach the two medkits on the right.
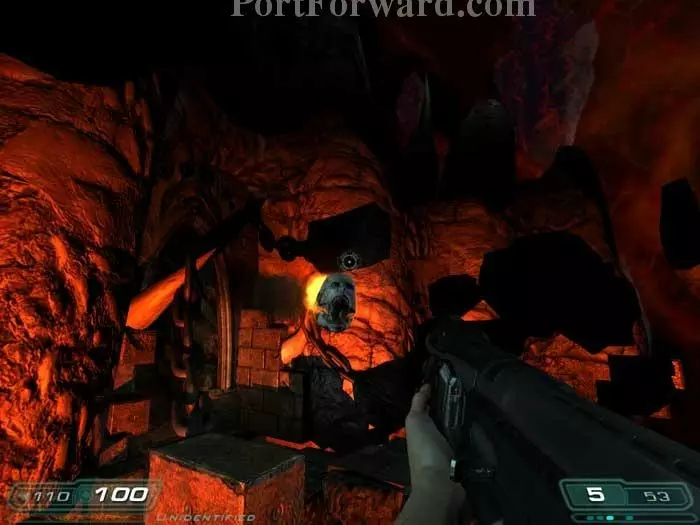
Continue battling lost souls, carefully stepping across the floating stones to the archway on the left, where you'll find a medkit to the left.
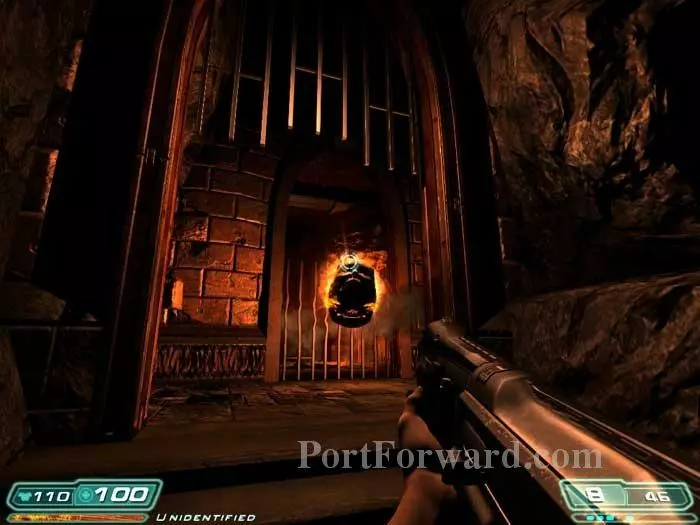
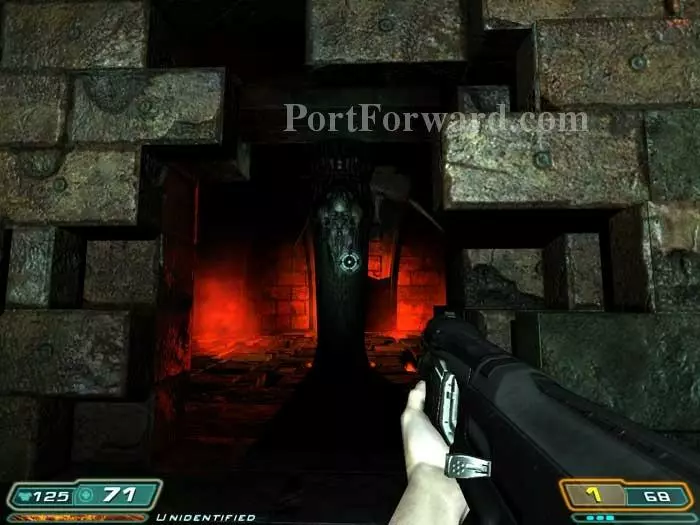
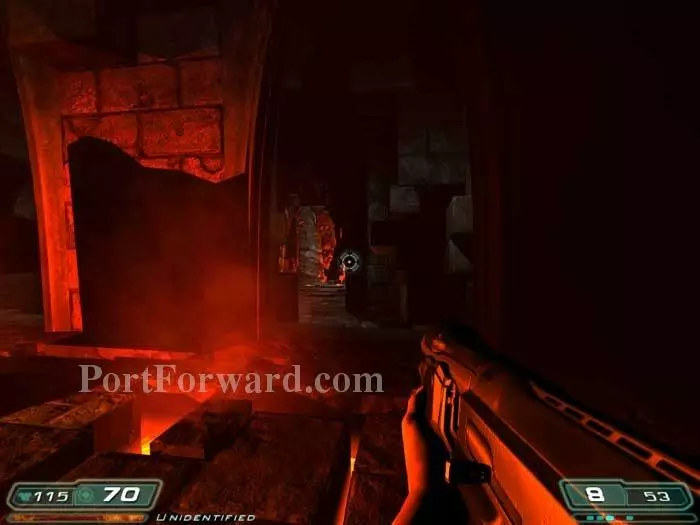
As you pass beneath this gate it closes behind you.
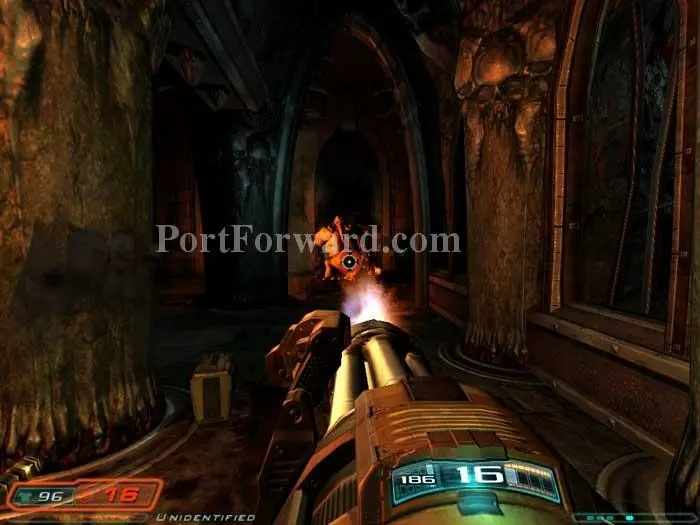
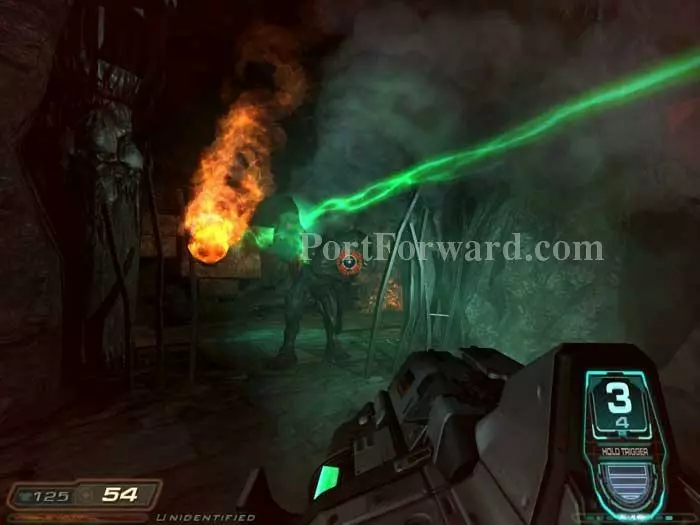
Ready your chaingun to defeat this Hell Knight. Keep your distance, dodge his splash-damage-heavy energy balls and aim for the head. Armor can be had from the Hell Knight's alcove on the left.
Farther down the corridor this Imp spawns on the left, surrounded by two medkits, an ammo belt, a chaingun and shells. Two other Imps attack, one ahead and one behind.

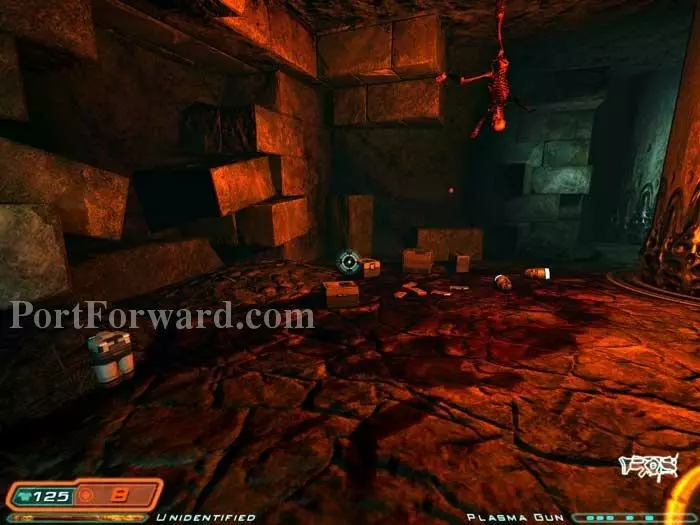
Two medkits and a head-crashing skeleton are at the corridor's dead end.
Backtrack to this position and find the gate has opened.
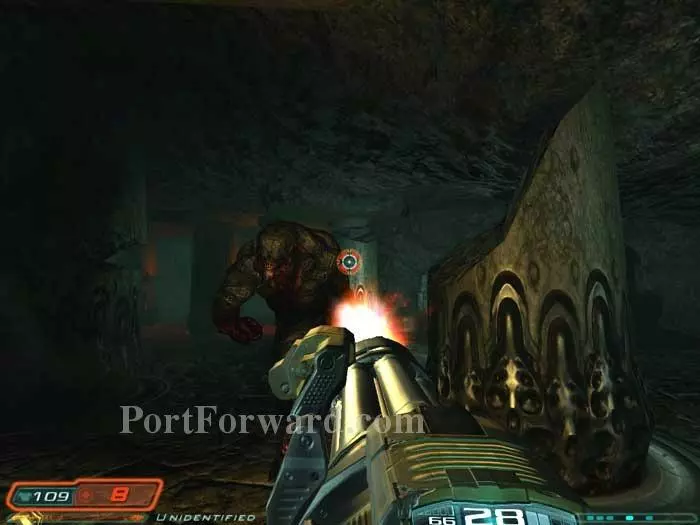
A series of cherubs attack aside this Mancubus. The Mancubus is slow so do your best to avoid him while clearing out the cherubs, then take him down last. Note the ammo belt seen here on the left.
Armor is on the right, cells and medkits are on the left. To the right of that is a plasma gun on a pentacle -- pick it up last. Once you grab the plasma gun, the floor drops.
Straight ahead you'll find the Berserker power up, making you faster and invincible - for a time.

Save ammo and use your chainsaw or Berserked fists to take out the Imps that spawn.
Two Hell Knights also attack. If you are quick enough you may be able to defeat one of them before the Berserker wears off.
Once the area is secure you can search for supplies. Here you'll find a medkit, shells, an ammo belt, cells and rockets.
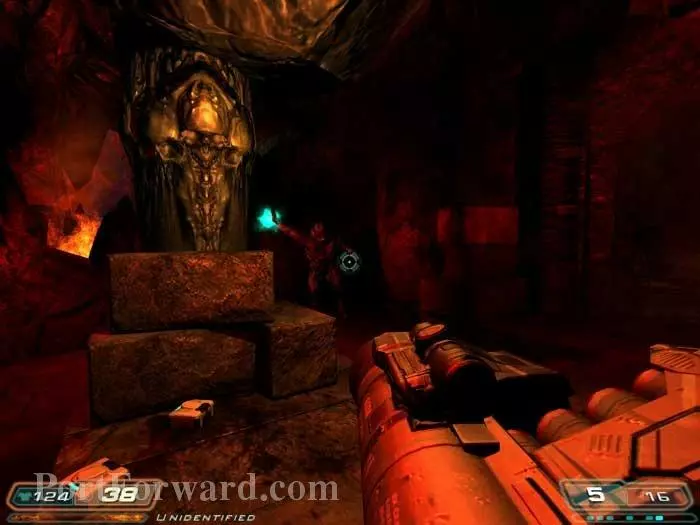
Pick up the armor shards then follow the glyphs ahead.
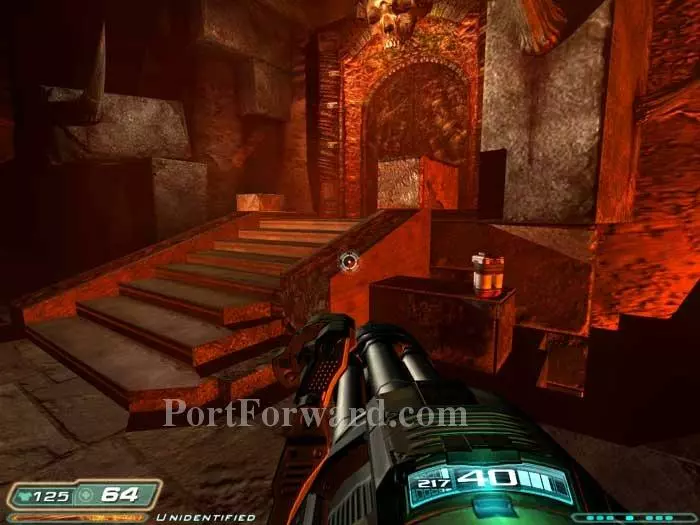
The glyphs lead to this cache of medkits, cells, an armor vest, rockets - and the rocket launcher. Simon Garlick's PDA contains some chilling background.
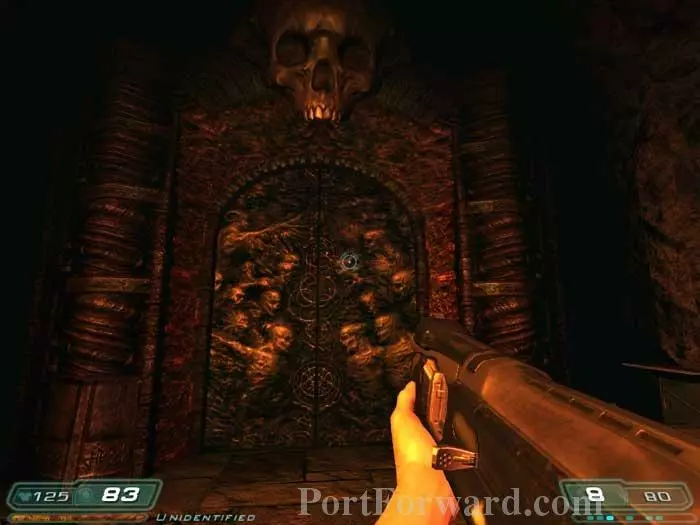
To the left is this door. Approach and it slides open.
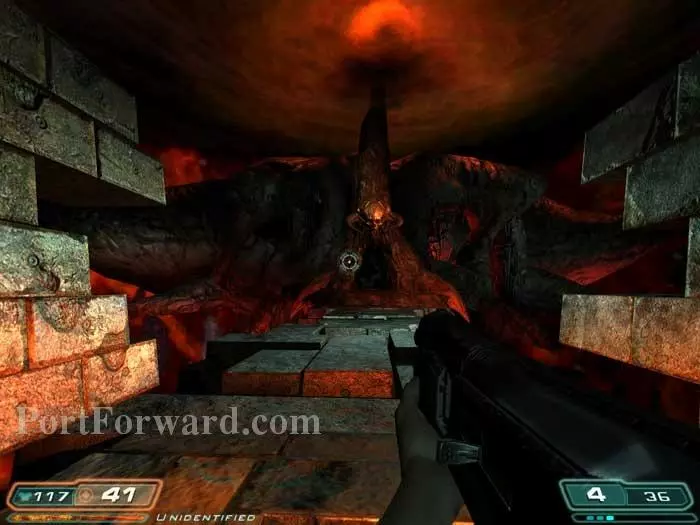
Approach the center pentacle and a massive obelisk thrusts downward. Three Mancubi spawn, one on the right followed by two on the left. Defeat them then dodge the obelisk to continue straight ahead.
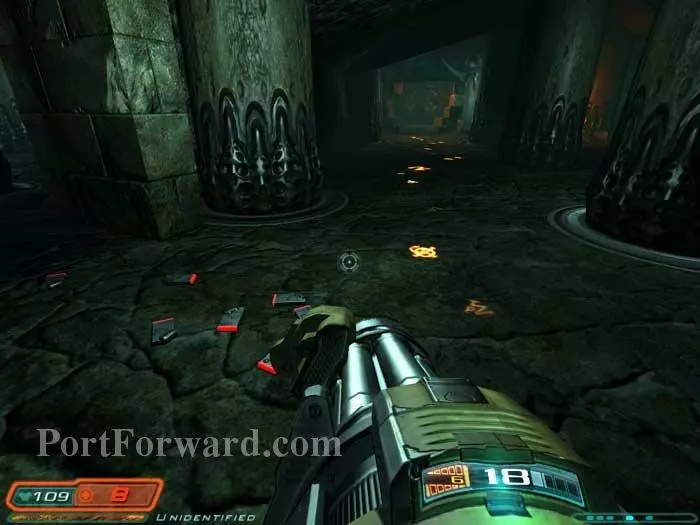
Defeat a series of lost souls as you press ahead.
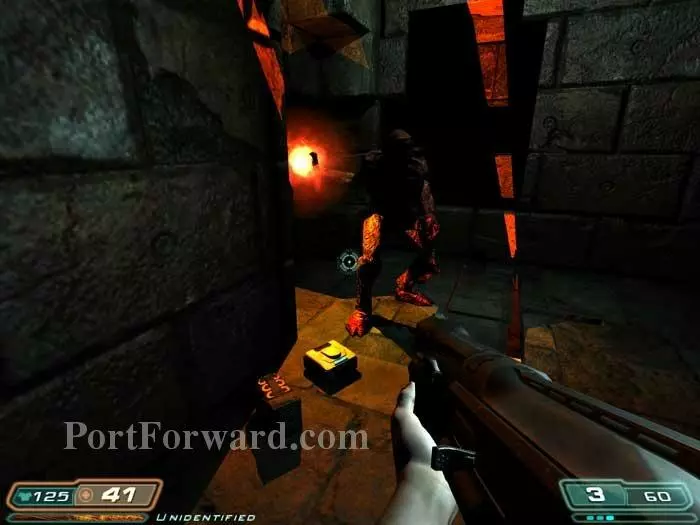
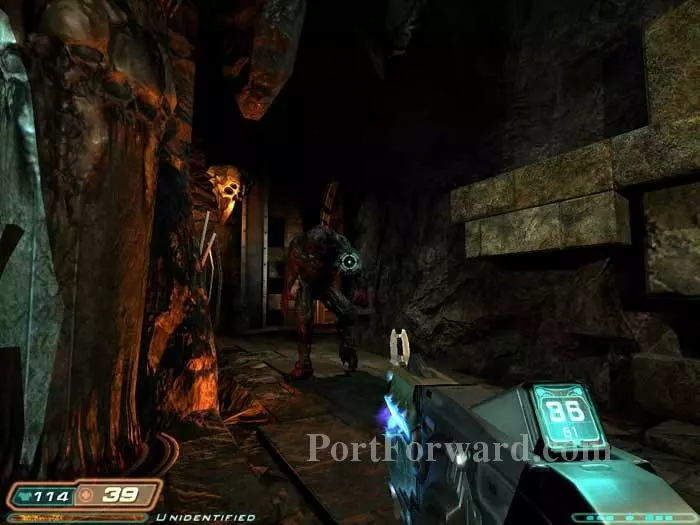
Defeat this Imp as you ascend the stairs.
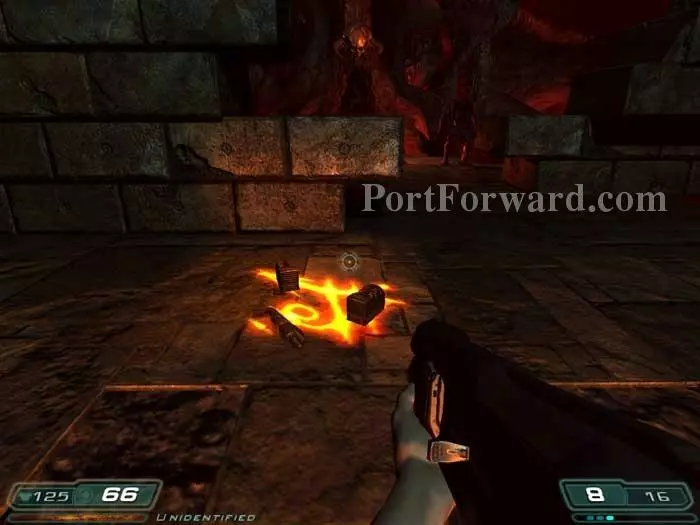
Find this cache of supplies including cells, rockets, an ammo belt and a medkit.
Battle this Imp then another as you ascend the stairs in the background.
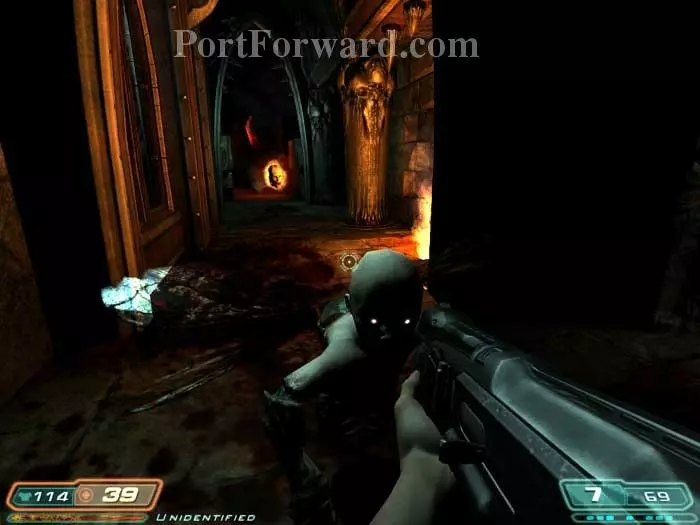
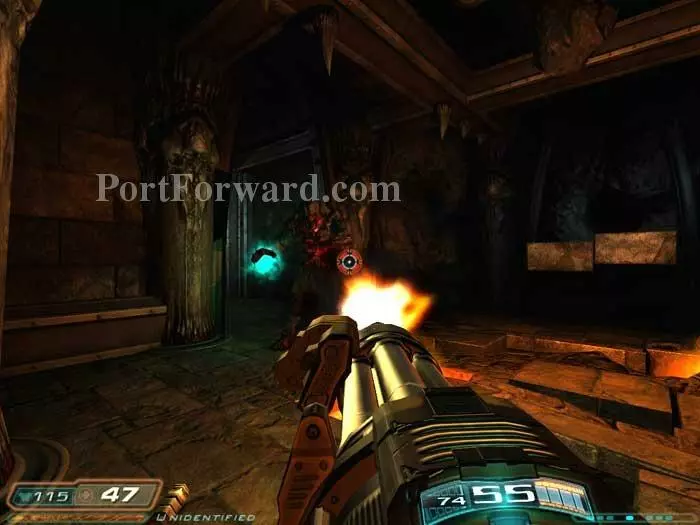
Imps and lost souls await through this door. An Imp is hiding in an alcove to the left.
Battle lost souls as you ascend the stairs then find supplies on the left once you reach the top, including a medkit, ammo belt and armor.
This horde of zombies attacks as you take the supplies. Continue through the door ahead.
Turn right and spot this Hell Knight. Note the two medkits on the left. Continue farther left to another door and be greeted by another Hell Knight and more Imps.
Keep left to find this medkit and armor. Proceed toward the the supplies just visible in the background.
Defeat an Imp and another Hell Knight. These supplies include medkits, cells, an ammo belt, a BFG cell, and most importantly, the BFG itself seen here on the left. It is tucked behind a rock so be sure not to miss it.
Upon grabbing the supplies a flock of lost souls and another Hell Knight spawns. Good thing you've got the BFG.
Be sure to conserve some of your BFG ammo for the upcoming boss battle. Here I use the plasma gun against the Hell Knight that attacks down this left corridor.
Advance down the corridor, defeating cherubs and lost souls.
Grab this armor then ascend the stairs.
This should be an easy fight if you are patient. Take short pot shots at the Mancubus then hide behind the central pillar. Grab the supplies on the right then approach the door on the left.
Note the medkit on the right. A Mancubus is directly behind the door. Defeat him then cherubs and another Mancubus attack. An ammo belt and a medkit are to the immediate left inside the door.
This Hell Knight is lurking on the left. Backtrack and dodge his blue energy balls to avoid their huge splash damage.
Climb the stairs and Betruger taunts you as you approach this door.

Grab the supplies on the right, including rockets, armor, medkits, cells and an ammo belt. Reload all of your weapons before entering the blue shaft on the left.
A brief cutscene plays. You first witness the soul cube plead, "Save us."

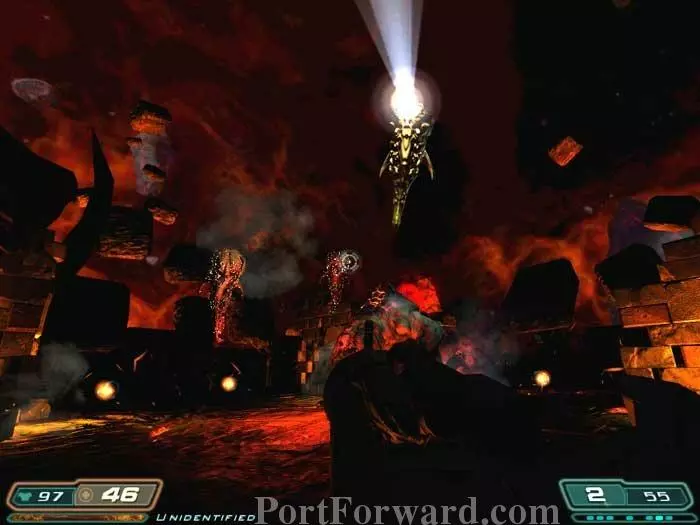
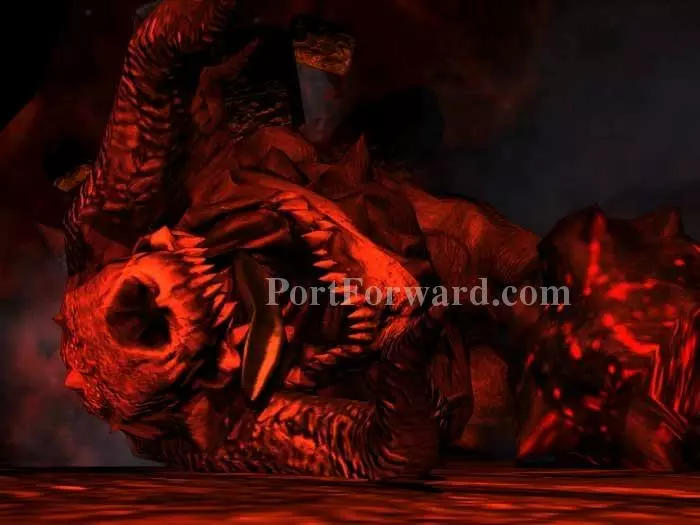
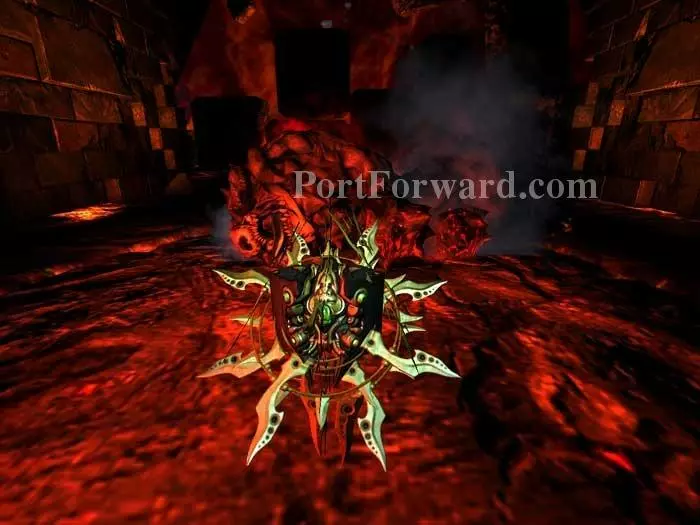
Then you see the level's boss - the Guardian.
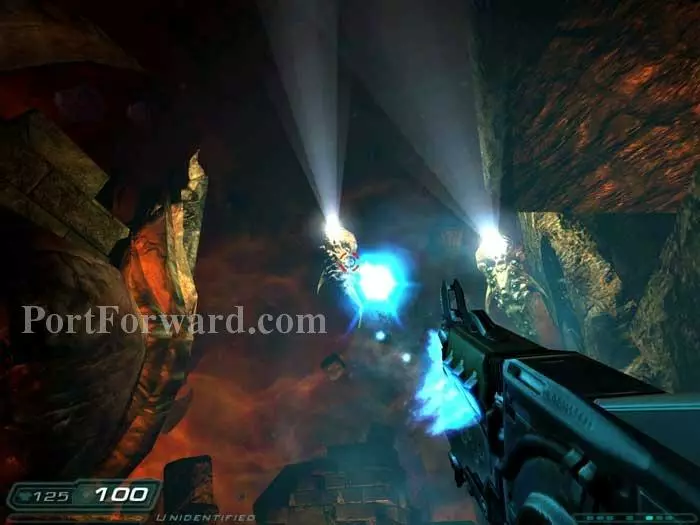
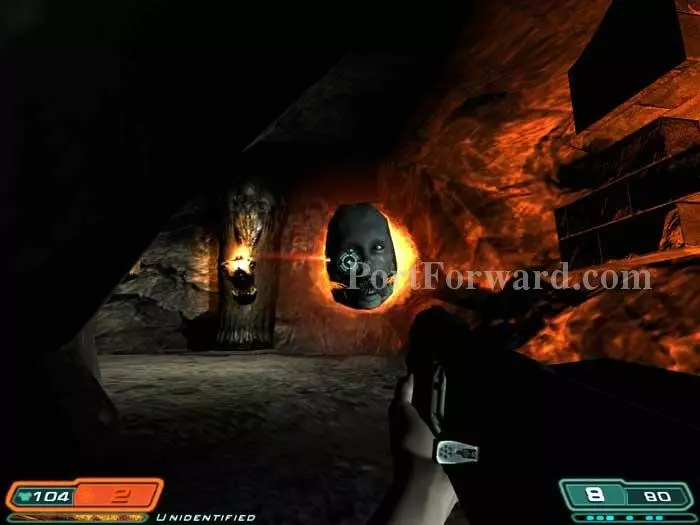
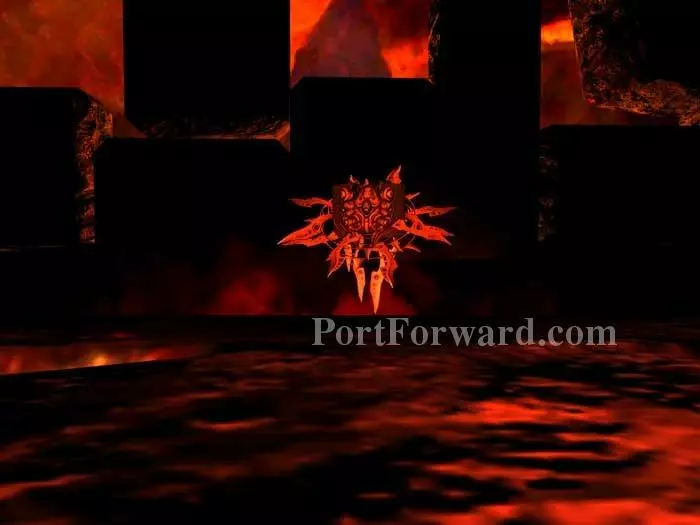
The Guardian is flanked by three seekers. The Soul Cube advises, "Destroy his seekers, and the Guardian becomes vulnerable."
When the seekers are bunched up as seen here, your rocket launcher's splash damage can take out multiple seekers at once. Here I have fallen two with one shot.
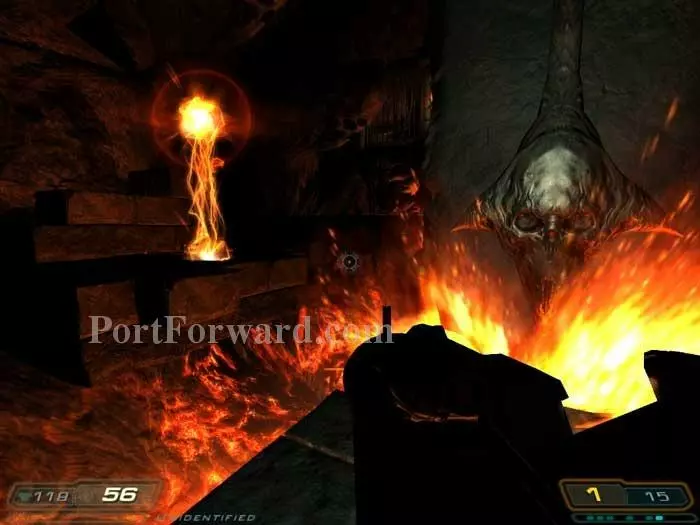
When there are no seekers remaining, the Guardian stops to summon more. While he does this a blue orb appears over his head.
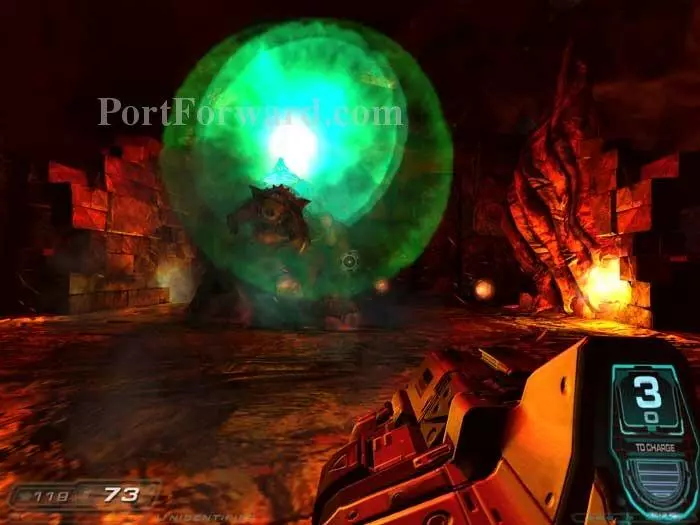
Pummel the blue orb with your heaviest weaponry before it vanishes.
Look for supplies such as these medkits as you strive to keep the terrain between the Guardian and yourself.
A boss bar would have been nice to let you know how much of the Guardian's health remains. Rest assured, he does come down before too long.
Now victorious, approach the soul cube to make it yours.
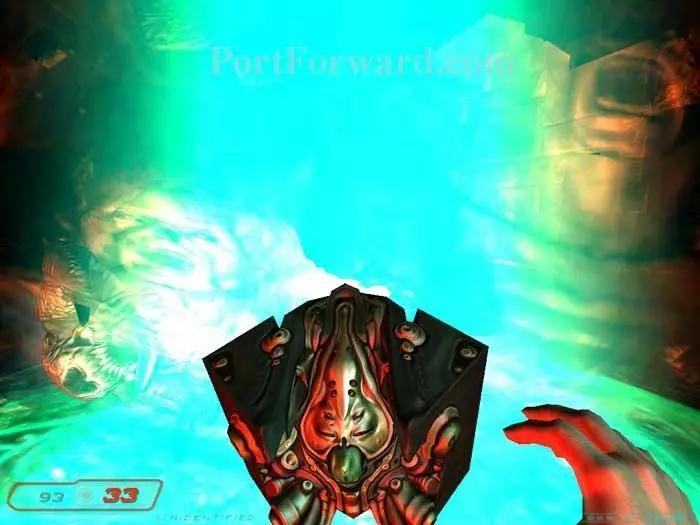
The upside-down eyes of the soul cube are way creepy. Search the area for supplies, then enter the blue light.
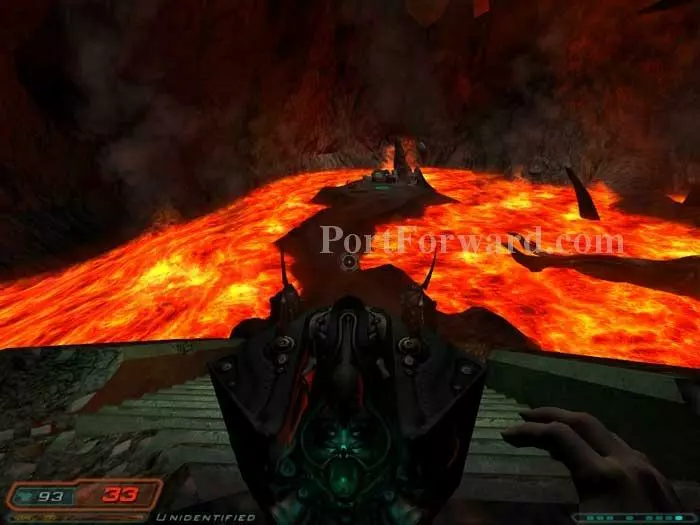
Return to the level's origin ahead.
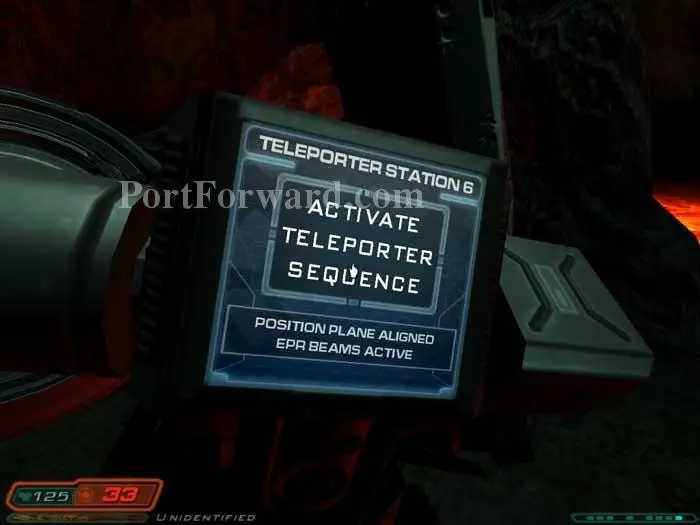
Lastly, activate the teleporter to load the next level.
More Doom 3 Walkthroughs
This Doom 3 walkthrough is divided into 27 total pages.


