This Doom 3 walkthrough is divided into 27 total pages.
You can jump to nearby pages of the game using the links above.
Delta Labs Sector 2B

Turn around and exit the teleportation chamber. Grab this medkit in the neighboring corridor. The door ahead requires a keycard that you don't yet have. Don't freak when the pipe starts steaming. Up ahead this flaming zombie attacks. Note the shells by his foot. An armor vest is in the room behind him, but is blocked by fire. Continue through the door on the right.

Here's the keycard that you need, right next to the headless zombie.

Be careful on your way back, as two Imps will pop out from a false wall opposite this door. Best to ready your Plasma Gun, step forward just enough to trigger the Imps, then back into the doorway.
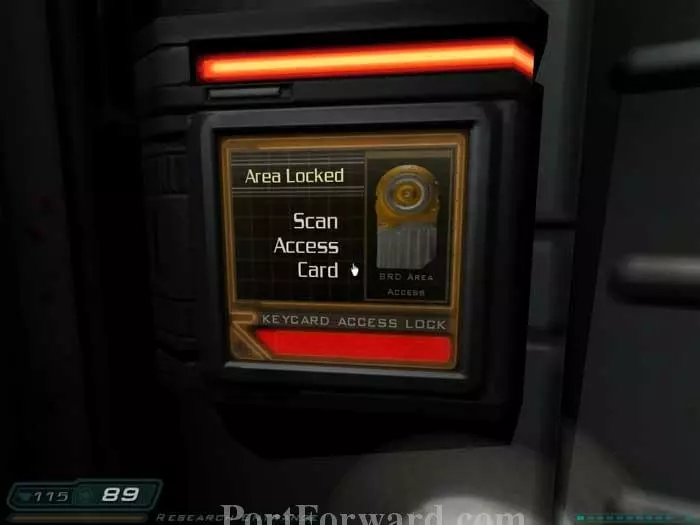
Return here, then scan your newly-found access card.

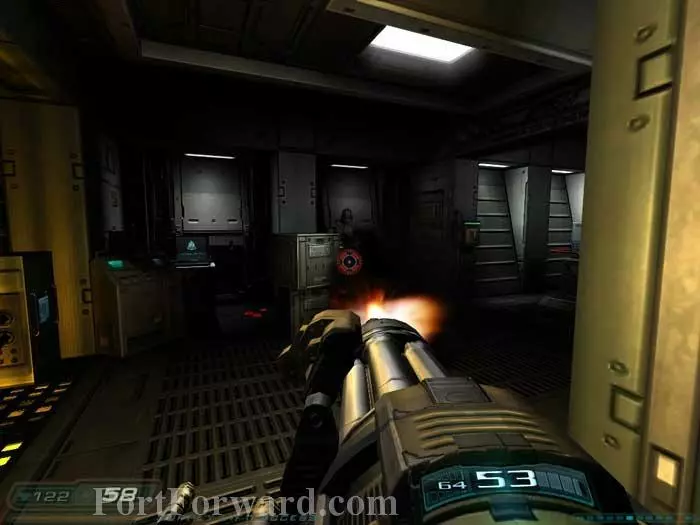
Ready your chaingun and defeat the two commandos ahead.
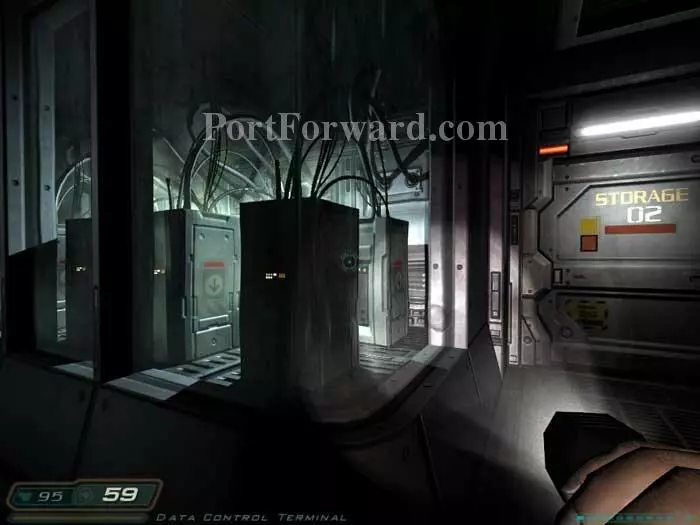
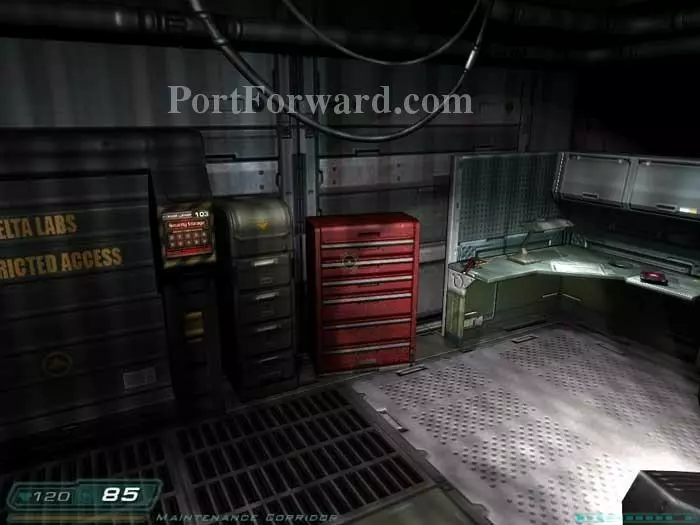
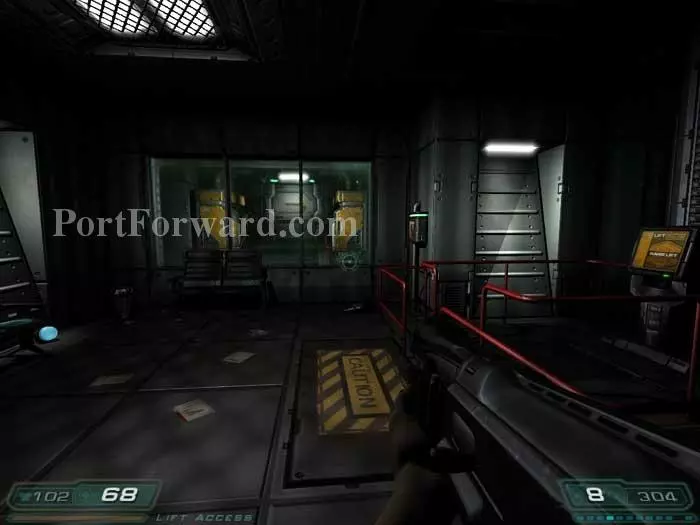
Spy the serious water cooling solution next to the locked - for now - Storage 02 door.

This terminal unlocks the door.
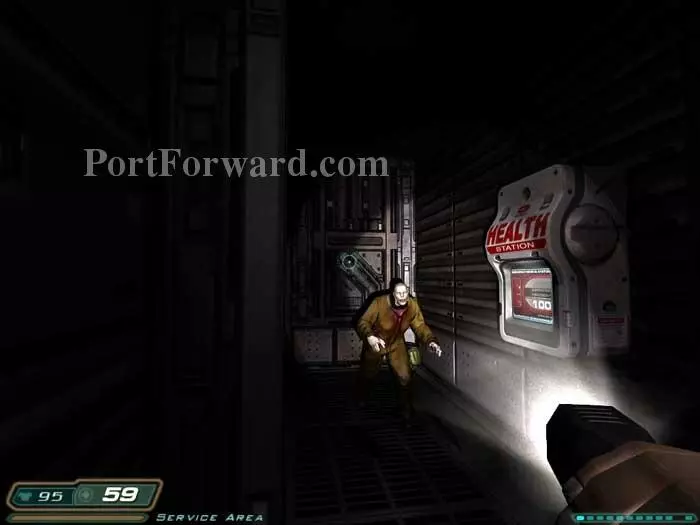
Rockets are to the left. Armor, a health station and a zombie are to the right.
Ready your chaingun before continuing through this door.

Ack! Don't let the commando, or his fat zombie friend, get this close. An Imp spawns behind you.
This room is on the left. Francis Erikson's PDA on the desk reveals the code 259 for the storage cabinet. Cells, a medkit and shells are inside.
Scan your card to open this door. Inside are this Imp, a commando and a zombie. Clips and a medkit are to the left and an armor vest is to the right.
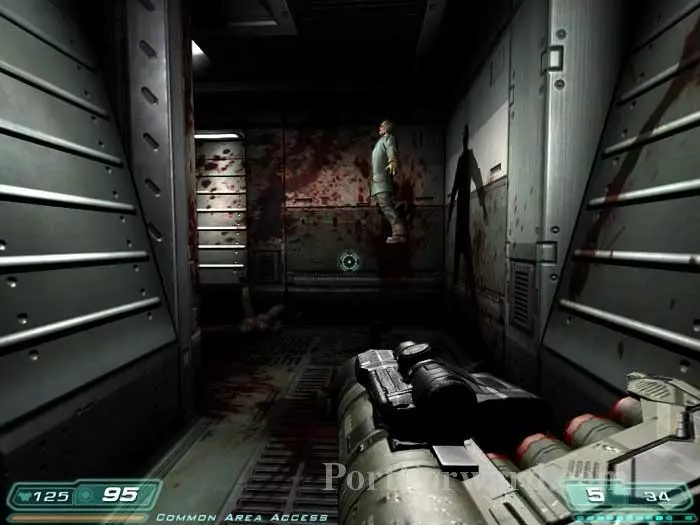
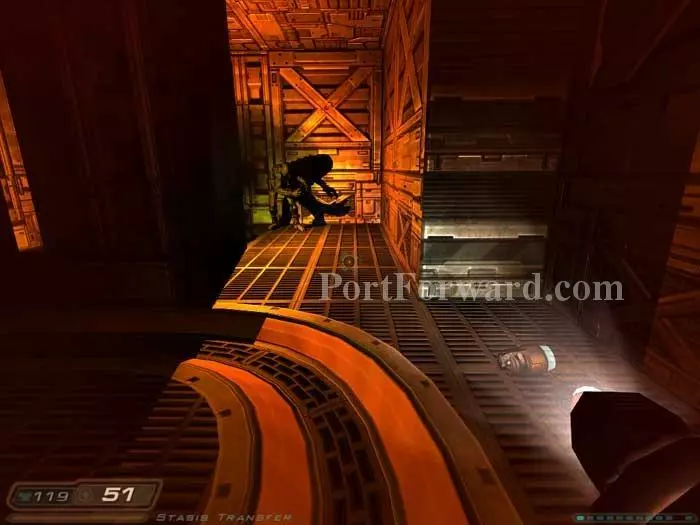
Ready your rocket launcher before continuing down the corridor, where you'll see this poor chap catapulted against the wall.

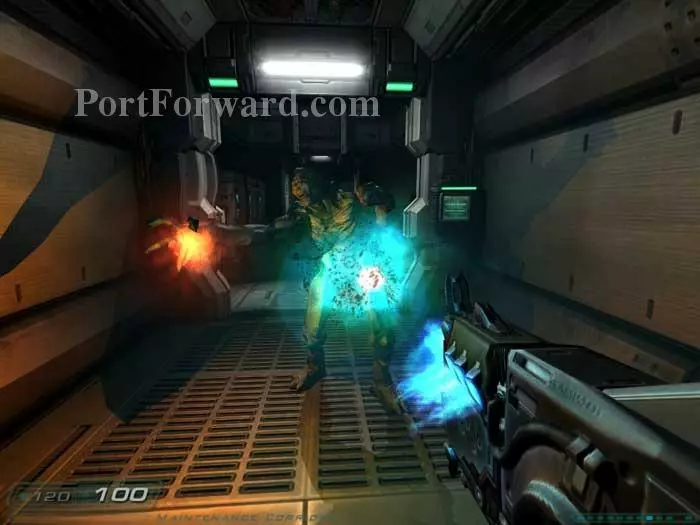
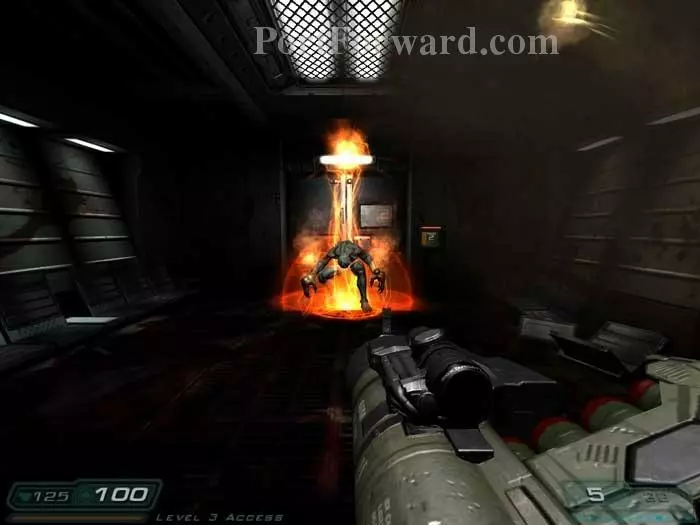
Your first Archvile spawns above. He will summon Imps as seen here. Killing the Imps is merely hacking at the weeds. The Archvile is the root. Defeat him first. The rocket launcher does it right quick.
Adrenaline and a medkit can be found here.

Defeat this Imp and a wandering commando. To the left is armor and a medkit. Continue through the door on the right.
Defeat another commando then grab the armor behind these crates.
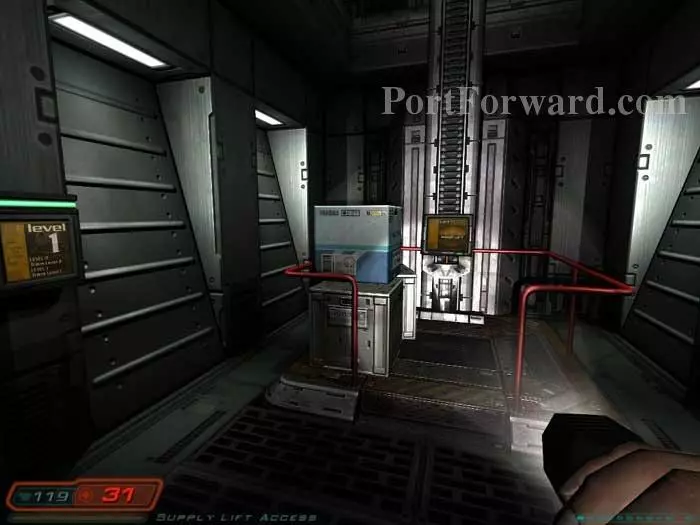
Ride this lift up then ready your rocket launcher.
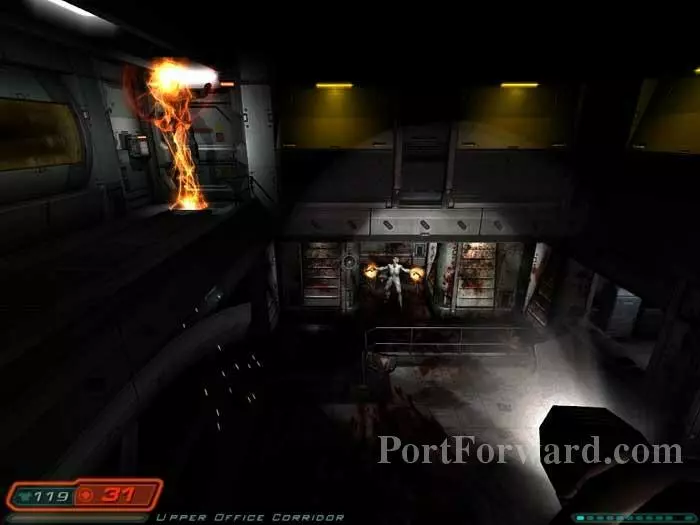
An Archvile appears below, summoning Imps all around you. Use your rocket launcher to take him out immediately, or you will soon be overwhelmed by Imps.
Enter this crawlspace on the right.
Near the end you'll find armor on the right, and this opening to the room below on the left.

Dr. Michaels gives you the code 624 to the nearby supply cabinets.
The two cabinets are to the right. Both open with code 624. Note the health station on the left.
Climb over this debris to the hallway ahead.
Take out this Imp, then hop onto the boxes behind him.

An Archvile spawns, summoning Imps and Commandos. I've still got the Plasma Gun here, but you'd do well to switch to the Rocket Launcher. As always, take out the Archvile first.

To the right is this room, where a Commando will helpfully unlock this door for you. Note the dual medkits.
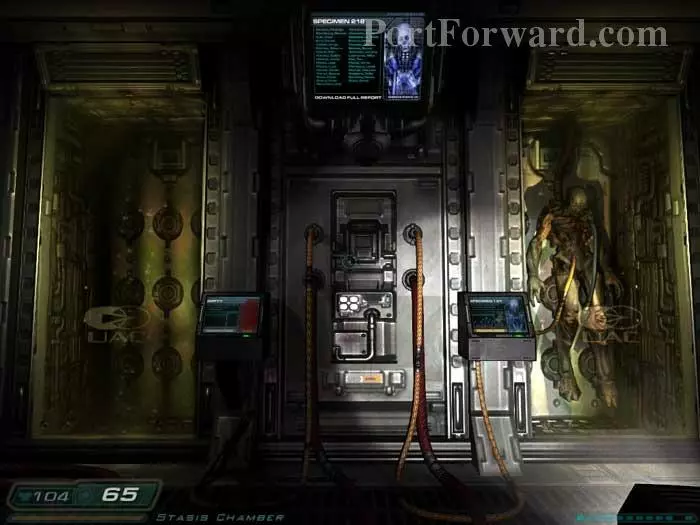
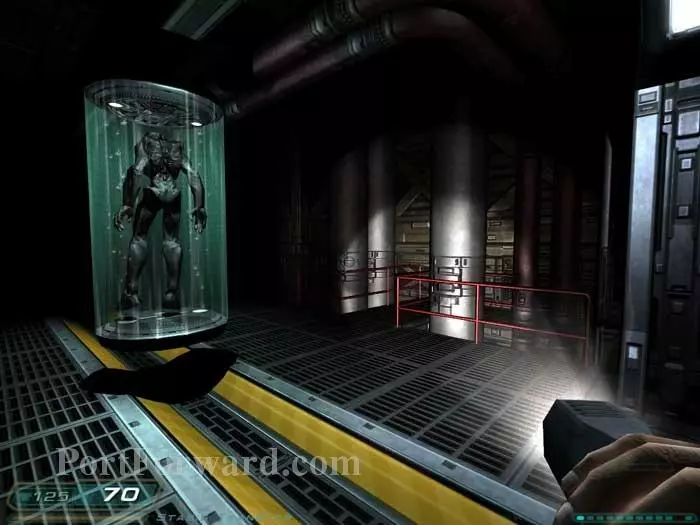
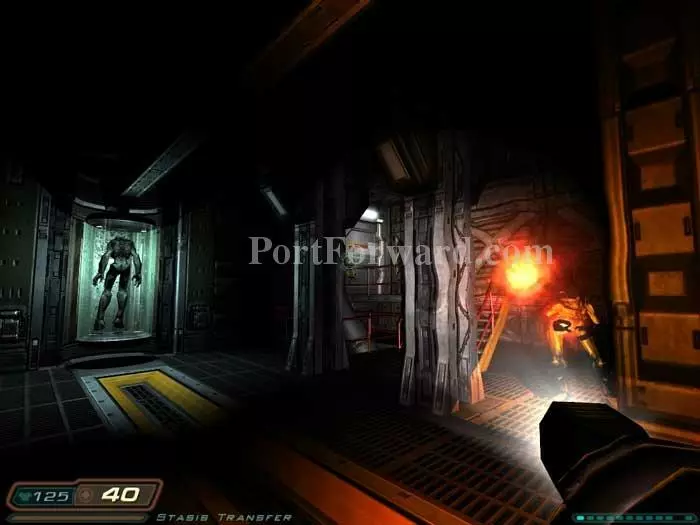
Watch the video to learn about the Delta complex stasis chambers. Approach the chamber on the right -- I dare ya.

I knew it was coming, and I jumped out of my skin anyway.
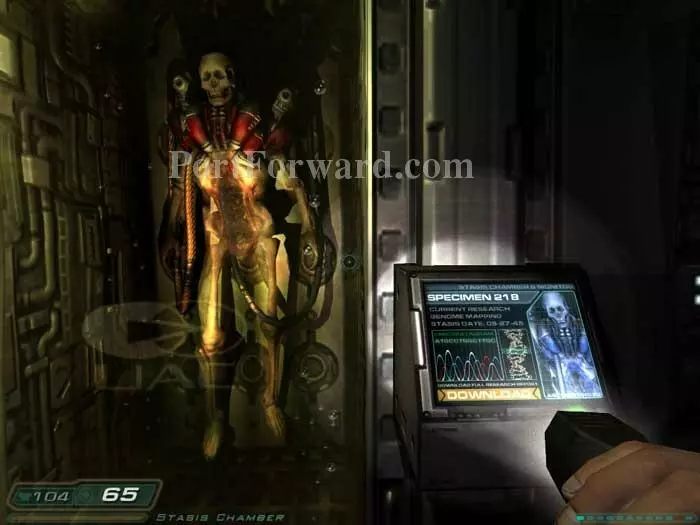
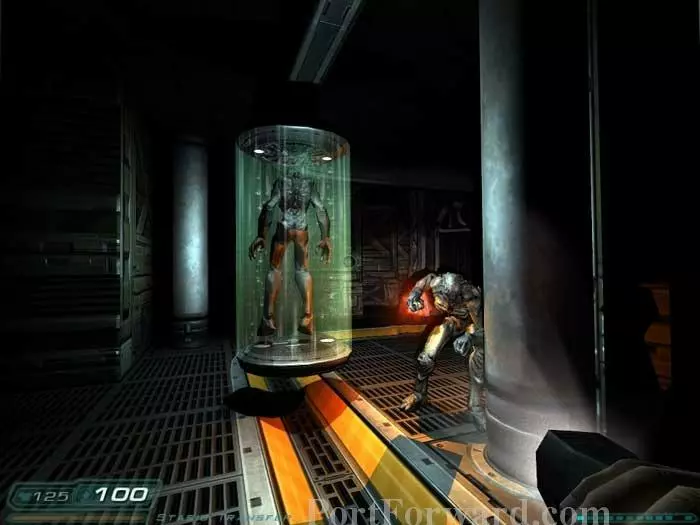
Each occupied chamber has an email that can be downloaded to your PDA.

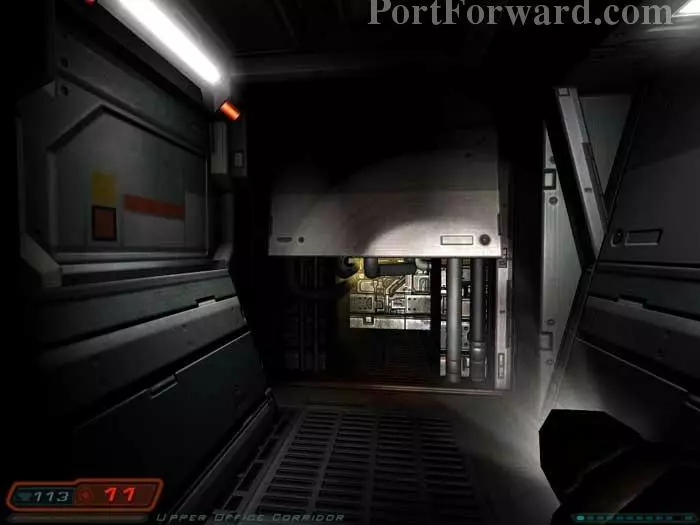
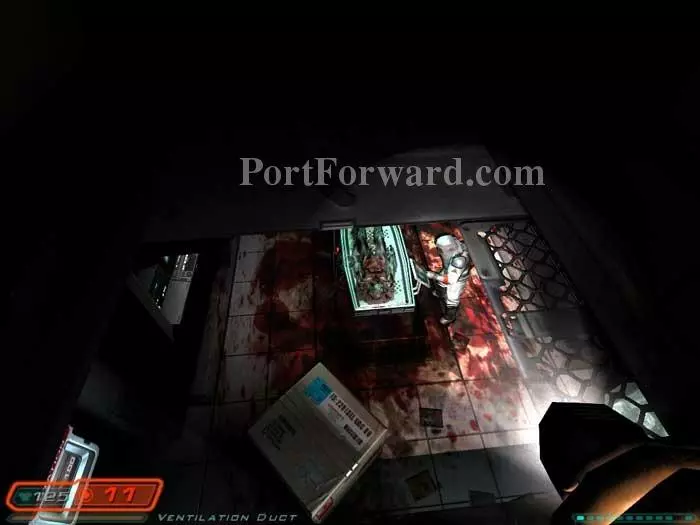
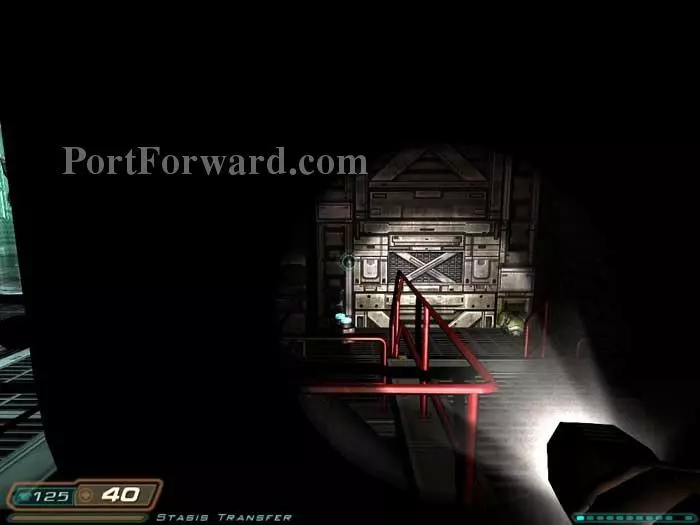
Continue to this position, where you'll hear a frightened man pleading for you to open the service hatch. The control is seen here on the right, and the hatch is opening to the left. Descend the ladder inside.

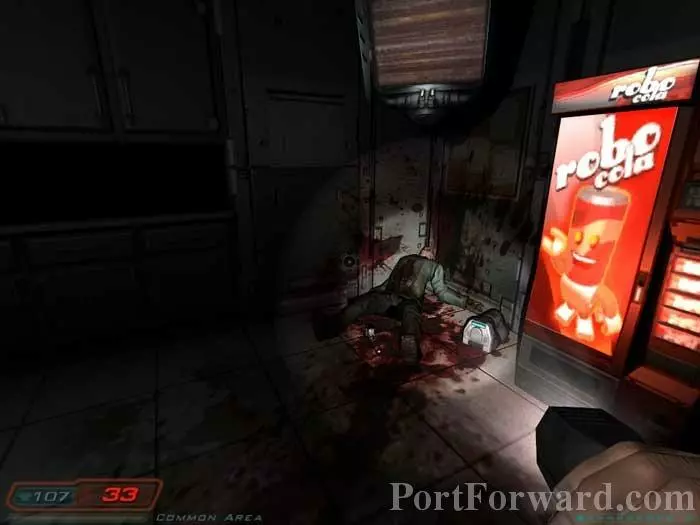
Poor guy. Show the Imp that did this some justice, then take Jacob Stemmons' PDA to learn the code 371 for an upcoming storage locker. Climb the ladder to find supplies including armor, cells and a medkit.
Backtrack out the service hatch and defeat this Imp behind the door on the right.
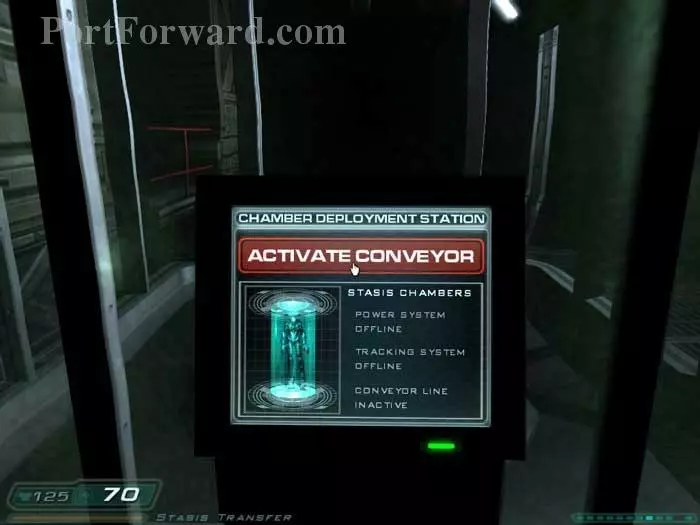
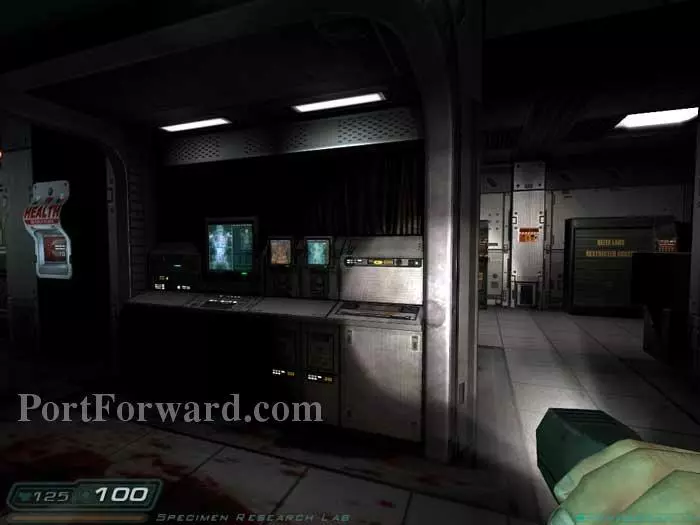
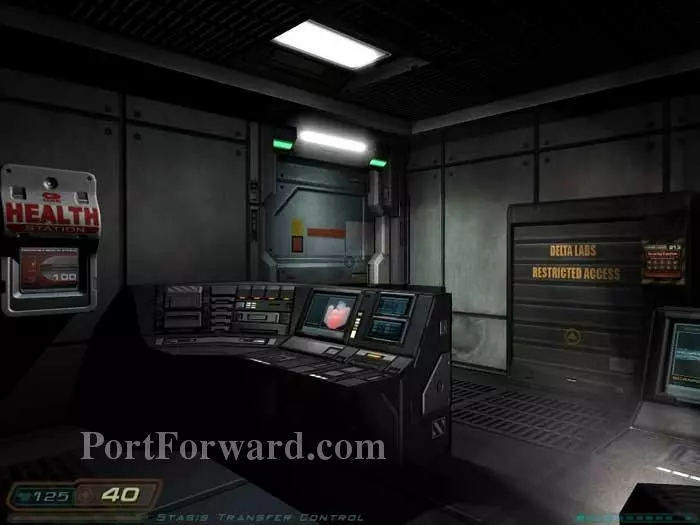
Keep right through the door and you'll come to this station. Activate the conveyer and a lighted specimen chamber arises.
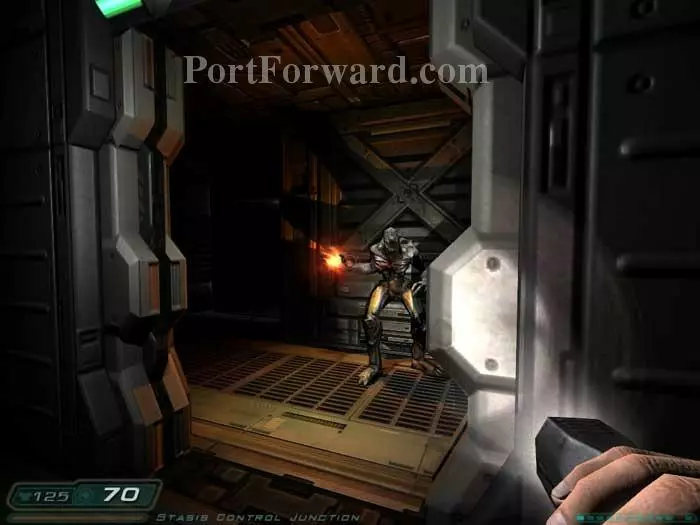
The area ahead is dark but the specimen chamber will light the way. Imps attack as you proceed, with the first attack coming from behind those railings on the right. You can do yourself a favor and take out this Imp before activating the conveyer if you prefer. You'll find two clips back there.
This next bend is very difficult. Three Imps are triggered here, so be prepared. Note the cells on the right. Plus, a trap is set for you to the left of the Imp visible here. A plasma gun will trigger the floor to drop when you grab it.

Two Imps are waiting down here. I don't recommend fighting the Imps from within this pit. Instead, immediately climb out using one of the two ladders.
Once out, toss grenades below to defeat both Imps. Return to find cells, armor and a medkit.
Climb back out to find cells and armor here on the right.
Don't worry if the conveyer has traveled ahead -- it will swing around again. This Imp attacks from the right, then another behind you. Grab the clips and armor under the stairs before climbing them to the door visible center-screen.
Heal at the health station on the left before using code 371 to unlock the storage cabinet on the right. Inside you'll find shells cells and clips. An Imp is waiting just beyond the door.

Another Imp pursues you through the door after you descend the stairs, under which you'll find shells and a clip.
Two Imps emerge from the right before this last bend. You'll find rockets and shells in their hiding spot.
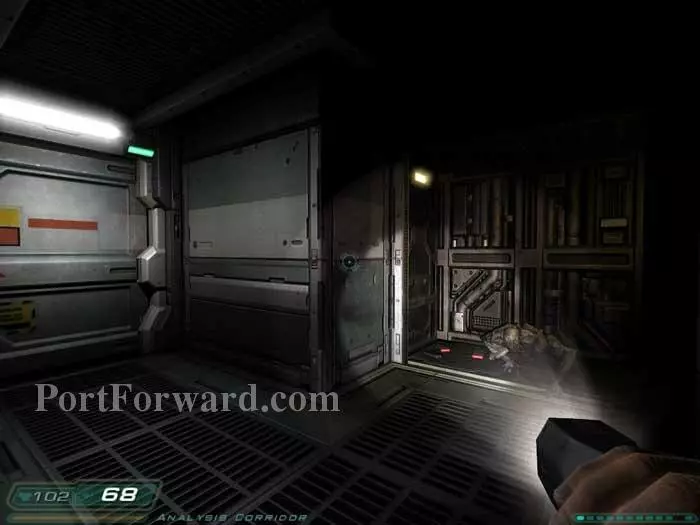
Exercise caution before opening this door, behind which is a sprung Imp ready to spring. Another Imp is behind him.
Grab the specimen stasis museum video disk and cells on the left before ascending the lift on the right.
The Imp on the right pops forth from his secret alcove as you approach the door on the left. Grab the armor and another Imp attacks from yet another secret alcove.
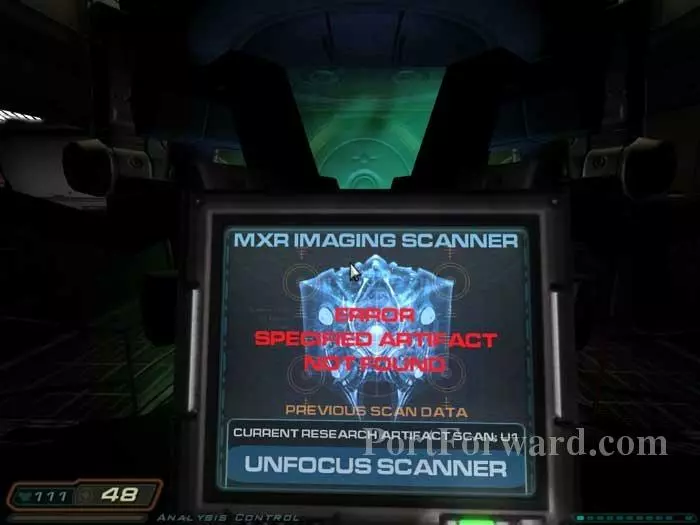
Focusing this imaging scanner accomplishes nothing because the device expects the Soul Cube to be present for scanning.

Larry Bullman's PDA on the right contains important background on the Soul Cube. It is a weapon that requires five kills to recharge. Grab the soul cube video ahead and heal at the health station on the left. Armor is straight ahead.
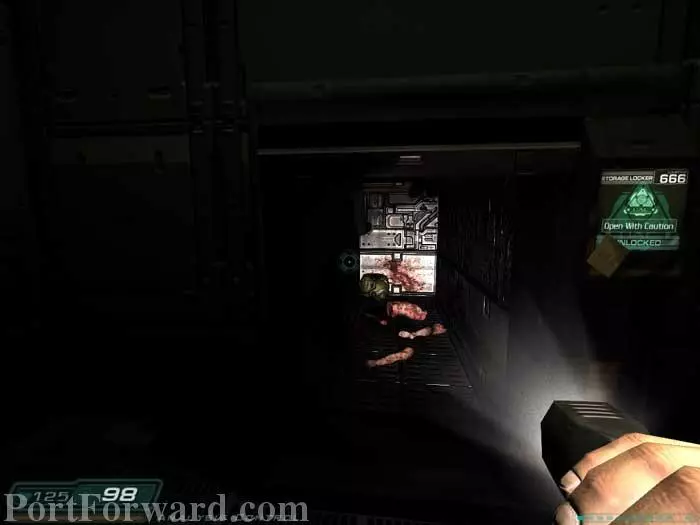
The sticky reveals the code for this storage cabinet, 372. The locker number itself, 666, warns of the Imp inside. Also inside is an armor jacket.

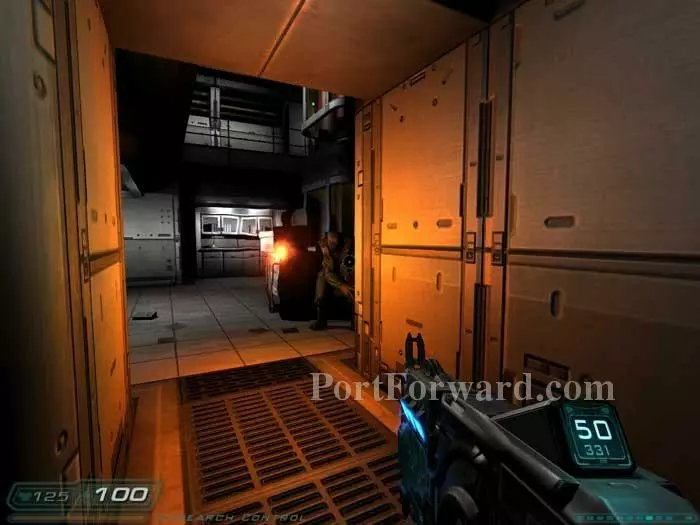
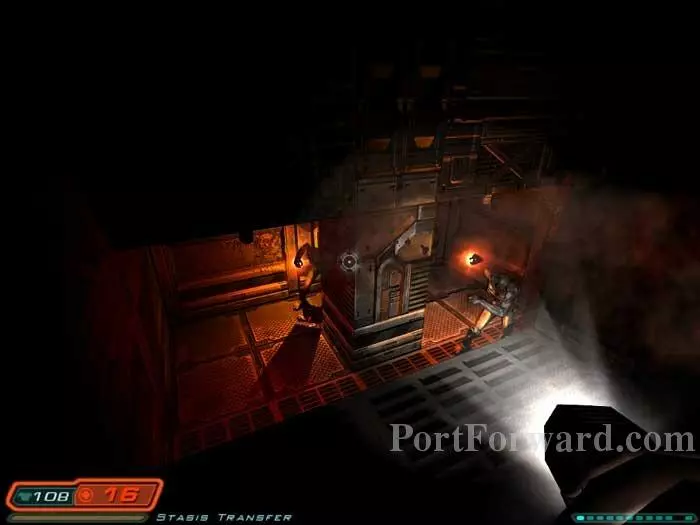
Through the next door, this Imp climbs over the railing on the right. Defeat him then a whip commando spawns.

Two more commandos are through this next door.
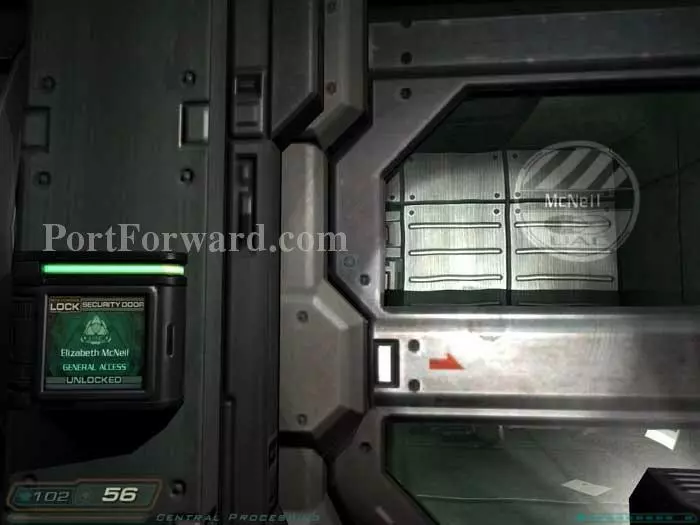
Enter the office of Elizabeth McNeil. Inside you'll find her PDA containing the access code 725 for storage area 07, the new level 3 access code 463, plus some important background.
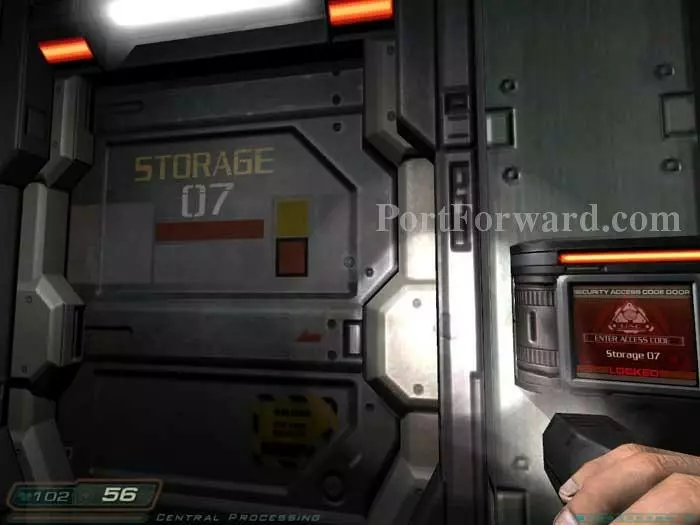
Enter storage 07 with the code 725.
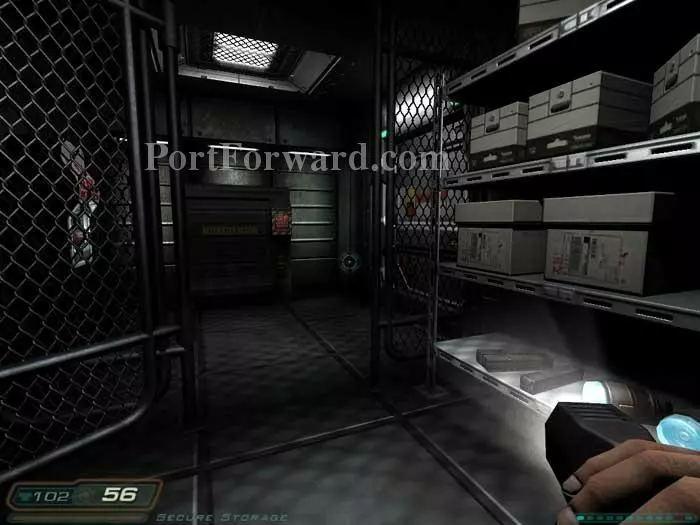
Grab the supplies on the right, heal at the health station on the left, and open the Martianbuddy locker with the code 0508.
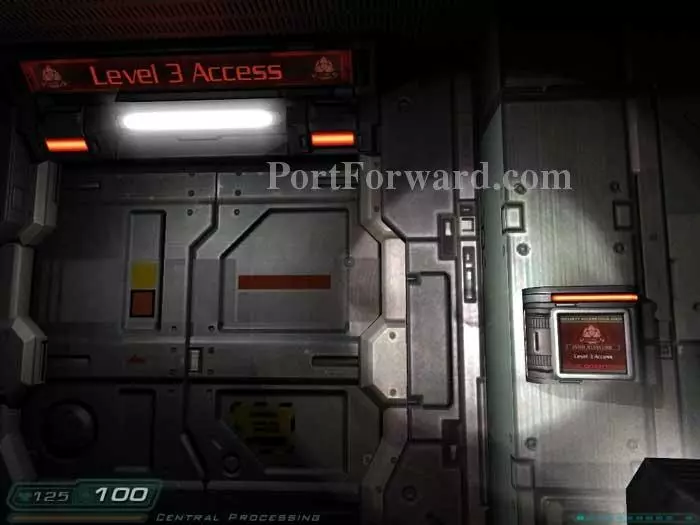
Enter level 3 with the code 463.
An Archvile spawns. Again, my preference is the rocket launcher. Take him out and any minions he's summoned. Enter the lift ahead.
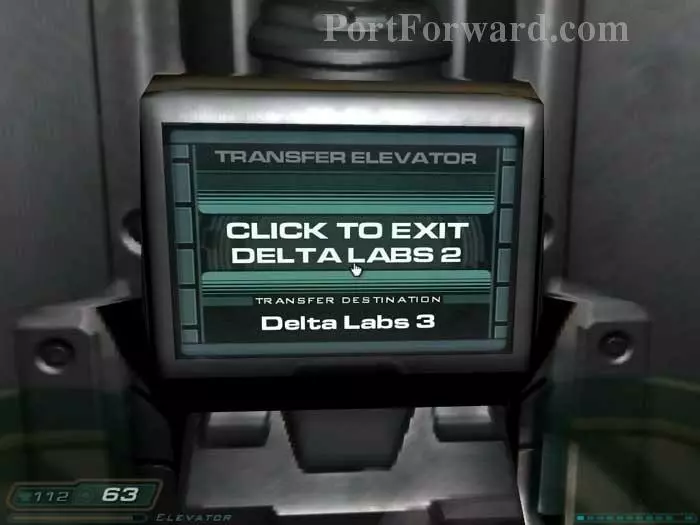
Activate this panel to continue to Delta Labs 3.
More Doom 3 Walkthroughs
This Doom 3 walkthrough is divided into 27 total pages.