This Doom 3 walkthrough is divided into 27 total pages.
You can jump to nearby pages of the game using the links above.
Delta Labs Sector 2A

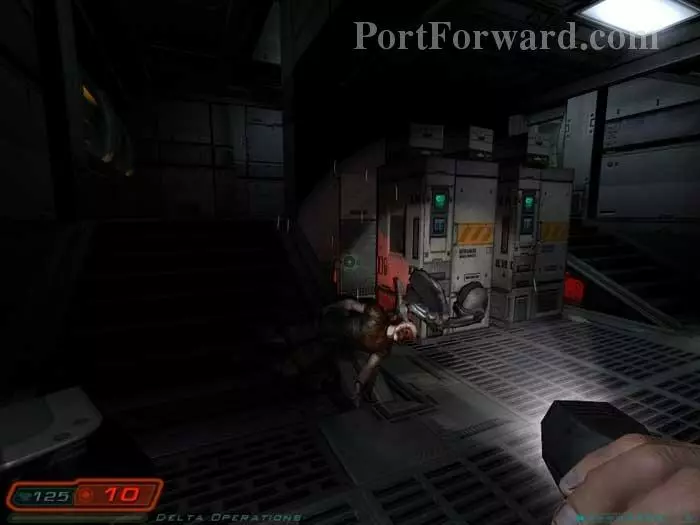
Proceed down either walkway and an Imp pops up from the subfloor. A second Imp joins him in battle.
Grab this medkit and armor vest before continuing through the door ahead.

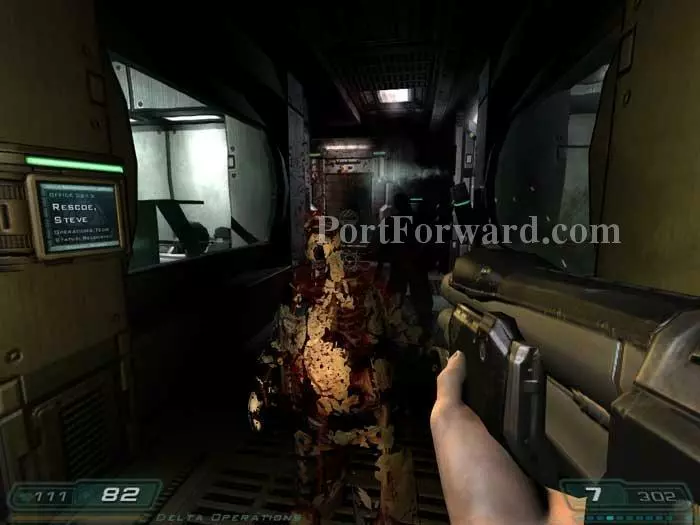
Step forward and experience this bloody vision.

Two Imps, a commando and a zombie attack. I'm using a shotgun here but found the plasma gun to be preferable.
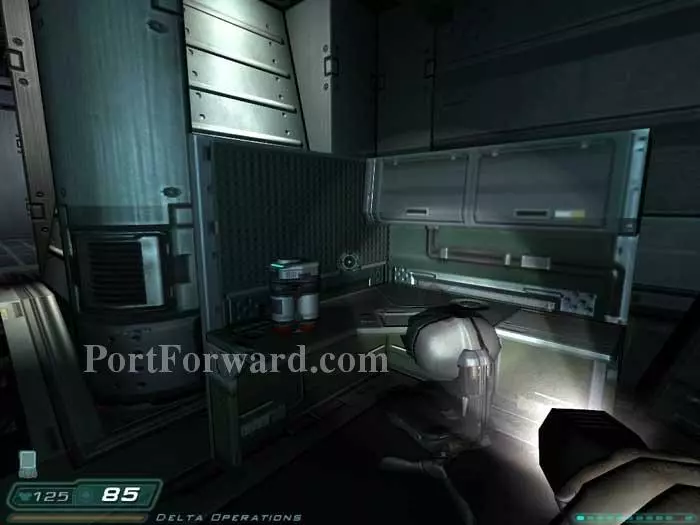
As you enter you'll find armor to the right, and these two medkits behind the counter. Note the red button under the counter's left side.
Here's a close up. Press the button then look behind you.

A secret panel opens, revealing shells, grenades and armor.

In the restroom, you'll find armor and a fat zombie in the middle stall. If you jump up and down on the toilet seat like I am here (to see into the neighboring stall, of course) two Imps will spawn.

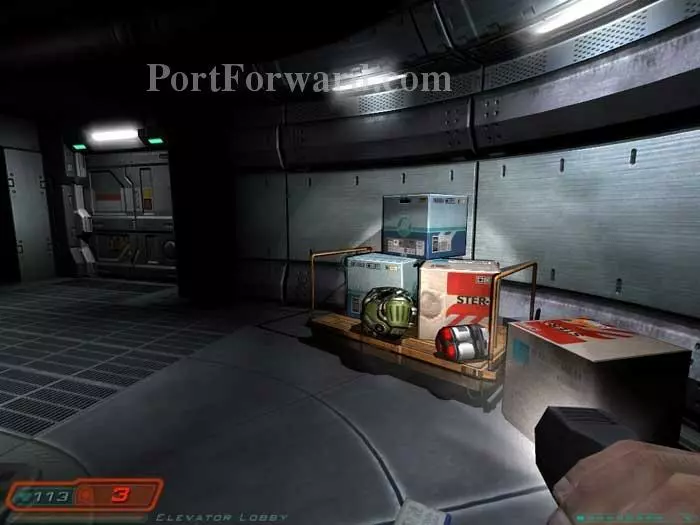
Two Imps are waiting as you exit the restroom. Call the elevator seen in the back and ride it up to Level 2 - Archives.

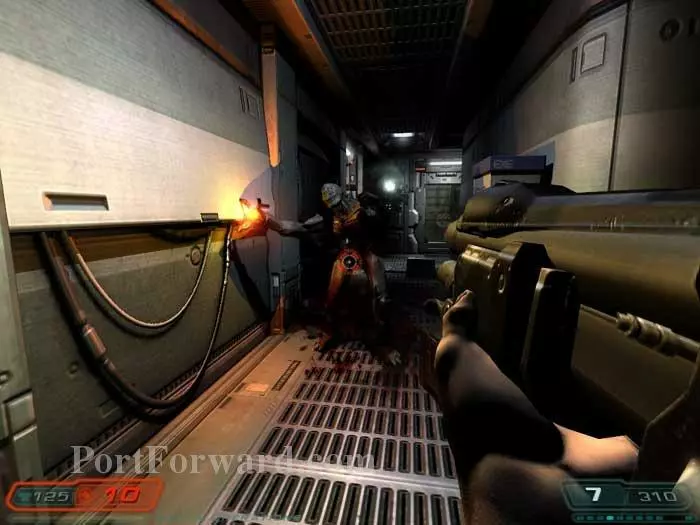
A whip commando attacks through that door ahead -- I recommend the plasma gun. Clips are on each side of the corridor. As you approach the clip on the right, this Imp emerges from the right wall. Armor is in his alcove. Continue through the door ahead.

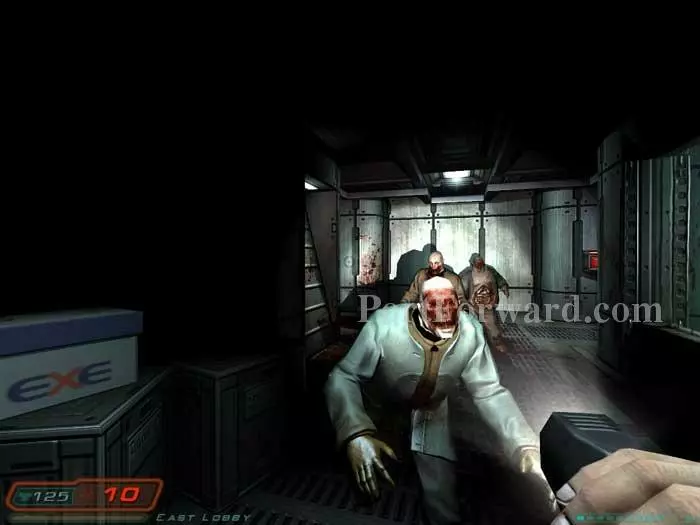
Through another door and these zombies attack. Grenades and a medkit are to the left.

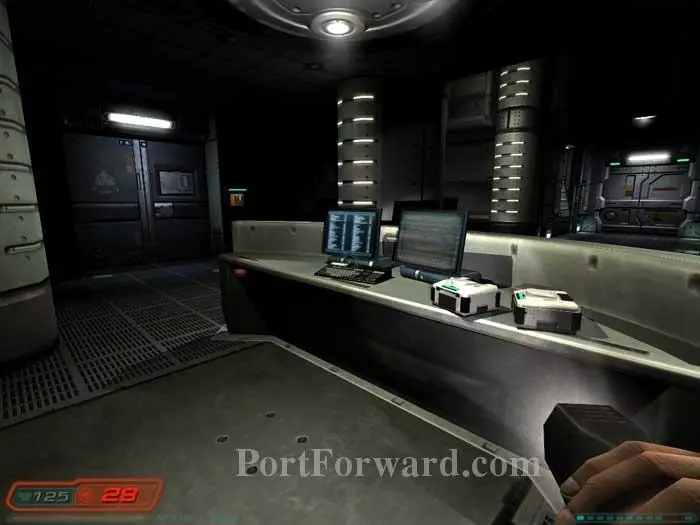
A fat zombie is hiding on the right. Defeat him then this commando spawns. Peter Raleigh's PDA on the left has some fascinating background revealing the psychological trauma suffered by the teleportation test subjects. Search the other workstations for shells and clips.

Kick a box so that it's propped up as seen here. Shoot out any remaining glass and climb into the room for cells and rockets.

Defeat the zombies blocking your way to the health terminal on the left, and the supplies in the unlocked cabinet on the right. You don't have the code for the cabinet on the left - yet.

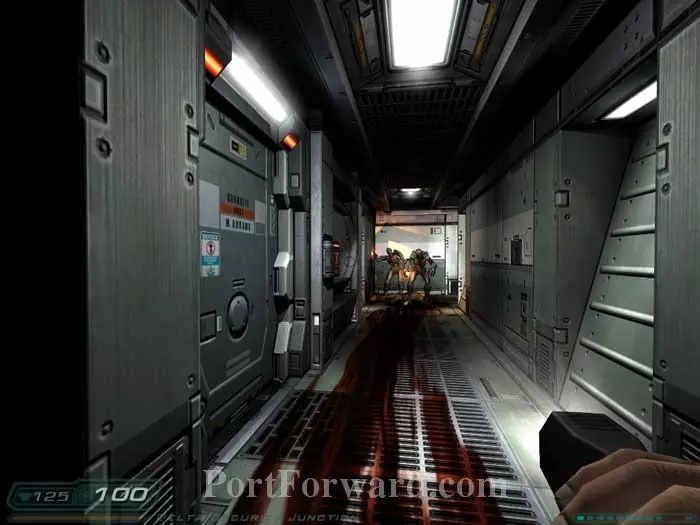
Pass through two sets of doors as Betruger taunts you. Ready your plasma gun to defeat two commandos and this Revenant. Continue straight ahead as the doors on either side are locked.
Don't miss the medkit on the left before climbing over the debris.
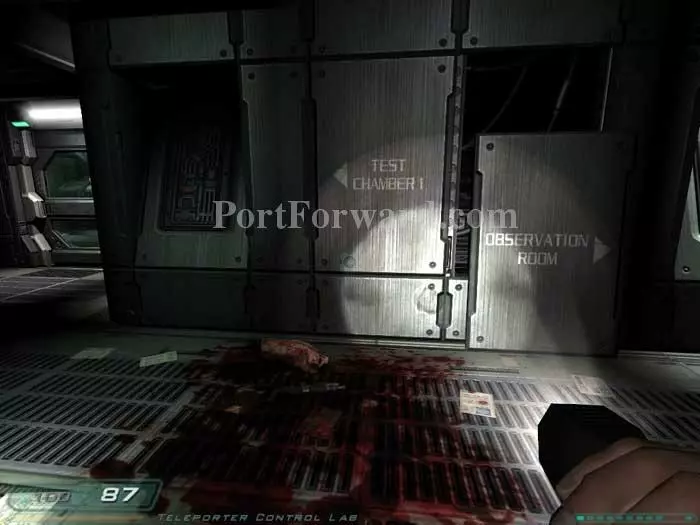
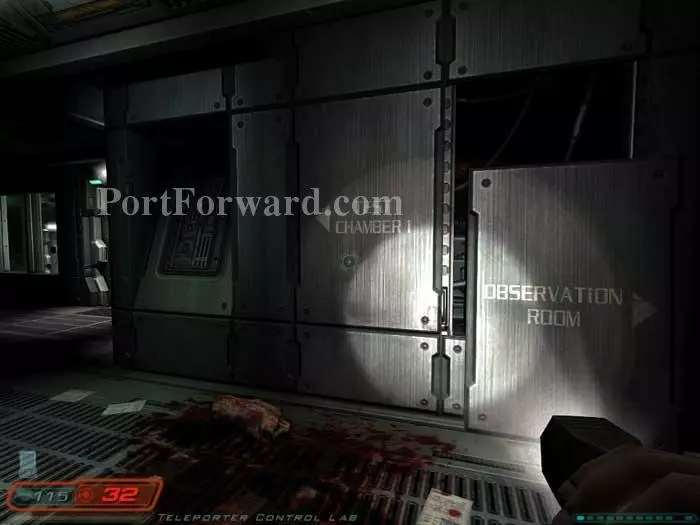
Pick up some shells as you continue to the test chamber door on the left. The observation room door on the right is broken.
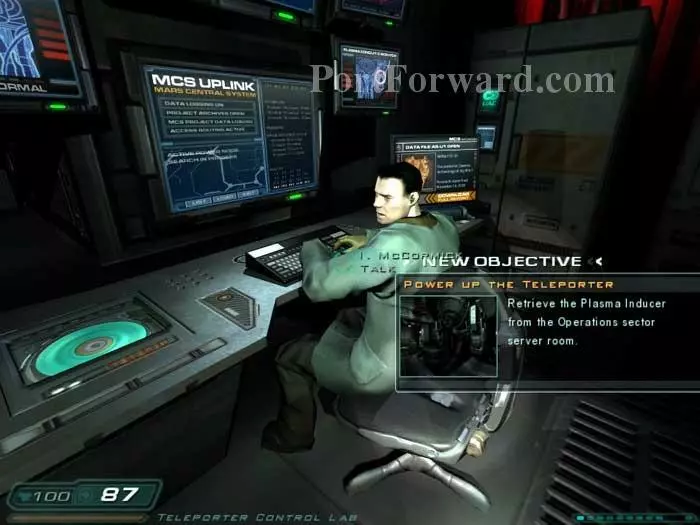
An important cutscene plays. McCormick explains how the hellforces followed Betruger out of the portal. Your objectives are updated. Use the amber terminal on the right to receive an email about the soul cube.
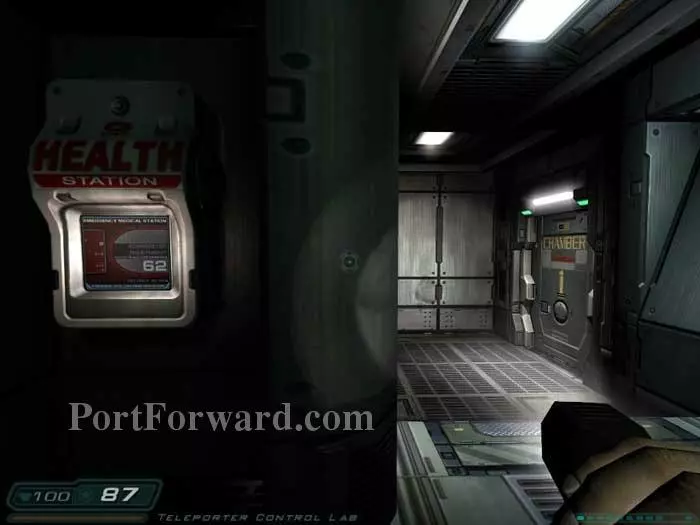
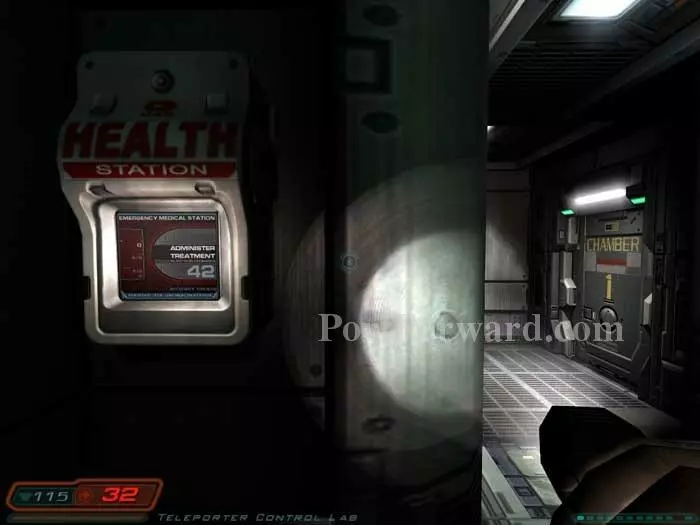
Use the health station -- don't proceed thorough the door on the right just yet.

Instead, backtrack across the debris-filled corridor, defeating a commando and a Revenant.

Return here to find that McCormick has unlocked both doors. Ready your shotgun before opening the operations door -- an Imp is crouched within, followed by another.

Follow the corridor left to this room and defeat a waiting commando. Grab the armor and medkit.

Backtrack to the opposite corridor and peer through the window to see a feeding zombie. As you advance an Imp spawns behind you.
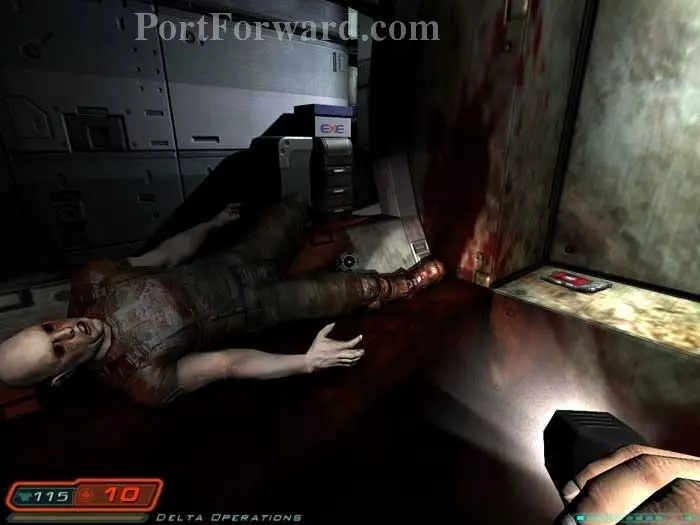
Hop through this broken window in the office of Mal Blackwell. Grab Frank Cinders' PDA for some background and the code 538 to locker 112, containing shells, cells and armor.
Slip under the stairs for cells and armor.
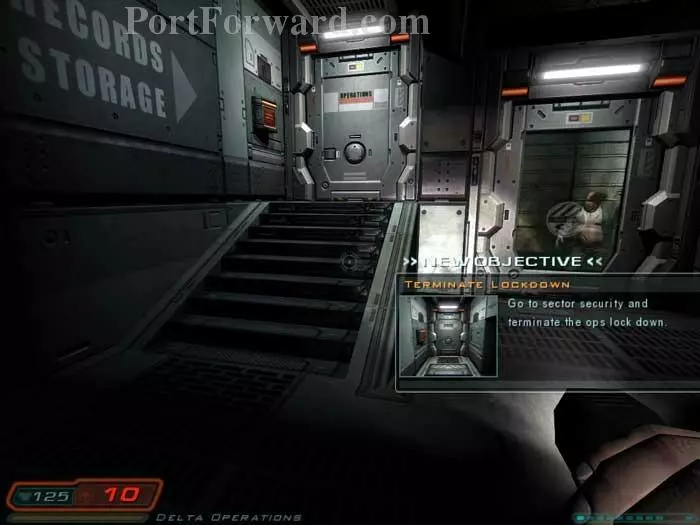
Once atop these stairs you'll receive a new objective.
Backtrack out the Operations door, battling two Imps along the way.

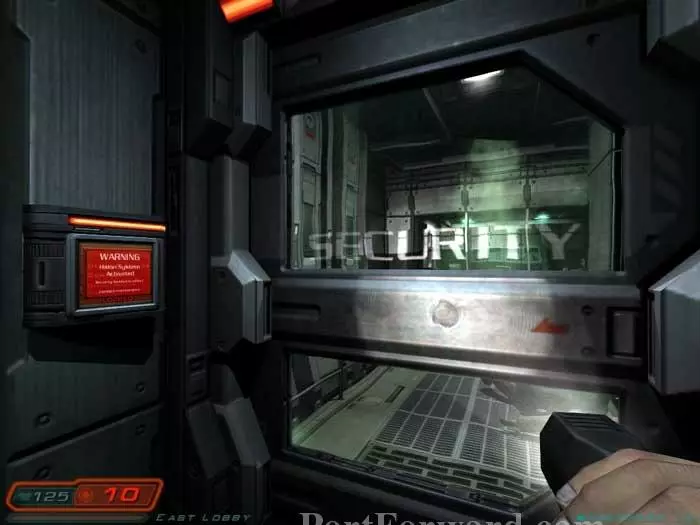
Proceed through this Security Bio Labs door, directly across from the Operations door.
Three zombies are on the other side. An armor vest is to the left.
Approach this door on the right to learn that the halon gas system prevents access. Instead, continue through the door on the left.
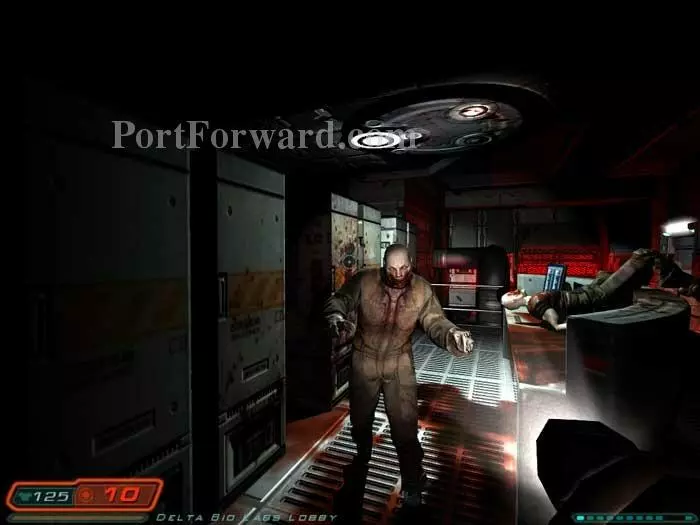
Defeating this zombie triggers the spawn of two Imps. You may wish to grab the medkit and armor behind the cabinets on the left first. Clips are on the counter to the right.

Grab the medkit under the stairs before proceeding through the door beyond - where a fat zombie awaits.

Follow the corridor to this room, where four zombies attack.
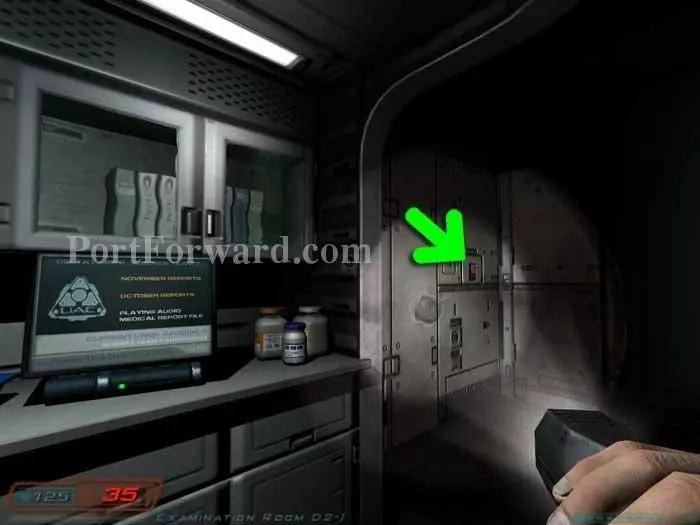
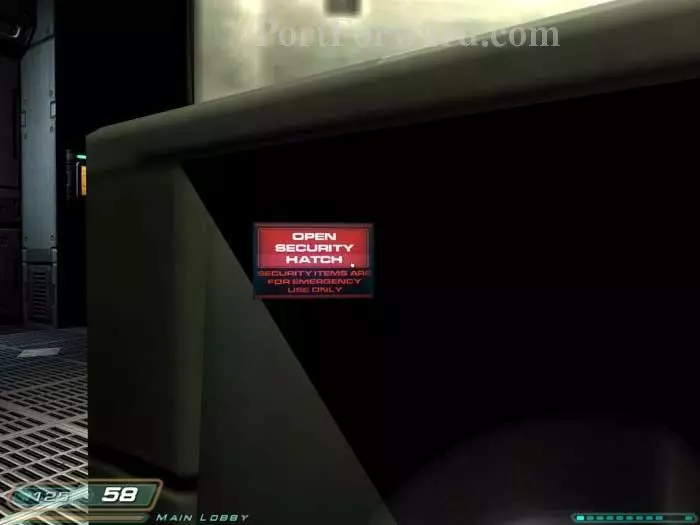
Approach the terminal on the left to hear an audio log and read the October and November reports - great background. Activate the indicated switch to open a secret panel, revealing a health station.
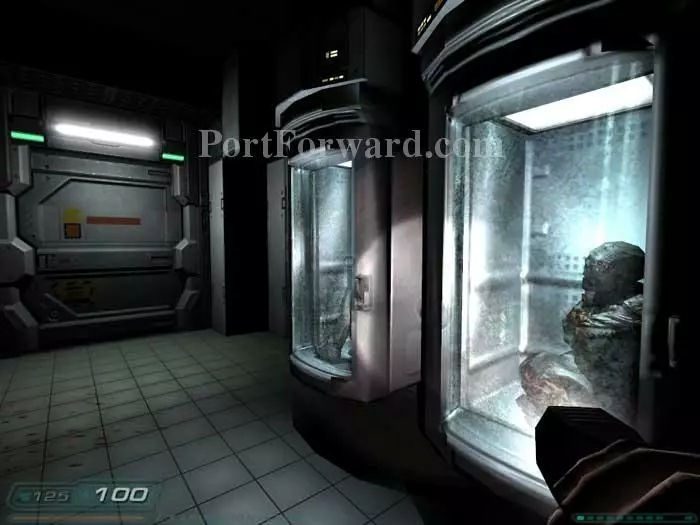
Gawk at these specimens then continue through the door ahead.

Defeat two Imps - one ahead and one behind.

Defeat two zombies in this room, then Imps spawn - two in this room, and two behind the door you just passed.
Grab the supplies in this side room, including rockets and armor.
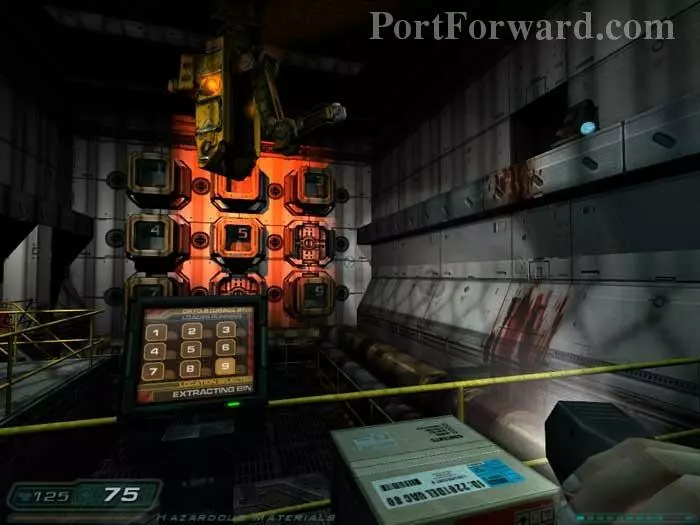
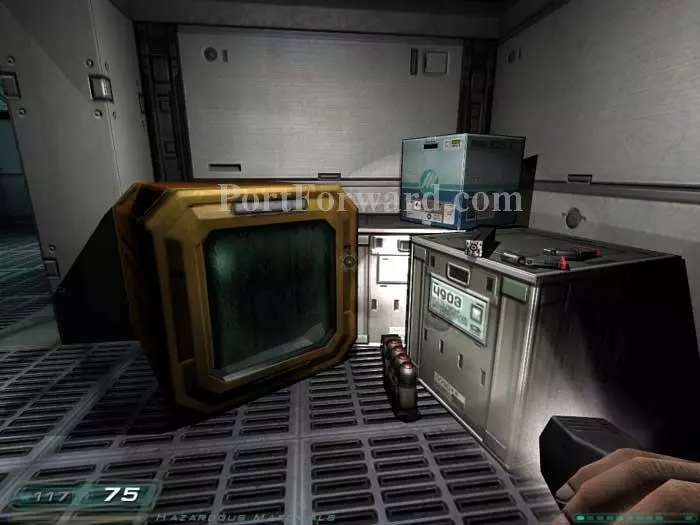
This puzzle is much more straightforward than I first thought. Select any number with a canister, and that canister is placed in front of you. Select a number with an empty slot then jump onto the canister before it begins moving.
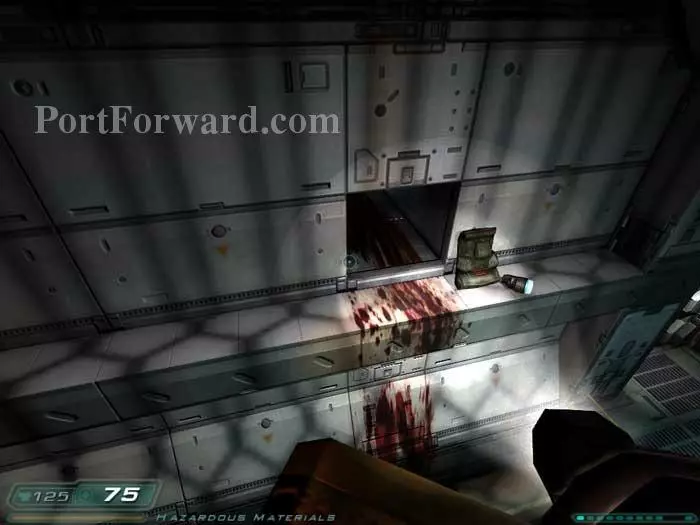
The crane will swing you past this ledge where you can access the supplies seen here before slipping into the crawlspace. Simple.
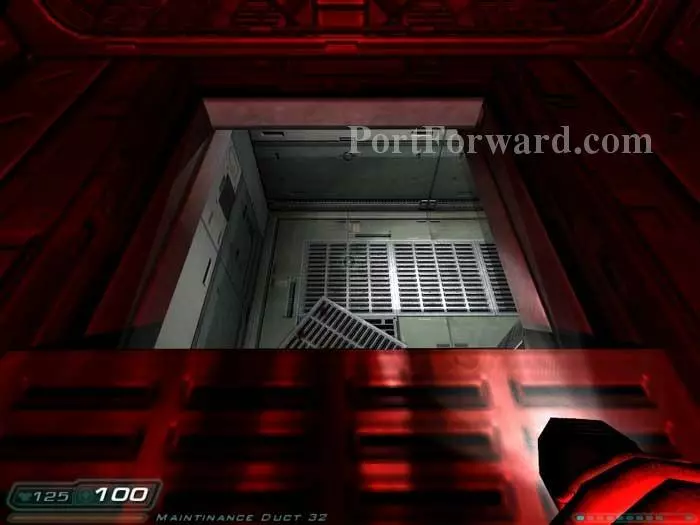
Supplies are on the left, including two medkits. This opening allows access to the room below.
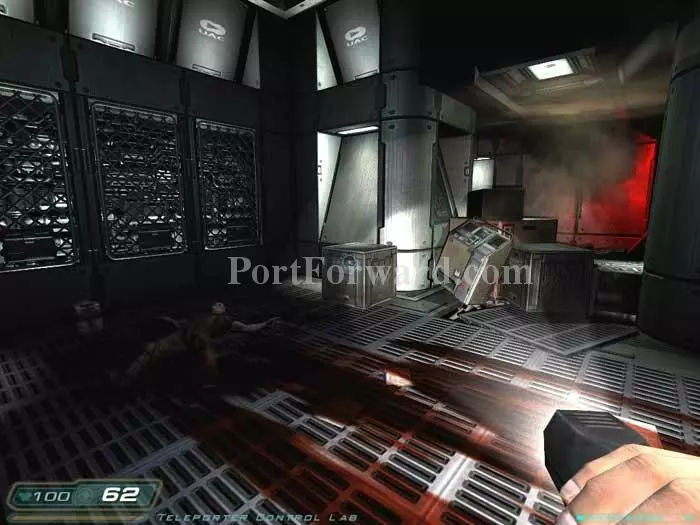
Defeat these two Imps then peer through the window on the left.
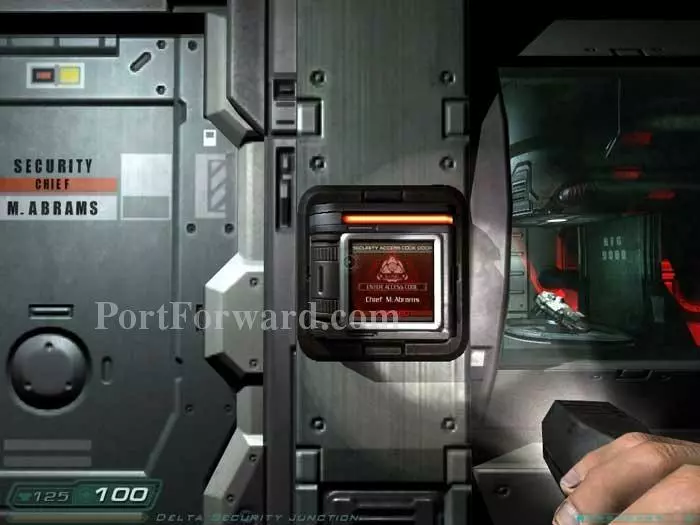
Inside you can see the luscious BFG-9000. Michael Abrams' audio log contains a request for security code 901. A subsequent email on his PDA contains a correction from security indicating they have changed the 0 to a 3. The code for this door is 931.
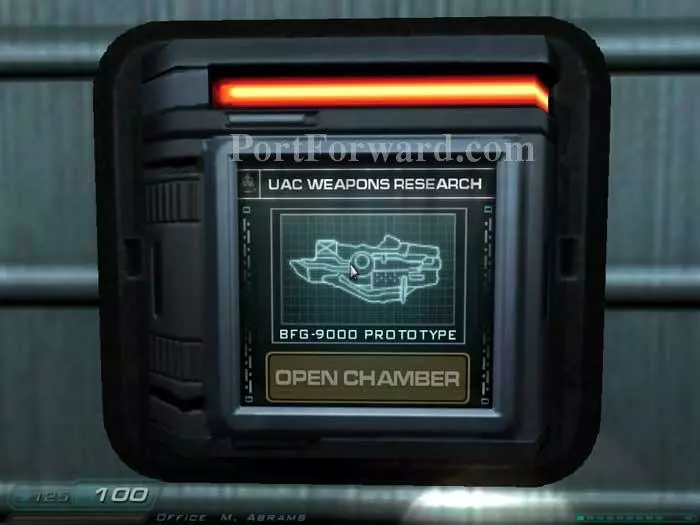
A medkit is to your left as you enter the room. Use this control panel on the wall to open the BFG-9000 chamber.
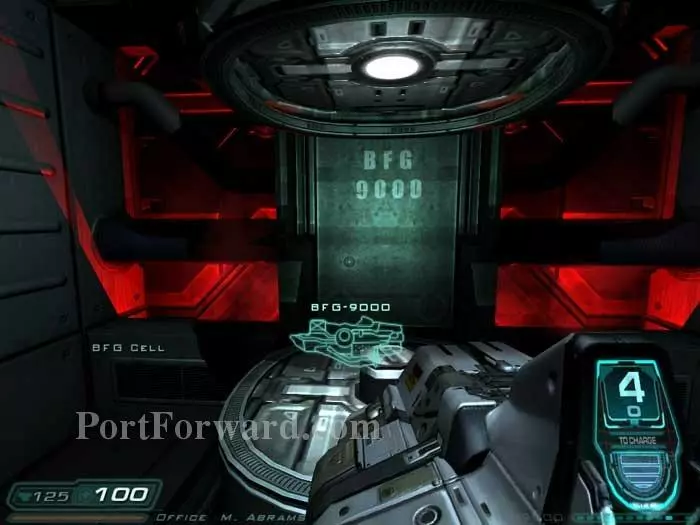
Approach the chamber to pick up the BFG-9000. I recommend that you conserve ammo on the BFG, maintaining 8-12 rounds for an upcoming boss battle in Delta Labs Sector 4.
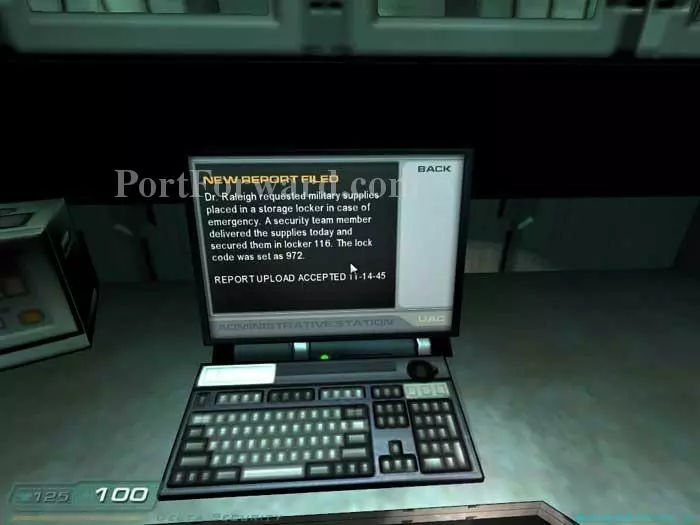
The next room down the hall has this terminal, revealing the code to security locker 116 - 972.
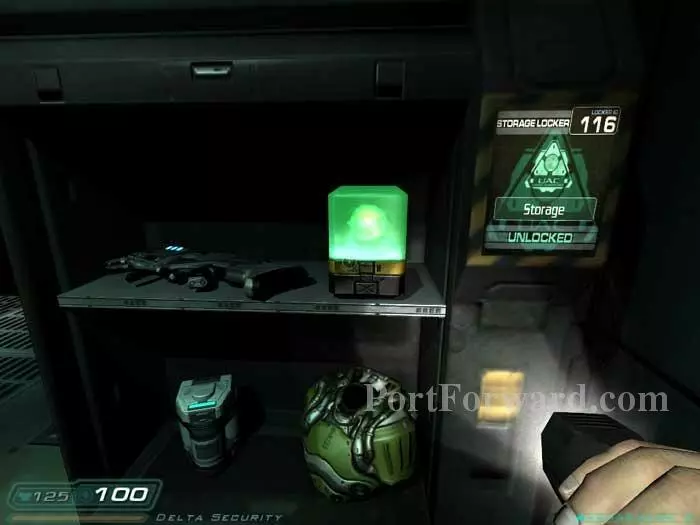
The cabinet is in the same room. Inside you'll find armor, a medkit, a plasma gun, and BFG ammo.
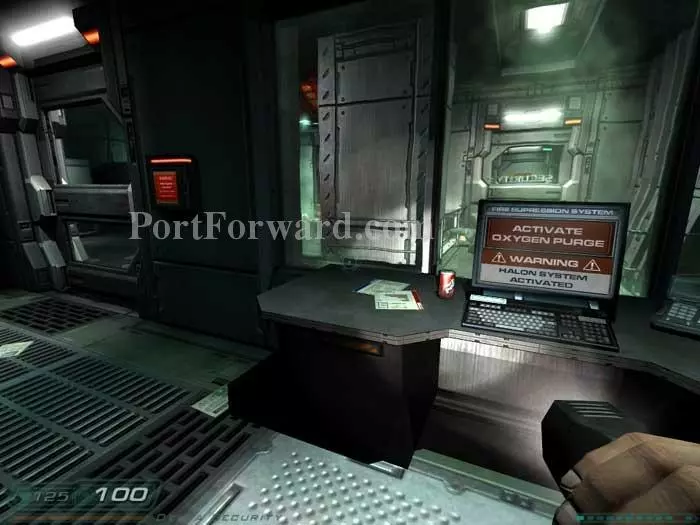
Use this terminal on the right to purge the halon gas and unlock the door on the left.
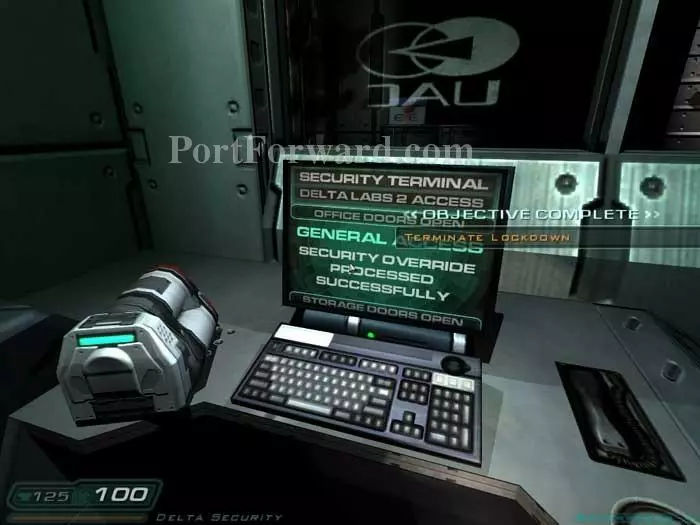
Plasma cells are to the left and an armor vest is to the right. On this counter is a medkit and a terminal that will unlock the offices. Activating it spawns an Imp.

Keep left then battle this Revenant and Imp. Return through the Operations door ahead.
Keep right and battle several zombies before entering the now-unlocked office of Steve Rescoe seen here on the left. Inside are cells, a medkit and armor - plus Phil Wilson's PDA which has some background.
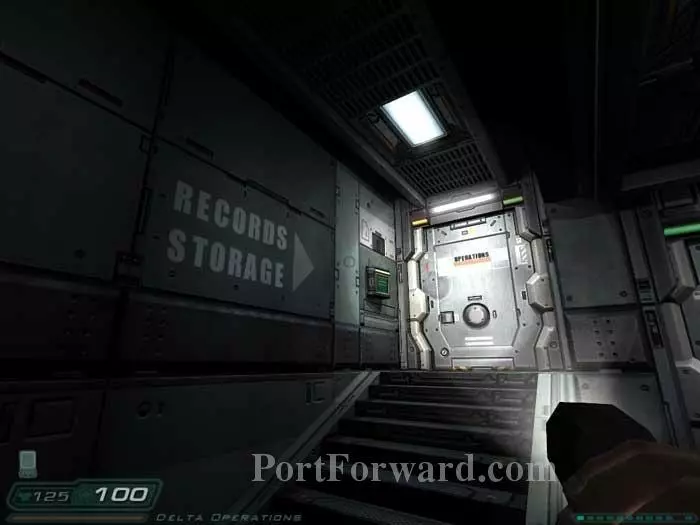
Return up these stairs to the now-unlocked Records Storage door.

After the first bend, this Imp attacks from behind a secret panel on the left. You'll find armor on the floor. More zombies attack from the right.
Note the medkit on this desk.

More zombies attack from all sides. Enter the server room ahead.
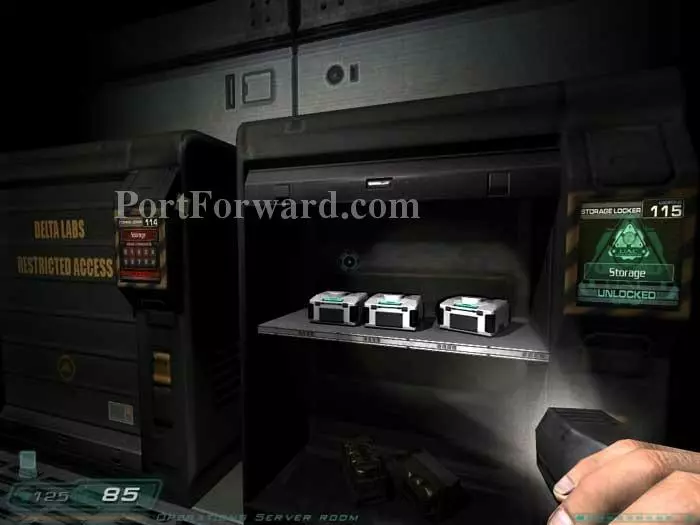
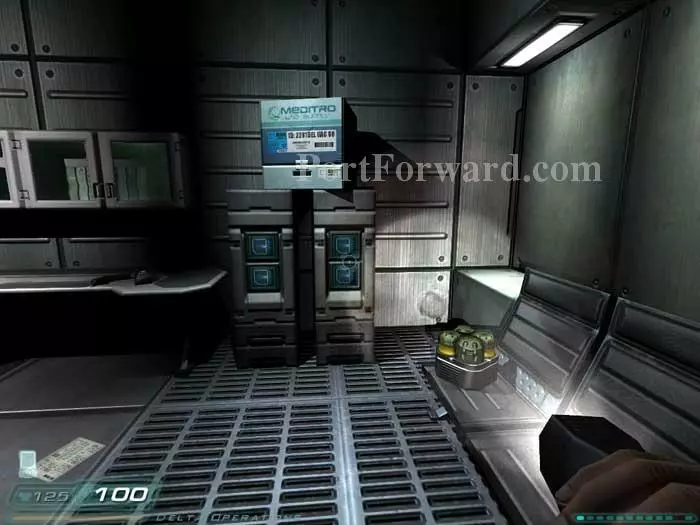
Grab the supplies from these two cabinets. The code for the left cabinet is on the sticky to the right of the keypad - 715.
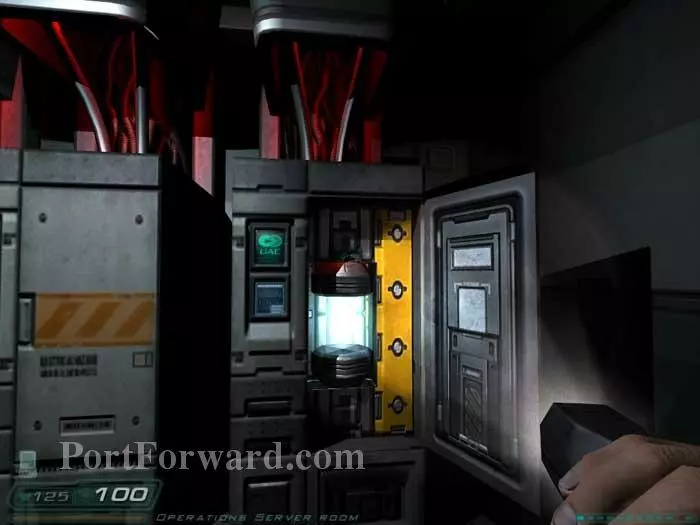
Approach this cabinet to receive a new inventory item.
Don't miss the hand grenades in this next room.

Follow the corridor through this door for another zombie battle.
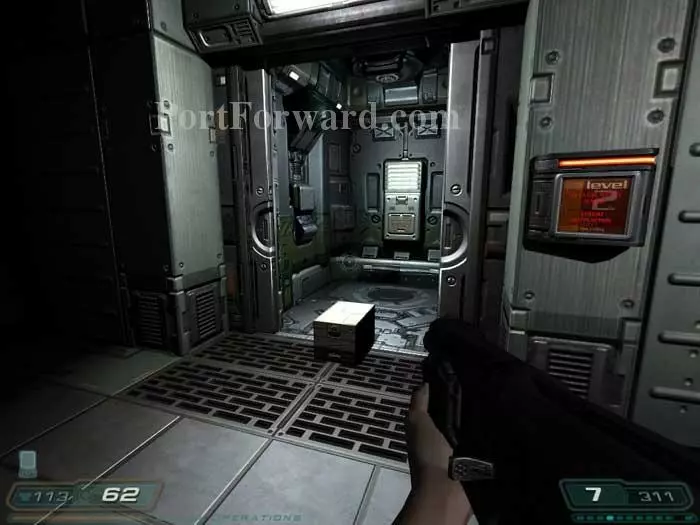
Armor is to the left of this elevator. Ride it to the lobby below.

Backtrack through these double doors and mow down a small army of zombies with your machine gun. Ready your chain gun.

Take out the two commandos that attack.
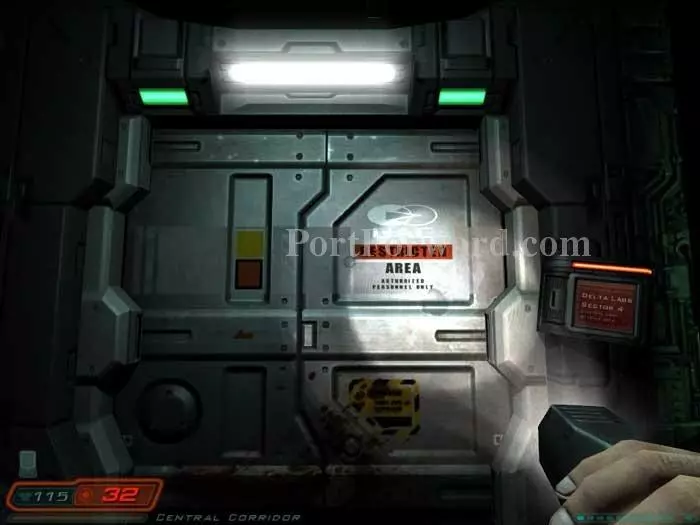
Proceed through this "Restricted Area" door.
Stay left.

Return to Ian McCormick to complete the objective. Listen to the video disk he gives you for some background.
Fill up on health then continue to the decontamination chamber on the right.

Wait for the decontamination process to complete before continuing through the door.

Activate the teleporter to initiate a brief cutscene and end the level.
More Doom 3 Walkthroughs
This Doom 3 walkthrough is divided into 27 total pages.