
This Doom 3 walkthrough is divided into 27 total pages.
You can jump to nearby pages of the game using the links above.
Delta Labs Sector 1

Listen to audio log, "Disciplinary Action Report" from Robert Price's PDA seen on the floor here. You hear him mispronounce"caches" and learn the code 298 for storage locker 21D. This bag holds hand grenades and a clip. The corner shelf has a plasma rifle (cells) and armor. More armor and shells can be found alongside the nearby stairs.

Approach this window and a body comes crashing through, conveniently allowing entry to the hallway beyond. A medkit can be found at a workstation on the right.

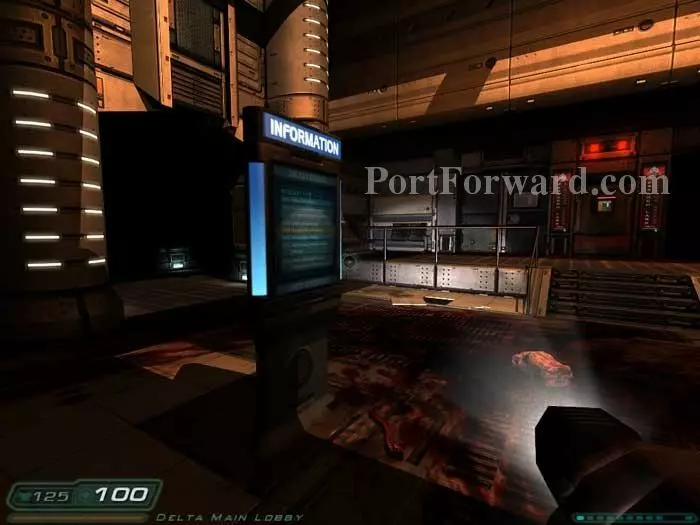
Continue through the hallway. You'll hear the sounds of a monster but he doesn't show himself. Activate one of these panels to update your objectives. Clips are on a counter to the right.
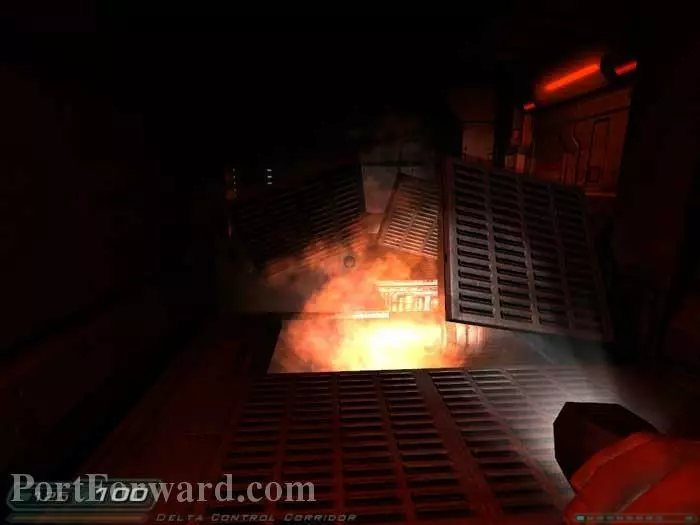
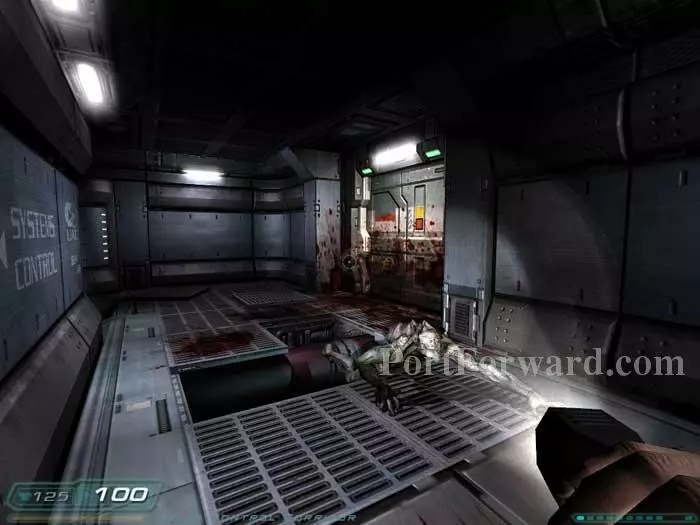
Backtrack to the corridor and these floor panels blow out, opening a hole for you to crawl through.
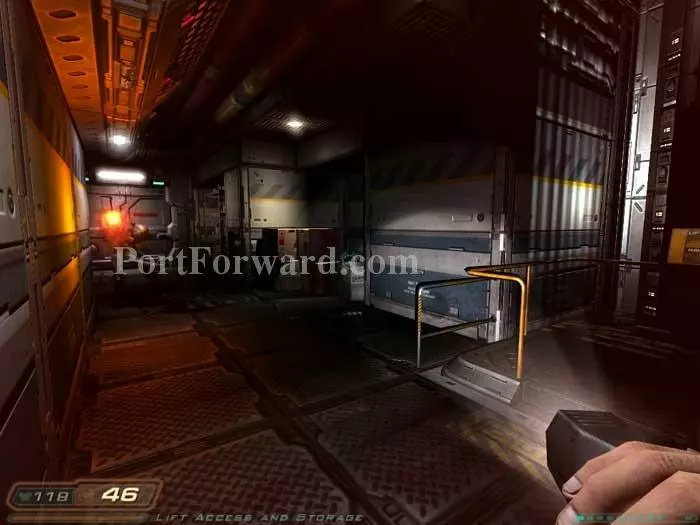
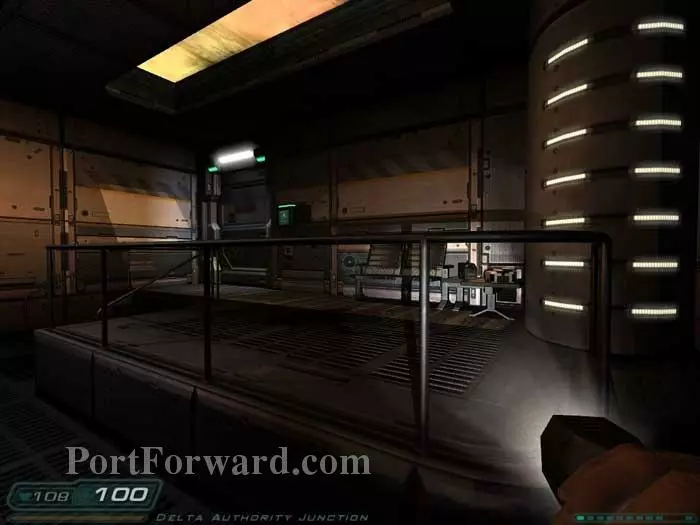
You'll emerge here. The lift ahead is non-functional, and you don't yet have access for the lift on the right. Continue to the hallway on the left.
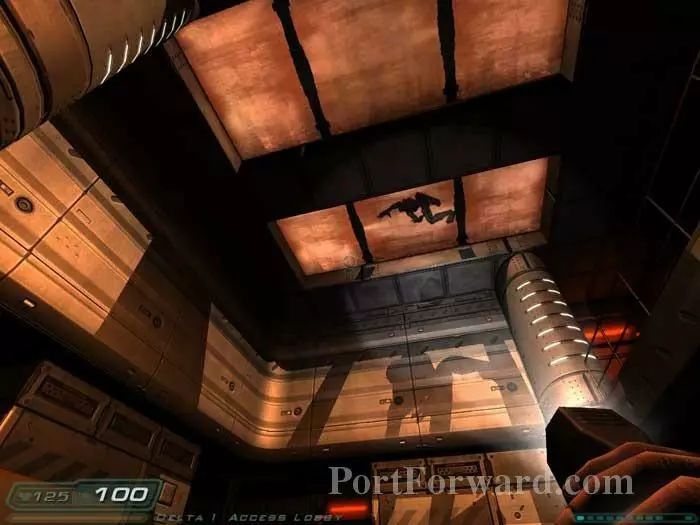
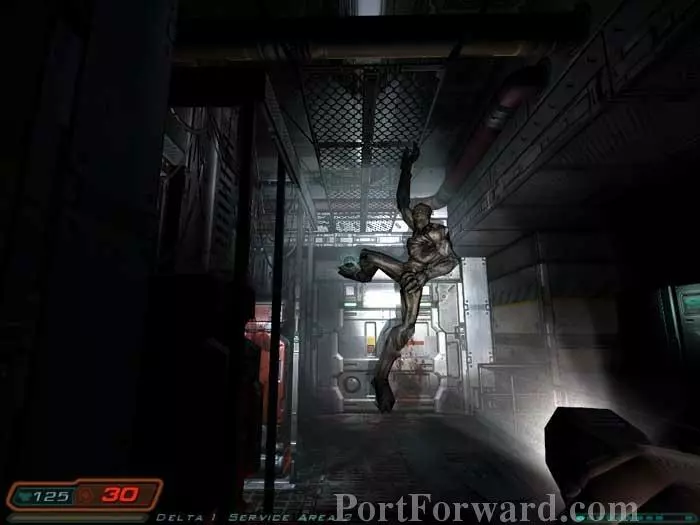
Creepy sounds and this Imp on the skylight make for a very suspenseful area. You are safe for the moment, however.

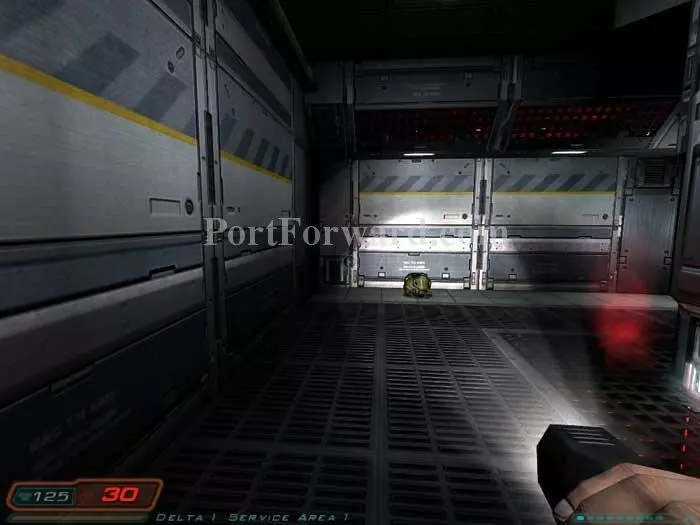
The data linker is under the arm of this cadaver. Note the cells on the right.
Backtrack to this position and place the data linker between the the terminals to update your objectives.

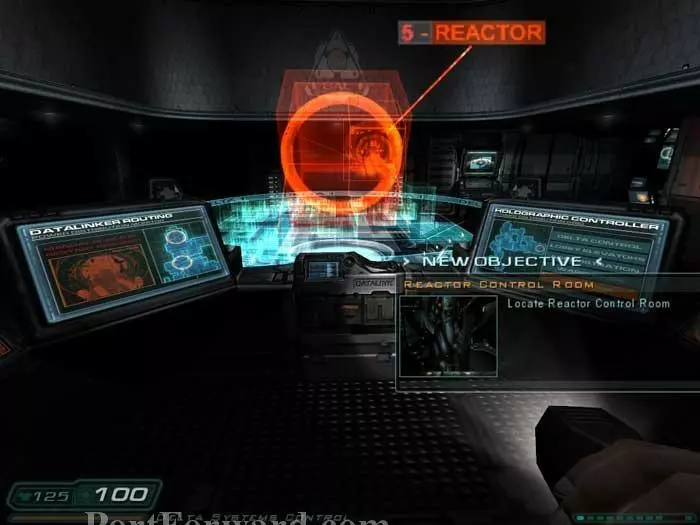
You can play with this holographic controller for some eye candy. Approach the view screen ahead/right.

Sarge tells you that Delta Sector 1 is no longer safe and he'll meet you in a service tunnel instead.
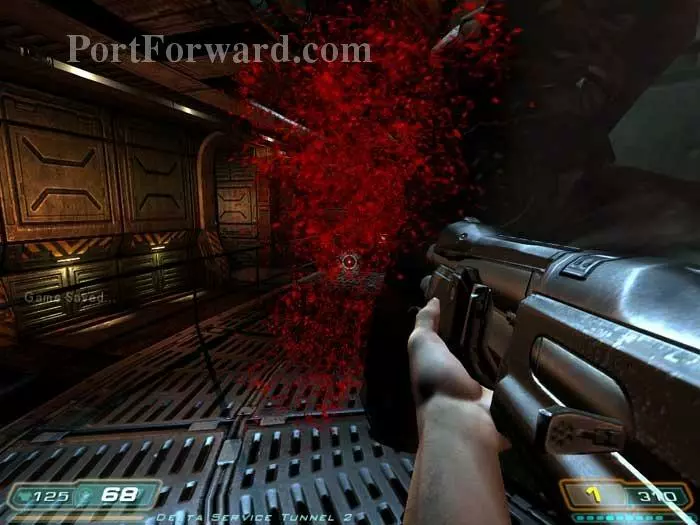
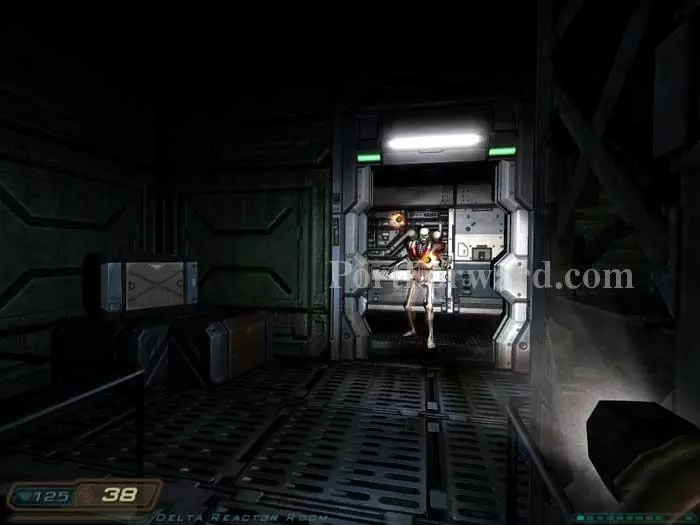
Return to the corridor and defeat this Imp before passing through the door on the right.
Grenades are my weapon of choice against this Imp and Pinky.
Backtrack to this area where you had found the data linker. A commando attacks from the left. Note the doors are now green. An Imp is behind each. Behind the right door is a medkit, armor and rockets. The path ahead is through the left door.

An Imp spawns midway through the corridor, then these zombies attack as you emerge out the other side. Clips are on a crate to the right.
This door is on the right -- do not approach it just yet. A Pinky demon is behind it, and a commando is behind the false wall panel on the right.
Instead, ready your shotgun and approach this armor vest to the left, which will trigger the Pinky to attack.

This allows you to battle the Pinky alone.

Next, go after the commando. Fire up your chainsaw and run full-bear into the secret wall panel. It'll open and you'll chomp the commando before he knew what hit him. Shells are in his alcove.
Now you're free to proceed. An Imp drops from the ceiling. Toss a grenade and quickly back away.
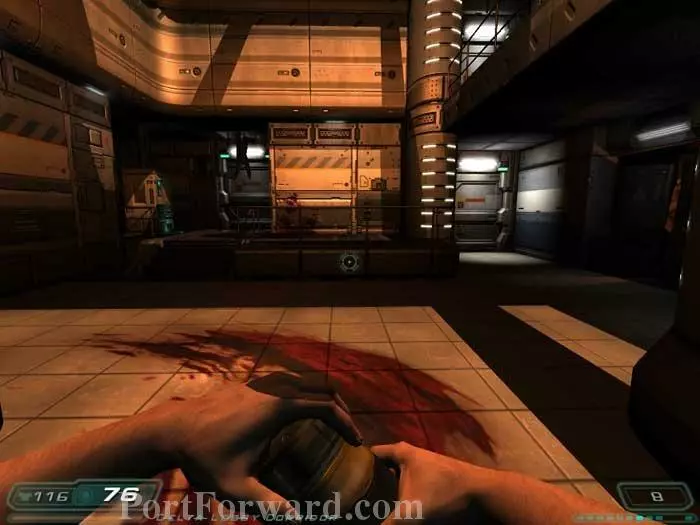
Grab some cells on the right and this zombie staggers forth. Note the health station behind him -- ready your chainsaw before approaching, as a commando will attack.

In this next room you can enjoy a game of Lost Soul skeet.
Approach these supplies and Betruger threatens, "You're friends are with me now. Soon, you will join them."

He's not kidding. Ready your plasma gun as you'll soon be staring down the center of a Revenant's rocket.
Search the area for supplies. Kick a crate into this position and hop up to find a medkit and cells.
Another medkit is in the crawlspace. Climb in.

Grab some shells as you exit then battle a Cacodemon on the other side. An Imp will emerge from a hidden alcove seen here far-left, where you'll find armor. A clip and a medkit are on the shelves to the right.

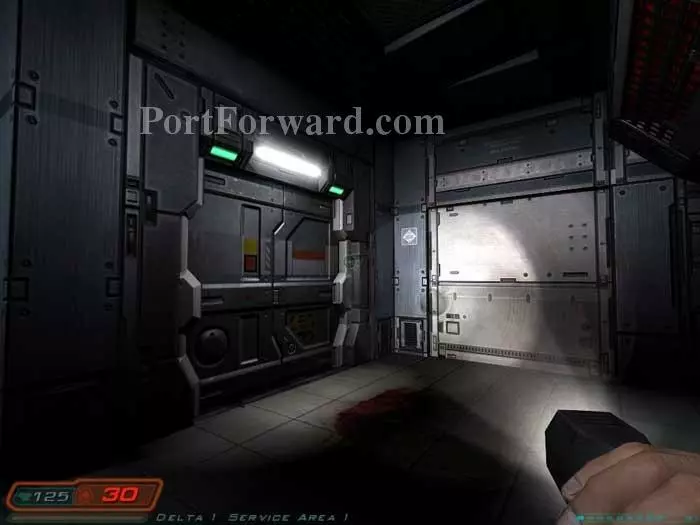
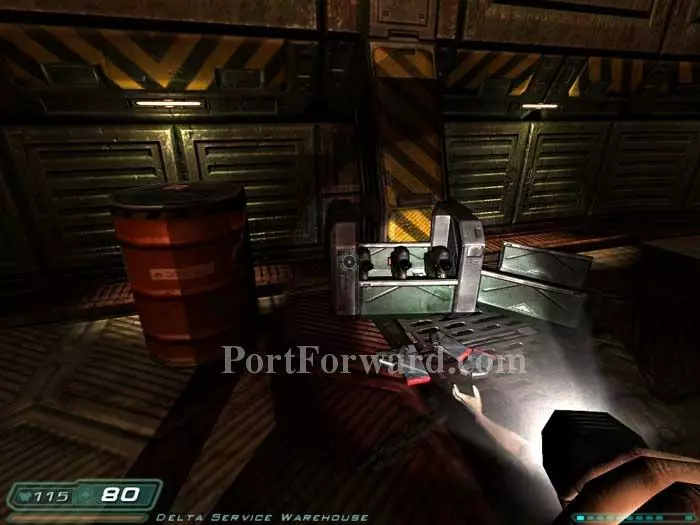
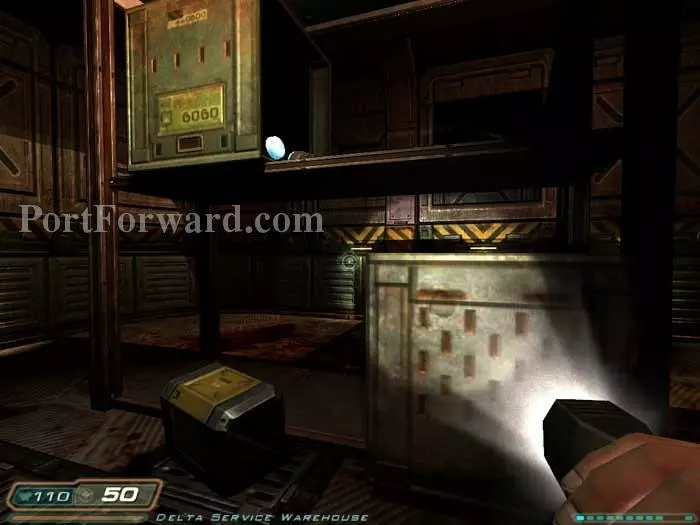
Here's storage locker 21D, opened with code 298. Inside are shells, rockets, two armor vests and a medkit.

Step through the door and blast this Imp to your right.
Drop below to find armor here. I've kicked the yellow crate into position for assistance to the larger crate - and a medkit.

Grab the medkit and this Revenant spawns, followed by Cacodemons.
Hop up to the walkway to find another medkit plus armor and a plasma gun. Battle an Imp and this commando (or what's left of him) seen here.

Battle a Cacodemon then proceed up those corner stairs.
Battle an Imp then toss a grenade under the stairs to destroy a lurking zombie. Descend the ladder to find a medkit.
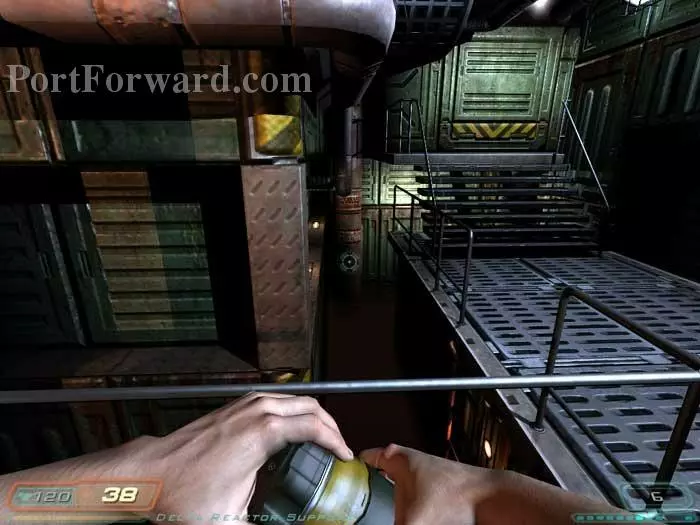
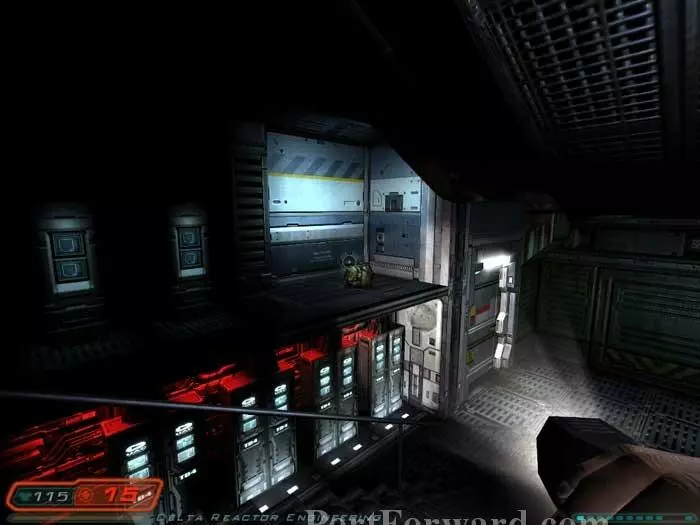
Follow the stairs to this lift. Ready your rocket launcher before riding it down.
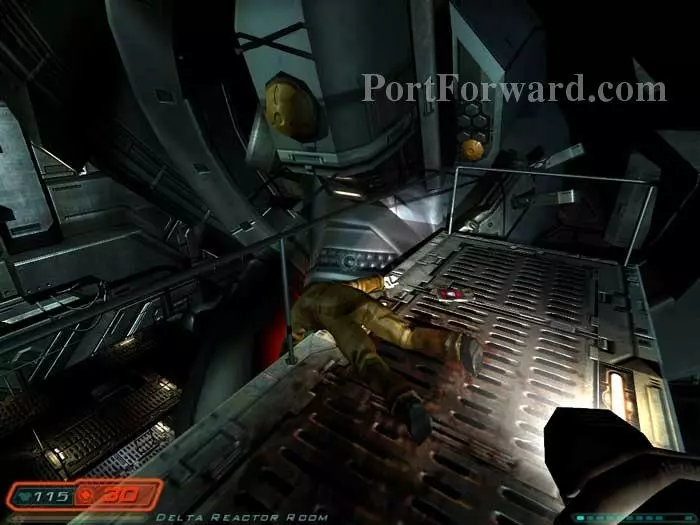
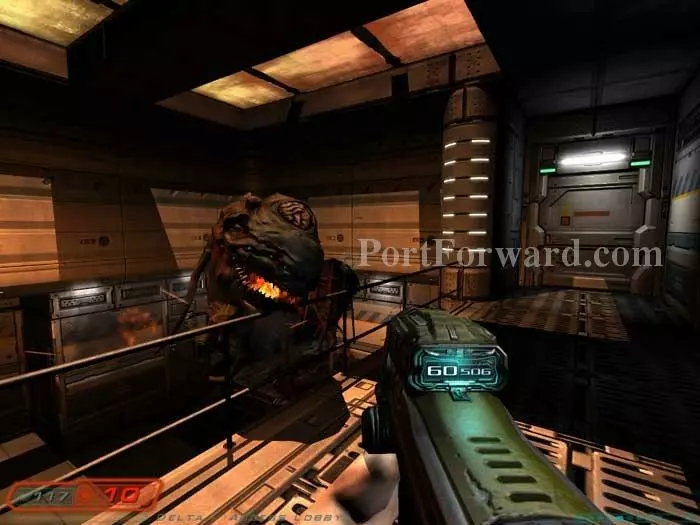
The lift malfunctions and two particularly ferocious Imps attack. The rocket launcher may seem excessive but I found it necessary. You can just see one of the Imps at the top of this shot. Shells and a medkit are to the left.
Approach the stairs and this Revenant attacks. You've already got the rocket launcher out, so send him on a flight from Doom airways.

Through the door, a zombie awaits. A medkit and two sets of shells are on the left.

Say, "Ahhh." Lost souls are through this next door.

Up a nearby ladder you'll battle more Lost Souls and a Cacodemon. Follow the catwalk to the left for a medkit, cells, a clip and armor.
This Revenant attacks as you approach the door.
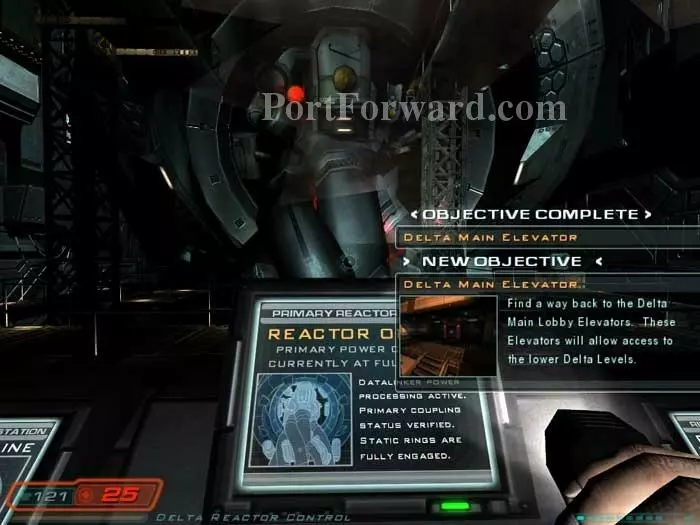
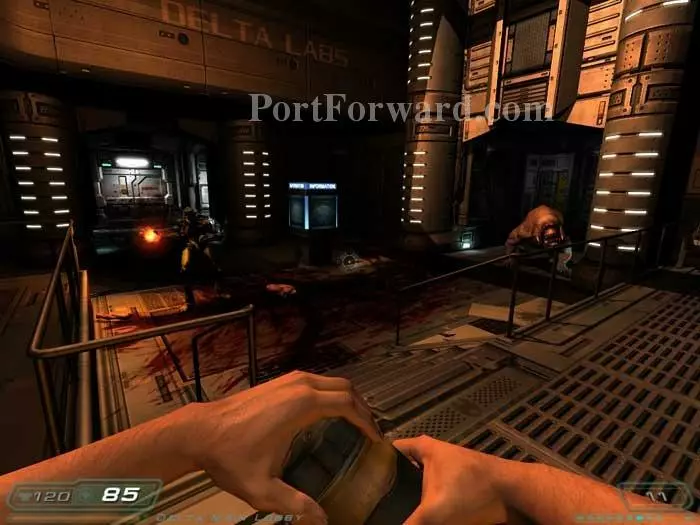
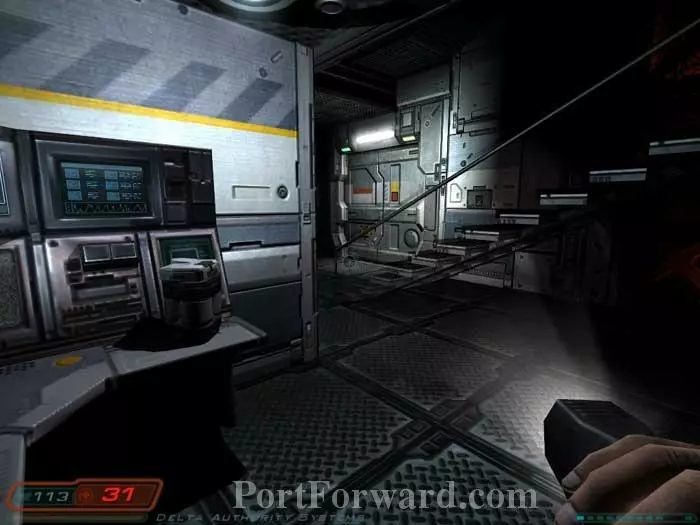
Through two more doors is the reactor control room. Activate this panel to update your objectives.

Pop a zombie in the next room and heal at the health station in the back. You can hear an Imp above -- climb the ladder and defeat him plus another zombie.
Lots of supplies to be had here. A medkit and shells are on the left, and you can just see an ammo belt far-left. Armor can be found to the right of the ladder.

Climb the ladder and battle two more Imps. Drop to the catwalk below for a medkit and armor, then return up the ladder.

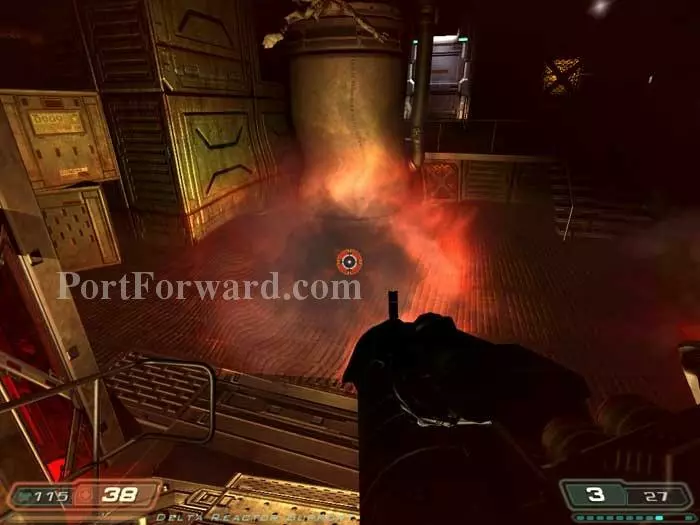
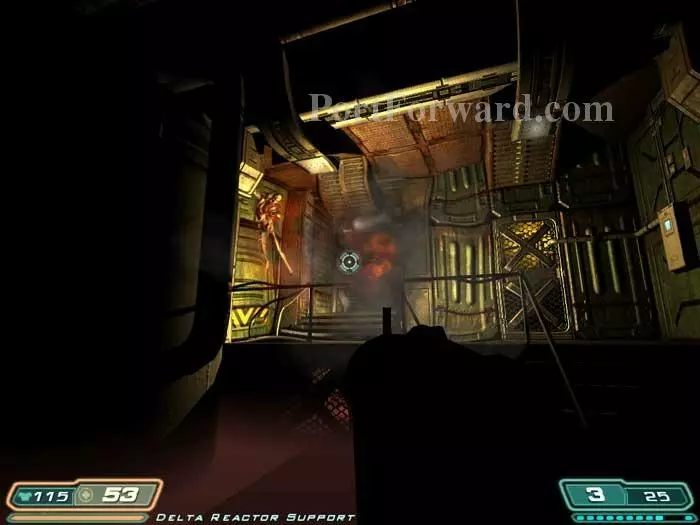
Battle Cacodemons in the reactor room. Clips are on the left.

This ammo belt can be found to the right.
Pick up Brian Mora's PDA and update your security clearance. More Lost Souls attack.

Return to the reactor control room, blasting a commando upon your return -- that's him at the top of the door ahead. Brian Mora's PDA gives you access to the door on the left, behind which is an Imp.
Grab the armor vest on the left and the medkit under the stairs before continuing through the door below.

Cacodemons are in the next room. A medkit is against the far wall.

A commando charges as you continue through this next door.
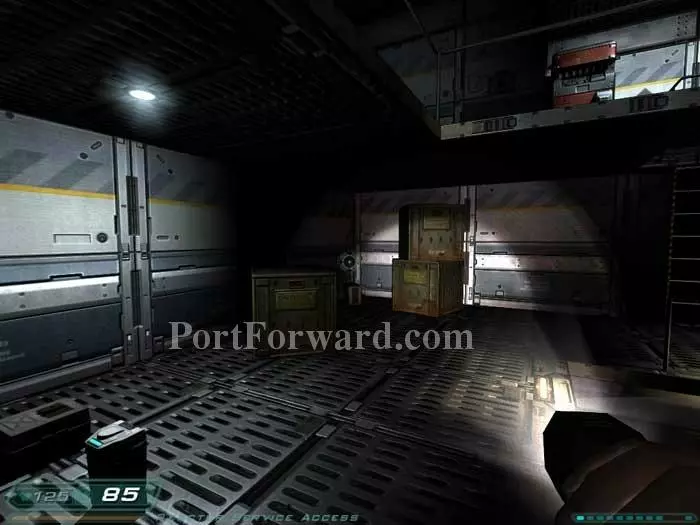
Ride the lift down and battle two Imps. Shells can be found behind the boxes on the right.
Snatch this medkit plus shells and clips under the stairs. Ready your chainsaw.

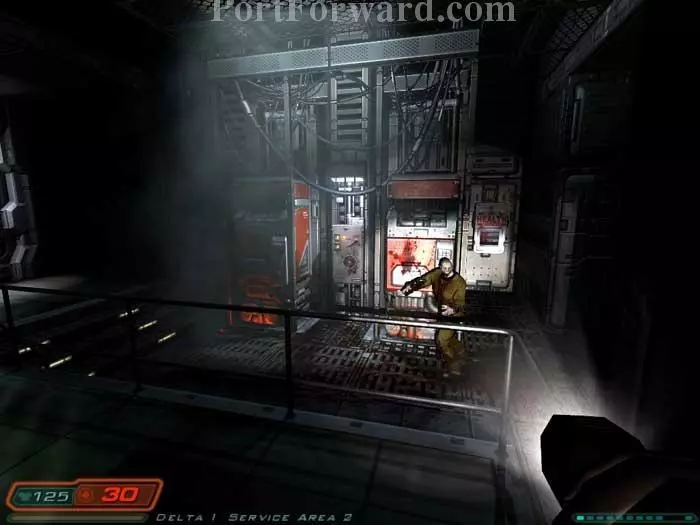
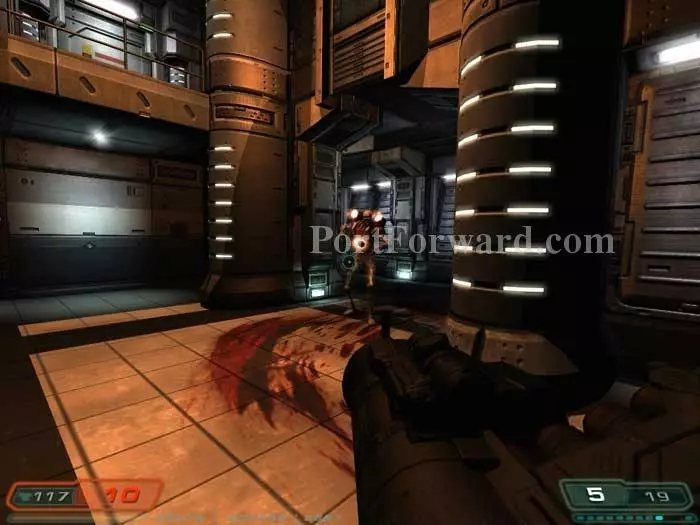
Charge up the stairs and slice headlong into this commando through the next door. A zombie is behind him.

A clip and shells can be had from the shelves on the left. Heal at this health station and call the elevator. Ride it up to Delta Authority.

Exit the lift and rush to this ledge on the right, which affords safety from the attacking Pinky. Battle an Imp around the corner.
Farther left are this medkit and rockets. You don't have access to the door on the right.
Shells and a medkit are visible on the right. Continue through the door on the left.

This looks like two zombies but it's actually four -- there's two more behind you. A medkit, cells and armor are on the left. A clip is on the right.

Four commandos are ahead, two in the corridor and two in the room ahead -- time to use those rockets. Armor is to the left. Continue through the door on the right.
Battle some Cacodemons then find some cells through the door on the right. Descend below.
Blast this Revenant then quickly swing around to defeat the commando who rushes in behind you. Continue through the corridor behind the Revenant, though you may wish to first pass through the door on the opposite side of the room to return here for supplies, and even continue to cabinet 21D.

You've come full circle. Defeat the two commandos with rockets (if you have them). If you do not, retreat and toss grenades down the corridor.

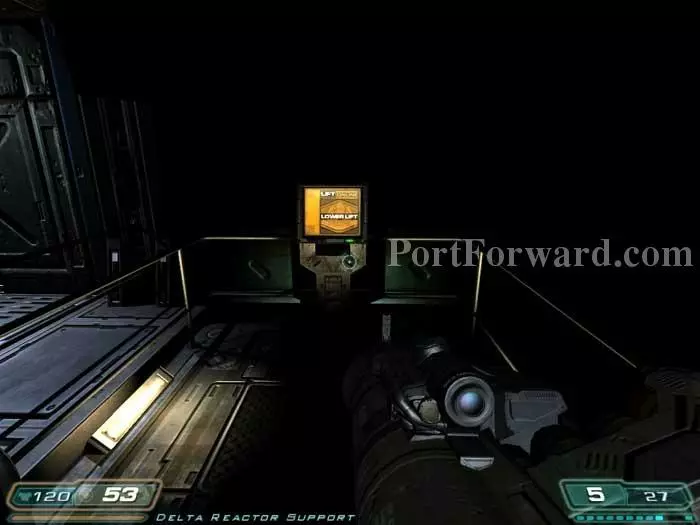
Approach the elevator on the left to complete the objective.
Call the elevator and use this panel to end a hefty level.
More Doom 3 Walkthroughs
This Doom 3 walkthrough is divided into 27 total pages.


