This Doom 3 walkthrough is divided into 27 total pages.
You can jump to nearby pages of the game using the links above.
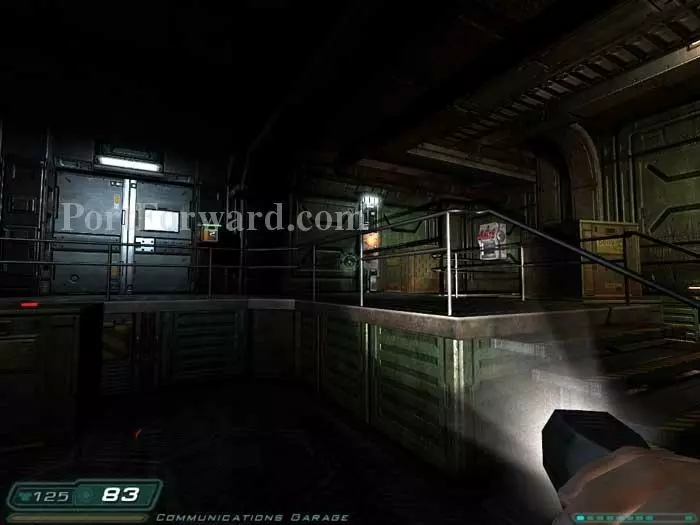
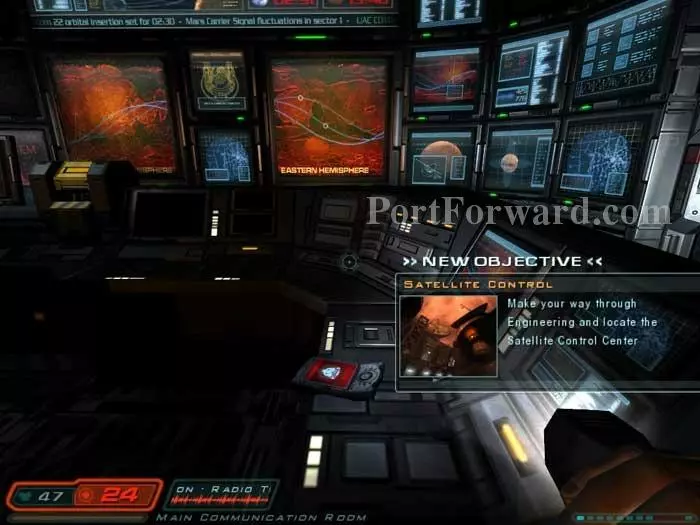
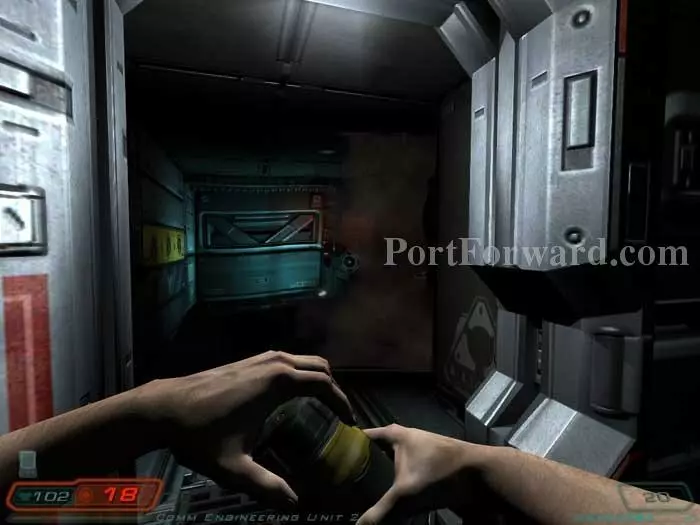
Communications

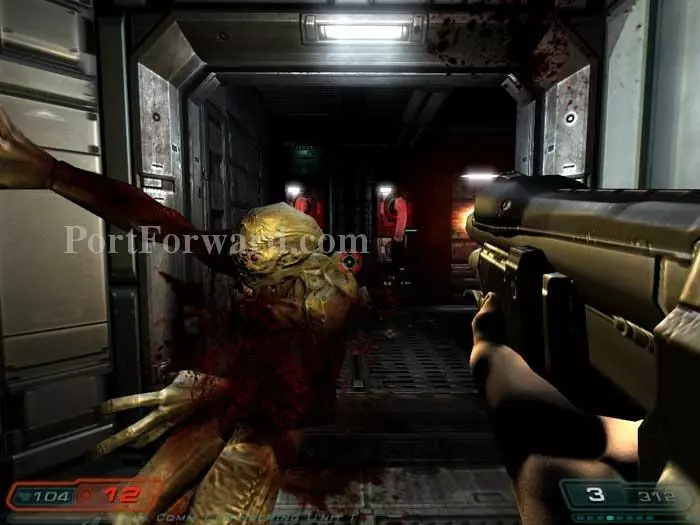
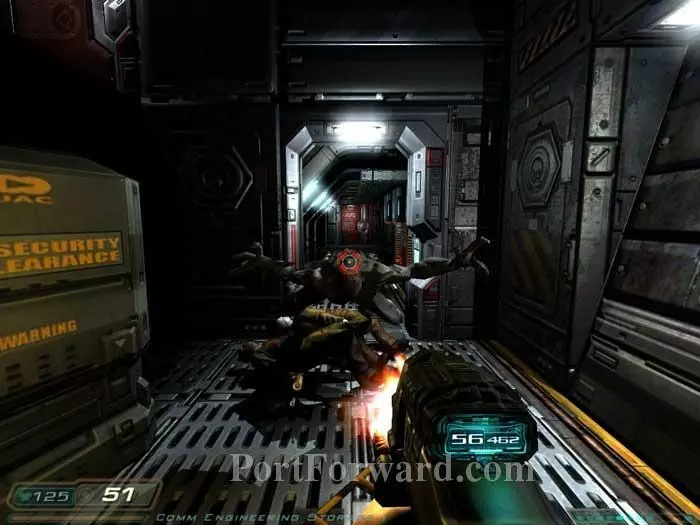
Battle a solitary Cacodemon ahead.

Duck into this crawlspace on the right. Two Imps spawn, but defeating them from this secure position is easy. Grab the cells and medkit on the left. To your right is an armor vest and a ladder which leads below to more armor.
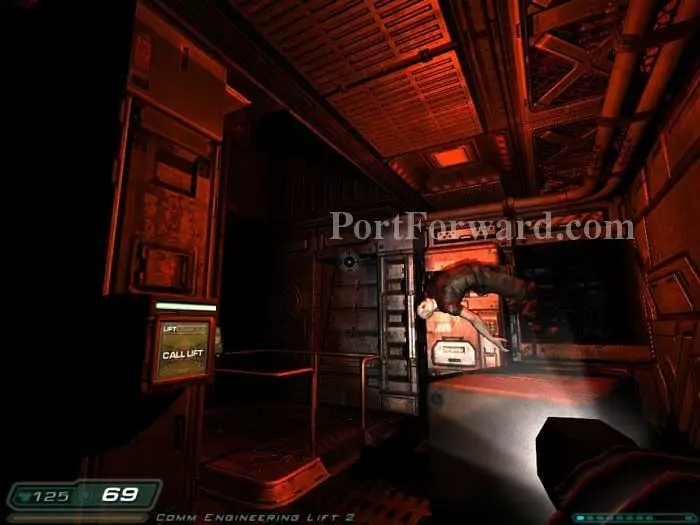
Heal at the health station on the right. As you approach the elevator doors on the left, another Cacodemon spawns. Defeat him then ride the lift up to Communications.
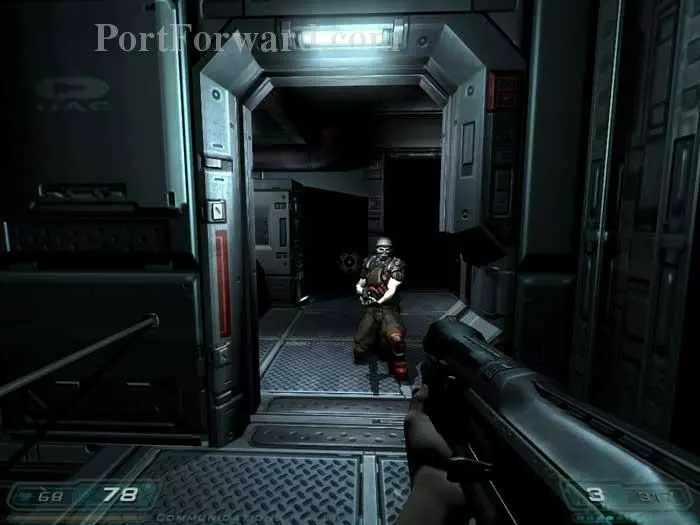
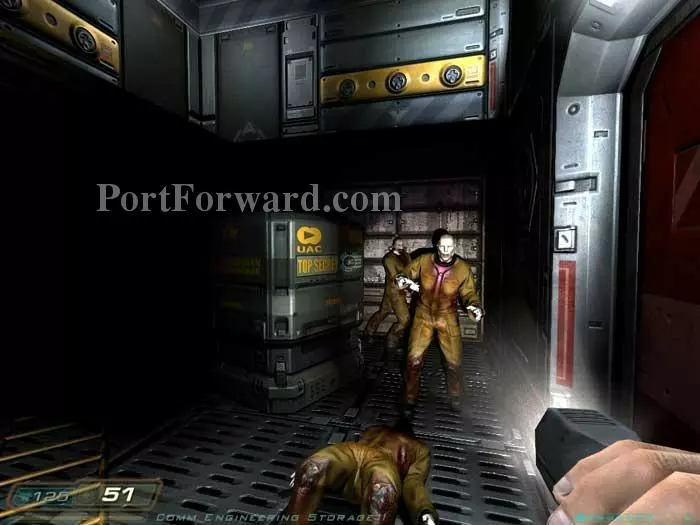
Step off the lift and battle this Z-Sector ahead.

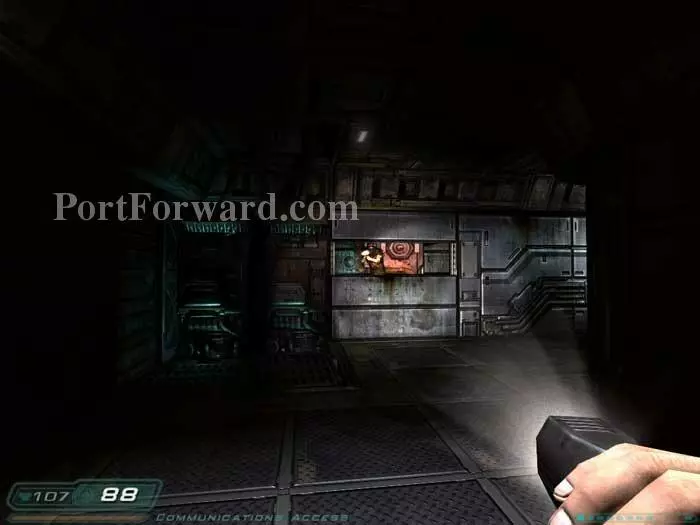
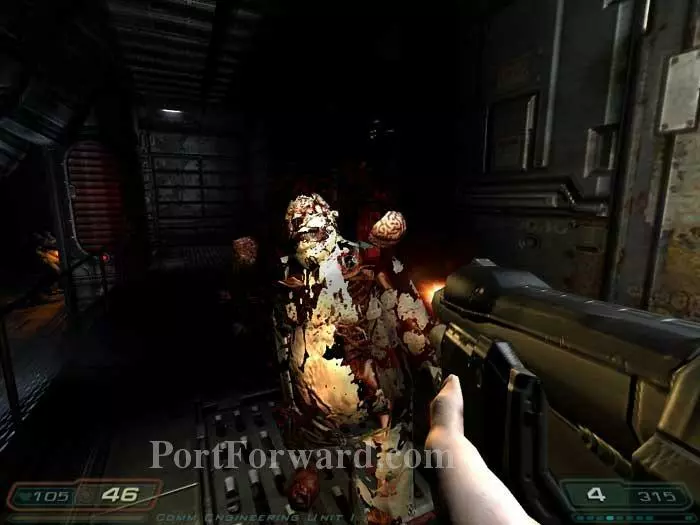
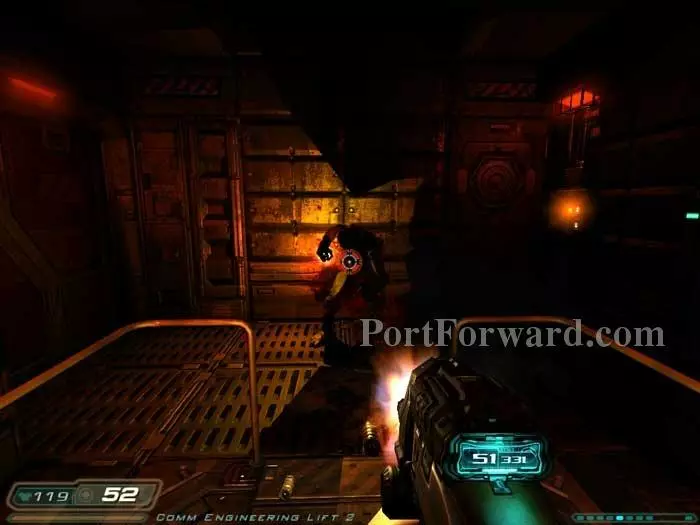
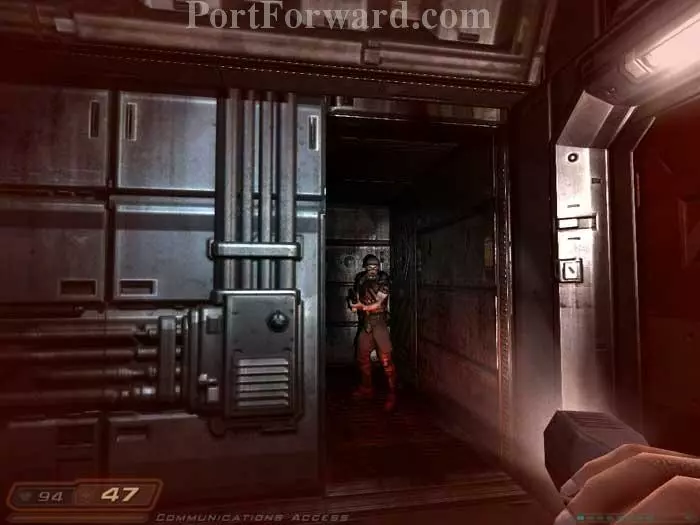
Defeat this zombie once he emerges from behind his secret panel on the left. Grab the medkit inside.

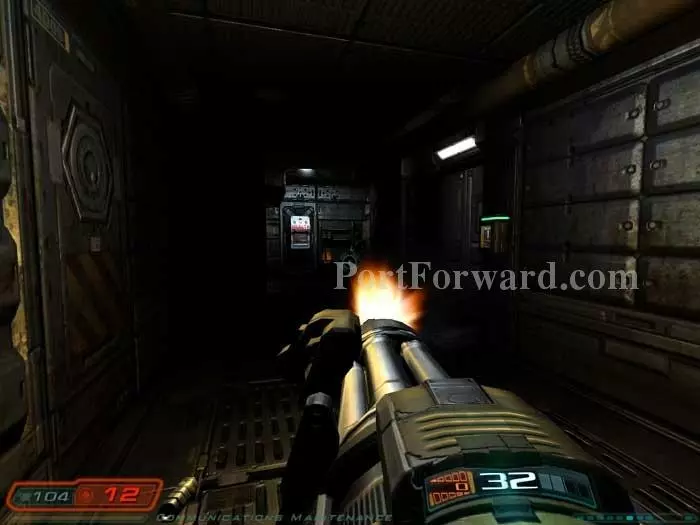
Approach this body on the right and it shoots into the air. Defeat the Wraith that is spawning here then proceed through the door ahead.

Follow the corridor to this room then defeat the Z-Sectors inside. Search the shelves for armor, clips and shells.
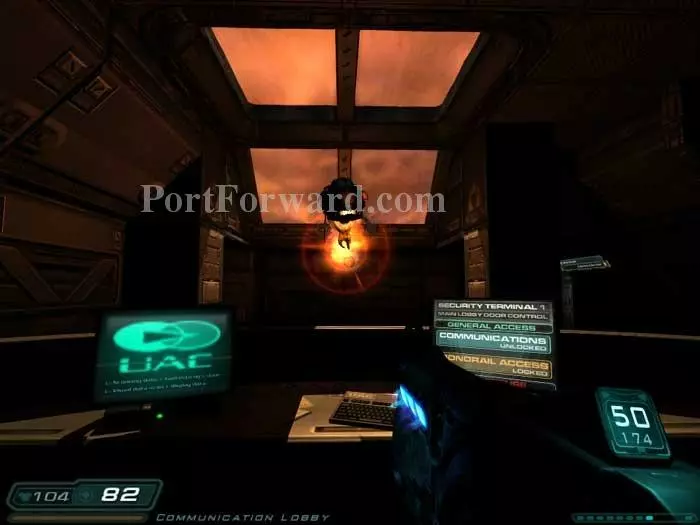
Unlock the Communications door with the terminal seen on the right, and this Cacodemon and two Z-Sectors spawn. After defeating them, exit out the unlocked communications door to the right.
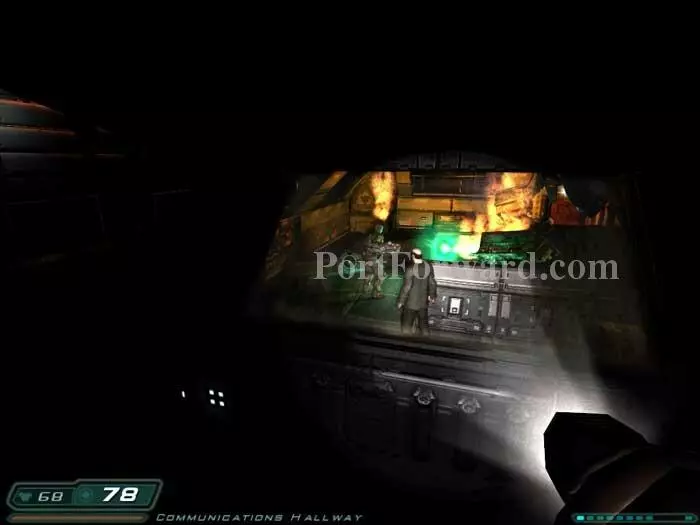
Heal at the health station then witness Campbell and Swann destroying this communications equipment.
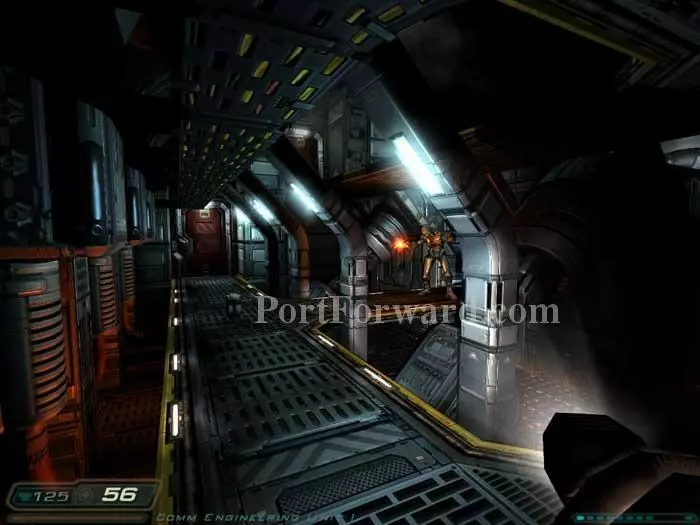
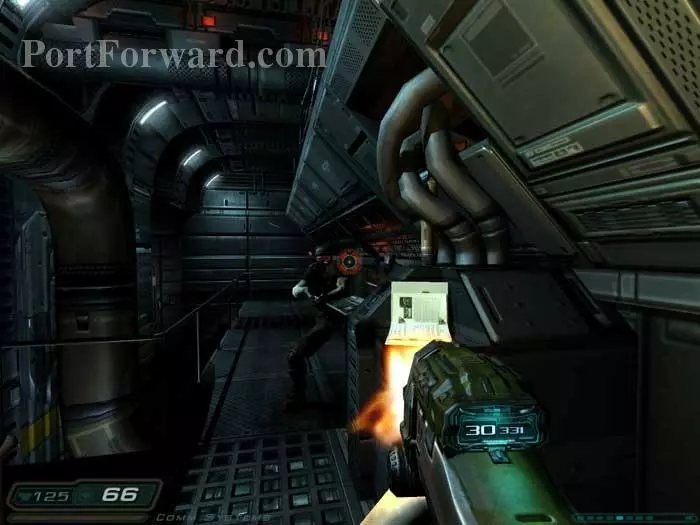
This Z-Sector charges through the door behind you, then another up the walkway from the opposite direction. Search under the walkway for armor and a clip.

Through another door and you'll find this security door on the left -- you'll need a PDA from one of these authorized personnel to open it.

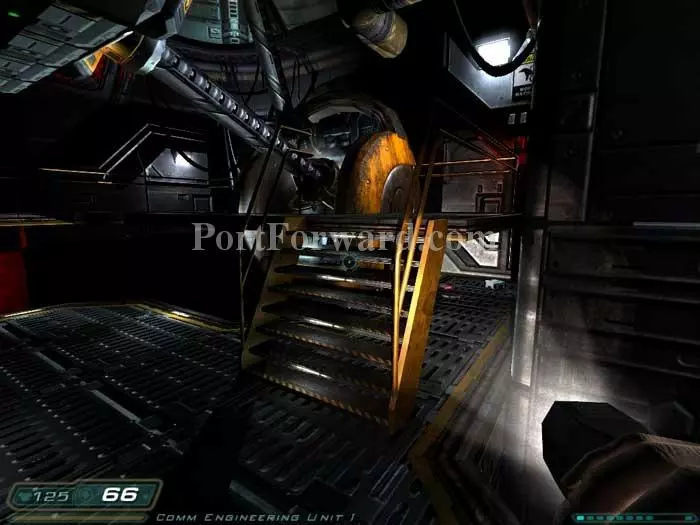
Descend these stairs to the communications room.
Grab the PDA of Seamus Blake seen here.
Return up the stairs and catch a fleeting glimpse of this Imp underneath.

Left-to-right: Z-Sector attacks through door, zombie emerges from hidden alcove, Imp attacks when you enter the alcove to find a medkit and armor. Use Seamus Blake's PDA to unlock the door seen behind the zombie.
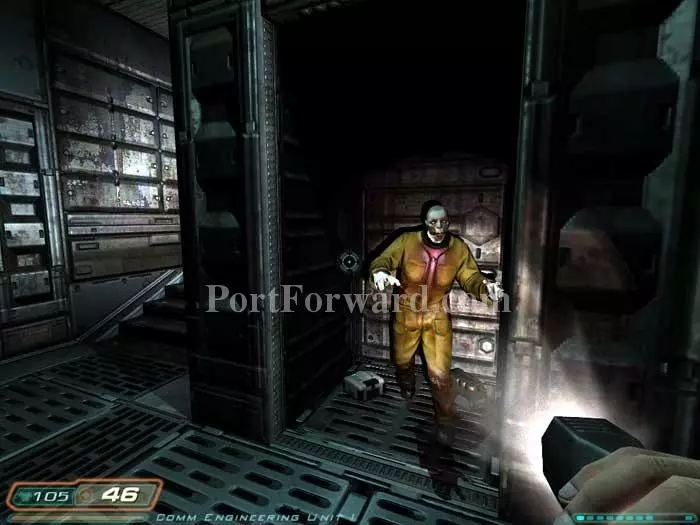
This zombie crawls out from the left. Grab the armor and cells.
Defeat this Imp and two Z-Sectors in the next room. Here I'm using a shotgun, but I found it best to toss a grenade in as soon as the door opens, then back out. Shells and a medkit and a clip are straight ahead.
A fat zombie is behind those crates below, and an Imp is lurking as well. Toss some grenades to take them out before calling the lift.
This Z-Sector emerges from a door across the corridor. Defeat him then continue through the door.
Take down an Imp then toss a grenade into the far corner to eliminate this Z-Sector. A medkit is in the corner far-right.
This next room is chock full of surprises, including this fat zombie on the right, and an Imp on the left. Grab an ammo belt along the right then descend the stairs on the left.
Toss a grenade to those stairs to destroy a lurking Imp. Approach this secret alcove and a zombie emerges, guarding a medkit and shells. In the far-left corner you'll find armor. Upon returning three Wraiths spawn.
Backtrack a bit to the terminal on the left, which opens the crawlspace on the right. Armor and a medkit are inside. Continue up the stairs where you tossed the grenade a moment ago.
An Imp emerges from the right. On the catwalk is a medkit. Under the catwalk are grenades and armor. Ignore the middle catwalk on the right. Instead, continue to the door dead ahead.

Shoot the barrel to destroy fat zombie.
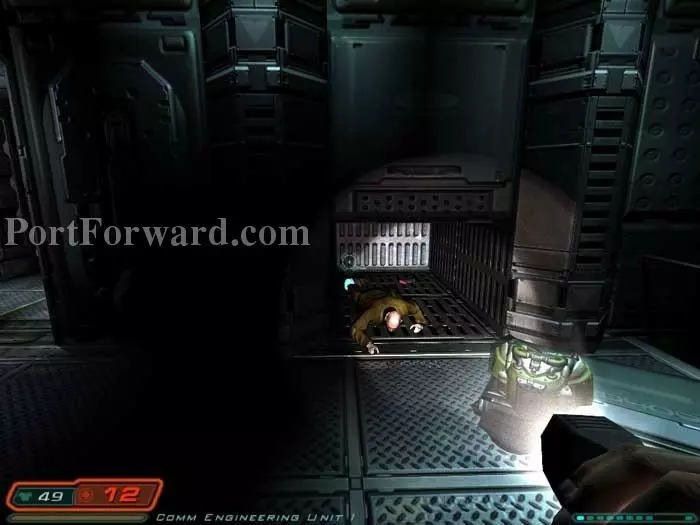
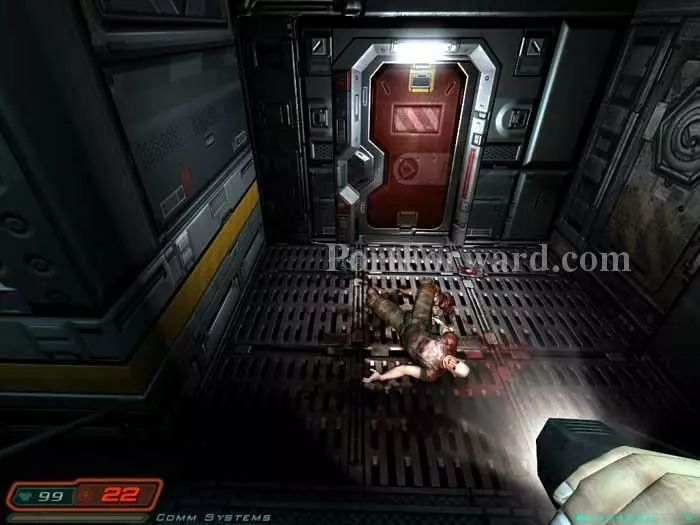
Another zombie emerges from the right (seen here belly-up). Grab an armor vest to the left and these two zombies attack. A medkit is far-left.
Ready your weapon and stand back as you exit the room. This Imp is waiting to pounce.
Proceed to the middle catwalk you ignored earlier. Defeat this Imp that spawns behind you. Pass through the door at the end of the catwalk.
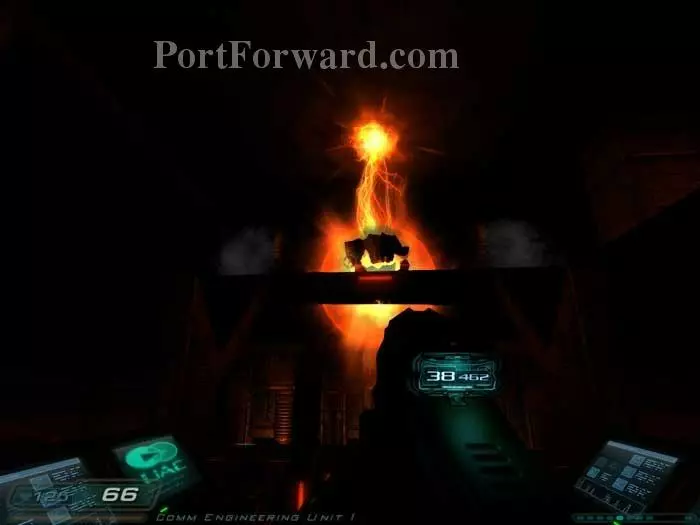
Defeat another Imp then grab the medkit and armor beneath these stairs. Be ready for a Z-Sector to attack from the stairs. Continue up the stairs and pass by the mechanism while it is retracted.
Continue through the next door and witness this body being hurled at you. Grab the medkit and armor from the alcove ahead and an Imp attacks from the door. Ready your weapon then ride the lift up.
Defeat this Imp before proceeding through the door on the left.
Defeat two Z-Sectors on this catwalk. Two sets of armor and ammo are under the catwalk at each end of the room.
Before heading through the door, grab Ben Wolfe's PDA and learn the communications cabinet code 246.

Gulp. Two Cacodemons and a Z-Sector attack.
Toss a grenade into the room ahead to clear out a Z-Sector inside.

Heal at the health station and open this locker with code 246. Inside are shells, grenades and armor. More shells are on the counter to your left.
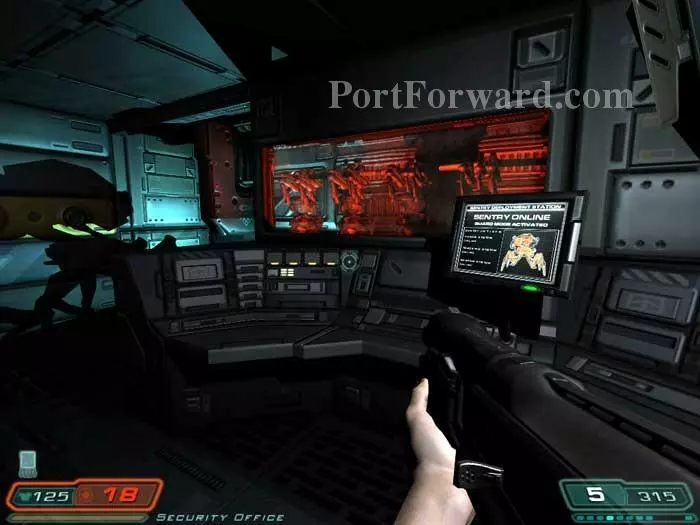
Use the console to activate a sentry bot.
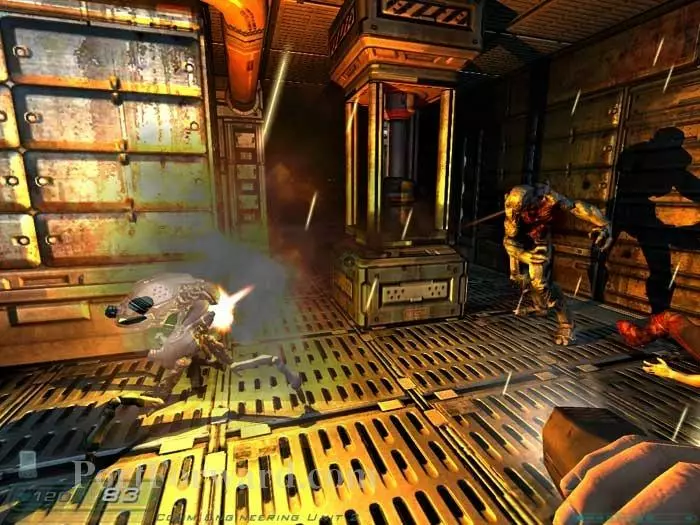
Follow the bot as he battles Z-Sectors, Cacodemons and Imps. Again, don't be in such a rush to keep up that you miss the medkits, ammo belt, and clips along the way.

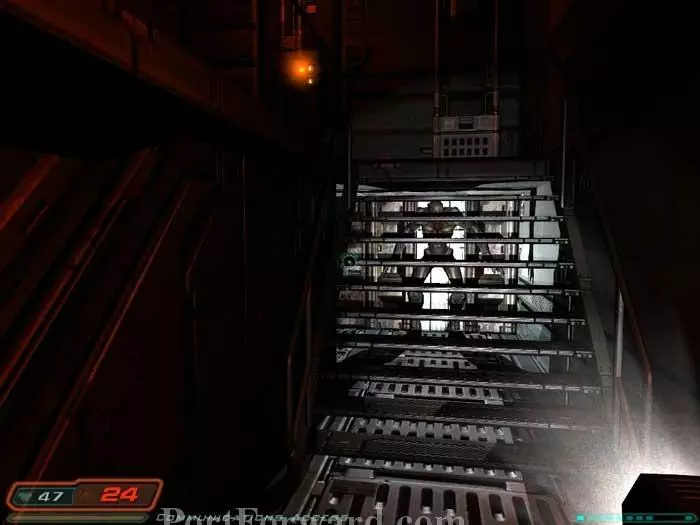
The bot comes to rest at this lift. Ride it up to Satellite Control.
Grab Rob Finch's PDA for some background.

Follow the corridor to Satellite Control. Grab the armor vest on the counter.
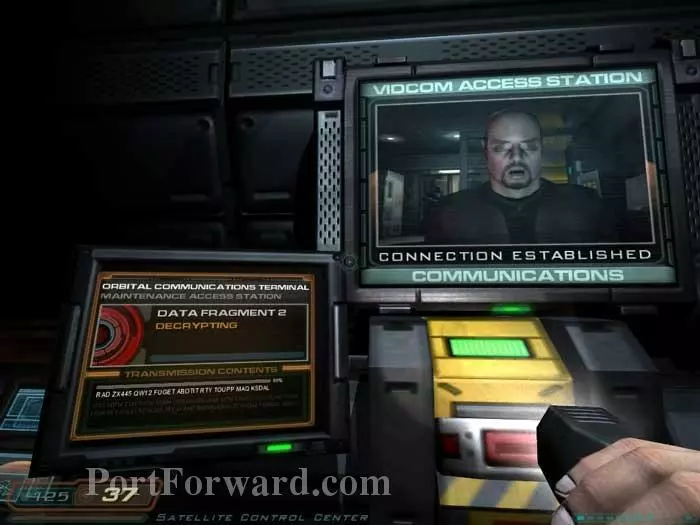
Use the console on the left to receive a warning from Swann. He doesn't want you to send the transmission.

The console's options are updated. If you choose transmit, Swann berates you and threatens to be waiting for you in Delta. Cancel the transmission and he congratulates you but Sarge orders you to get back to the console and send the message -- impossible because the console won't let you. Either way it doesn't really matter because Betruger sends the message if you don't -- hey, this isn't an RPG.
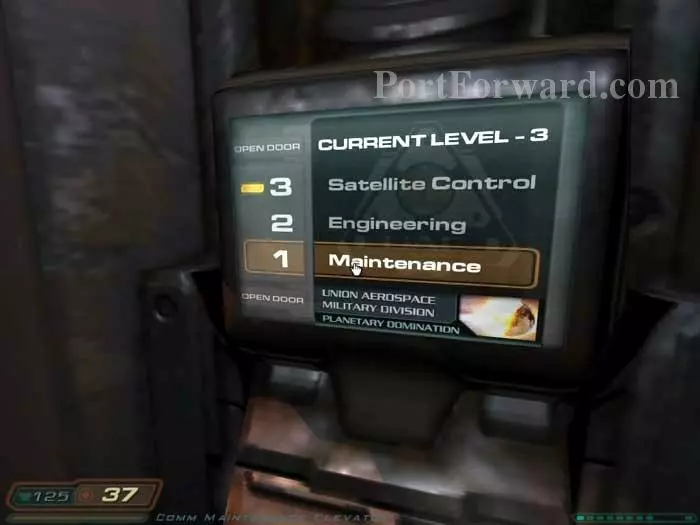
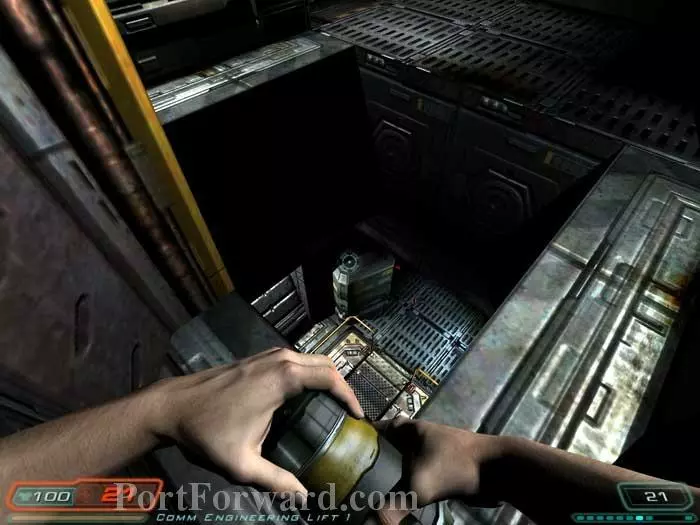
Backtrack to the lift. This time ride it down to Maintenance.
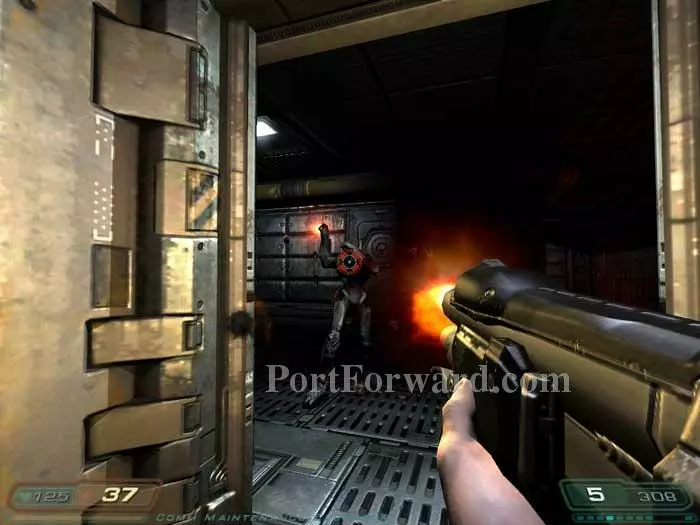
This Imp, plus a Z-Sector to the left are waiting as you exit the lift.
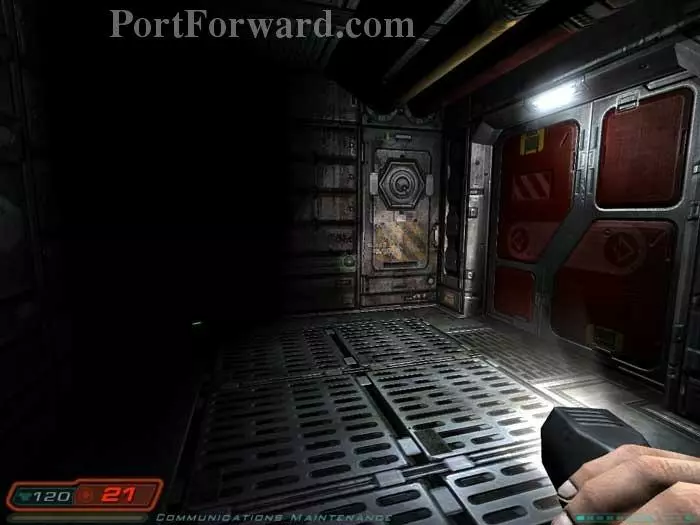
You can just make out the green light of a medkit on the left. Continue through the door.

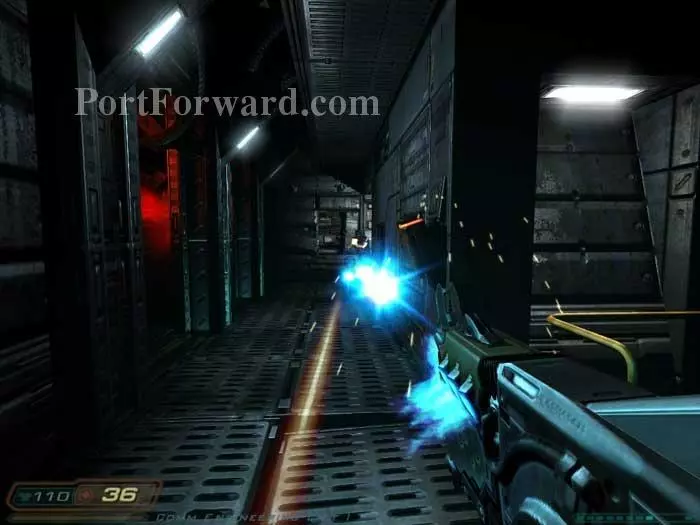
Toss grenades to destroy two Imps on the left, then battle this Z-Sector through the opposite door.
Defeat another Z-Sector in this corner. As you approach the health station an Imp drops behind you. Shells are to the right of the health station. Call the lift and ride it up to Communications.
Watch out for this concealed Z-Sector as you approach the first door. Follow his hiding place to find a medkit and armor.
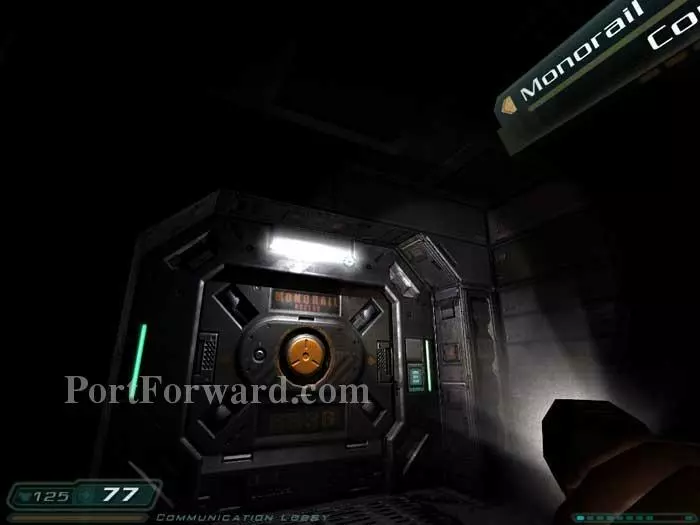
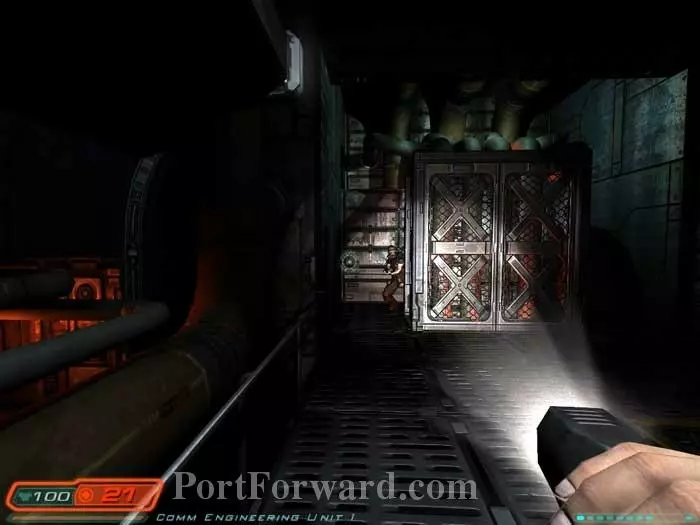
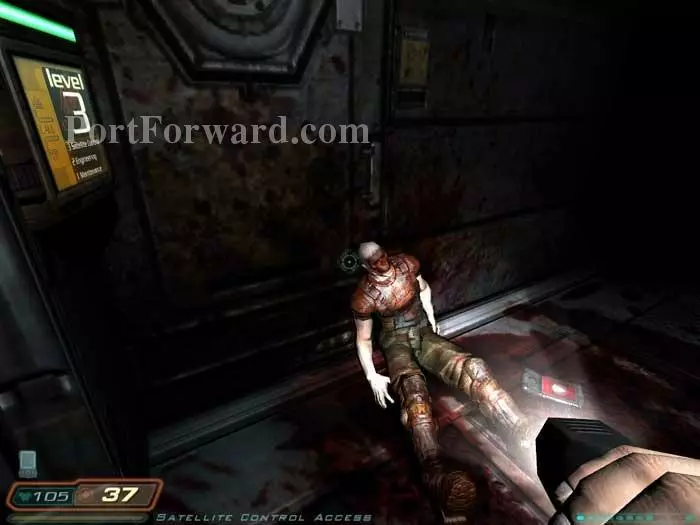
Continue to this Monorail door.
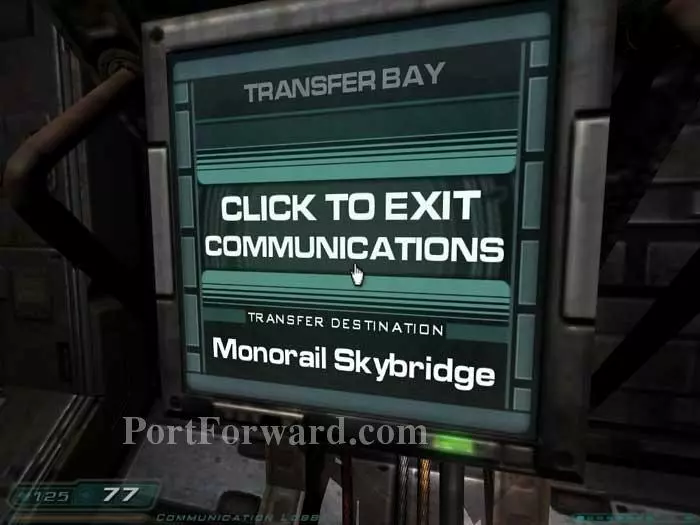
Access this panel to end the level.
More Doom 3 Walkthroughs
This Doom 3 walkthrough is divided into 27 total pages.