This Doom 3 walkthrough is divided into 27 total pages.
You can jump to nearby pages of the game using the links above.
Alpha Labs Sector 4
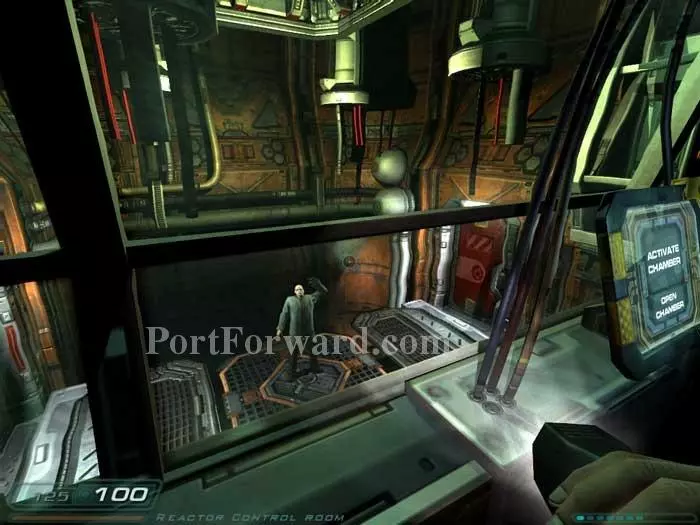
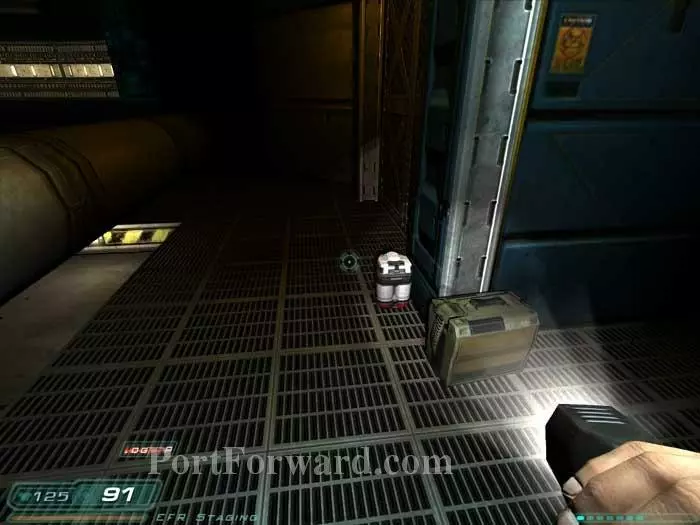
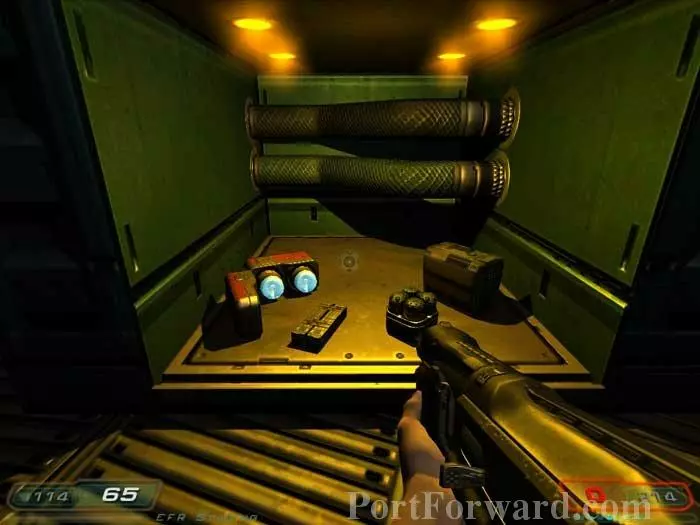
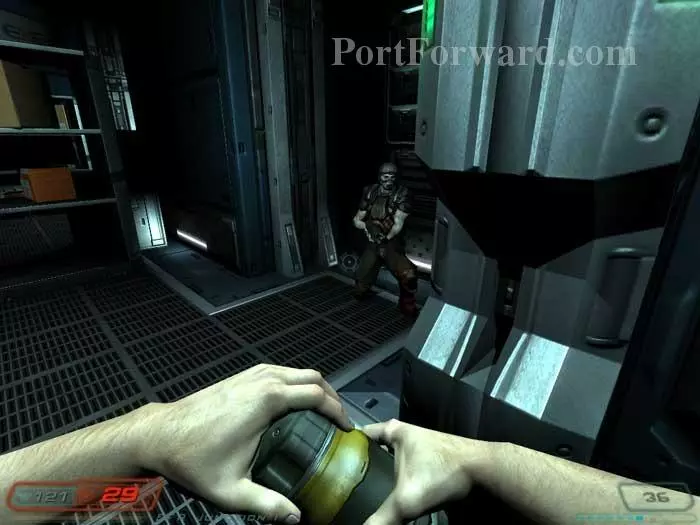
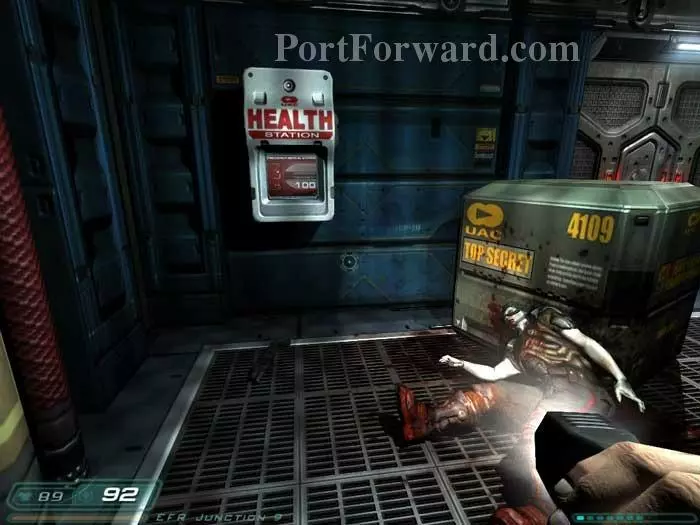
Sarge updates your objectives. Ammo is on the desk ahead, and armor is behind the crates to the left. Heal at the health station farther left then continue through the door. Head left and Kaczynski asks you to let him out of the chamber.
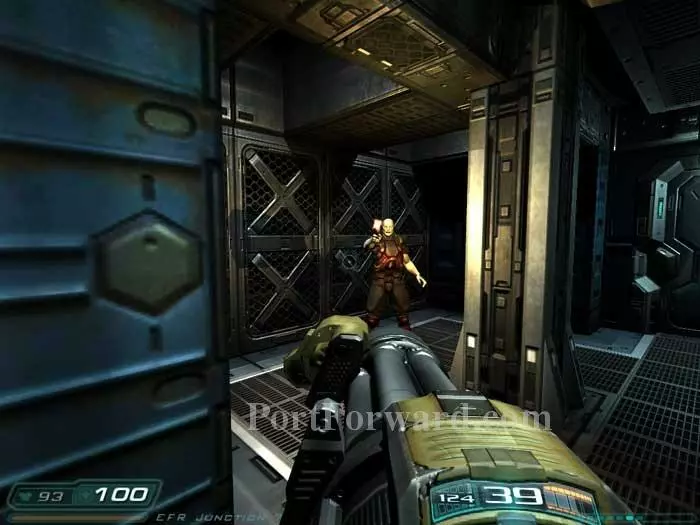
Note this panel to the right. It has two options, ACTIVATE and OPEN.
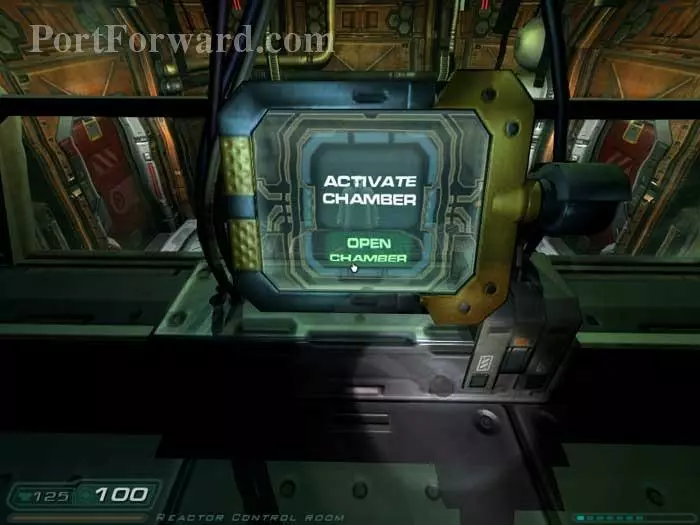
You want to choose OPEN CHAMBER to let the nice man out.
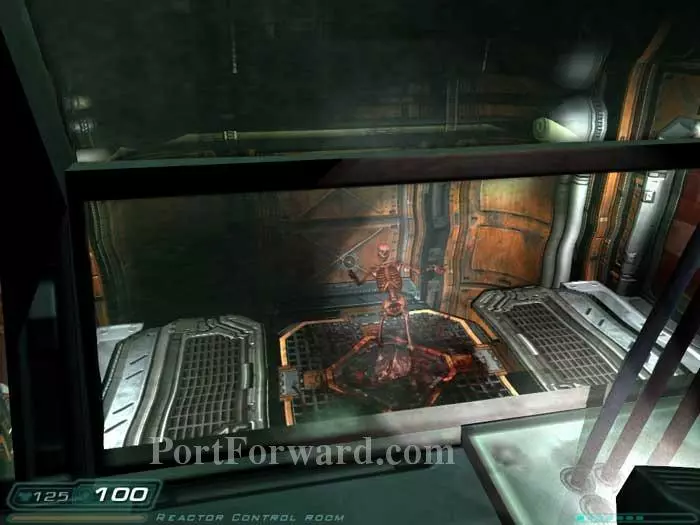
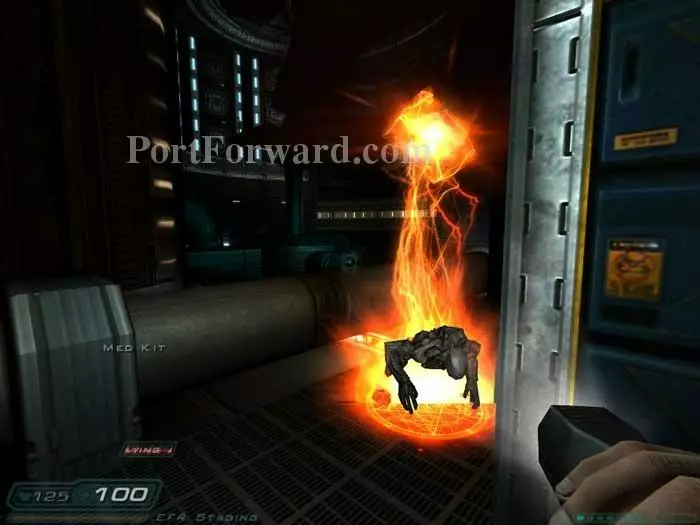
If you were to choose ACTIVATE CHAMBER, the poor man is...processed.
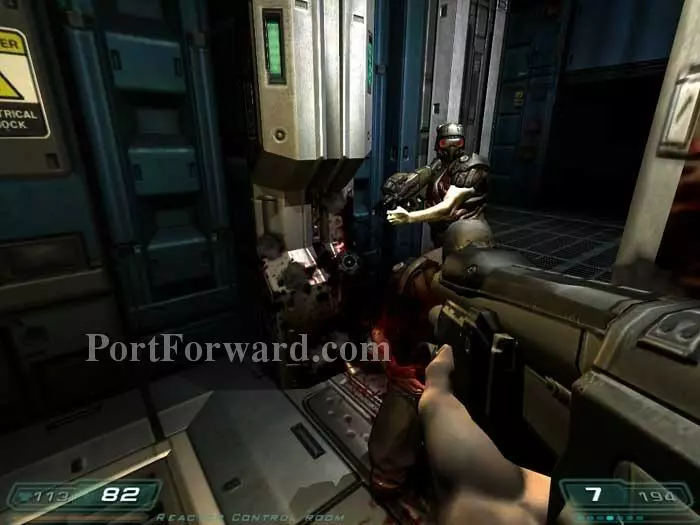
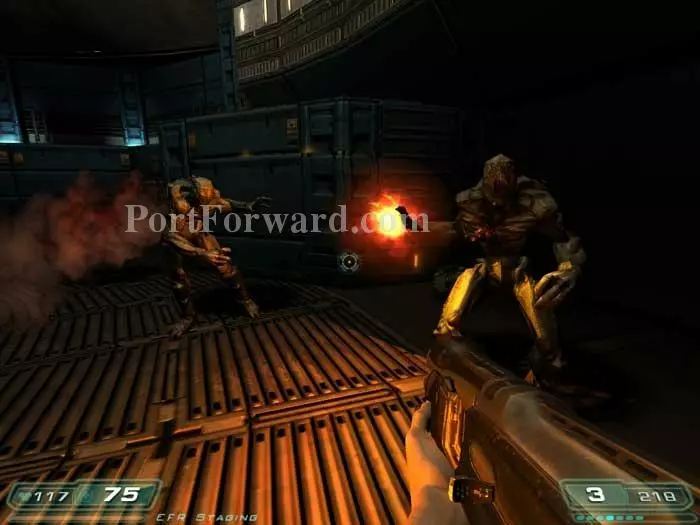
If you fail to free the him, these two Z-Sectors charge in through the door behind you.
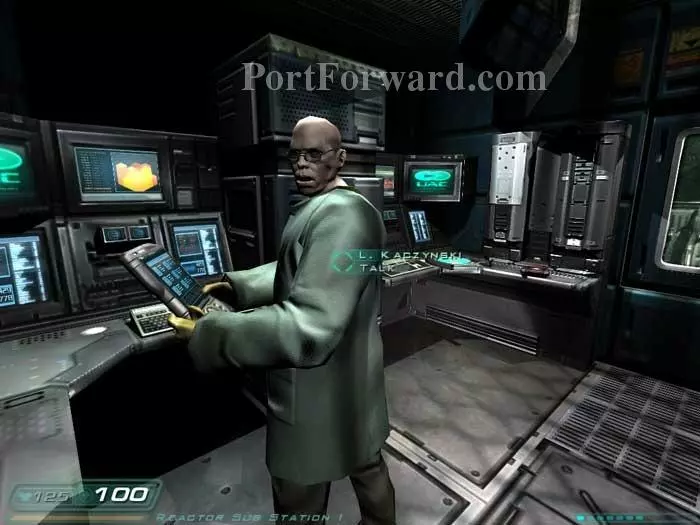
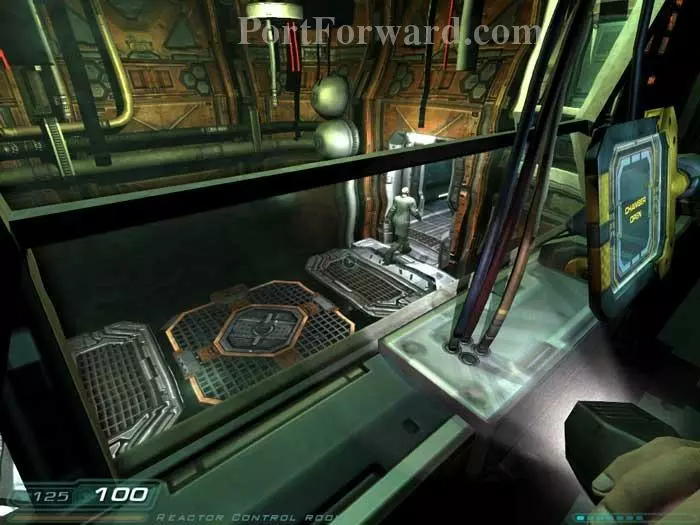
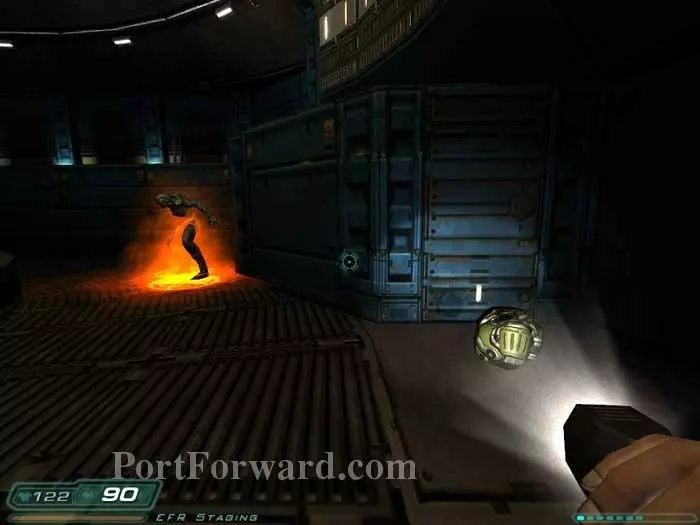
Ride the nearby lift down and talk to Kaczynski - assuming you rescued him.

Grab the Chaingun briefing video and Michael Abrams' PDA on the counter to the right. Listen to the Abrams audio log and learn that the BFG is in his office. He's requested a door code of 901, but the "Invalid Number in Code" email reveals that the 0 has been replaced with a 3, making the code 931. Use the blue panel seen here on the left to disable the security lock on the cabinets along the right wall.
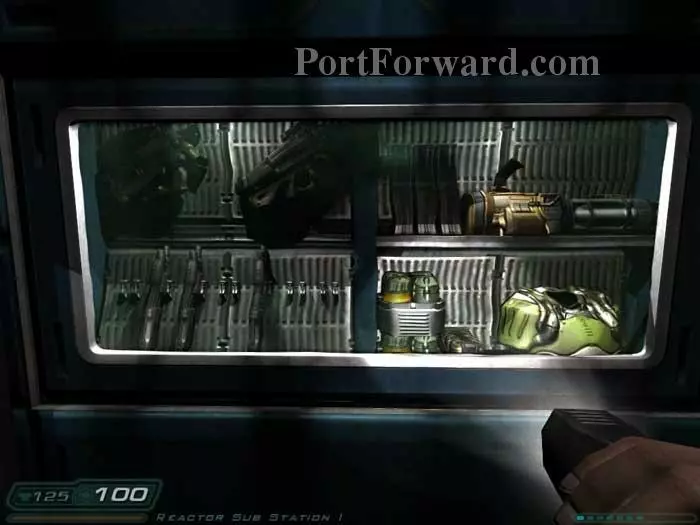
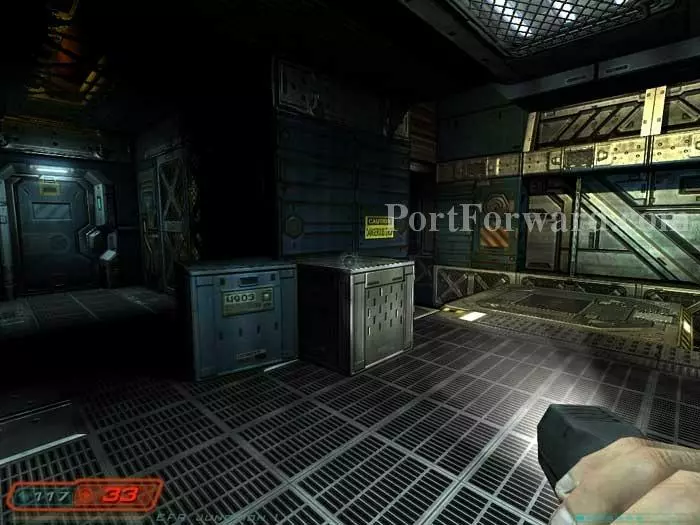
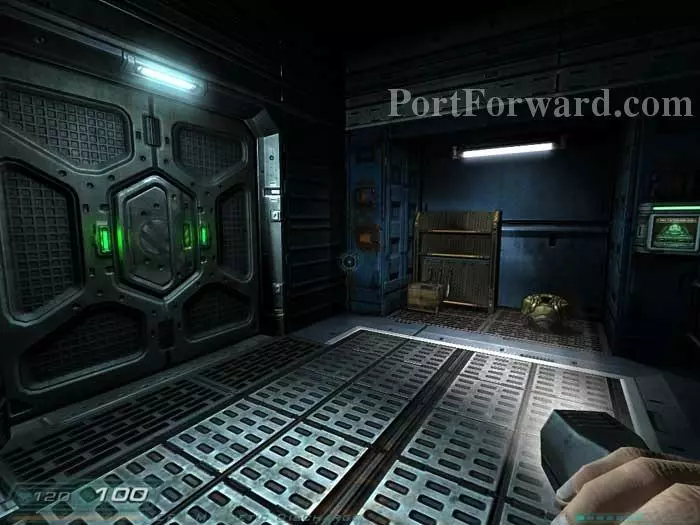
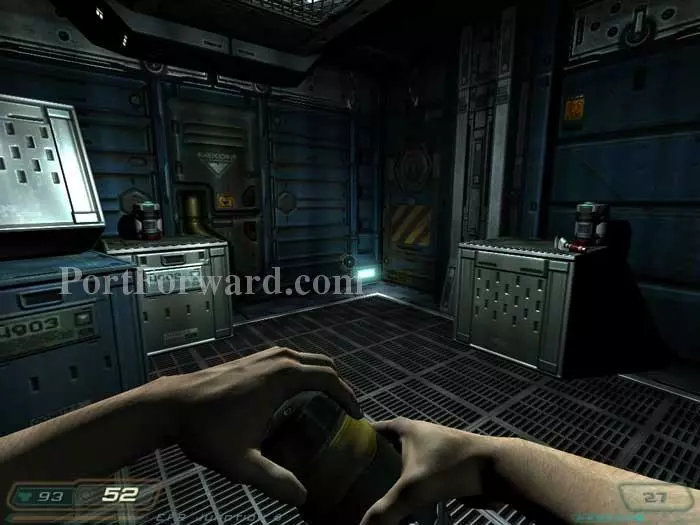
Grab the grenades, armor, and ammo seen here. This is a very handy room -- it would still be locked if you hadn't rescued Kaczynski.
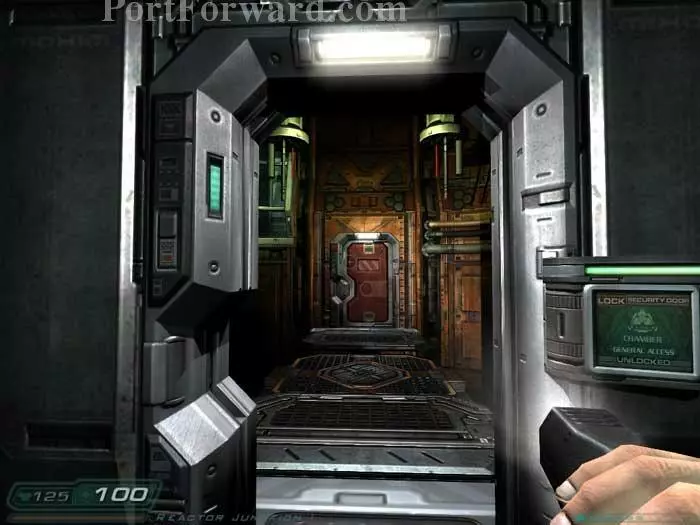
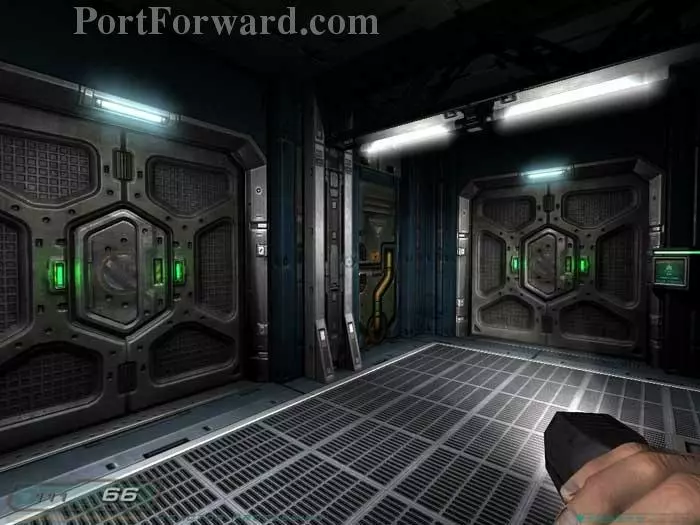
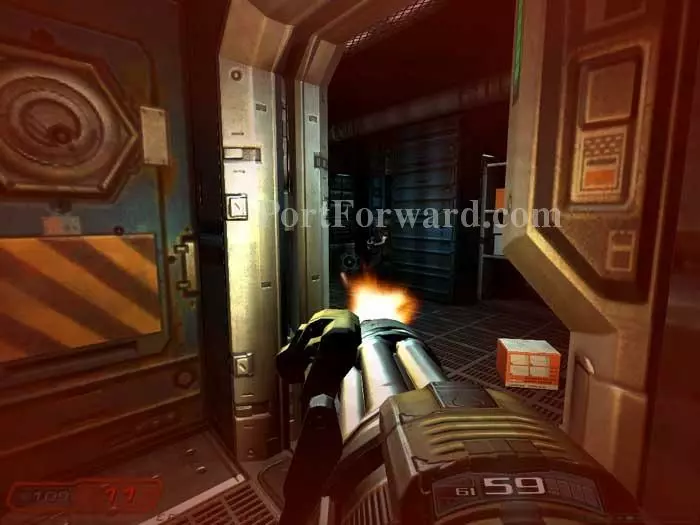
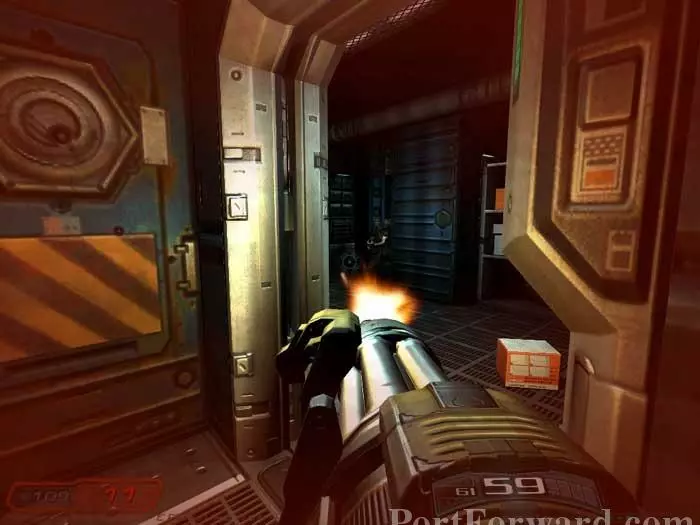
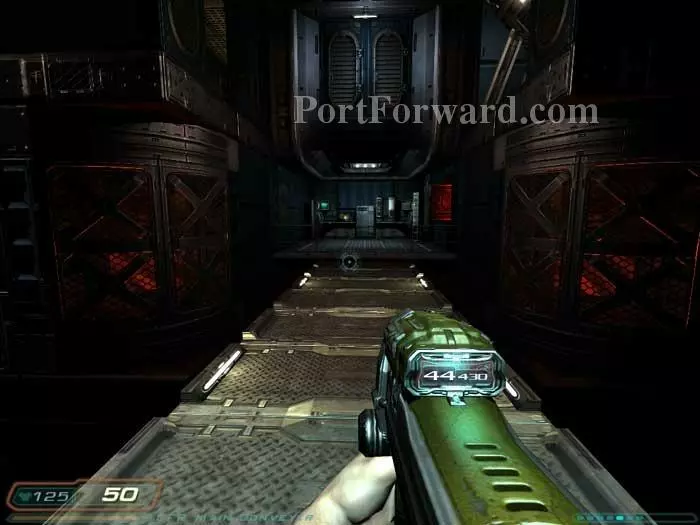
Proceed through the now-unlocked chamber.
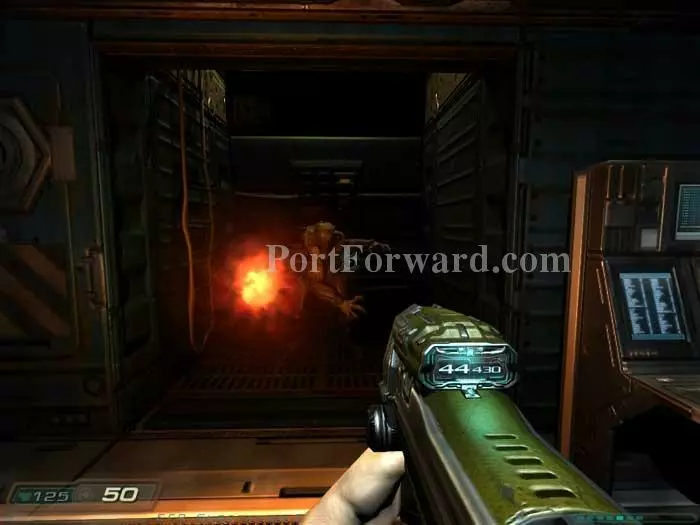
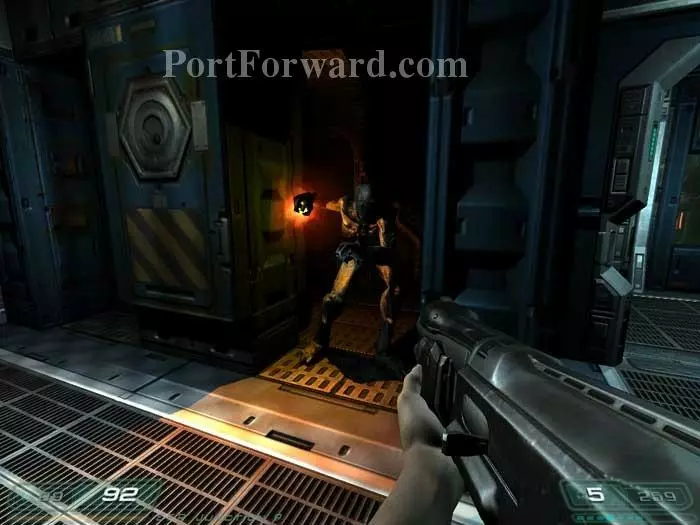
This Imp attacks, followed by a Z-Sector. An ammo belt is to your left.
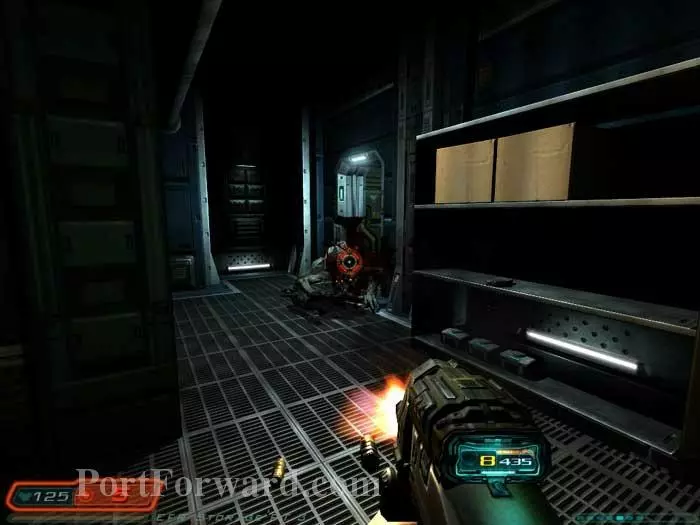
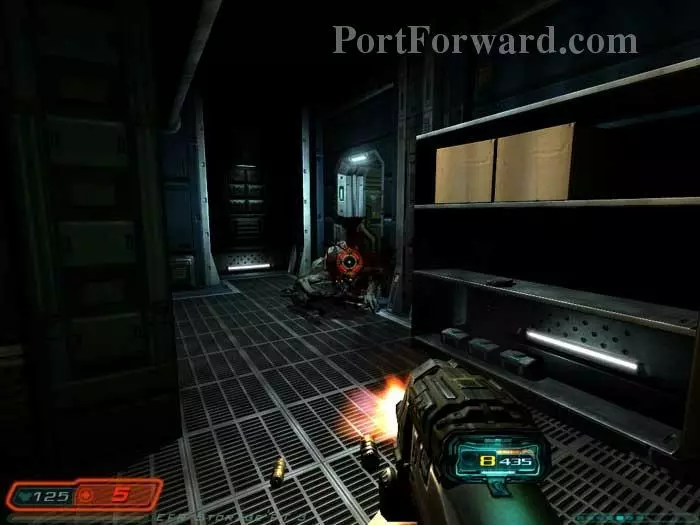
More Z-Sectors attack from that overpass ahead, followed by a swarm of Trites. Grenades and a medkit are to the left.
Climb the stairs and battle these two Z-Sectors.
This secret room opens as you pass. Battle the Z-Sector inside and the series of Trites that ascend the stairs. Inside the room you'll find armor, a medkit, a clip and shells.
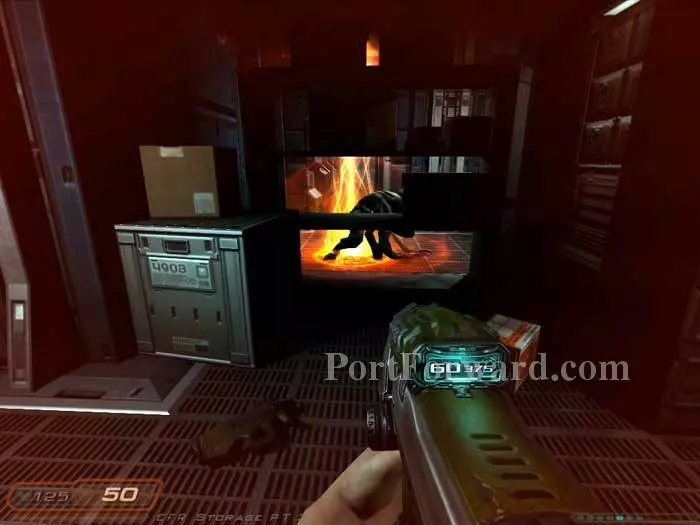
A voice near this door on the left says, "Come here."
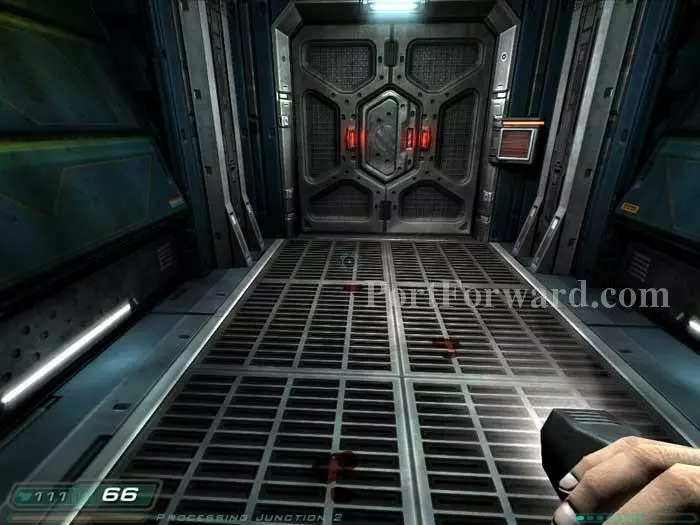
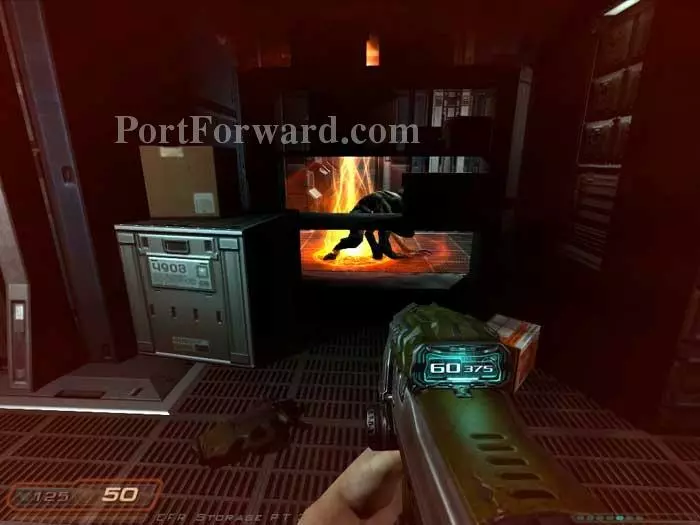
The voice beckons, "Follow me." These bloody footsteps lead you to this door, where everything goes red and you hear a baby crying. Freaky.
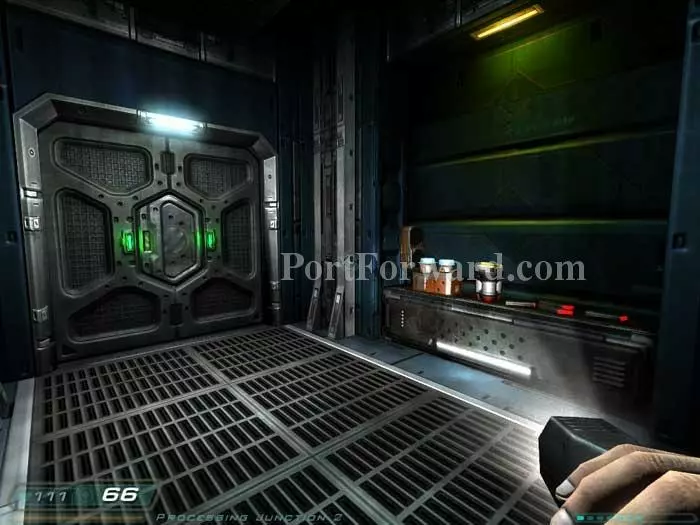
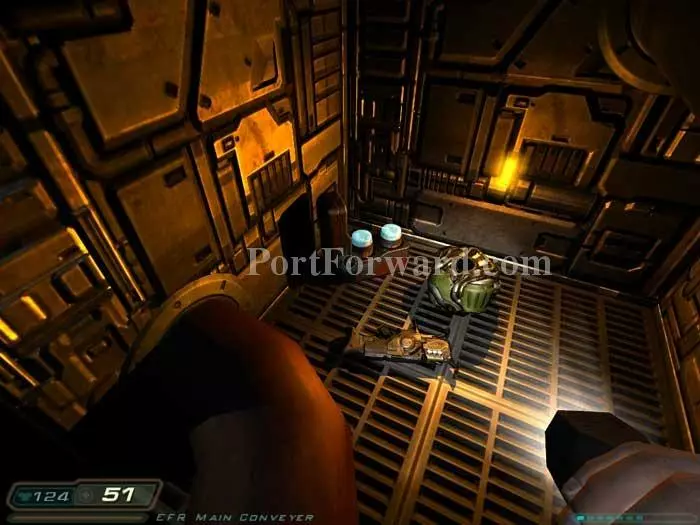
Returning through the corridor, you'll find this supply cache, including armor, cells, and a medkit.
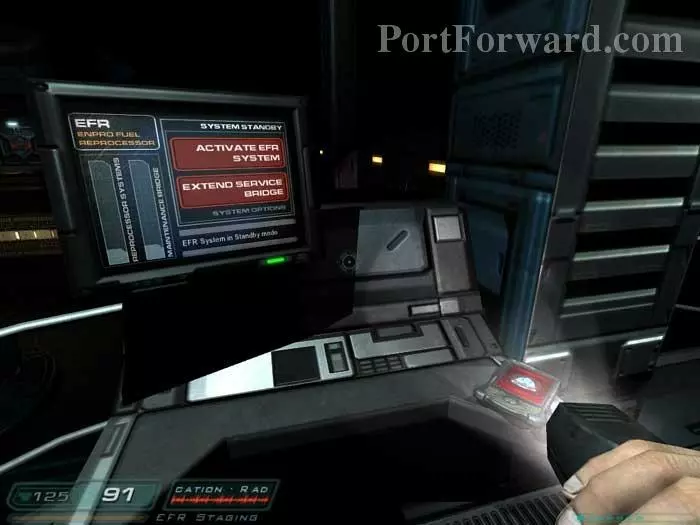
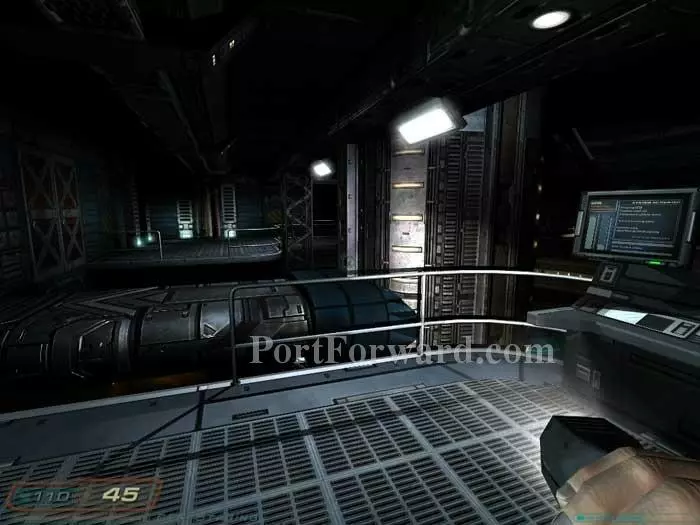
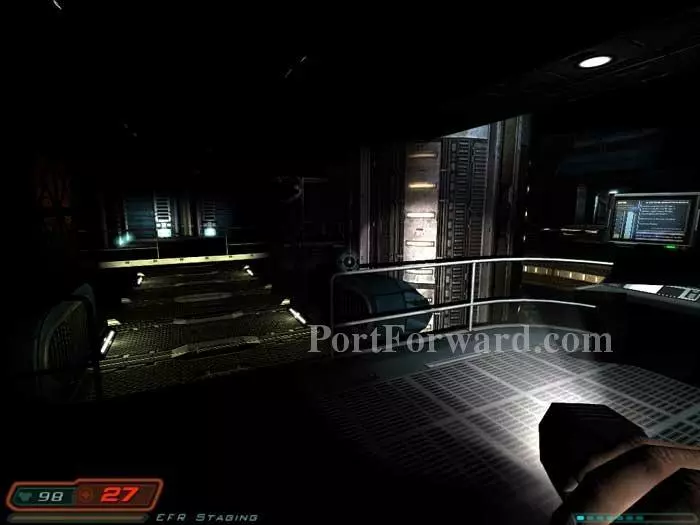
Head through the door on the left and Sarge tells you there are two ways to proceed, both listed on this display. You can activate the EFR system, good if you like jumping puzzles, or extend the service bridge, better if you prefer fighting. Henry Nelson's PDA on the right has the code 651 for storage cabinet 064 -- only accessible for those who extend the service bridge. On the other hand, you'll get the plasma gun in this level if you activate the EFR, plus access to another storage area.
Before we tackle the two paths, here is a diversion for those who really like a challenge. Descend the ladder to the right. You'll find a medkit and an armor belt.
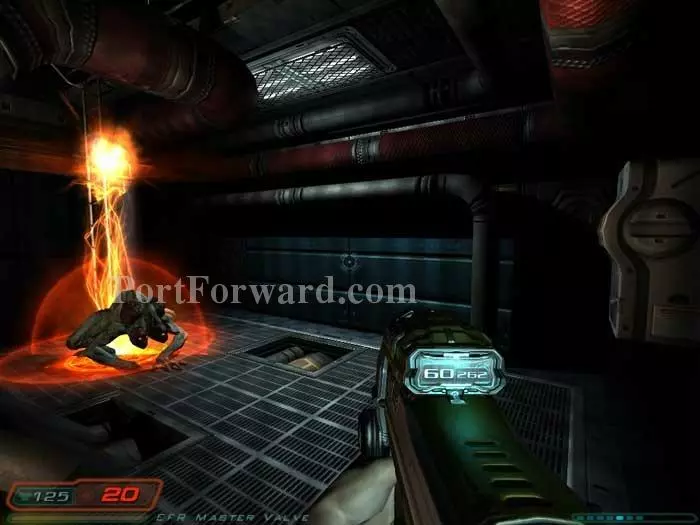
Grab them and this Imp appears. Not too hard, huh?
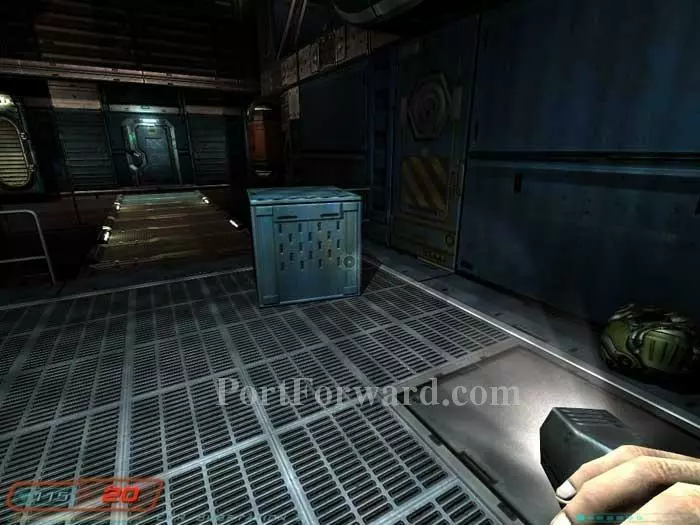
Now for the tough part. You'll find armor next to this storage bin. Approach after reloading your shotgun and another Imp spawns...
And another, and another...

A total of six Imps in all! This is a tough challenge, but you will be rewarded.
The bin opens to reveal this cache of cells, grenades, a clip and an ammo belt.
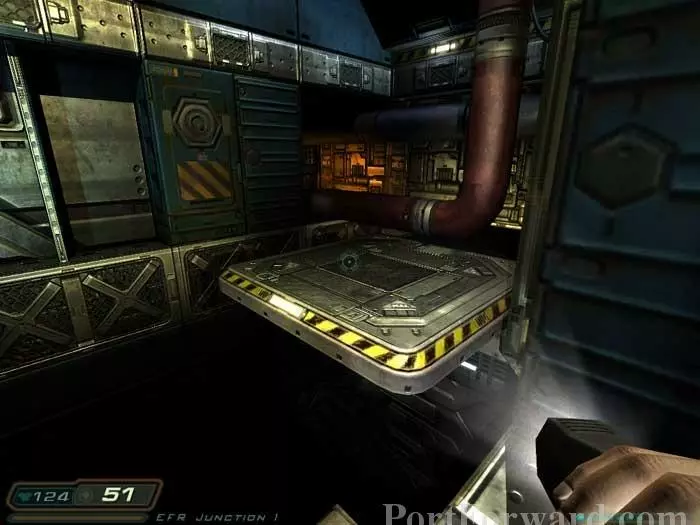
Return up the ladder. If you choose to activate the EFR, this platform moves into place, allowing you to jump across to the other side of the room. If you prefer to extend the service bridge, you can skip ahead.
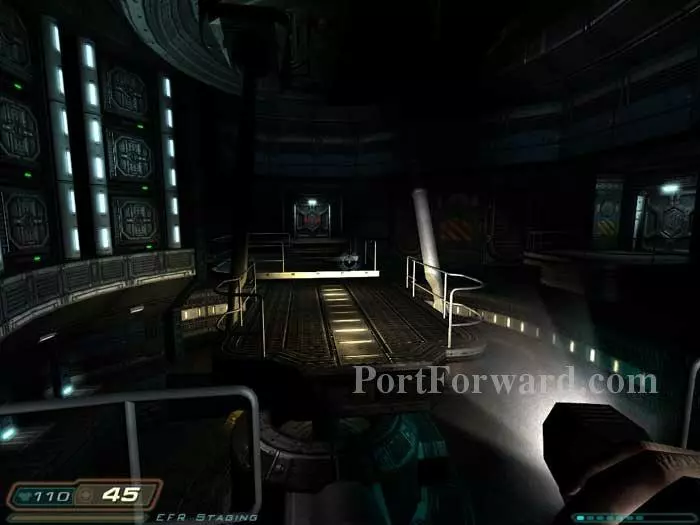
Leap onto this bridge as it rotates into place. The door ahead is locked, so jump off the bridge when it arrives at the unlocked door on the right.
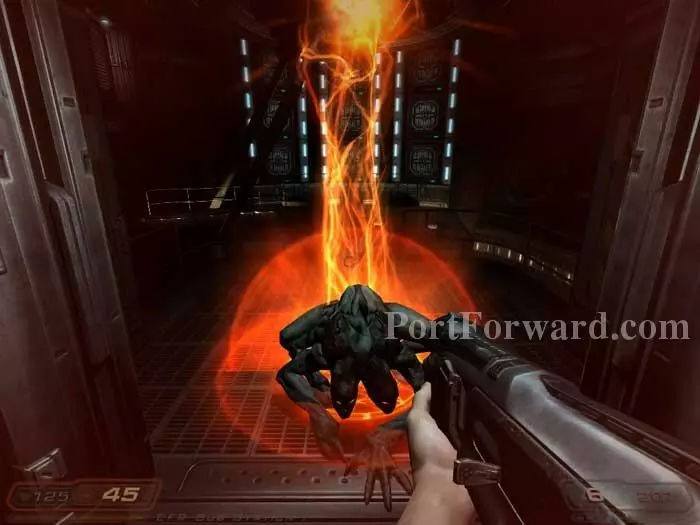
Advance into the room and this maggot spawns, then another. Armor and ammo are in the right corner.
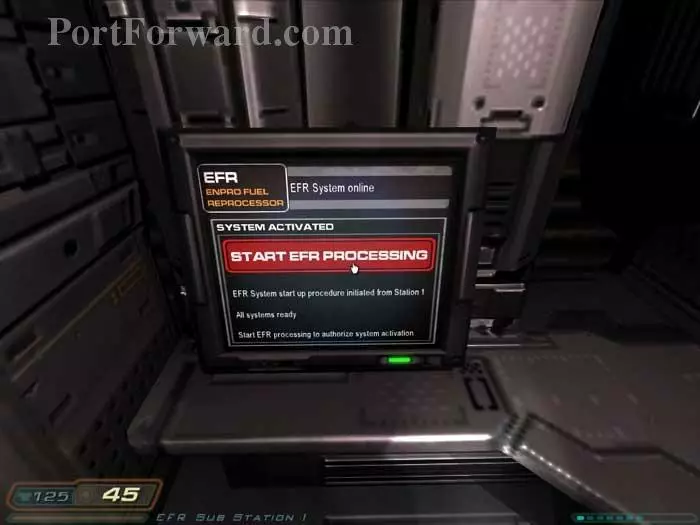
Defeat both maggots then use this panel to start the EFR processing.
A third maggot spawns as you exit. Defeat the maggot and leap back onto the rotating bridge. Leap across to the now-unlocked door on the right, guarded by a Z-Sector. A running jump is essential for success.
You now have a choice. Unlike those folks who chose to extend the service bridge, the door on the left is optional for you. If you prefer to avoid a difficult fight, jump onto the moving platforms on the right and skip ahead.
This is a tough room. Start with a grenade toss to this Z-Sector on the right. Retreat into the hallway immediately.
I found the chaingun to be the best bet on the remaining Z-Sectors, one to the left and one down the middle. Just remember to save some chaingun ammo -- you'll need it at the end of the level.
Enter and this maggot spawns behind you. Search the shelves for supplies, including the three medkits seen on the right.
A second maggot spawns once you walk behind these shelves. The door on the left is locked. Backtrack to the hallway.
Hop onto one of these moving platforms. Take a second hop onto that red pipe to the right.
Stashed away in the corner you'll find armor, cells - and the plasma gun! Tuck the plasma gun away for now -- you'll need it at the end of the level.

Drop back onto a moving platform, dodging obstacles along the way. On the left is an alcove where you'll find armor. This room on the right is only accessible to those who've extended the service bridge.
Jump and duck to avoid these spinning blades.
Lastly, jump off as the platform lowers to this doorway.
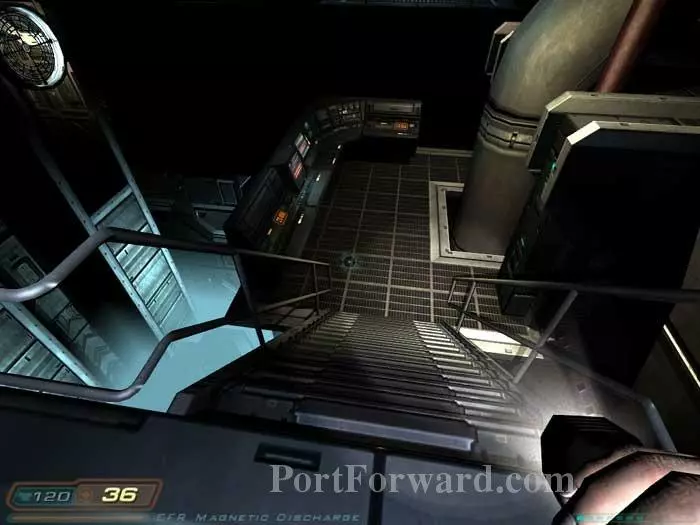
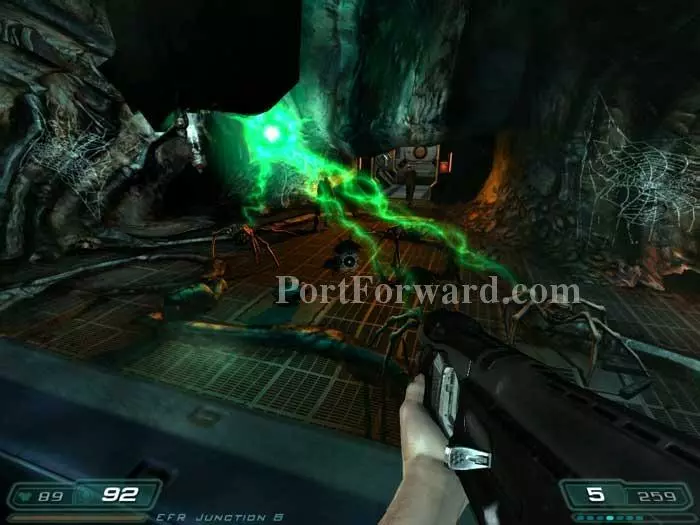
Battle an Imp and Trites before descending these stairs. Activate the panel to "Initiate Magnetic Field Discharge."
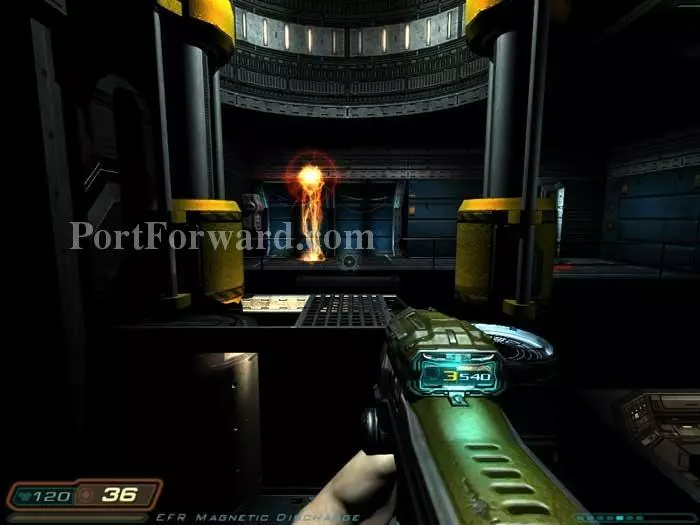
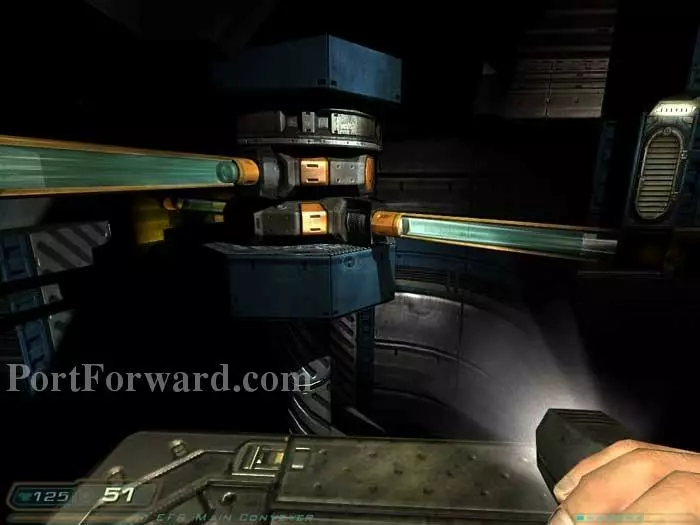
Return upstairs and jump across these platforms, timing your jumps to avoid the spinning cylinders, while simultaneously battling two Imps. Not easy. Heal at the health station far-left.
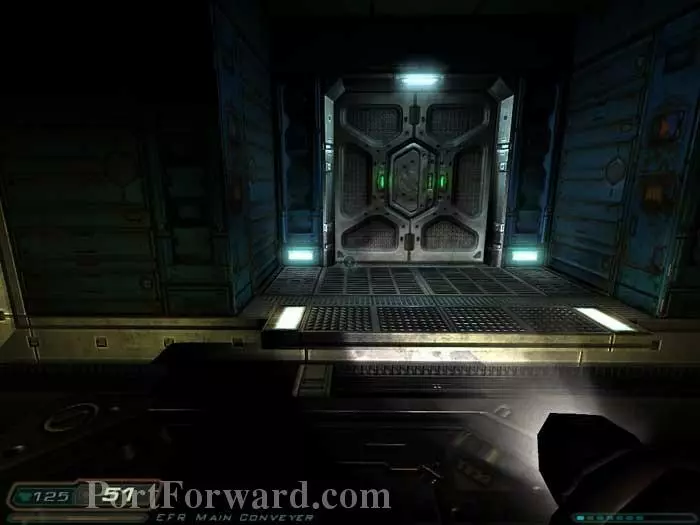
Open this storage area on the right for armor, shells and an ammo belt before continuing through the door on the left.
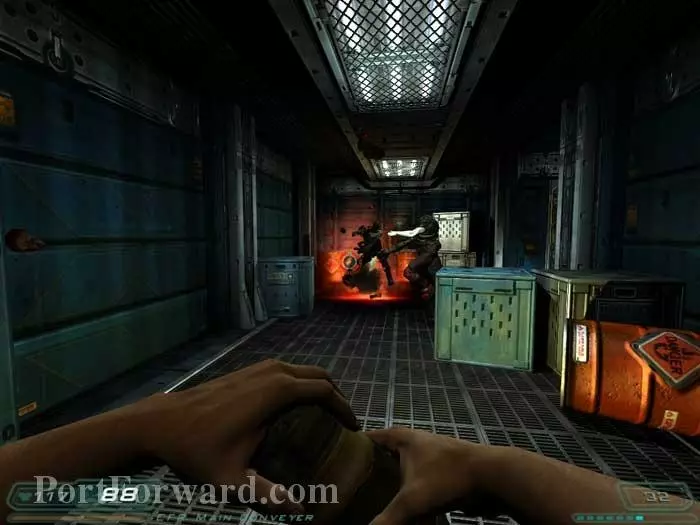
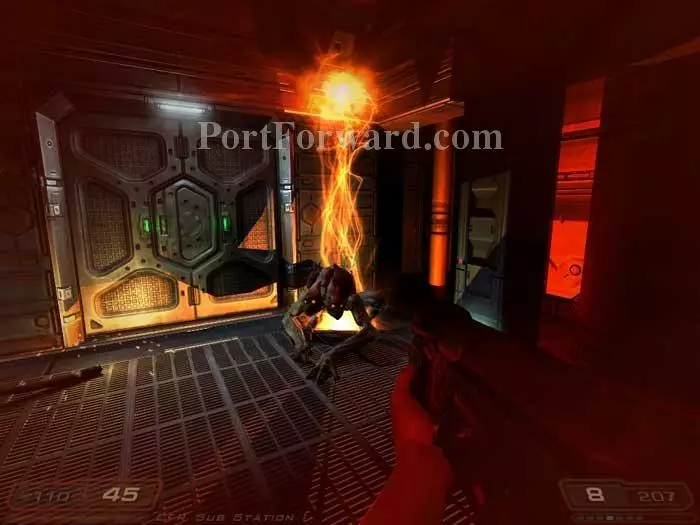
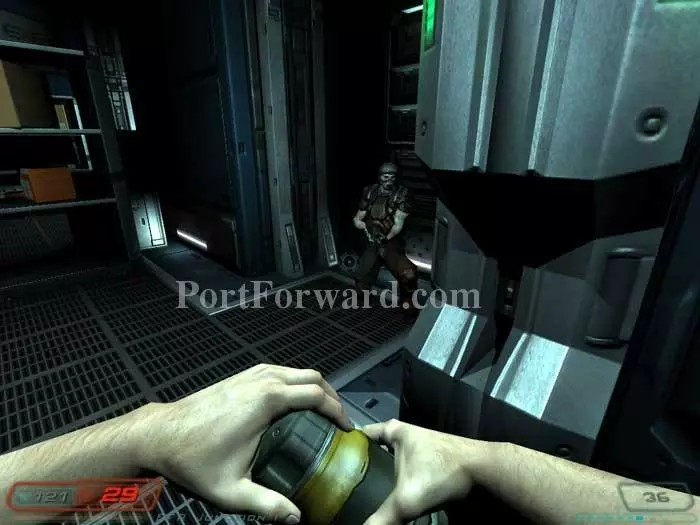
Ride another moving platform then toss a grenade or shoot the explosive barrels to send these Z-Sectors flying. Armor is behind the crates in the far-right corner.
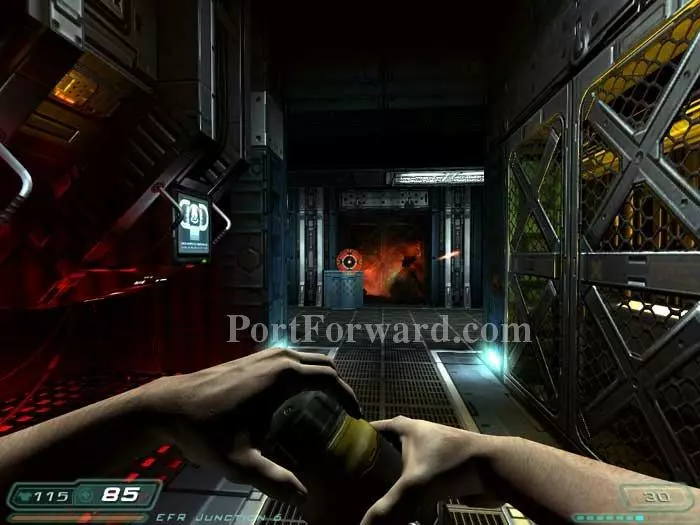
More Z-Sectors are in the adjacent corridor, including this one who emerges from a secret panel behind you. Again, grenades are my weapon of choice. You'll find a clip and shells in the hidden area. You've now caught up to those who have extended the service bridge.
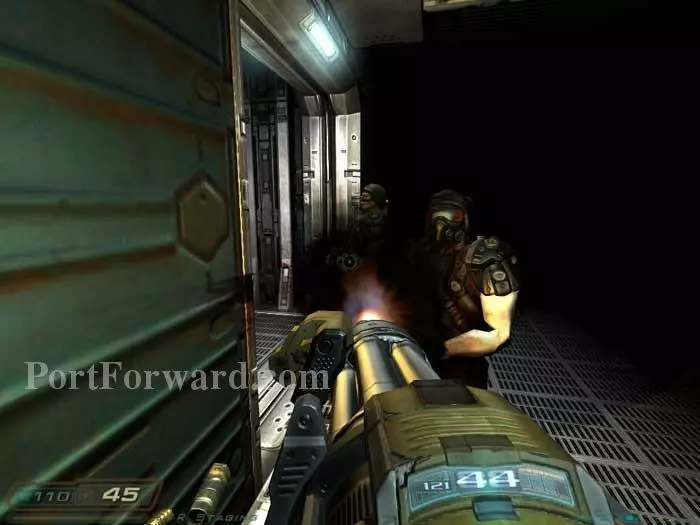
If you prefer a fighting challenge over jumping puzzles, extend the service bridge. Reload your chaingun first though, as these two shotgun-wielding Z-Sectors attack through the door behind you.
Follow the newly-extended service bridge to the other side.

Two Imps emerge from behind hidden panels on the left. Armor is in the right corner.
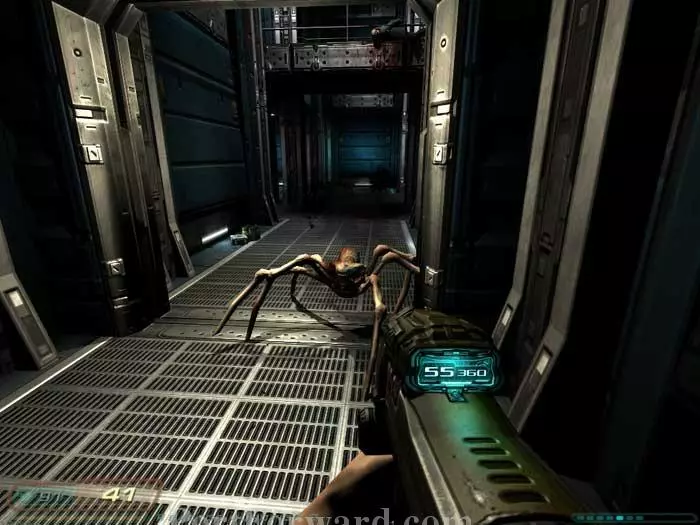
Extreme close up! Defeat the Imps and battle a series of Trites. Follow the service bridge to the unlocked door seen in the distance, battling a Z-Sector along the way.
A series of Trites crawls over this ledge. Save your game before continuing through the door to the left.
This is a tough room. Start with a grenade toss to this Z-Sector on the right. Retreat into the hallway immediately.
I found the chaingun to be the best bet on the remaining Z-Sectors, one to the left and one down the middle. Just remember to save some chaingun ammo -- you'll need it at the end of the level.
Enter and this maggot spawns behind you. Search the shelves for supplies, including the three medkits seen on the right.
A second maggot spawns once you walk behind these shelves. Continue through the door to the left. (This door is unlocked only for those who have activated the service bridge.)
Follow the service bridge where you'll find armor in the room ahead. This room is inaccessible to those who activated the EFR.
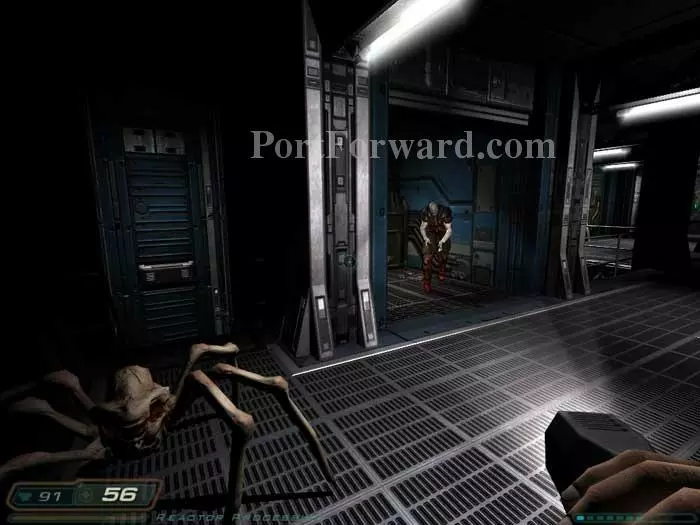
An Imp is waiting inside this hidden compartment. Defeat him then climb the ladder.

Battle Maggots, Trites and an Imp down this corridor to a ladder far-right.
Grab the armor on the right before following the service bridge to the door beyond.
Battle this Maggot and a Trite before healing at the station on the right.

Climb this ladder. Note the armor in the corner.

This Z-Sector attacks through the door. Storage locker 064 is accessible only to those who have extended the service bridge, and can be opened with code 651. Inside you'll find cells, armor and shells.
Through a series of doors then down these stairs you'll encounter a swarm of Trites. Your best bet is to hunker down in this corner and fire in short bursts. Armor and a medkit are under the stairs below.
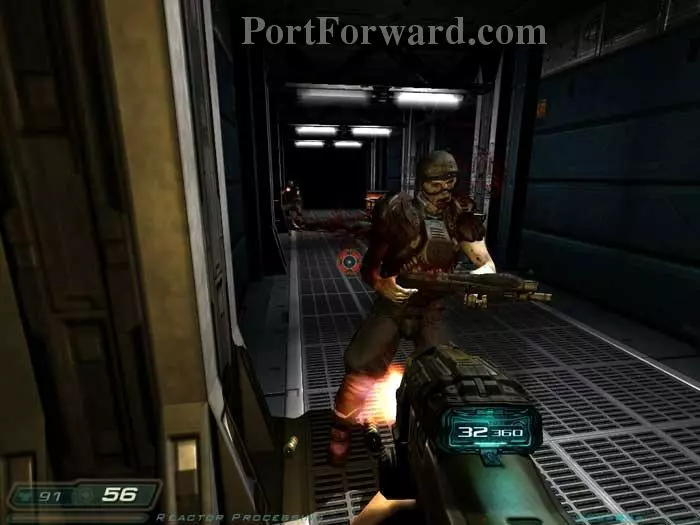
Cross the service bridge and battle these well-entrenched Z-Sectors.
This is where the EFR and service bridge paths converge. Two medkits and an adrenaline hypo are found here.
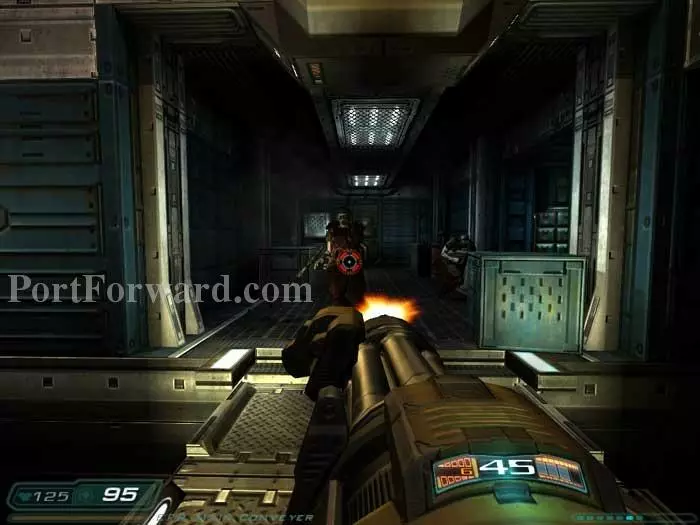
Up some stairs and through a door you'll battle this Z-Sector. Remember to save some chaingun ammo.
Peer through this window up ahead to witness Campbell and Swann blowing up some Trites with the BFG.
Don't be caught off guard by this Imp lurking in an alcove to the right. Inside the alcove you'll find two clips.
Heal at this station and save your game before continuing through the opposite doors.

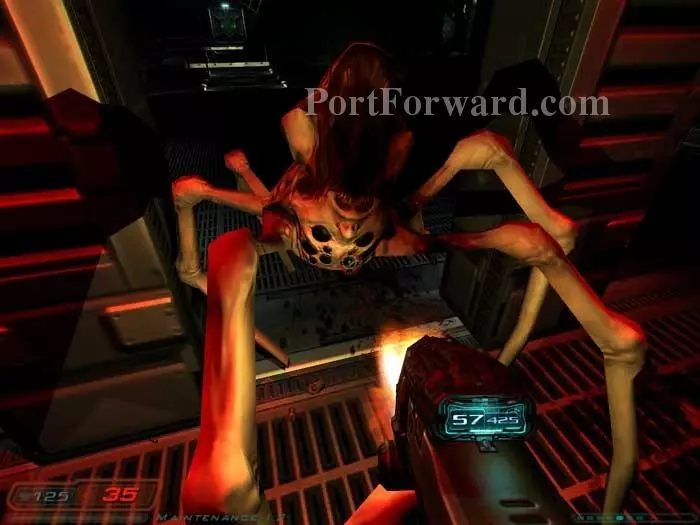
Yikes! A cutscene introduces your first boss - Vagary.
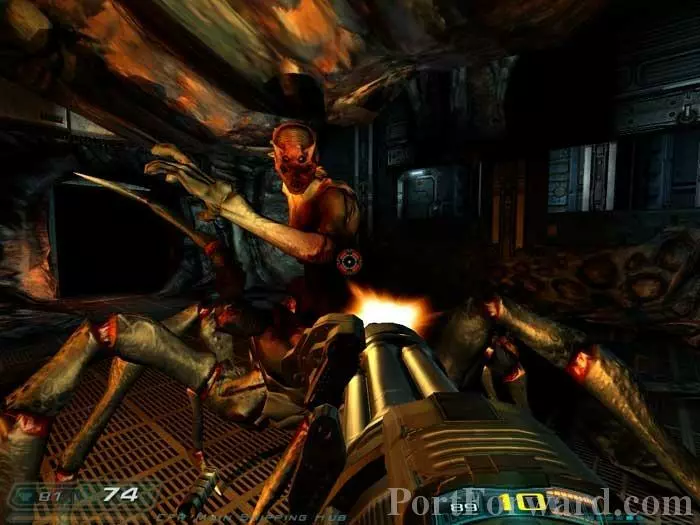
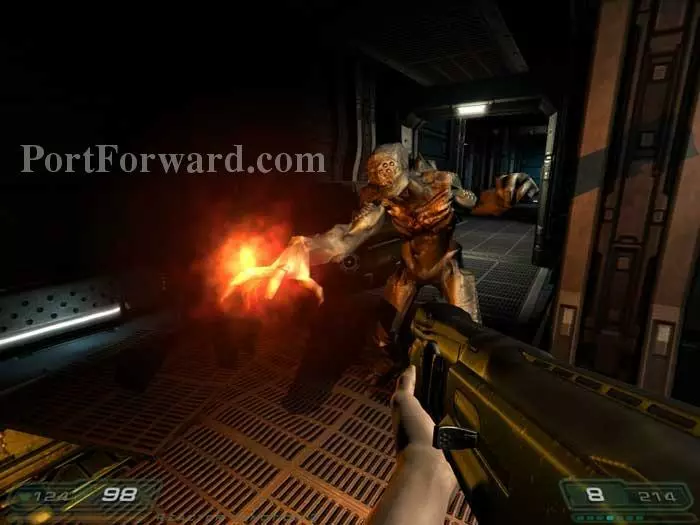
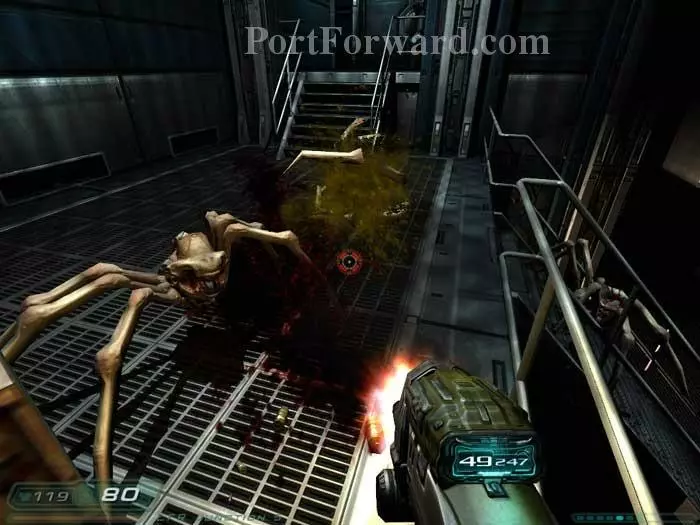
This is what you've been saving your chaingun ammo for. Unleash your chaingun on Vagary, dodging the objects she hurls at you with her telekinetic powers. Don't let her get this close.
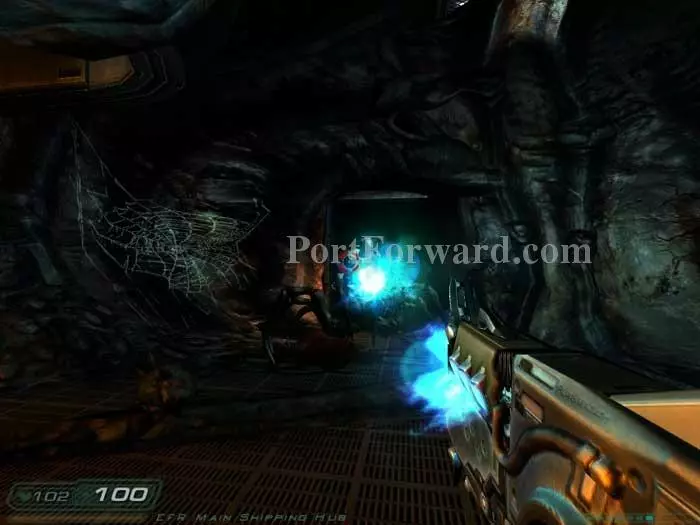
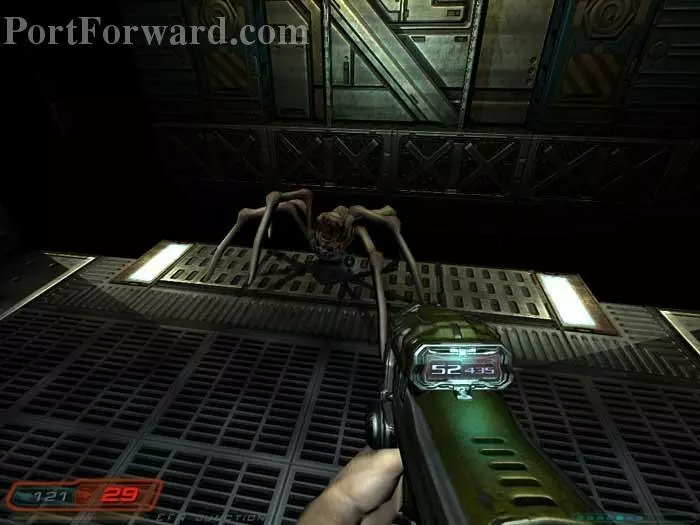
Of course, if you have the plasma gun, it's time to let 'er rip! My preference still goes to the chaingun for this fight, but you'll want all the firepower you can muster against Vagary.
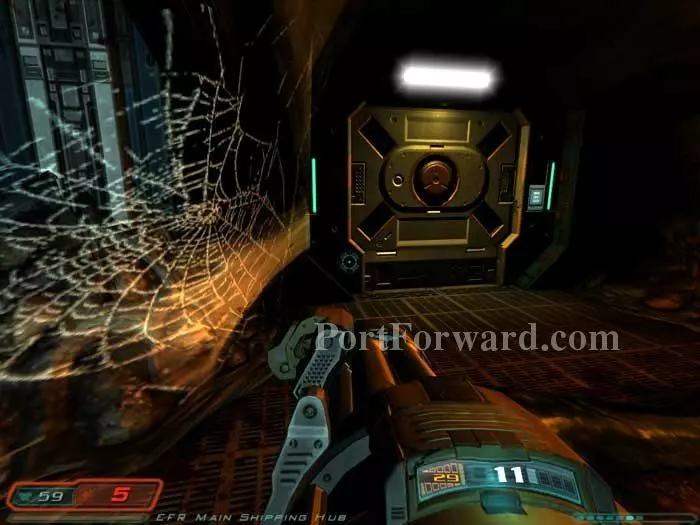
Once Vagary is defeated, open this now-unlocked door.
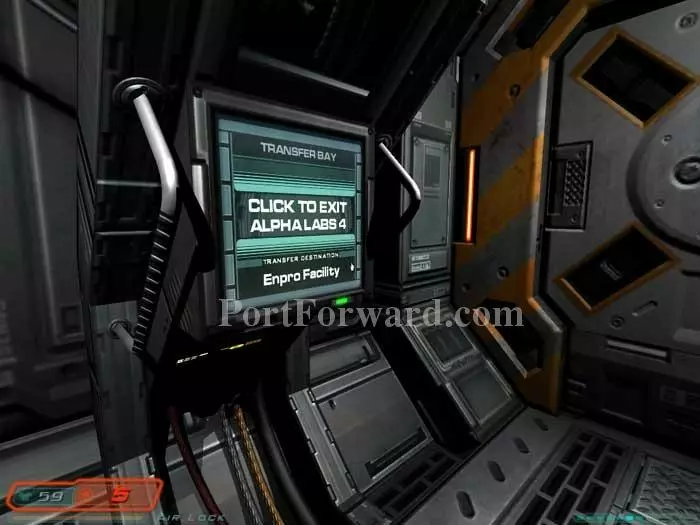
Activate the transfer bay panel to load the next level.
More Doom 3 Walkthroughs
This Doom 3 walkthrough is divided into 27 total pages.