
This Doom 3 walkthrough is divided into 27 total pages.
You can jump to nearby pages of the game using the links above.
Alpha Labs Sector 2

Advance up the stairs and these two Imps spawn.
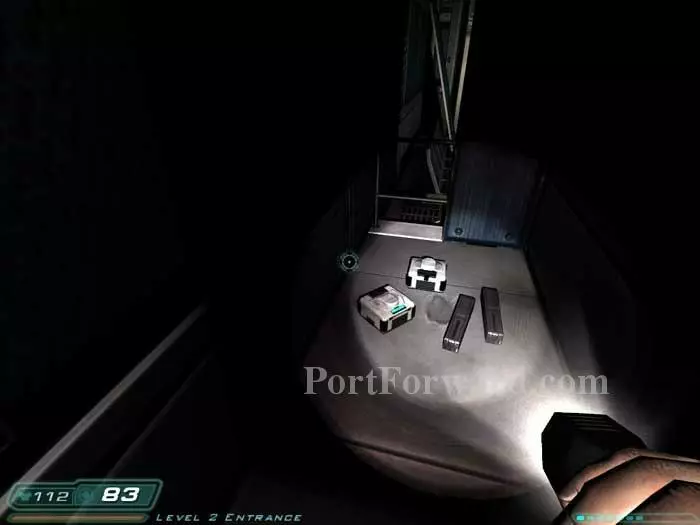
Don't miss this armor and ammo around the right corner before exiting out the door.

This Imp spawns in the doorway behind you.
The door on the left opens just enough for this Z-Sector to shoot at you.
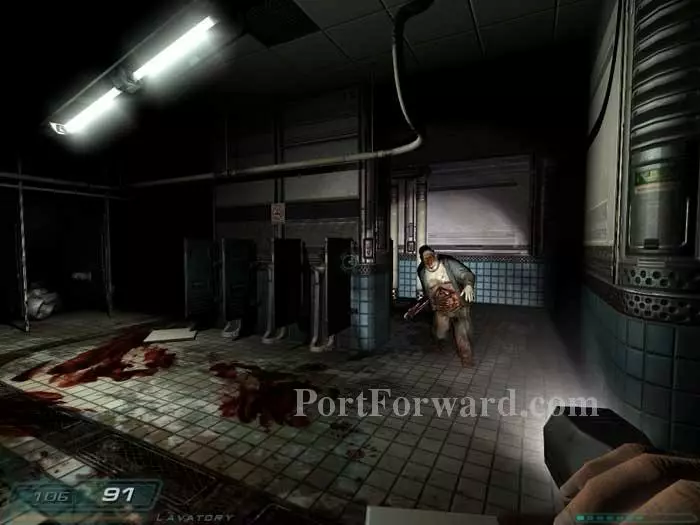
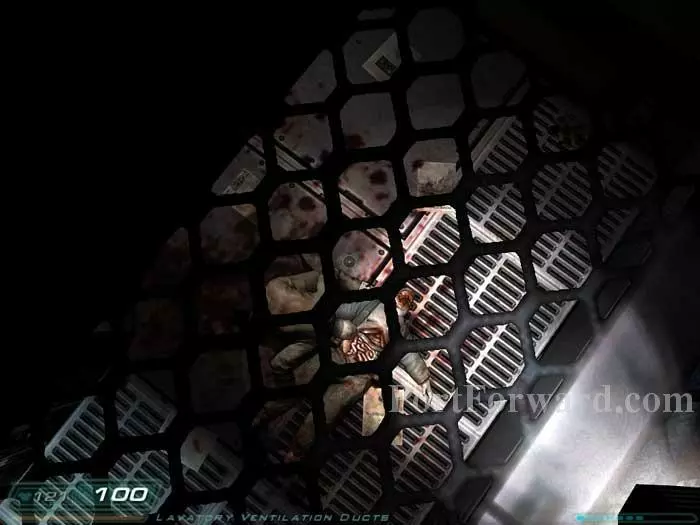
Enter the restroom to do battle with three zombies and a maggot.
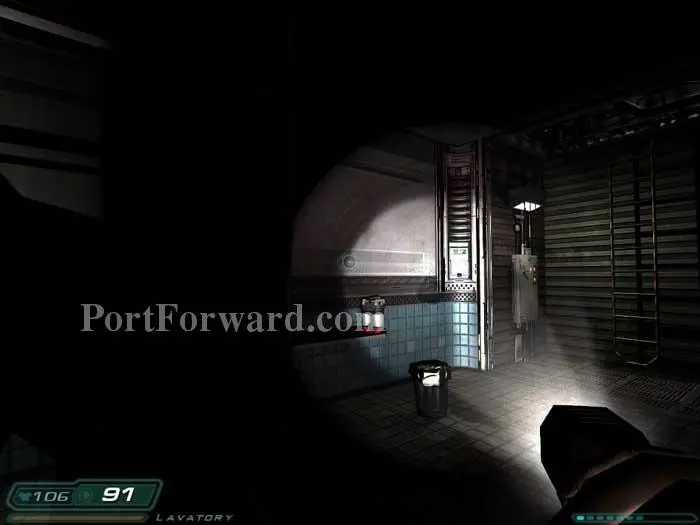
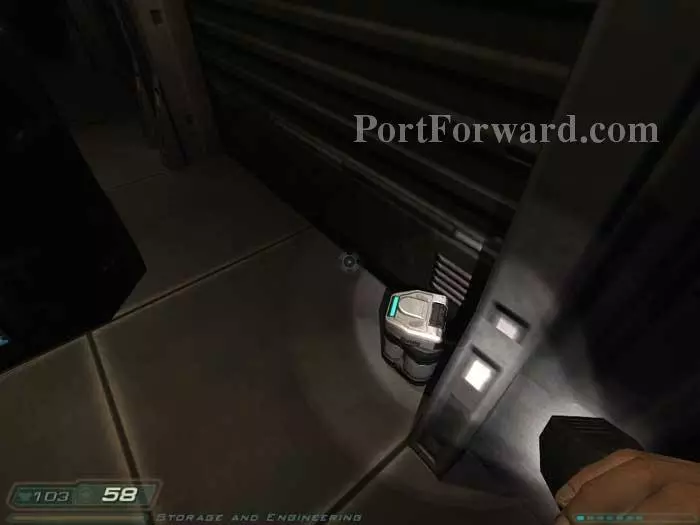
You'll find grenades in the handicapped stall, plus this medkit seen here. Climb the ladder on the right.

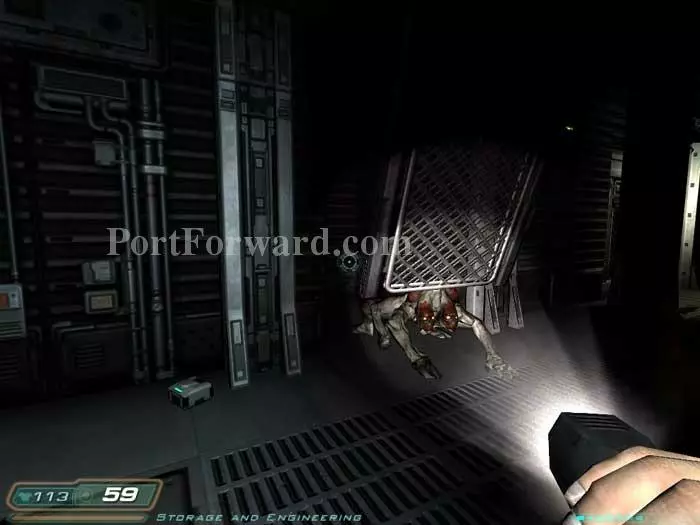
A radio transmission is heard from someone trapped in storage room C4. Sadly, that's the last you hear from him. Ready your shotgun and stay right as you crawl through the shaft. As you approach this cache of health and armor a maggot attacks. A weapons clip is to the right. Update: Herman from the Netherlands sends note that there are more signs of the trapped man later on.
Follow the other branch of the shaft and witness this zombie feeding.

Drop below and battle two Imps and this maggot.

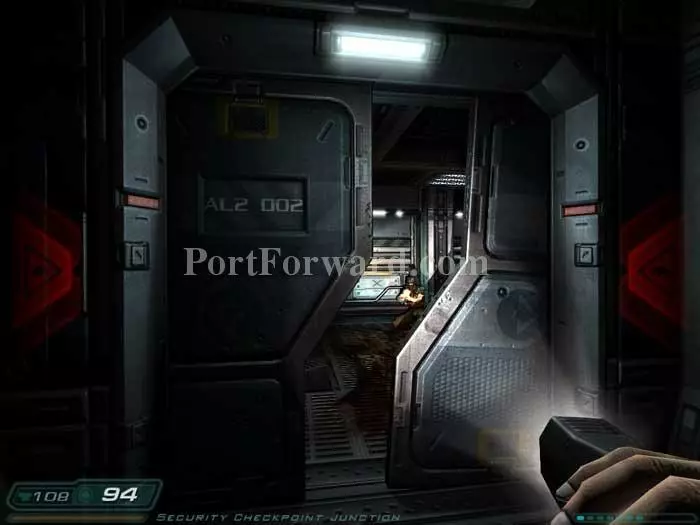
Enter the security checkpoint on the right to find the feeding zombie you witnessed earlier. Both zombies arise and attack. Note the health station in the back.
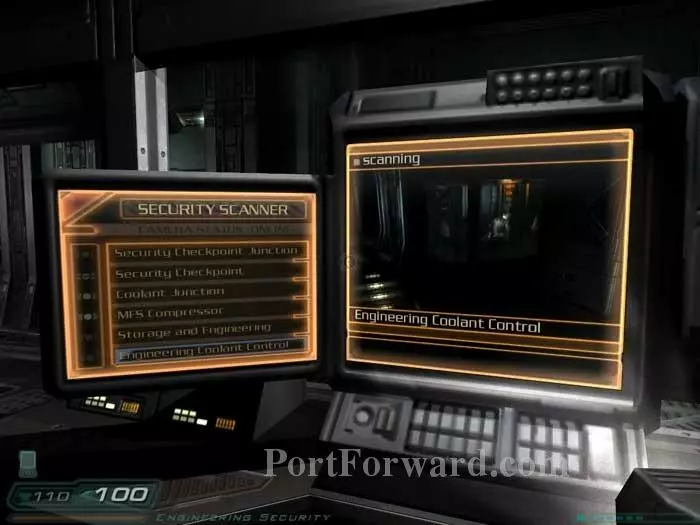
On the left counter is the PDA for Andrew Chin, revealing the code for storage cabinet 038 to be 409. Also here is this security scanner, where you can see that someone is in engineering coolant control. Select "security checkpoint" to view yourself.
Return to the hallway. Grab the armor seen under the floor before passing through the door on the right, then through another door.

Pop a maggot with your shotgun and an Imp spawns behind him.

The corridor depressurizes, but you still have time for a quick view of the Martian landscape.
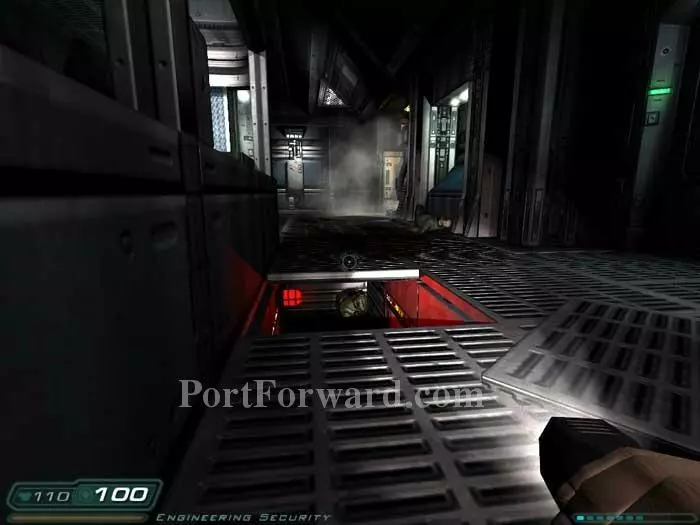
Pass through two more doors and show your shotgun to this Z-Sector. Watch the UAC video to learn about the MFS Compressor.
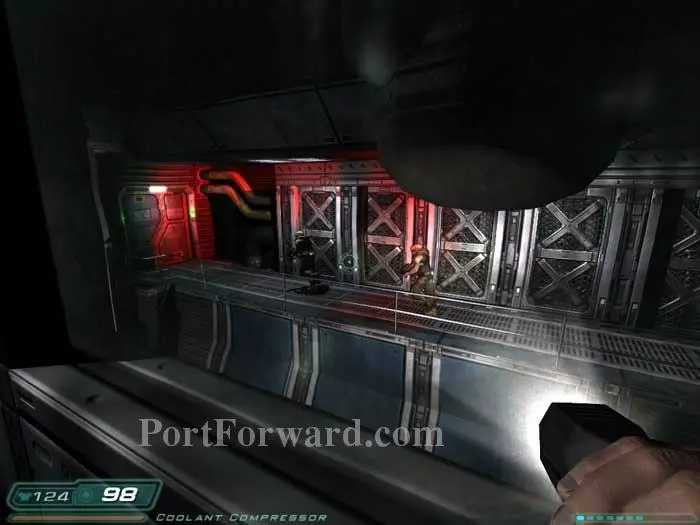
Press on and spot your fellow Marines through this window.

Defeat this maggot and two Z-Sectors attack.
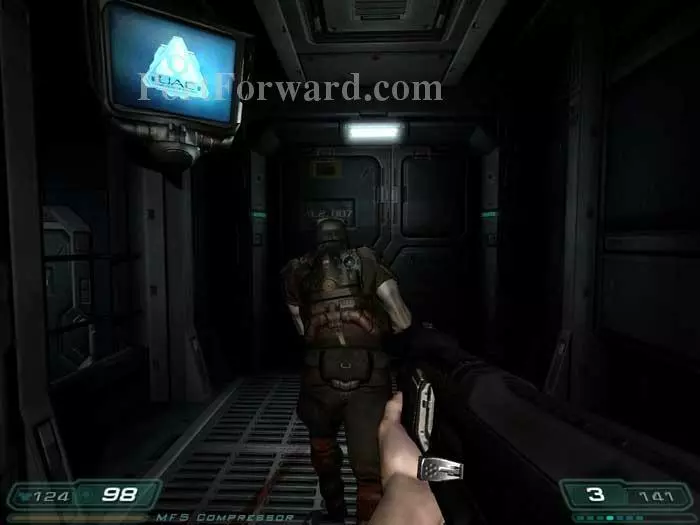
On this left counter is the MFS Compressor video and Walter Connors' PDA, revealing the code 102 for storage cabinet 039. Before heading through that door ahead...
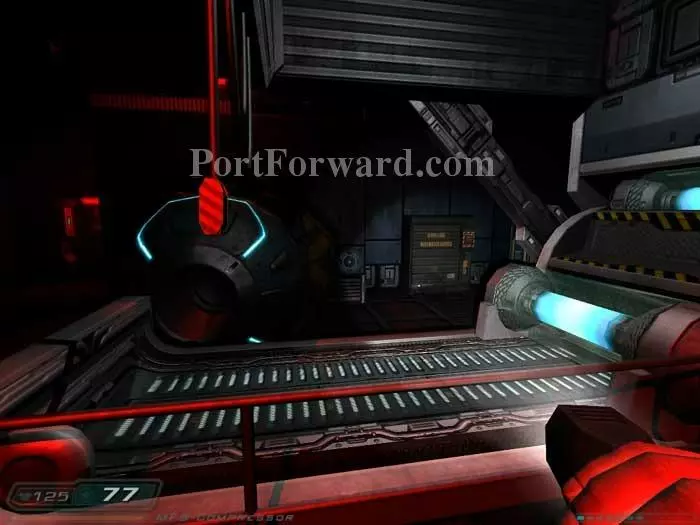
...hop across the compressor to storage cabinet 038. Unlock it with code 409 to find a clip, grenades and armor.
Press on to battle two Z-Sectors and an Imp -- they're far enough away that grenades are a safe choice. Just when you think you're done, this maggot crawls out from the left wall -- switch to the shotgun. Note the medkit on the left. In the crawlspace behind the maggot is an ammo belt and a clip.
This medkit is tucked around the right corner. A clip and another medkit are available along the left wall. Herman from the Netherlands writes that if you walk a bit left of this frame, you can find evidence of the trapped man noted earlier: "You'll find a floor panel which is damaged, it looks like someone was scratching there. If you'd shoot that panel, it will fall down and reveal a ladder to a room with an imp, 2 clips (60 bullets a piece) and some shells. After you shoot the barrels beside the ammo, you can find security armor and another clip. When entering the room you'll hear another radio transmission, too."
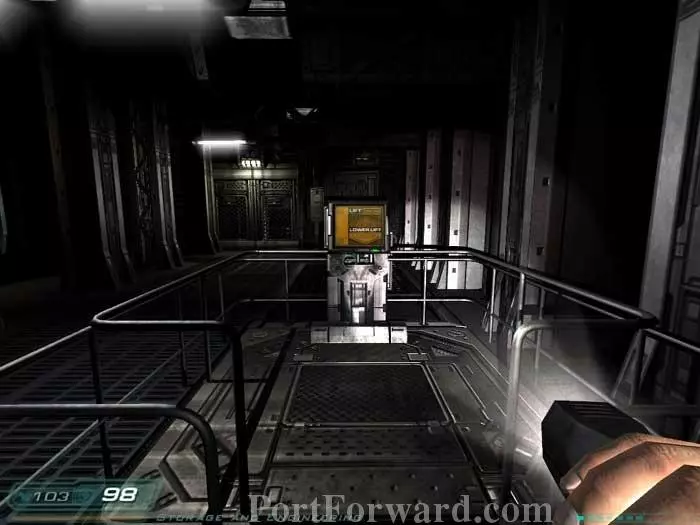
Ready your shotgun and ride this lift down.
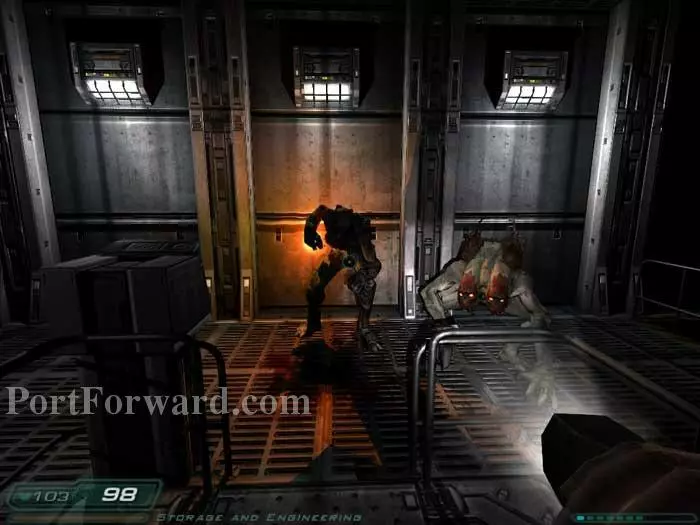
Defeat this Imp/maggot tag team.
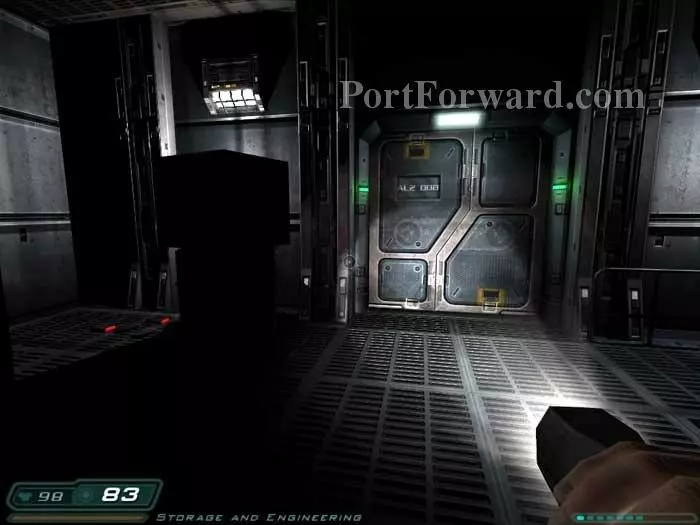
Grab a medkit and armor on the left before continuing through this door, where you'll find a clip to the right.

It's the guy you saw on the security scanner. He offers to lead you out of here if you protect him. Time for an escort mission!
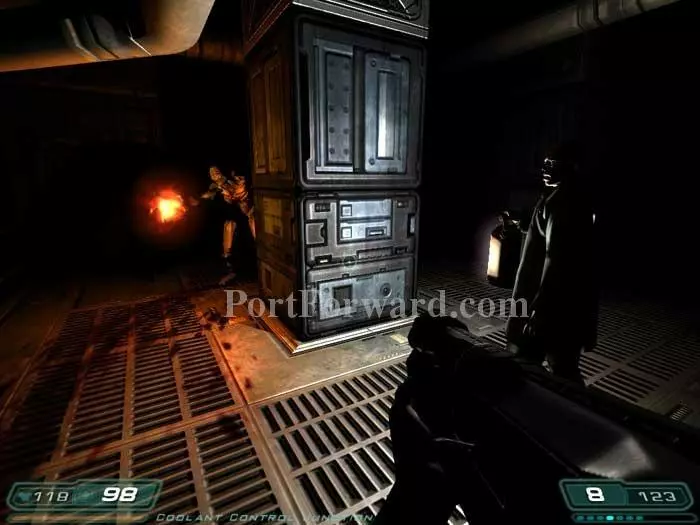
You'll have a couple false starts before this first attack. The power goes out, then you hear a loud clank, and then this Imp attacks.
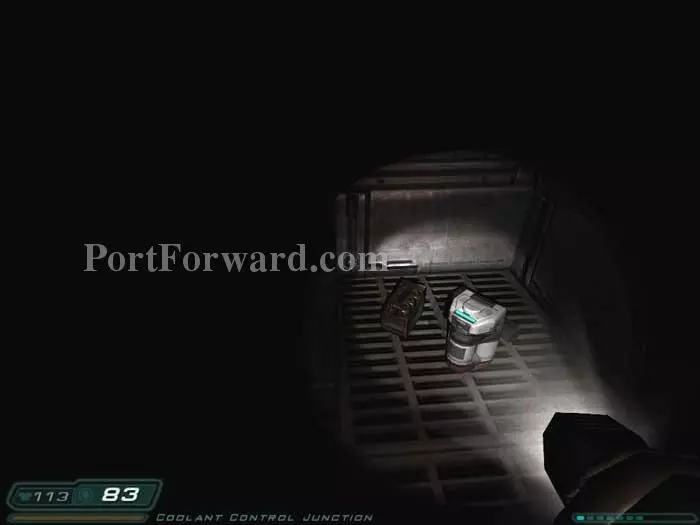
Don't be in a panic to keep up with Edwards. He'll wait and you'll find goodies like this clip, shells, and medkit in the left corner before he descends the stairs.
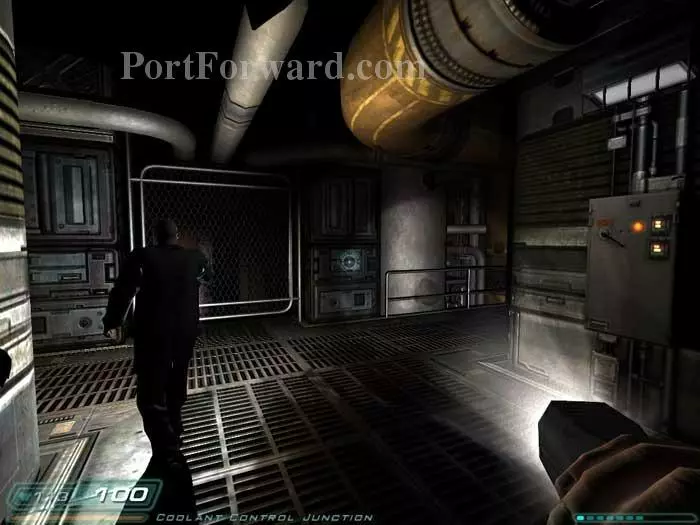
Just after the stairs, Edwards turns left here. You turn right and take out an Imp in the corner. A bag with grenades, a clip, shells and bullets is back there as well.
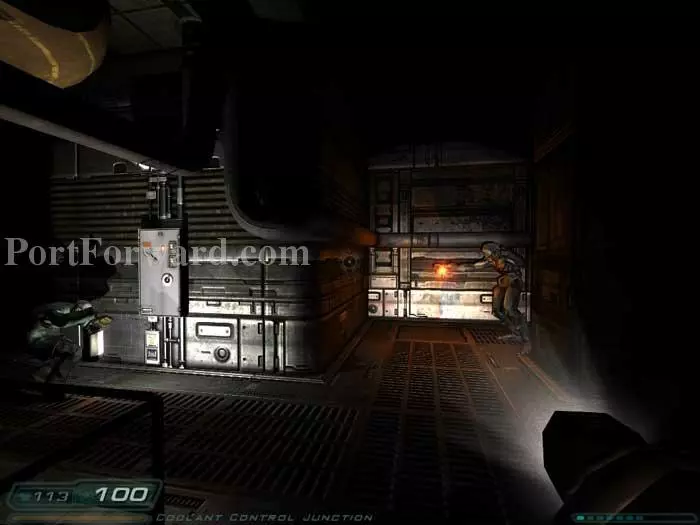
The power goes out again. Edwards turns left; this Imp attacks from the right.
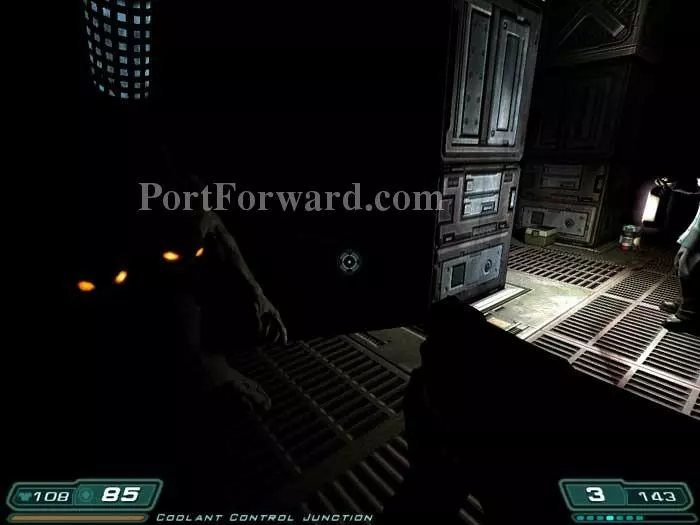
The glowing eyes reveal your next foe to be a maggot. Note the medkit, clip and shells on the right. Edwards spots the exit. Poor Edwards.
As your near that ladder, the lights fail and this Imp leaps out of the darkness. Edwards doesn't make it.

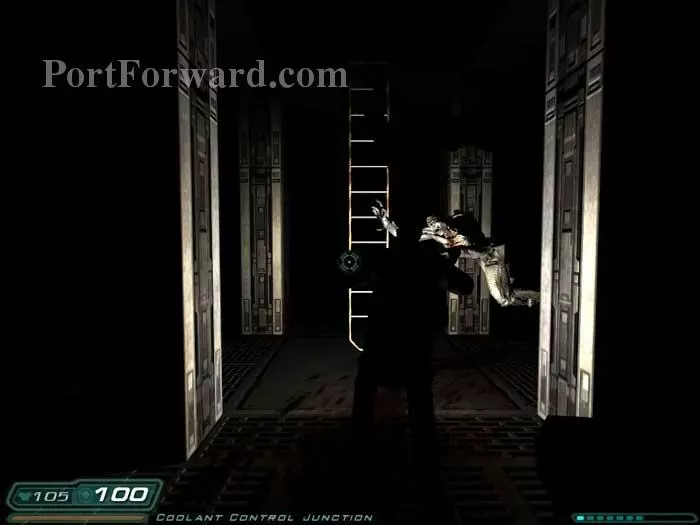
Another Imp has spawned behind you. Defeat both Imps then climb the ladder.
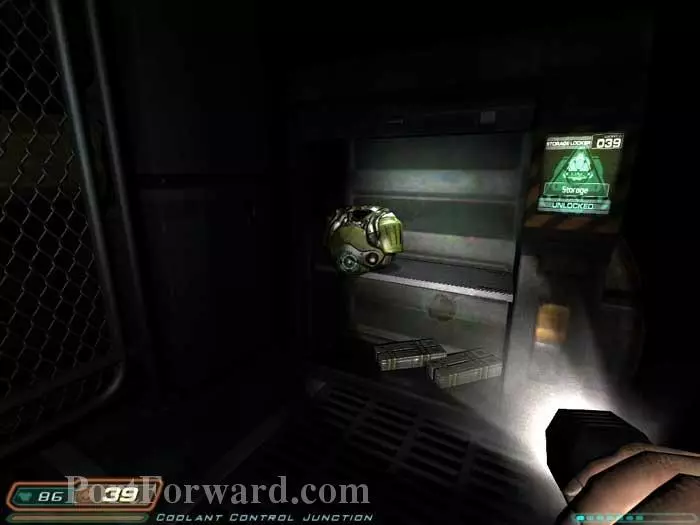
Before charging through the door at the top of the ladder, look back to find locker 039. Open it with code 102 to find armor and ammo.

Hop across these pipes to the walkway on the other side.

Crouch through this crawlspace. Crawl through spider webs, see spidery shadows and hear a strange clicking sound.
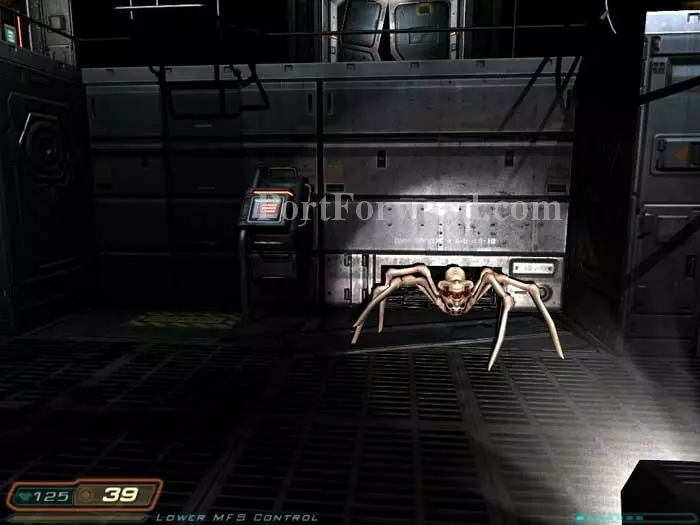
Meet your next new foe - the Trite. Pop his juices with a few rounds from your machine gun.

You're safe for the moment. Heal at this health station and grab armor and ammo here.
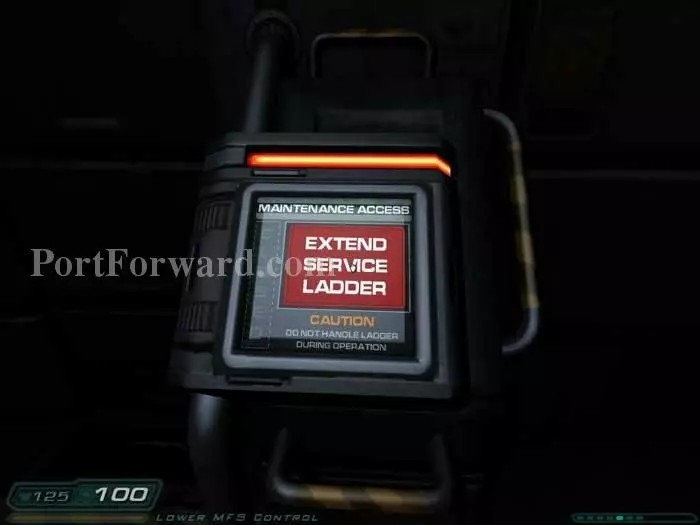
Ready your machine gun and activate this panel.

The service ladder doesn't extend right away, and a swarm of Trites attacks. Use short bursts on your machine gun. It only takes a few bullets to pop a Trite.

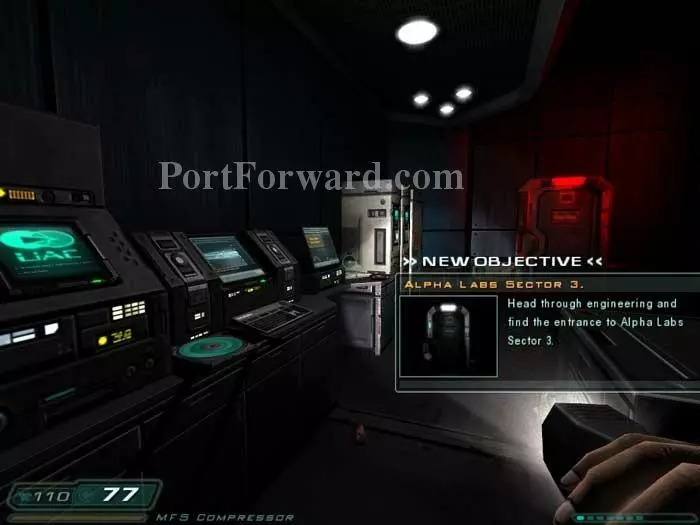
Climb the ladder once it finally extends. Another wave of Trites attacks, but you don't have to battle them. Head into the elevator on the left and the Trites won't follow. Activate the panel on the left to end the level and proceed to Alpha Labs Sector 3.
More Doom 3 Walkthroughs
This Doom 3 walkthrough is divided into 27 total pages.


