
This Doom 3 walkthrough is divided into 27 total pages.
You can jump to nearby pages of the game using the links above.
Alpha Labs Sector 3
The action starts right away when this Imp attacks as you step off the lift. Shells and a medkit are behind the crates on the left. Switch to the chaingun and take out a series of Z-Sectors.

This Imp drops from the ceiling, followed by another Z-Sector.

Switch back to your machine gun and head left after the stairs. This maggot and a swarm of Trites attacks. Note the armor behind the crate on the right.
You don't have access to open the door at the end of the hallway - yet.

Proceed up the adjacent corridor and attract the attention of this maggot and more Trites. Bypass the door on the right for now. Instead, heal at the health station around the corner.

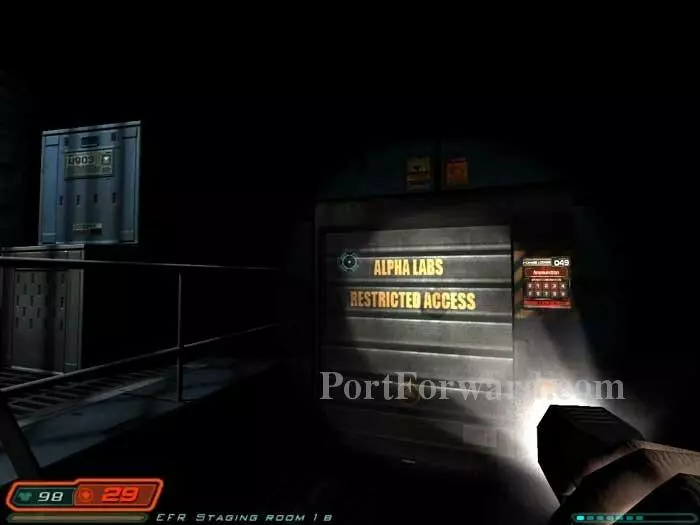
Approach this door a bit farther along the corridor to update your objectives.
Proceed through the door you just bypassed and pick up Mark Lamia's PDA and listen to his audio log. He's changed the storage locker codes to 123 for easier recall by his dim employees. You'll hear Z-Sectors move into position in the hallway behind you.
Toss a grenade at this Z-Sector behind the crate or another will spawn to help him out.
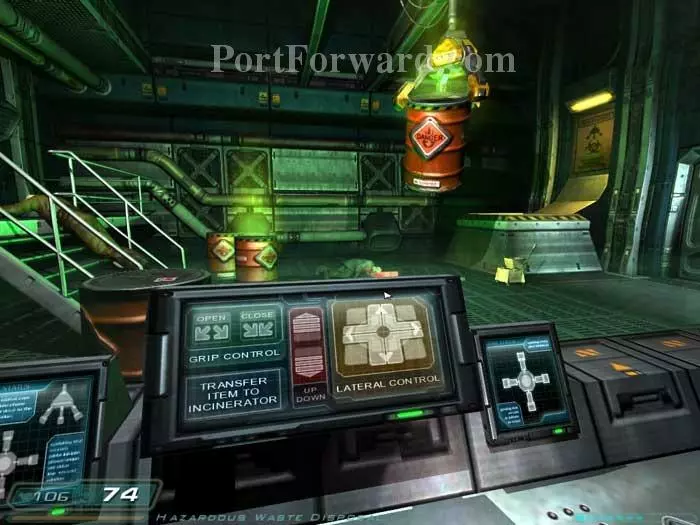
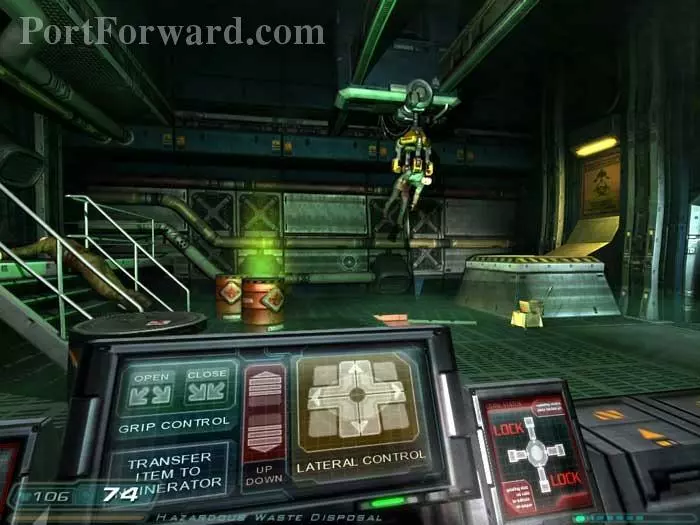
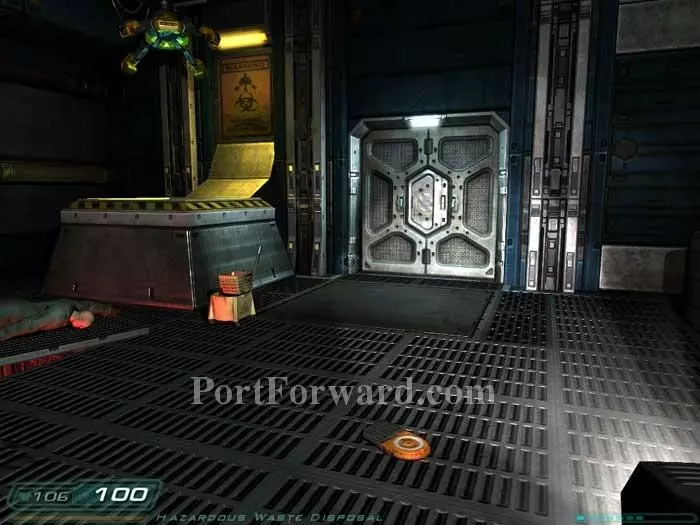
You need to drop the two barrels venting toxic gas into the incinerator in the far-right corner. Use the brown arrow controls until the blue crosshair display on the right glows with a red "Lock." Then use the red down arrow to lower the claw. Next, press the green "Close" button and the claw will grasp the barrel. Raise the barrel with the red up arrow, then follow with the brown arrows to move the claw all the way to the far-right. Lastly, drop the barrel into the incinerator with the "Open" button. Or, more simply, just click on "Transfer Item to Incinerator." Thanks, Matt.
Hey! That's not very nice!
Return to this door and find the area clear. Grab the orange keycard and continue through the door ahead.
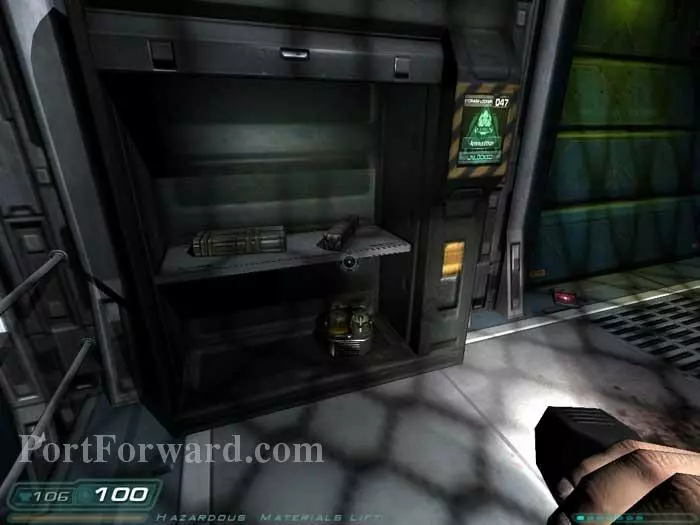
An ammo belt and medkit are to the right after entering. In the back is this storage locker, opened with code 123. Grenades and clips are your reward. George Poota's PDA on the right has a spam email urging you to visit the Martian Buddy Web site.
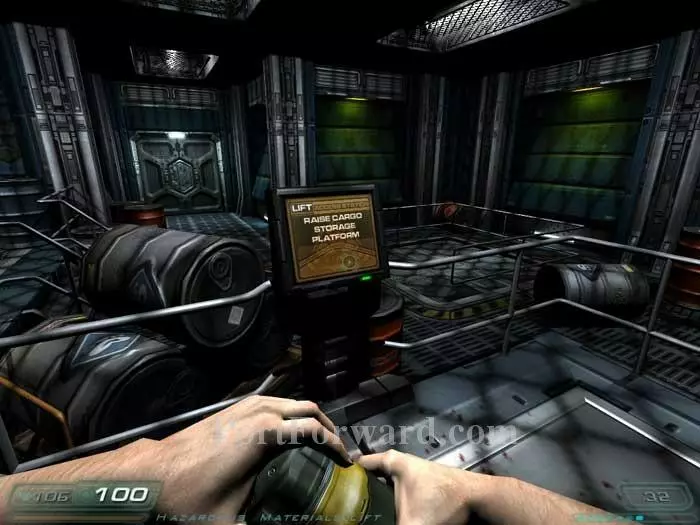
Raise this cargo platform and toss a grenade or shoot the explosive barrels to defeat the two Z-Sectors riding it up. Grab the armor that is left on the platform.

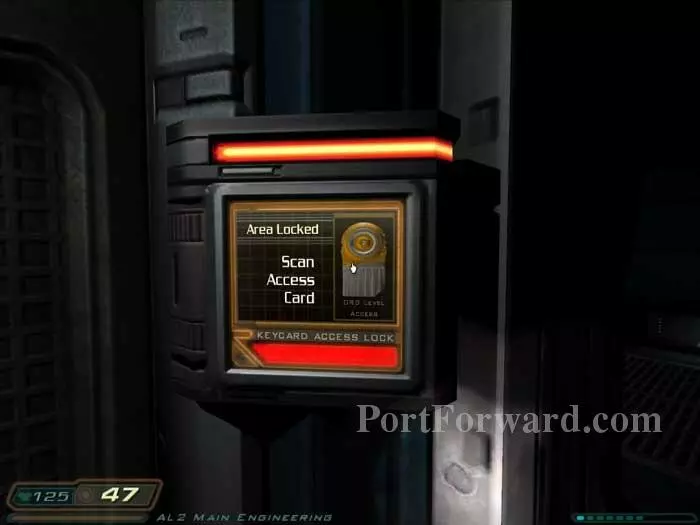
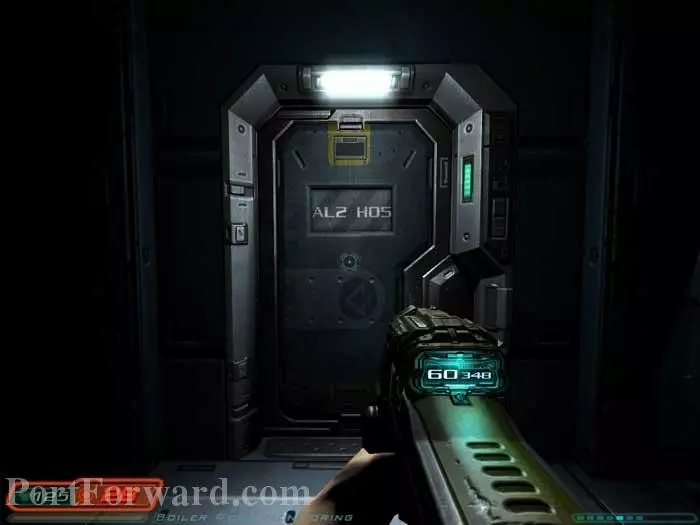
Return to this door and unlock it with your new keycard.

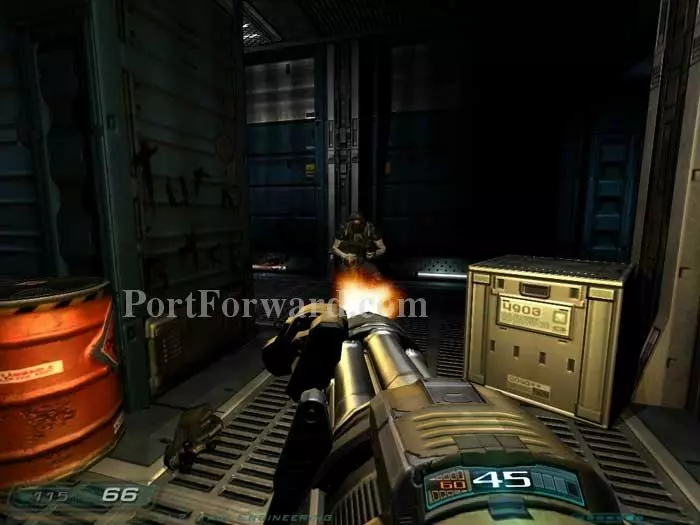
A Z-Sector attacks, followed by an Imp and then a swarm of Trites.
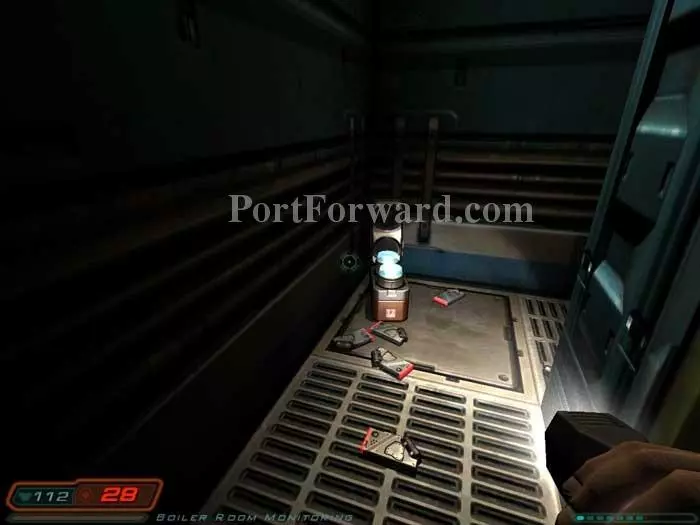
Grenades are behind some crates in the near-right corner. Follow the pipes under the stairs to find a medkit. In the far-right corner is storage locker 048, also unlocked with code 123. To the left is some armor. Save your game before ascending the stairs.

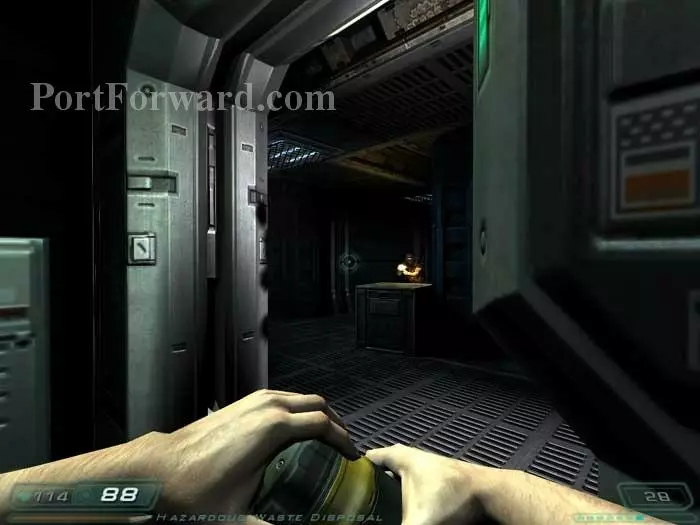
This maggot appears as you approach the door.
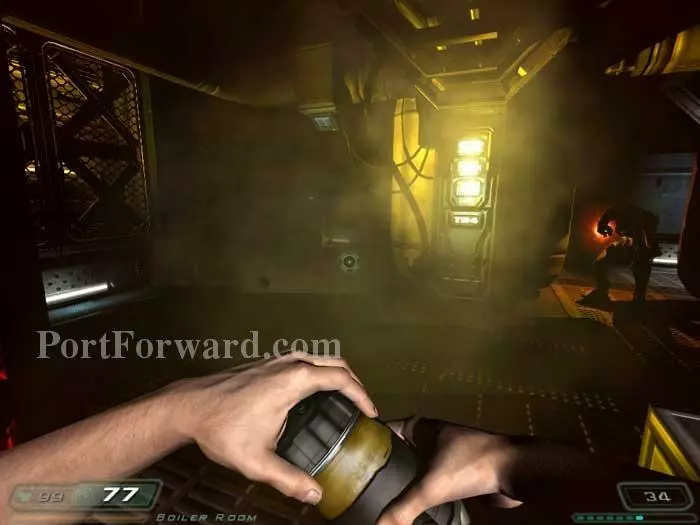
Toss a grenade into that far-left corner to take out a Z-Sector back there guarding a medkit and shotgun shells. Another Z-Sector and this Imp are also waiting for you in here.

Just when you think it's safe this swarm of Trites and their smaller cousins, the Ticks, attack.
Lastly, these Z-Sectors try to finish you off. This is a tough room.

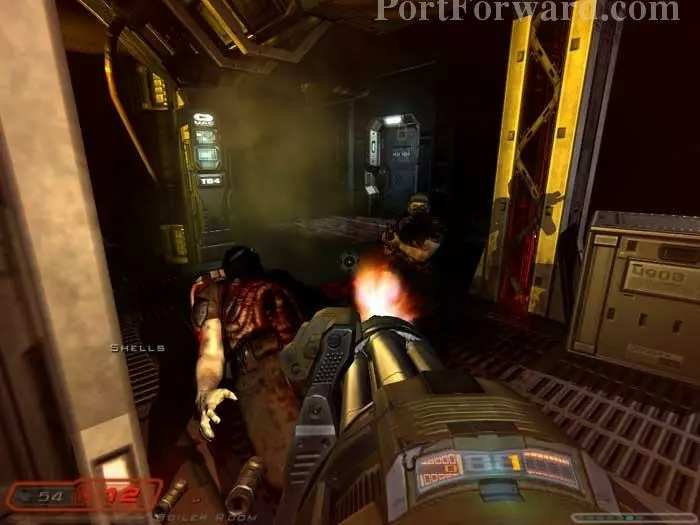
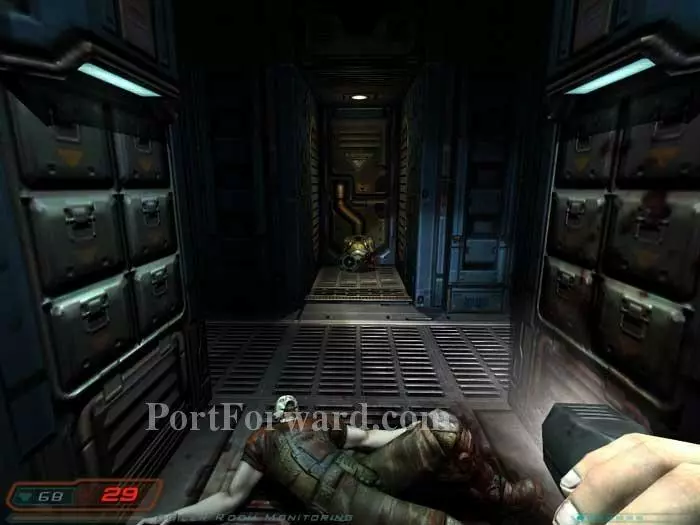
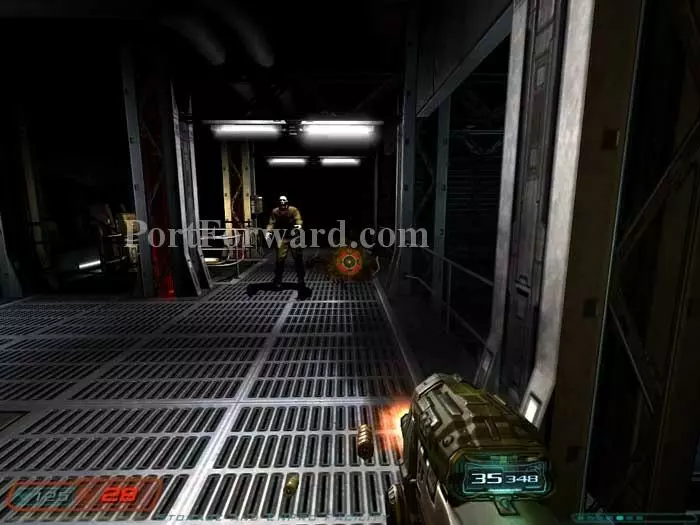
It ain't about to get any easier. Inside this door are two zombies.

Keep left and hear some creepy gasps through this corridor.
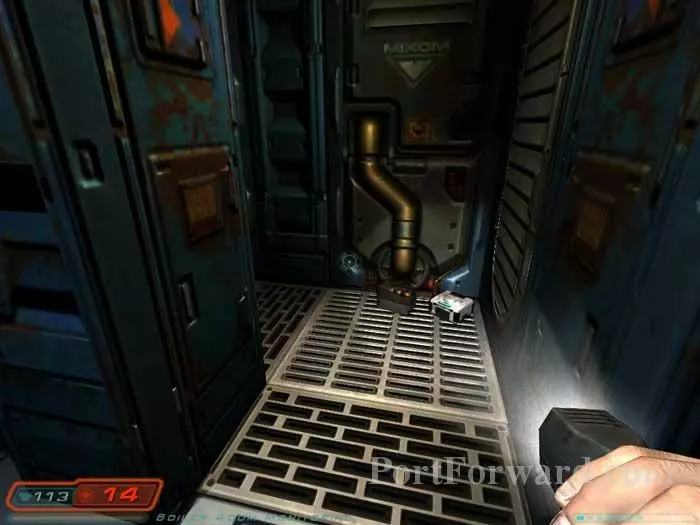
Grab the chaingun ammo next to this body and a secret panel opens beyond.
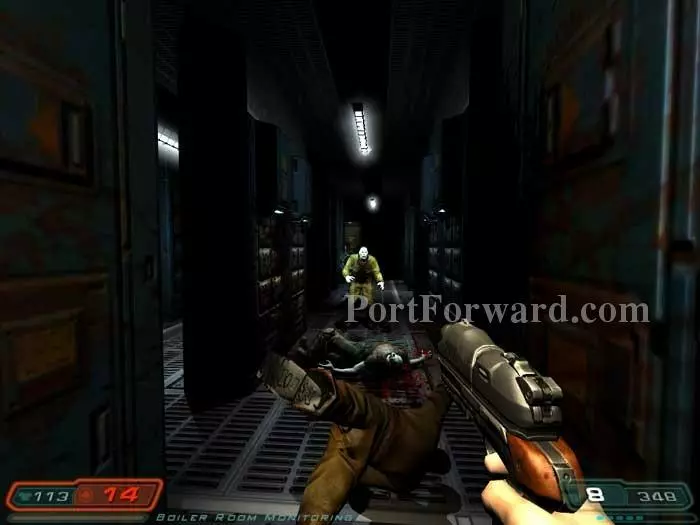
Pick up the armor and the door slams shut. When it opens, you are faced with two Imps and a succession of zombies. Hunker down and start piling up the bodies.
Retrace your steps down the corridor, grabbing this medkit and shells to your right.
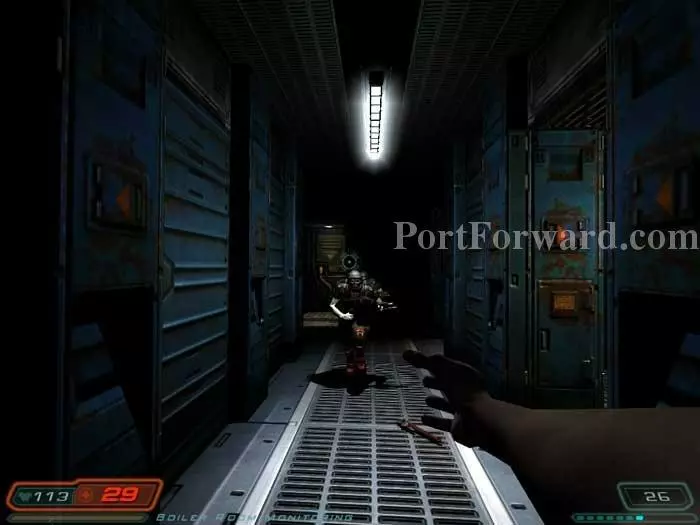
Imps and Z-Sectors attack. Run backwards, tossing grenades down the corridor.
Search the alcoves for this cache of cells and armor.
Ready your machine gun and head through this door.
Spiders and a zombie attack. Grab a medkit from the far-left corner before riding the lift down.

The lift malfunctions. Step off to trigger an attack by Imps and maggots. Return and let them come to you, firing as they approach. Search the crates on the left for a clip and a medkit.
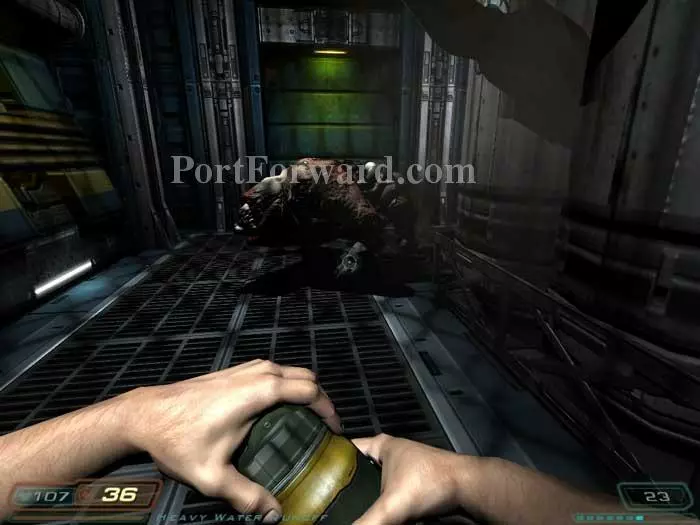
Enter the next room and come under attack by two Pinky Demons! My preference here is the chaingun, but ammo was running low and I had to resort to grenades. It's a bit tight in here and you can easily damage yourself with grenades.

Defeat the two Pinkys and a third one spawns, followed by two Imps. Just keep circling backwards and firing/tossing grenades.

That window breaks, causing air to rush through and debris to fly around the room. Grab a medkit from one of the Pinky closets then jump through the window.
Code 123 will get you into this locker for shells and armor. Bullets are hidden behind the crates to the left.
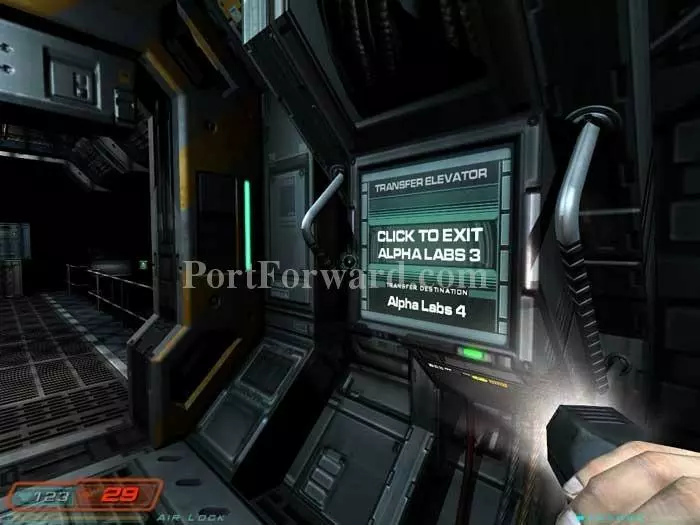
Hop into the elevator and use the panel to end the level.
More Doom 3 Walkthroughs
This Doom 3 walkthrough is divided into 27 total pages.


