This Doom 3 walkthrough is divided into 27 total pages.
You can jump to nearby pages of the game using the links above.
Comm Transfer

You can just make out Campbell and Swann's truck leaving far-right. Armor and shells are to the right, a medkit is to your left.

A single Cacodemon is floating around outside. I'm using a plasma gun here, but I quickly switched to the shotgun as he approached.
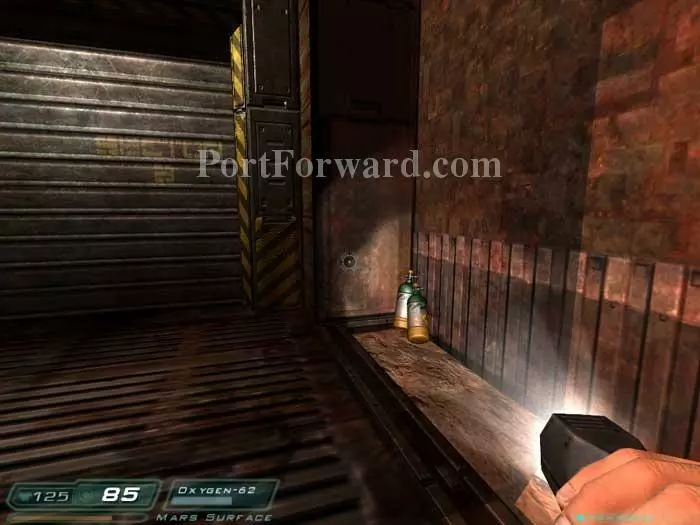
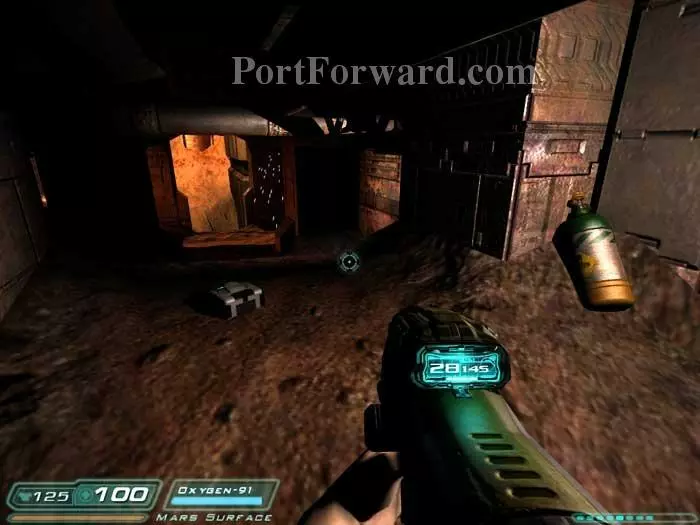
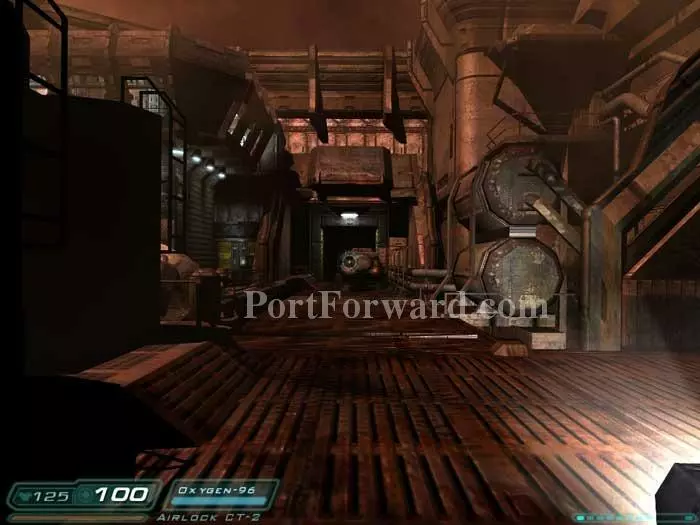
You'll find at least four air canisters such as this scattered around -- plenty of air to make it to the airlock.
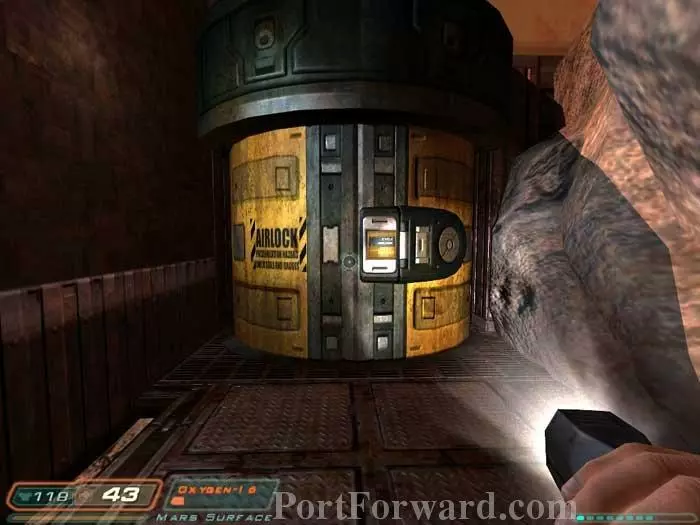
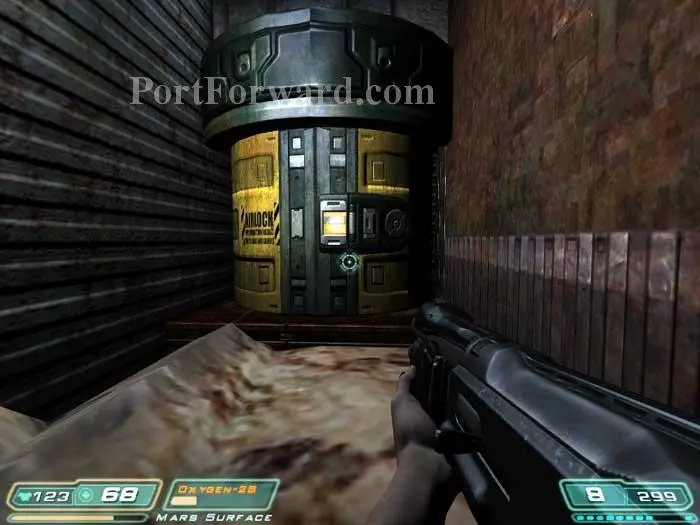
The airlock is located to the right. Open it and repressurize to enter the base.
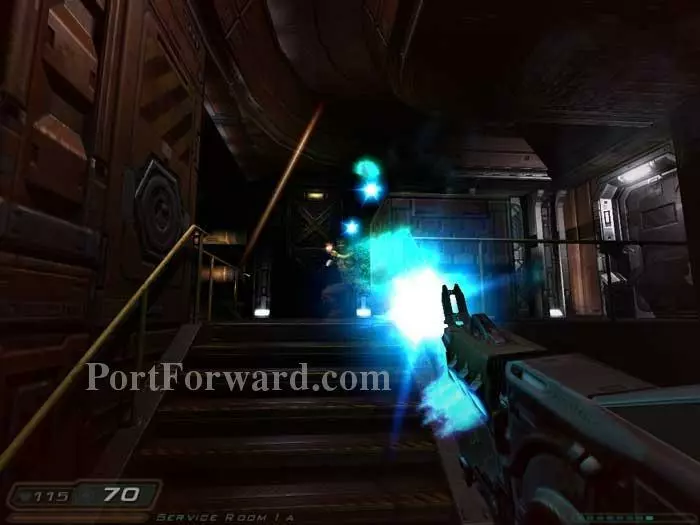
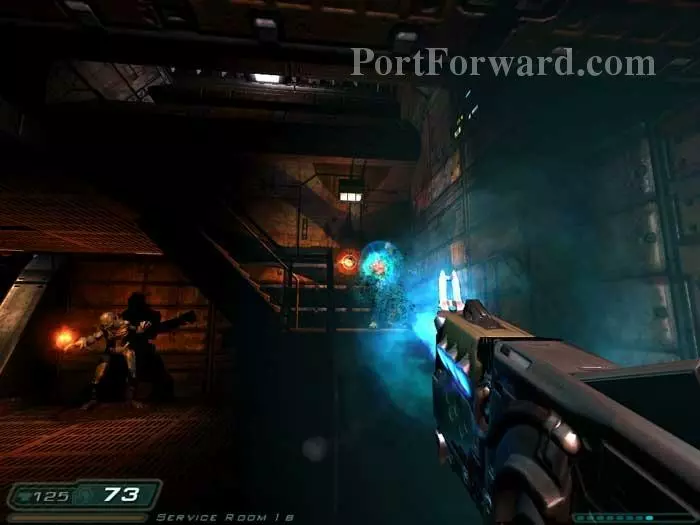
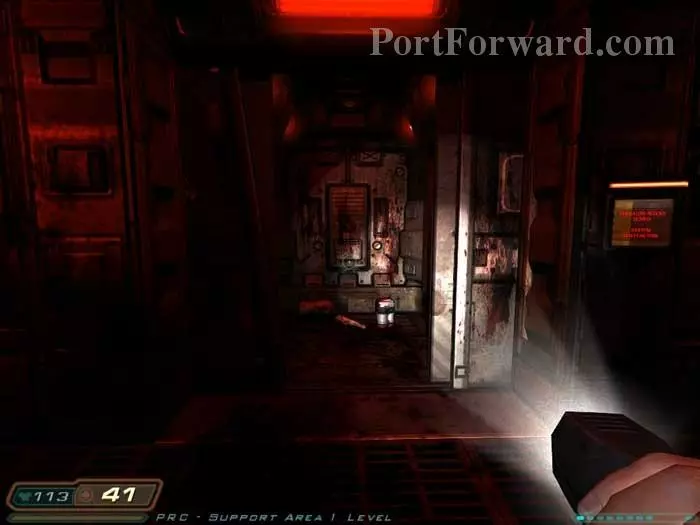
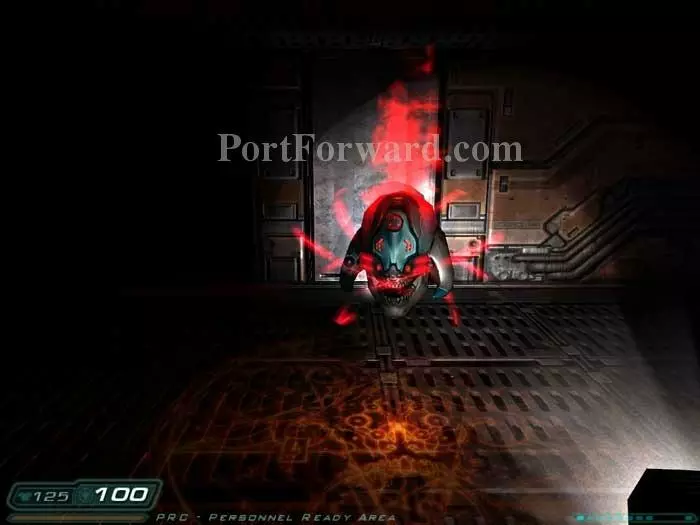
Sarge orders you to pick up the pace. A zombie and this Z-Sector attack as you exit the airlock.

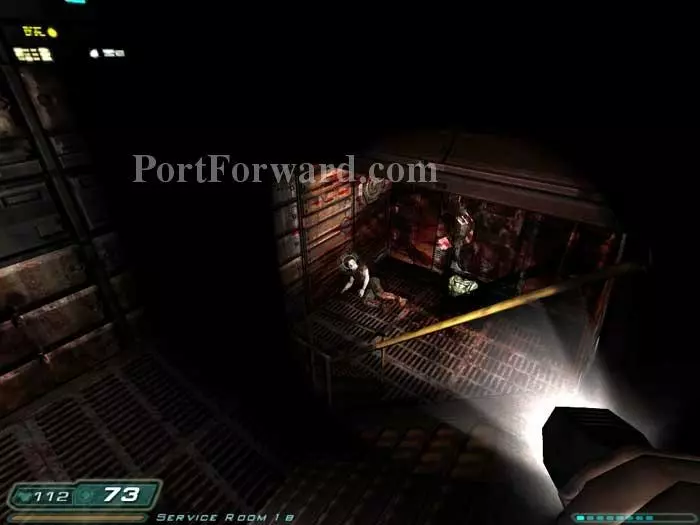
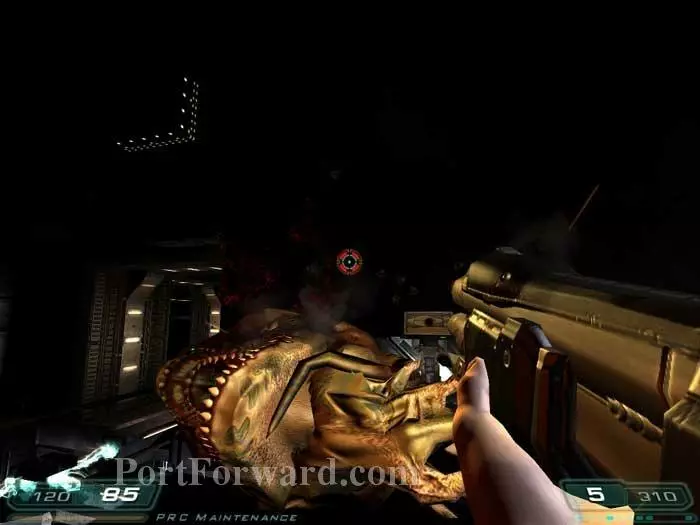
Three Imps spawn. Note the medkit to the left. Search under the stairs for another medkit and some armor.
Fight your way into this next room. Descend these stairs and approach that armor vest below.
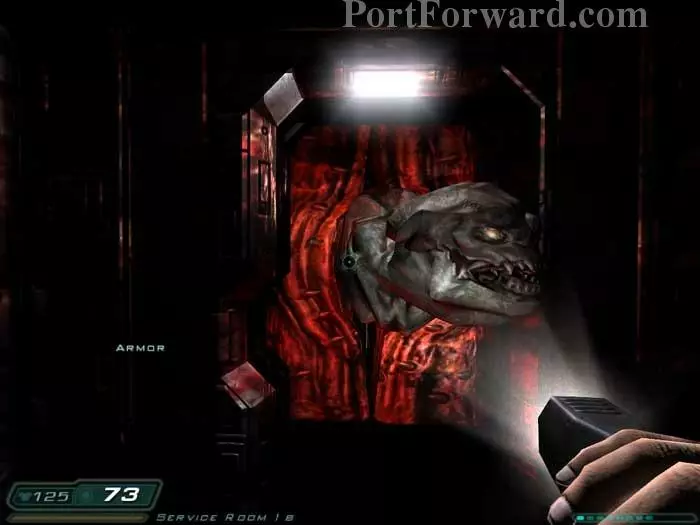
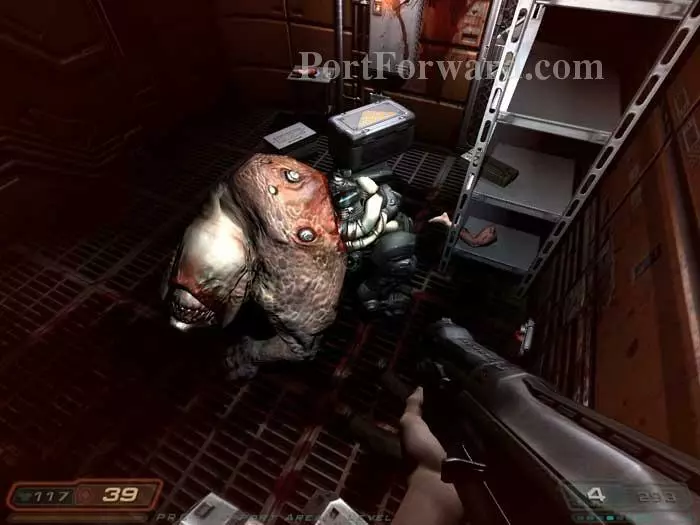
Grab the armor and the door behind it opens. This - whatever it is - pokes its head out at you for a harmless scare.
Two Imps spawn behind you. Search under the stairs for a medkit.

This Imp is guarding shells and a clip on the crate to the left. Head into the crawlspace on the right.
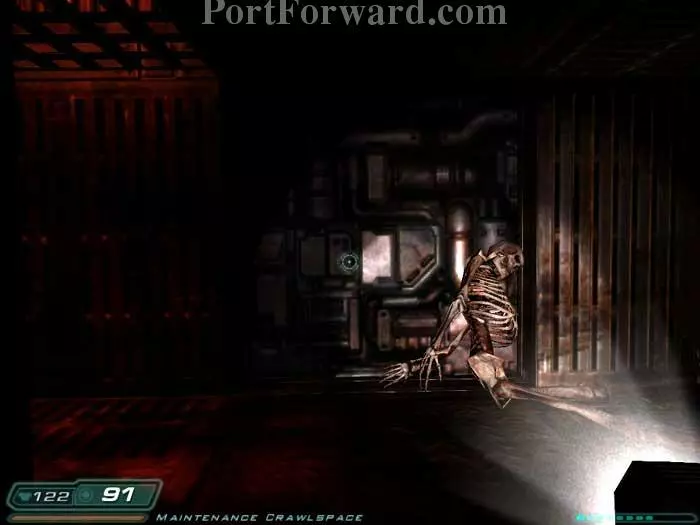
This skeleton slides in front of you and the sound of demonic laughter rattles the crawlspace. Grab a medkit to the left.

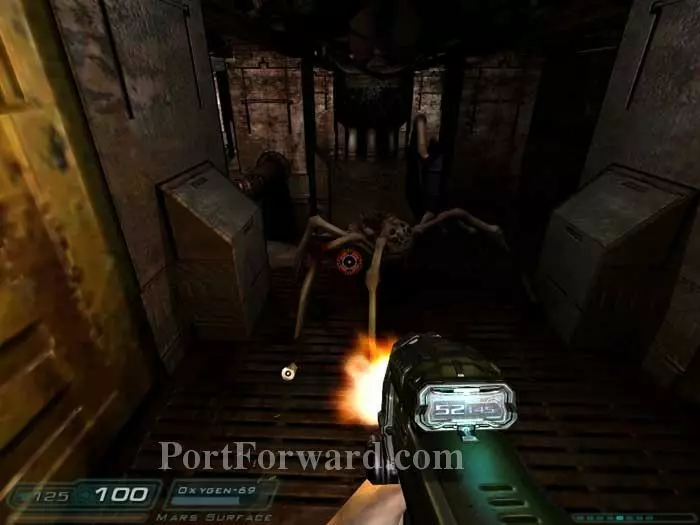
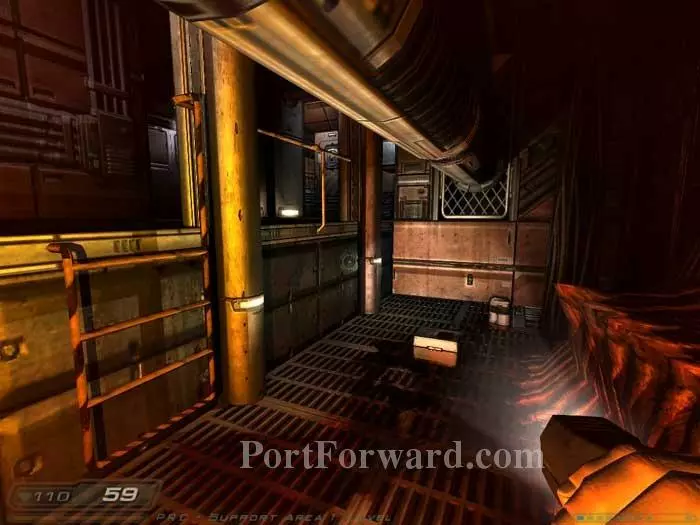
Find shells and armor in the crawlspace before exiting here. Battle the zombie then descend the surface access portal on the left. Make sure all of your weapons are reloaded.
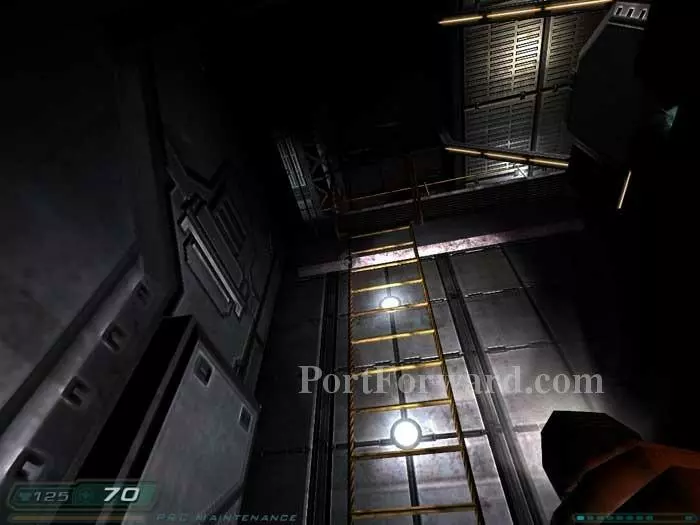
A medkit and armor are at the bottom of the ladder - and a swarm of Trites.
Don't try to clear out all the Trites. There's no air here and you need to keep moving. Swing around to the left and pick up air canisters and medkits along the way.
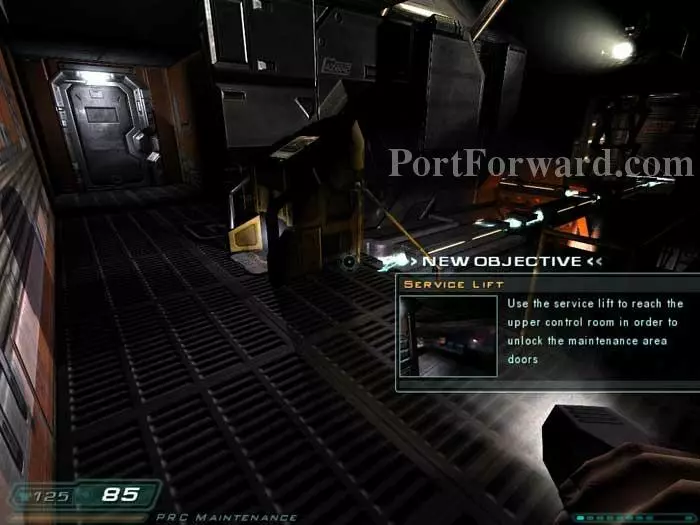
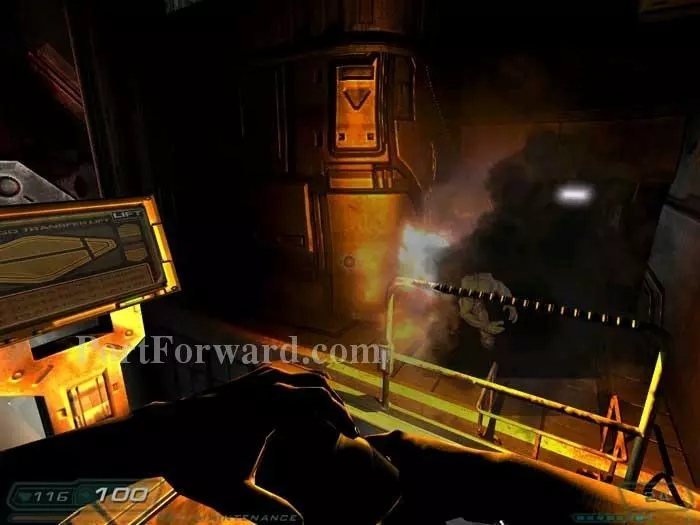
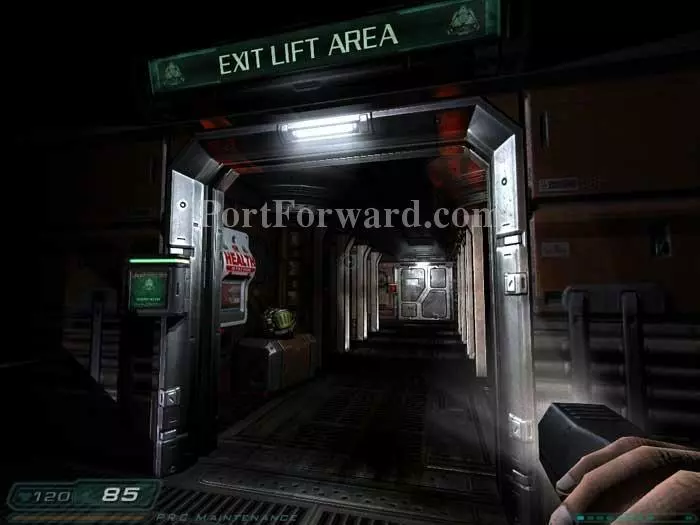
This lift is your destination. Call it and you have to wait for it to descend. Switch to the shotgun to make your last stand.

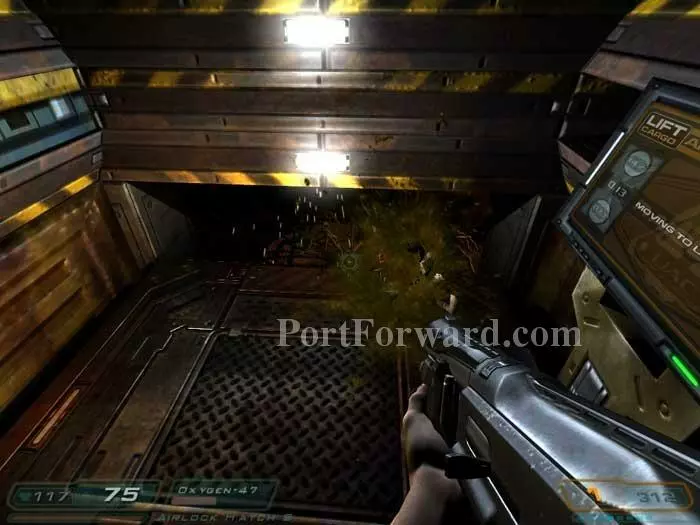
You're not done once the lift surfaces. Toss a grenade to set off some explosive barrels and clear out the Z-Sectors ahead.
Before stepping off the lift, turn right to find these cells, medkit and armor.
A secret panel across the lift raises, revealing this Imp.
Step off the lift - backwards - and defeat this Imp to your upper-left. You can climb a ladder to get armor, but you'll have to battle a Z-Sector and a Cacodemon.
In the next room, this Z-Sector is to your left -- shoot the barrel and hope for the best. A medkit and armor are under a broken door to the right.

Advance to witness the Campbell-and-Swann-mobile speeding away.

Cacodemons! Two in front, one behind.
This medkit is to the right.
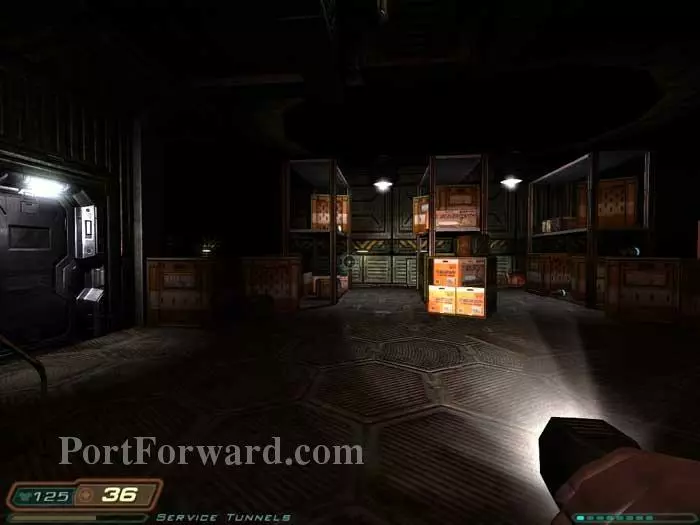
Search these shelves to the left for supplies. An Imp and a Wraith will spawn as you explore. Move the smaller crates to step up to the higher shelves.
Don't miss this nook in the back.
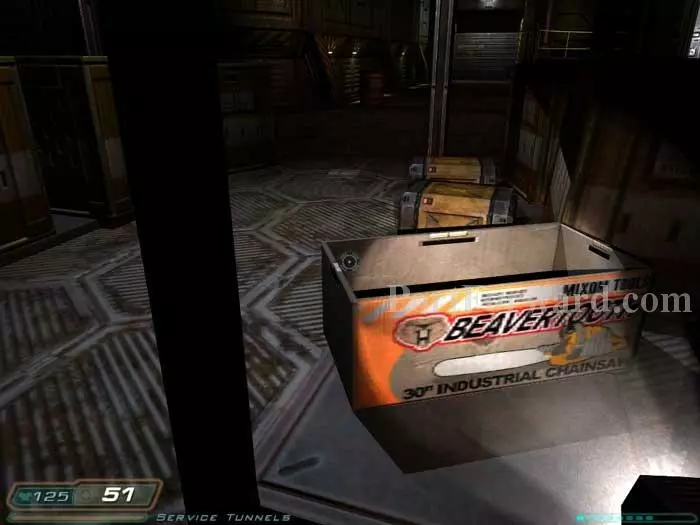
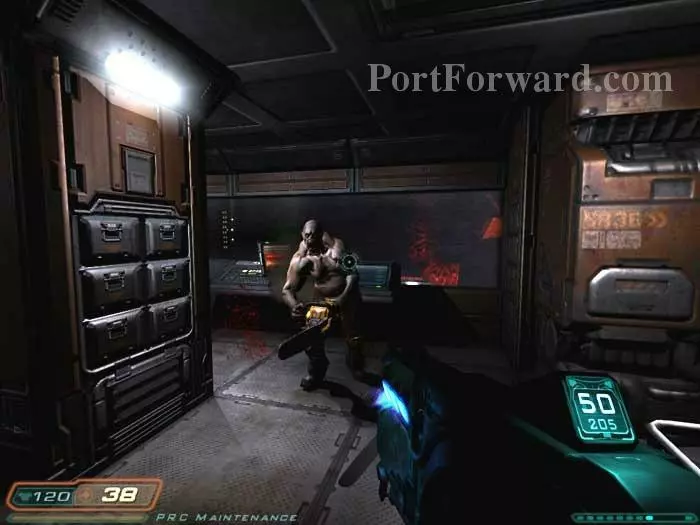
These Beavertooth chainsaw boxes are a bit of foreshadowing. Enter the door on the left.
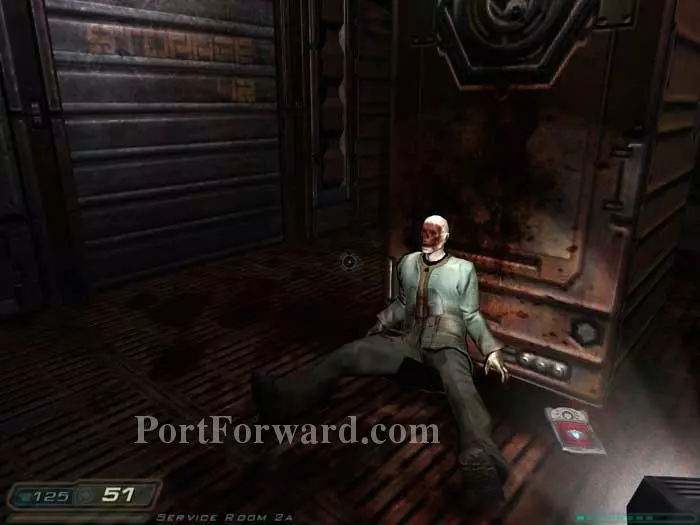
Pick up James Holiday's PDA.
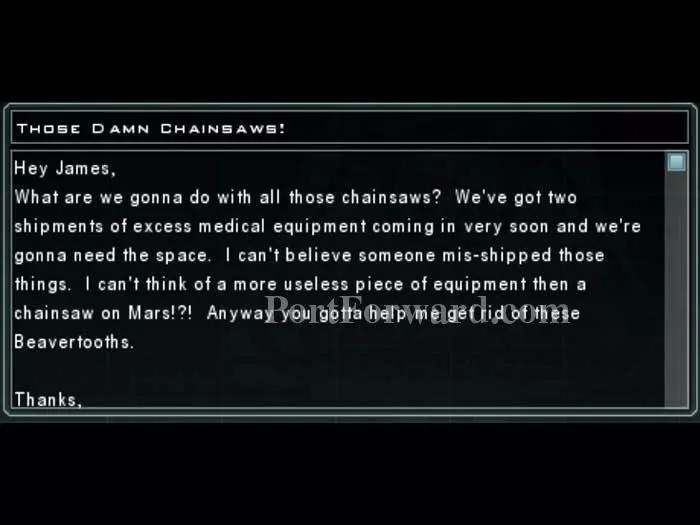
The PDA contains this email, complaining of a useless chainsaw shipment. Don't read the PDA just yet.

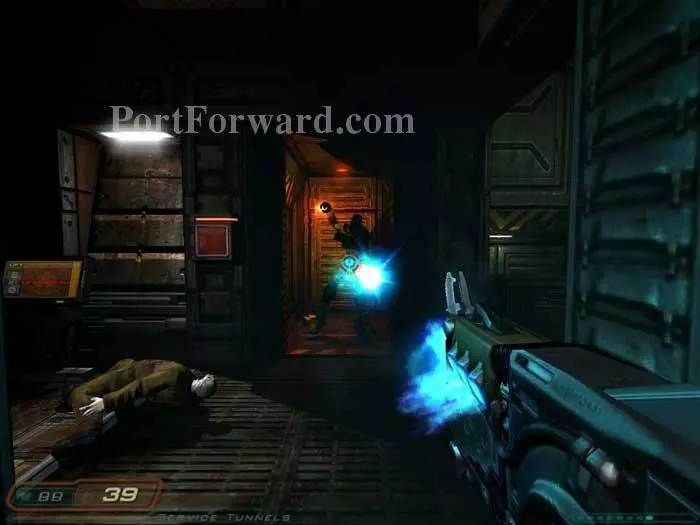
As soon as you grab the PDA, two chainsaw zombies attack!
Defeat them and now you've got a chainsaw! Use it on the three zombies that attack through the door.
Backtrack and defend yourself against another chainsaw zombie. James Holiday's PDA will now get you through this door.

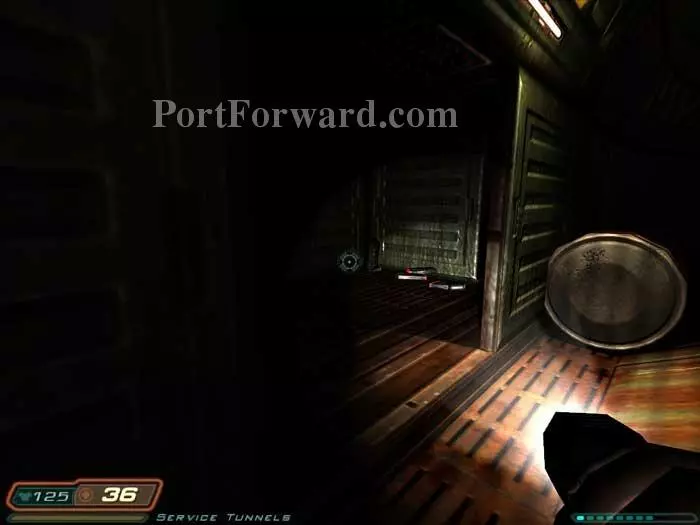
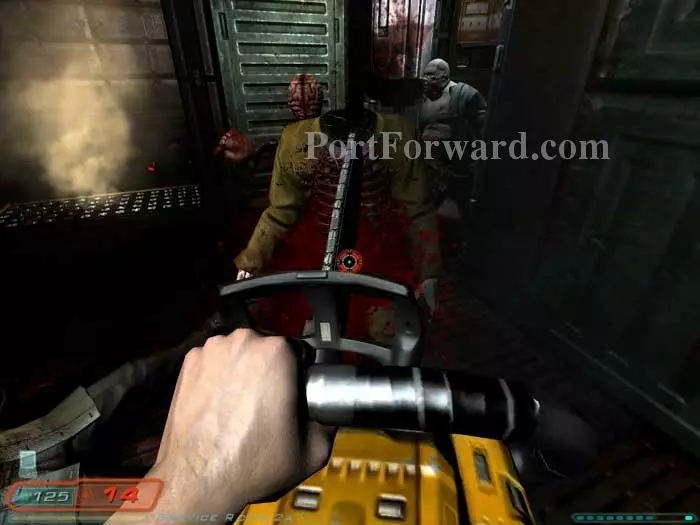
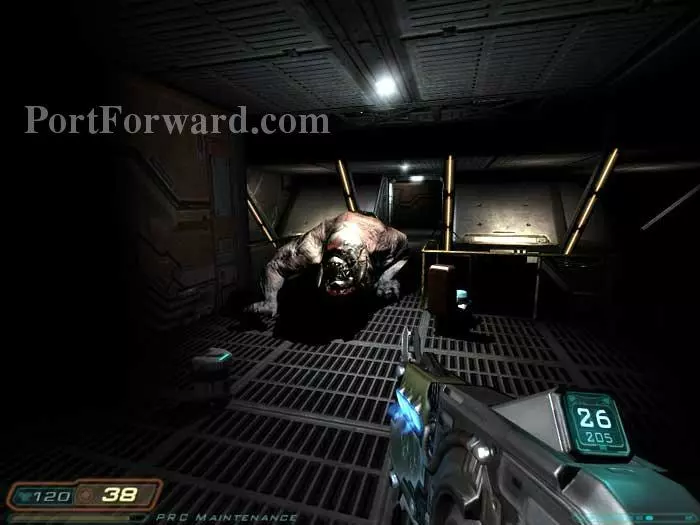
Fracture fat zombie on the right, guarding some armor. A locked door is to the left. You can just make out the green lights of two medkits ahead, where an Imp will attack. This is a very dark and scary corridor.
A Pinky Demon spawns behind you. Two well-placed shotgun blasts will vape 'em. The elevator on the left is non-functional. Note the previously-locked door panel behind the Pinky is now green. Pass through and defeat an Imp on the other side.

This Wraith attacks from the left. Grab the medkit seen on the crate to the right.
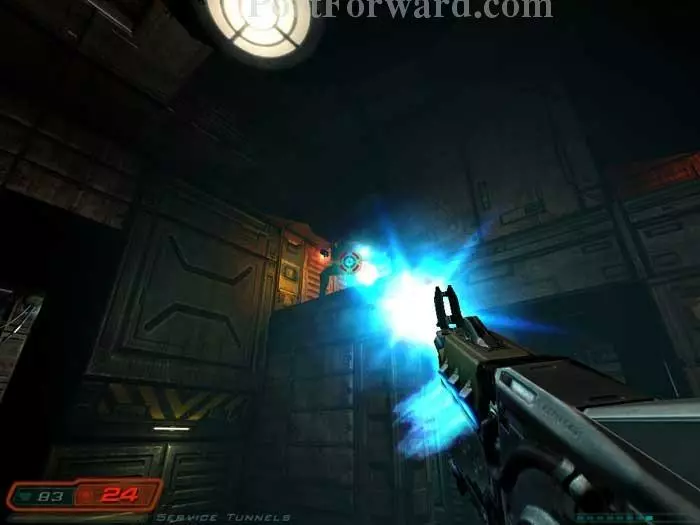
This Cacodemon attacks once you open the door on the right. A couple shotgun blasts will bring him down.
Hug the left wall to find a medkit and armor before climbing this ladder.

Take down this Cacodemon with a couple pops from your shotgun. Before ascending the stairs, check underneath for a medkit and a clip.
Your objectives are updated. Armor and shells are up some stairs to the right. Take out the Imp that spawns, then exit through this door on the left, taking out another Imp.
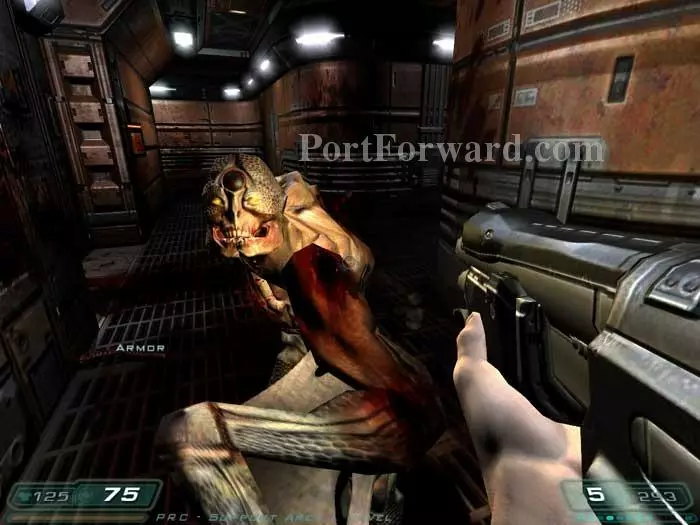
Battle a series of Wraiths in the hallway.
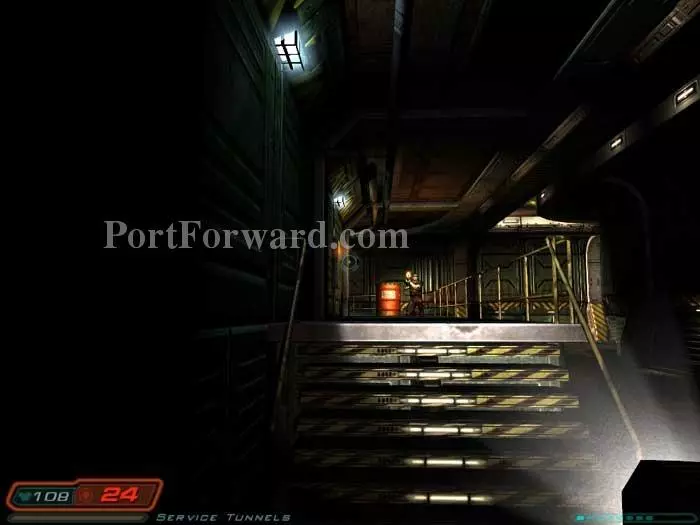
Follow the hallway left and this Pinky charges from behind. Standing on these crates affords minimal protection. Hit the Pinky with two quick shotgun blasts. Grab a medkit and a clip from the shelves.
Backtrack through the hallway and grab the medkit in this malfunctioning elevator -- everything turns red, but just for a moment.
Continue down the hall but keep left. Drop into this alcove for shells and a medkit. An Imp spawns.

Open the door across the hall and this Imp leaps on you. Smelly!
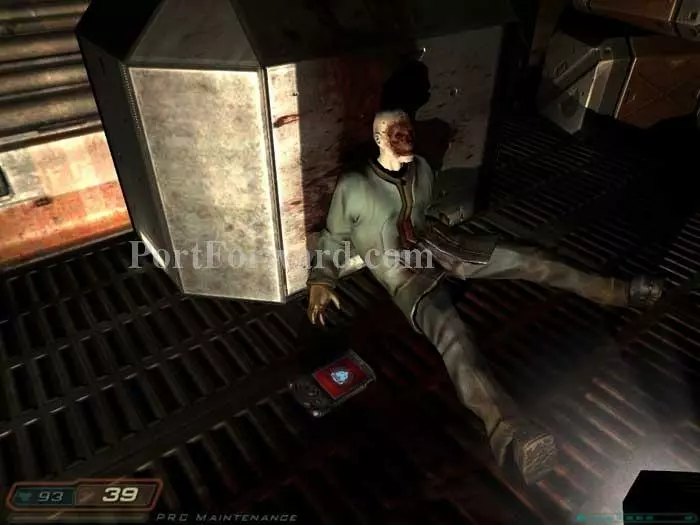
There's Ron Ridge - and his PDA. Armor is under the ledge.
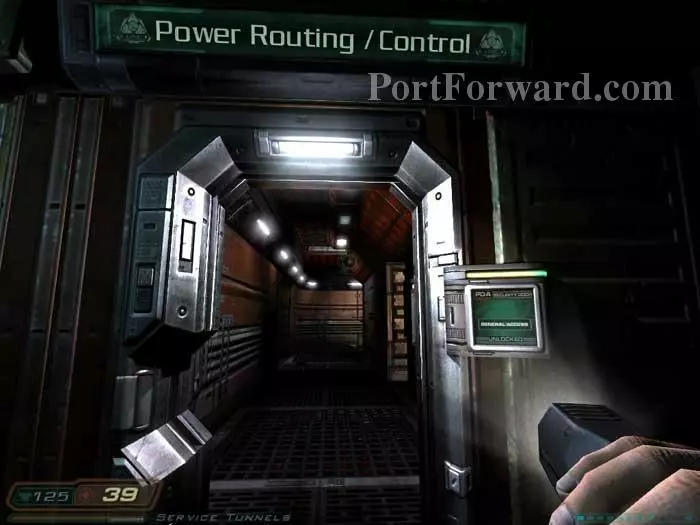
The PDA gives you clearance for the choo-choo. Use the console on the left to call the train. See the number painted on the floor? This is station 1.
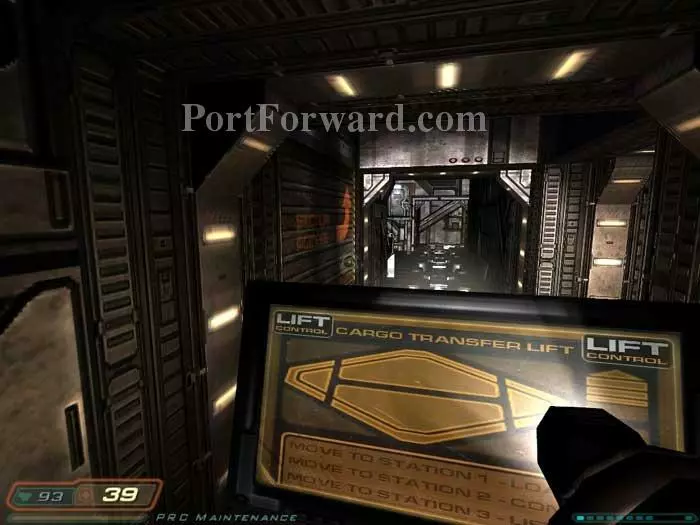
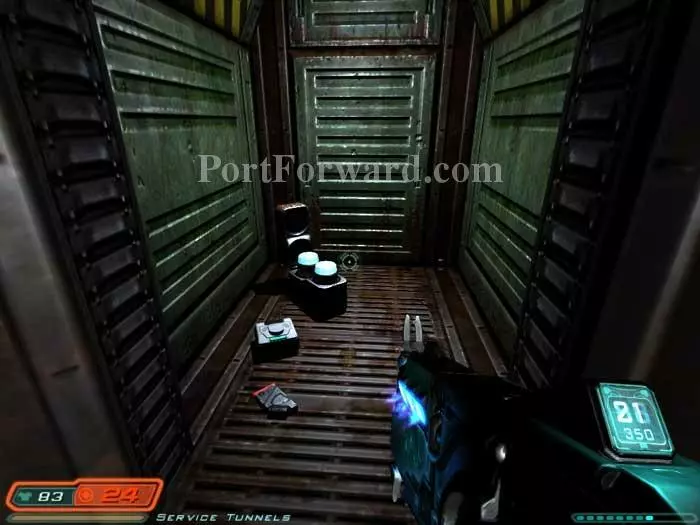
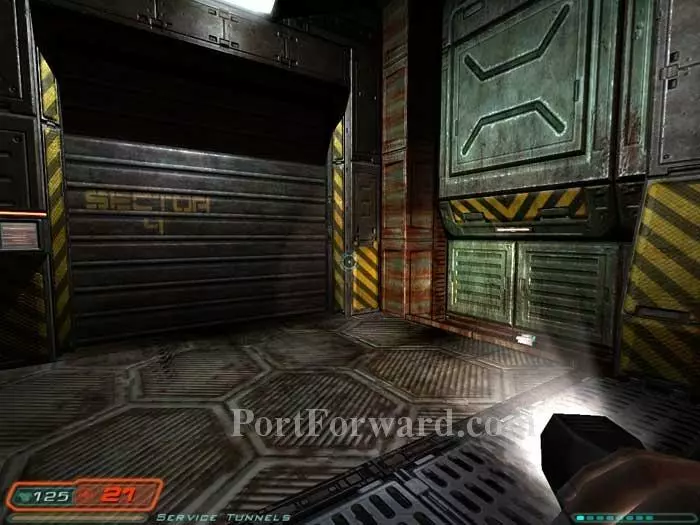
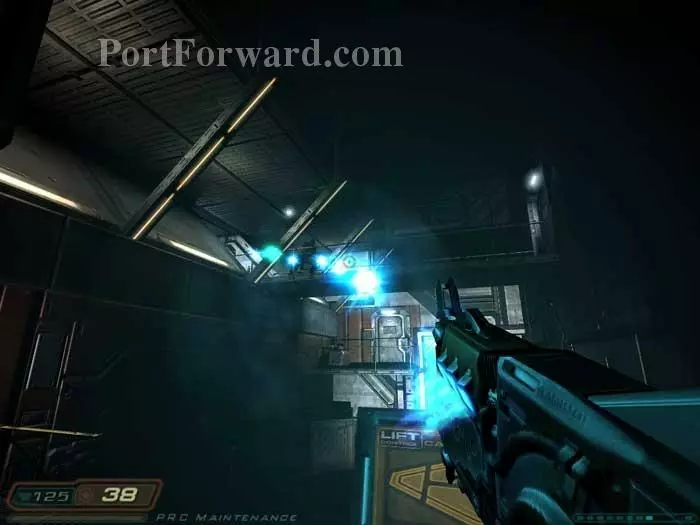
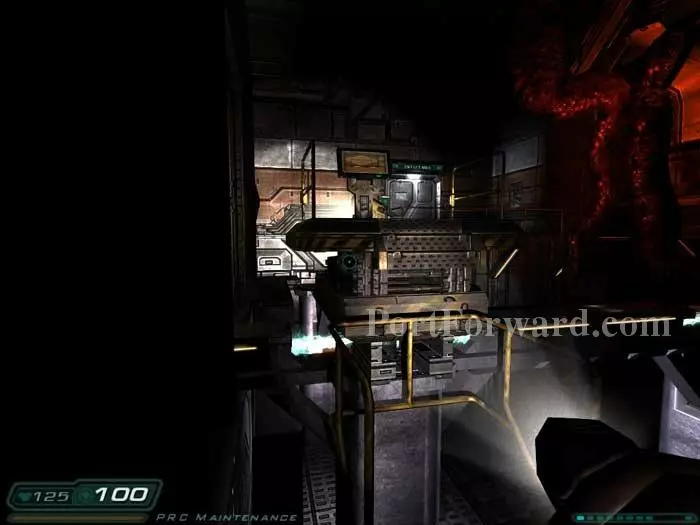
Use the arrow controls to maneuver the train down the track. You can go directly to the three stations by using the menu at the bottom of the screen, but you'll have better control with the arrow controls. Ready your shotgun as you approach this "Sector Access" door on the left. As you move forward, the door slides open to reveal a Z-Sector. Inside are cells, a medkit, armor and a clip.
Continue forward and this Z-Sector attacks from the bridge. Hop over the railing just visible on the left to find a room with cells and a medkit.
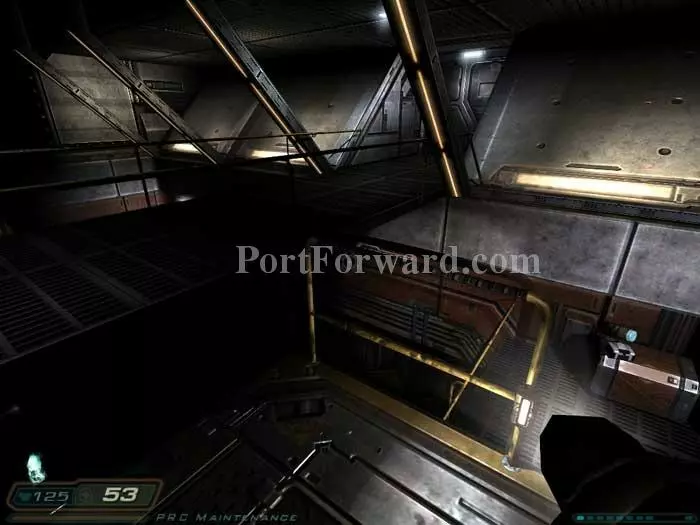
Move farther along then raise the train with the up arrow to reach the bridge. Note more cells and a medkit lower-right.
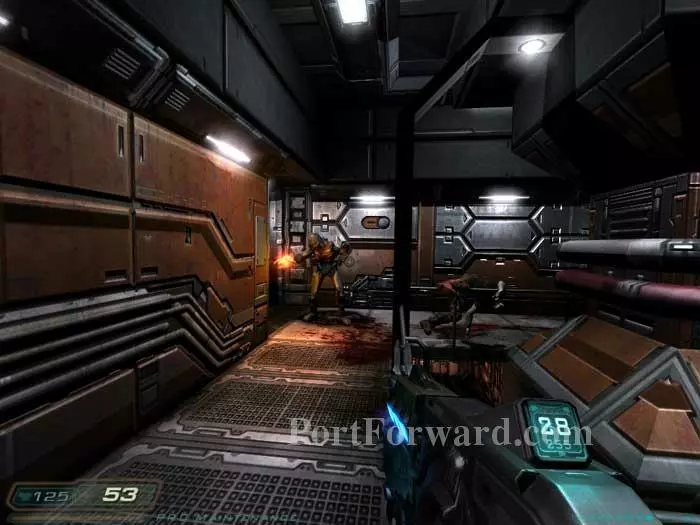
Through the door closer to you you'll find a Z-Sector on the right, then this Imp spawns behind you.
Keep left and defeat this chainsaw zombie. Use the red terminal behind him to unlock the exit door at station 3.
Follow through a door in the opposite hallway and do battle with this Pinky. Grab the medkit and cells. A health station is through the door ahead.

Backtrack to the train. You could go through the door seen here on the left, but all that you'd find is a lift that takes you down to the room where you picked up cells and a medkit earlier and some shells. And you'd have to fight an Imp -- not really worth it IMHO.
Bring the train back down to the track then continue around the corner to the right. Toss a grenade to this Imp below. Follow the ladder seen here below for armor, shells, a medkit and a clip. Continue through the door behind the Imp.

Defeat the zombie inside and grab the medkit and clip on the left, spawning this Wraith. A terminal above opens the door to station 2, but there's no need to go there.
Instead, hop up over the ladder and back into the train. Ride it the short distance over to station 3 seen beyond.
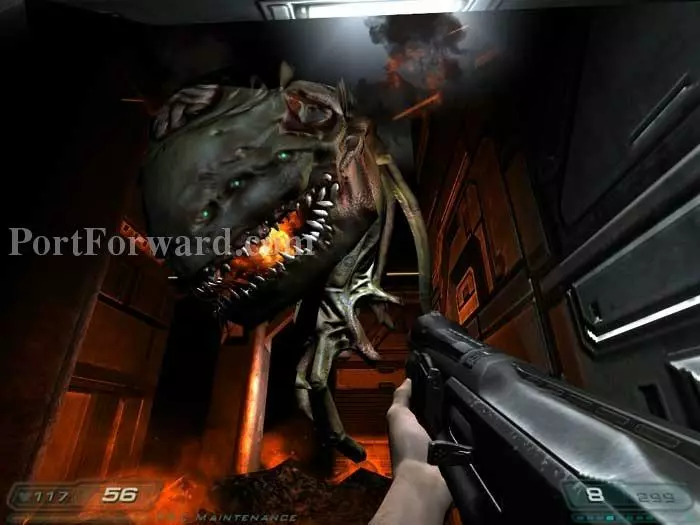
Defeat this Cacodemon after exiting the train.
Exit through here, healing at the station on the left. Grab the armor and proceed to the door ahead.
The floor drops out. What's this? The Berserker power up!

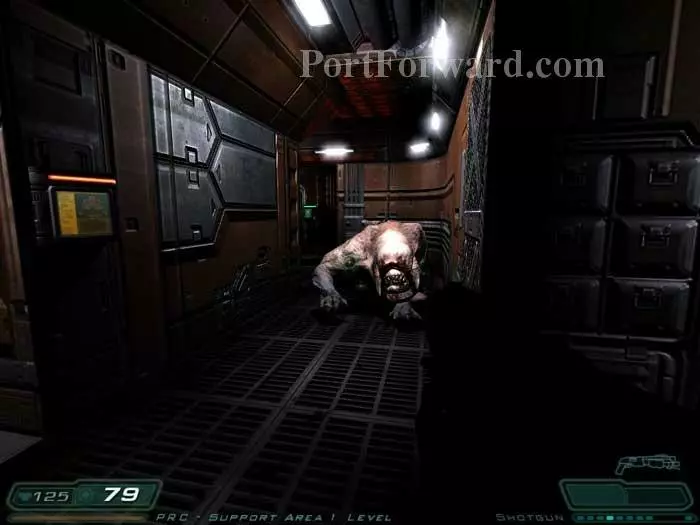
Ready your weapon of choice then have at it. A horde of zombies attacks, but who cares -- you're invincible! This is a classic id moment.
Once the dust settles, hop up these stairs through the door ahead.

Defeat this chainsaw zombie then cycle the airlock beyond.
Once again, you're just seconds behind Swann and Campbell -- that's their truck speeding away.

Defeat two Cacodemons then jump over the railing on the left. Armor, air and a medkit are under the bridge.
You'll find the airlock to the left of the bridge.
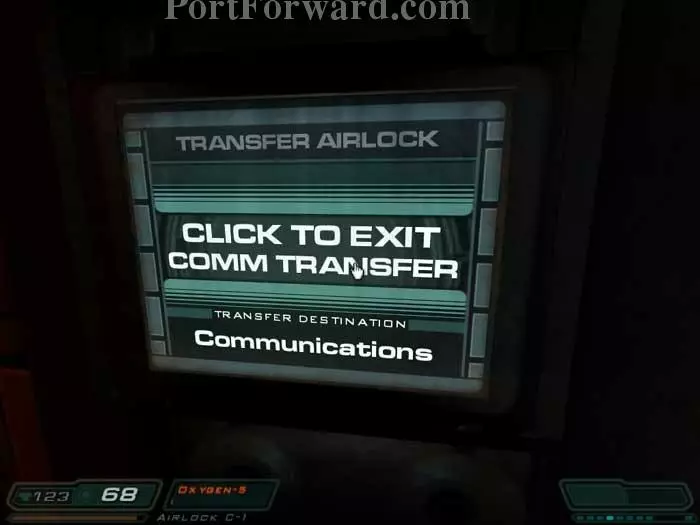
Click on this panel to load Communications.
More Doom 3 Walkthroughs
This Doom 3 walkthrough is divided into 27 total pages.