This Doom 3 walkthrough is divided into 27 total pages.
You can jump to nearby pages of the game using the links above.
Recycling Sector 2
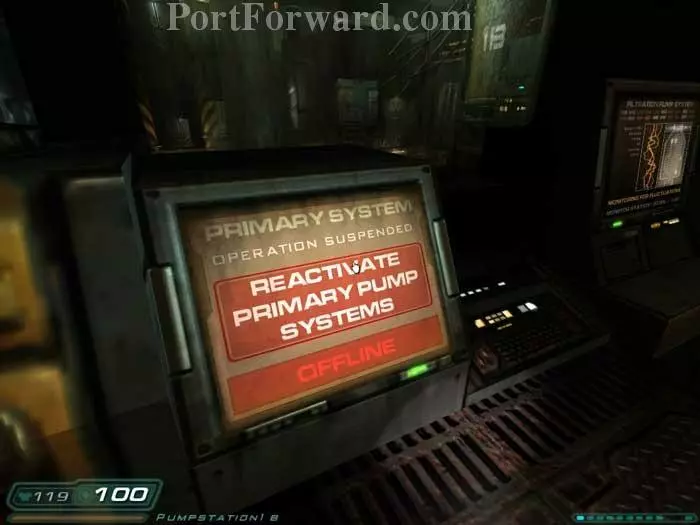
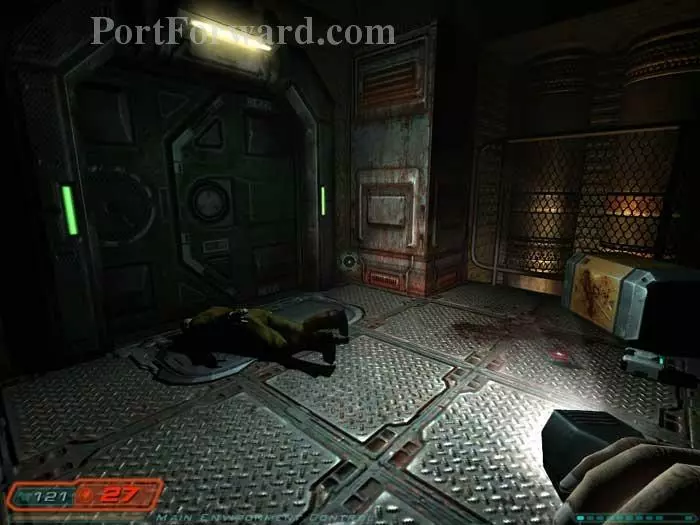
Exit the airlock, seen here on the right, and find armor on these shelves to the left. Inside the room is Jeffery Moen's PDA which has some background, plus a health station. Use this terminal to reactivate the primary pump systems.

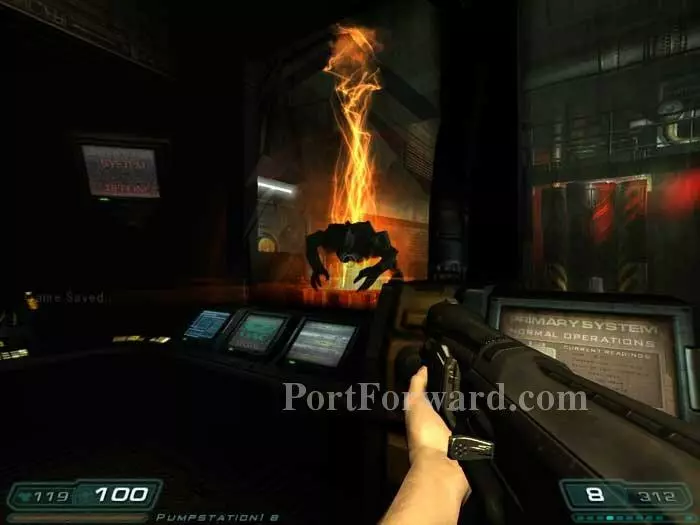
A message from Betruger plays on the video screens and an Imp crawls along the window. If you sent the transmission earlier, Betruger thanks you. If you did not, he sends it anyway. He boasts of his plan to send his hellforces to earth using the Marine transports.
More Imps spawn outside. The door is now locked shut, but you can exit through this broken window.
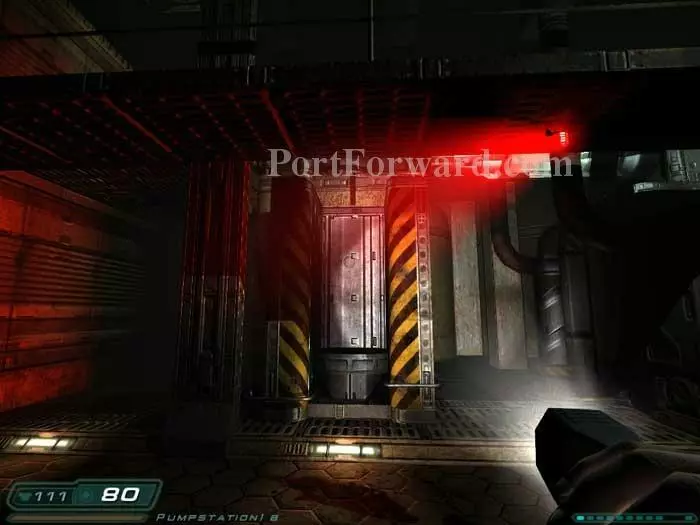
Hop onto this piston and ride it to the upper level.
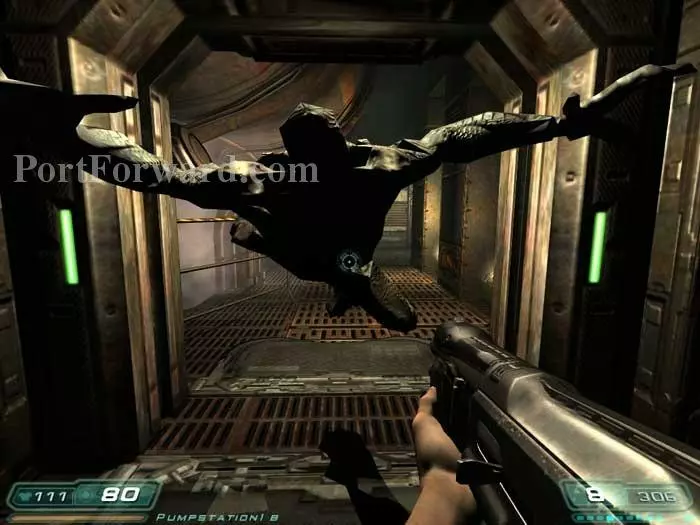
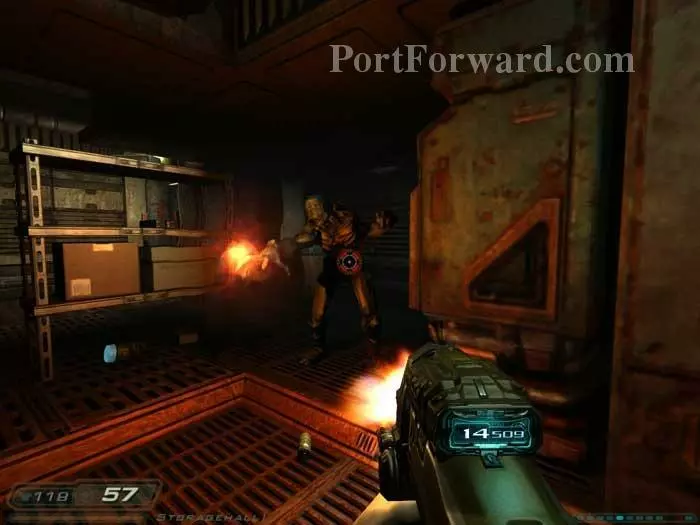
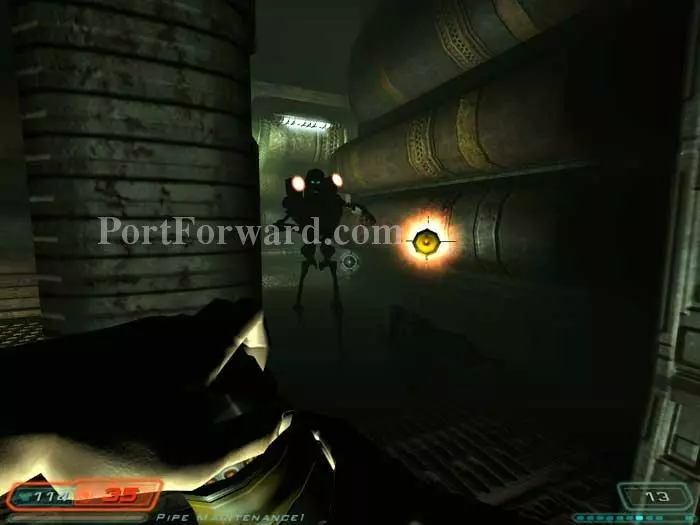
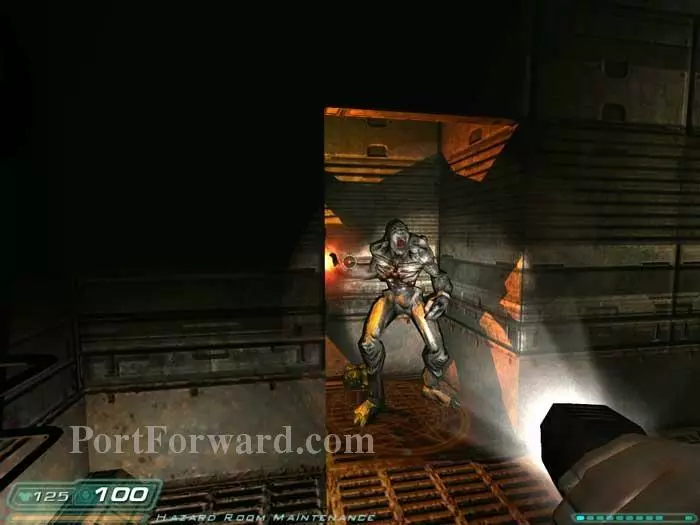
Ready your shotgun before approaching this door. In addition to the leaping Imp seen here, another spawns ahead and yet another is creeping up behind you.
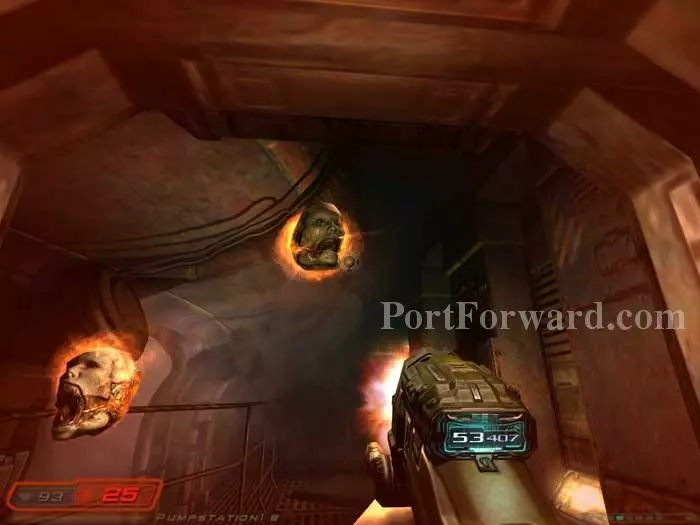
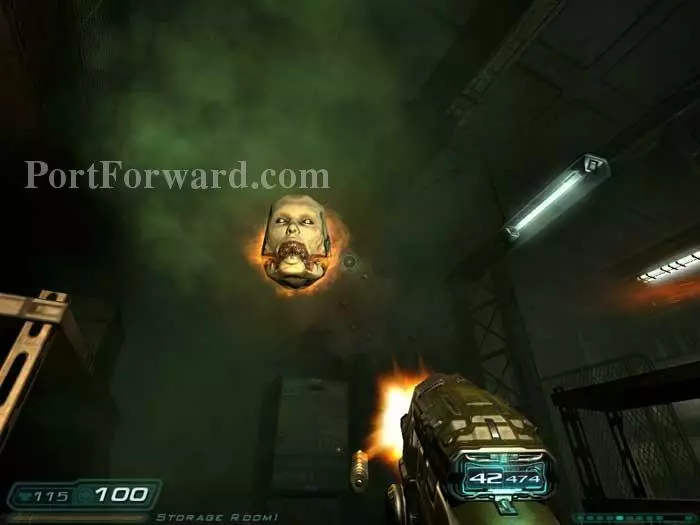
Battle these Lost Souls to the door ahead.
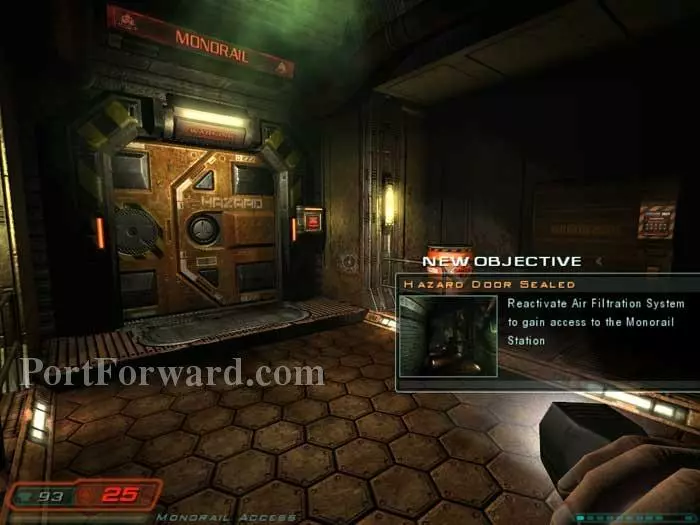
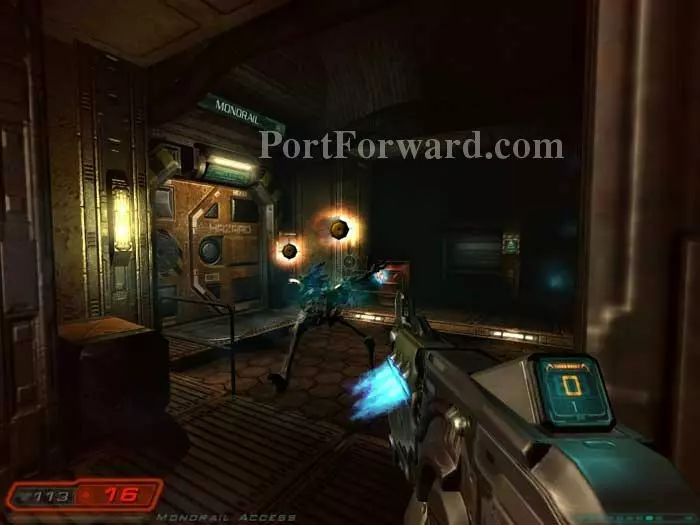
Approach the monorail doors and your objectives are updated. Note the storage cabinet on the right. Open it with code 483 to find armor, shells, clips and cells.
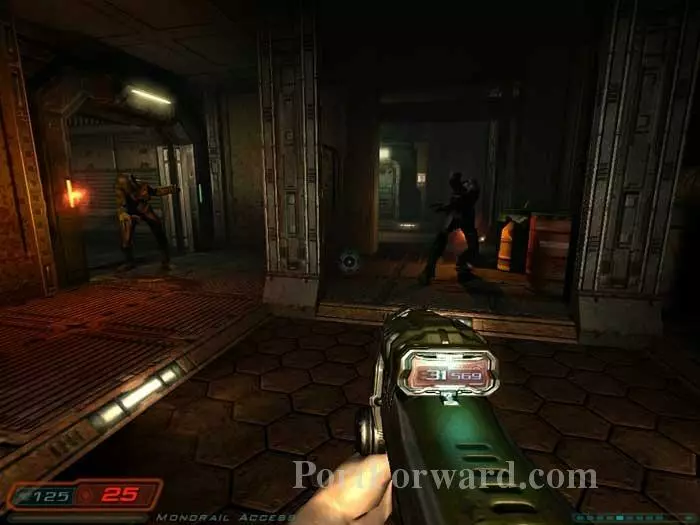
Defeat these two Imps, plus a third waiting in ambush to the left of the doorway straight ahead.
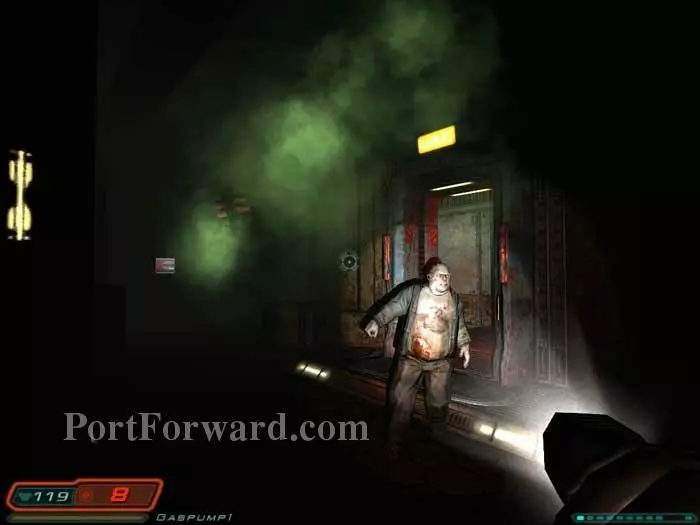
A fat zombie attacks while a Revenant spawns behind you, followed by two Lost Souls. Defeat them all before healing at the health terminal seen on the left. Continue through the door.
To the left is this Imp guarding cells and clips. An armor vest is on the right. Continue through the door behind the Imp to battle yet another Imp, plus a Revenant behind you.
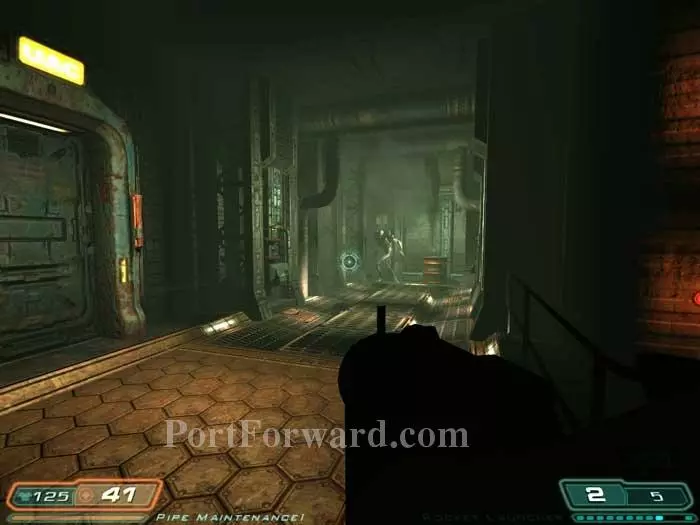
Descend the stairs to find this rocket-launching Revenant. Send him some rockets of your own. Behind the door on the left is an Imp guarding a medkit and more rockets.
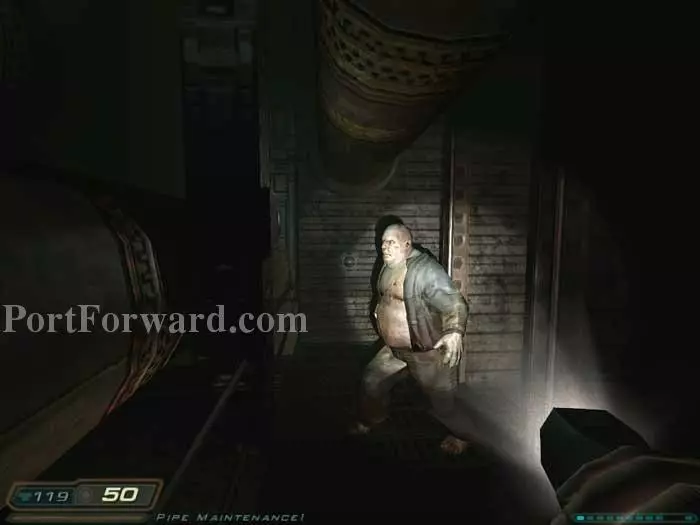
As you make your way through here, be mindful that this fat zombie is about to stagger out from behind a false wall panel. Shells are inside his closet.
Not much farther you'll encounter two more zombies and an Imp.
Around the corner this Revenant attacks.
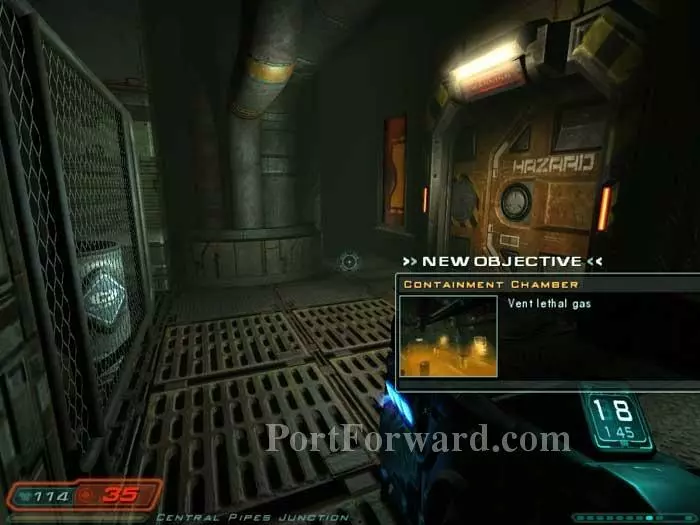
Continue along the corridor, staying left. Your objectives are updated at this door. Heal at the health station behind the fence on the left.
Backtrack through the corridor, again keeping left. Shoot the explosive barrel in this juncture to help take out an Imp. Lost souls spawn. Defeat them then continue to the fenced-in area on the right.
Battle an Imp and a Revenant in here. To your immediate left are two clips. An armor vest is in the far-right corner. Grab a medkit before exiting out the door far-left.
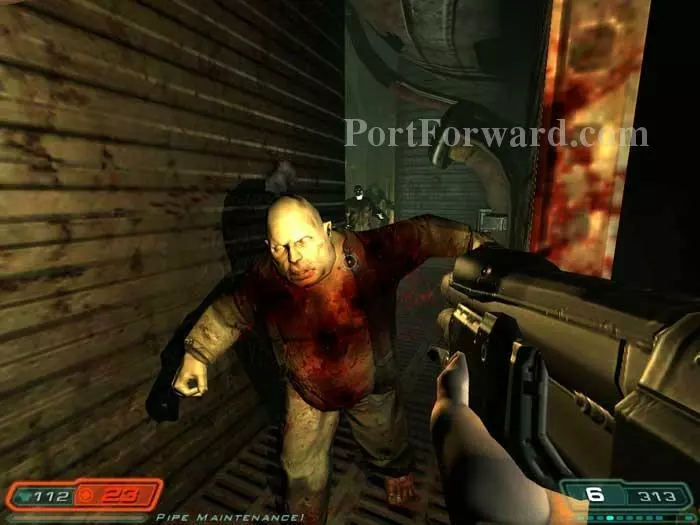
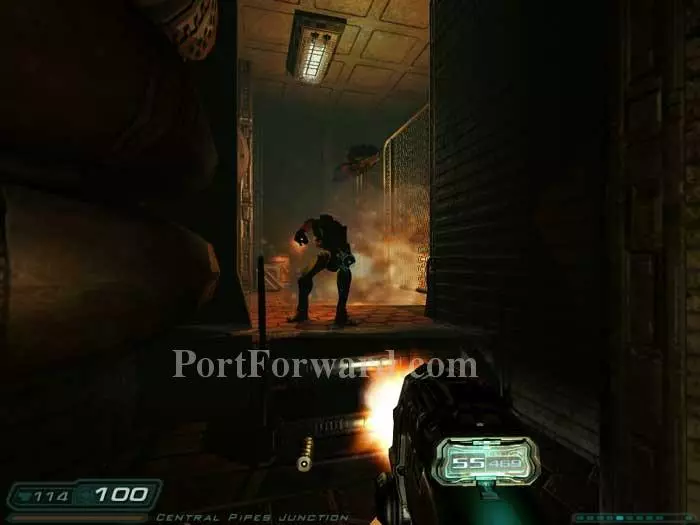
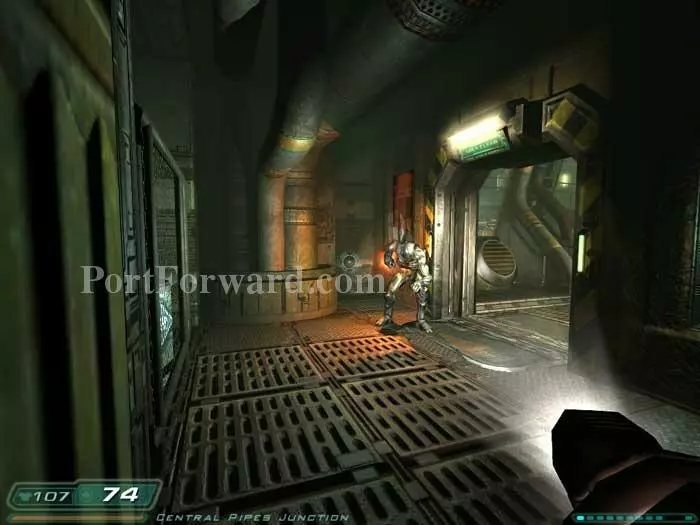
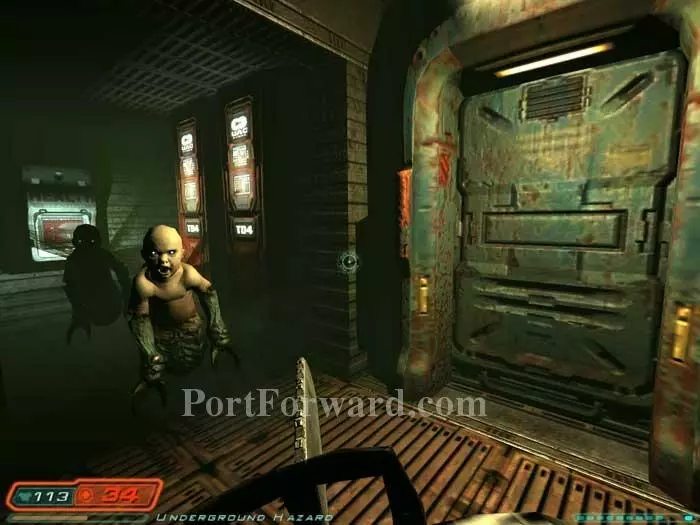
Watch out for this guy to attack from behind you while another Imp comes through the door ahead. Note the grenades behind him.
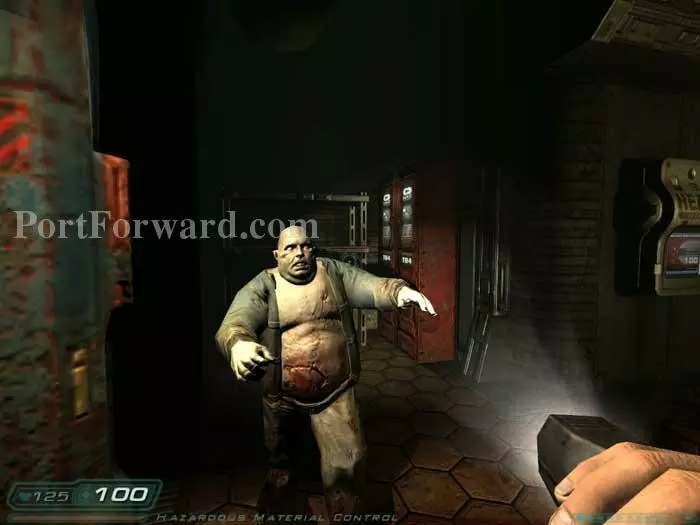
Through the next door, this fat zombie attacks from the left. Cells and clips are on the shelves behind him. Note the health station to the right.
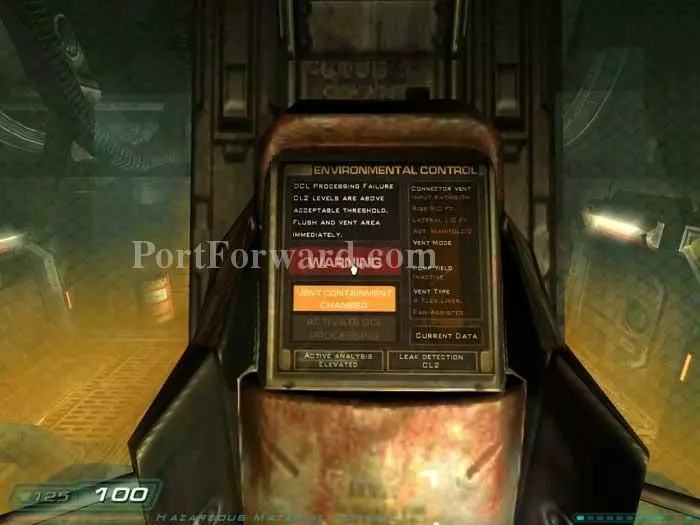
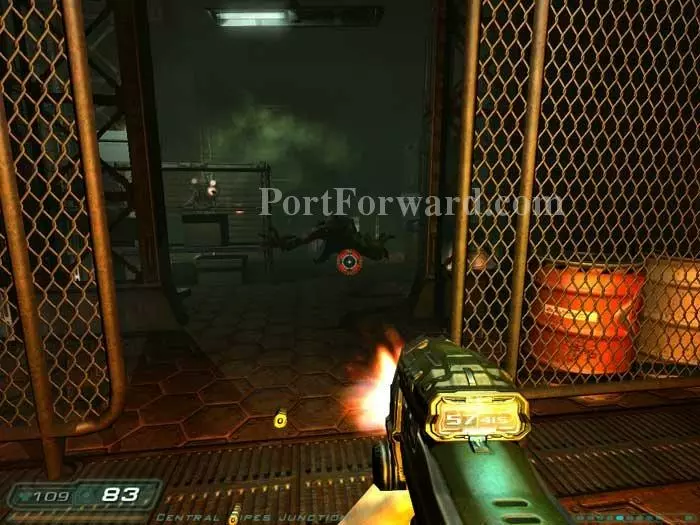
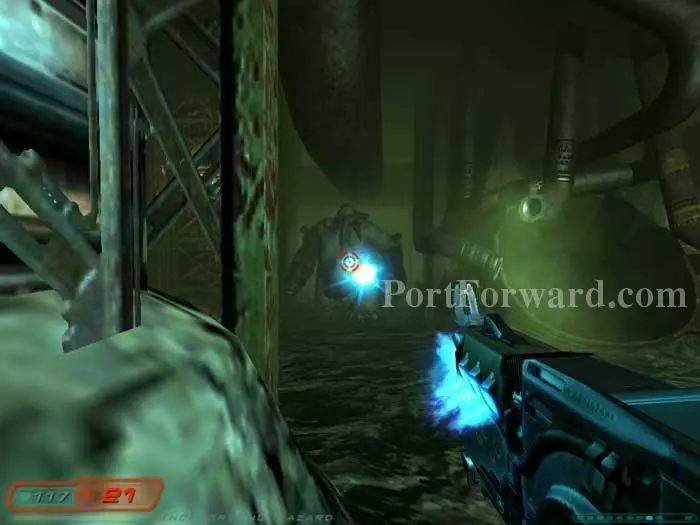
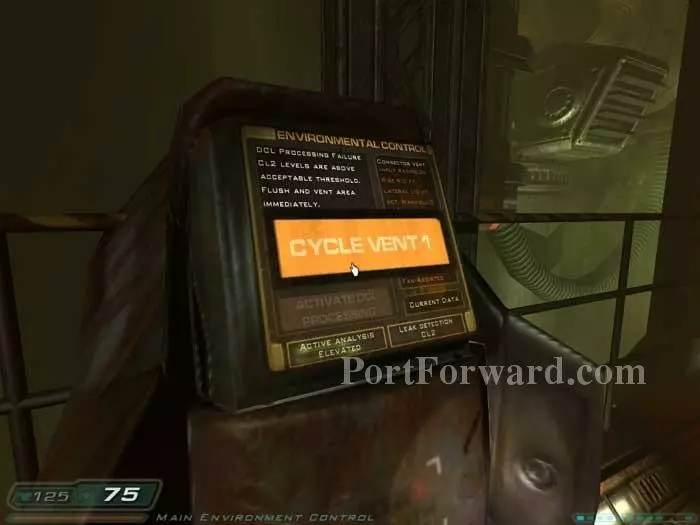
Ready your shotgun. Activate this terminal to vent the toxic gas seen beyond.
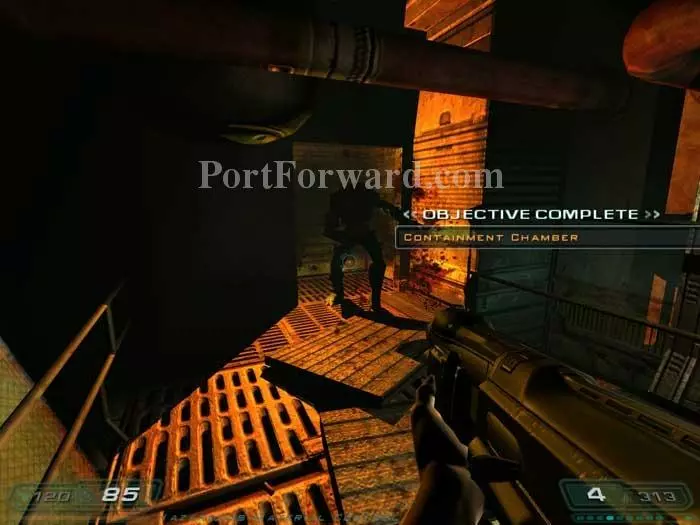
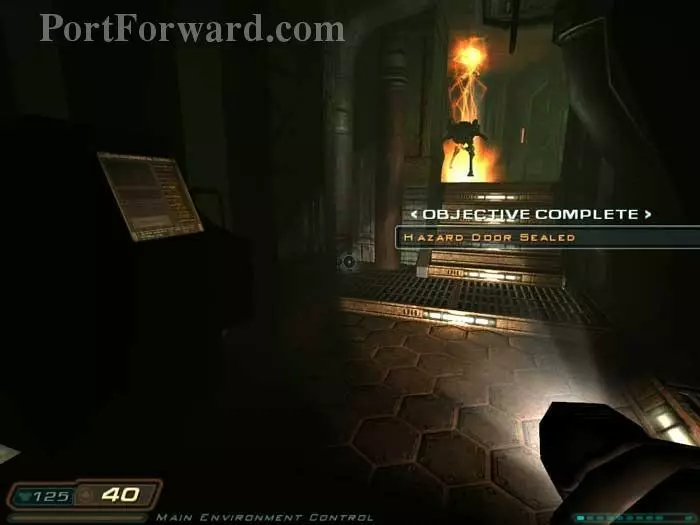
Three Imps spawn from this alcove on the right, plus a zombie attacks as you try to exit -- good thing you're shotgun is ready.
Betruger's voice echoes, "Destroy him!" A flock of Lost Souls attacks, followed by a zombie and a Revenant.
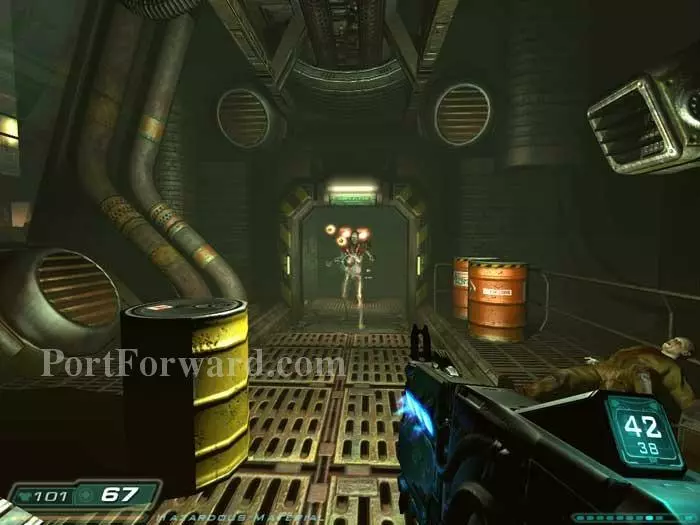
Backtrack to this door you visited earlier, this time keeping right. Defeat the Imp seen here plus a Revenant that attacks from behind.
Another Revenant attacks as you enter. An ammo belt and shells are on the right. You can hear a sickening sound - sort of like a baby gagging. Continue through the door ahead.
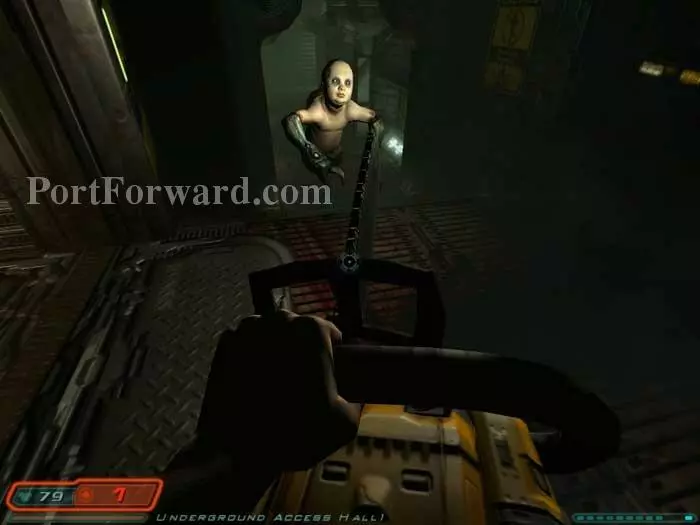
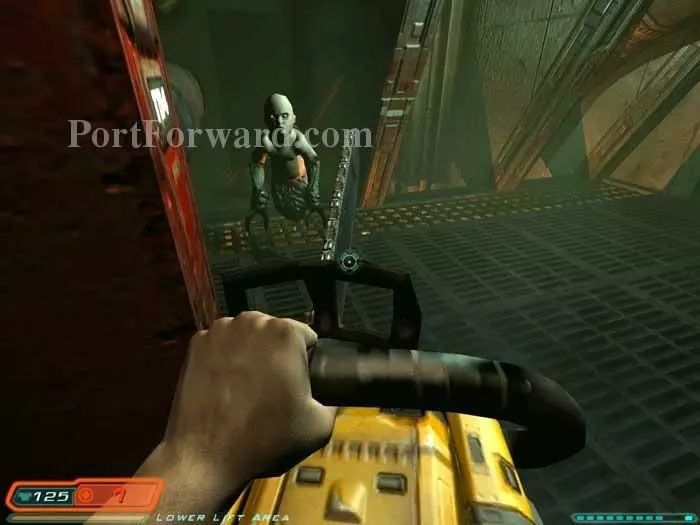
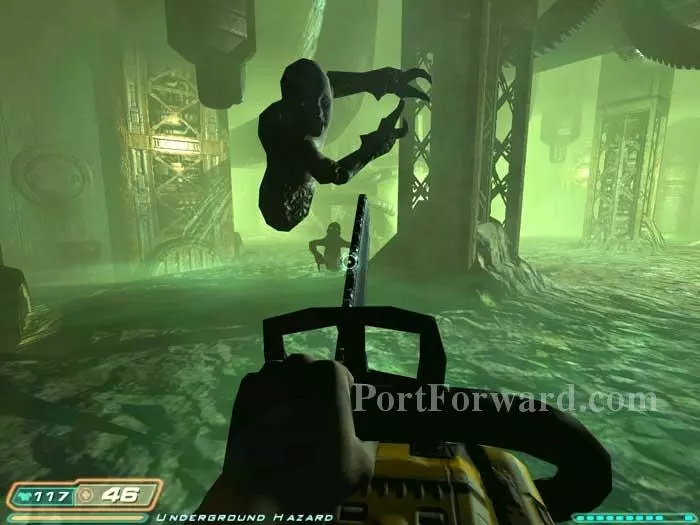
And here they come - your next enemy is a swarm of flying babies, the Cherubs. Just to make this even more disturbing, fend them off with your chainsaw. My health indicator betrays the difficulty I had with this corridor.
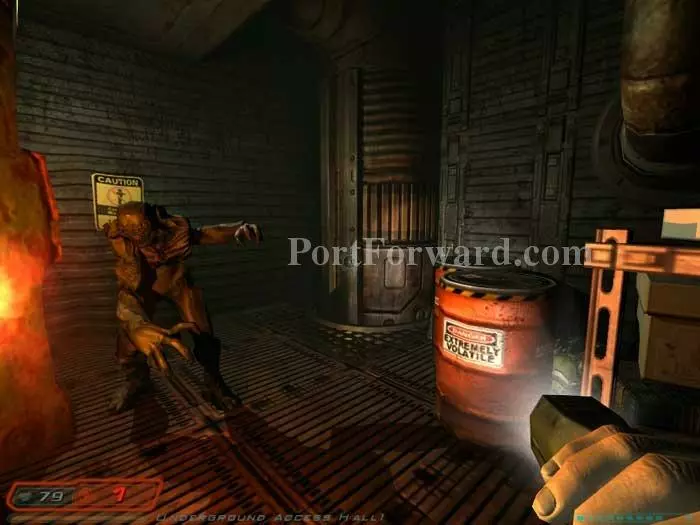
Up ahead you'll encounter this Imp. Don't get as close as I am here. Shoot the "Extremely Volatile" barrels to take him out. Armor and a clip are on the right. Continue through a door on the left.
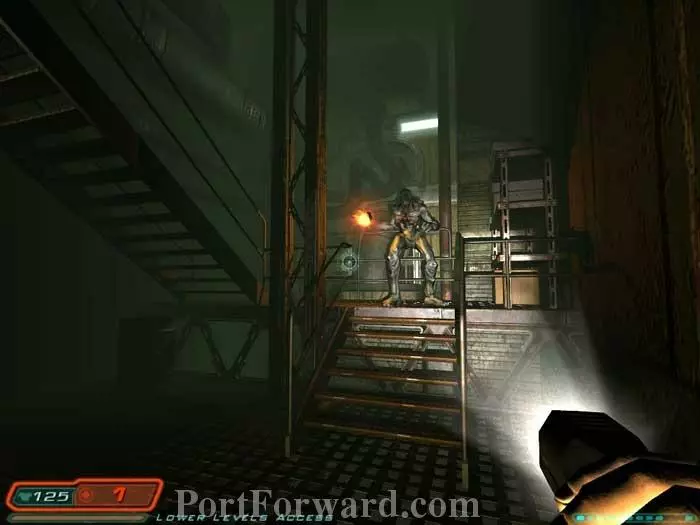
Battle this Imp then snatch the clip from the shelves on the right. Another Imp enters the doorway behind you. Climb the stairs and defeat a Revenant at the top.
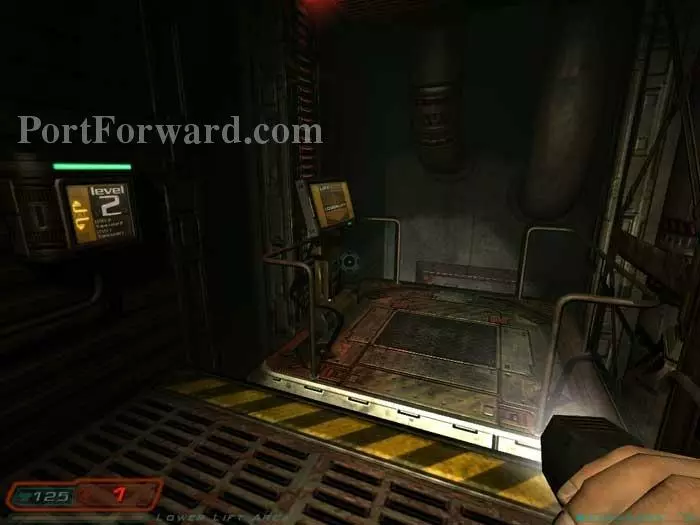
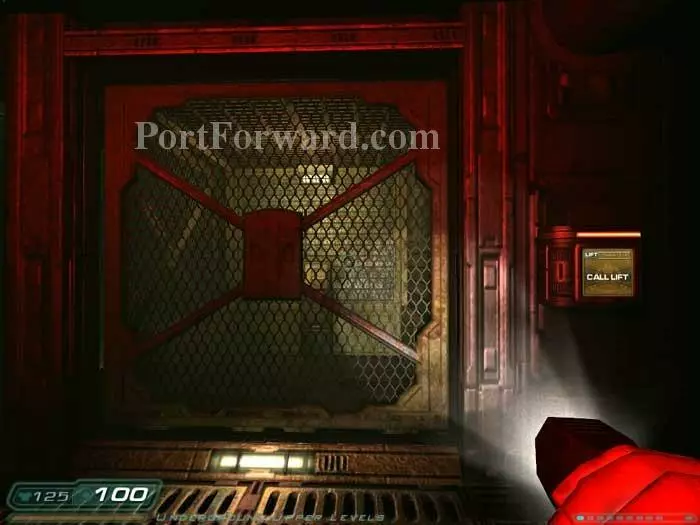
Call the lift and ride it down. Ready your chainsaw.
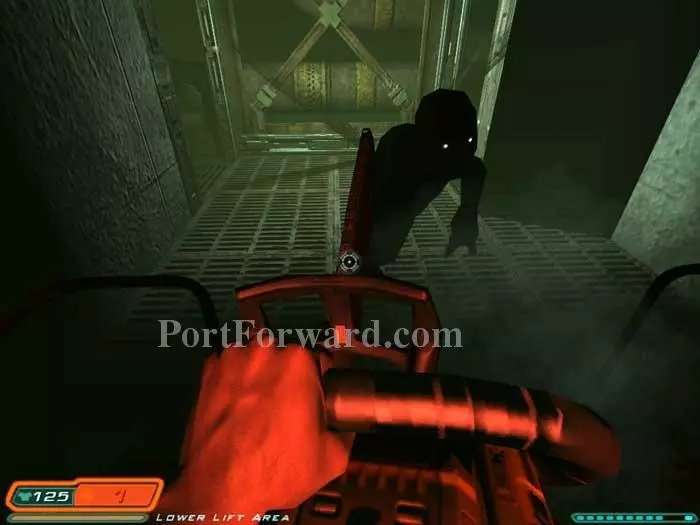
More Cherubs!
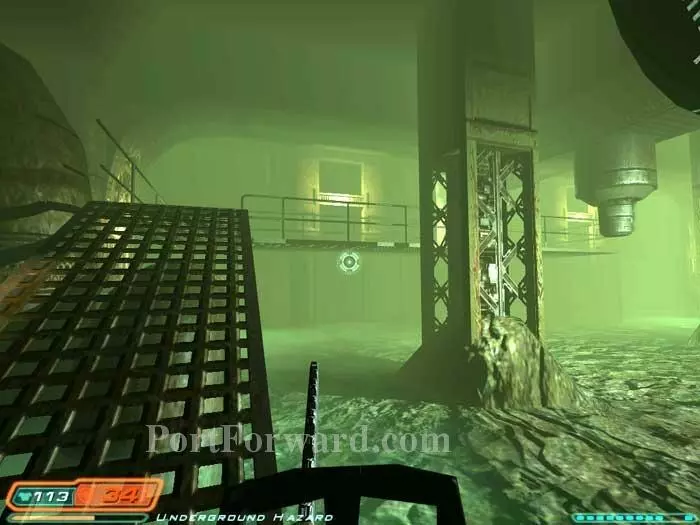
Advance around the right corner and find this holdout on the left, guarding an ammo belt.

Drop below for a medkit and armor. You'll find shells and a clip farther ahead and to the right.
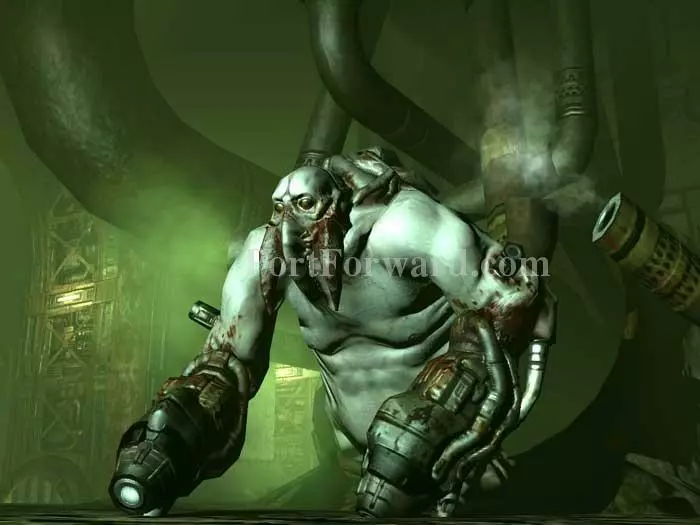
Press on to initiate this cutscene introducing your next boss - the Mancubus.
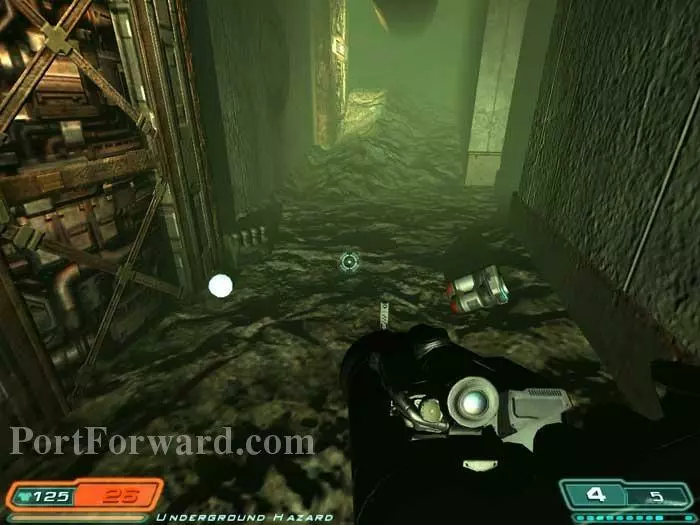
Quickly search the perimeter for this cache of supplies, including a medkit, rockets and shells.
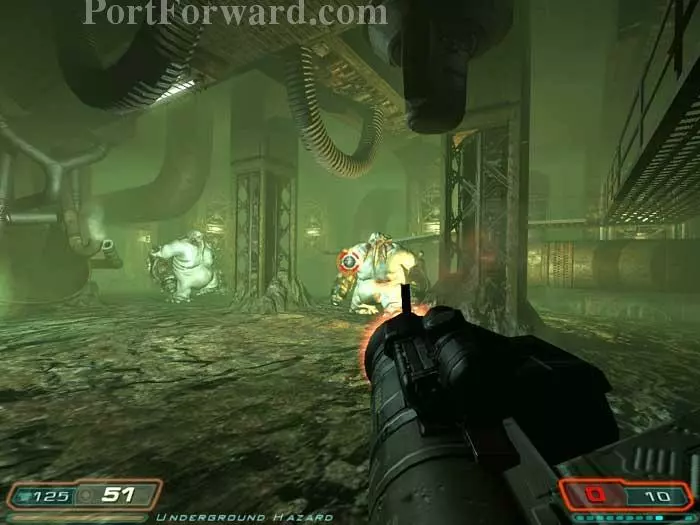
Battle the initial two Mancubus' (or is it Mancubi?) with your rocket launcher. The Mancubus is a slow opponent but his attack is swift and powerful. Keep your distance and be aware of his position at all times and you shouldn't have much trouble.
After defeating the initial two Mancubus', a third will emerge. I ran out of rockets and switched to the plasma gun.
Lastly, rev up your chainsaw for a swarm of Cherubs.
Keep your chainsaw handy and ramp up the catwalk.
More Cherubs are back here guarding a health station. Armor and clips are on shelves to the left. Continue through this door.
More Cherubs and this lift are inside. Betruger taunts you as you enter the lift and ride it up.
As you exit the lift, you'll find these supplies to the right, including two medkits, cells and clips.
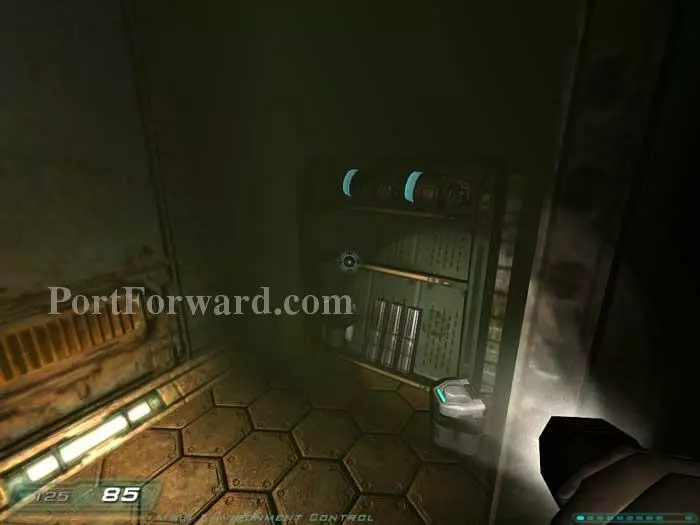
Toxic fumes permeate the corridor. Activate these three environmental controls to clear the air.
Your objectives are updated as this Revenant spawns. Defeat him with a grenade or two then continue up the stairs.
A medkit is here, along with Scott Johnson's PDA. In case you missed it earlier, the PDA reveals the code for the storage cabinet by the Monorail doors to be 483. Continue through the door on the left.
You've returned to the now-unlocked monorail entrance. Again, if you missed it earlier, the cabinet to the right can be opened with code 483. Defeat one more Revenant then continue through the monorail door.
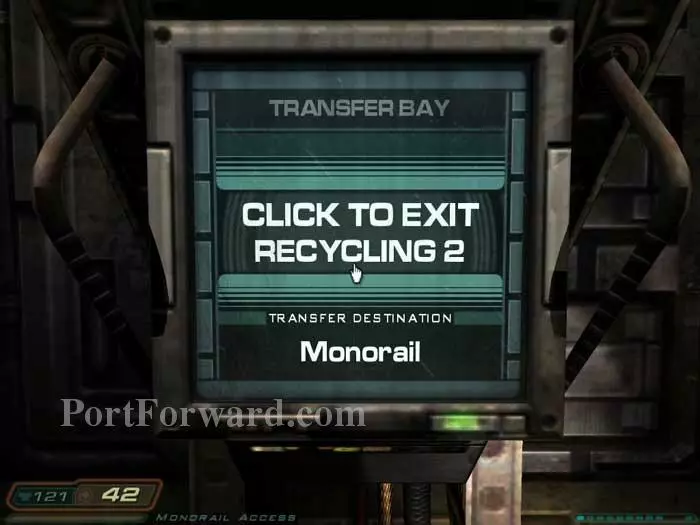
Activate the transfer bay to move on to the monorail level.
More Doom 3 Walkthroughs
This Doom 3 walkthrough is divided into 27 total pages.